Rock Candy, with its mesmerizing crystal structure and sweet taste, is a fascinating treat. But did you know you can easily create this sugary wonder at home? This guide provides a step-by-step approach to making your own rock candy, perfect for a fun science experiment or a unique edible gift.
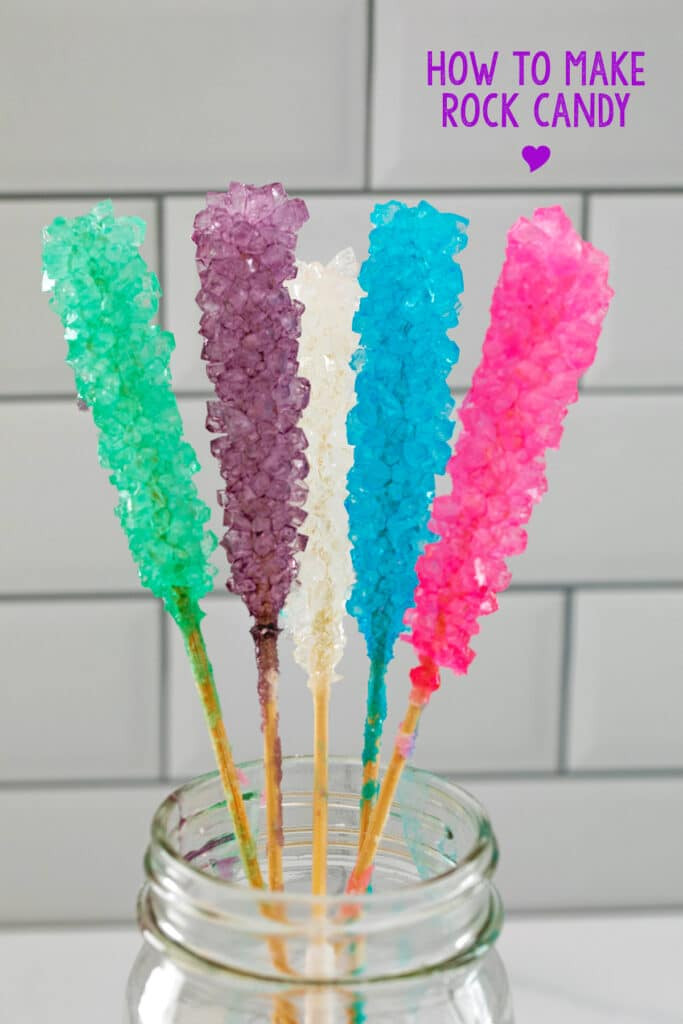 Close-up of 5 different colors rock candy in mason jar with
Making rock candy involves growing large sugar crystals from a supersaturated solution. While it requires patience, the process is surprisingly simple and rewarding. Let’s dive into the details!
Understanding Rock Candy Formation
Rock candy, also known as sugar candy, consists entirely of large sugar crystals. These crystals form through a process called crystallization, where dissolved sugar molecules come together in a structured pattern as the solution cools. The key to rock candy creation lies in making a supersaturated solution – a solution that holds more dissolved sugar than it normally could at room temperature. As the solution cools, it becomes unstable, forcing the excess sugar to precipitate out and attach to a surface, forming crystals.
Why Make Rock Candy at Home?
While store-bought rock candy is readily available, making your own offers a unique experience. It’s a fun and educational activity, especially for children, providing a hands-on lesson in crystallization and solution saturation. Plus, homemade rock candy allows for customization – experiment with colors and flavors to create personalized treats.
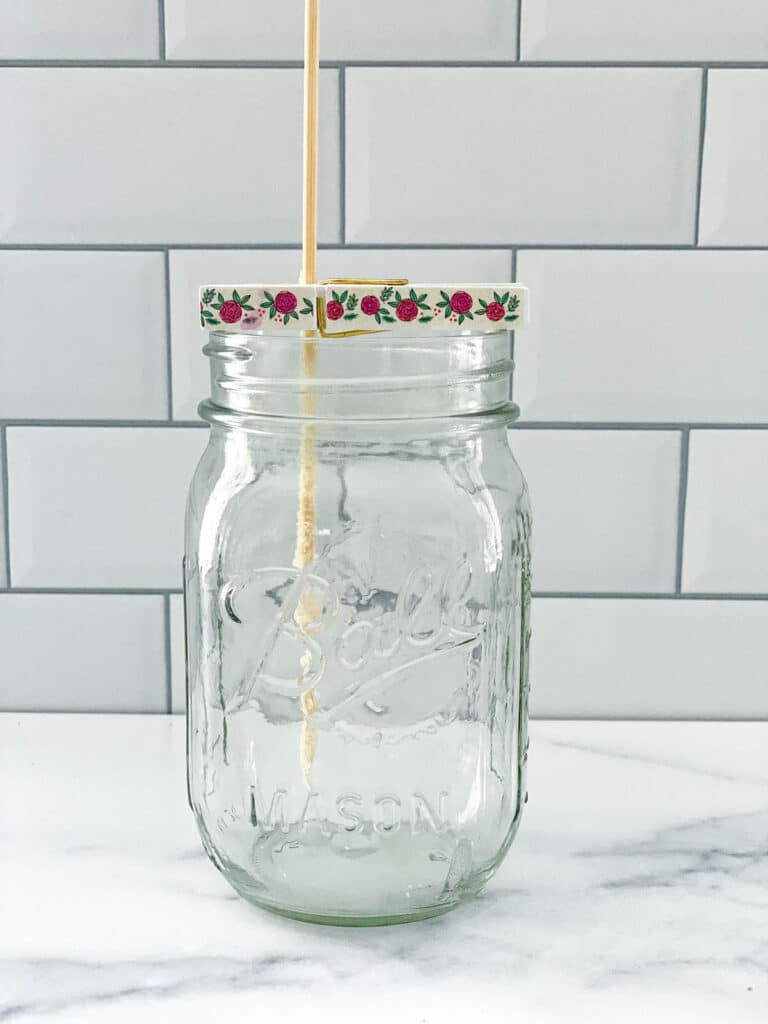 Skewer sitting in mason jar ready for rock candy sugar solution
Gathering Your Supplies
Before you begin, gather the following materials:
- Granulated Sugar: The star ingredient! You’ll need a substantial amount – about 10 cups for 5 sticks of rock candy.
- Water: To dissolve the sugar and create the solution.
- Food Coloring: Optional, but adds a vibrant touch to your crystals.
- Mason Jars: Or other heat-safe glass containers to hold the solution. Standard 16 oz mason jars work well.
- Skewers or Sticks: Wooden skewers are readily available and work perfectly. Special rock candy sticks can also be purchased.
- Clothespins or Chip Clips: To suspend the skewers in the jars without touching the bottom or sides.
Crafting Your Rock Candy Masterpiece: A Step-by-Step Guide
-
Preparing the Skewers: Wet the skewers and roll them in granulated sugar, creating a “seed” surface for the crystals to grow on. Allow them to dry completely.
-
Preparing the Jars: Clean the jars thoroughly with hot water. Attach a clothespin or chip clip to each skewer and balance it over the jar opening, ensuring the skewer hangs about an inch from the bottom.
-
Creating the Supersaturated Solution: In a large saucepan, bring 4 cups of water to a boil. Gradually add the sugar, one cup at a time, stirring constantly until each cup dissolves completely. The solution will thicken and become more difficult to stir as you add more sugar. Continue until all 10 cups are dissolved.
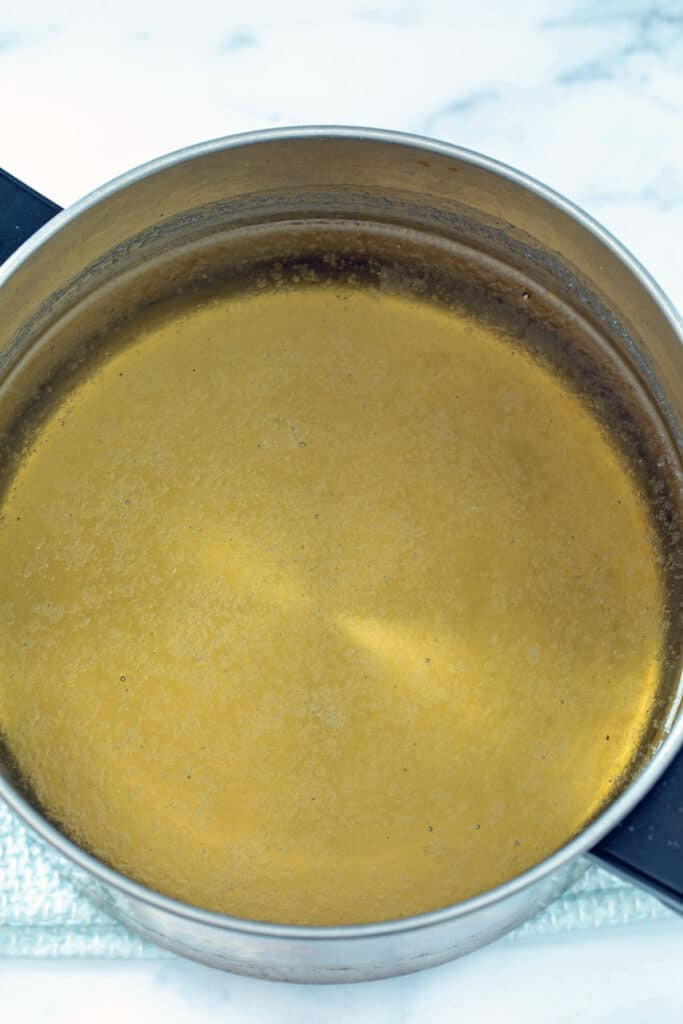 Sugar water solution simmering in saucepan
 -
Simmering and Cooling: Reduce the heat and simmer the solution for 5 minutes. Remove from heat and let it cool for about 15 minutes.
-
Filling the Jars: Carefully pour the hot sugar solution into the prepared jars. Add food coloring, if desired, and gently place the sugared skewers into the solution, ensuring they don’t touch the sides or bottom.
-
The Waiting Game: Now comes the hardest part – patience! Allow the jars to sit undisturbed in a cool, quiet place for 6-7 days. Tiny crystals will begin to form within a day or two, gradually growing larger over time.
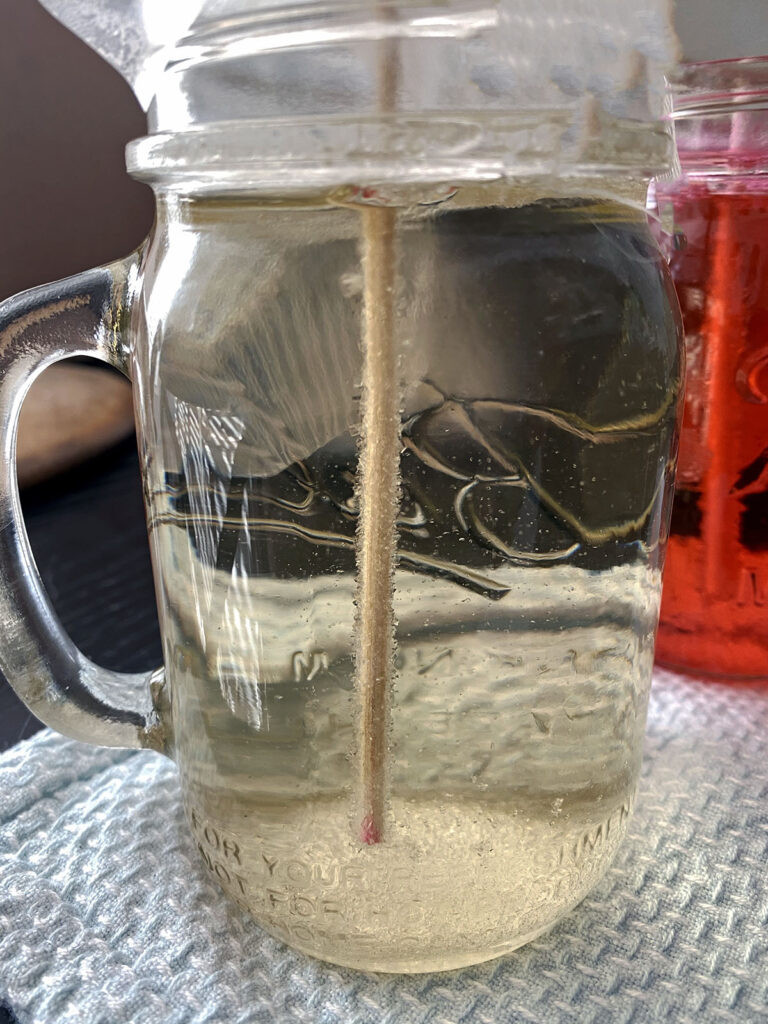 Rock candy crystals forming in jar after 1 day
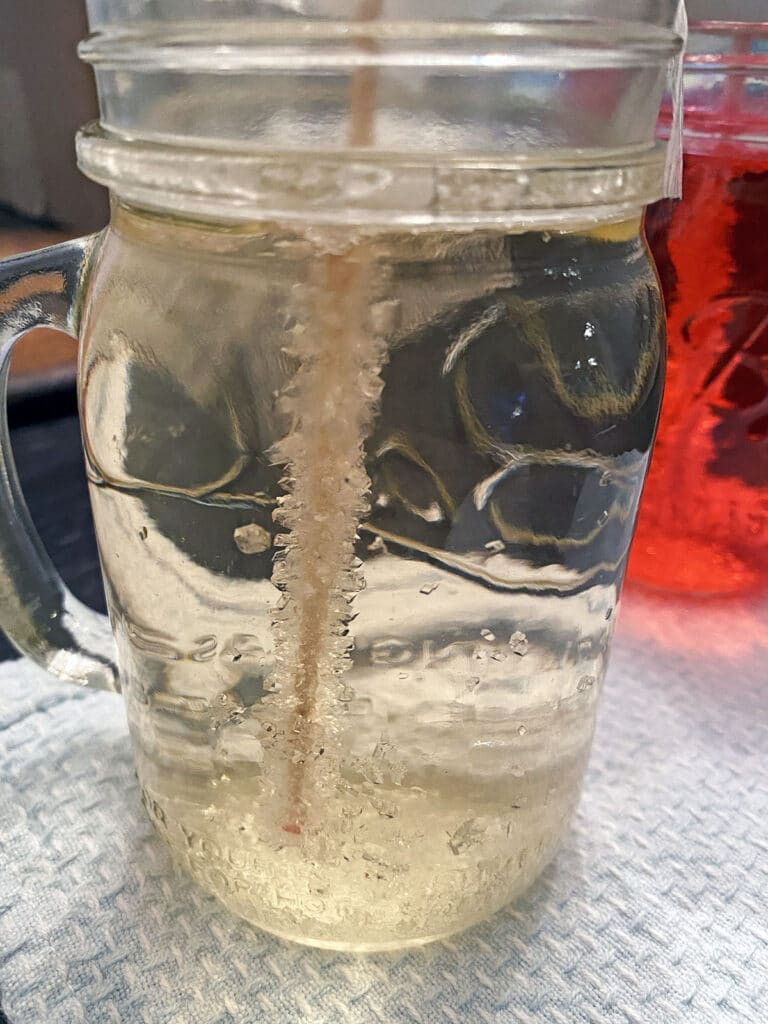 Rock candy crystals forming in jar after 3 days
 -
Harvesting Your Crystals: After a week, gently remove the skewers from the jars, allowing excess solution to drip off. Place the rock candy on a piece of parchment paper to dry completely.
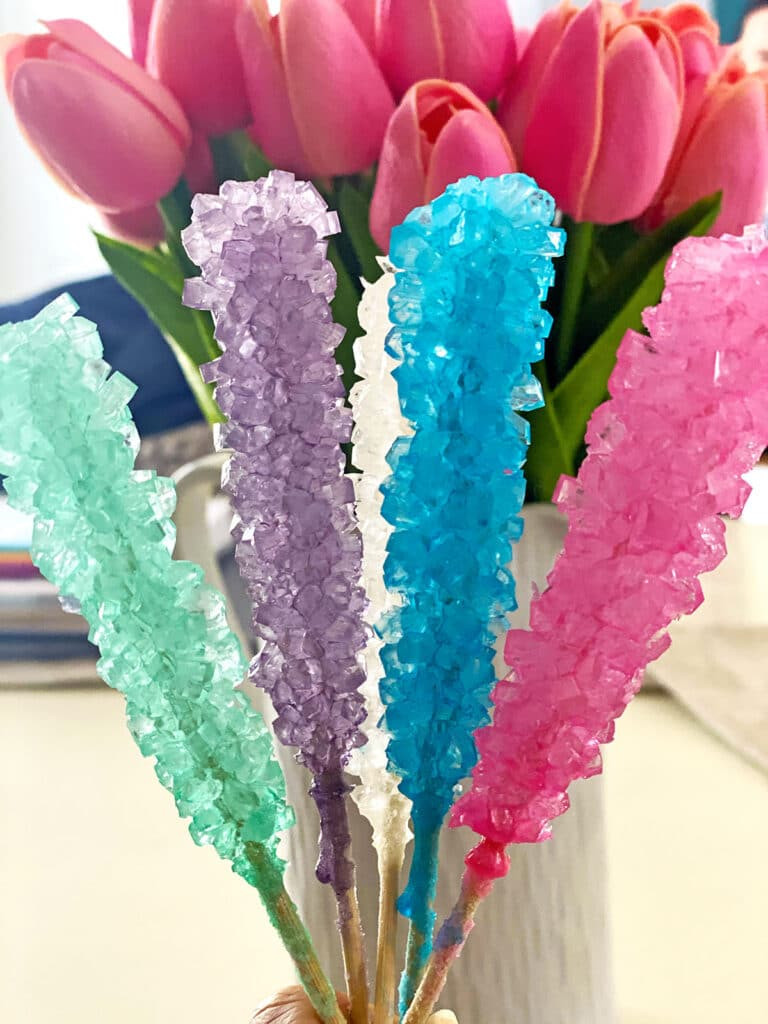 Homemade rock candy on sticks with pink tulips in the background
Troubleshooting and Tips
-
No Crystal Growth: Ensure your solution is supersaturated by using the correct sugar-to-water ratio. If crystals aren’t forming, reheat the solution and add more sugar.
-
Reusing the Solution: The leftover sugar solution can be reused. Reboil it, add more sugar, and repeat the process with new sugared skewers.
 Purple and green rock candy made from reused sugar solution without re-heating and adding more sugar
-
Cleanliness is Key: Use clean jars and equipment to prevent unwanted crystal formation.
-
Avoid Disturbances: Once the skewers are in the jars, minimize movement to encourage larger crystal growth.
Enjoy Your Sweet Creation!
Congratulations! You’ve successfully grown your own rock candy. Enjoy it as a sweet treat, use it to garnish cocktails or mocktails, or give it as a unique and personalized gift.