Looking for a comfortable and affordable nursery rocking chair? Consider converting an existing IKEA armchair! This guide provides a step-by-step tutorial on how to transform your IKEA chair into a functional and stylish rocker, perfect for soothing your little one. This Ikea Rocking Chair conversion is a budget-friendly DIY project that can be completed in under an hour.
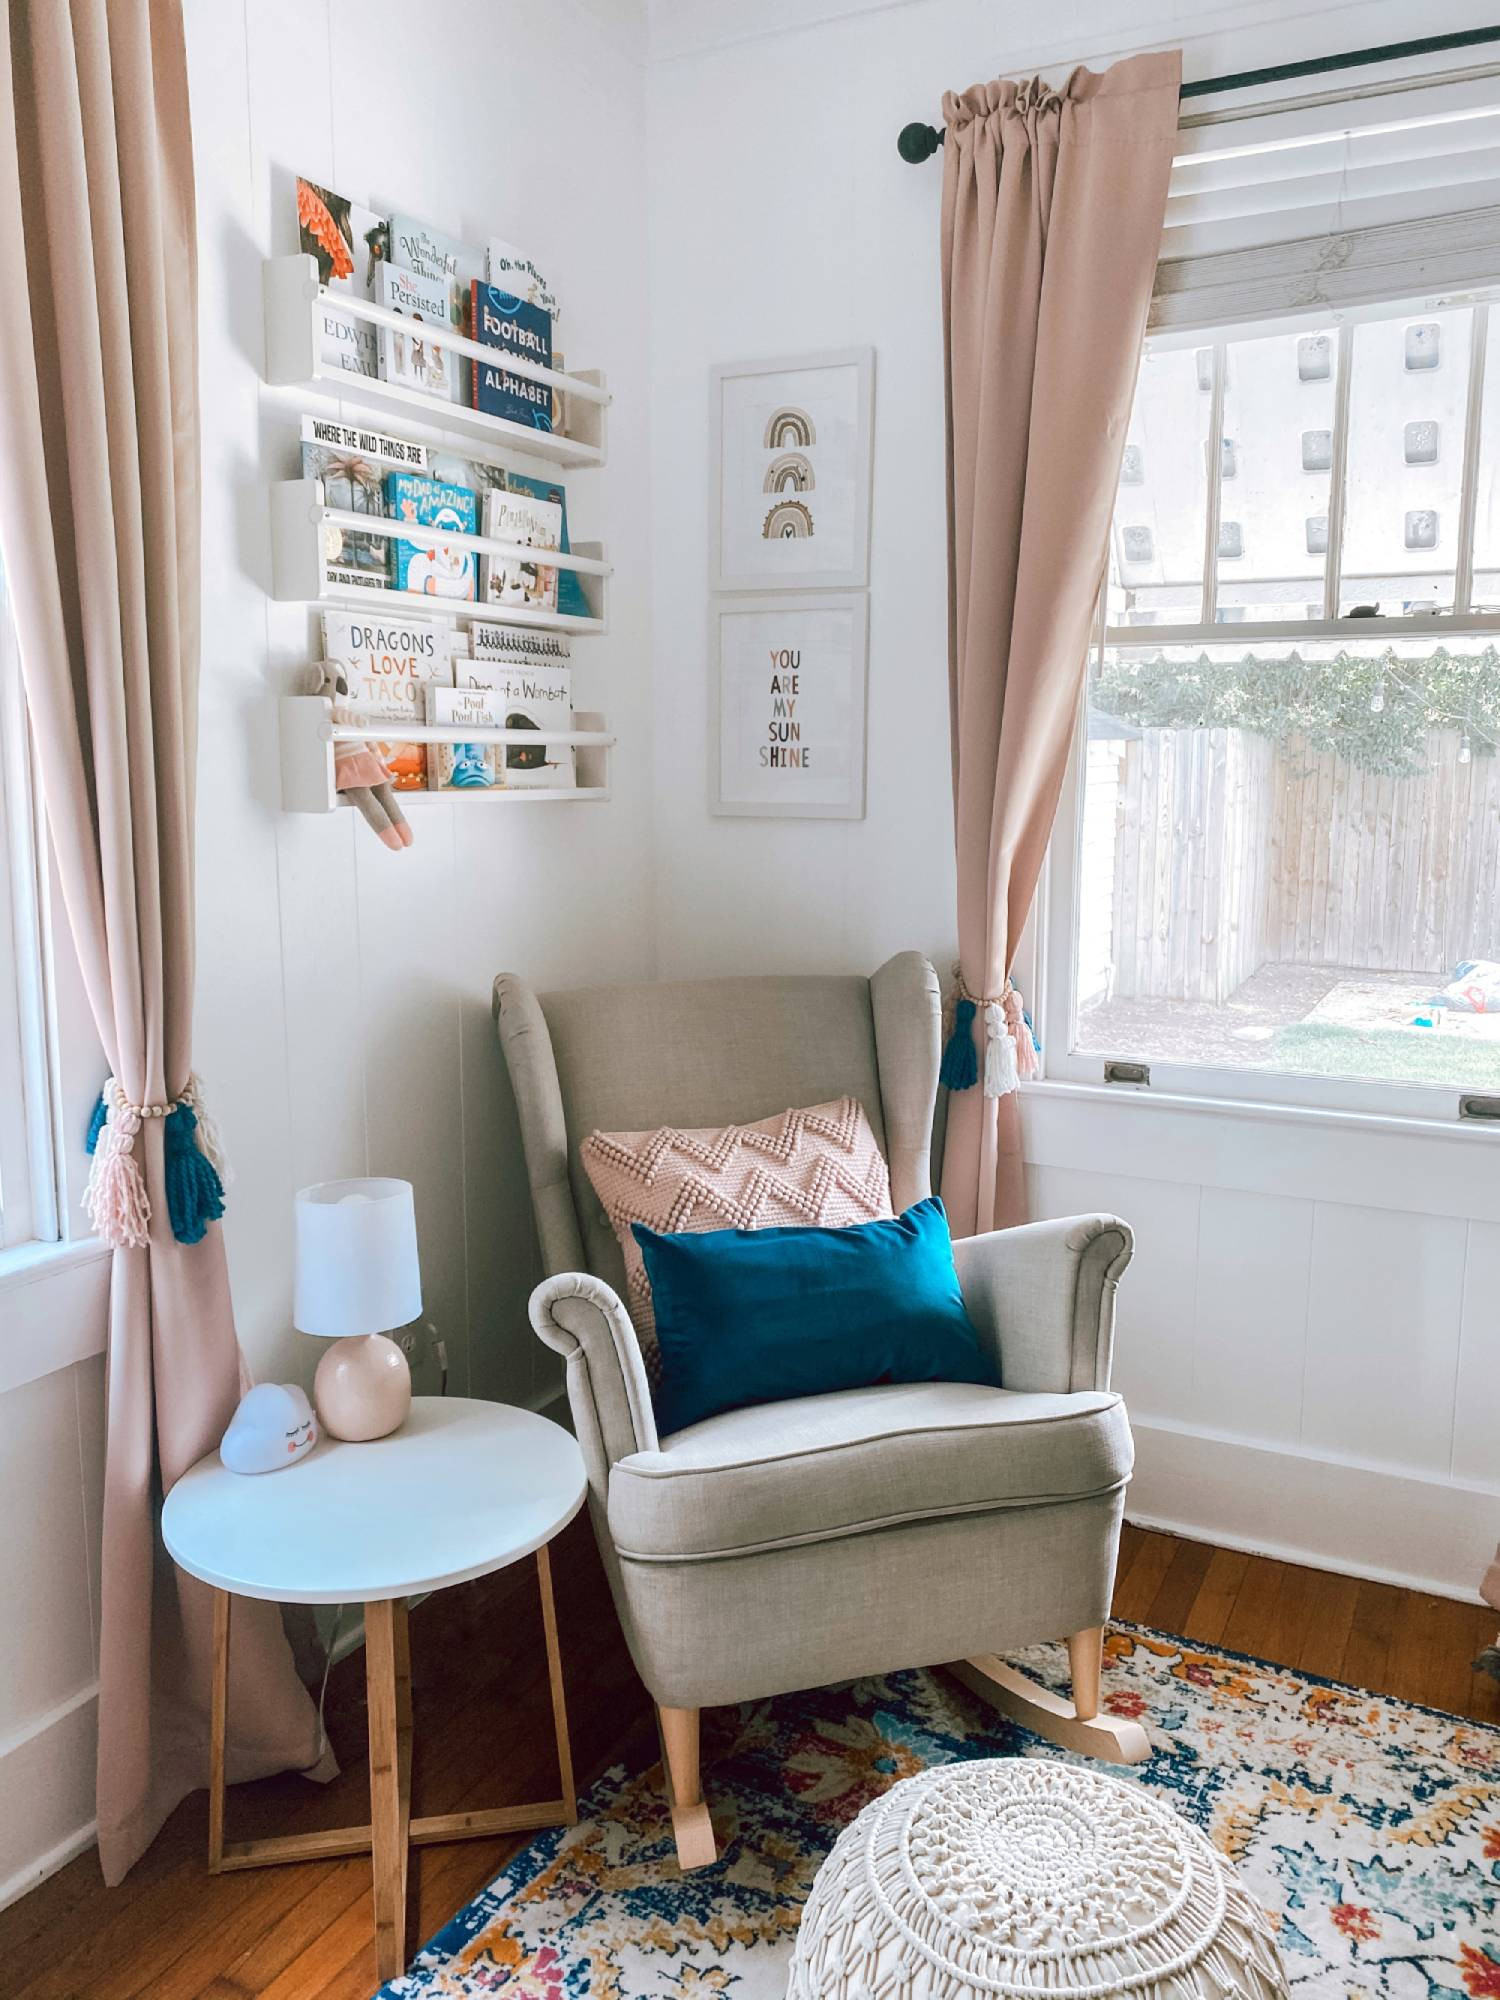 An IKEA armchair converted into a nursery rocker.
Many new parents feel pressured to buy an expensive rocking chair for the nursery. However, with a little creativity, you can achieve the same comfort and functionality using an existing IKEA chair and a set of rocker runners. This DIY project not only saves money but also allows you to customize the rocker to match your nursery’s decor. This guide focuses on converting an IKEA armchair, but the principles can be applied to other chairs with sturdy, straight legs.
Creating Your IKEA Rocking Chair: A Step-by-Step Guide
This IKEA rocking chair hack requires minimal tools and expertise. Here’s how to get started:
Tools and Materials:
- Rocker runners (designed for chair conversions)
- Drill with a 1-inch spade bit
- 2.5-inch screws
- Measuring tape
- Pencil
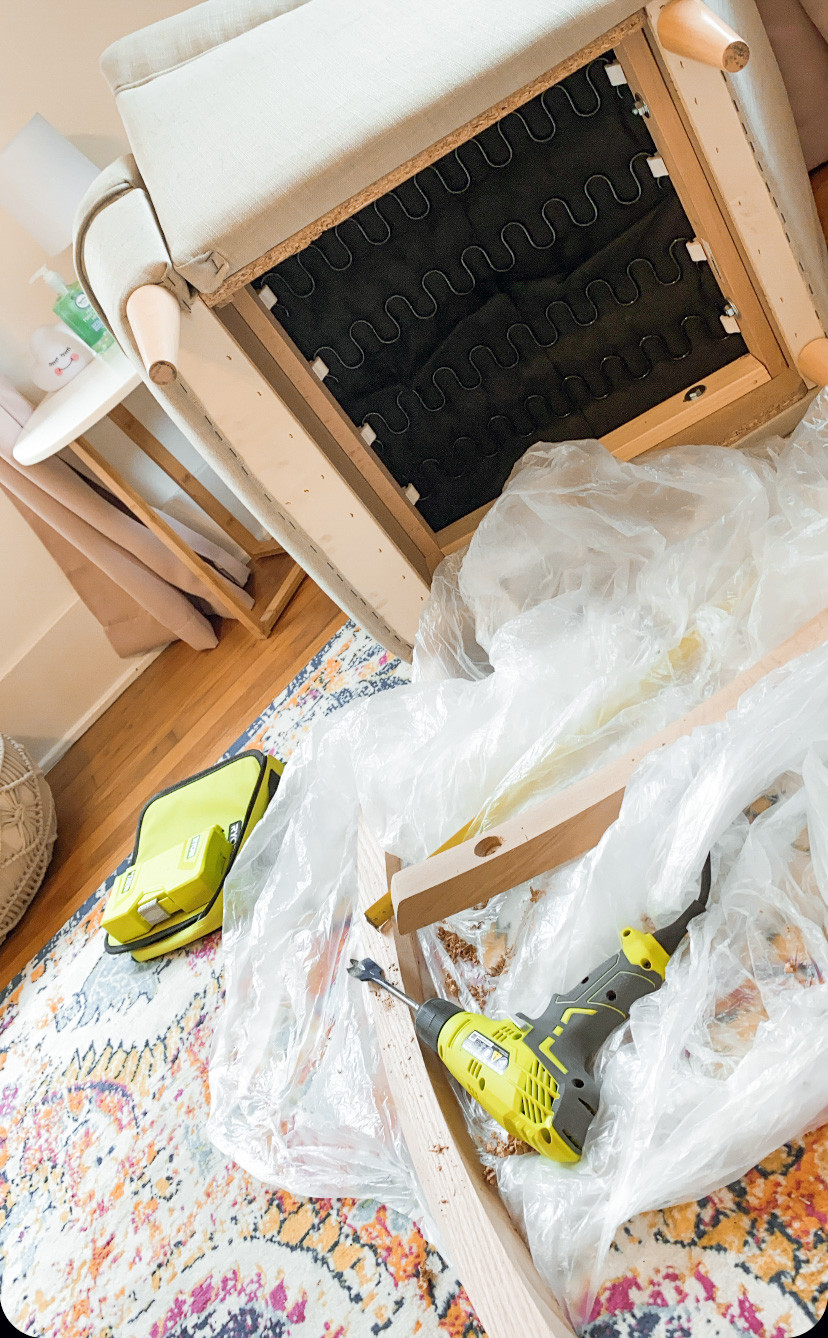 Tools and materials for the IKEA rocking chair conversion.
Conversion Steps:
-
Position the Runners: Place the rocker runners on the floor with the curved side facing backward.
-
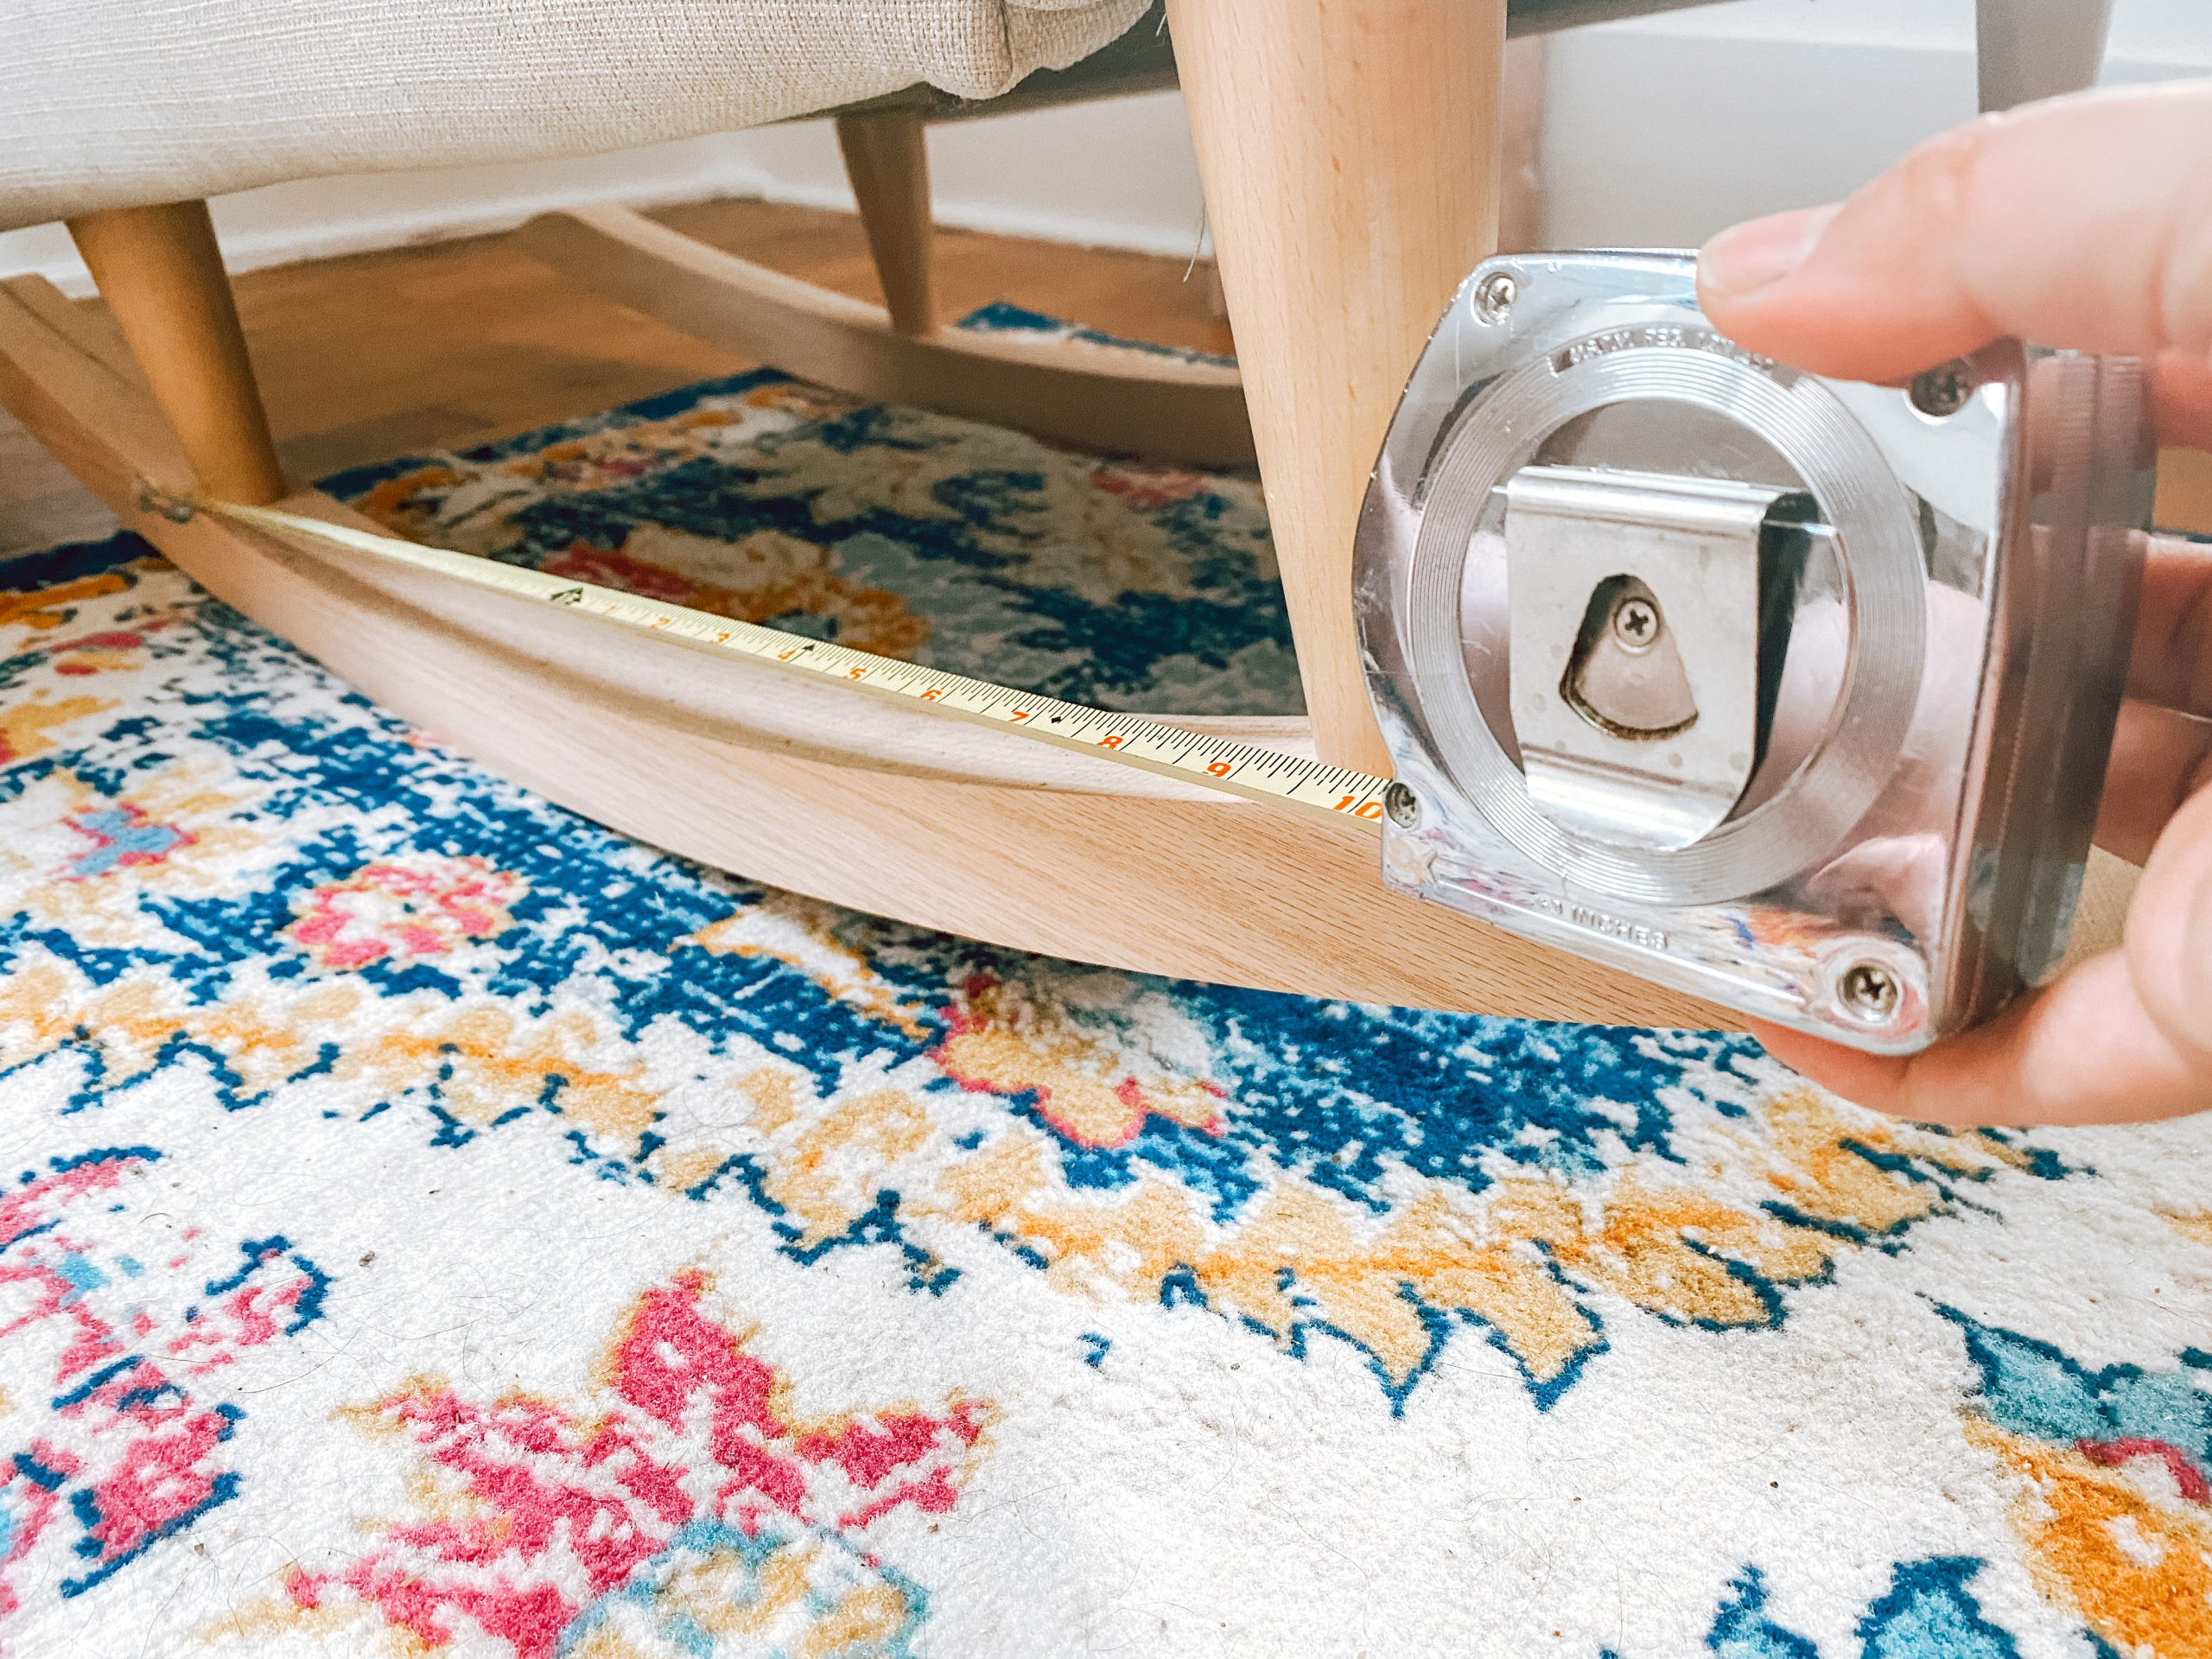
Mark the Front Leg Holes: Measure 3.5 inches from the front edge of each runner and mark the spot. Drill a straight hole down using the spade bit, creating a snug fit for the chair’s front legs.
-
Mark the Back Leg Holes: Measure 21.25 inches straight back from the front leg holes (not along the curve of the runner). Drill holes for the back legs, ensuring they are aligned with the front leg holes.
-
Secure the Chair: Place the chair legs into the drilled holes. Drill pilot holes through the runners and into the chair legs. Secure the chair to the runners using the 2.5-inch screws.
-
Finishing Touches (Optional): Paint or stain the rocker runners to match your existing furniture or nursery theme.
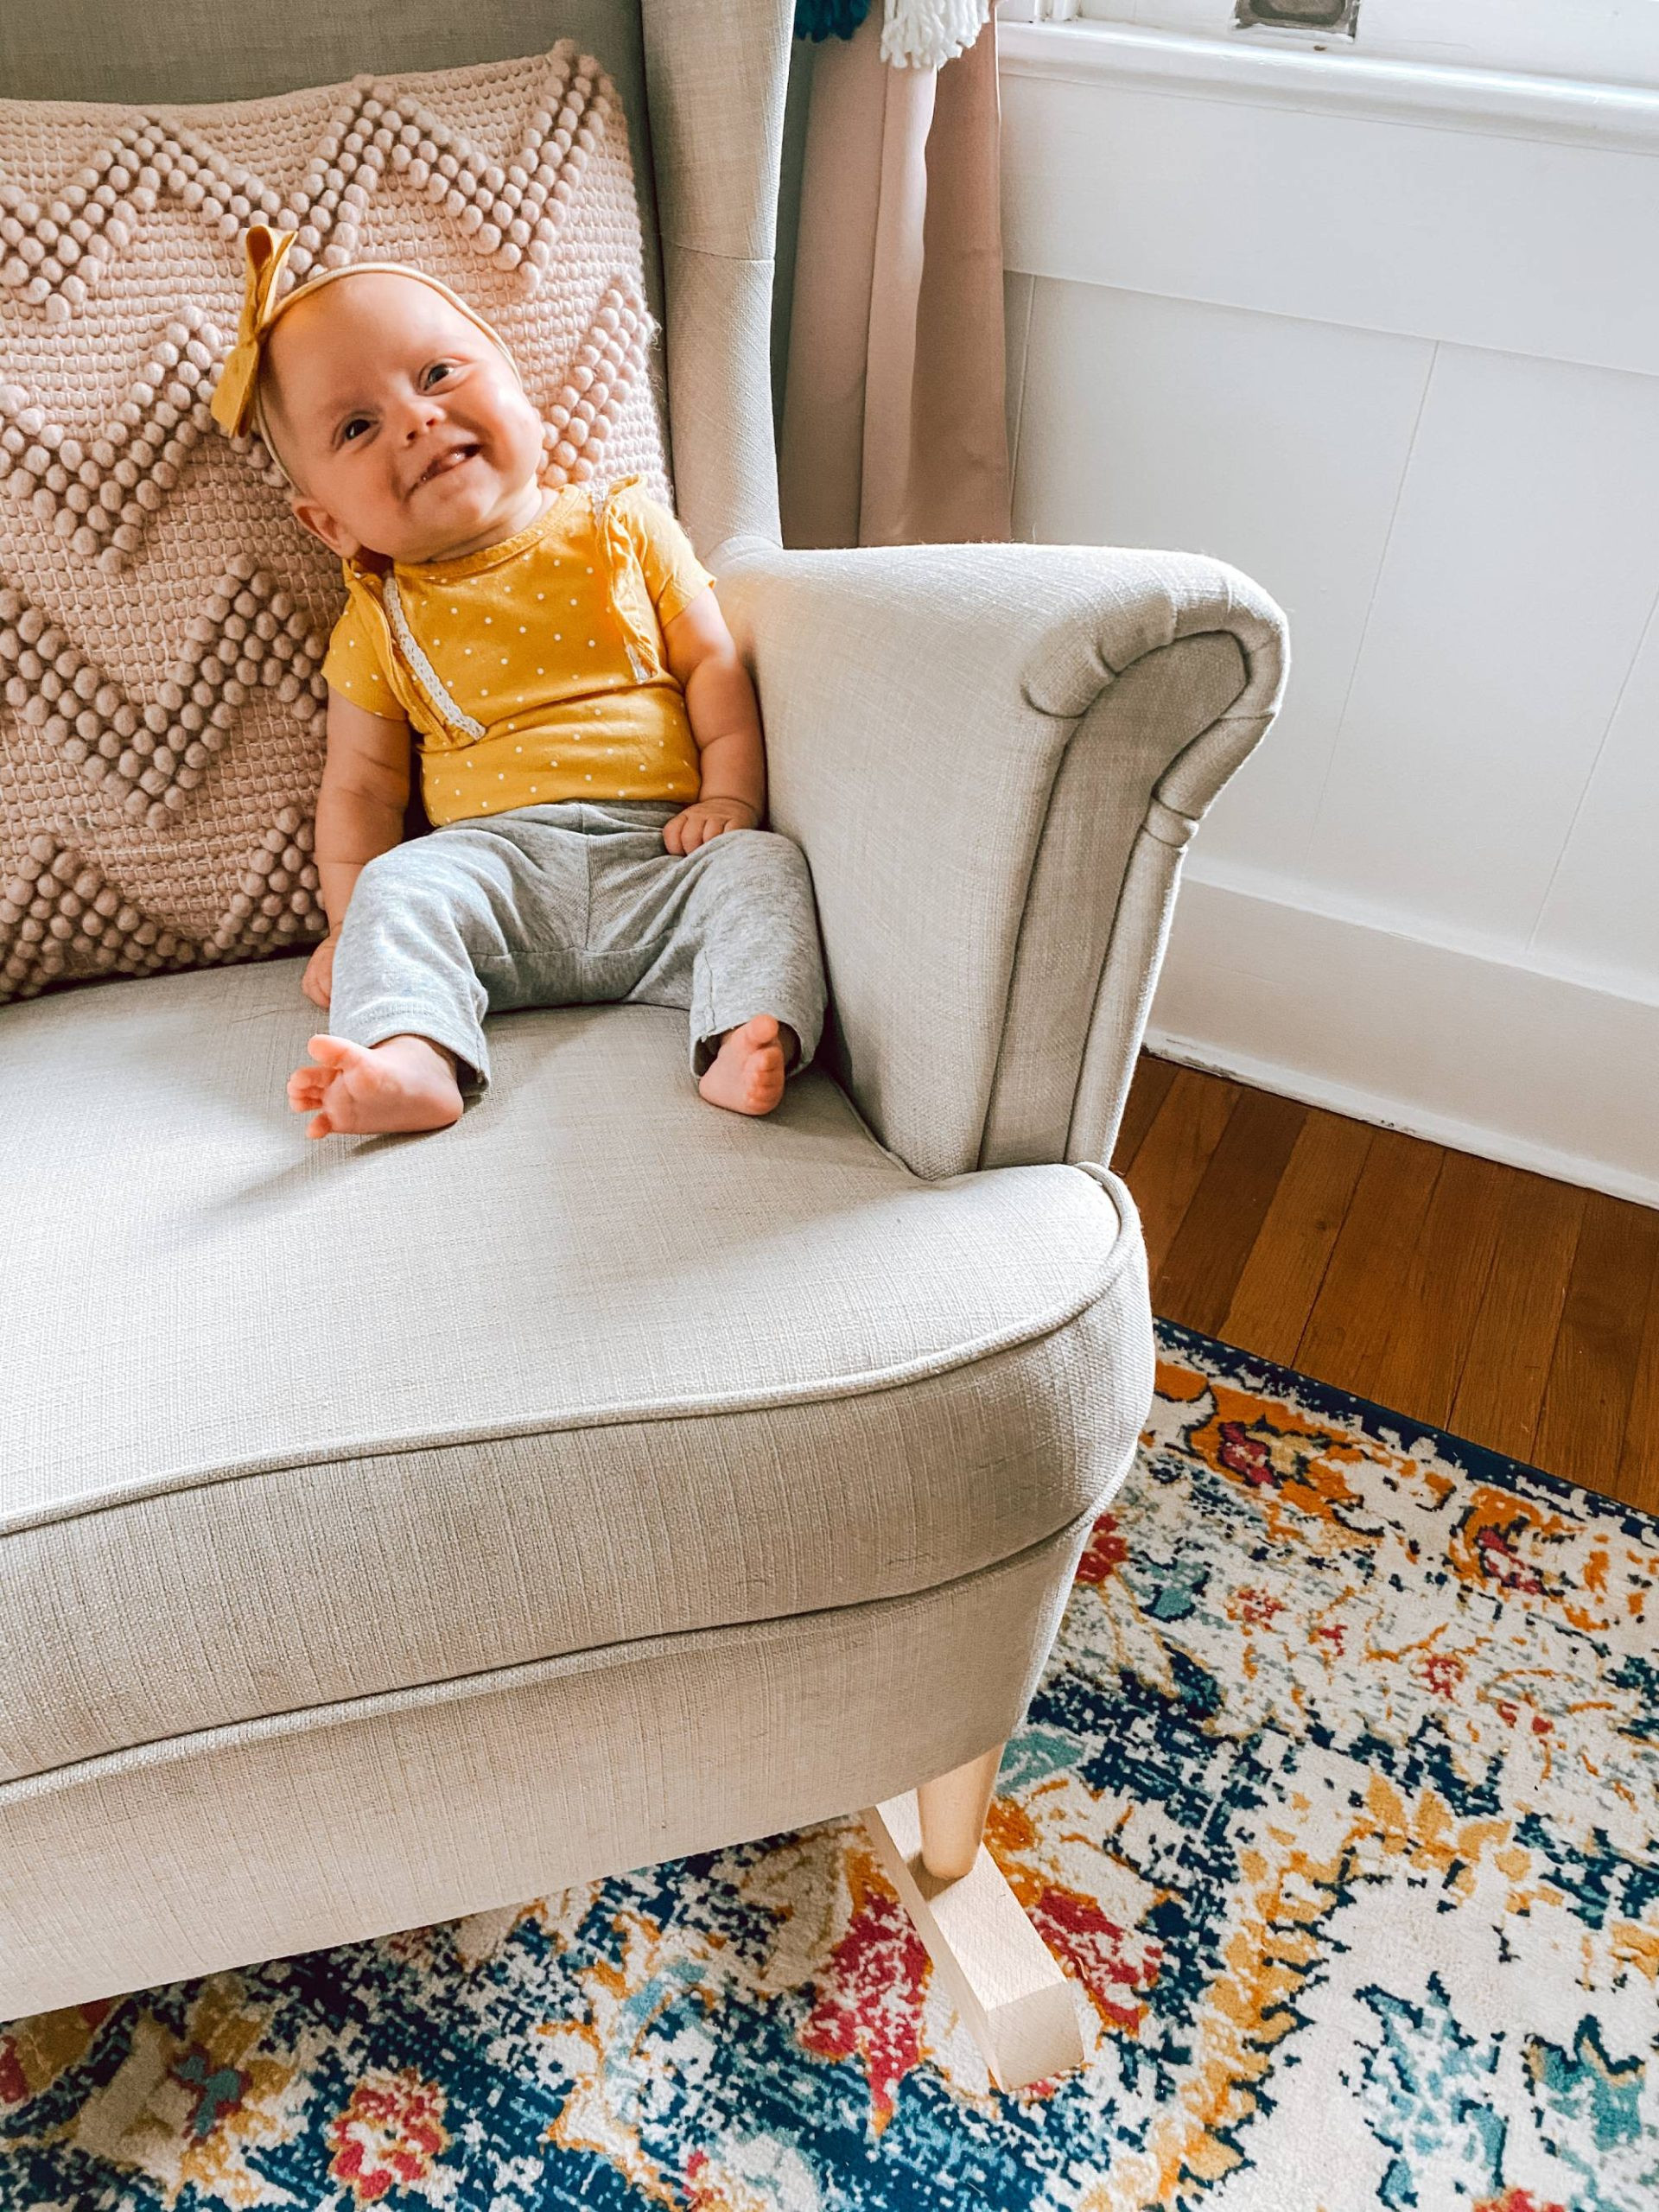
 The finished IKEA rocking chair in a nursery.
Ensuring Safety and Stability
Before using your new IKEA rocking chair, ensure its stability:
- Test the Fit: Before screwing, confirm the chair legs fit snugly into the drilled holes.
- Drilling Accuracy: Avoid drilling completely through the runners; create shallow pockets for the legs.
- Stability Check: Gently rock the chair to ensure it’s stable and secure.
Choosing the Right Chair for Conversion
While this guide focuses on IKEA chairs, you can convert other armchairs. Choose a chair with:
- Sturdy, straight legs.
- A solid frame.
- A design compatible with rocker runners.
Why Choose a DIY IKEA Rocking Chair?
This IKEA rocking chair project offers several advantages:
- Cost-Effective: Save hundreds of dollars compared to buying a new rocking chair.
- Customization:** Personalize the rocker to complement your nursery design.
- Sustainability:** Repurpose an existing chair instead of buying new furniture.
 A close-up of the IKEA rocking chair conversion.
This DIY IKEA rocking chair conversion is a practical and rewarding project. It’s a budget-friendly solution that provides a comfortable and stylish addition to your nursery. With careful planning and execution, you can create a cherished piece that will last for years to come.