Is your child’s beloved rocking chair looking a little worse for wear? Instead of replacing it, why not give it a fresh, new look with a fun and rewarding DIY project? Reupholstering a Kids Rocking Chair is a fantastic way to personalize their space, save money, and even learn a new skill. Don’t worry if you’re not a seasoned upholsterer; this guide breaks down the process into manageable steps, perfect for beginners ready to tackle a weekend project.
 Dated kids rocking chair before reupholstering, showing worn fabric and wooden frame.
Reupholstering might seem daunting, but with a little patience and the right approach, you can transform that tired old chair into a vibrant and inviting piece of furniture again. This project is especially gratifying because it’s for your kids – creating a cozy and stylish spot just for them. Plus, it’s a much more sustainable and budget-friendly option compared to buying new. Let’s dive into how to breathe new life into your kids rocking chair!
Step-by-Step Guide to Reupholstering Your Kids Rocking Chair
Before you begin, gather your supplies. You’ll need:
- New fabric (choose a durable and kid-friendly material)
- Foam padding (consider high-density foam for comfort and longevity)
- Staple gun and staples
- Staple remover tool (essential for removing old staples!)
- Flat head screwdriver
- Pliers
- Scissors
- Spray adhesive (optional, for securing foam)
- Gimp or decorative trim (optional, for finishing edges)
- Paint and paint brushes (if you want to repaint the wooden frame)
1. Disassembling and Removing the Old Fabric
Carefully take apart the rocking chair. Most kids rocking chairs are assembled with screws or bolts. As you disassemble, take photos from different angles. This visual record will be invaluable when you reassemble the chair later, especially if you encounter any tricky parts. Trust us, detailed photos are your best friend in this process!
 Close-up of staple remover tool being used to remove old staples from the rocking chair frame.
Once disassembled, the next step is removing the old fabric. A staple remover tool is a lifesaver for this task. While a flat-head screwdriver can work, a staple remover is much more efficient and less likely to damage the wooden frame. Remove all the old staples to ensure a clean surface for your new upholstery. Don’t be surprised if the old fabric and batting are a bit worse for wear – this is perfectly normal for well-loved furniture!
2. Preparing the Frame and Adding New Batting (Foam)
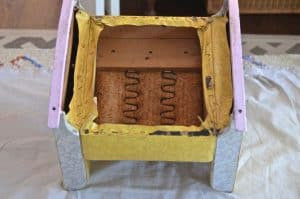
With the old fabric removed, you’ll likely be left with the bare frame and possibly some old batting. Remove any remaining old batting or foam. This is a good time to clean the wooden frame. You can wipe it down or even repaint it if you desire a fresh color. Consider a glossy white or a fun, bright color to complement your new fabric choice.
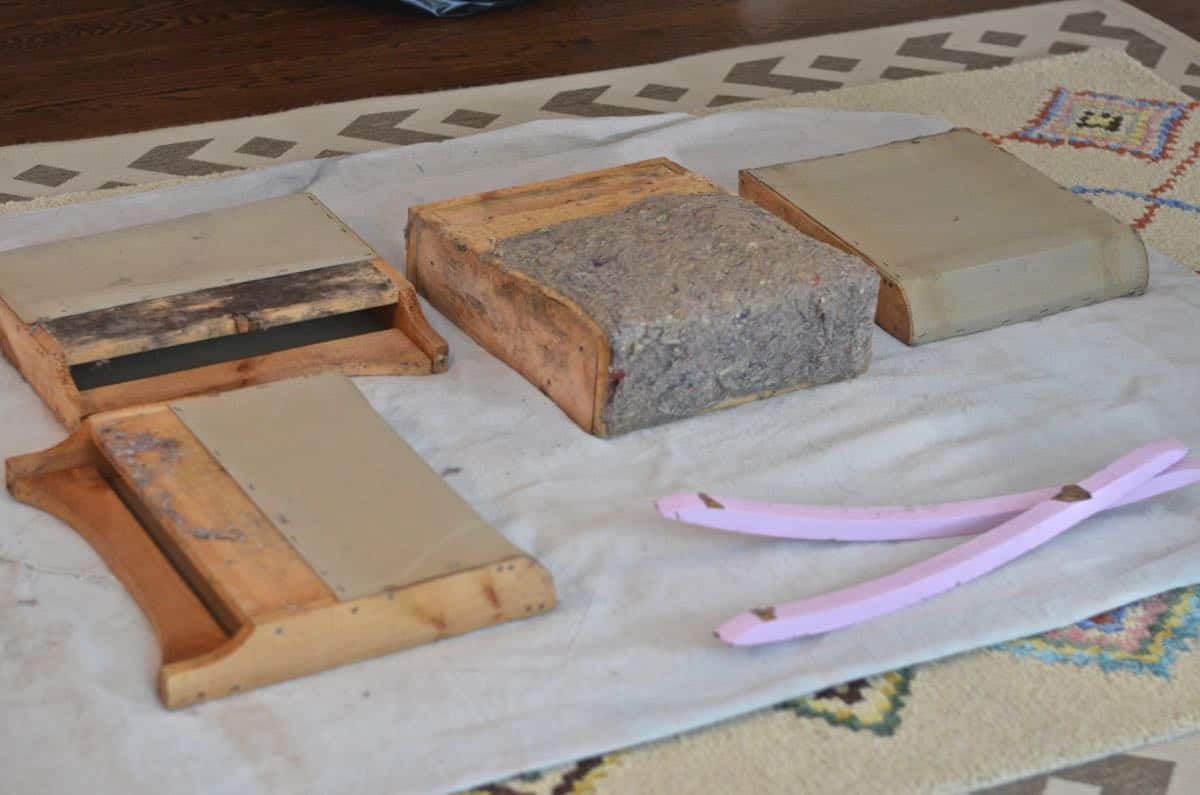 Rocking chair frame with old fabric and batting removed, revealing the bare wood structure.
Now, it’s time to add new foam padding. Using seat cushions from a store like Walmart, as mentioned in the original post, is a budget-friendly and effective hack for smaller projects like kids rocking chairs. Cut the foam to fit each section of the chair – the seat, back, and arms. A helpful tip is to cut away foam from the screw holes. This will make reassembly much easier, preventing screws from getting tangled in the foam and fabric. You can use a skewer or similar pointed object to locate the screw holes through the foam.
3. Upholstering the Seat
Start with the seat section. Cut your chosen fabric, leaving enough excess to wrap around the edges and staple underneath. Place the fabric over the foam-padded seat, pull it taut, and begin stapling the fabric to the underside of the seat frame. Work your way around, pulling the fabric evenly to avoid wrinkles and ensure a snug fit.
 Seat section of the rocking chair being upholstered with new fabric, stapled underneath the frame.
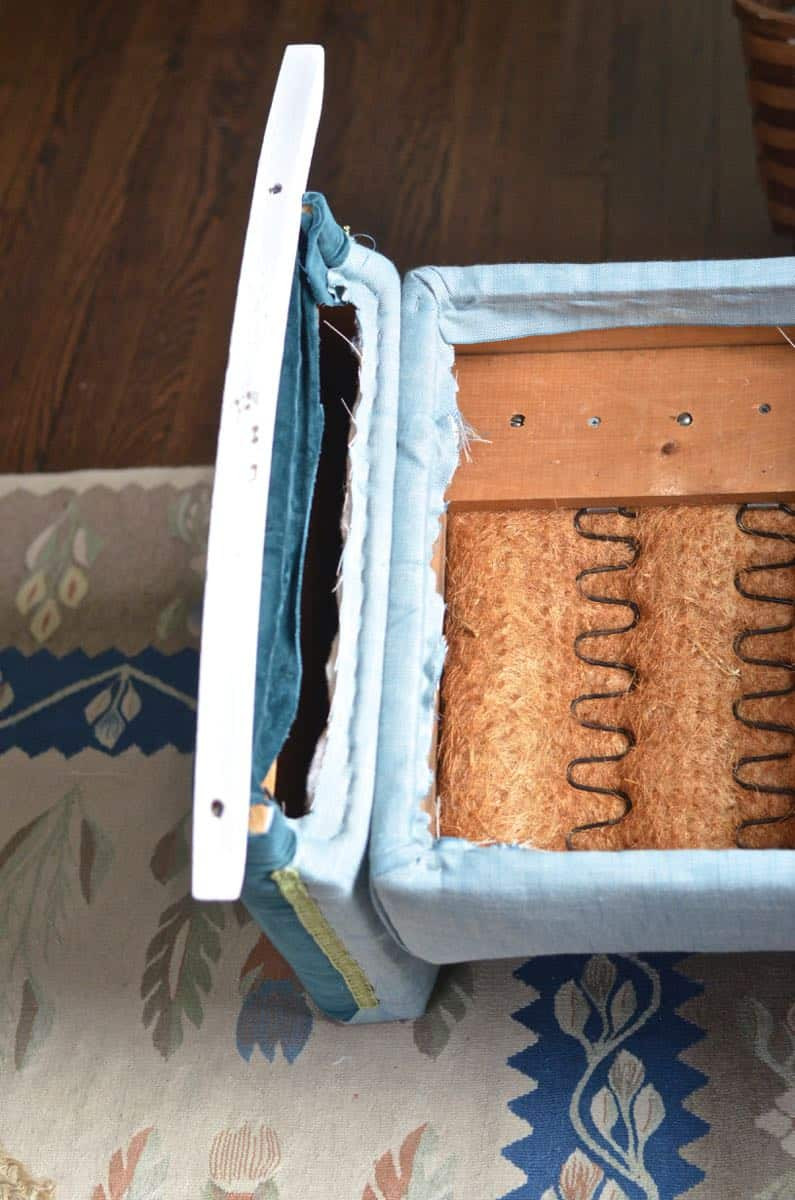
4. Upholstering the Back and Sides
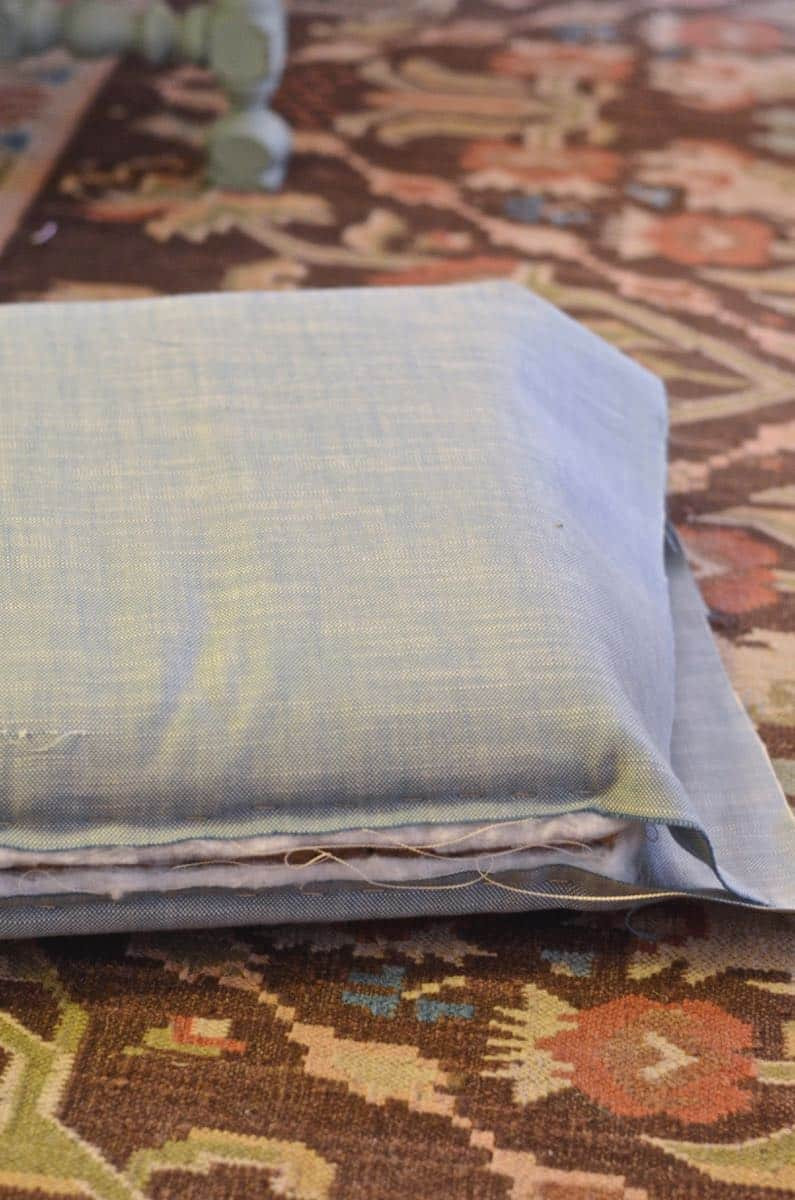
For the back and side sections, the process is similar. Wrap the fabric around each section, pulling it tight and stapling on the back or underside where staples will be hidden. For corners, think about wrapping a gift – tuck in the corners neatly and fold over the edges for a clean finish. If you want a seam, decide on its placement. In the original example, the seam is placed down the middle and later covered with gimp.
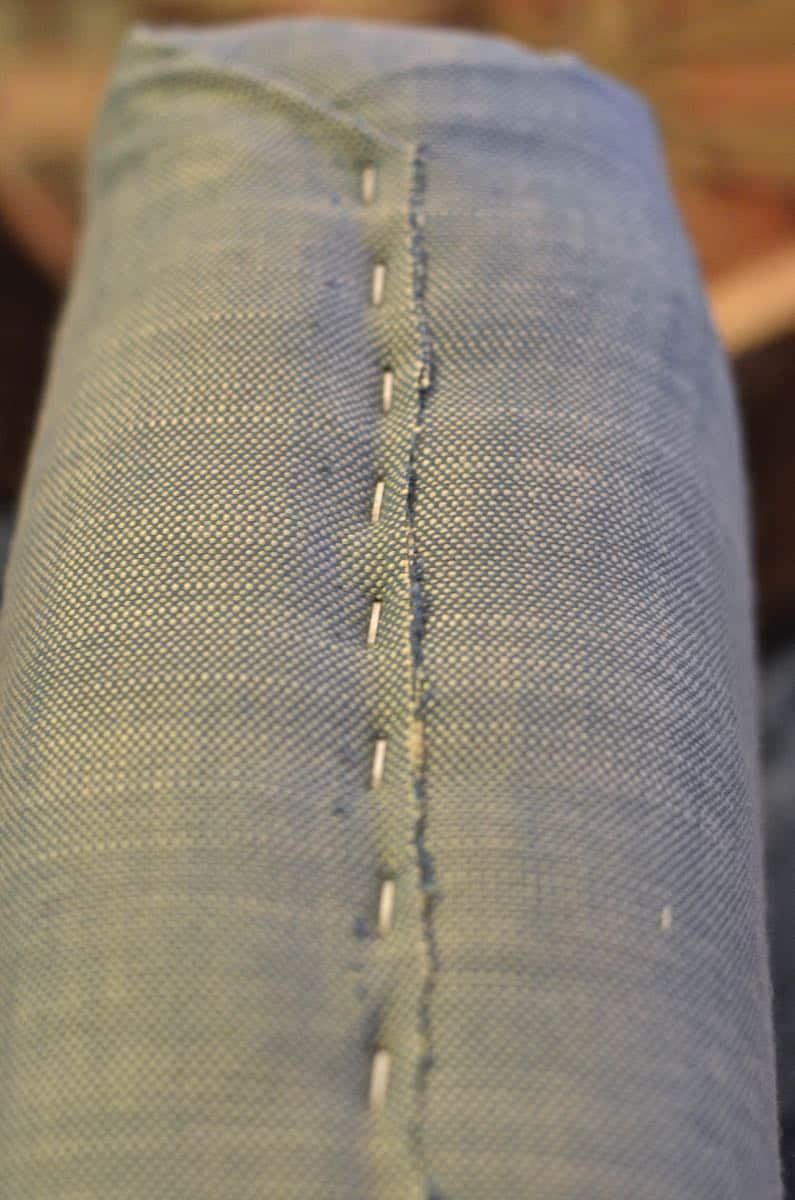 Back section of the rocking chair being upholstered, showing fabric being wrapped and stapled, with a visible seam in the middle.
5. Adding Finishing Touches and Reassembling
If you encounter a fabric shortage, like in the original post’s armrest example, get creative! Color blocking with different fabrics can add a unique touch. You can sew fabric pieces together to get the size you need. To hide staples and raw edges, use gimp, decorative trim, or nailhead trim. Gimp is a readily available and easy-to-use option for a clean, professional look.
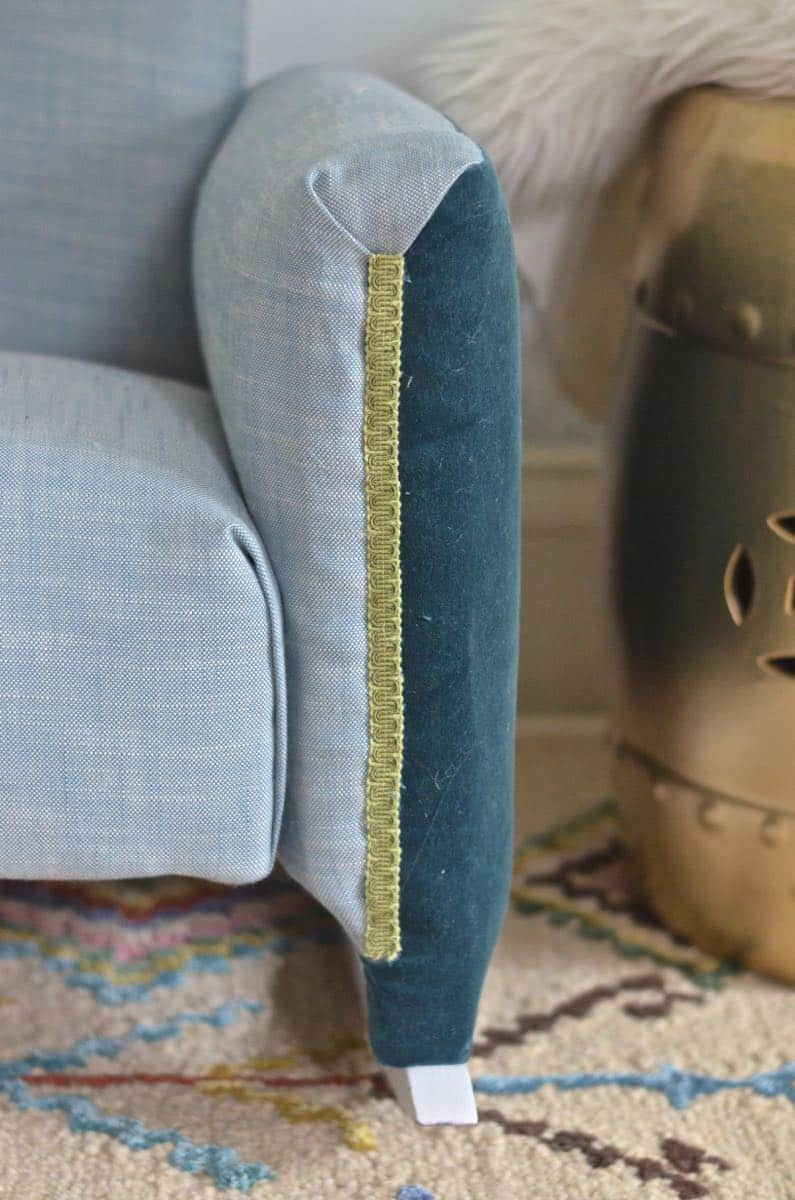 Armrest of the rocking chair showing color-blocked fabric and gimp trim covering the staples.
Finally, reassemble the rocking chair using the photos you took during disassembly as your guide. Putting it back together might require a bit of problem-solving, but with patience, it will all come together.
 Reassembled and newly upholstered kids rocking chair, showcasing the finished DIY project.
Before and After: A Stunning Transformation
The difference between the before and after is truly remarkable! Reupholstering a kids rocking chair is a rewarding project that brings new life to an old piece of furniture, making it a cherished item for your child once again.
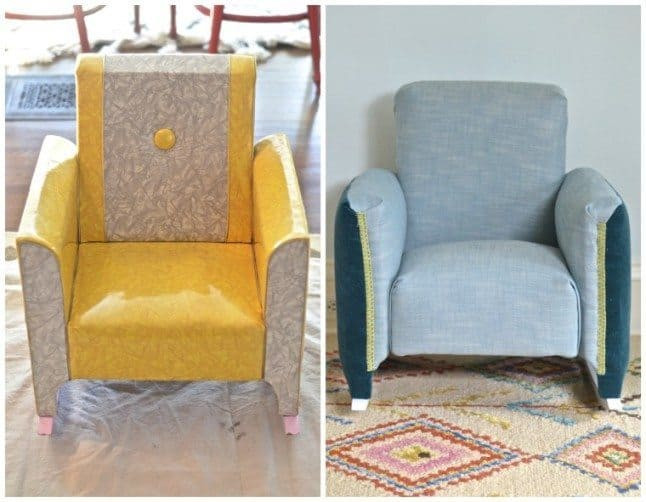 Before and after comparison of the kids rocking chair, highlighting the dramatic improvement after reupholstering.
This DIY project is a fantastic way to personalize your child’s space while being budget-conscious and environmentally friendly. So, grab your tools and fabric, and get ready to create a cozy and stylish kids rocking chair that will be enjoyed for years to come!