Making rocks shiny can be a rewarding and simple project. At rockscapes.net, we’ll show you an easy method to bring out the hidden beauty of your rocks, highlighting their unique colors and patterns, turning dull stones into dazzling gems, and providing a simple solution for landscape enhancement. Discover the art of rock polishing and landscape design with us.
1. Understanding the Allure of Shiny Rocks
Why are shiny rocks so captivating? What makes them an appealing element in landscape design?
Shiny rocks possess an undeniable allure, transforming ordinary stones into eye-catching gems, their appeal lies in their enhanced visual properties, which make them excellent for a variety of decorative and practical purposes. According to a study by Arizona State University’s School of Earth and Space Exploration in July 2023, polished rocks can significantly enhance the aesthetic value of landscapes and indoor spaces.
1.1. Aesthetic Enhancement
How do shiny rocks improve visual appeal in various settings?
Shiny rocks enhance the aesthetic value of any environment by adding a touch of elegance and sophistication. They reflect light, creating a dynamic and visually appealing display that can transform an ordinary space into something extraordinary. Whether used in gardens, aquariums, or as decorative accents in homes, shiny rocks catch the eye and add depth and interest.
1.2. Versatility in Design
In what ways can shiny rocks be used creatively in design?
Shiny rocks are incredibly versatile and can be incorporated into numerous design projects. They can be used to create stunning mosaics, unique jewelry, or as part of a zen garden. Landscape architects often use them to line pathways, create water features, or as ground cover to add texture and color contrast. Their adaptability makes them a favorite among DIY enthusiasts and professional designers alike.
1.3. Natural Beauty
What aspects of natural rocks are highlighted by polishing?
Polishing rocks brings out their inherent beauty by revealing colors, patterns, and textures that are often hidden when the rocks are dry and dull. The polishing process enhances the natural characteristics of the stone, making each rock a unique piece of art. This celebration of natural beauty is a major reason why shiny rocks are so highly valued.
2. Identifying Your Rock Collection
What types of rocks are best suited for polishing, and how can you identify them?
Certain types of rocks respond exceptionally well to polishing, making them ideal for creating shiny, decorative pieces. Identifying these rocks correctly is the first step in achieving a stunning result. Rocks with a fine grain and uniform hardness typically polish better than those with a coarse texture or varying hardness levels.
2.1. Ideal Rock Types
What kinds of rocks are most suitable for achieving a high shine?
The best types of rocks for polishing include:
- Agate: Known for its vibrant colors and intricate banding.
- Jasper: Offers a variety of colors and patterns, often with a smooth, glassy finish when polished.
- Quartz: Including varieties like rose quartz, amethyst, and clear quartz, all of which can achieve a brilliant shine.
- Obsidian: A volcanic glass that polishes to a reflective, mirror-like surface.
- Petrified Wood: Retains the texture of wood but polishes like a stone, often displaying unique patterns.
2.2. Identifying Rocks
How can you differentiate between different rock types in your collection?
Identifying rocks can be an exciting part of the polishing process. Here are some tips:
- Color: Note the color of the rock, but remember that color alone is not always a reliable identifier.
- Texture: Examine the surface texture. Is it smooth, rough, or grainy?
- Hardness: Use a scratch test. Quartz, for example, will scratch glass.
- Luster: Observe how the rock reflects light. Is it glassy, metallic, or dull?
- Patterns: Look for unique patterns or banding that can help identify the rock type.
2.3. Consulting Resources
Where can you find reliable information to help identify your rocks?
To accurately identify your rocks, consult reliable resources such as:
- Geology Guides: Field guides specific to your region can help identify local rocks.
- Online Databases: Websites like mindat.org offer extensive information on minerals and rocks.
- Local Rock Clubs: Joining a local rock and mineral club can provide access to expert knowledge and resources.
- Rockscapes.net: Visit rockscapes.net for detailed guides and information on identifying and using various types of rocks in your landscaping projects.
3. Essential Supplies for Rock Polishing
What supplies are necessary for effectively polishing rocks using a simple, no-tumbler method?
To polish rocks without a tumbler, you’ll need a few essential supplies. This method is simple, cost-effective, and perfect for small batches of rocks. Gathering the right materials will ensure a smooth and successful polishing process.
3.1. Cleaning Agents
Which cleaning solutions are best for preparing rocks for polishing?
Proper cleaning is crucial for removing dirt and debris before polishing. Here are some effective cleaning agents:
- Mild Soap: Dish soap works well for general cleaning.
- Water: Use warm water for rinsing and scrubbing.
- Scrub Brush: A stiff brush helps remove stubborn dirt.
3.2. Polishing Oils
What types of oils are recommended for enhancing the shine of rocks?
The right polishing oil can significantly enhance the shine and luster of your rocks. Recommended oils include:
- Mineral Oil: Food-grade mineral oil is a popular choice among experienced rock polishers.
- Jojoba Oil: An environmentally friendly option that provides a beautiful shine.
- Linseed Oil: Can be used, but it may darken some stones over time.
3.3. Polishing Cloths
What kind of cloths are most effective for polishing rocks to a high shine?
The type of cloth you use can make a big difference in the final shine. Here are some excellent options:
- Microfiber Cloths: These are ideal for achieving a high-gloss finish.
- Cotton Cloths: Soft cotton cloths work well for general polishing.
- Paper Towels: Useful for initial oil removal before final polishing.
3.4. Additional Tools
Are there any other tools that can aid in the rock polishing process?
Other helpful tools include:
- Jars or Containers: For soaking rocks in oil.
- Strainers: To separate the oil from the rocks.
- Bowls: To catch the strained oil.
- Gloves: To protect your hands from oil.
4. Step-by-Step Guide to Polishing Rocks Without a Tumbler
Can you provide detailed instructions for polishing rocks at home without using a rock tumbler?
Polishing rocks without a tumbler is a straightforward process that anyone can do at home. Follow these steps to achieve a beautiful shine on your rocks:
4.1. Cleaning the Rocks
How do you properly clean rocks before polishing them?
- Rinse: Rinse the rocks under warm water to remove loose dirt.
- Wash: Use a mild soap and scrub brush to clean each rock thoroughly.
- Rinse Again: Rinse the rocks thoroughly to remove all traces of soap.
- Dry: Allow the rocks to air dry completely. Placing them in the sun can speed up the process.
 Stone activity for kids
4.2. Soaking the Rocks in Oil
Why is soaking rocks in oil important for polishing, and how long should they soak?
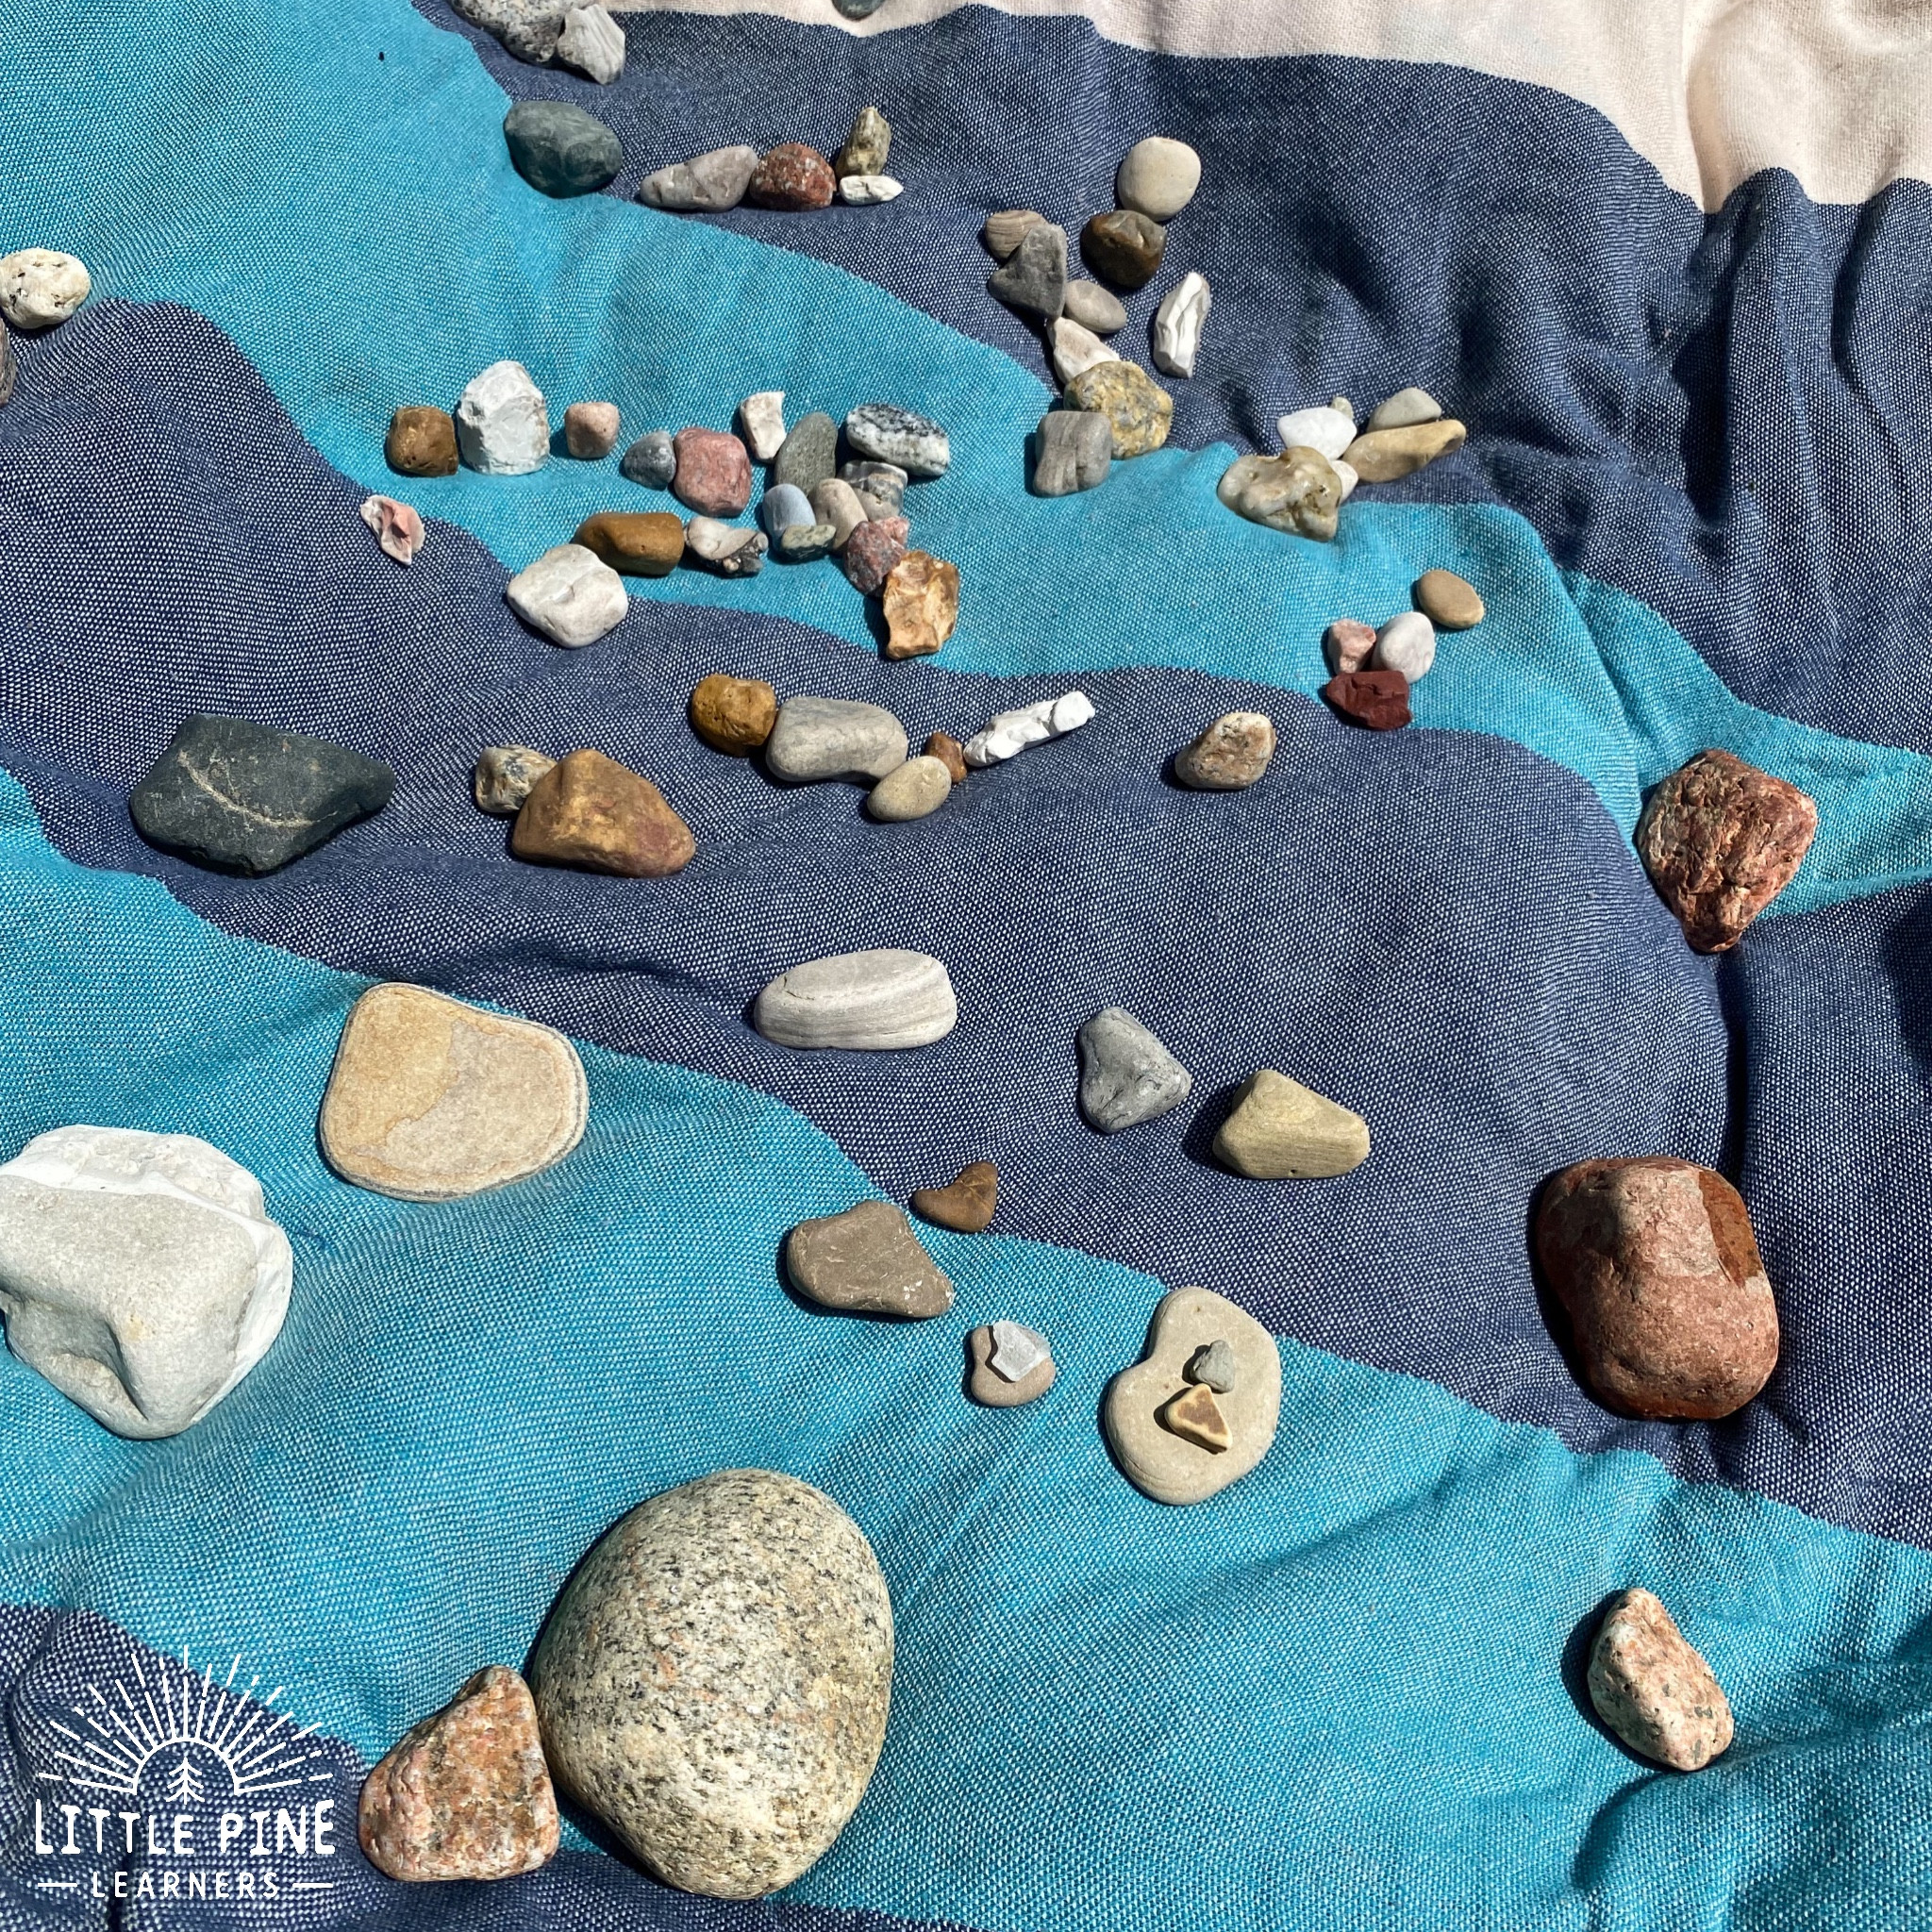
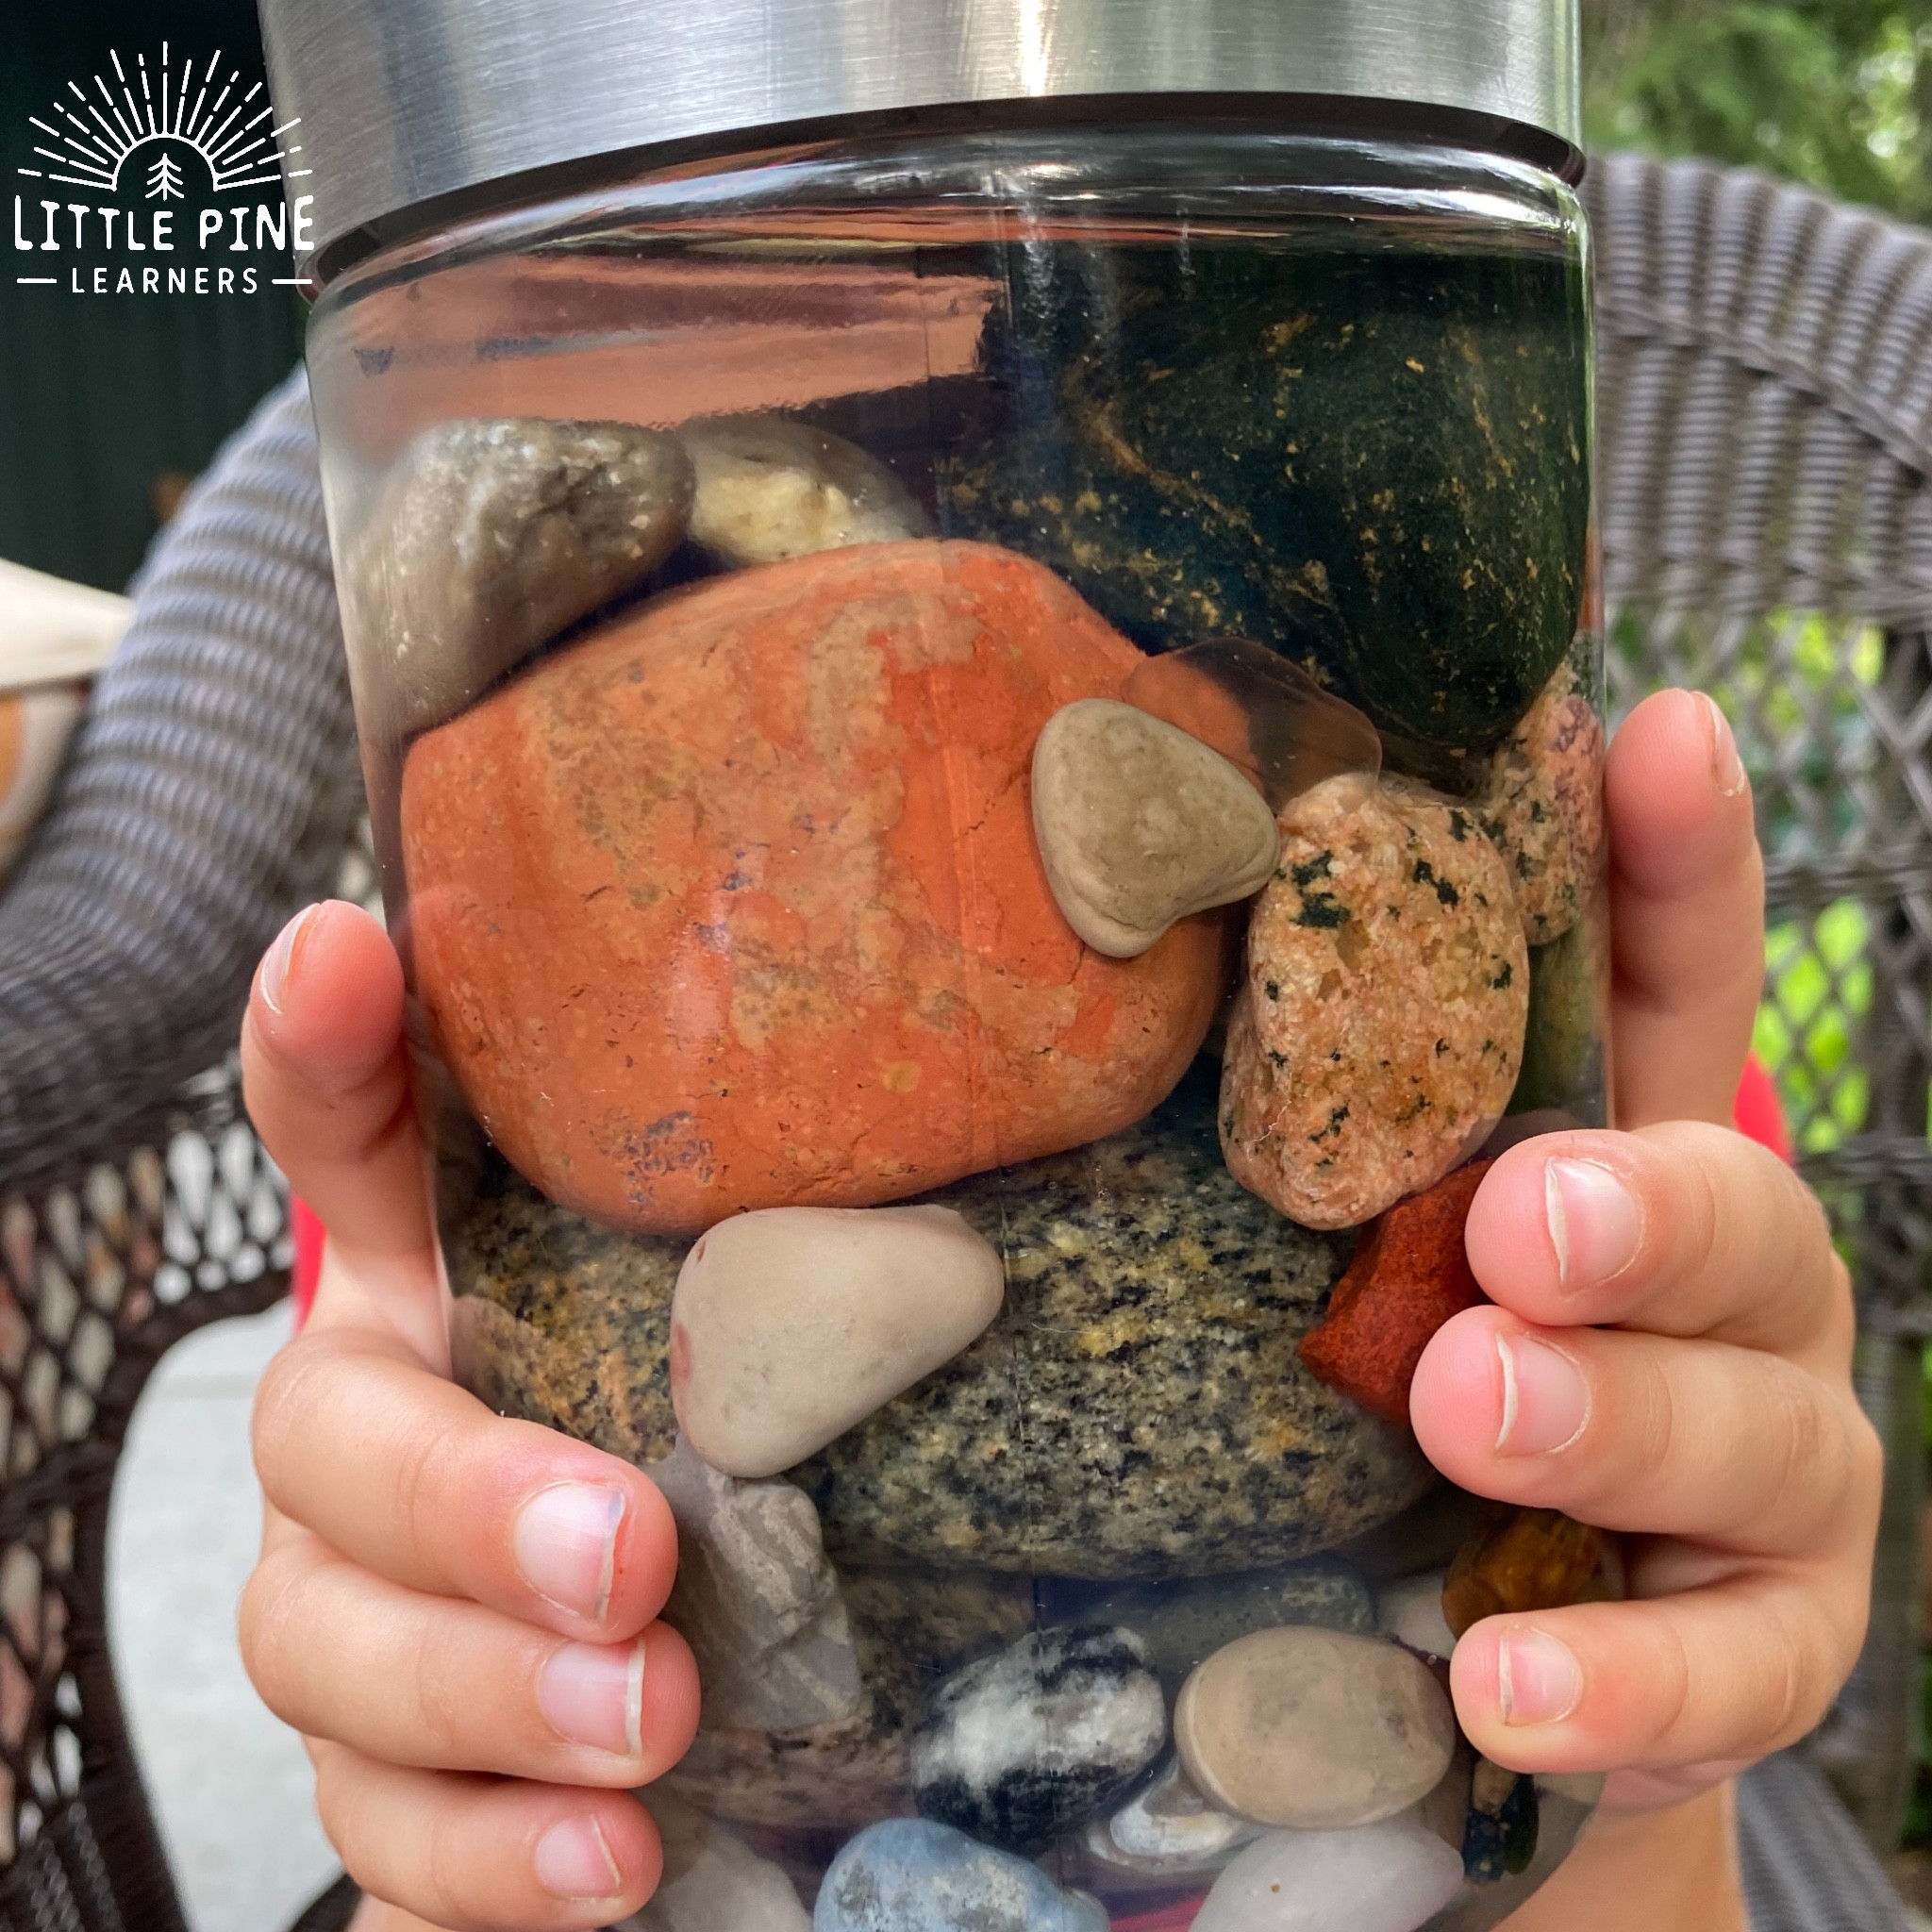
- Place Rocks in Jar: Gently place the cleaned and dried rocks into a jar or container.
- Submerge in Oil: Pour your chosen oil (mineral oil or jojoba oil) over the rocks until they are completely submerged.
 Place rocks in a jar
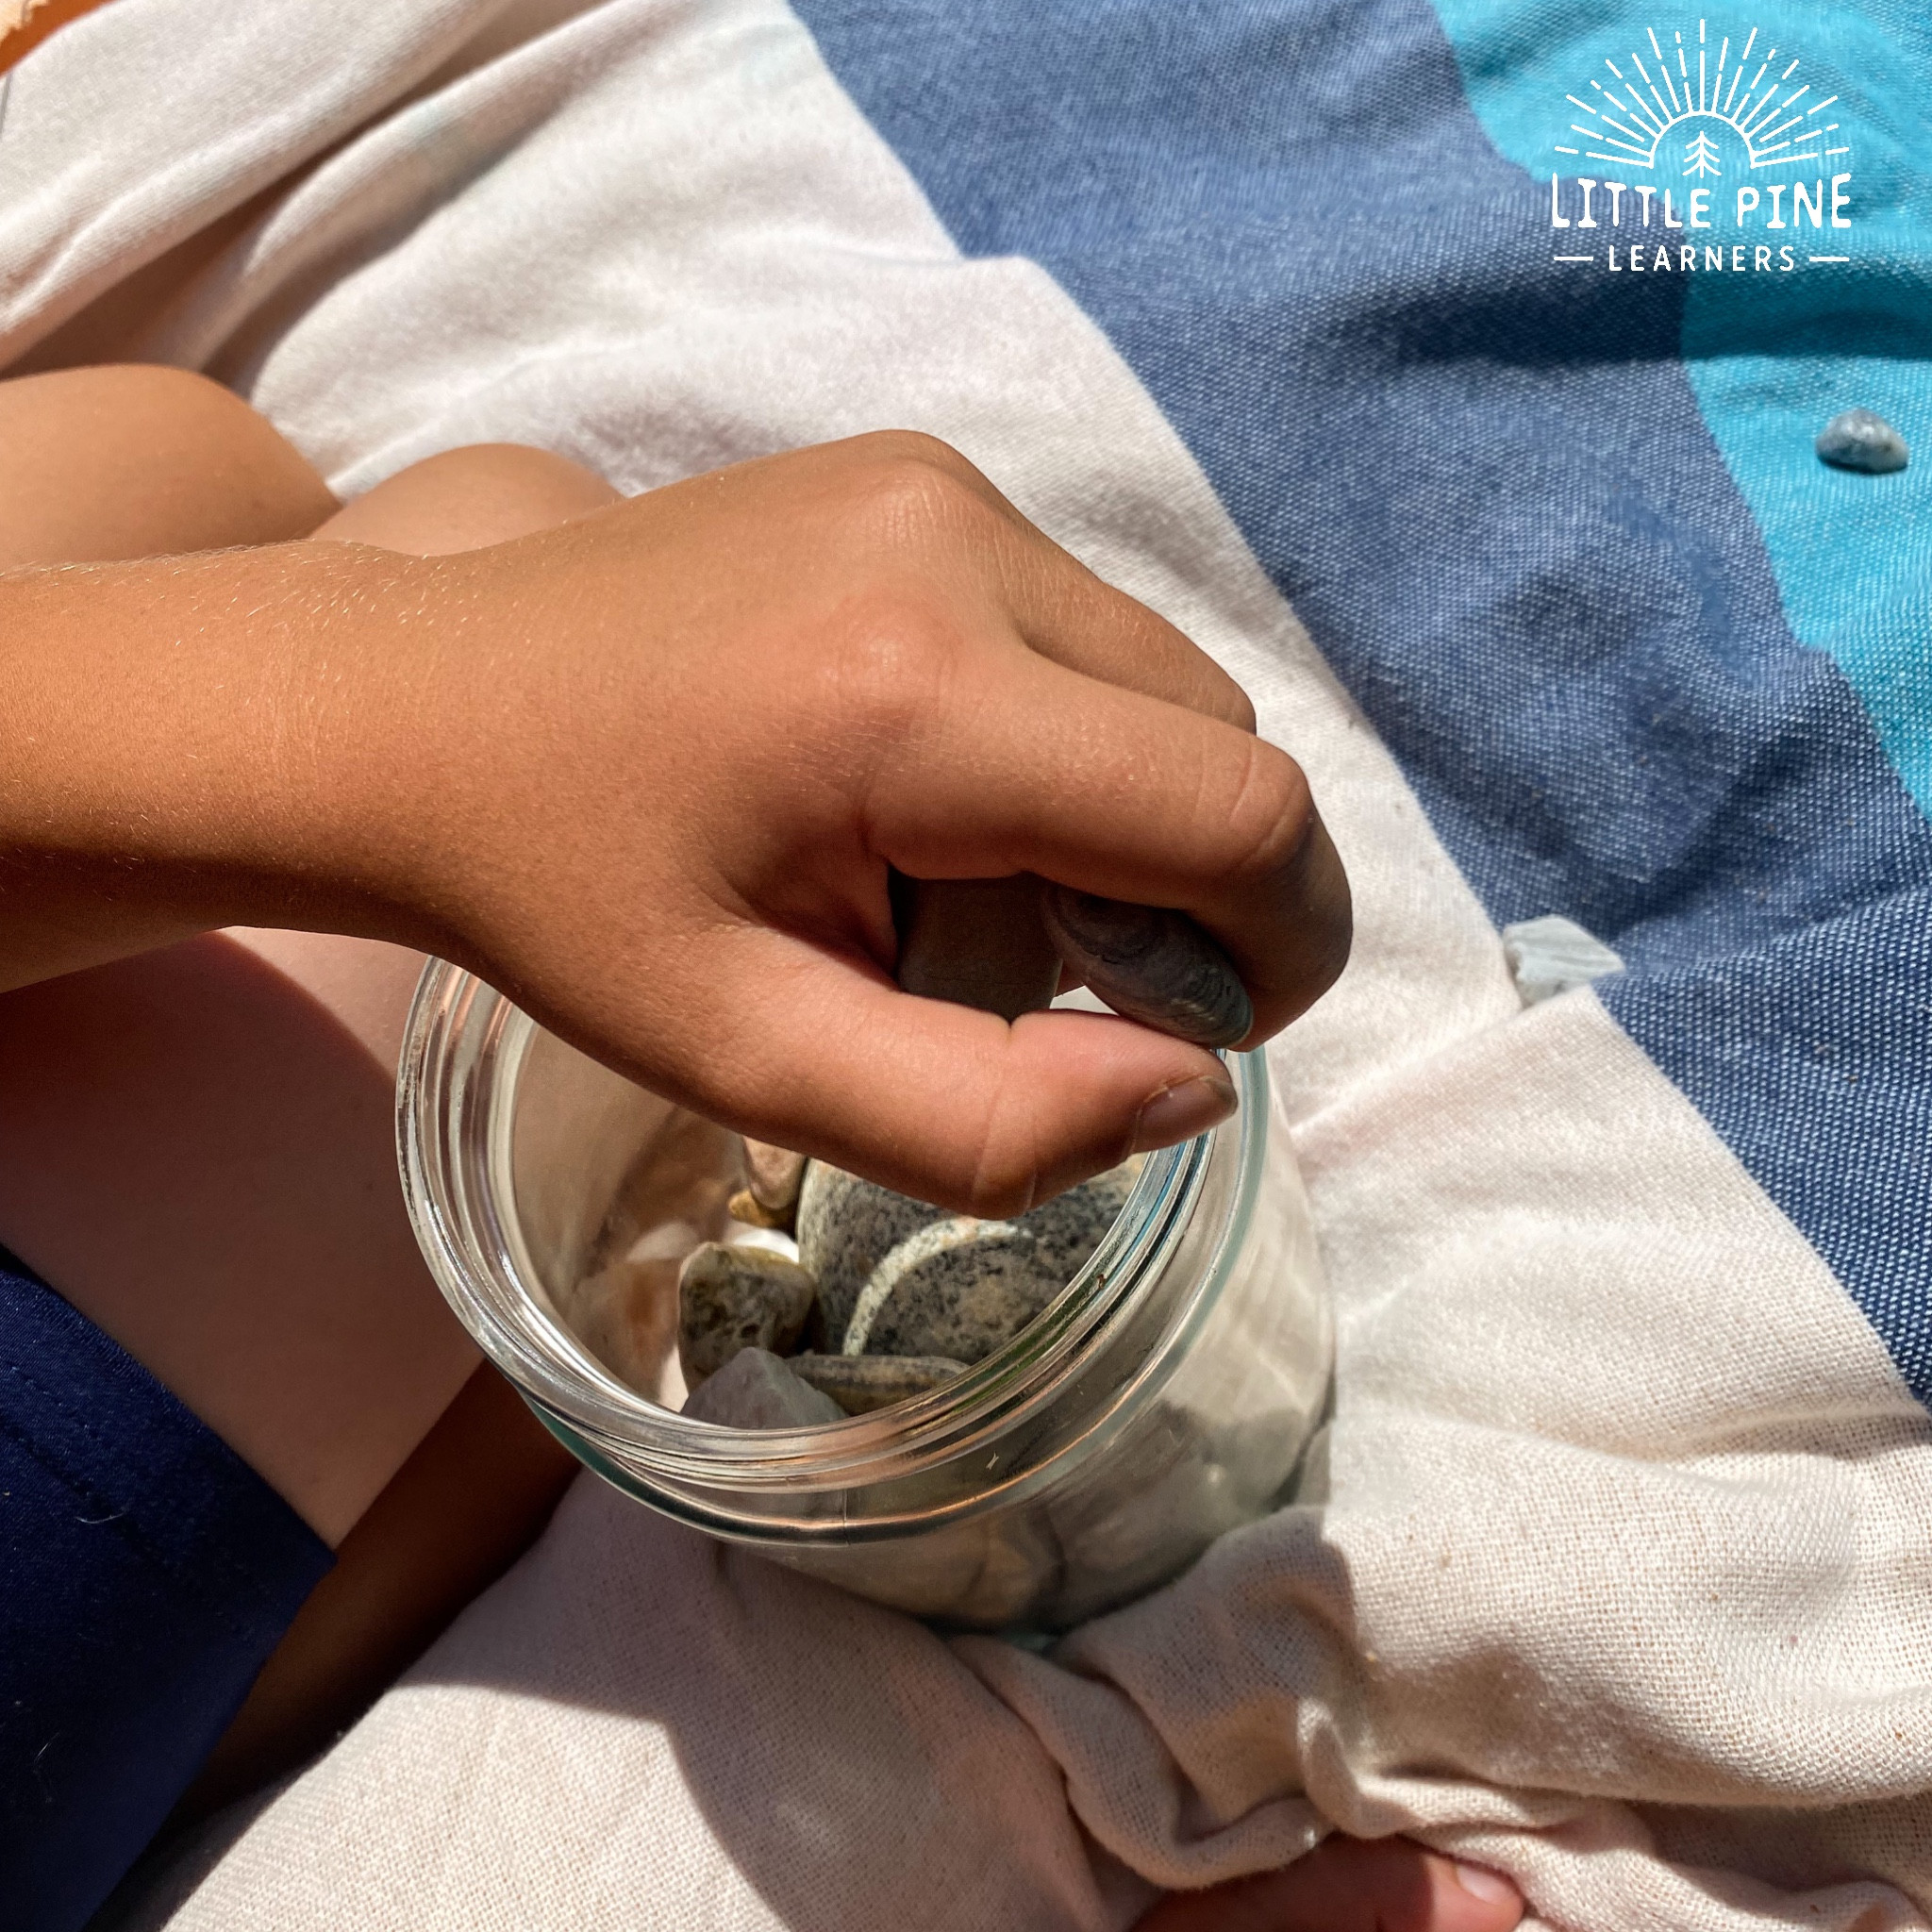
- Cover and Soak: Cover the jar and let the rocks soak for at least two hours, or preferably overnight. This allows the oil to penetrate the pores of the rocks, enhancing their shine.
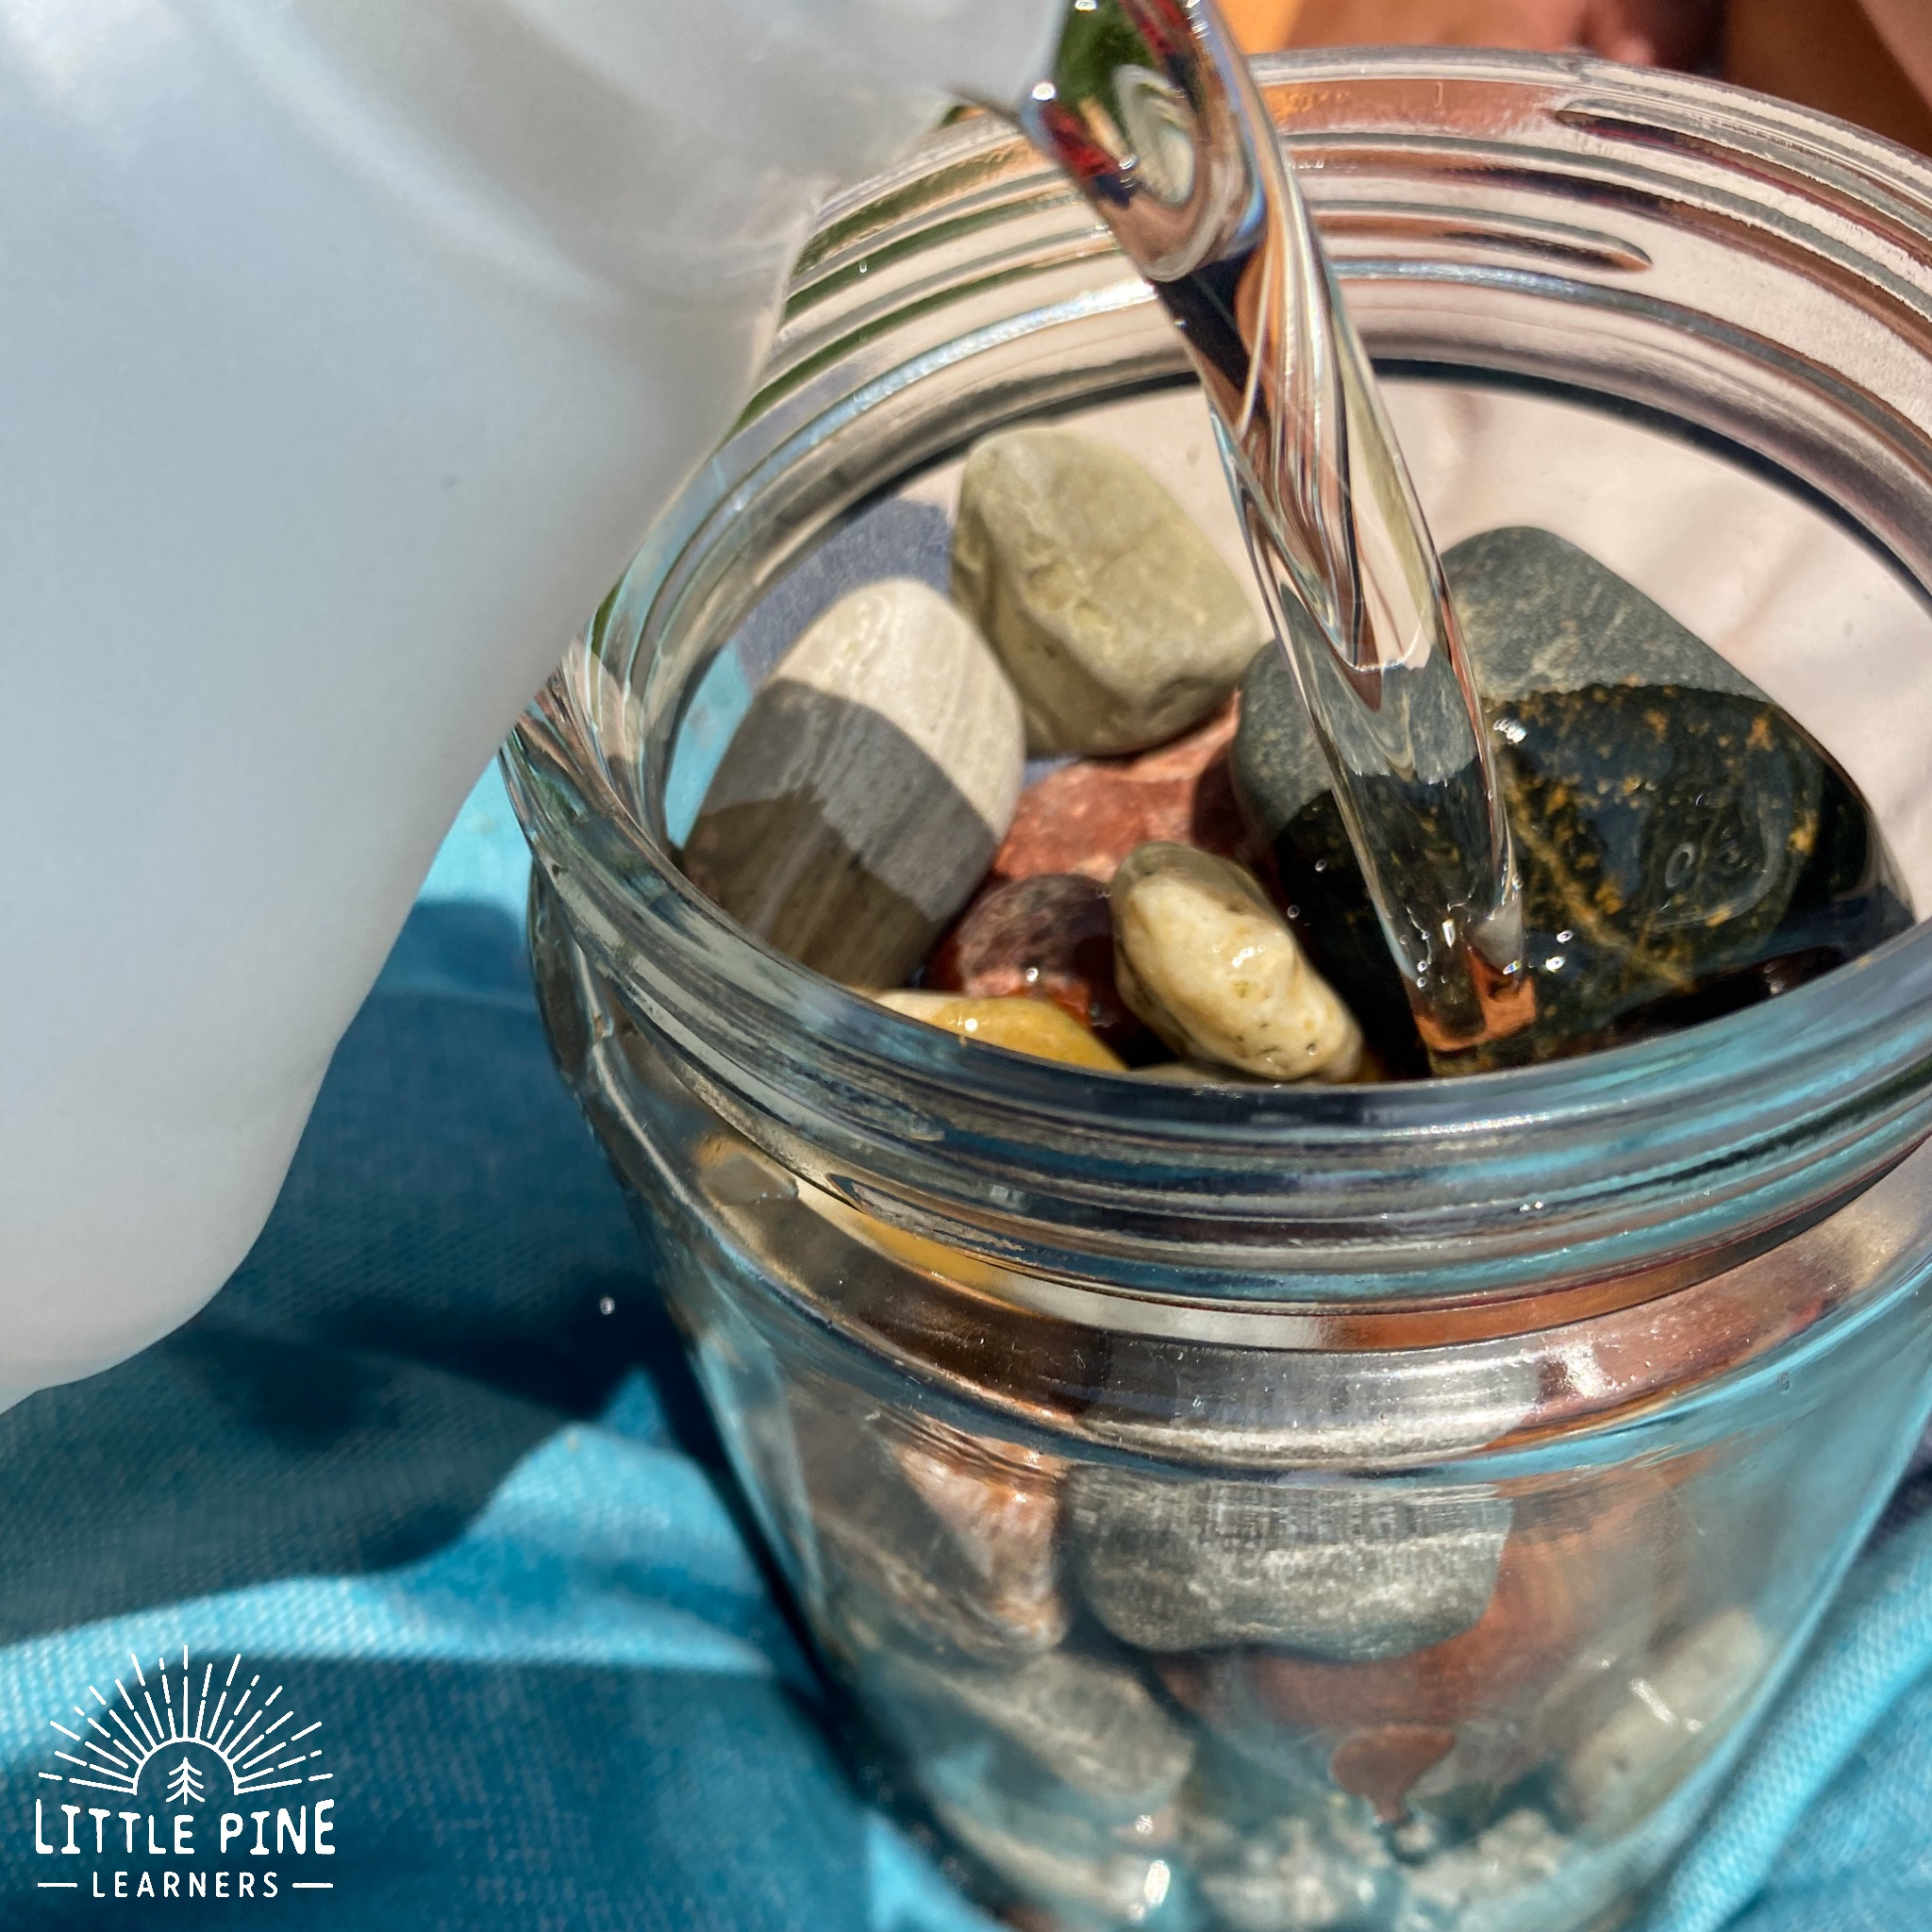 Add mineral oil to rocks
4.3. Straining the Oil
What is the best method for removing excess oil from the rocks after soaking?
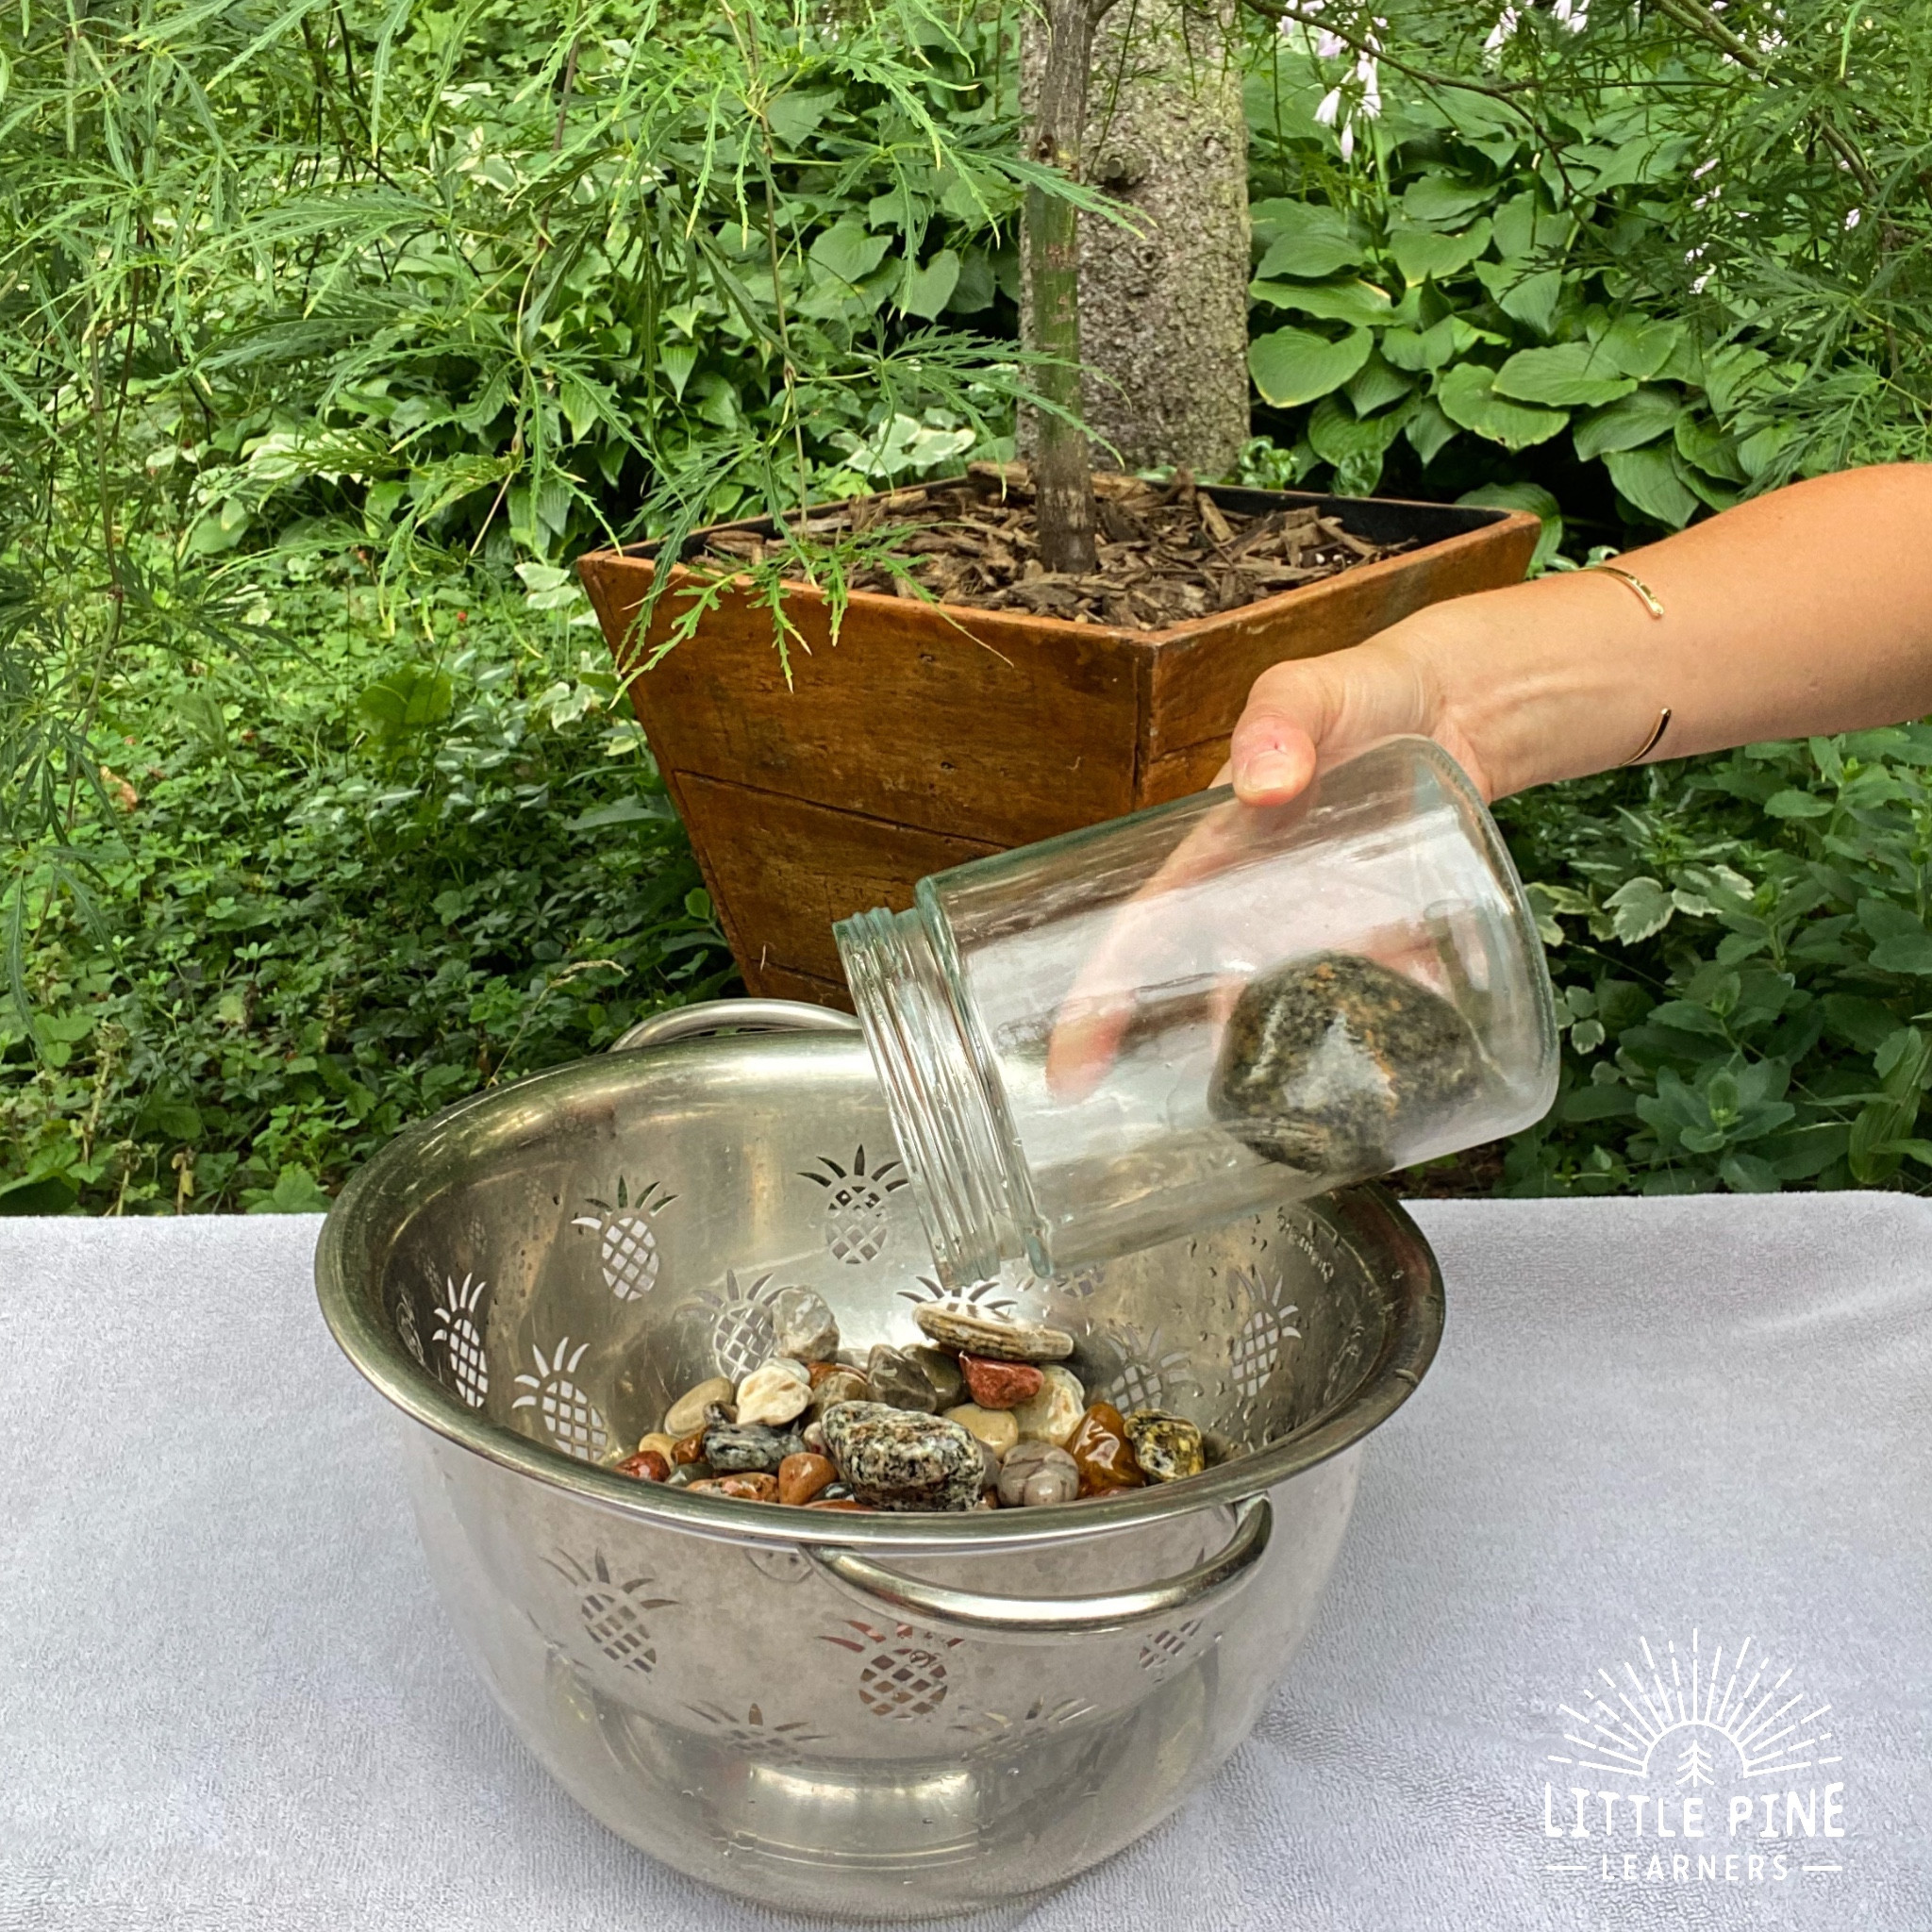
- Prepare Strainer: Place a bowl under a strainer to catch the oil.
- Strain: Carefully pour the contents of the jar into the strainer, allowing the oil to drain into the bowl.
 Rocks polishing with mineral oil
- Save Oil: Set aside the strained oil for future polishing sessions.
4.4. Initial Polishing
How should you initially polish the rocks to remove excess oil?
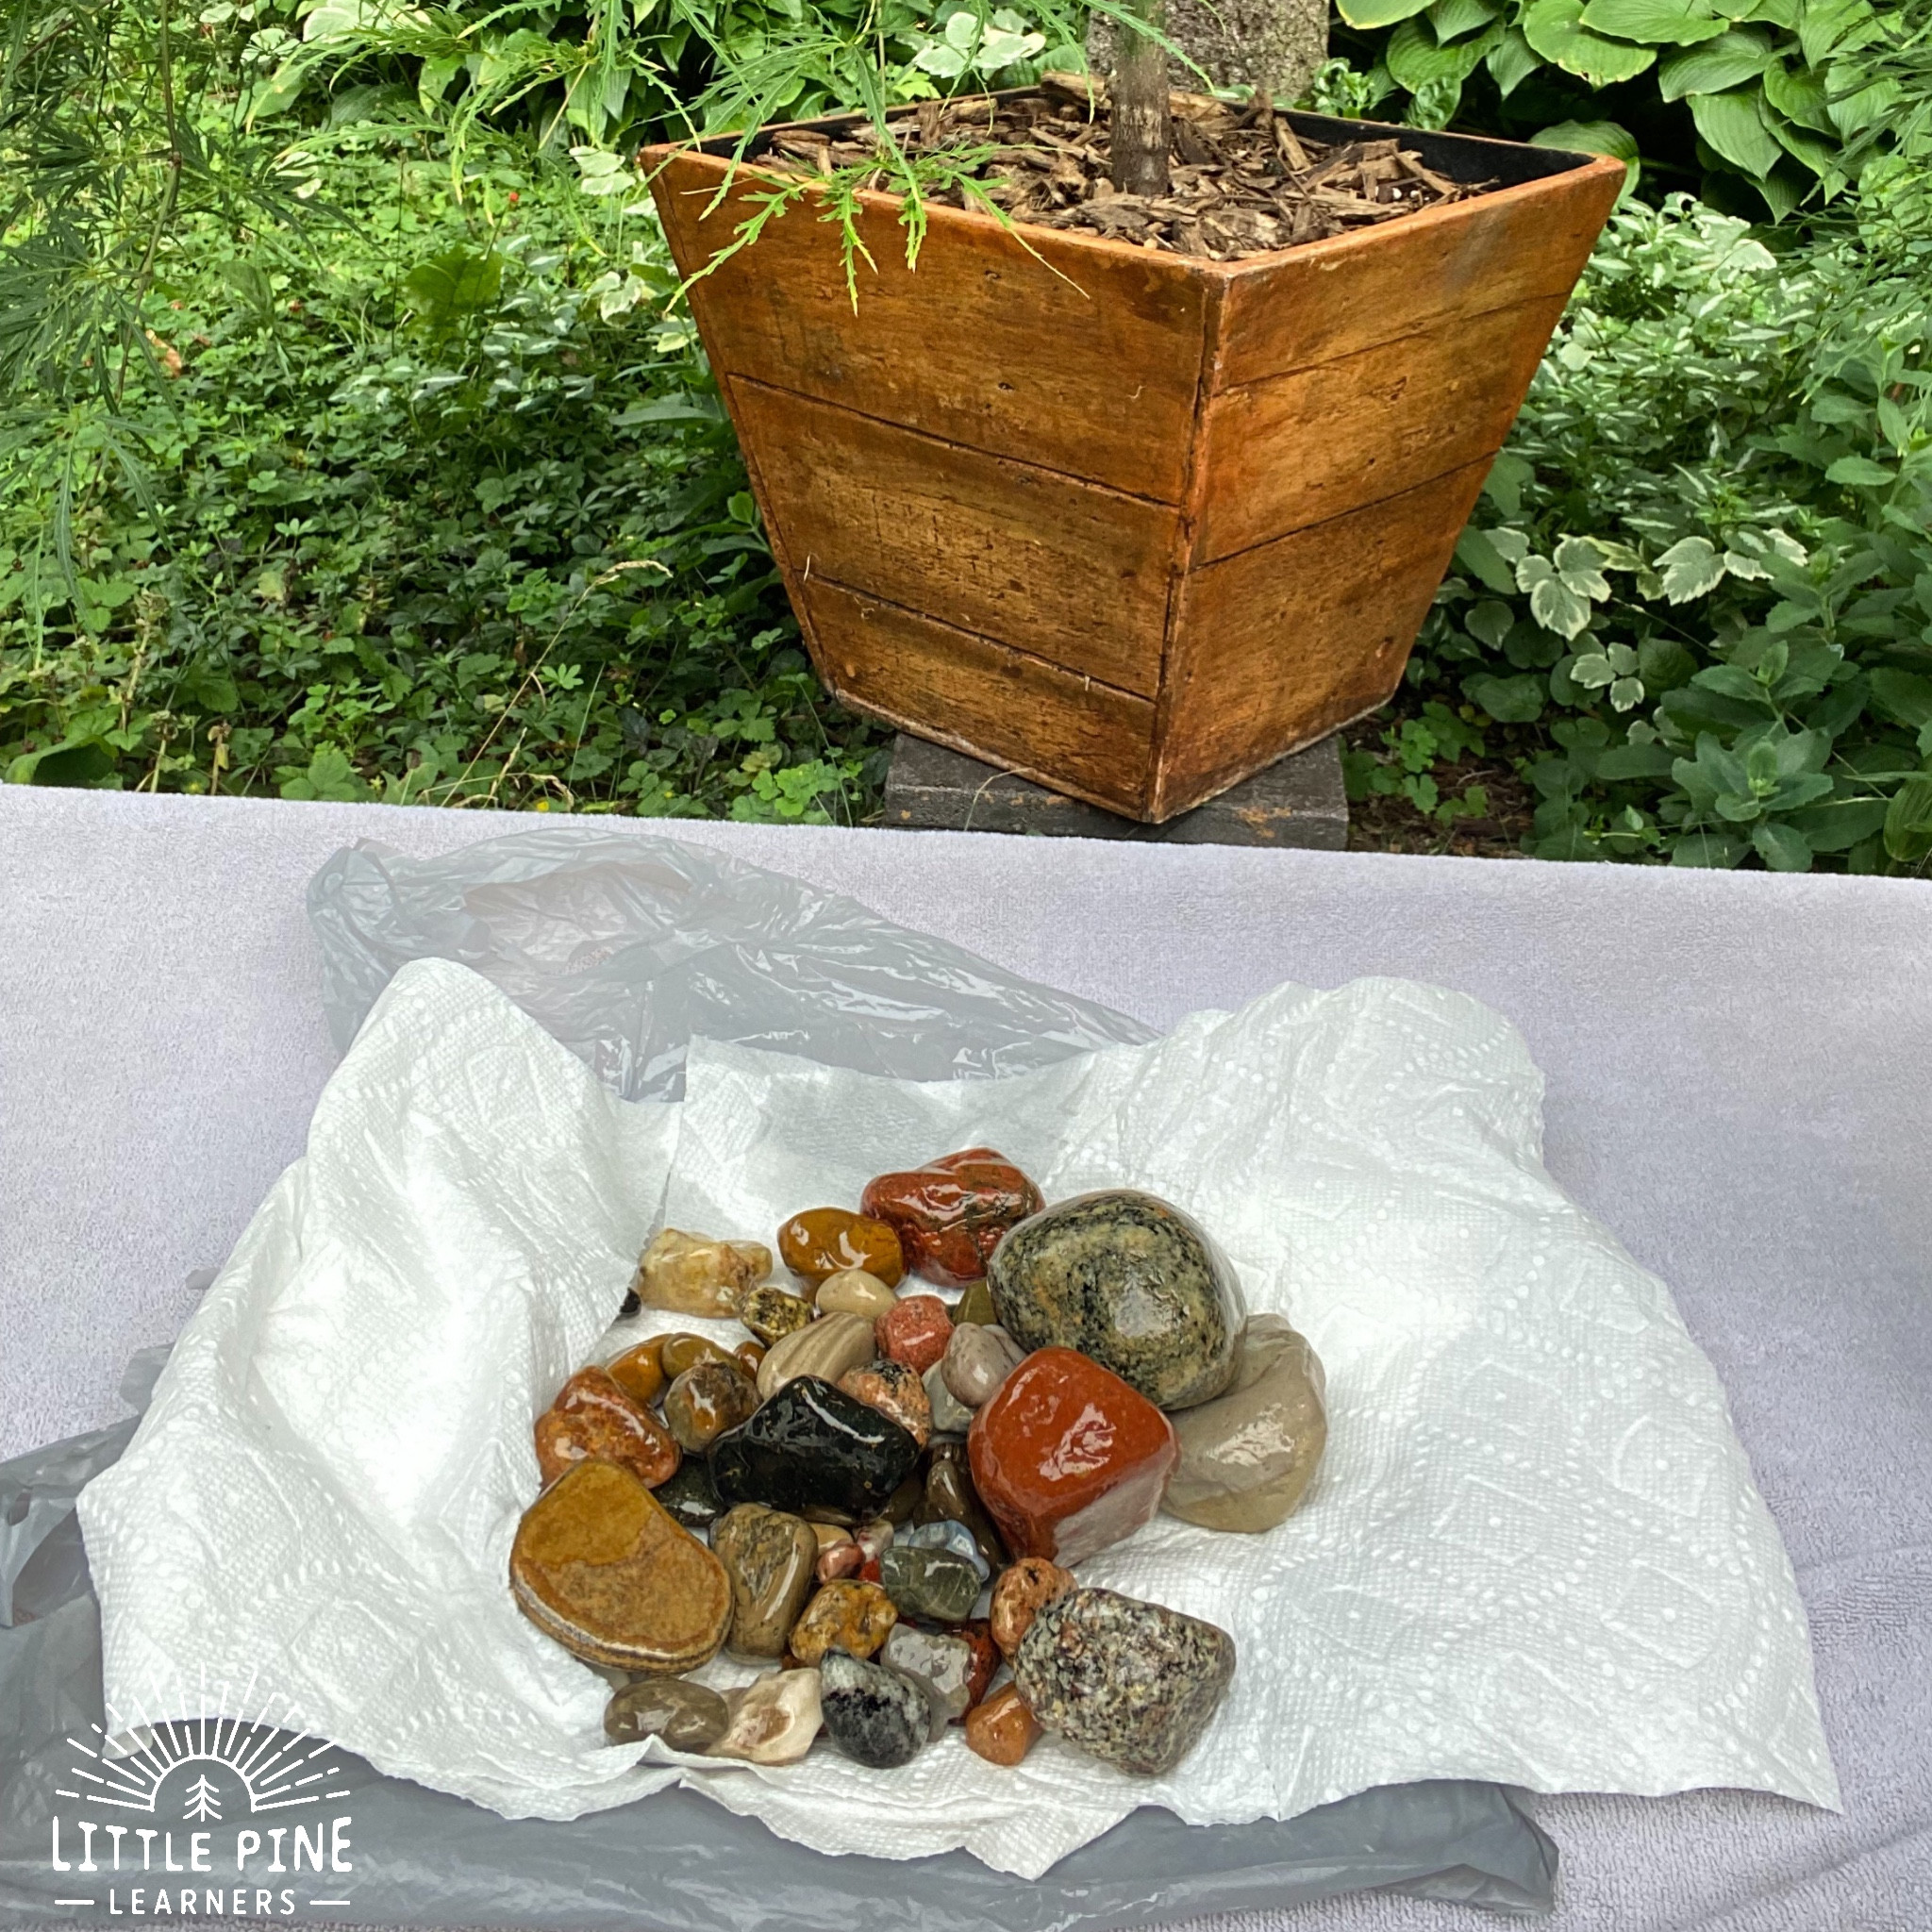
- Paper Towel Polish: Use a paper towel to wipe off the excess oil from each rock. This initial polish helps remove the bulk of the oil.
 Strain mineral oil
4.5. Final Polishing
What techniques and materials are best for achieving a final, high-quality polish?
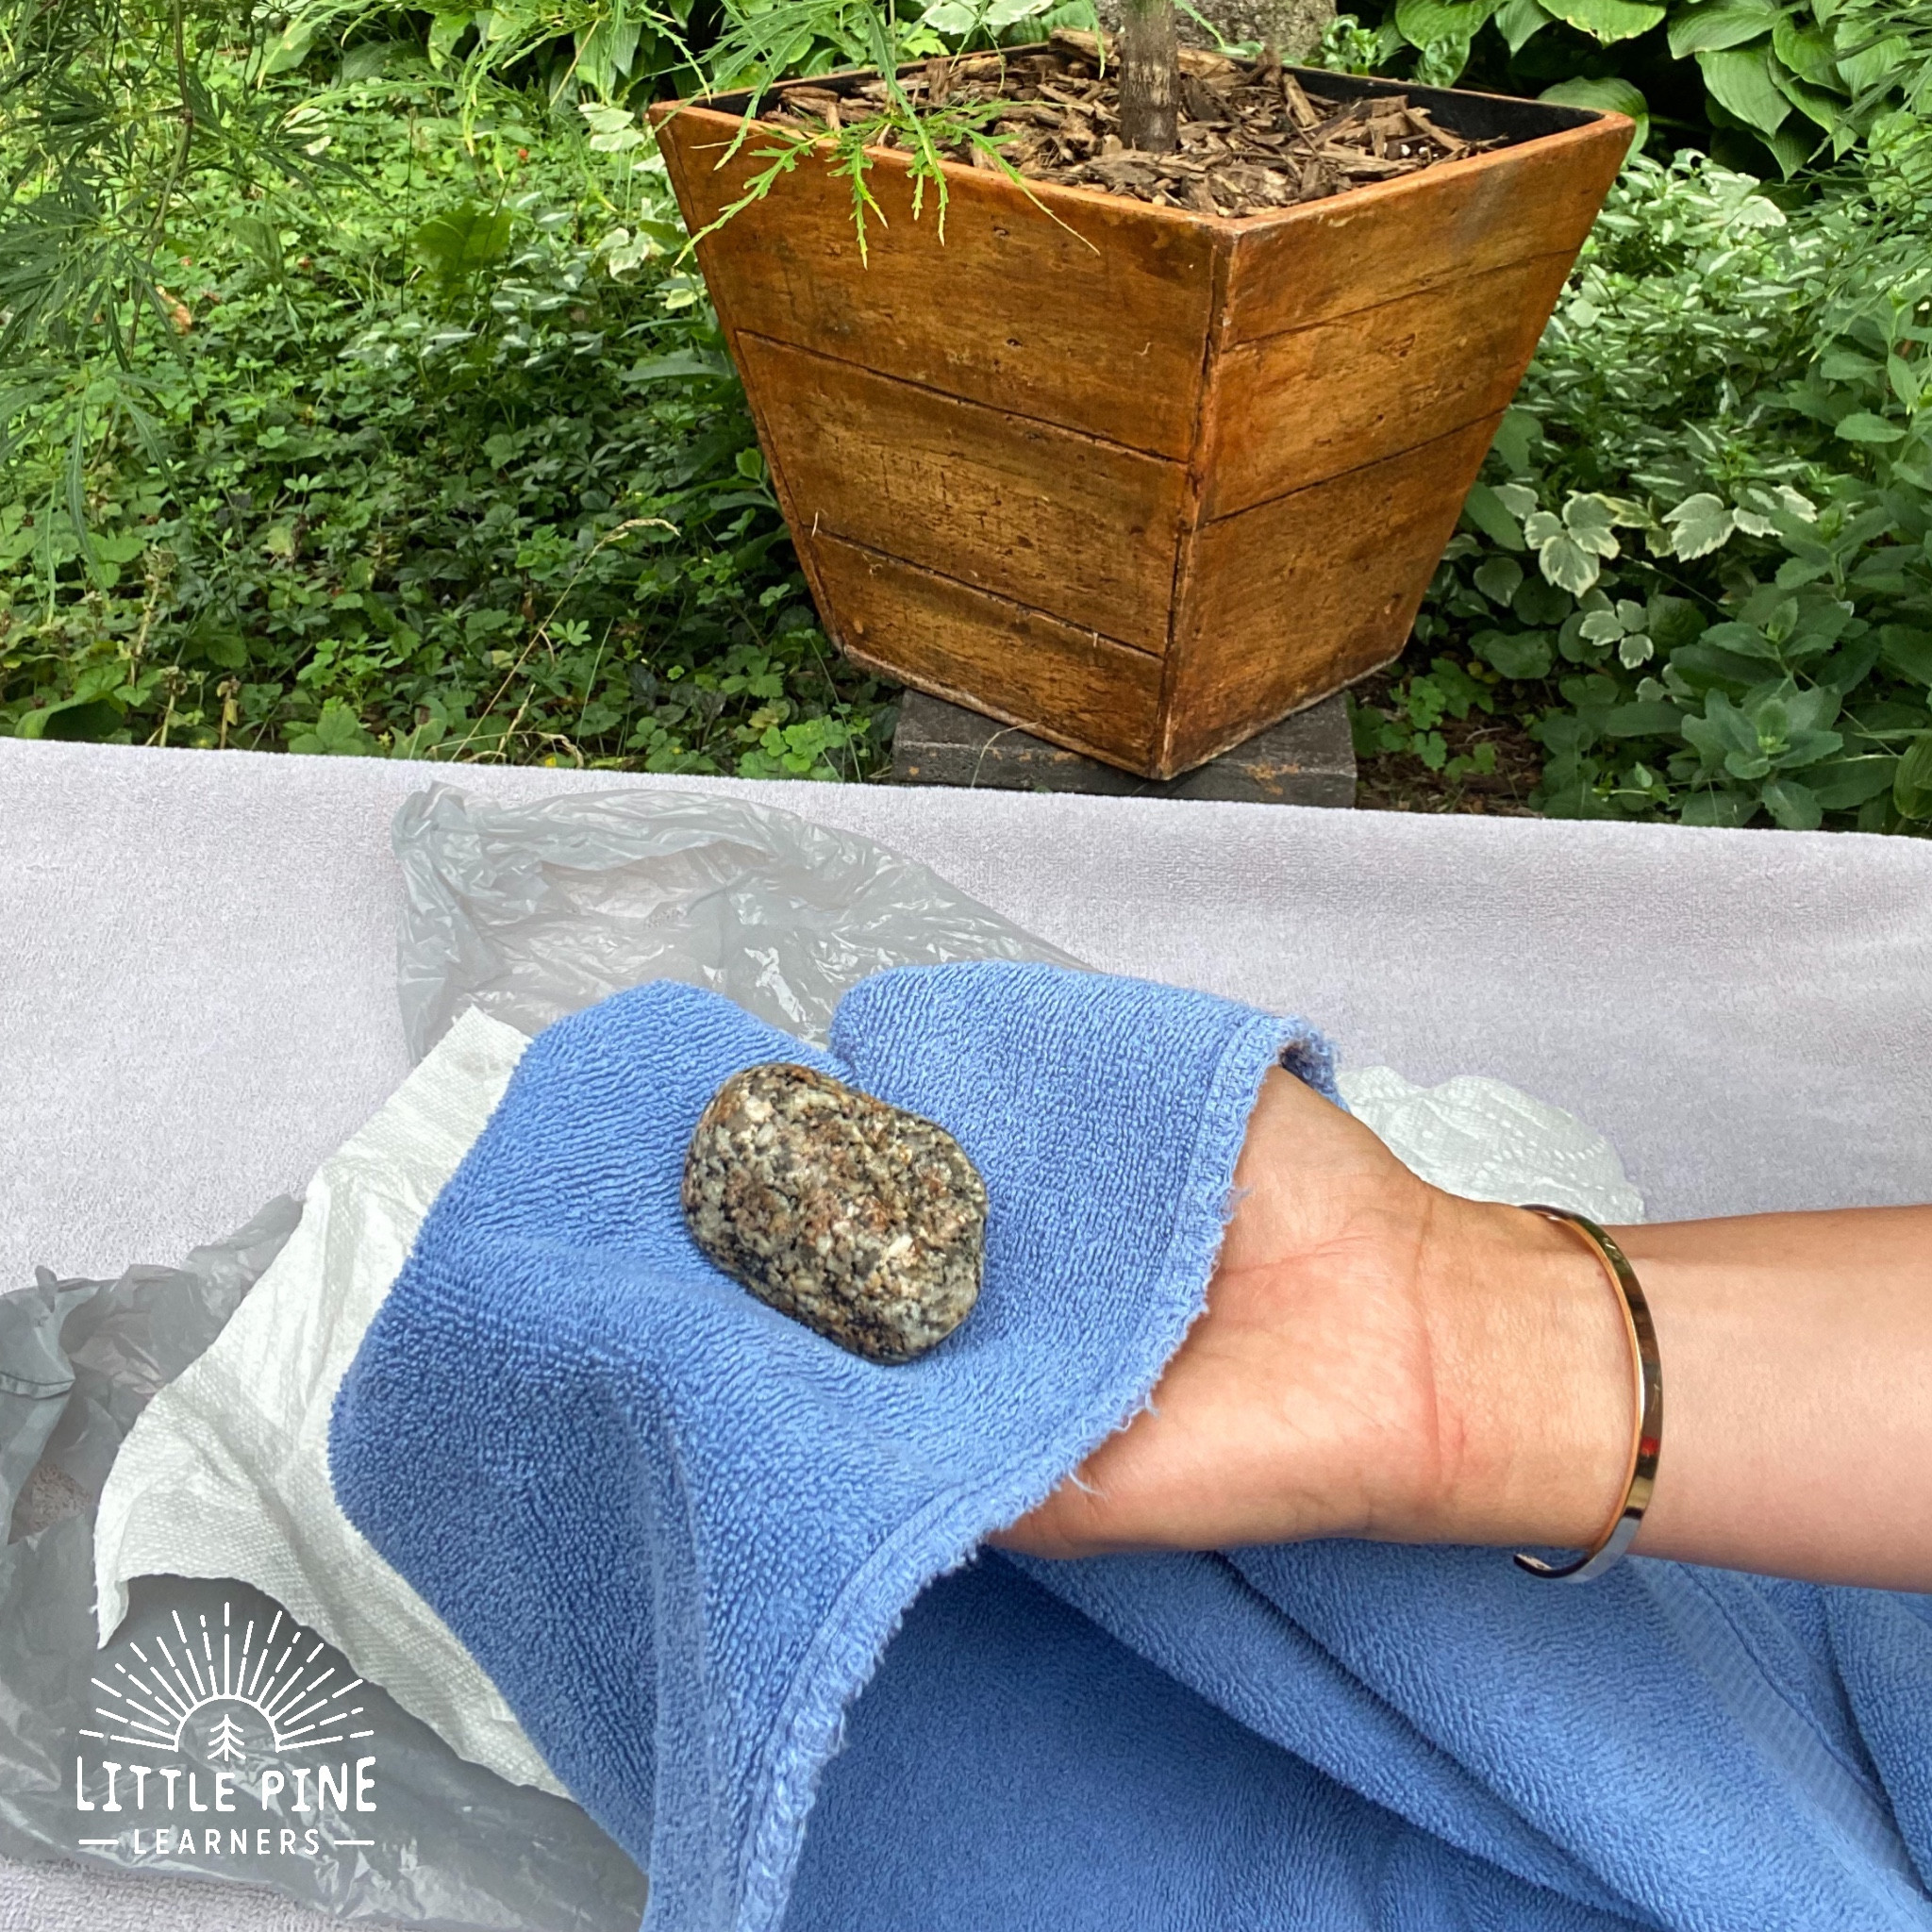
- Cloth Polish: Use a soft microfiber or cotton cloth to polish each rock individually.
 How to make rocks shiny with oil
- Buff: Buff the rocks with the cloth, applying gentle pressure and circular motions. This will bring out the shine and luster of the rocks.
 Stone activity for kids
4.6. Enjoy the Results
What can you expect from your polished rocks, and how long will the shine last?
Your polished rocks should now have a beautiful shine that highlights their natural colors and patterns. The shine will typically last for a few weeks, after which you may want to re-polish them to maintain their luster.
 How to Make Rocks Shine with Mineral Oil
5. Advanced Techniques for Enhanced Shine
Are there additional methods or products that can further enhance the shine of polished rocks?
For those looking to take their rock polishing to the next level, there are several advanced techniques and products that can significantly enhance the shine and durability of the polish. These methods often involve more specialized materials and a bit more effort, but the results can be truly stunning.
5.1. Using Polishing Compounds
How do polishing compounds improve the shine of rocks?
Polishing compounds contain fine abrasive particles that smooth the surface of the rock, creating a higher level of shine. Common compounds include:
- Cerium Oxide: Excellent for polishing glass and delicate stones.
- Aluminum Oxide: A versatile compound suitable for a wide range of rock types.
- Diamond Paste: The most aggressive compound, ideal for very hard stones.
To use polishing compounds:
- Apply: Apply a small amount of the compound to a soft cloth.
- Polish: Rub the cloth over the surface of the rock in circular motions.
- Rinse: Rinse the rock with water and dry it with a clean cloth.
5.2. Applying Sealants
Why use sealants on polished rocks, and what types are recommended?
Sealants protect the polished surface of the rock and enhance its shine, making it more durable and resistant to scratches. Recommended sealants include:
- Acrylic Sealants: Provide a clear, protective layer.
- Polyurethane Sealants: Offer excellent durability and water resistance.
- Wax Polishes: Add a temporary shine and protection.
To apply sealants:
- Clean: Ensure the rock is clean and dry.
- Apply: Apply a thin, even coat of sealant with a brush or cloth.
- Dry: Allow the sealant to dry completely according to the manufacturer’s instructions.
5.3. Professional Polishing Tools
What tools do professionals use to achieve a superior shine on rocks?
While the no-tumbler method is effective, professional tools can provide a superior shine and are worth considering for serious enthusiasts:
- Rotary Tools: Dremel tools with polishing attachments can be used for detailed polishing.
- Buffing Wheels: Bench grinders with buffing wheels provide a larger surface area for polishing.
- Vibratory Tumblers: Offer a gentler alternative to rotary tumblers, ideal for delicate stones.
6. Creative Uses for Shiny Rocks in Landscaping
How can shiny rocks be creatively incorporated into landscape design to enhance visual appeal?
Shiny rocks aren’t just for admiring indoors; they can also be a stunning addition to your landscape. Their reflective surfaces and vibrant colors can bring a unique touch to gardens, pathways, and water features. Here are some creative ways to incorporate shiny rocks into your outdoor spaces:
6.1. Garden Accents
In what ways can shiny rocks enhance the aesthetic of garden beds and plant displays?
Shiny rocks can be used as decorative accents in garden beds, highlighting plants and adding visual interest.
- Edging: Use larger shiny rocks to create borders around flower beds or vegetable gardens.
- Mulch: Replace traditional mulch with smaller shiny rocks to suppress weeds and retain moisture.
- Focal Points: Place a few striking shiny rocks around your favorite plants to draw attention to them.
6.2. Pathway Design
How can shiny rocks be used to create attractive and functional pathways?
Creating pathways with shiny rocks can add a touch of elegance and whimsy to your garden.
- Stepping Stones: Use large, flat shiny rocks as stepping stones through your garden.
- Pathway Surface: Combine shiny rocks with gravel or pavers to create a unique pathway surface.
- Border Accents: Line the edges of your pathways with shiny rocks for added definition.
6.3. Water Features
What types of water features can be enhanced with the addition of shiny rocks?
Shiny rocks are a natural fit for water features, enhancing their beauty and creating a serene atmosphere.
- Ponds: Line the edges of your pond with shiny rocks to create a natural, polished look.
- Fountains: Place shiny rocks at the base of your fountain to catch and reflect the light.
- Streams: Use shiny rocks to line the bed of a small stream or waterfall.
6.4. Zen Gardens
How do shiny rocks contribute to the tranquility and aesthetic of Zen gardens?
Shiny rocks can be an integral part of a Zen garden, adding to its sense of peace and harmony.
- Arrangements: Arrange shiny rocks in patterns to represent mountains, islands, or other natural elements.
- Contrast: Use shiny rocks alongside sand or gravel to create contrast and visual interest.
- Meditation: Incorporate shiny rocks into your meditation space to create a calming focal point.
6.5. Rock Gardens
What are the key elements of a rock garden, and how can shiny rocks enhance them?
A rock garden is a landscape design that features rocks and plants adapted to rocky environments.
- Structure: Use larger rocks to create the basic structure of the garden.
- Accents: Add shiny rocks to fill in gaps and add visual interest.
- Plant Pairings: Choose plants that complement the colors and textures of the rocks.
7. Maintaining the Shine of Your Rocks
What are the best practices for keeping polished rocks shiny and attractive over time?
Maintaining the shine of your polished rocks is essential to keep them looking their best. Regular cleaning and occasional re-polishing can help preserve their luster and beauty. Here are some tips for maintaining the shine of your rocks:
7.1. Regular Cleaning
How often should you clean your shiny rocks, and what methods are most effective?
Regular cleaning helps remove dust, dirt, and other debris that can dull the shine of your rocks.
- Frequency: Clean your rocks every few weeks, or as needed.
- Method: Use a soft cloth and warm, soapy water to gently wipe the rocks clean.
- Rinse: Rinse the rocks thoroughly with clean water to remove any soap residue.
- Dry: Allow the rocks to air dry or dry them with a soft cloth.
7.2. Re-oiling
When and how should you re-oil your polished rocks to maintain their shine?
Re-oiling helps replenish the oil that may have been lost over time, restoring the shine and luster of your rocks.
- Frequency: Re-oil your rocks every few months, or when you notice they are starting to look dull.
- Method: Apply a small amount of mineral oil or jojoba oil to a soft cloth and rub it over the surface of the rocks.
- Buff: Buff the rocks with a clean cloth to remove any excess oil and bring out the shine.
7.3. Avoiding Harsh Chemicals
What types of cleaning products should you avoid to prevent damage to your polished rocks?
Harsh chemicals can damage the polished surface of your rocks, causing them to lose their shine or become discolored.
- Avoid: Avoid using harsh chemicals such as bleach, ammonia, or abrasive cleaners.
- Use: Stick to mild soap and water for cleaning your rocks.
7.4. Storing Rocks Properly
How should you store your shiny rocks to protect them from damage?
Proper storage can help protect your shiny rocks from scratches, dust, and other damage.
- Storage: Store your rocks in a soft cloth bag or a lined box to prevent them from scratching each other.
- Placement: Keep your rocks away from direct sunlight and extreme temperatures, which can cause them to fade or crack.
8. Troubleshooting Common Polishing Issues
What are some common problems encountered during rock polishing, and how can they be resolved?
Even with the best techniques, you may encounter some common issues when polishing rocks. Here are some troubleshooting tips to help you achieve the best results:
8.1. Uneven Shine
What causes uneven shine on polished rocks, and how can it be corrected?
Uneven shine can be caused by several factors, including:
- Inconsistent Polishing: Make sure you are applying even pressure and using consistent motions when polishing.
- Rock Hardness: Rocks with varying hardness levels may polish unevenly. Try sorting rocks by hardness before polishing.
- Polishing Compounds: Using the wrong polishing compound can also cause uneven shine. Make sure you are using the appropriate compound for the type of rock you are polishing.
To correct uneven shine:
- Re-polish: Re-polish the rocks, paying extra attention to the dull areas.
- Adjust Technique: Adjust your polishing technique to ensure even coverage.
- Use Appropriate Compounds: Use the appropriate polishing compound for the type of rock you are polishing.
8.2. Scratches
How can you remove scratches from polished rocks?
Scratches can occur during the polishing process or from handling the rocks. To remove scratches:
- Clean: Clean the rock thoroughly to remove any dirt or debris.
- Re-polish: Use a polishing compound to re-polish the rock, focusing on the scratched area.
- Repeat: Repeat the polishing process until the scratches are removed.
8.3. Dull Finish
What causes a dull finish on polished rocks, and how can it be improved?
A dull finish can be caused by:
- Insufficient Polishing: Make sure you are polishing the rocks for a sufficient amount of time.
- Dirty Cloths: Use clean polishing cloths to avoid transferring dirt and oil back onto the rocks.
- Inadequate Oil: Ensure you are using enough oil during the polishing process.
To improve a dull finish:
- Re-polish: Re-polish the rocks with a clean cloth and fresh oil.
- Increase Polishing Time: Increase the amount of time you spend polishing each rock.
- Use Better Quality Oil: Use a better quality oil for polishing.
8.4. Cloudy Appearance
What causes a cloudy appearance on polished rocks, and how can it be resolved?
A cloudy appearance can be caused by:
- Residue: Residue from cleaning agents or polishing compounds can leave a cloudy film on the rocks.
- Hard Water: Using hard water for rinsing can leave mineral deposits on the rocks.
To resolve a cloudy appearance:
- Rinse Thoroughly: Rinse the rocks thoroughly with distilled water to remove any residue.
- Buff: Buff the rocks with a clean, dry cloth to remove any remaining cloudiness.
9. Safety Precautions for Rock Polishing
What safety measures should be taken when polishing rocks to protect yourself and your environment?
When polishing rocks, it’s important to take certain safety precautions to protect yourself and your environment. Here are some essential safety measures to follow:
9.1. Wear Protective Gear
What protective gear is recommended when polishing rocks?
Wearing protective gear can help prevent injuries and protect your skin and eyes from irritants.
- Gloves: Wear gloves to protect your hands from oils and chemicals.
- Eye Protection: Wear safety glasses or goggles to protect your eyes from dust and debris.
- Mask: Wear a dust mask to avoid inhaling fine particles.
9.2. Work in a Well-Ventilated Area
Why is ventilation important when polishing rocks?
Working in a well-ventilated area helps prevent the buildup of dust and fumes, which can be harmful to your health.
- Ventilation: Work in a well-ventilated area or use a ventilation system to remove dust and fumes.
- Outdoor Work: If possible, work outdoors to minimize exposure to dust and fumes.
9.3. Dispose of Waste Properly
How should you dispose of waste materials generated during rock polishing?
Proper disposal of waste materials helps protect the environment and prevent contamination.
- Oil Disposal: Dispose of used oil properly by taking it to a recycling center or hazardous waste collection site.
- Cloth Disposal: Dispose of used cloths and paper towels in a sealed bag to prevent the spread of contaminants.
- Water Disposal: Dispose of used water in a drain connected to a sanitary sewer system.
9.4. Store Chemicals Safely
How should you store chemicals and polishing compounds to prevent accidents?
Storing chemicals and polishing compounds safely helps prevent accidents and protects your family and pets.
- Storage: Store chemicals and polishing compounds in a secure location, out of reach of children and pets.
- Labeling: Label all containers clearly to identify their contents.
- Original Containers: Keep chemicals and polishing compounds in their original containers to avoid confusion.
10. Frequently Asked Questions (FAQs) About Making Rocks Shiny
10.1. What is the best oil to use for making rocks shiny?
Food-grade mineral oil and jojoba oil are excellent choices. Mineral oil is a favorite among experienced rock polishers, while jojoba oil is more environmentally friendly and also provides a beautiful shine.
10.2. How long do I need to soak the rocks in oil?
Soak the rocks for at least two hours, but preferably overnight. This allows the oil to penetrate the pores of the rocks, enhancing their shine.
10.3. Can I use other types of oil for polishing rocks?
Yes, you can use other types of oil such as linseed oil, but be aware that some oils may darken certain stones over time.
10.4. How often should I re-polish my rocks?
Re-polish your rocks every few weeks, or when you notice they are starting to look dull. Regular maintenance will help preserve their luster.
10.5. What if my rocks don’t get shiny after polishing?
Ensure you are using clean polishing cloths and fresh oil. Also, make sure you are polishing the rocks for a sufficient amount of time and applying even pressure.
10.6. Can I use a rock tumbler to polish rocks instead?
Yes, rock tumblers are specifically designed for polishing rocks. However, the no-tumbler method is a simple and effective alternative for small batches of rocks.
10.7. What are some creative uses for shiny rocks in landscaping?
Shiny rocks can be used as garden accents, pathway design elements, water feature enhancements, and in Zen gardens and rock gardens.
10.8. How do I clean my shiny rocks?
Use a soft cloth and warm, soapy water to gently wipe the rocks clean. Rinse them thoroughly with clean water and allow them to air dry or dry them with a soft cloth.
10.9. Are there any safety precautions I should take when polishing rocks?
Wear gloves and eye protection, work in a well-ventilated area, dispose of waste properly, and store chemicals safely.
10.10. Where can I find more information about using rocks in landscaping?
Visit rockscapes.net for detailed guides, inspiration, and expert advice on incorporating rocks into your landscaping projects.
Ready to bring the beauty of shiny rocks to your landscape? Visit rockscapes.net today for design ideas, detailed guides, and expert advice. Let us help you transform your outdoor spaces into stunning rockscapes! For personalized assistance, contact us at Address: 1151 S Forest Ave, Tempe, AZ 85281, United States, Phone: +1 (480) 965-9011.