Rock Gardens, also known as rockeries or alpine gardens, offer a unique and beautiful way to showcase plants that thrive in well-drained, rocky environments. For years, the idea of constructing my own rock garden lingered in my mind, often overshadowed by the allure of more flamboyant floral displays. However, joining the Alpine Garden Society ignited a true appreciation for the delicate beauty of alpine plants, and my desire to build a rock garden finally took center stage.
My initial enthusiasm was quickly met with the practical question: how does one actually build a rock garden? It’s a project that requires careful planning and execution to truly succeed.
Essential Rock Garden Construction Principles
In my experience, rushing into gardening projects without proper planning is a recipe for potential problems. Therefore, before even considering the first stone, I delved into research. My go-to resource became Alpine Gardening for Beginners by John Good, a truly excellent guide. Good’s book outlines fundamental “rules” for rock garden construction, which are more like essential principles for success:
- Select a Sunny, Open Location: Choose a site that is exposed to ample sunlight and away from the shade of trees or buildings.
- Consider the Natural Setting: Aim for a location with an aesthetically pleasing natural backdrop to enhance the rock garden’s visual appeal.
- Ensure a Weed-Free Foundation: The chosen site must be thoroughly cleared of persistent perennial weeds and tree roots to prevent future problems.
- Prioritize Excellent Drainage: Rock garden plants demand well-draining soil to thrive, mimicking their native mountain environments.
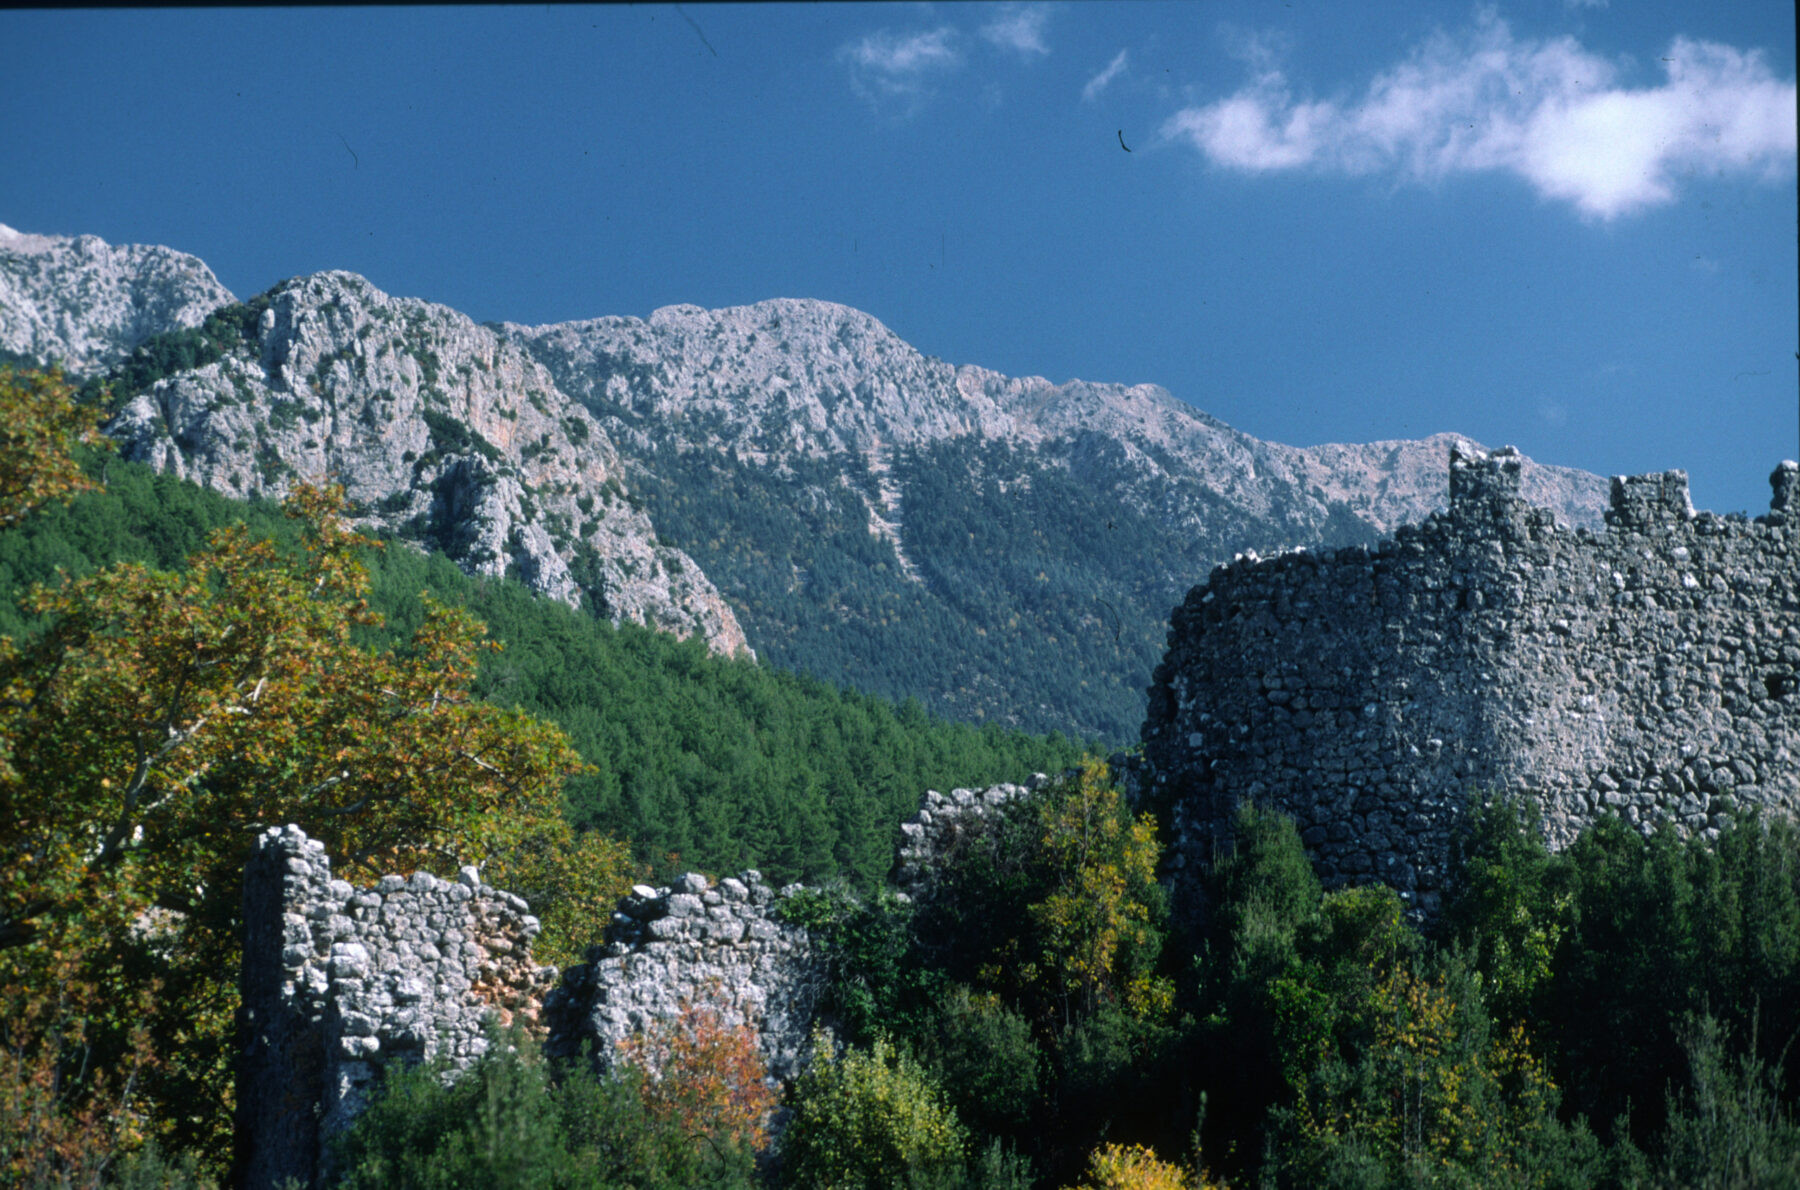
The core concept is to replicate a high-altitude mountain environment, above the tree line, where plants experience unobstructed airflow and intense sunlight.
 Open and sunny rock garden location
Rule 1: Choosing an Open, Sunny Site for Your Rock Garden
The ideal location for a rock garden is undeniably an open area that basks in sunlight throughout the day, free from the shadows cast by trees or structures. While my garden is generously sized, finding a completely unshaded spot proved challenging.
Ultimately, I opted for the most open area available. This section of the garden receives direct sunlight until at least 3 pm daily, with some parts enjoying even longer periods of sunshine. This ample sunlight is crucial for the health and flowering of most rock garden plants.
Rule 2: Integrating a Natural Background into Your Rock Garden Design
Creating a rock garden that harmonizes with its surroundings is key to achieving a natural and aesthetically pleasing look. A well-chosen natural background can significantly enhance the overall impact of your rock garden.
 Rock garden with a waterfall backdrop
In my case, the chosen site presented a somewhat “unnatural” backdrop. The existing 1920s stone steps are a charming feature when viewed from the patio and house, adding a touch of historical character. However, the brick retaining wall topped with railings is less visually appealing and replacing it was not a feasible option.
My design strategy focused on drawing attention to the plants and rocks themselves, minimizing the prominence of the man-made elements like the steps and wall. The goal was to create a visual focal point that transcended its built environment.
Despite these background challenges, I recognized the potential of this area for a rock garden. I had always struggled to create a year-round planting scheme for the beds flanking the steps, and the slope itself presented landscaping difficulties. A rock garden, I reasoned, would be the perfect solution to maximize the potential of this somewhat awkward space.
Rule 3: Ensuring a Weed-Free Area for Your Rock Garden
Adhering to rule number three – ensuring a weed-free foundation – became a year-long endeavor. The persistent ground elder had infiltrated this bed, requiring meticulous removal. I carefully relocated all existing plants and removed the stump of a long-deceased tree.
With considerable effort and diligent digging, I systematically eliminated the weeds, ensuring a clean slate for the rock garden construction. This step is crucial as weeds can quickly become established in a rock garden, competing with the more delicate alpine plants.
Rule 4: Achieving Good Drainage in Your Rock Garden Soil
Excellent drainage is non-negotiable for rock garden plants. These plants are adapted to mountainous regions where water drains away quickly, and they are highly susceptible to root rot in waterlogged conditions.
My garden soil is predominantly clay, interspersed with large flint stones. While the soil had been cultivated for over a century, digging just three to four feet down reveals solid clay. Logically, this clay base would seem to argue against building a rockery due to potential drainage issues.
However, optimism prevailed. I reasoned that the natural slope of the site would assist drainage, and with careful soil preparation, I could overcome the clay problem. My plan involved incorporating substantial quantities of grit and sand into the soil to improve its drainage capabilities.
Sourcing the Right Rocks for Your Rock Garden
General wisdom dictates sourcing rocks that are local to your area and harmonize with the existing landscape. My region lacks prominent rocky outcrops, but I aimed to find stones that would complement the existing greyish limestone walls and steps in my garden.
I visited a local stone merchant to explore the available options. They offered bags of smaller quarry stones specifically for rock garden construction, as well as larger pieces of Purbeck limestone.
This limestone had a slightly honeyed hue compared to my steps, but the merchant assured me it would weather to a grey tone over time. I purchased ten large stones and a bag of smaller stones, selecting the larger rocks for their size and varied shapes, without a pre-conceived design in mind.
My confidence rested on the belief that I could arrange them artfully on-site, provided I had assistance to maneuver them – and patient helpers willing to rearrange them repeatedly until the arrangement felt just right!
Step-by-Step Rock Garden Construction
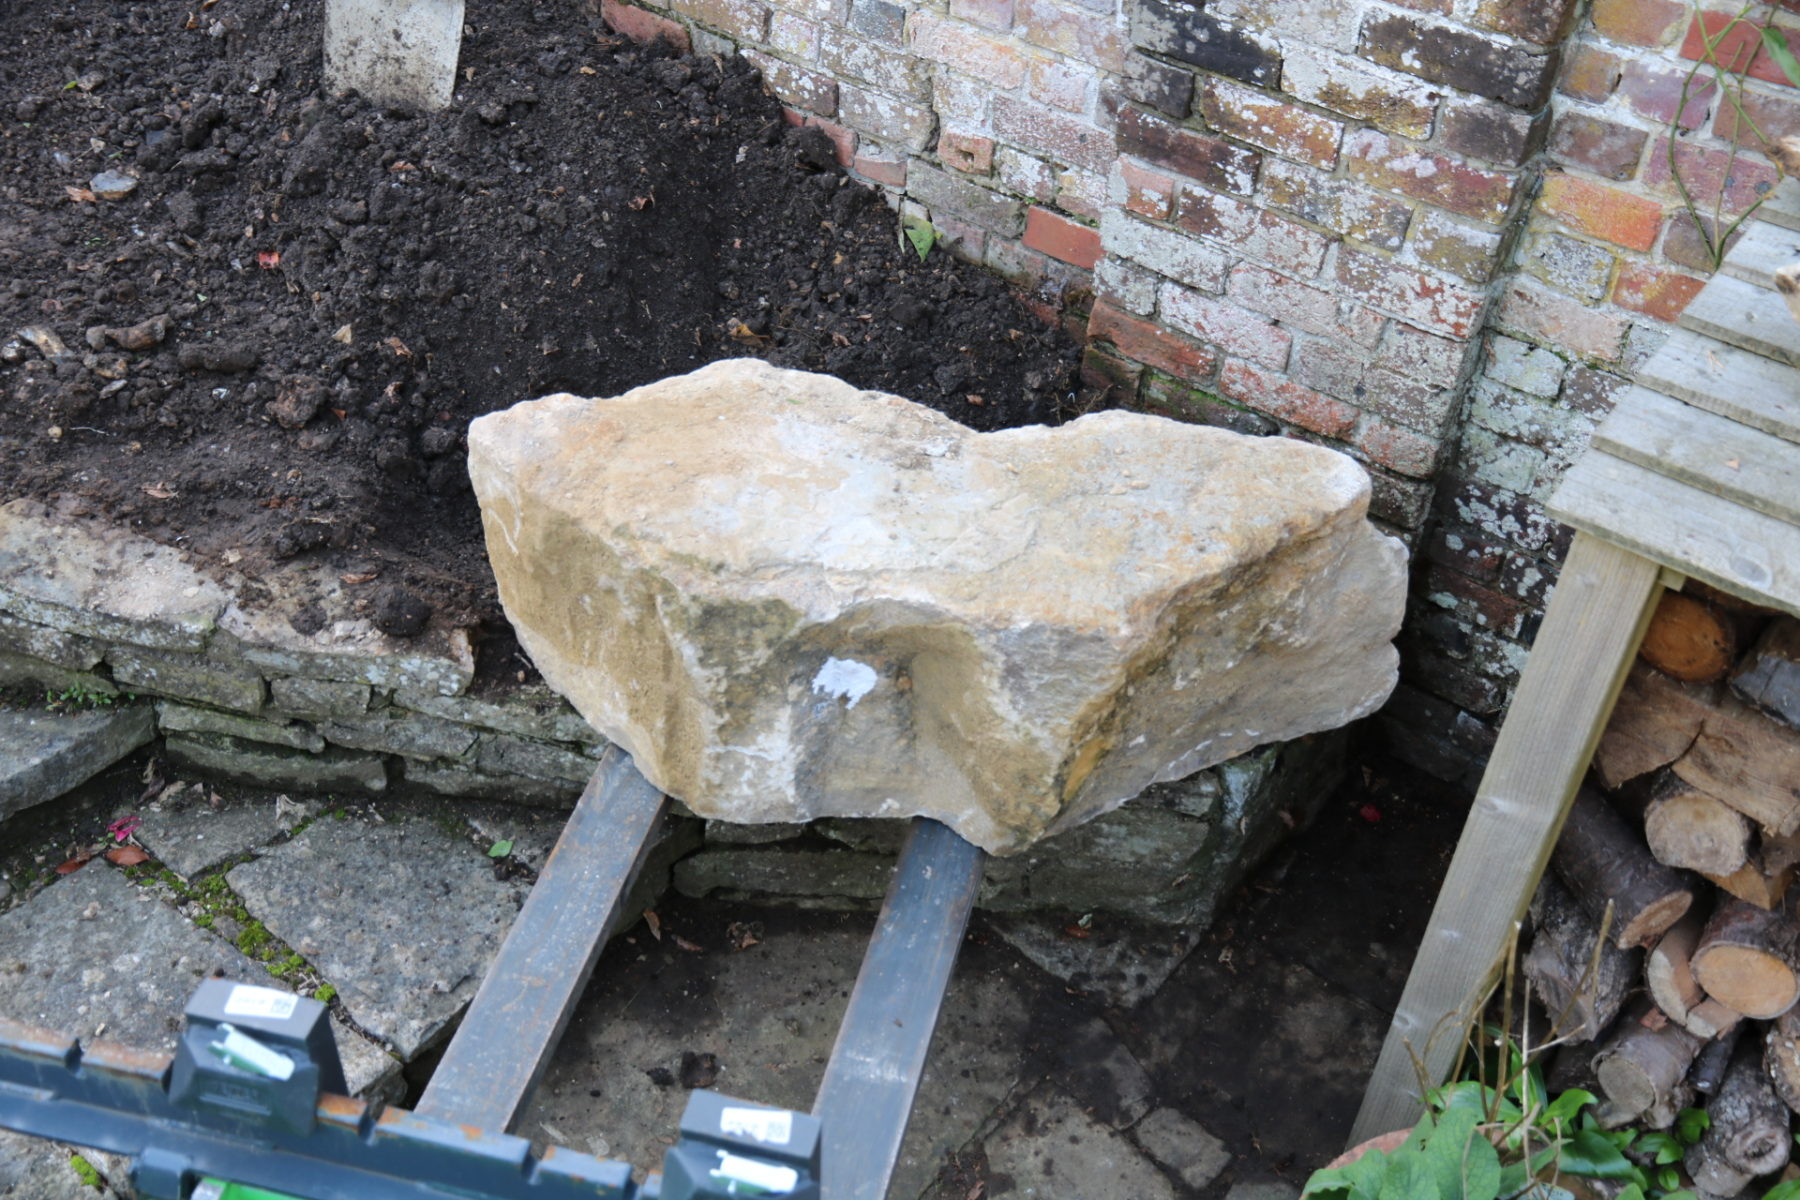
I arranged for the stone merchant to deliver the rocks, coordinating with my landscape contractor to be present with a small forklift. The forklift proved invaluable, efficiently transporting the heavy stones to the designated rock garden site in the rear garden.
 Stone delivery for the rock garden project
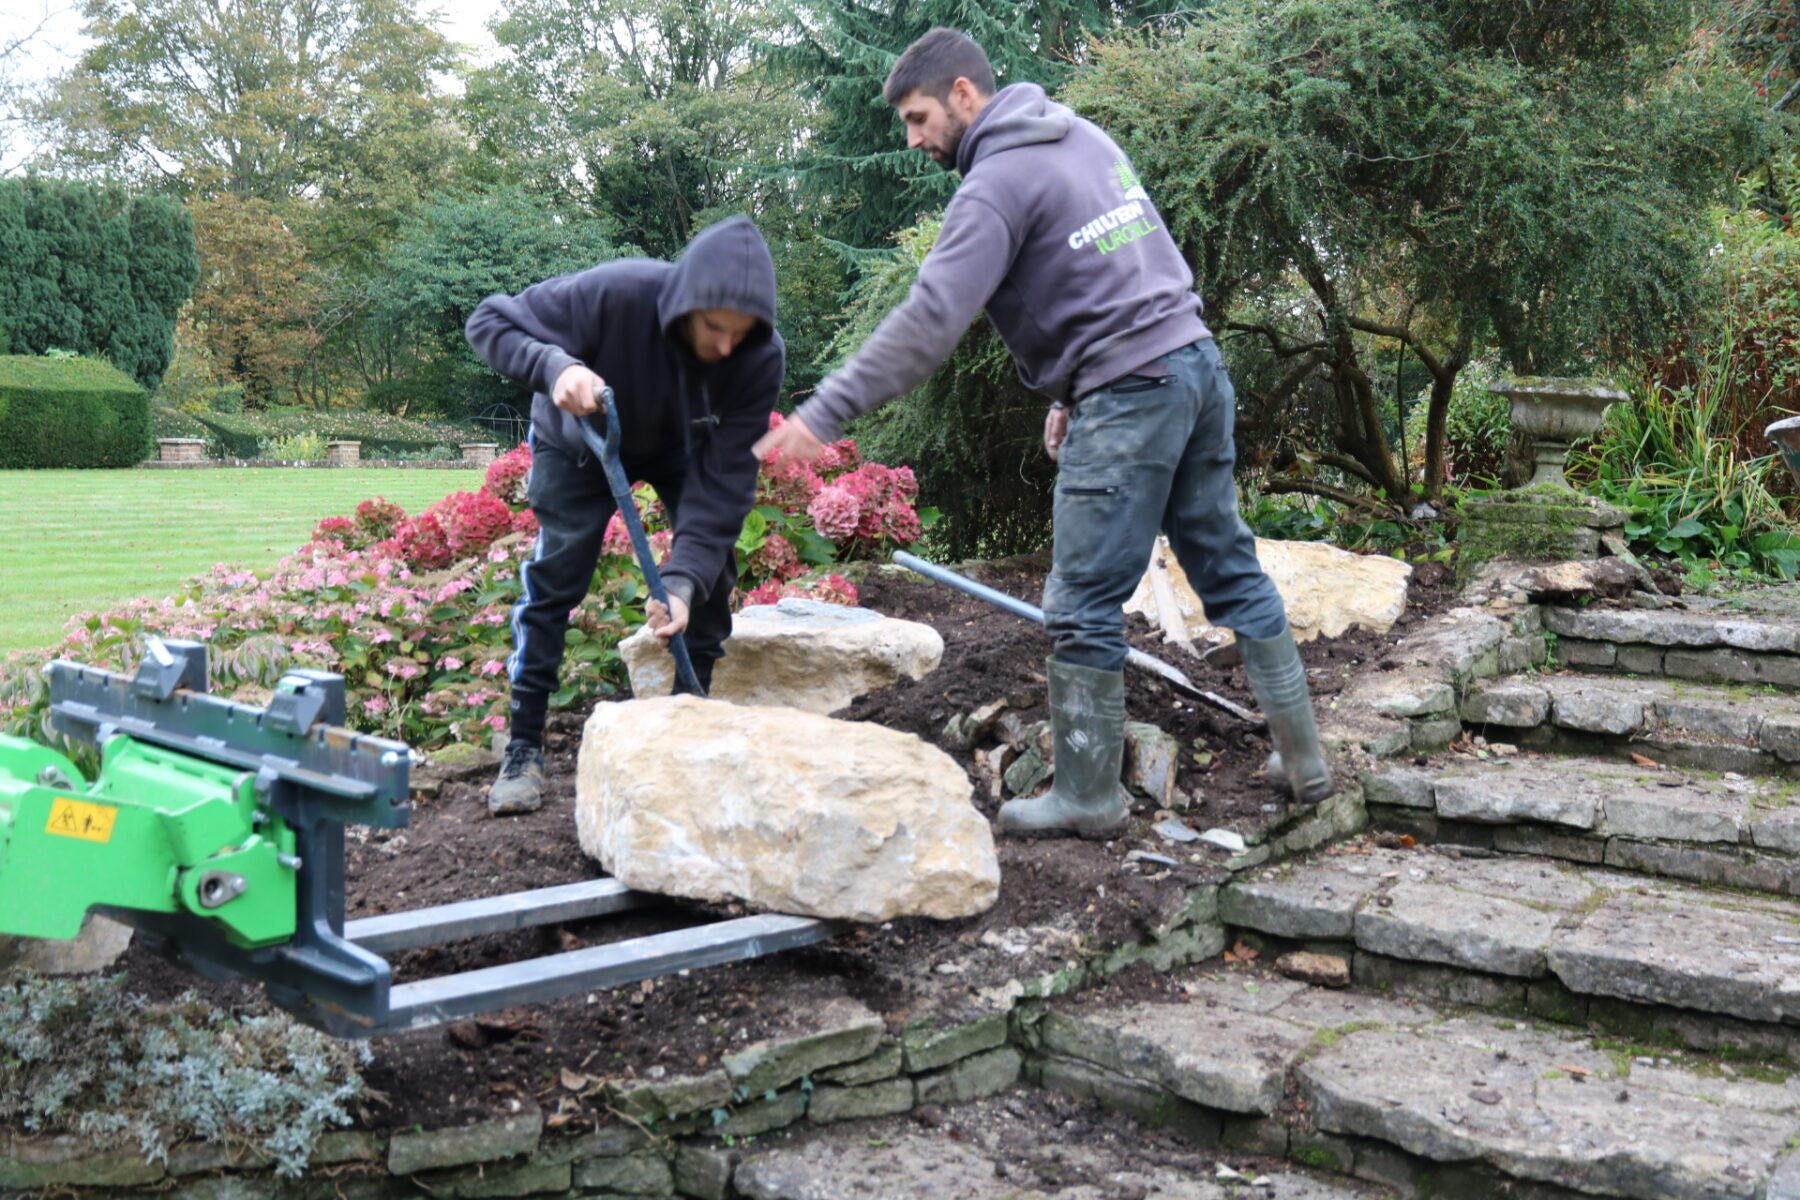
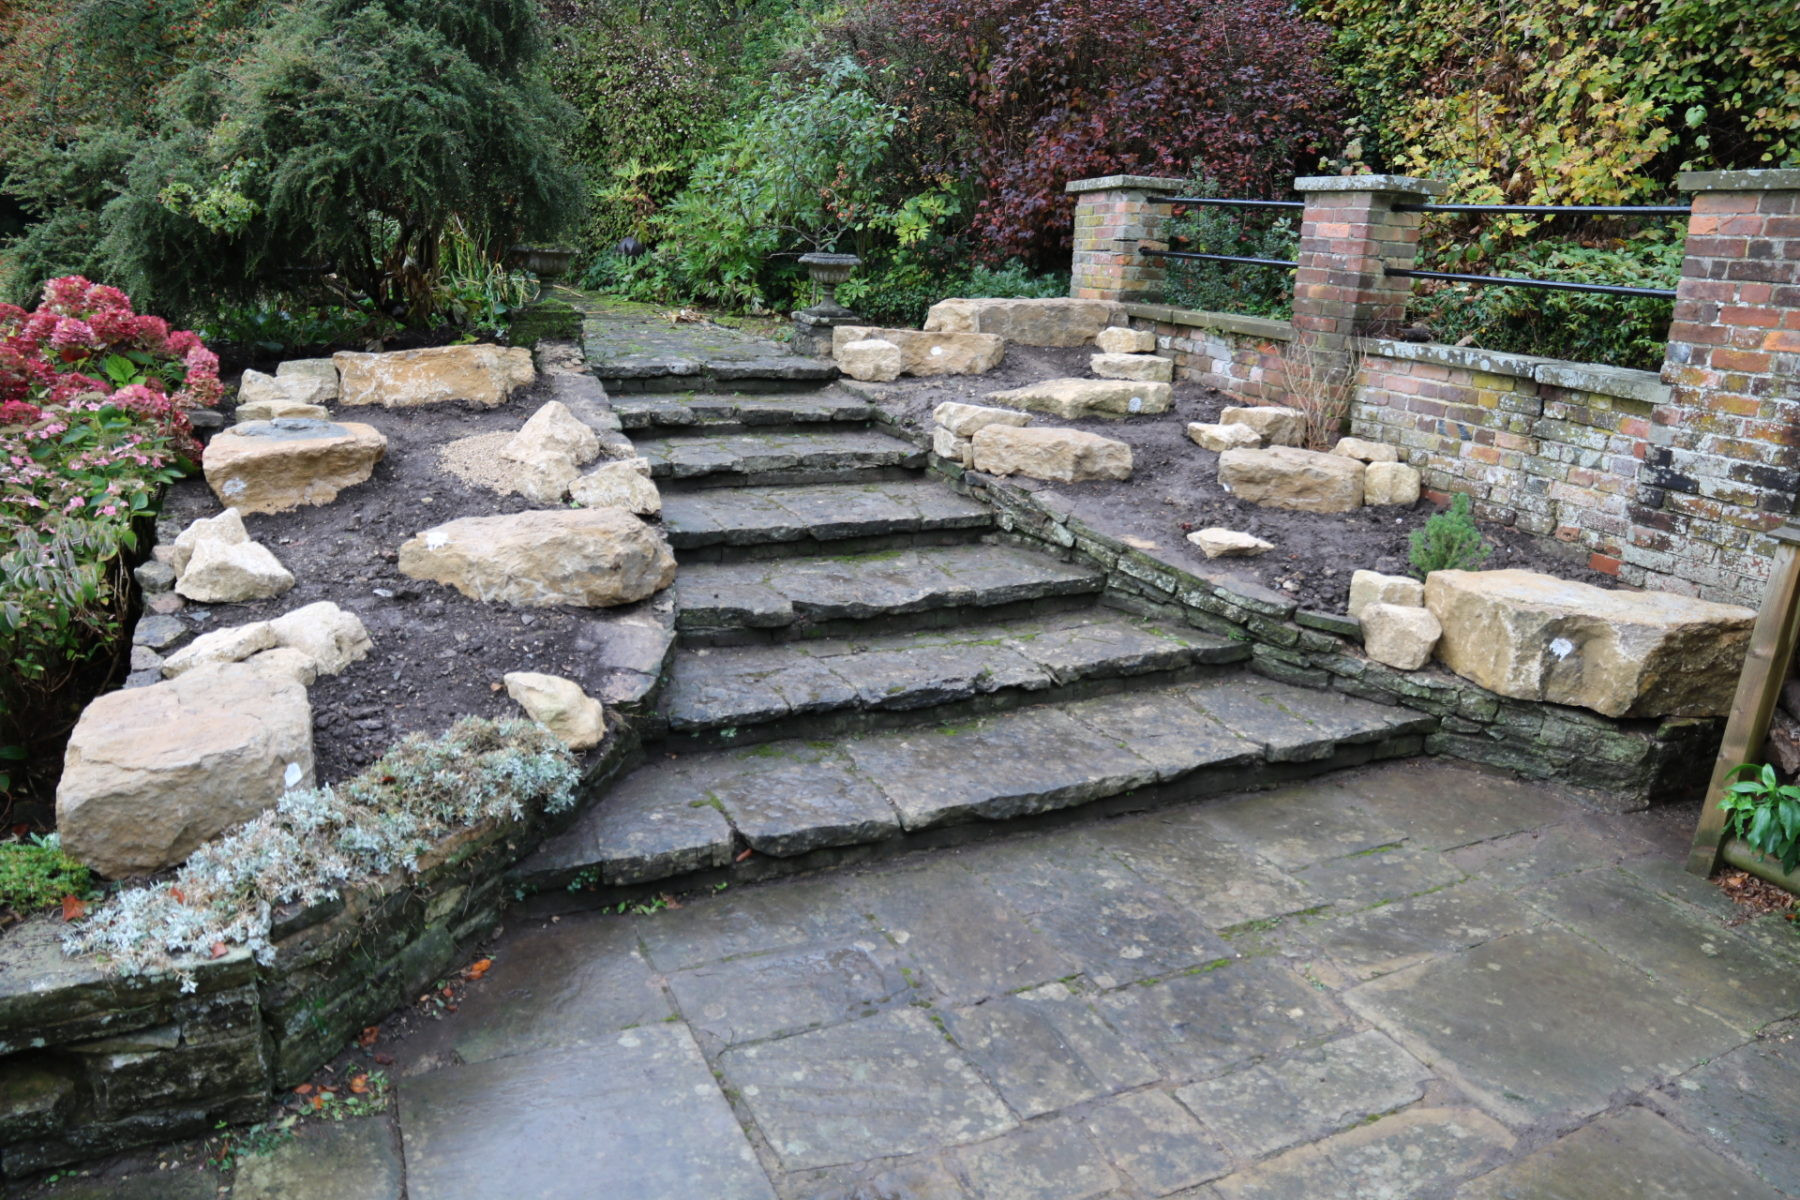
Placing the Foundation: Keystone Rocks
Following established rock garden construction techniques, we began by placing the largest stones as “keystones.” This approach made perfect sense, providing a foundational structure to build upon.
 Placing the first keystone rock
We started at the base of the slope, positioning two substantial stones on either side of the steps. This grounded the rockery visually, giving it weight and anchoring it to the landscape.
Next, I selected stones for the upper section, strategically placed to draw the eye upwards along the slope. The remaining large stones were then used to fill in the design, creating a balanced and natural-looking arrangement.
While the existing stone wall was immovable, I aimed to integrate it into the rock garden design by removing some of the coping stones and allowing the rockery stones to overlap onto the wall’s top surface. This helped to blur the lines between the built structure and the newly created rock garden.
We carefully maneuvered each large stone into position using straps on the forklift. This allowed me to visualize their placement and make adjustments before final placement.
Before setting each stone, we excavated soil beneath it, partially burying it to enhance stability and create a more natural, grounded appearance. We then packed soil firmly into any gaps and crevices to ensure the stones were secure and wouldn’t wobble.
 Positioning the stones with a forklift
To my delight, the keystone arrangement looked right on the first attempt. I assessed the rock garden from various vantage points – from the ground floor and upstairs windows of the house, from the bottom and top of the steps. It simply worked, creating the desired visual impact.
 Keystone rocks in place, forming the foundation
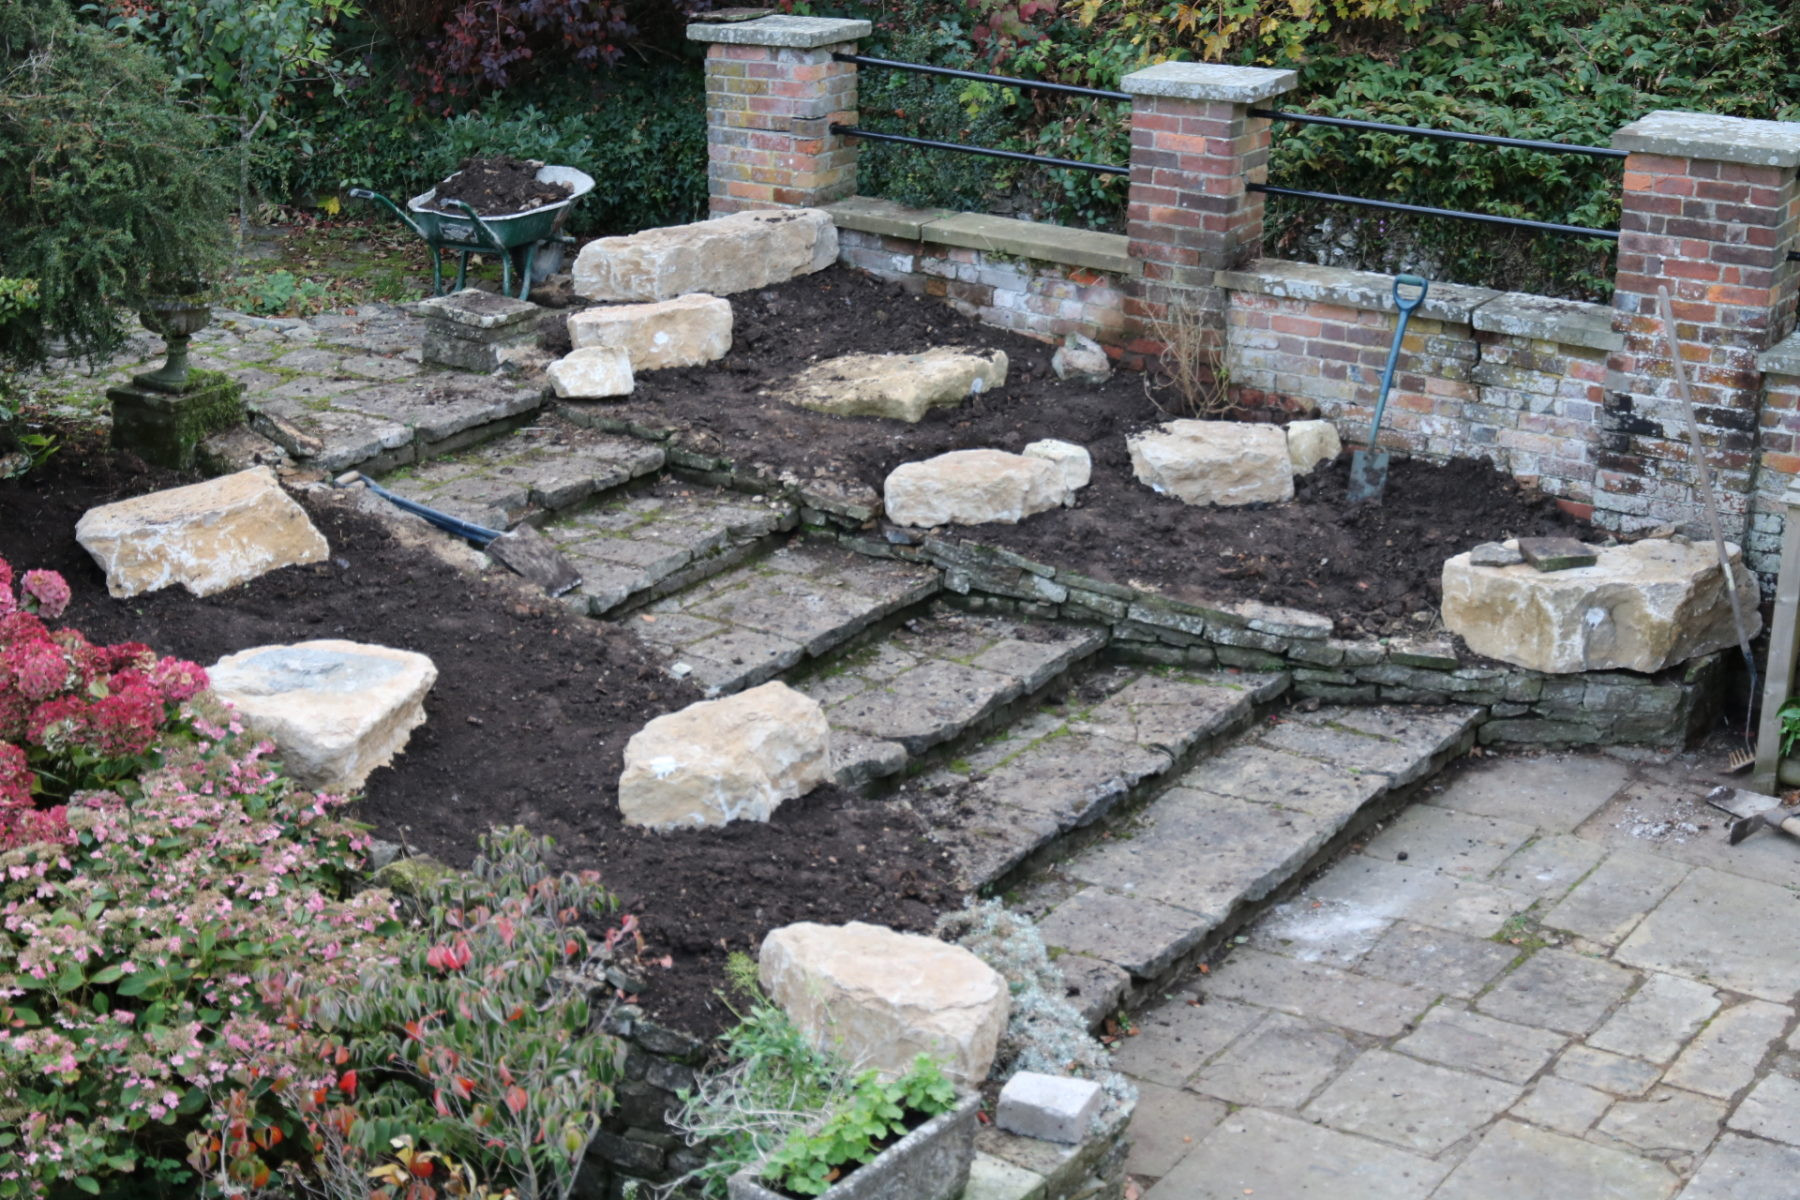
Adding Detail: Placing Smaller Rocks
With the keystones in place, I turned my attention to the bag of smaller stones. These were used to visually connect the larger rocks, creating a cohesive structure and providing intriguing nooks and crannies for planting.
After placing a substantial number of smaller stones, I stepped back to reassess the balance. Realizing I had overdone it slightly, I removed a few to achieve a more harmonious composition.
 Final rock garden design with keystone and smaller rocks
The beauty of rock gardens lies in their versatility. Strategically placed rocks can create a north-facing shady microclimate for shade-loving plants, form planting pockets for trailing specimens, or establish crevices for showcasing particularly attractive plants.
Crafting a Rock Garden Crevice Feature
Creating a seamless transition at the top of the rock garden, where it met the top of the steps, proved to be the most challenging aspect of the construction. I wanted to avoid a jarring visual break as one approached the steps from the garden.
 Creating a crevice garden feature
To achieve a smooth transition, I used old paving slabs stood on end to create an informal retaining edge. Then, I sandwiched more slabs on end between this edge and the uppermost rock garden stone, effectively forming a crevice garden feature. Finally, I packed stones and gravel around the slabs to secure them upright. This crevice area provided an additional dimension to the rock garden and created unique planting opportunities.
Preparing the Rock Garden Soil for Planting
At this point, winter arrived, bringing with it exceptionally wet weather. My clay soil became increasingly waterlogged, making soil preparation, let alone planting, impossible. Patience became essential, and I waited for the arrival of spring.
In early March, a break in the weather allowed the soil to begin drying out gradually. I seized the opportunity to dig over the entire rock garden area, incorporating 20 bags of sharp grit and 15 bags of sharp sand as I worked.
While the soil remained somewhat heavy and claggy initially, it progressively dried out, eventually becoming workable and easily raked to a fine tilth, ideal for planting.
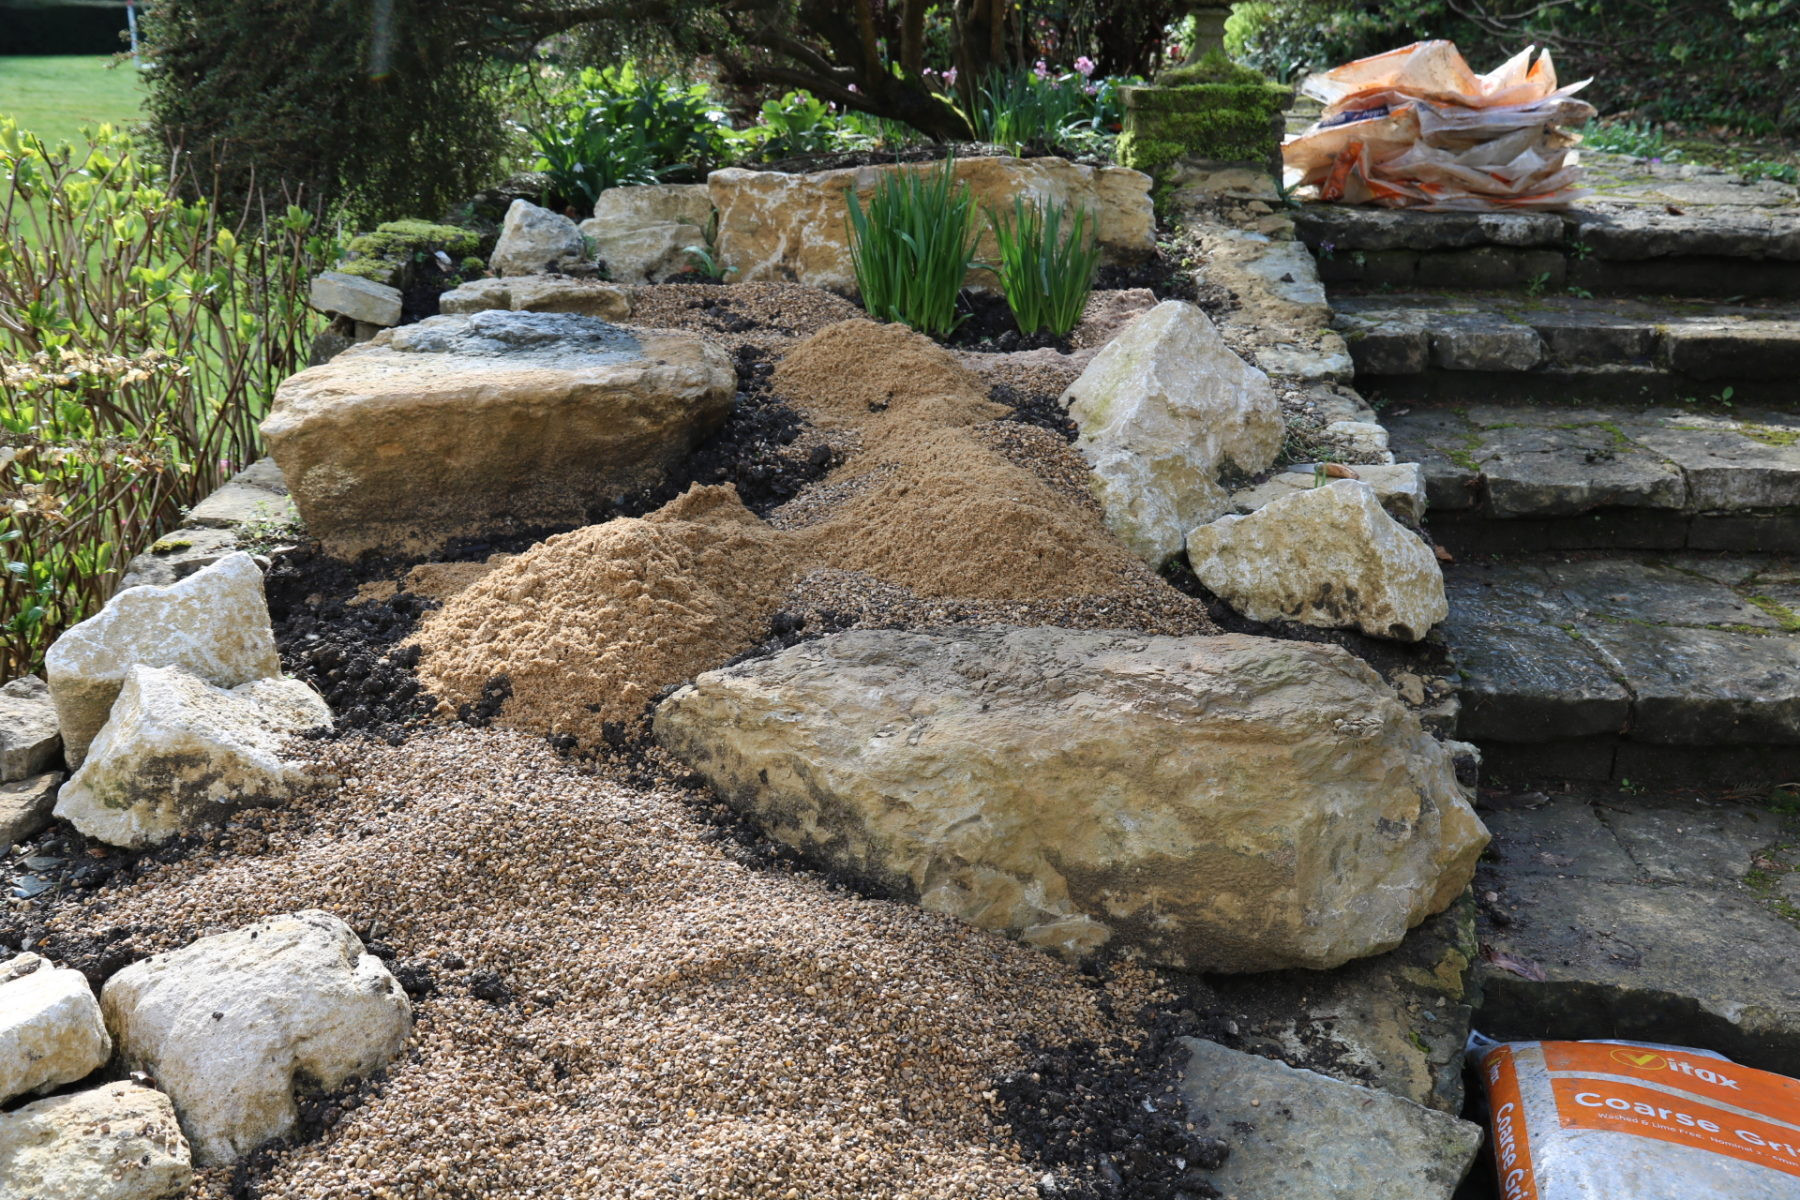 Digging in sand and gravel to improve soil drainage
Planting Your Rock Garden with Alpines and Dwarf Conifers
I had been collecting alpine plants for a couple of years in anticipation of this rock garden project. I also cultivated some from the 2018 Alpine Garden Society Seed Exchange, expanding my plant selection further.
These plants, along with dwarf conifers sourced from my local garden center and mail-order purchases from specialized alpine nurseries during the Covid-19 lockdown, found their new home in my newly constructed rockery.
After planting, I applied a top dressing of grit that harmonized with the color of the rocks. This grit mulch not only enhances the aesthetic appeal but also helps to suppress weeds and retain moisture in the soil.
My future gardening diary will delve into the specific plants and planting pockets within the rock garden design. However, here are a few glimpses of the young plants settling into their new rock garden environment.
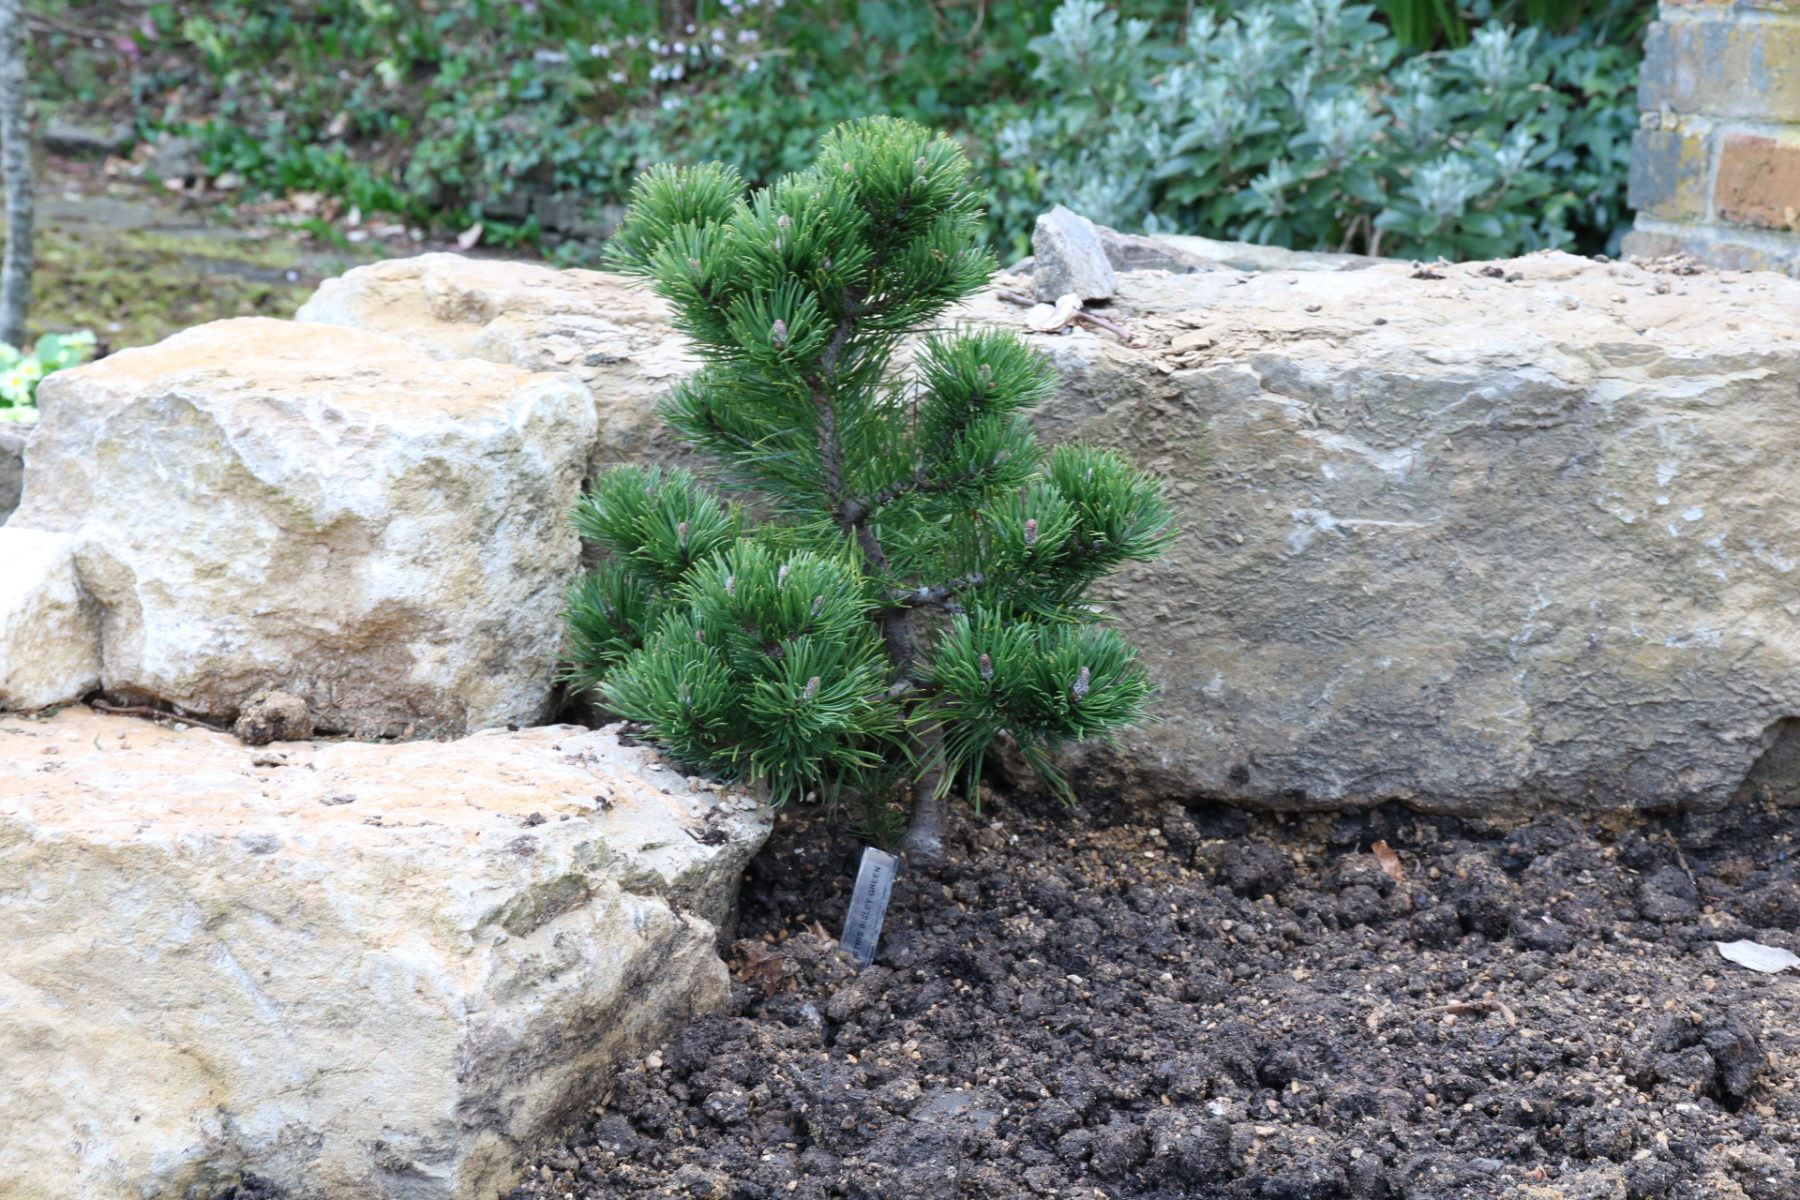 Dwarf conifer in the rock garden
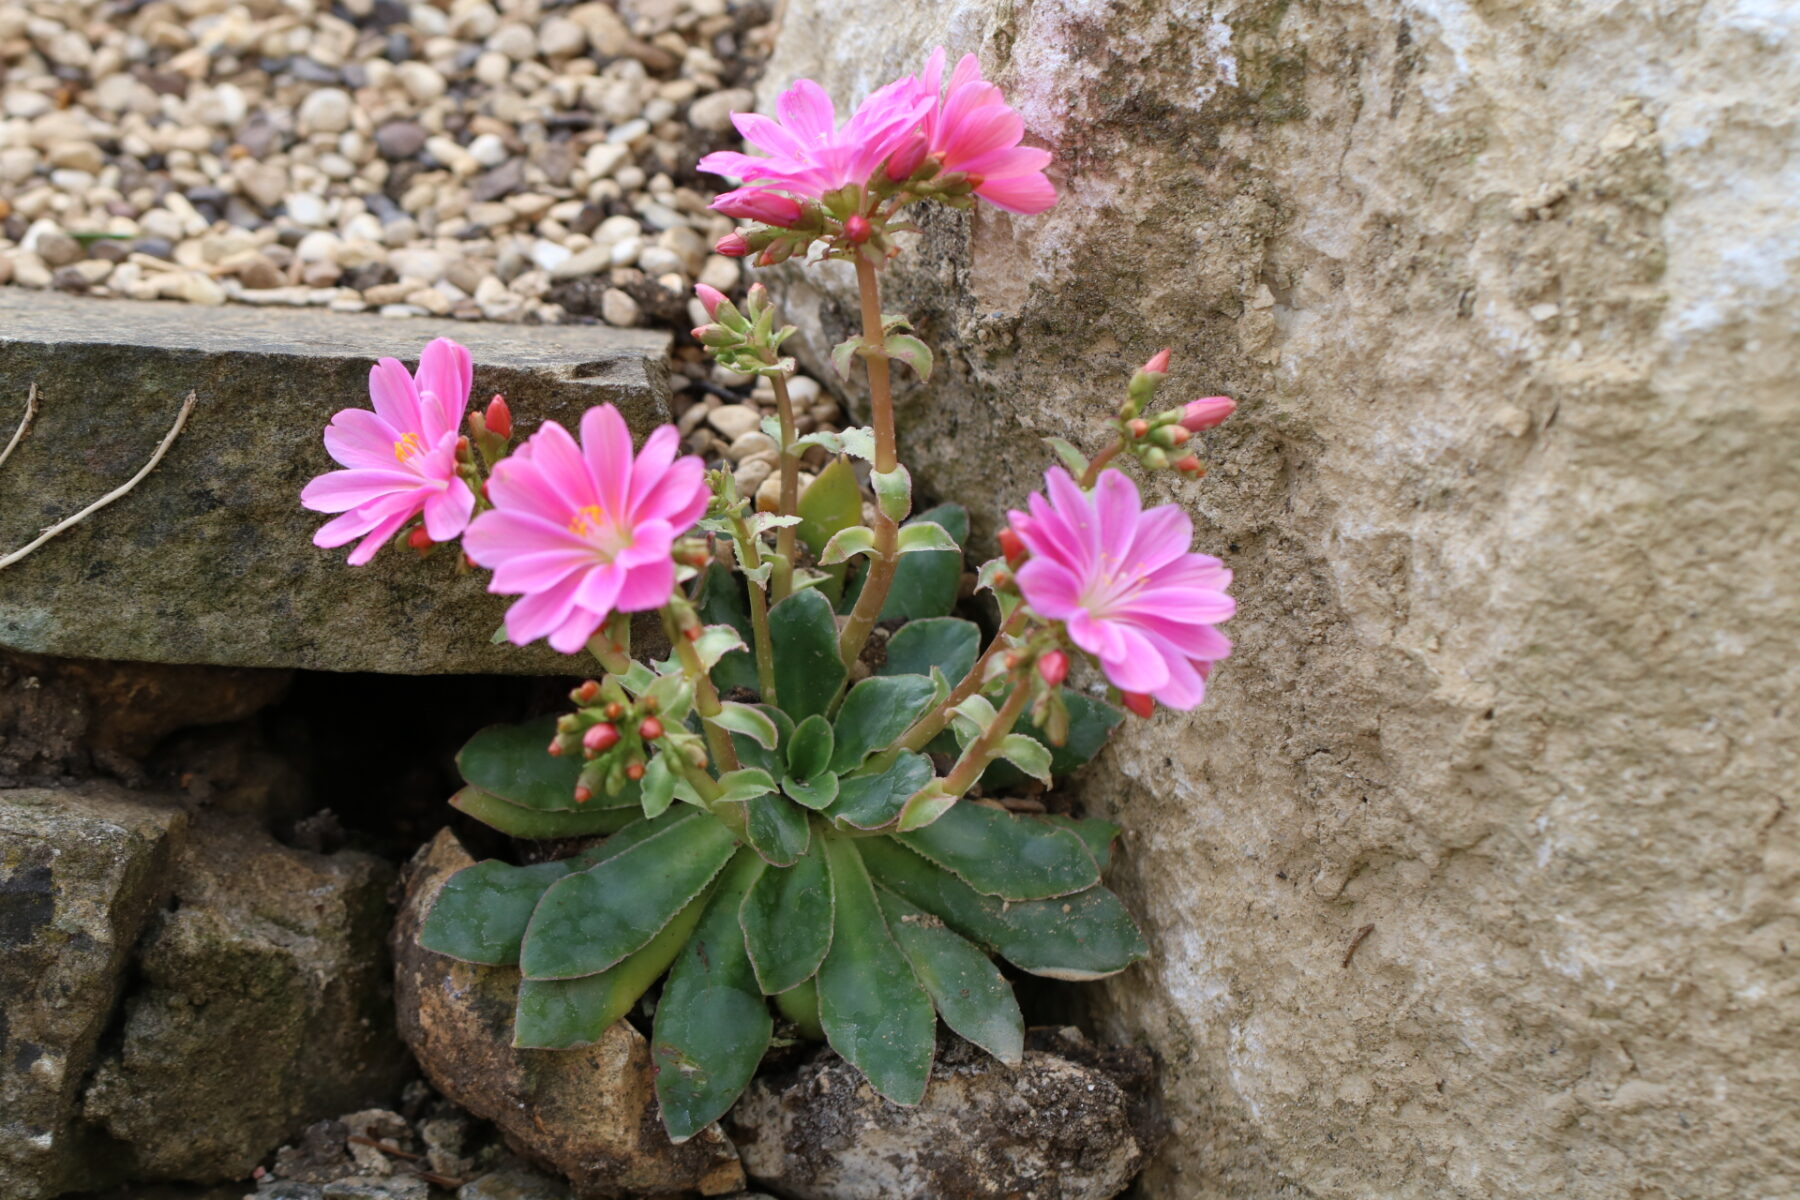 Lewisia in bloom in the rock garden
From inception to completion, building my rock garden spanned nearly two years. As Reginald Farrer, a renowned figure in early 20th-century alpine gardening, eloquently stated in his comprehensive book The English Rock Garden:
“No more advice can be given on design. Each site dictates its own, and each owner’s taste must do the rest.”
My rock garden is a reflection of my personal vision, my garden’s unique characteristics, and my individual aesthetic preferences. It’s a testament to the idea that every rock garden is a unique creation, shaped by its environment and the gardener’s personal touch.
Katharine Woods