Rock Painting has emerged as a delightful and accessible hobby for individuals of all ages and artistic backgrounds. Whether you’re looking for a relaxing creative outlet, a fun activity to share with family, or a unique way to spread kindness in your community, rock painting offers a colorful and engaging path. If you’re curious about diving into this rewarding pastime, you’ve come to the right place. We’re answering the top questions beginners often ask to help you start your rock painting journey with confidence and excitement.
 Assortment of painted rocks showcasing various designs and colors, perfect examples for beginner rock painters.
Your Top 5 Rock Painting Questions Answered
Like many, my own foray into rock painting began with a local rock hiding group. What started as a simple summer activity for my children quickly blossomed into a personal passion. The joy of transforming ordinary stones into miniature works of art, sharing them with others, and witnessing the smiles they bring is truly captivating.
Recognizing the widespread interest in this craft, I founded a beginner rock painting group. It became clear that while stunning, intricate rock art abounds online, many newcomers seek straightforward guidance and approachable ideas to get started without feeling overwhelmed. Rock Painting 101 was created to be that resource – your friendly guide to the basics of rock painting.
Every day, we receive a wave of questions from aspiring rock painters. To help you navigate your first steps, we’ve compiled and answered the five most frequently asked questions. If you’ve pondered any of these, rest assured, you’re in excellent company!
1. Where Can I Find Rocks for Painting?
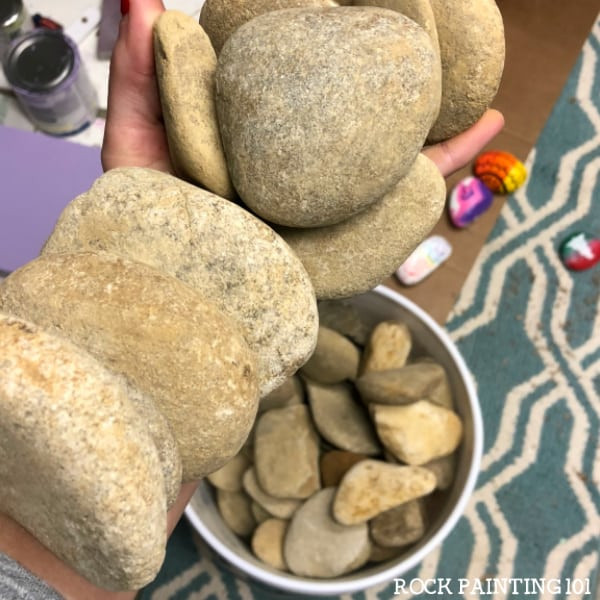 A person selecting smooth rocks from a landscaping supply pile, illustrating a practical source for rock painting materials.
While a casual stroll around your neighborhood might yield a few initial rocks, it’s not the most efficient way to source rocks for regular painting sessions. For a consistent supply and better selection, consider visiting a local landscaping supply company. Many are happy to let you hand-pick rocks by the bucket for a reasonable price. This allows you to choose rocks with ideal shapes and sizes for your projects.
When selecting rocks, prioritize smoothness. A smooth surface makes painting significantly easier and allows your designs to stand out beautifully. For more detailed advice on sourcing rocks from landscaping stores and what to look for, check out our comprehensive guide on where to buy rocks for painting.
If local stores aren’t accessible, or you prefer the convenience of online shopping, numerous online retailers offer rocks specifically for crafting. Explore our curated list of recommended rocks to order online for convenient options delivered right to your door.
2. Do I Need to Apply a Base Coat to My Rocks?
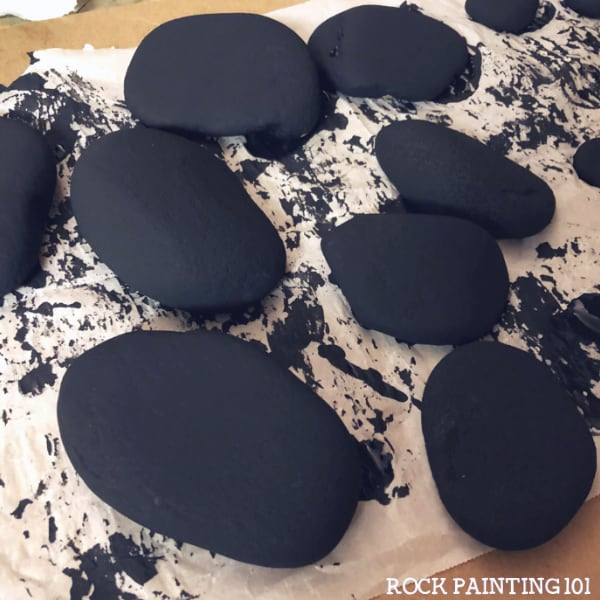 Rocks prepared with different base coats – some with white, some with black, and some un-coated, demonstrating base coating options.
The question of whether to base coat your rocks is largely a matter of personal preference and the desired look of your finished piece.
For a more rustic or natural aesthetic, some artists simply wash and scrub their rocks with water, let them dry completely, and then paint directly onto the natural stone surface. This approach works well, especially if you appreciate the texture and color variations of the rock itself showing through in your design.
However, applying a base coat can offer several advantages. A base coat, typically in white or black acrylic paint, creates a uniform surface for your artwork. This can make colors appear more vibrant and prevent the natural rock color from interfering with your design, especially when using lighter paint colors. For a quick and simple approach, consider applying a basic base coat to one side of the rock.
For a more polished and professional finish, particularly if you plan to paint intricate designs across the entire rock surface, a 360-degree base coat might be preferred. This involves coating the entire rock, ensuring a consistent background from all angles.
3. What Kind of Paint is Best for Rock Painting?
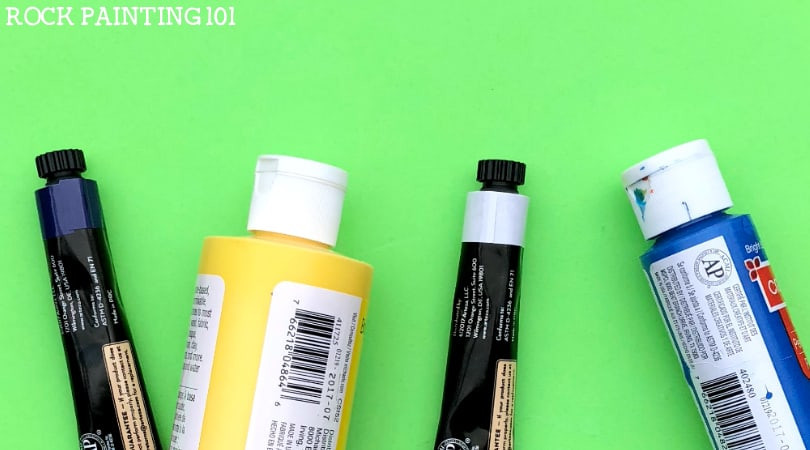 Various rock painting supplies including acrylic paints, paint pens, and brushes, showcasing paint options for rock artists.
The best paint for rock painting truly depends on your comfort level, artistic style, and desired level of detail. The wonderful aspect of rock painting is its versatility – there’s no single “right” or “wrong” type of paint to use.
Acrylic paints are a popular and versatile choice, especially for beginners. They are water-based, readily available in a wide spectrum of colors, and relatively inexpensive. Acrylics can be applied with brushes for broad strokes, detailed linework, and blending techniques. If you’re already familiar with brush painting, acrylics on rocks will feel natural.
Paint pens, particularly those with acrylic-based ink, have gained immense popularity in the rock painting community. Brands like Posca paint pens are favored for their ease of use, vibrant colors, and ability to create fine lines and intricate details. For beginners, Posca paint pens are highly recommended due to their control and minimal mess. They are excellent for doodling, lettering, and creating detailed patterns on rocks.
Ultimately, experiment with both brushes and acrylics, and paint pens to discover which tools best suit your artistic style and the designs you envision for your painted rocks.
4. How Should I Seal My Painted Rocks?
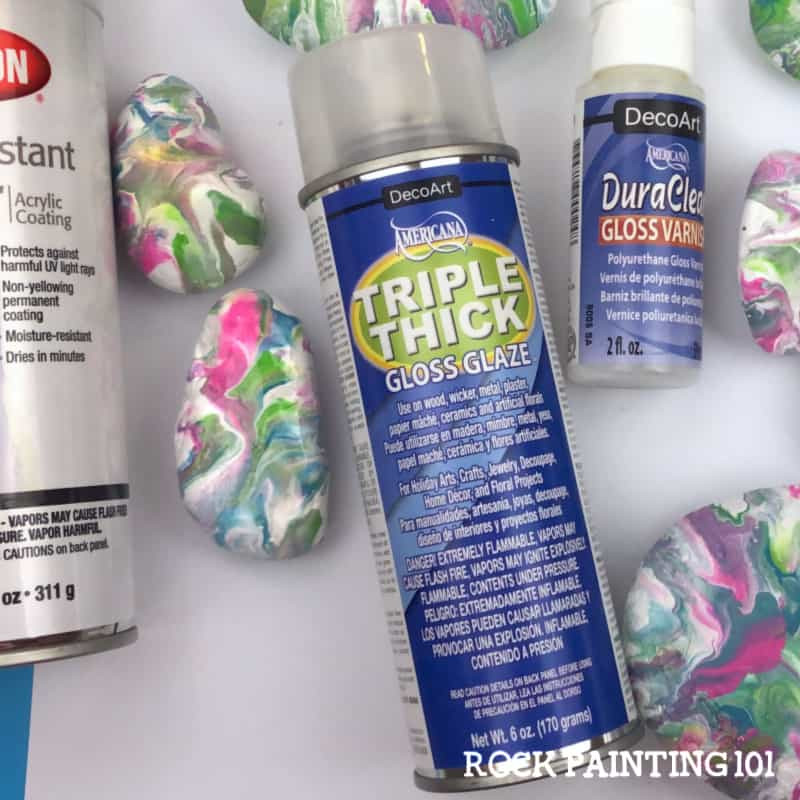 A hand spraying a sealant onto painted rocks, demonstrating the sealing process for protecting rock art.
Sealing your painted rocks is a crucial step to protect your artwork from the elements, especially if you plan to hide them outdoors or display them in your garden. A good sealant will safeguard your paint from chipping, fading, and running, ensuring your creations remain vibrant and beautiful for longer.
Spray-on sealants are a popular choice for their convenience and ability to quickly seal multiple rocks at once. They are generally affordable and provide excellent coverage. When using spray sealants, remember these key tips:
- Weather Resistance and Non-Yellowing: Opt for a sealant specifically labeled as weather-resistant and non-yellowing to prevent your colors from distorting over time and protect against moisture.
- Spraying Distance: Maintain a distance of at least 10 inches when spraying to avoid pooling or drips.
- Light Coats: Apply sealant in thin, even coats. Multiple light coats are more effective than one heavy coat. Allow each coat to dry before applying the next.
- Test Rock: Always test your sealant on a sample rock painted with the same paints and mediums you used for your main project. This ensures the sealant won’t cause your artwork to bleed or run.
For detailed guidance on using spray sealants, explore our tips for sealing painted rocks with spray.
Brush-on sealants are also available, offering an indoor-friendly alternative and more control over application, especially for detailed areas. For advice on this method, see our brush-on sealing tips.
To explore specific product recommendations, check out our guide to the best sealants for painted rocks featuring various brands and types.
5. What Can I Do With My Finished Painted Rocks?
Congratulations, you’ve now created a collection of beautifully painted rocks! But what comes next? Your rock painting hobby is likely to expand beyond your workspace, so having a plan for your creations is a good idea.
Rock Hiding: Participating in local rock hiding groups is a fantastic way to share your art and bring joy to others in your community. Simply hide your painted rocks in public places for others to find and enjoy.
Other Ideas:
- Donate to Hospitals and Care Homes: Brighten someone’s day by donating your painted rocks to local hospitals, nursing homes, or children’s centers.
- Join a Rock Painting Group: Connect with fellow rock artists by searching for “rocks” and your city or town name on Facebook to find local rock painting groups. These communities are wonderful for sharing inspiration, tips, and friendship.
- The Kindness Rocks Project: Participate in the global Kindness Rocks Project by painting rocks with inspirational messages and spreading positivity.
- Gifts and Home Decor: Painted rocks make unique and thoughtful handmade gifts. You can also use them to add a touch of color and personality to your own home and garden décor. (Just be mindful of space and avoid becoming a “rock hoarder”!).
Ready to Start Your Rock Painting Adventure?
These five questions are just the beginning of the exciting world of rock painting. From exploring different painting techniques to depicting animals, landscapes, and intricate designs, there’s endless creativity to discover in this hobby.
The beauty of rock painting lies in its accessibility. You don’t need to be a professional artist to enjoy and excel at this craft. The rock painting community is incredibly welcoming and supportive, filled with individuals eager to share their knowledge and encouragement. Don’t hesitate to ask questions, experiment, and most importantly, have fun!
Join this rock painting group for tutorials and inspiration to fuel your creativity.
Now that you have the essential knowledge, it’s time to get inspired and start painting! Explore these fun rock painting ideas to spark your imagination and kickstart your rock painting journey.