Making rock candy on a stick is a delightful and surprisingly simple process, perfect for a fun kitchen project, and at rockscapes.net, we believe in enriching lives through creative and engaging activities. You’ll learn how to create beautiful, crystalline treats right in your own home, with a little patience and some easily accessible ingredients. Rock candy recipes are easy and can be customized to your desired sweetness.
1. What is Rock Candy and Why Make It at Home?
Rock candy is a confection made from large sugar crystals, often enjoyed for its pure sweetness and vibrant colors. Making your own rock candy offers a fun and educational experience.
- What is rock candy? Sometimes called “sugar candy,” rock candy consists entirely of large sugar crystals. You can often find it in various colors in candy stores.
- Why make it at home? While readily available for purchase, crafting your own rock candy is a fun and rewarding experience, perfect for personal enjoyment, gifting, or as an engaging science experiment for kids.
2. What are the Key Ingredients and Equipment Needed?
Gathering the right materials ensures a smooth rock candy-making process.
- Granulated Sugar: This is the primary ingredient, forming the crystal structure of the candy.
- Water: Used to dissolve the sugar and create the supersaturated solution.
- Food Coloring (Optional): Allows you to customize the color of your rock candy.
- Mason Jars: These serve as the crystallization chambers. Standard 16 oz. mason jars are recommended.
- Skewers or Sticks: Provide a base for the sugar crystals to grow on. Wooden kabob skewers work well, or you can purchase dedicated rock candy sticks.
- Clothespins or Chip Clips: Used to suspend the skewers in the mason jars, preventing them from touching the bottom.
3. Step-by-Step Guide: How Do You Make Rock Candy On A Stick?
Follow these steps to create your own dazzling rock candy at home.
3.1 Preparing the Skewers:
“Seeding” the skewers with sugar provides a foundation for crystal growth.
- Moisten the Skewers: Submerge the skewers in water.
- Coat with Sugar: Roll the wet skewers in granulated sugar, ensuring they are thoroughly coated.
- Dry Completely: Set the coated skewers aside to dry completely. This may take at least an hour, or preferably overnight.
3.2 Setting Up the Jars:
Preparing the jars ensures a clean and stable environment for crystal formation.
- Clean the Jars: Ensure the mason jars are clean and warmed with hot water to prevent shocking the sugar solution.
- Secure the Skewers: Attach a clothespin or chip clip to the top of each skewer.
- Balance the Skewers: Balance the skewers over the top of the jars, ensuring they hang about an inch from the bottom. This prevents the crystals from adhering to the jar’s bottom, making removal difficult.
- Remove Skewers Temporarily: Set the skewers aside until the sugar solution is ready.
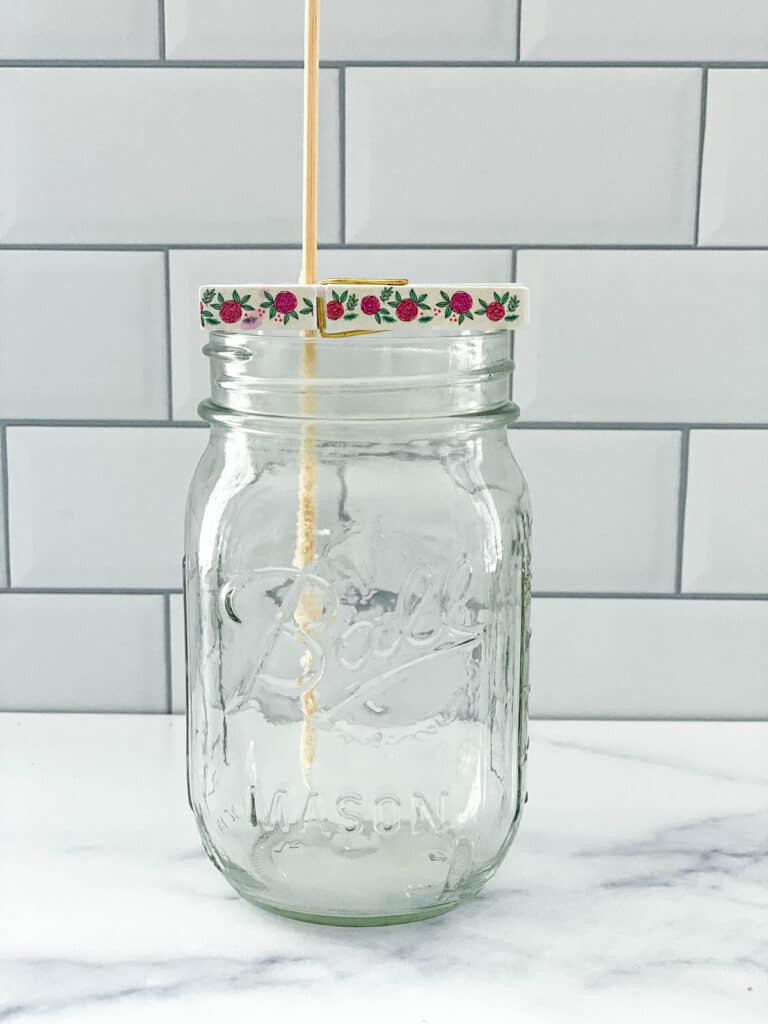 Skewer sitting in mason jar ready for rock candy sugar solution
A rock candy stick is prepared inside a mason jar, ready for a sugar solution.
3.3 Creating the Sugar Solution:
The key to rock candy is a supersaturated sugar solution.
- Boil Water: Add 4 cups of water to a large saucepan and bring to a boil.
- Dissolve Sugar: Gradually add 10 cups of granulated sugar, one cup at a time, stirring continuously with a wooden spoon. Ensure each cup is fully dissolved before adding the next.
- Supersaturation: Notice that the solution becomes increasingly difficult to dissolve as more sugar is added. This indicates the solution is becoming supersaturated.
- Simmer: Once all the sugar is dissolved, let the mixture simmer for about 5 minutes.
- Cool Slightly: Remove the saucepan from the heat and let the mixture rest for about 15 minutes.
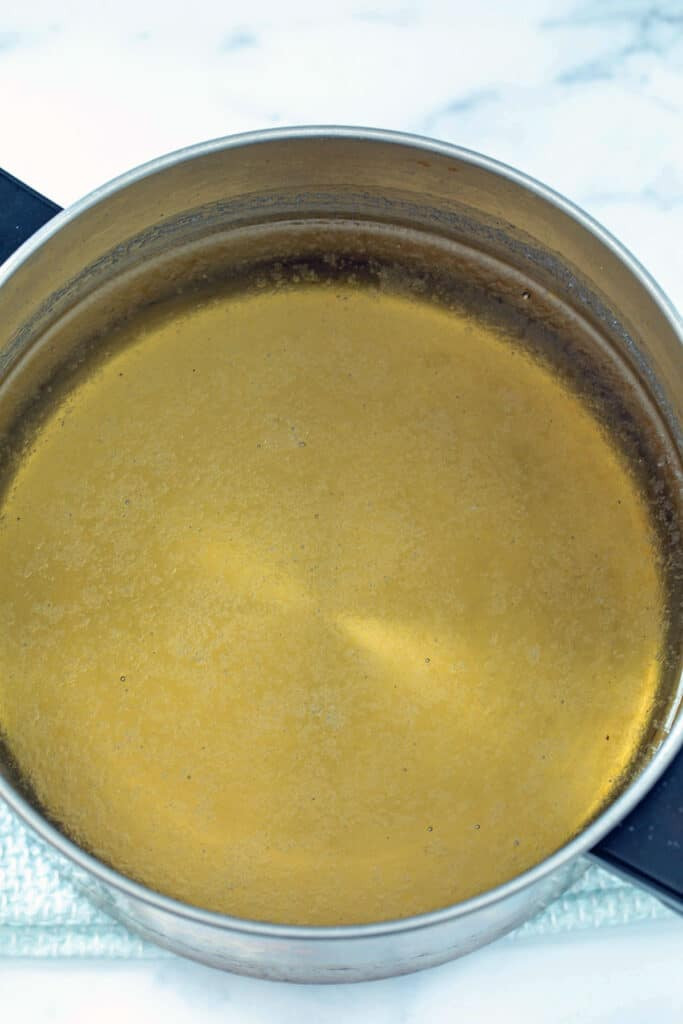 Sugar water solution simmering in saucepan
A sugar water solution boils in a pot.
3.4 Adding Color and Crystallizing:
Carefully pour the solution into jars and allow the crystals to form.
- Divide the Solution: Carefully divide the hot sugar solution evenly among the prepared mason jars.
- Add Food Coloring: If desired, add a few drops of food coloring to each jar and stir gently.
- Insert Skewers: Gently place the prepared skewers back into the jars, ensuring they remain suspended in the solution.
- Rest and Wait: Place the jars in a stable location where they will not be disturbed for the next 6-7 days.
3.5 Crystal Growth:
Crystals should begin to form on the skewers within 24 hours.
- Monitor Growth: Observe the jars daily to monitor crystal formation.
- Patience: Allow the crystals to grow for at least 6-7 days for optimal size and clarity.
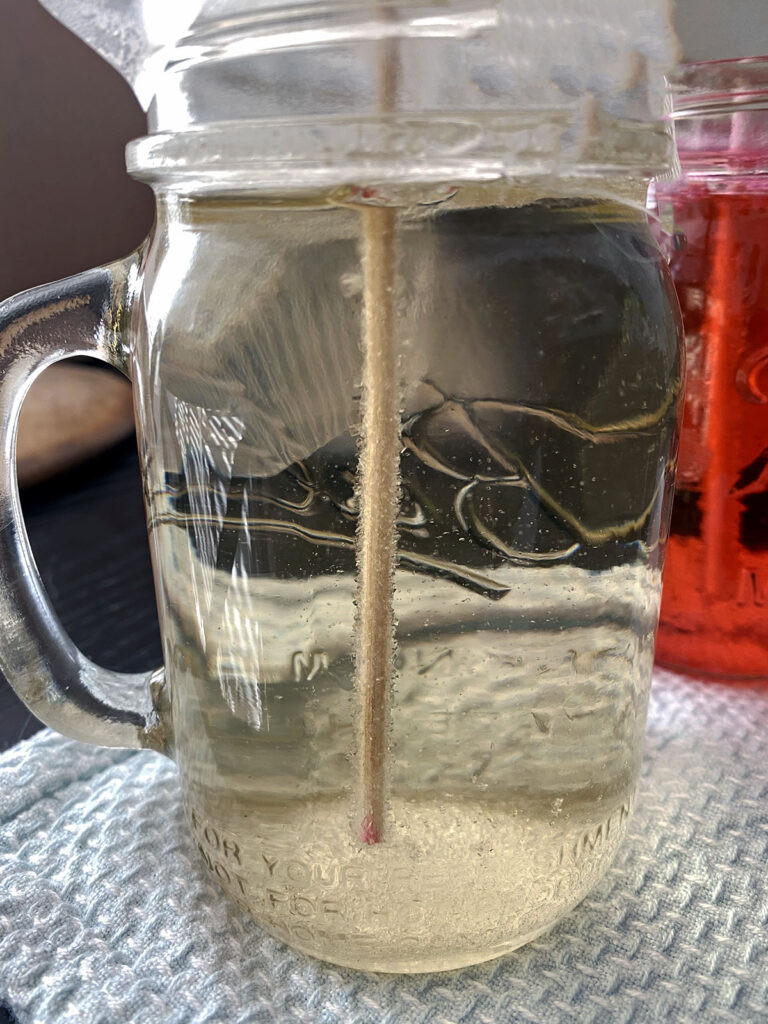 Rock candy crystals forming in jar after 1 day
The initial crystals are already forming on the stick after just one day.
3.6 Removing and Drying:
Gently remove the rock candy from the jars and let them dry.
- Crack the Surface: Use a finger or utensil to gently break the hardened sugar crust on the top of the jar.
- Release the Stick: Carefully wiggle the skewer to loosen it from the jar.
- Drip Dry: Allow the excess syrup to drip off the rock candy by suspending it over an empty jar or placing it on a paper towel.
- Dry Completely: Let the rock candy dry completely before enjoying or storing.
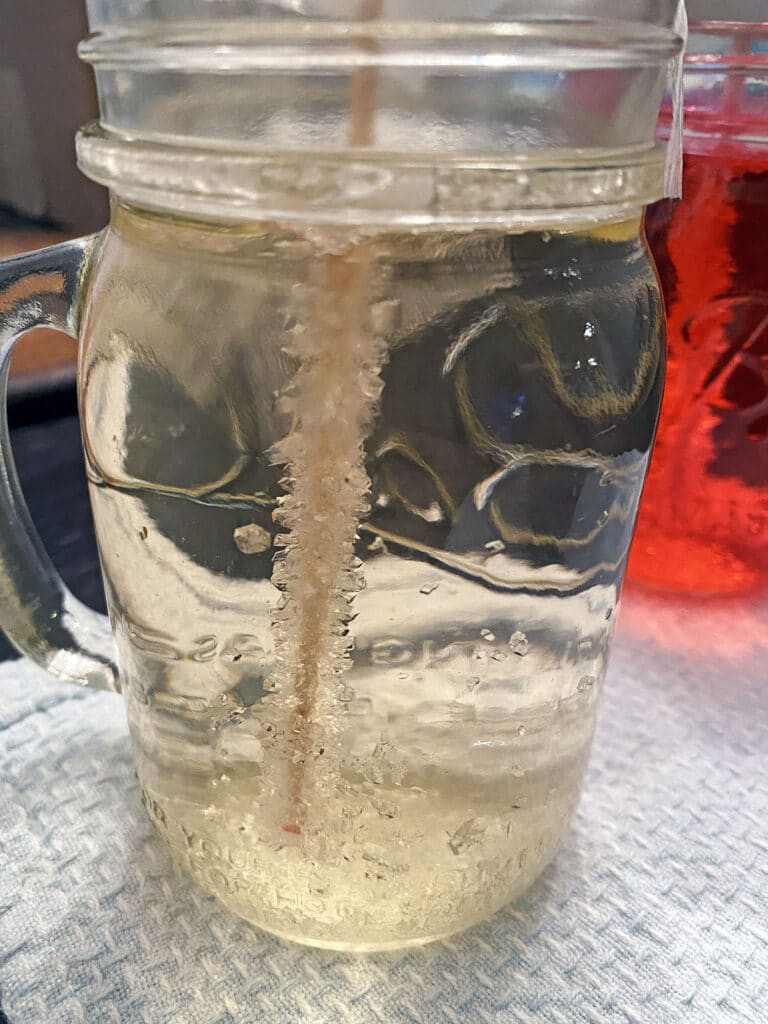 Rock candy crystals forming in jar after 3 days
Rock candy crystals in a jar after three days.
4. Can I Re-Use Sugar Solution?
Yes, you can reuse the sugar solution, but with a few adjustments.
- Re-boil the Solution: After removing the rock candy, pour the remaining solution back into the saucepan and bring it to a boil.
- Add More Sugar: Add an additional ¼ cup of sugar to the solution and let it simmer for a few minutes.
- Cool and Re-use: Pour the solution back into a clean jar and repeat the crystallization process with new sugar-coated skewers.
- Why is Re-heating and Adding Sugar Important? This ensures the solution remains supersaturated, promoting further crystal growth.
5. Why Isn’t My Rock Candy Growing?
Troubleshooting common issues can help ensure successful rock candy.
- Not Oversaturated: If crystals aren’t forming, the sugar solution may not be supersaturated enough. Return the mixture to the saucepan, bring to a boil, and add another cup of sugar. Dissolve completely and repeat if necessary. Use new sugar-coated skewers.
- Dirty or Cold Jars: Ensure the mason jars are clean and not cold before adding the sugar solution.
- Disturbances: Avoid moving or jostling the jars once the skewers are in place.
6. How Can I Make Rock Candy Fast?
Unfortunately, there’s no reliable way to accelerate the crystal growth process significantly.
- Refrigeration (Unconfirmed): Some suggest that refrigerating the jars may speed up growth, but this is not a guaranteed method.
- Early Removal: You can remove the rock candy after a few days, but the crystals will be smaller and less dense.
7. How to Store Rock Candy?
Proper storage ensures your rock candy remains fresh and appealing.
- Cool, Dry Place: Store the rock candy in a cool, dry place.
- Cellophane Wrappers: For longer storage or gifting, wrap the individual sticks in cellophane wrappers.
- Shelf Life: When stored properly, homemade rock candy can last up to a year.
8. Helpful Tips & Tricks for Perfect Rock Candy
These tips will help you achieve rock candy perfection.
- Clean, Warm Jars: Ensure mason jars are completely clean and warmed before use.
- Don’t Skip Seeding: Coating the sticks in sugar is essential for crystal adhesion.
- Intense Colors: Make the color a bit darker than desired, as it will lighten as the crystals form.
- Concentrated Flavoring: Add concentrated flavoring agents sparingly to avoid diluting the sugar solution.
- Avoid Disturbing: Once the sugar mixture and sticks are in the jars, avoid moving or jostling them.
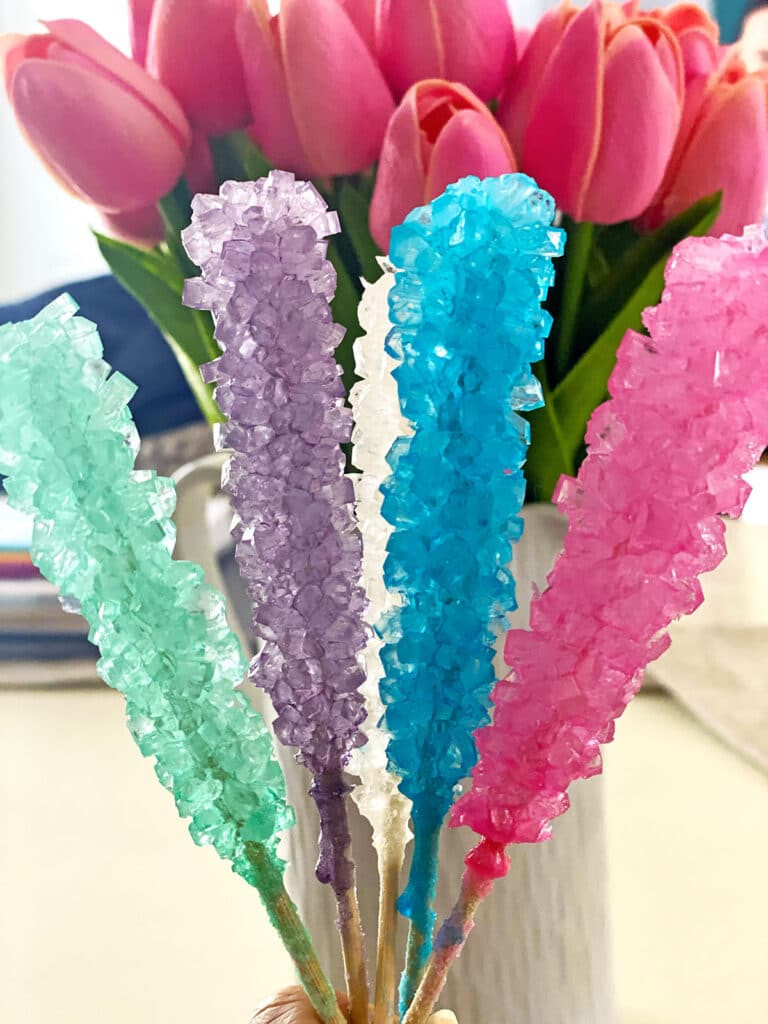 Homemade rock candy on sticks with pink tulips in the background
Three homemade rock candy sticks rest in the background.
9. The Science Behind Rock Candy
Understanding the science of crystallization enhances the rock candy-making experience. According to research from Arizona State University’s School of Earth and Space Exploration, in July 2025, crystal formation depends on creating a supersaturated solution where more solute (sugar) is dissolved in a solvent (water) than would normally be possible at room temperature. This instability causes the sugar molecules to precipitate out of the solution and attach to a seed crystal, such as the sugar coating on the skewer, forming larger crystals over time.
10. Rock Candy Variations
Explore different ways to customize your rock candy.
- Flavored Rock Candy: Experiment with extracts like vanilla, almond, or peppermint.
- Colored Rock Candy: Use various food colorings to create vibrant and eye-catching candies.
- Layered Rock Candy: Create layered effects by partially submerging the skewers in different colored solutions over time.
- Rock Candy Swizzle Sticks: Use rock candy sticks to stir and sweeten beverages.
11. Rock Candy Cocktails
Elevate your cocktails with homemade rock candy.
- Sweeten Drinks: Use flavored rock candy sticks as a stylish and functional way to sweeten cocktails.
- Garnish: Add a rock candy stick as an elegant garnish to your favorite drinks.
12. FAQs About Making Rock Candy on a Stick
12.1 Can I use other types of sugar?
Granulated sugar is the best choice. Granulated sugar provides the clearest crystals because of its purity and uniform crystal size.
12.2 How long does it take for rock candy to form?
6-7 days is ideal for the crystals to fully form. Though you can see results as early as 24 hours, allowing a full week ensures larger, more defined crystals.
12.3 What temperature should the water be?
The water must be boiling when you add the sugar. Boiling water effectively dissolves large amounts of sugar, creating the necessary supersaturated solution.
12.4 Can I add flavorings?
Yes, but use concentrated flavorings sparingly. Adding flavor extracts can enhance your rock candy.
12.5 Why is my rock candy cloudy?
Cloudiness can result from impurities or rapid cooling. Ensure you use clean jars and allow the solution to cool gradually.
12.6 What do I do if the crystals stick to the bottom of the jar?
Make sure the skewer is about an inch from the bottom of the jar. Suspending the skewer prevents the crystals from attaching to the bottom, which simplifies removal.
12.7 Is there a way to make the crystals bigger?
Patience is key, and ensuring the solution is properly supersaturated will help with larger crystals. The more saturated the solution, the more sugar will adhere to the stick.
12.8 Can I use tap water?
Filtered water is preferable to minimize impurities. Filtered water helps ensure clearer crystals by reducing mineral content and other potential contaminants.
12.9 How do I prevent mold growth?
Ensure everything is clean, and avoid introducing contaminants. Using clean equipment and maintaining a stable environment prevent mold.
12.10 What if the sugar doesn’t dissolve completely?
Increase the heat slightly and stir continuously. Proper heat and agitation facilitate complete dissolution.
13. Why Rockscapes.net is Your Best Resource for Creative Projects
At rockscapes.net, we’re dedicated to inspiring creativity and providing valuable resources for projects of all kinds. Just as making rock candy combines science and art, we offer a blend of practical information and imaginative ideas to enhance your projects.
14. Call to Action:
Ready to dive into more fun and creative projects? Visit rockscapes.net today to explore a wealth of ideas, expert advice, and resources that will inspire your next DIY adventure. Unleash your creativity with rockscapes.net and transform ordinary moments into extraordinary experiences.
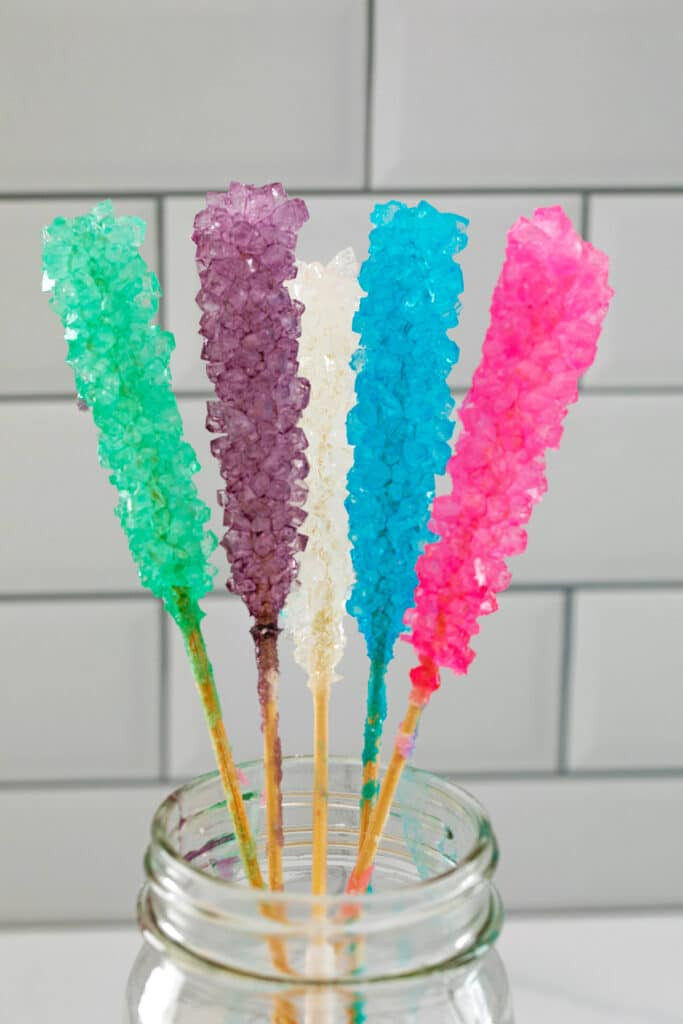 Mason jar filled with 5 different colors of rock candy on sticks
A mason jar is filled with rock candy on sticks with different colors.