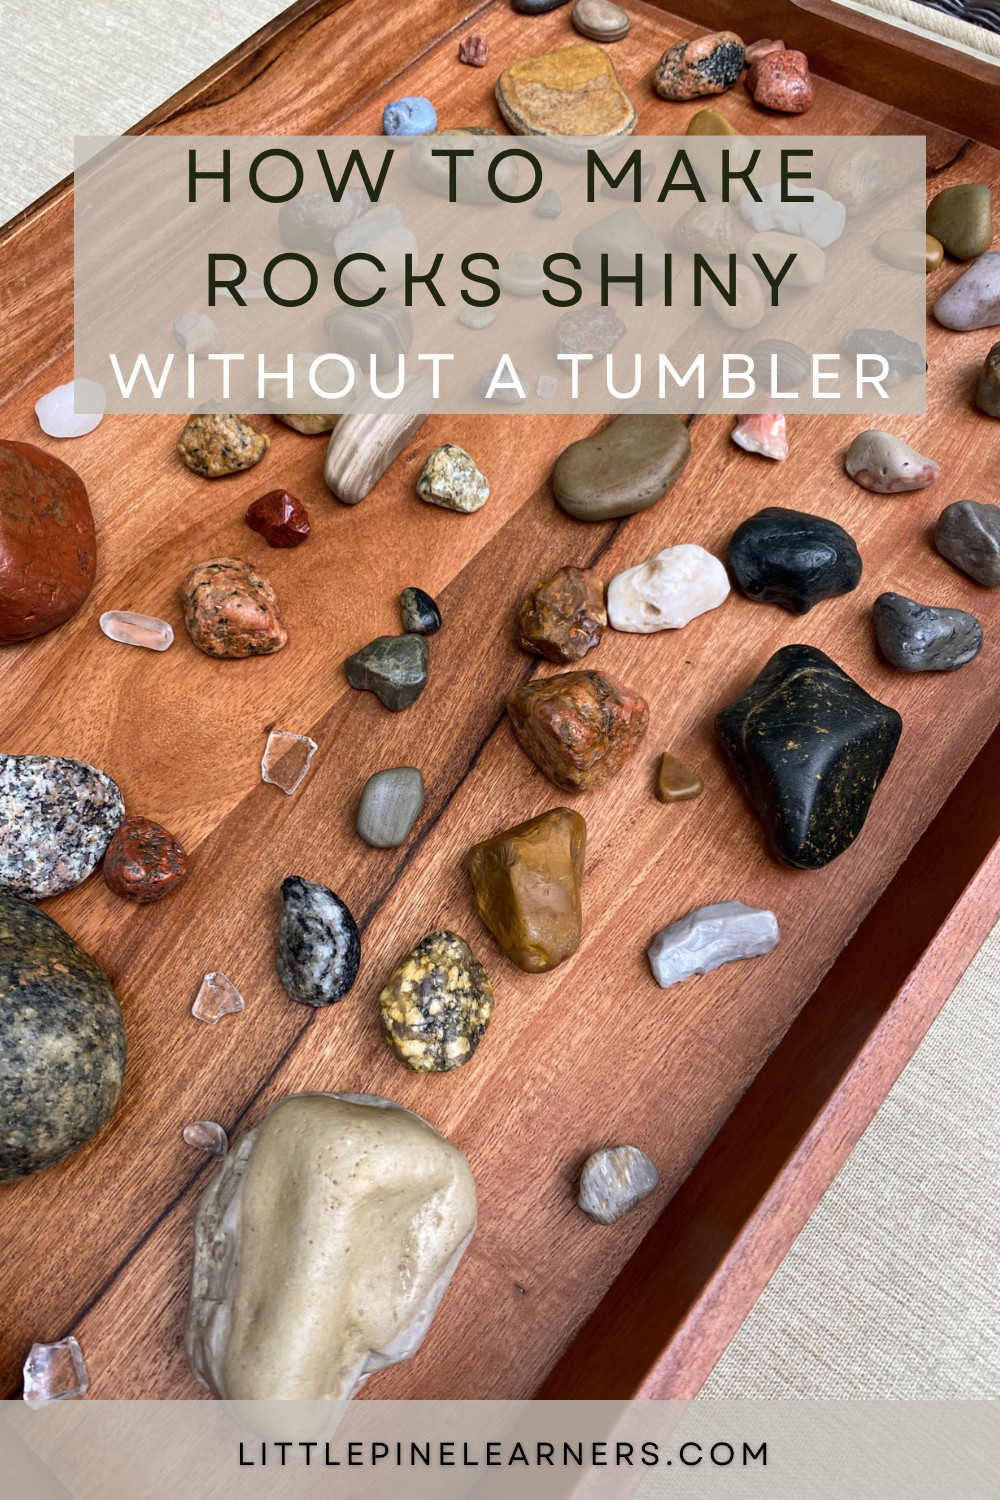
Want to know How Do You Make Rocks Shiny? Polishing rocks brings out their hidden beauty, transforming dull stones into dazzling gems. At rockscapes.net, we’ll guide you through simple and effective methods to achieve a stunning, glossy finish on your rocks, enhancing their natural appeal. Discover the secrets to rock polishing and turn your collection into a showcase of natural artistry.
1. Understanding the Basics of Rock Polishing
Before diving into the practical steps, it’s essential to grasp the underlying principles of rock polishing. This understanding will not only make the process more effective but also more enjoyable. Rock polishing, at its core, is about refining the surface of a rock to a point where it reflects light evenly, creating a shiny appearance.
1.1. What is Rock Polishing?
Rock polishing is the art and science of smoothing the surface of a rock to achieve a glossy, reflective finish. This process typically involves a series of steps, starting with coarse abrasion to remove imperfections and gradually moving to finer abrasives to create a smooth surface. The final step often involves applying a polishing compound to bring out the rock’s natural luster. This can be achieved with a rock tumbler or by hand.
1.2. Why Polish Rocks?
There are several reasons why you might want to polish rocks. For some, it’s a hobby that allows them to connect with nature and appreciate the beauty of the earth’s creations. For others, it’s a way to create unique decorative items for their homes or gardens. Polished rocks can also be used in jewelry making or as part of larger landscaping projects. Additionally, the process of polishing rocks can be a therapeutic and meditative activity, providing a sense of accomplishment and satisfaction. At rockscapes.net, we believe that polishing rocks is a rewarding way to enhance the natural beauty around you.
1.3. Geology of Polished Rocks
The geological properties of rocks play a significant role in how they respond to polishing. Harder rocks, such as quartz and agate, tend to polish well and retain their shine for longer periods. Softer rocks, like sandstone or shale, may be more challenging to polish and may not achieve the same level of gloss. The mineral composition, grain size, and overall structure of a rock also influence its polishability. According to research from Arizona State University’s School of Earth and Space Exploration, rocks with a uniform, fine-grained structure generally polish more easily than those with a coarse, uneven texture.
2. Essential Tools and Materials for Polishing Rocks
To effectively polish rocks, you’ll need a few essential tools and materials. These will vary depending on the method you choose, but here’s a general overview of what you’ll need to get started.
2.1. Rock Tumbler
A rock tumbler is a machine that slowly rotates rocks along with abrasive grits and water. This process gradually wears down the rough edges and polishes the surfaces. There are two main types of rock tumblers: rotary and vibratory. Rotary tumblers are more common and are ideal for polishing a wide variety of rocks. Vibratory tumblers, on the other hand, are faster and can be used for more delicate stones.
2.2. Abrasive Grits
Abrasive grits are essential for the rock polishing process. These grits come in varying levels of coarseness, each designed for a specific stage of polishing. Coarse grit is used to remove rough edges and shape the rocks, while finer grits are used to smooth the surfaces and create a glossy finish. Silicon carbide is a common abrasive material used in rock polishing.
2.3. Polishing Compounds
Polishing compounds are used in the final stage of rock polishing to bring out the rock’s natural luster. These compounds typically contain fine particles of materials like aluminum oxide or cerium oxide. They work by gently buffing the surface of the rock, creating a smooth, reflective finish.
2.4. Safety Gear
When polishing rocks, it’s important to protect yourself from potential hazards. This includes wearing safety glasses to protect your eyes from flying debris and gloves to protect your hands from abrasive materials. A dust mask is also recommended to prevent inhalation of fine particles.
2.5. Other Useful Tools
In addition to the essentials, there are a few other tools that can be helpful in the rock polishing process. These include a rock hammer for breaking down larger rocks, a sieve for separating grits, and a soft cloth for wiping and polishing the finished stones. Additionally, a magnifying glass can be useful for inspecting the rocks and identifying any imperfections.
3. Step-by-Step Guide to Polishing Rocks with a Rock Tumbler
Using a rock tumbler is one of the most effective ways to polish rocks. Here’s a detailed guide to help you through the process.
3.1. Step 1: Preparing the Rocks
Before you can start polishing your rocks, you need to prepare them properly. This involves cleaning the rocks and sorting them by hardness. Remove any dirt, debris, or loose material from the rocks using a brush and water. Then, sort the rocks into groups based on their hardness. This is important because softer rocks will wear down more quickly than harder rocks, and mixing them together can result in uneven polishing.
3.2. Step 2: Coarse Grinding Stage
The coarse grinding stage is the first step in the rock tumbling process. This stage is designed to remove rough edges and shape the rocks. Place the rocks in the tumbler barrel, filling it about two-thirds full. Add coarse grit and water according to the tumbler manufacturer’s instructions. Typically, you’ll want to use about two tablespoons of grit per pound of rock. Tumble the rocks for 7-10 days, checking them periodically to monitor their progress.
3.3. Step 3: Medium Grinding Stage
After the coarse grinding stage, the rocks will be smoother but still have some imperfections. The medium grinding stage is designed to further refine the surfaces. Clean the rocks and the tumbler barrel thoroughly to remove any remaining coarse grit. Add the rocks back to the barrel, along with medium grit and water. Tumble for another 7-10 days, checking periodically.
3.4. Step 4: Fine Grinding Stage
The fine grinding stage is where you start to see the rocks taking on a polished appearance. Clean the rocks and the tumbler barrel again. Add the rocks back to the barrel, along with fine grit and water. Tumble for another 7-10 days, checking periodically.
3.5. Step 5: Polishing Stage
The polishing stage is the final step in the rock tumbling process. This is where you’ll use a polishing compound to bring out the rock’s natural luster. Clean the rocks and the tumbler barrel thoroughly. Add the rocks back to the barrel, along with polishing compound and water. Tumble for another 7-10 days, checking periodically.
3.6. Step 6: Cleaning and Inspecting the Polished Rocks
Once the polishing stage is complete, remove the rocks from the tumbler and clean them thoroughly with soap and water. Inspect the rocks to ensure they have achieved the desired level of shine. If necessary, you can repeat the polishing stage for another few days to further enhance their luster.
 Shiny rocks with oil!
3.7. Tips for Successful Rock Tumbling
Here are a few tips to help you achieve the best results when tumbling rocks:
- Use the right grit: Always use the correct grit for each stage of the polishing process. Using the wrong grit can damage the rocks or prevent them from achieving a smooth finish.
- Keep the tumbler clean: Clean the tumbler barrel and the rocks thoroughly between each stage to prevent contamination from previous grits.
- Check the rocks regularly: Monitor the rocks regularly to check their progress and make sure they are not wearing down too quickly.
- Be patient: Rock tumbling takes time, so be patient and don’t rush the process.
4. Alternative Methods for Making Rocks Shiny
While using a rock tumbler is a popular method for polishing rocks, there are also alternative methods that can be used to achieve a shiny finish. These methods may be more suitable for certain types of rocks or for those who don’t have access to a rock tumbler.
4.1. Hand Polishing
Hand polishing is a method that involves using abrasive pads and polishing compounds to polish rocks by hand. This method is more labor-intensive than using a rock tumbler, but it allows for greater control over the polishing process. It’s particularly well-suited for polishing individual stones or for working with delicate materials.
4.2. Using a Rotary Tool
A rotary tool, such as a Dremel, can be used to polish rocks with the help of polishing attachments. This method is faster than hand polishing and allows for precise control over the polishing process. It’s ideal for polishing small stones or for creating intricate designs.
4.3. Oil Polishing
Oil polishing is a simple method that involves applying oil to the surface of the rocks to enhance their natural shine. This method doesn’t actually polish the rocks, but it can make them appear more glossy and vibrant. It’s a quick and easy way to improve the appearance of rocks without the need for abrasive materials or specialized equipment.
4.4. Burnishing
Burnishing is a method that involves rubbing the surface of the rocks with a smooth, hard object, such as a metal tool or a piece of leather. This process compresses the surface of the rock, creating a smooth, reflective finish. Burnishing is often used to polish metal objects, but it can also be effective for polishing certain types of rocks.
5. Polishing Rocks with Oil: A Quick and Easy Method
For those looking for a quick and easy way to make rocks shiny, oil polishing is an excellent option. This method doesn’t require any specialized equipment or abrasive materials, and it can be done in just a few simple steps.
5.1. Selecting the Right Oil
The first step in oil polishing is to select the right oil. Mineral oil and jojoba oil are both popular choices for this method. Mineral oil is inexpensive and readily available, while jojoba oil is more environmentally friendly and has a pleasant scent.
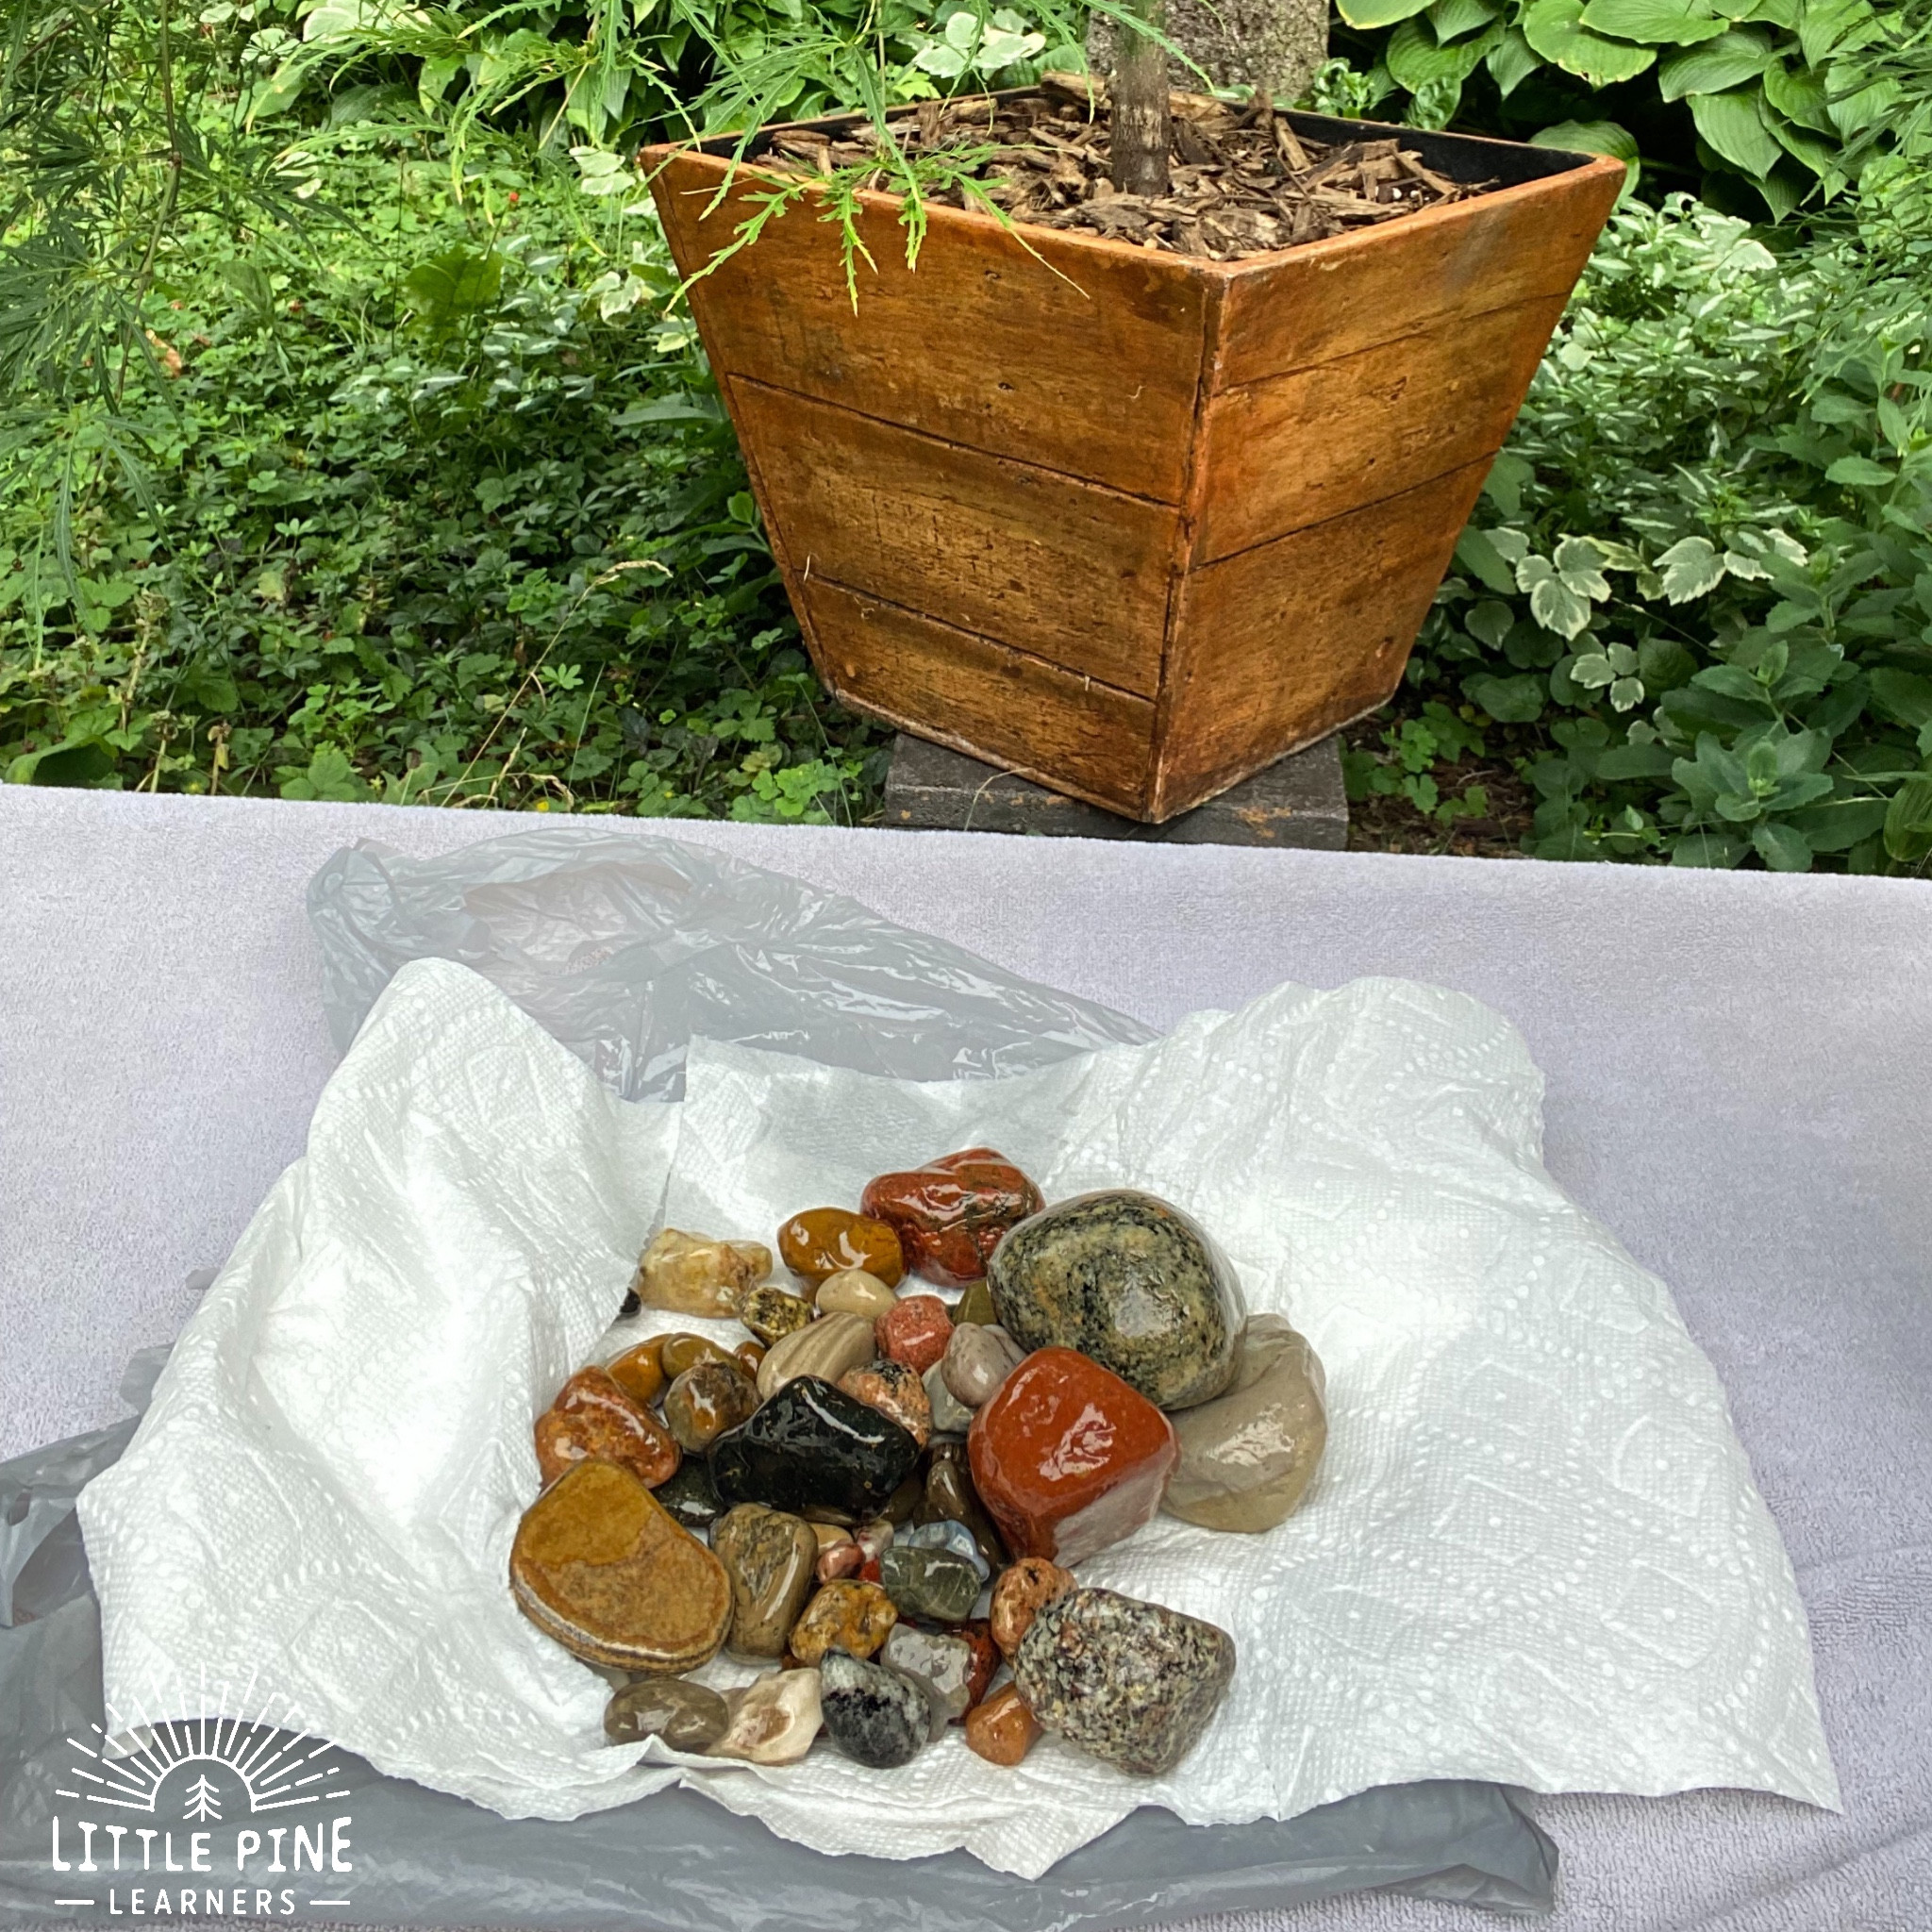
5.2. Step 1: Cleaning the Rocks
Before applying the oil, it’s important to clean the rocks thoroughly. Remove any dirt, debris, or loose material from the rocks using a brush and water. Then, allow the rocks to dry completely.
 Stone activity for kids
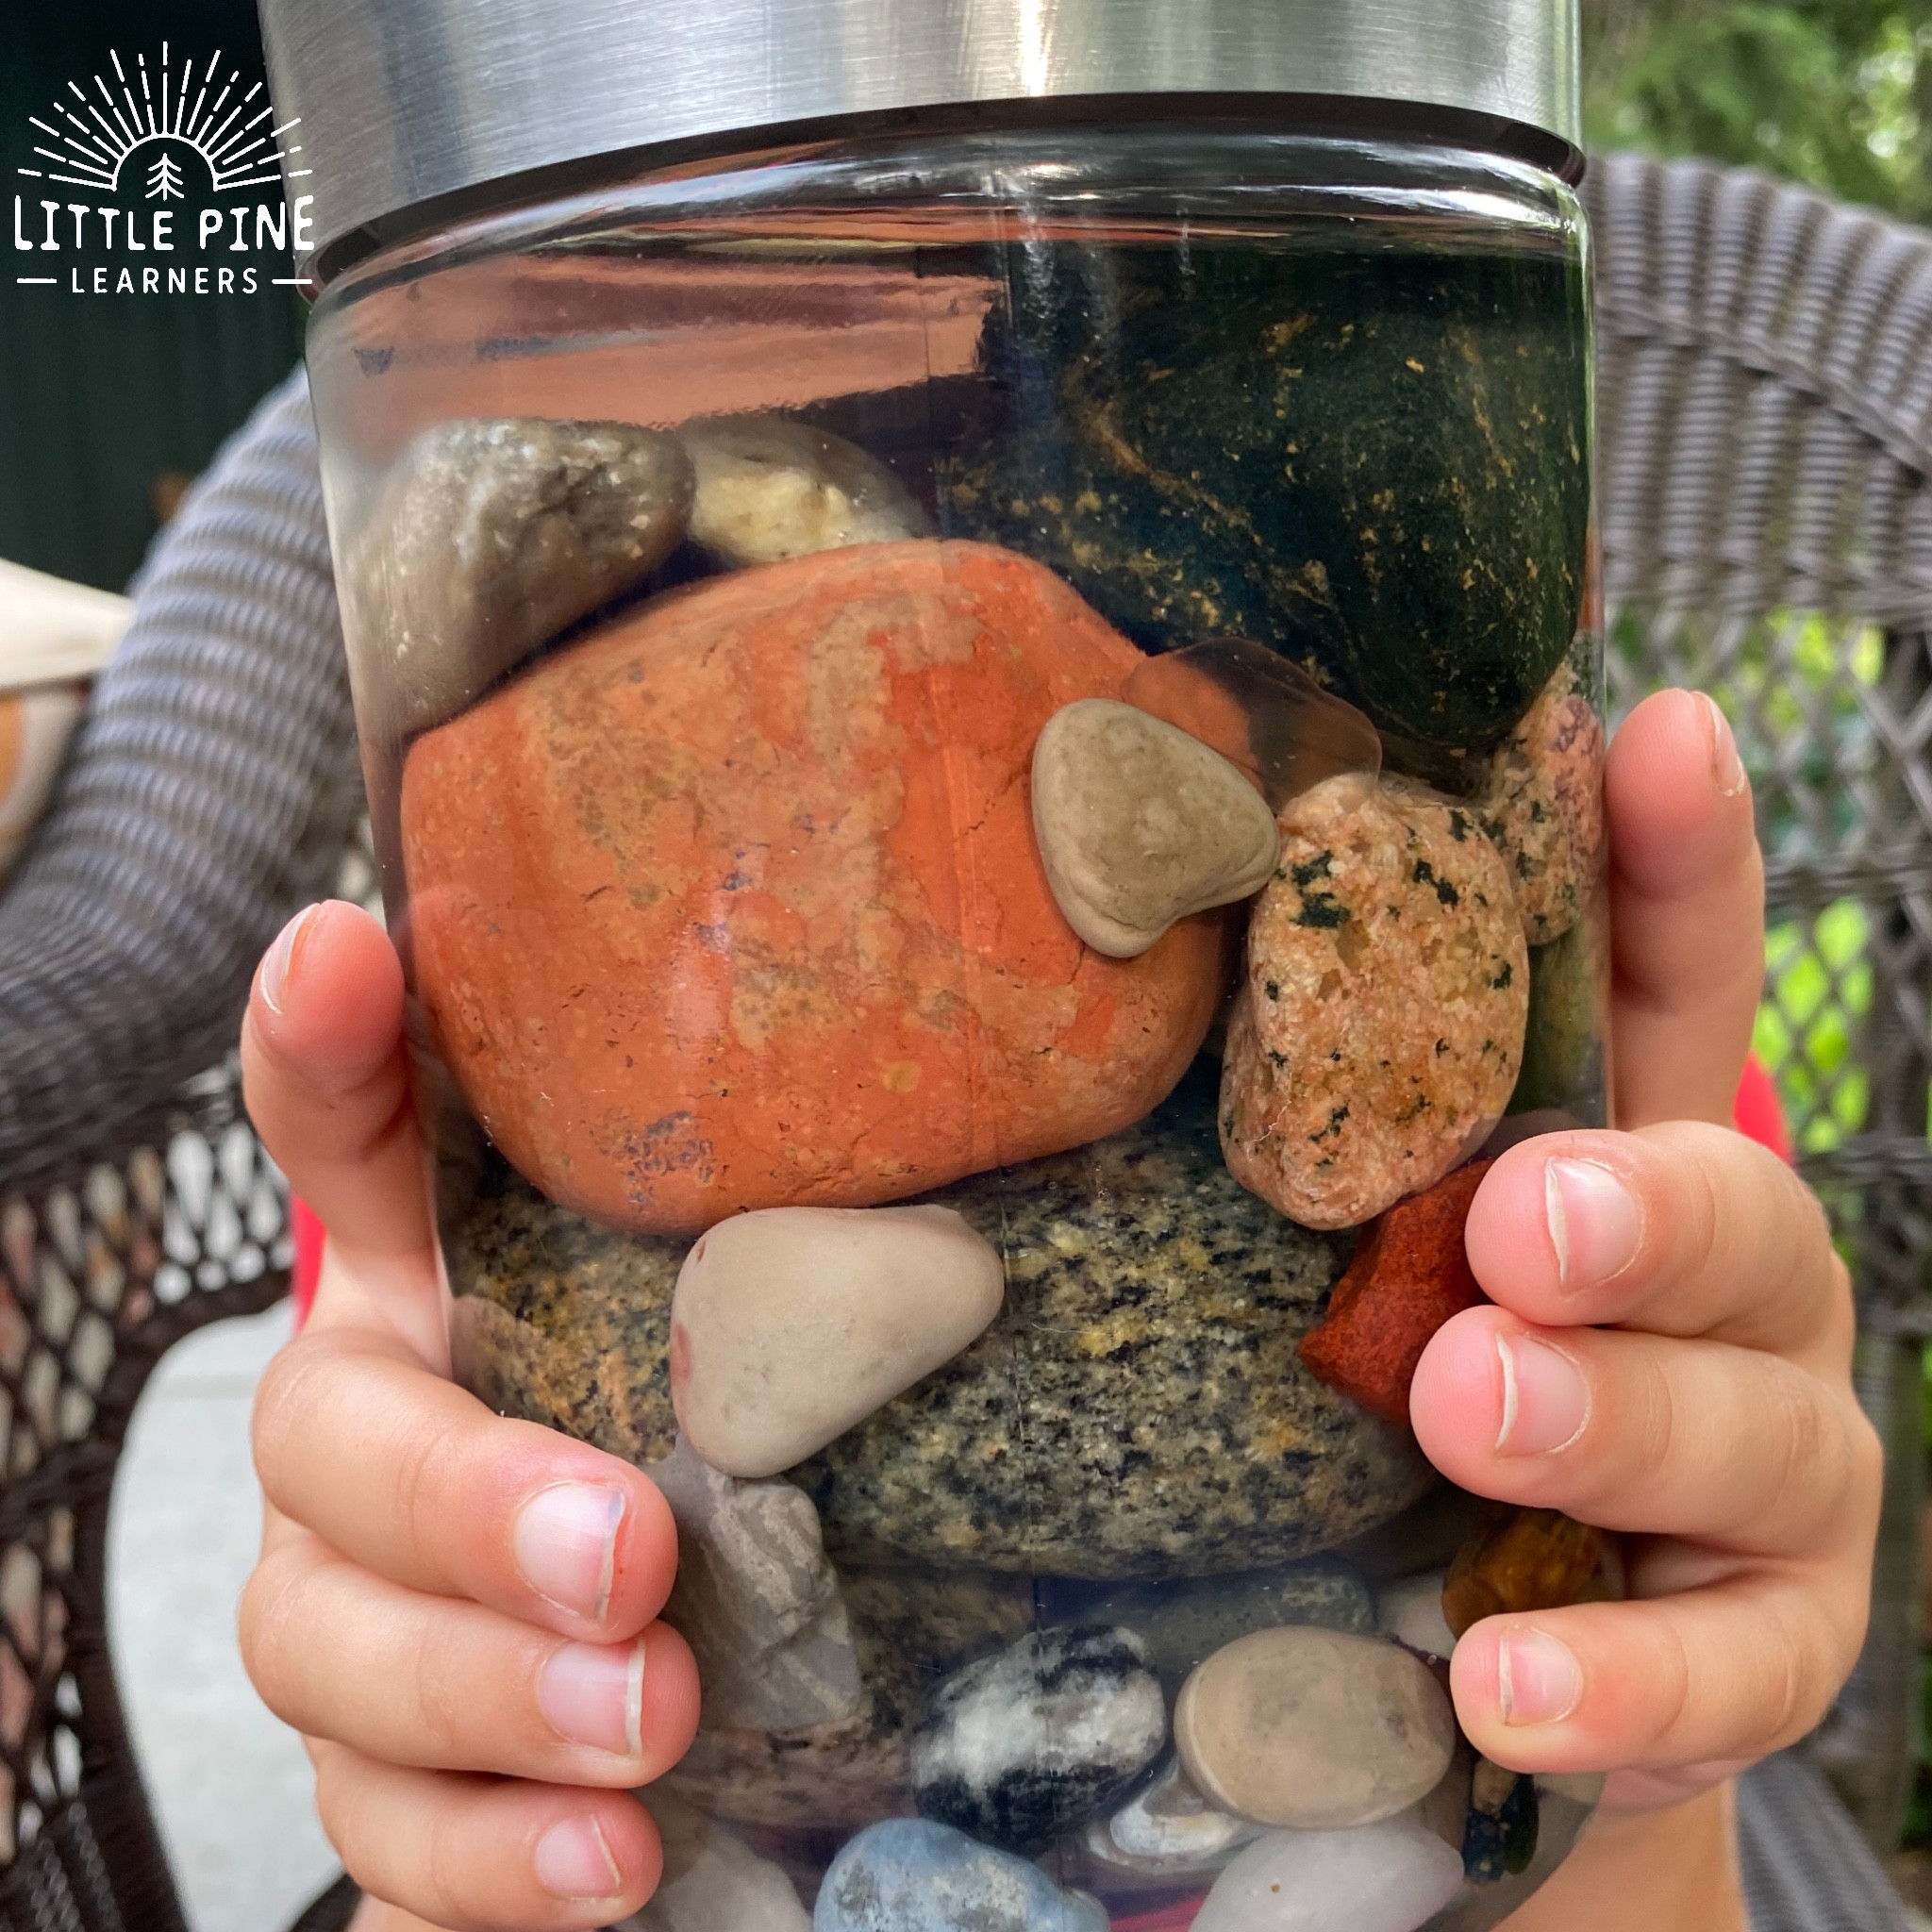
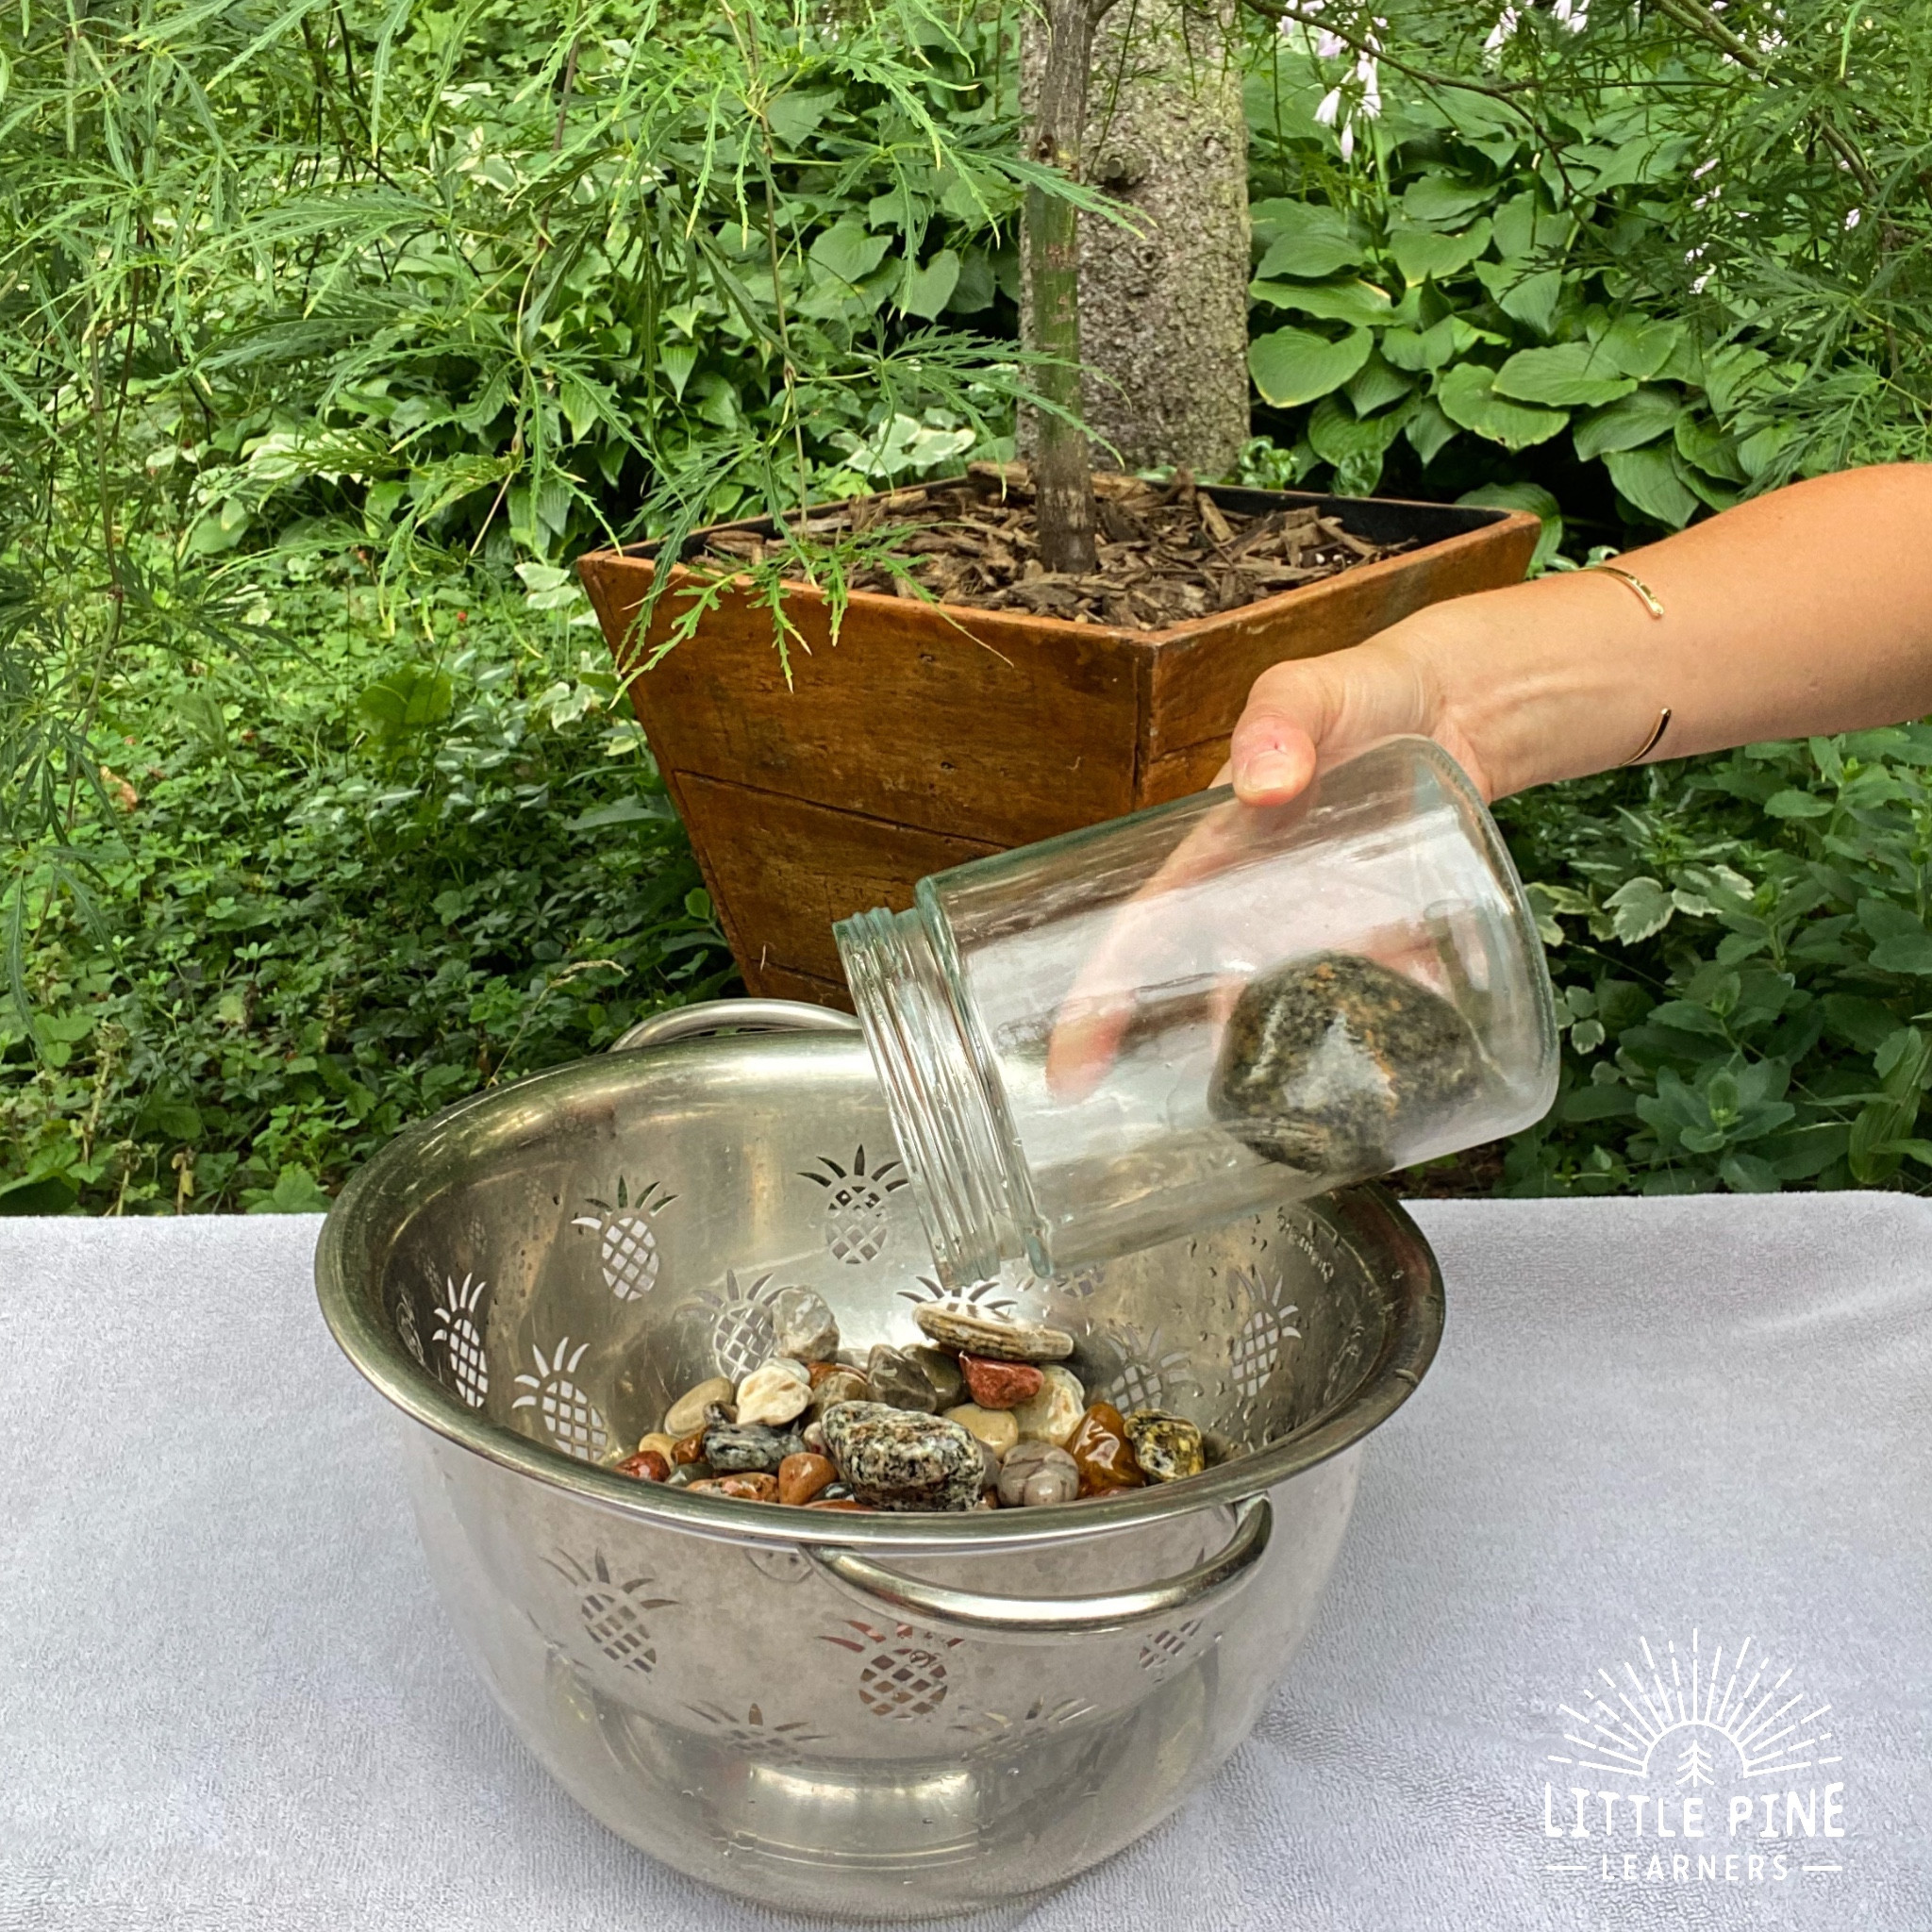
5.3. Step 2: Applying the Oil
Place the rocks in a jar or container and submerge them in oil. Make sure the rocks are completely covered with oil.
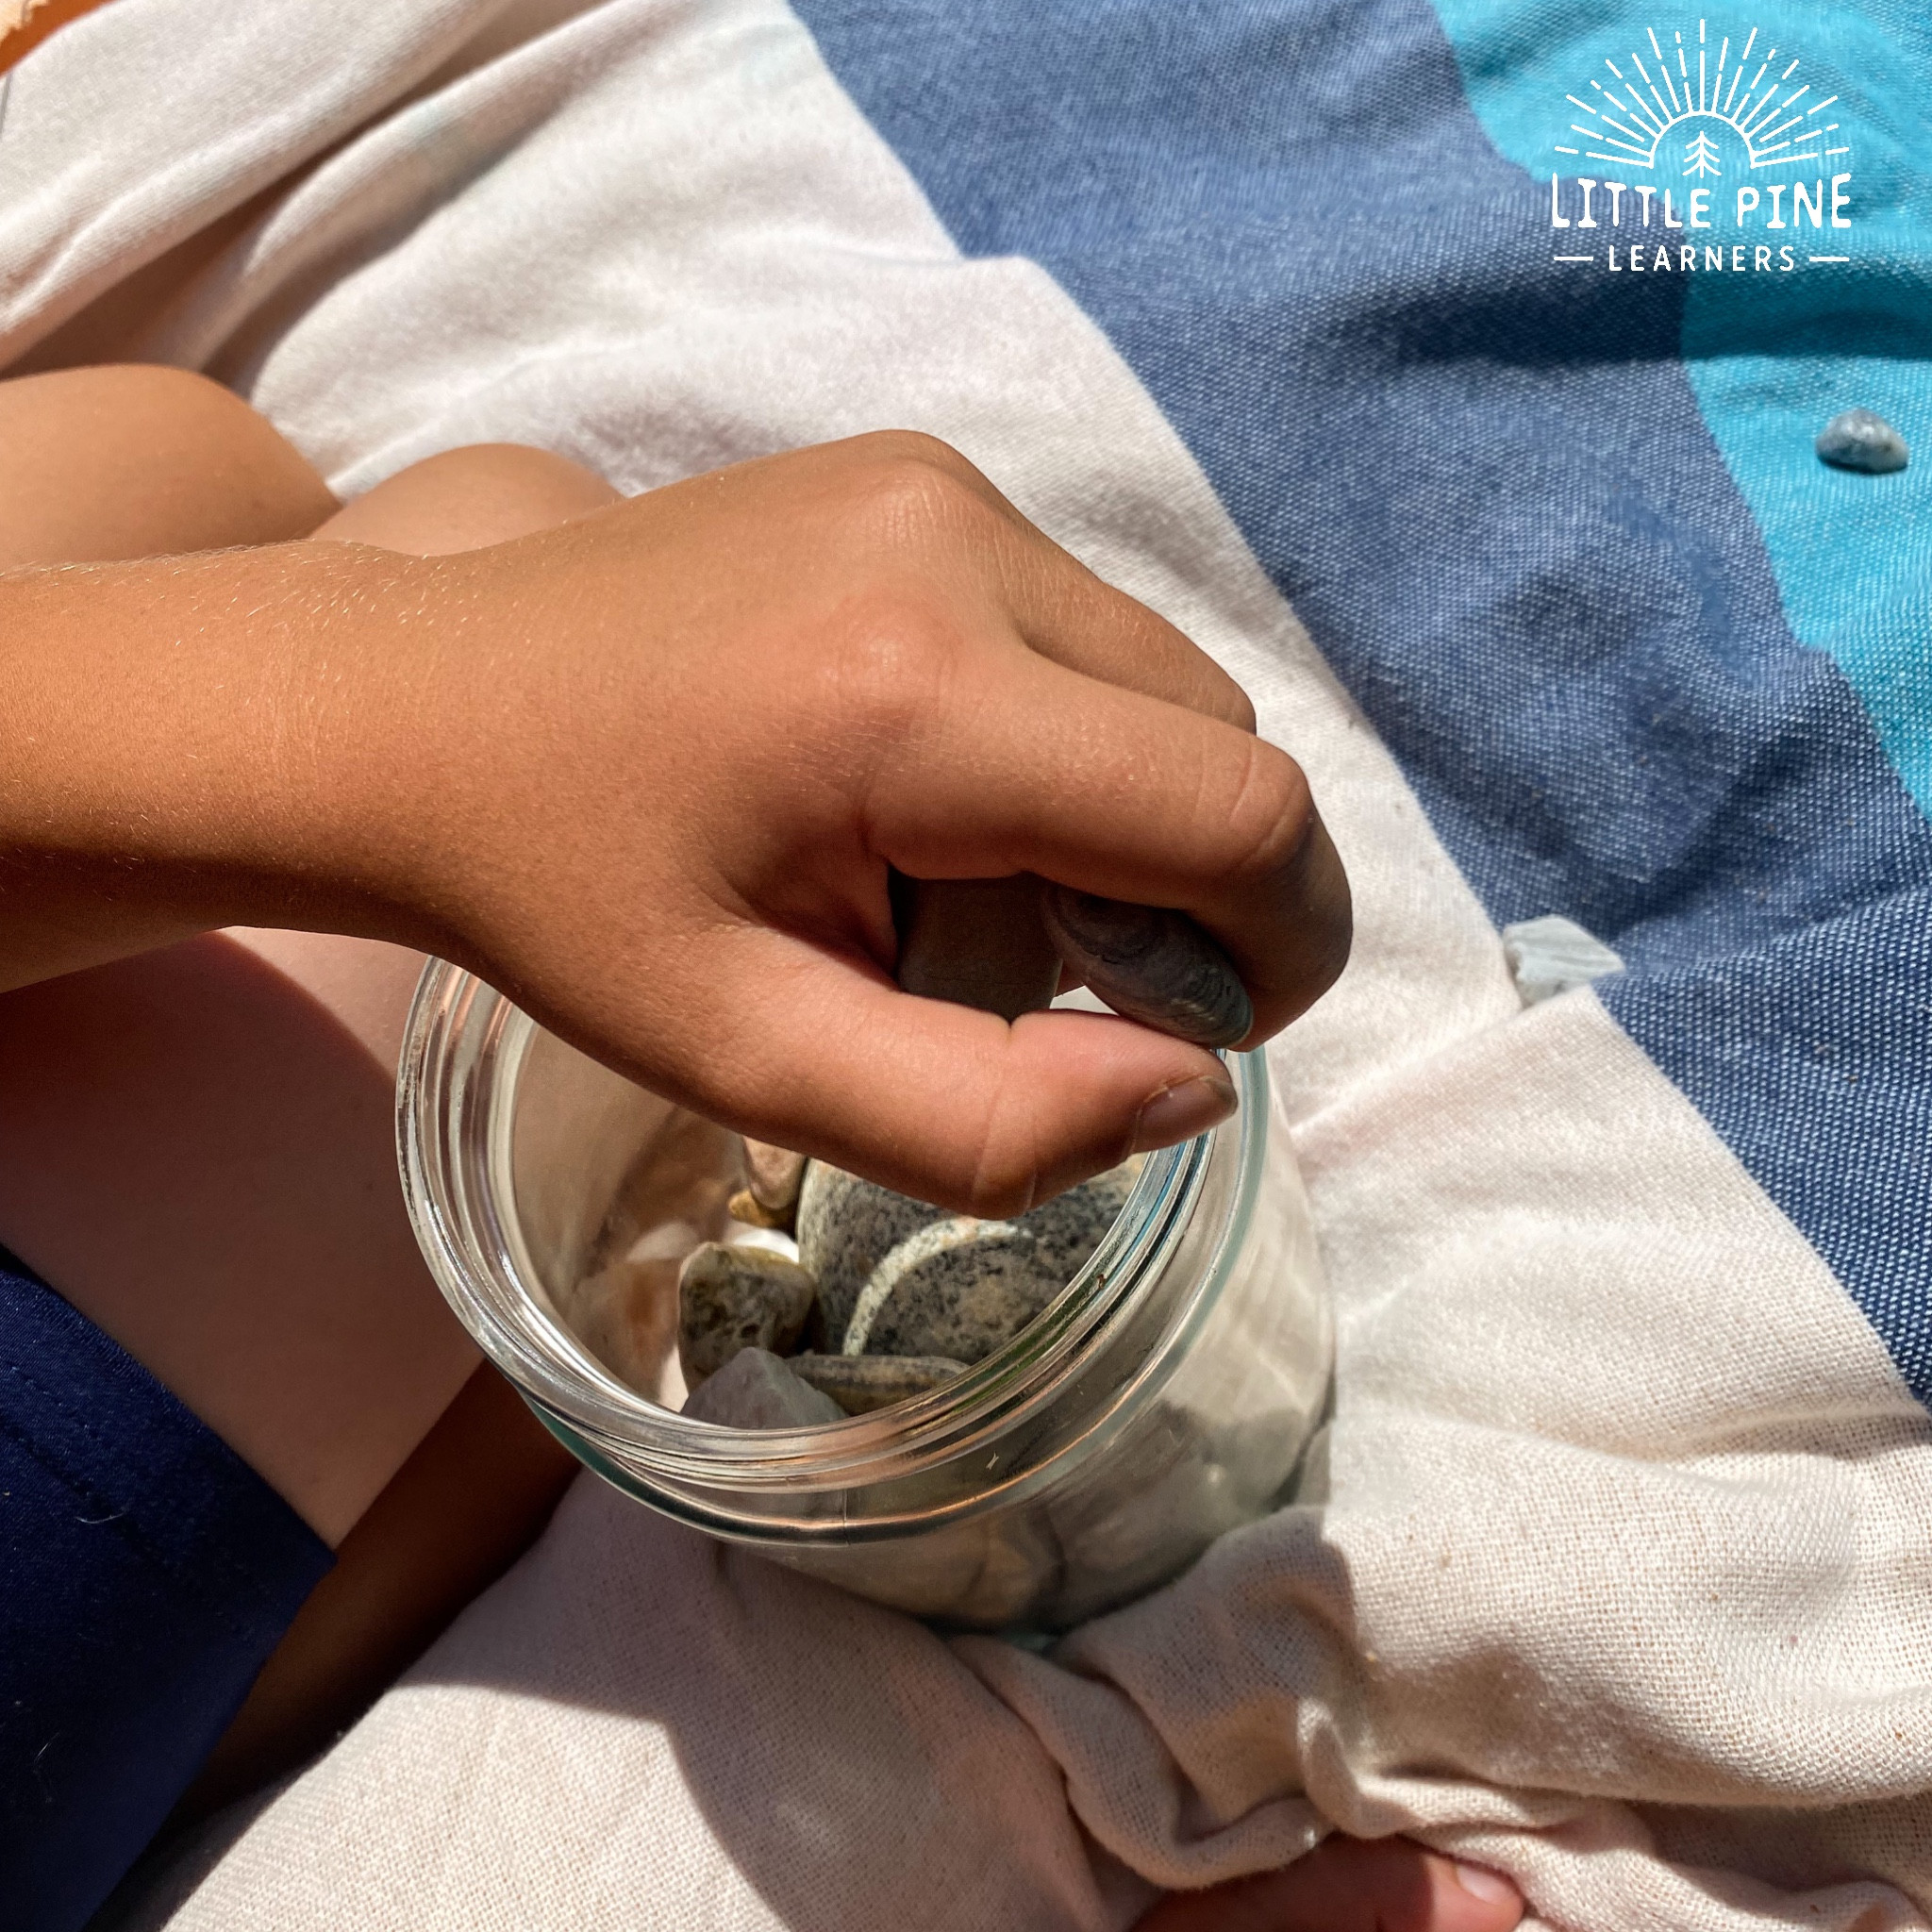 Place rocks in a jar
5.4. Step 3: Soaking the Rocks
Cover the container and let the rocks sit in the oil for at least two hours. The longer the rocks soak, the more vibrant their colors will become.
 Rocks polishing with mineral oil
5.5. Step 4: Straining the Oil
Place a bowl under a strainer and strain the oil from the jar. Set aside the extra oil and add it back into the jar for future polishing.
 Strain mineral oil
5.6. Step 5: Polishing the Rocks
Use a paper towel to wipe off some of the oil. Then, use an absorbent towel to polish the rocks and wipe off the rest of the oil. The oil will stain the towel, so you might want to set this one aside to use over and over again.
 How to make rocks shiny with oil
5.7. Enjoying the Shiny Rocks
The rocks will now have a shiny, vibrant appearance. The oil will enhance their natural colors and bring out their unique details. Keep in mind that the shine will fade over time, so you may need to reapply the oil periodically to maintain their luster.
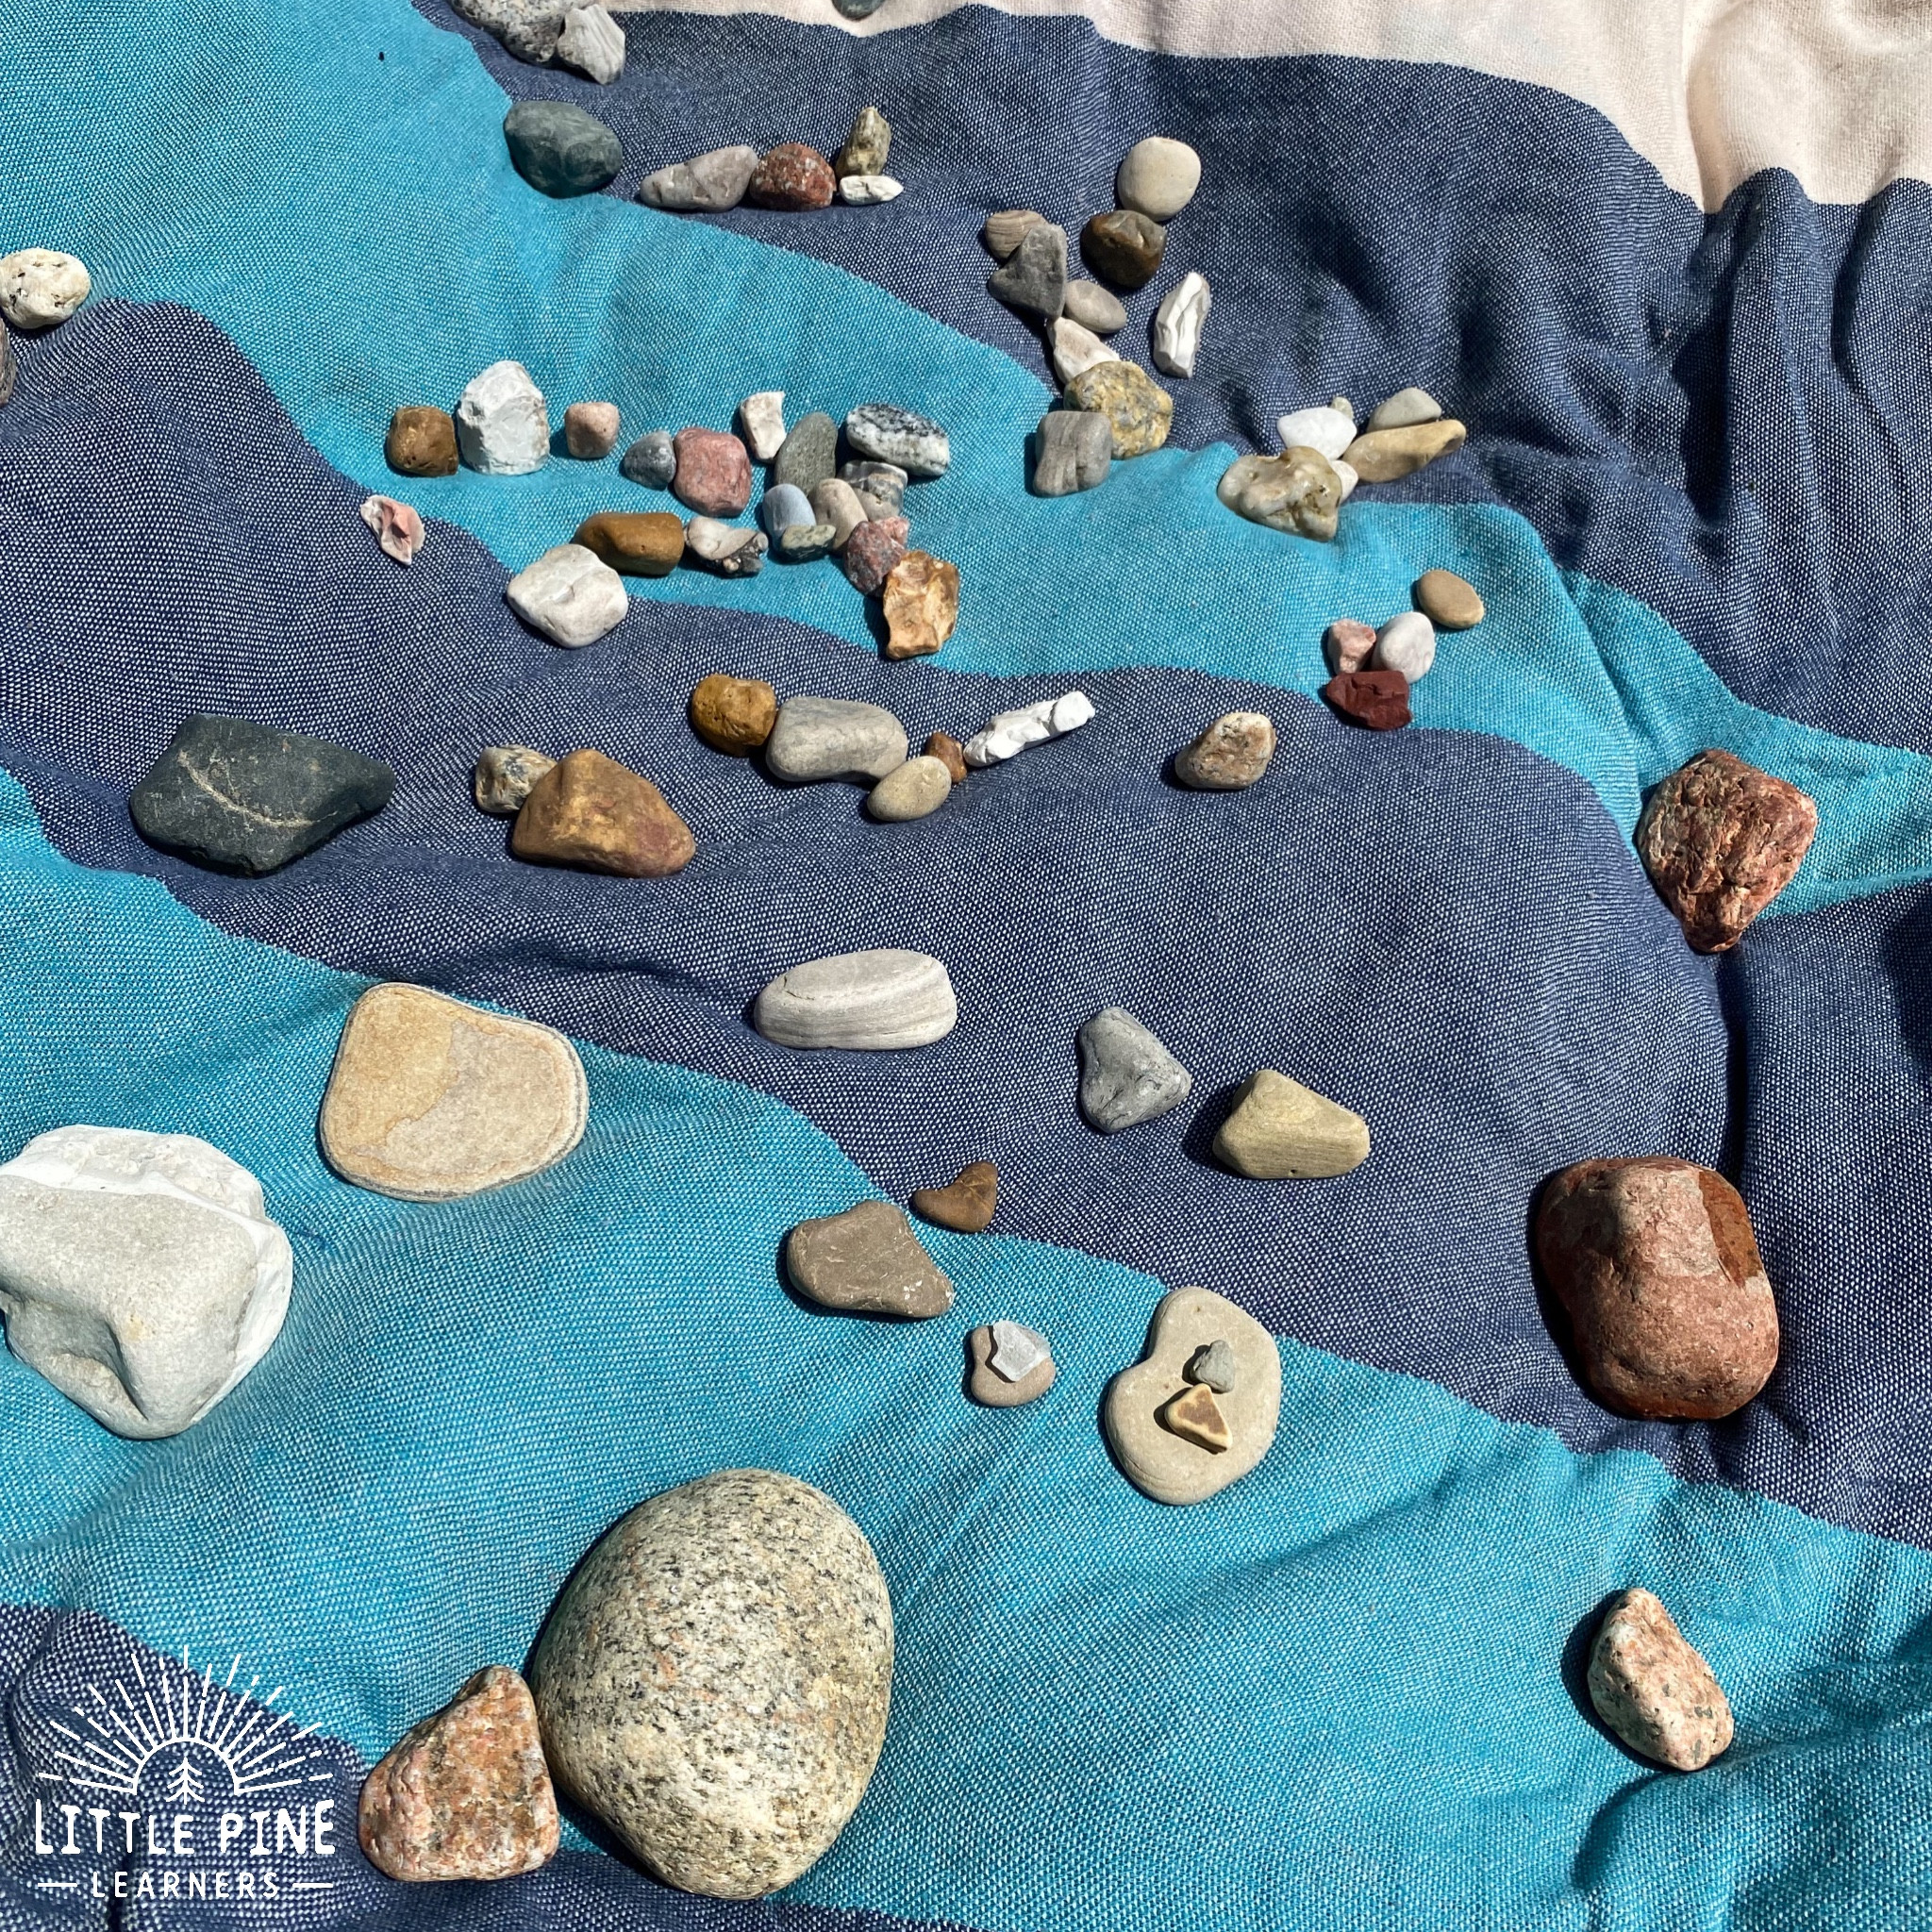
6. Choosing the Right Rocks for Polishing
Not all rocks are created equal when it comes to polishing. Some rocks are more suitable for polishing than others, depending on their hardness, mineral composition, and overall structure.
6.1. Best Types of Rocks to Polish
Some of the best types of rocks to polish include:
- Agate: Agate is a hard, durable rock that polishes well and retains its shine for a long time.
- Jasper: Jasper is another hard, durable rock that comes in a variety of colors and patterns.
- Quartz: Quartz is a common mineral that is found in many different types of rocks. It is hard and polishes well.
- Obsidian: Obsidian is a volcanic glass that can be polished to a high shine.
- Petrified Wood: Petrified wood is fossilized wood that has been replaced by minerals. It can be polished to reveal its intricate grain patterns.
6.2. Rocks to Avoid Polishing
Some rocks are not suitable for polishing because they are too soft, porous, or brittle. These include:
- Sandstone: Sandstone is a soft, porous rock that is difficult to polish.
- Shale: Shale is a soft, brittle rock that can easily break apart during the polishing process.
- Limestone: Limestone is a porous rock that can absorb polishing compounds and become discolored.
- Chalk: Chalk is a very soft rock that will not polish well.
6.3. Identifying Rocks for Polishing
If you’re not sure what type of rocks you have, there are a few things you can look for to help you identify them. Hardness is a key factor. Rocks that are hard and difficult to scratch are generally good candidates for polishing. The mineral composition and overall structure of the rock can also provide clues. Consulting a geology guide or seeking the advice of a rock expert can also be helpful.
7. Incorporating Polished Rocks into Landscaping
Polished rocks can be a beautiful and versatile addition to any landscape. They can be used in a variety of ways to add color, texture, and visual interest to your outdoor spaces. At rockscapes.net, we specialize in helping you find the perfect rocks for your landscaping needs.
7.1. Rock Gardens
Rock gardens are a popular way to showcase polished rocks. These gardens typically feature a variety of different types of rocks, arranged in a naturalistic setting. Polished rocks can be used as focal points or as accents to complement the other rocks and plants in the garden.
7.2. Pathways and Borders
Polished rocks can be used to create pathways and borders in your landscape. They can be arranged to create a formal, structured look or a more informal, naturalistic appearance. Polished rocks can also be used to define different areas of your garden or to create visual transitions between different spaces.
7.3. Water Features
Polished rocks can be used to enhance water features such as ponds, streams, and fountains. They can be placed around the edges of the water feature to create a natural-looking border, or they can be submerged in the water to add color and visual interest.
7.4. Decorative Accents
Polished rocks can be used as decorative accents in your landscape. They can be placed around trees, shrubs, or flower beds to add color and texture. Polished rocks can also be used to create sculptures or other artful arrangements.
8. Maintaining the Shine of Your Polished Rocks
Once you’ve polished your rocks, it’s important to take steps to maintain their shine. Here are a few tips to help you keep your polished rocks looking their best.
8.1. Cleaning Polished Rocks
Clean your polished rocks regularly to remove any dirt, dust, or debris. Use a soft cloth and mild soap and water to gently wipe the rocks. Avoid using harsh chemicals or abrasive cleaners, as these can damage the polished surface.
8.2. Protecting Polished Rocks from the Elements
Protect your polished rocks from the elements to prevent them from fading or becoming discolored. Avoid placing them in direct sunlight or exposing them to harsh weather conditions. If you live in an area with extreme temperatures or high humidity, consider storing your polished rocks indoors.
8.3. Re-Polishing Polished Rocks
Over time, the shine of your polished rocks may fade. When this happens, you can re-polish them to restore their luster. Use a polishing compound and a soft cloth to gently buff the surface of the rocks. You can also use a rock tumbler to re-polish the rocks, following the same steps as the initial polishing process.
9. The Science Behind Rock Shine
The science behind rock shine involves understanding how light interacts with the surface of the rock after it has been polished. According to research from the Gemological Institute of America (GIA), the smoother the surface of a rock, the more light it reflects, creating a shiny appearance.
9.1. Refraction and Reflection
When light strikes a rough surface, it is scattered in many different directions. This is known as diffuse reflection. When light strikes a smooth surface, it is reflected in a more uniform direction, creating a specular reflection. This is what gives polished rocks their shine.
9.2. Surface Smoothness
The key to achieving a shiny finish is to create a surface that is as smooth as possible. This involves removing any imperfections, such as scratches, pits, or bumps. The smoother the surface, the more light it will reflect, and the shinier it will appear.
9.3. Role of Polishing Compounds
Polishing compounds play a crucial role in creating a smooth surface. These compounds contain fine particles of materials that gently buff the surface of the rock, removing any remaining imperfections. The type of polishing compound used will depend on the type of rock being polished and the desired level of shine.
10. Frequently Asked Questions About Polishing Rocks
Here are some frequently asked questions about polishing rocks:
10.1. Can all rocks be polished?
Not all rocks can be polished. Softer rocks, like sandstone and shale, may not polish well.
10.2. How long does it take to polish rocks?
The time it takes to polish rocks depends on the method used and the type of rocks being polished. Rock tumbling can take several weeks, while hand polishing or using a rotary tool may take only a few hours.
10.3. What is the best way to clean polished rocks?
The best way to clean polished rocks is to use a soft cloth and mild soap and water.
10.4. How do I maintain the shine of my polished rocks?
Maintain the shine of your polished rocks by cleaning them regularly and protecting them from the elements.
10.5. Can I use a rock tumbler to polish other objects?
Yes, you can use a rock tumbler to polish other objects, such as glass, metal, and plastic.
10.6. What type of oil is best for oil polishing rocks?
Mineral oil and jojoba oil are both good choices for oil polishing rocks.
10.7. How often should I re-polish my rocks?
You should re-polish your rocks as needed, depending on how quickly their shine fades.
10.8. What safety precautions should I take when polishing rocks?
Wear safety glasses, gloves, and a dust mask when polishing rocks.
10.9. Where can I buy rocks for polishing?
You can buy rocks for polishing at rock and mineral shops, online retailers, and even at some landscaping supply stores.
10.10. Can I polish rocks I find myself?
Yes, you can polish rocks you find yourself, as long as they are the right type of rocks and you have the necessary equipment and materials.
11. Rockscapes.Net: Your Partner in Landscape Design
At rockscapes.net, we understand the transformative power of stone in landscape design. Whether you’re looking to create a serene rock garden, a striking water feature, or simply add a touch of natural elegance to your outdoor space, we offer a wide selection of high-quality stones to meet your needs. Our expert team can guide you through the selection process, helping you choose the perfect stones to complement your vision and enhance the beauty of your property. We are located at 1151 S Forest Ave, Tempe, AZ 85281, United States. You can reach us at +1 (480) 965-9011 or visit our website at rockscapes.net.
11.1. Wide Selection of Rocks
We offer a wide selection of rocks, including polished rocks, natural stones, and decorative pebbles. Our rocks come in a variety of colors, sizes, and textures, so you can find the perfect stones to complement your landscape design.
11.2. Expert Advice and Consultation
Our team of experts can provide you with advice and consultation on choosing the right rocks for your landscape design. We can help you select the perfect stones to complement your vision and enhance the beauty of your property.
11.3. High-Quality Stones
We source our stones from reputable suppliers to ensure that they are of the highest quality. Our stones are durable, long-lasting, and will add beauty and value to your landscape for years to come.
11.4. Inspiration and Ideas
Visit rockscapes.net today to explore our gallery of landscape design ideas and find inspiration for your next project. From rock gardens to water features, we have a wide range of ideas to help you create the outdoor space of your dreams.
Ready to transform your landscape with the beauty of natural stone? Contact us at rockscapes.net today to discover how we can help you bring your vision to life. Explore our wide selection of rocks, get expert advice, and find inspiration for your next project. Let us help you create a landscape that is both beautiful and sustainable, enhancing the value and enjoyment of your property for years to come.