Curing live rock in a new tank is essential for establishing a healthy reef ecosystem, and at rockscapes.net, we provide expert guidance to ensure your success. By properly curing your live rock, you’re setting the stage for a vibrant and thriving aquarium. This process involves cultivating beneficial bacteria and removing unwanted organisms to create a stable environment for your corals and fish. Let’s dive into the specifics of live rock curing. Whether you opt for wet or dry rock, understanding the nuances of each type will pave the way for a flourishing underwater paradise, complete with stunning rockscapes.
1. What Is Live Rock and Why Does It Need Curing?
Live rock is rock that has been taken from the ocean and is teeming with beneficial bacteria, coralline algae, and other marine organisms. Curing live rock is essential to remove dead or decaying matter and establish a stable biological filter.
Live rock isn’t just any old rock; it’s a vibrant ecosystem teeming with life. Sourced from the ocean, this rock is encrusted with beneficial bacteria, colorful coralline algae, and a host of other marine organisms that play a crucial role in maintaining a healthy reef tank. According to research from Arizona State University’s School of Life Sciences, these microorganisms are essential for biological filtration, breaking down harmful waste products like ammonia and nitrite into less toxic nitrates.
1.1. The Importance of Curing
Curing live rock is a crucial process for several reasons:
- Removes Dead Organisms: During transport, many organisms on the rock die off. If left to decompose in your tank, they can release harmful ammonia and other toxins.
- Establishes Biological Filtration: The beneficial bacteria on live rock convert ammonia and nitrite into less toxic nitrates, creating a stable environment for your fish and corals.
- Prevents Algae Blooms: Curing helps to remove excess nutrients that can fuel unwanted algae growth.
1.2. Wet vs. Dry Live Rock
There are two main types of live rock: wet and dry.
- Wet Live Rock: This rock is shipped wet and contains a higher amount of live organisms. It requires a more intensive curing process.
- Dry Live Rock: This rock has been dried out and contains fewer live organisms. It requires a different approach to curing and cycling.
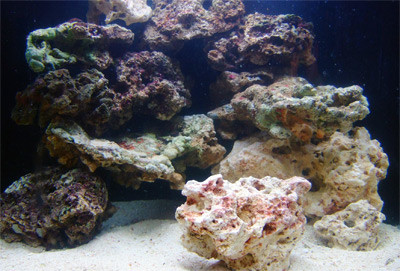
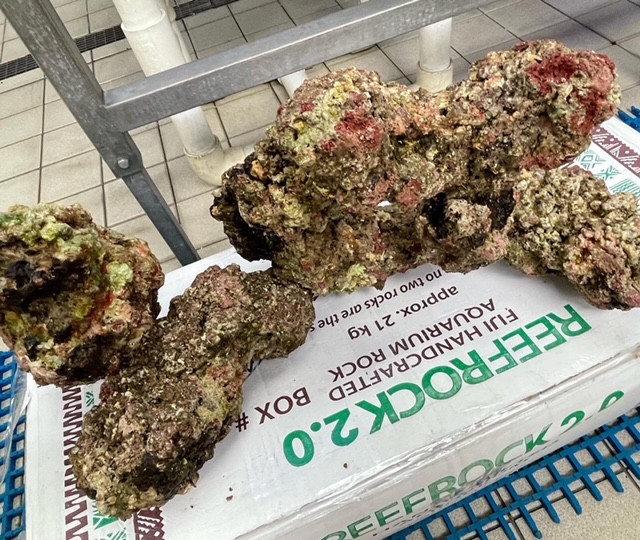 Freshly imported live rock, prior to curing
2. Essential Equipment for Curing Live Rock
To cure live rock effectively, you’ll need the following equipment:
- Curing Container: A plastic tub or spare aquarium.
- Powerheads: To provide water circulation.
- Heater: To maintain a stable temperature.
- Protein Skimmer: To remove excess nutrients.
- Ammonia Test Kit: To monitor ammonia levels.
- Nitrite Test Kit: To monitor nitrite levels.
- Nitrate Test Kit: To monitor nitrate levels.
- RO/DI Water: To create clean saltwater.
- Salt Mix: To create saltwater.
2.1. Choosing the Right Curing Container
The curing container should be large enough to hold all of your live rock without overcrowding. A plastic tub or a spare aquarium works well. Ensure the container is clean and free of any contaminants.
2.2. Water Circulation and Temperature Control
Powerheads are essential for providing water circulation, which helps to oxygenate the water and prevent dead spots. A heater is needed to maintain a stable temperature between 75-80°F (24-27°C), which promotes the growth of beneficial bacteria.
2.3. Protein Skimmer: An Important Tool
A protein skimmer is a valuable tool for removing excess nutrients and dissolved organics that leach out from the rock during the curing process. This helps to maintain water quality and prevent algae blooms.
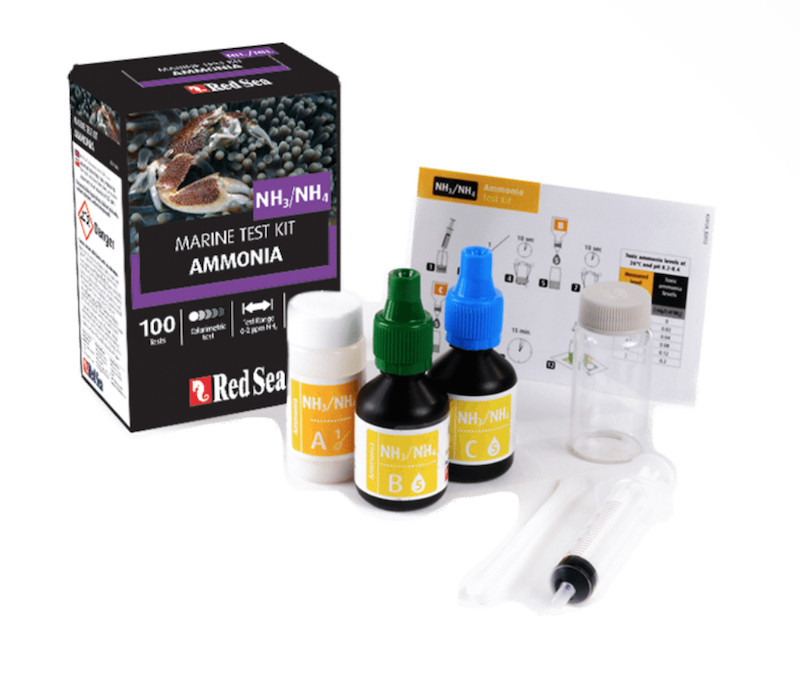 You’ll need an ammonia test kit when curing live rock
3. Step-by-Step Guide to Curing Wet Live Rock
Curing wet live rock requires a meticulous approach to ensure the removal of dead organisms and the establishment of a healthy biological filter.
3.1. Initial Inspection and Cleaning
Before placing the live rock in the curing container, inspect it carefully. Remove any dead or decaying matter, such as sponges, algae, or other organisms that appear to be dying. Use a stiff brush to scrub the rock and remove any loose debris. According to experts at rockscapes.net, this initial cleaning is crucial to prevent the buildup of harmful substances during the curing process.
3.2. Setting Up the Curing Container
Fill the curing container with clean, aged saltwater made from RO/DI water and a high-quality salt mix. Ensure the salinity is within the appropriate range for reef tanks (1.024-1.026 SG). Place the live rock in the container, ensuring that it is not overcrowded and that water can circulate freely around each piece.
3.3. Maintaining Water Quality
Add powerheads to the container to provide strong water circulation. This helps to oxygenate the water and prevent the buildup of dead spots. Install a heater to maintain a stable temperature between 75-80°F (24-27°C). If possible, use a protein skimmer to remove excess nutrients and dissolved organics.
3.4. Regular Water Testing and Changes
Test the water regularly for ammonia, nitrite, and nitrate levels. Perform a 100% water change whenever the ammonia level exceeds 5-6 ppm. Continue to perform water changes every 5-7 days until ammonia and nitrite levels are consistently at 0 ppm and nitrate levels are stable.
3.5. Monitoring the Curing Process
The curing process can take anywhere from one week to several months, depending on the quality and freshness of the rock. Be patient and continue to monitor water quality until the rock is fully cured. Rushing the process can lead to problems down the road.
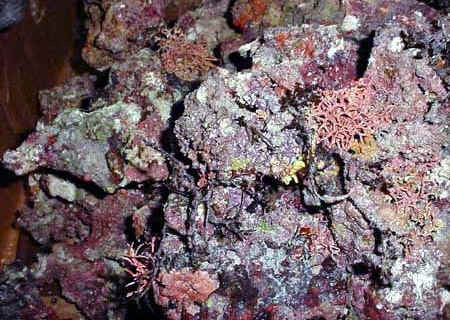 Good quality cured live rock
4. Curing Dry Live Rock: A Different Approach
Curing dry live rock involves a different approach compared to wet live rock. The goal is to introduce beneficial bacteria and other organisms to the rock.
4.1. Initial Preparation
Dry live rock often needs to be “cured” before it can be cycled. This involves soaking the rock in a dilute bleach solution to remove any remaining organic matter. Use approximately 600-700 ml of unscented bleach per 10 liters of RO/DI water. Soak the rock for 7-10 days, ensuring it is fully submerged and that water circulates freely around each piece.
4.2. Rinsing and Cycling
After the bleach soak, thoroughly rinse the rock with clean saltwater to remove any residual bleach. Place the rock in the cycling chamber, which can be the same container used for curing wet live rock. Add bottled bacteria and substrate from an established tank to introduce beneficial bacteria.
4.3. Introducing Ammonia
Introduce a source of ammonia to kickstart the nitrogen cycle. This can be in the form of ammonia hydroxide, a pinch of fish food, or a piece of frozen shrimp or fish. Monitor ammonia levels and add more ammonia as needed to keep the cycle going.
4.4. Monitoring Water Parameters
Test the water every other day for ammonia, nitrite, and nitrate levels. Continue to add ammonia until ammonia and nitrite levels consistently read 0 ppm and nitrate levels begin to rise. This process can take several weeks to a few months.
4.5. Secondary Cycling
After the initial cycling process, consider performing a secondary cycle with cured wet live rock to further inoculate the dry rock with beneficial organisms. Introduce a small amount of wet live rock to the dry rock tank and provide adequate nutrients to encourage the growth of sponges and other organisms.
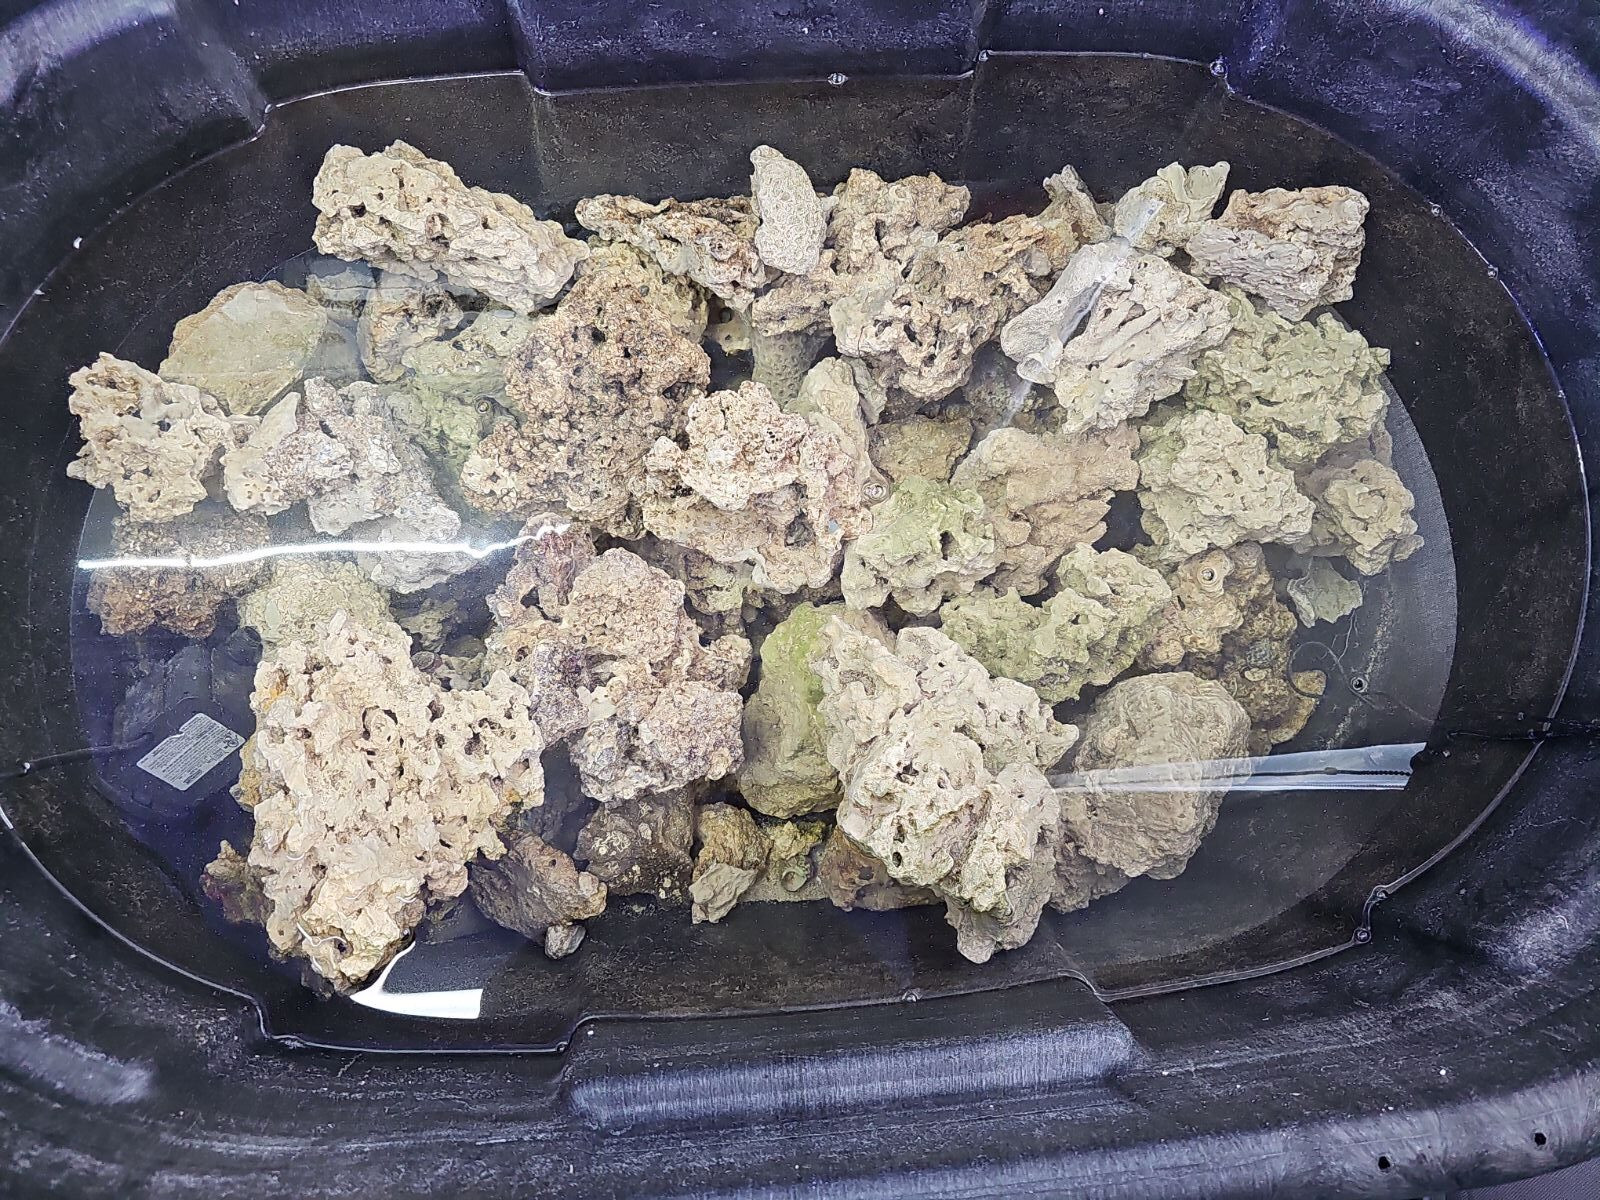 A large vessel like this rubbermaid trough makes a great receptacle for curing live rock
5. Accelerating the Curing Process: Tips and Tricks
While patience is key, there are several ways to potentially speed up the curing process:
- Use a High-Quality Protein Skimmer: A protein skimmer can remove excess nutrients and dissolved organics, helping to maintain water quality and speed up the curing process.
- Maintain a Stable Temperature: Keeping the water temperature between 75-80°F (24-27°C) can promote the growth of beneficial bacteria.
- Add Bottled Bacteria: Bottled bacteria products can help to jumpstart the nitrogen cycle and accelerate the curing process.
5.1. The Role of Temperature
Maintaining a stable temperature is crucial for the growth of beneficial bacteria. According to research from the University of Florida’s Institute of Food and Agricultural Sciences, warmer temperatures (within the recommended range) can promote faster bacterial growth.
5.2. Bottled Bacteria: A Helping Hand
Bottled bacteria products can introduce a concentrated dose of beneficial bacteria to the curing container, helping to jumpstart the nitrogen cycle. However, it is important to choose a high-quality product from a reputable brand.
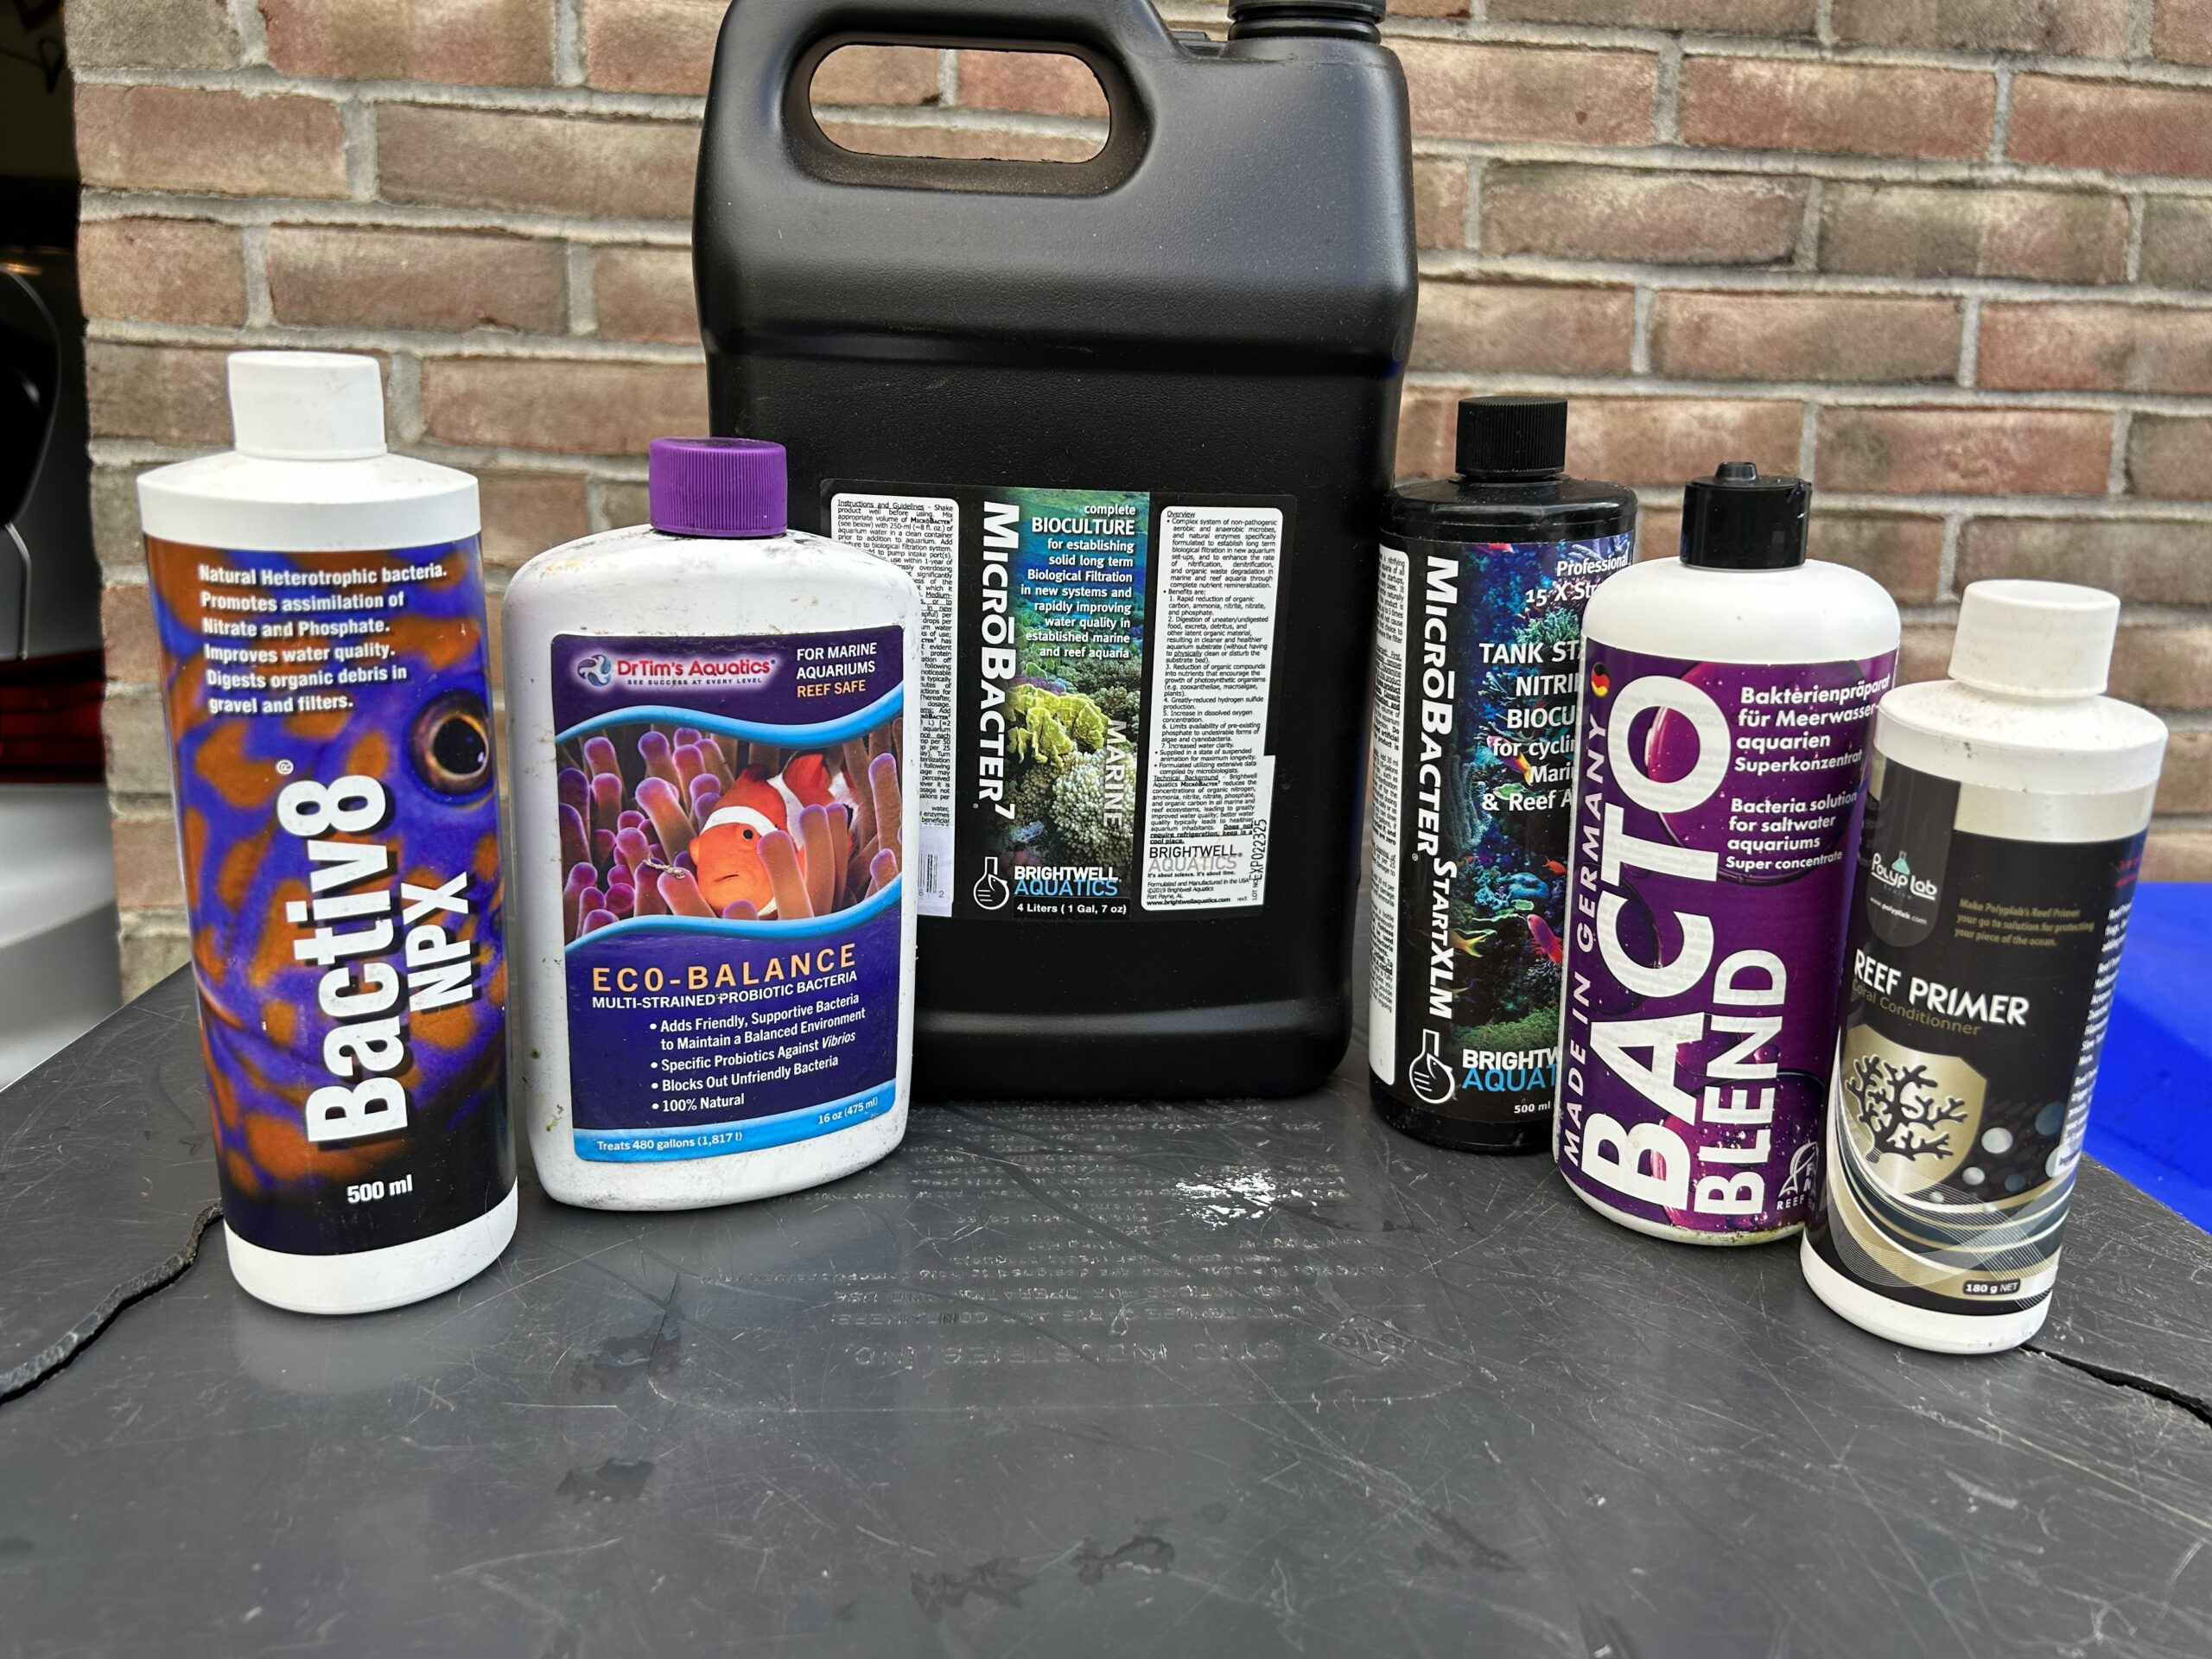 Some of the bottled bacteria the author has used to cycle dry rock
6. Common Mistakes to Avoid When Curing Live Rock
Avoiding common mistakes can save you time, money, and frustration:
- Rushing the Process: Patience is key. Rushing the curing process can lead to problems down the road, such as algae blooms and unstable water parameters.
- Overcrowding the Curing Container: Overcrowding can restrict water circulation and lead to the buildup of dead spots.
- Using Tap Water: Tap water can contain harmful chemicals, such as chlorine and chloramine, which can kill beneficial bacteria. Always use RO/DI water for curing live rock.
- Neglecting Water Changes: Regular water changes are essential for removing excess nutrients and maintaining water quality.
6.1. The Dangers of Tap Water
Tap water can contain a variety of contaminants that are harmful to marine life, including chlorine, chloramine, and heavy metals. Always use RO/DI water for curing live rock to ensure the health of your aquarium.
6.2. The Importance of Patience
Rushing the curing process is a common mistake that can lead to a variety of problems, such as algae blooms, unstable water parameters, and the death of corals and fish. Be patient and allow the curing process to run its course.
7. Integrating Cured Live Rock into Your New Tank
Once the live rock is fully cured, it is time to integrate it into your new tank.
7.1. Aquascaping with Live Rock
Aquascaping is the art of arranging live rock to create a visually appealing and functional reef environment. Consider the following factors when aquascaping:
- Stability: Ensure the aquascape is stable and will not collapse.
- Water Circulation: Create an open structure that allows for good water circulation.
- Hiding Places: Provide hiding places for fish and invertebrates.
- Aesthetics: Create a visually appealing aquascape that complements the overall design of your tank.
7.2. Gradual Introduction of Livestock
After adding the cured live rock to your tank, wait a few weeks before introducing any livestock. This will allow the biological filter to fully establish and stabilize. Start with a few hardy fish or invertebrates and gradually add more over time.
 Wet and dry rock can be used in combination
8. Maintaining Live Rock Health in Your Established Tank
Maintaining the health of your live rock is an ongoing process that requires regular maintenance:
- Regular Water Changes: Perform regular water changes to remove excess nutrients and maintain water quality.
- Proper Filtration: Use a high-quality filtration system to remove particulate matter and dissolved organics.
- Adequate Water Circulation: Ensure there is adequate water circulation throughout the tank to prevent dead spots.
- Pest Control: Monitor the tank for pests, such as aiptasia anemones and red bugs, and take steps to control them.
8.1. The Role of Water Changes
Regular water changes are essential for maintaining water quality and preventing the buildup of harmful substances. Aim to perform a 10-20% water change every one to two weeks.
8.2. Maintaining Adequate Water Circulation
Adequate water circulation is crucial for delivering oxygen and nutrients to the live rock and removing waste products. Use powerheads or wavemakers to create strong water circulation throughout the tank.
9. The Benefits of a Thriving Live Rock Ecosystem
A thriving live rock ecosystem offers numerous benefits for your reef tank:
- Improved Water Quality: Live rock provides biological filtration, which helps to maintain water quality and prevent the buildup of harmful substances.
- Natural Food Source: Live rock provides a natural food source for fish and invertebrates, as it is teeming with microfauna.
- Enhanced Aesthetics: Live rock adds a natural and aesthetically pleasing element to your tank.
9.1. Live Rock as a Natural Food Source
Live rock is home to a variety of microfauna, such as copepods and amphipods, which serve as a natural food source for fish and invertebrates. This can help to improve the health and vitality of your tank’s inhabitants.
9.2. The Aesthetic Appeal of Live Rock
Live rock adds a natural and aesthetically pleasing element to your tank. It can be aquascaped to create a variety of interesting and visually appealing structures.
10. Expert Advice and Resources at Rockscapes.net
At rockscapes.net, we understand the importance of a thriving reef ecosystem.
10.1. Contact Us
For expert advice and resources on curing live rock and creating stunning rockscapes, visit rockscapes.net or contact us at:
Address: 1151 S Forest Ave, Tempe, AZ 85281, United States
Phone: +1 (480) 965-9011
Website: rockscapes.net
Whether you’re a seasoned aquarist or just starting out, rockscapes.net is your go-to resource for all things reef-related. We’re here to help you create the aquarium of your dreams.
FAQ: Curing Live Rock in a New Tank
- How long does it take to cure live rock? The curing process can take anywhere from one week to several months, depending on the quality and freshness of the rock.
- Can I cure live rock in my display tank? It is not recommended to cure live rock in your display tank, as the process can release harmful substances that can harm your livestock.
- Do I need a protein skimmer for curing live rock? A protein skimmer is not essential, but it can be very helpful for removing excess nutrients and maintaining water quality.
- What is the ideal temperature for curing live rock? The ideal temperature is between 75-80°F (24-27°C).
- How often should I perform water changes during the curing process? Perform a 100% water change whenever the ammonia level exceeds 5-6 ppm, and continue to perform water changes every 5-7 days until ammonia and nitrite levels are consistently at 0 ppm and nitrate levels are stable.
- Can I use tap water for curing live rock? No, always use RO/DI water for curing live rock.
- What are the signs that live rock is fully cured? The signs that live rock is fully cured include ammonia and nitrite levels consistently at 0 ppm and nitrate levels stable.
- Can I speed up the curing process? While patience is key, you can potentially speed up the curing process by using a high-quality protein skimmer, maintaining a stable temperature, and adding bottled bacteria.
- What should I do if I see algae growing on my live rock during the curing process? If you see algae growing on your live rock during the curing process, remove it manually and reduce the amount of light in the curing container.
- How much live rock do I need for my tank? A general rule of thumb is to use 1-2 pounds of live rock per gallon of water.
By following these guidelines and utilizing the resources available at rockscapes.net, you can successfully cure live rock in your new tank and create a thriving reef ecosystem. Remember, patience and attention to detail are key to success. Happy reefing!