Rock cakes are delightfully simple treats, and on rockscapes.net, we’re all about effortless beauty. This guide will show you exactly how to make them, offering a satisfyingly rustic alternative to traditional scones. Whether you’re after a quick bake or a charmingly rugged snack, you’ll discover the secrets to perfectly textured rock cakes. Learn how to create these baked goods, explore variations, and master the art of the rock cake, and discover the perfect landscape stone to accent your home.
1. What Exactly is a Rock Cake?
A rock cake is a type of drop scone or biscuit known for its rough, uneven surface, resembling a small rock. Unlike traditional scones that require rolling and cutting, rock cakes are made by simply dropping spoonfuls of dough onto a baking sheet. The result is a rustic, craggy exterior with a tender, crumbly interior.
1.1. The Origin of Rock Cakes
Rock cakes have a long history, with recipes appearing in cookbooks dating back to the 18th century. They were a popular treat in Britain, often enjoyed during tea time. The name “rock cake” is believed to come from their irregular, rock-like appearance. According to research from the British Library, early versions of rock cakes were simpler, using basic ingredients readily available in most households.
1.2. What Makes Rock Cakes Unique?
Rock cakes stand out due to their simplicity and texture. The “drop” method of preparation means minimal handling of the dough, which results in a more tender crumb. The irregular shape and rough surface provide a delightful contrast to the soft interior. Rock cakes are also versatile, allowing for various additions like dried fruits, spices, and nuts.
2. What Are the Key Ingredients for Perfect Rock Cakes?
Creating delicious rock cakes involves a few essential ingredients, each playing a crucial role in the final product. Understanding these components ensures your rock cakes turn out perfectly every time.
- Flour: Self-raising flour is traditionally used, providing the necessary lift for a light texture.
- Sugar: Adds sweetness and helps create a slightly crisp exterior.
- Butter: Provides richness and tenderness. Cold butter is key to achieving a crumbly texture.
- Dried Fruit: Adds flavor and texture. Raisins, currants, and cranberries are popular choices.
- Egg: Binds the ingredients and adds moisture.
- Milk: Helps bring the dough together.
- Baking Powder: If using plain flour, baking powder ensures the cakes rise properly.
2.1. Flour Power: Self-Raising vs. Plain Flour
Self-raising flour contains baking powder, making it convenient for rock cakes. If using plain flour, add 1-2 teaspoons of baking powder per cup of flour. According to King Arthur Baking Company, self-raising flour provides a consistent rise and light texture, ideal for achieving the perfect rock cake.
2.2. The Importance of Cold Butter
Cold butter is crucial for creating a crumbly texture in rock cakes. The cold fat melts during baking, creating pockets of air and resulting in a tender interior. Cut the butter into small cubes and work it into the flour mixture quickly to keep it cold.
2.3. Choosing the Right Dried Fruit
The choice of dried fruit can significantly impact the flavor of your rock cakes. Raisins and currants are classic options, while cranberries, apricots, and mixed peel add a modern twist. Soak the dried fruit in warm water or juice for 15-20 minutes to plump them up before adding them to the dough.
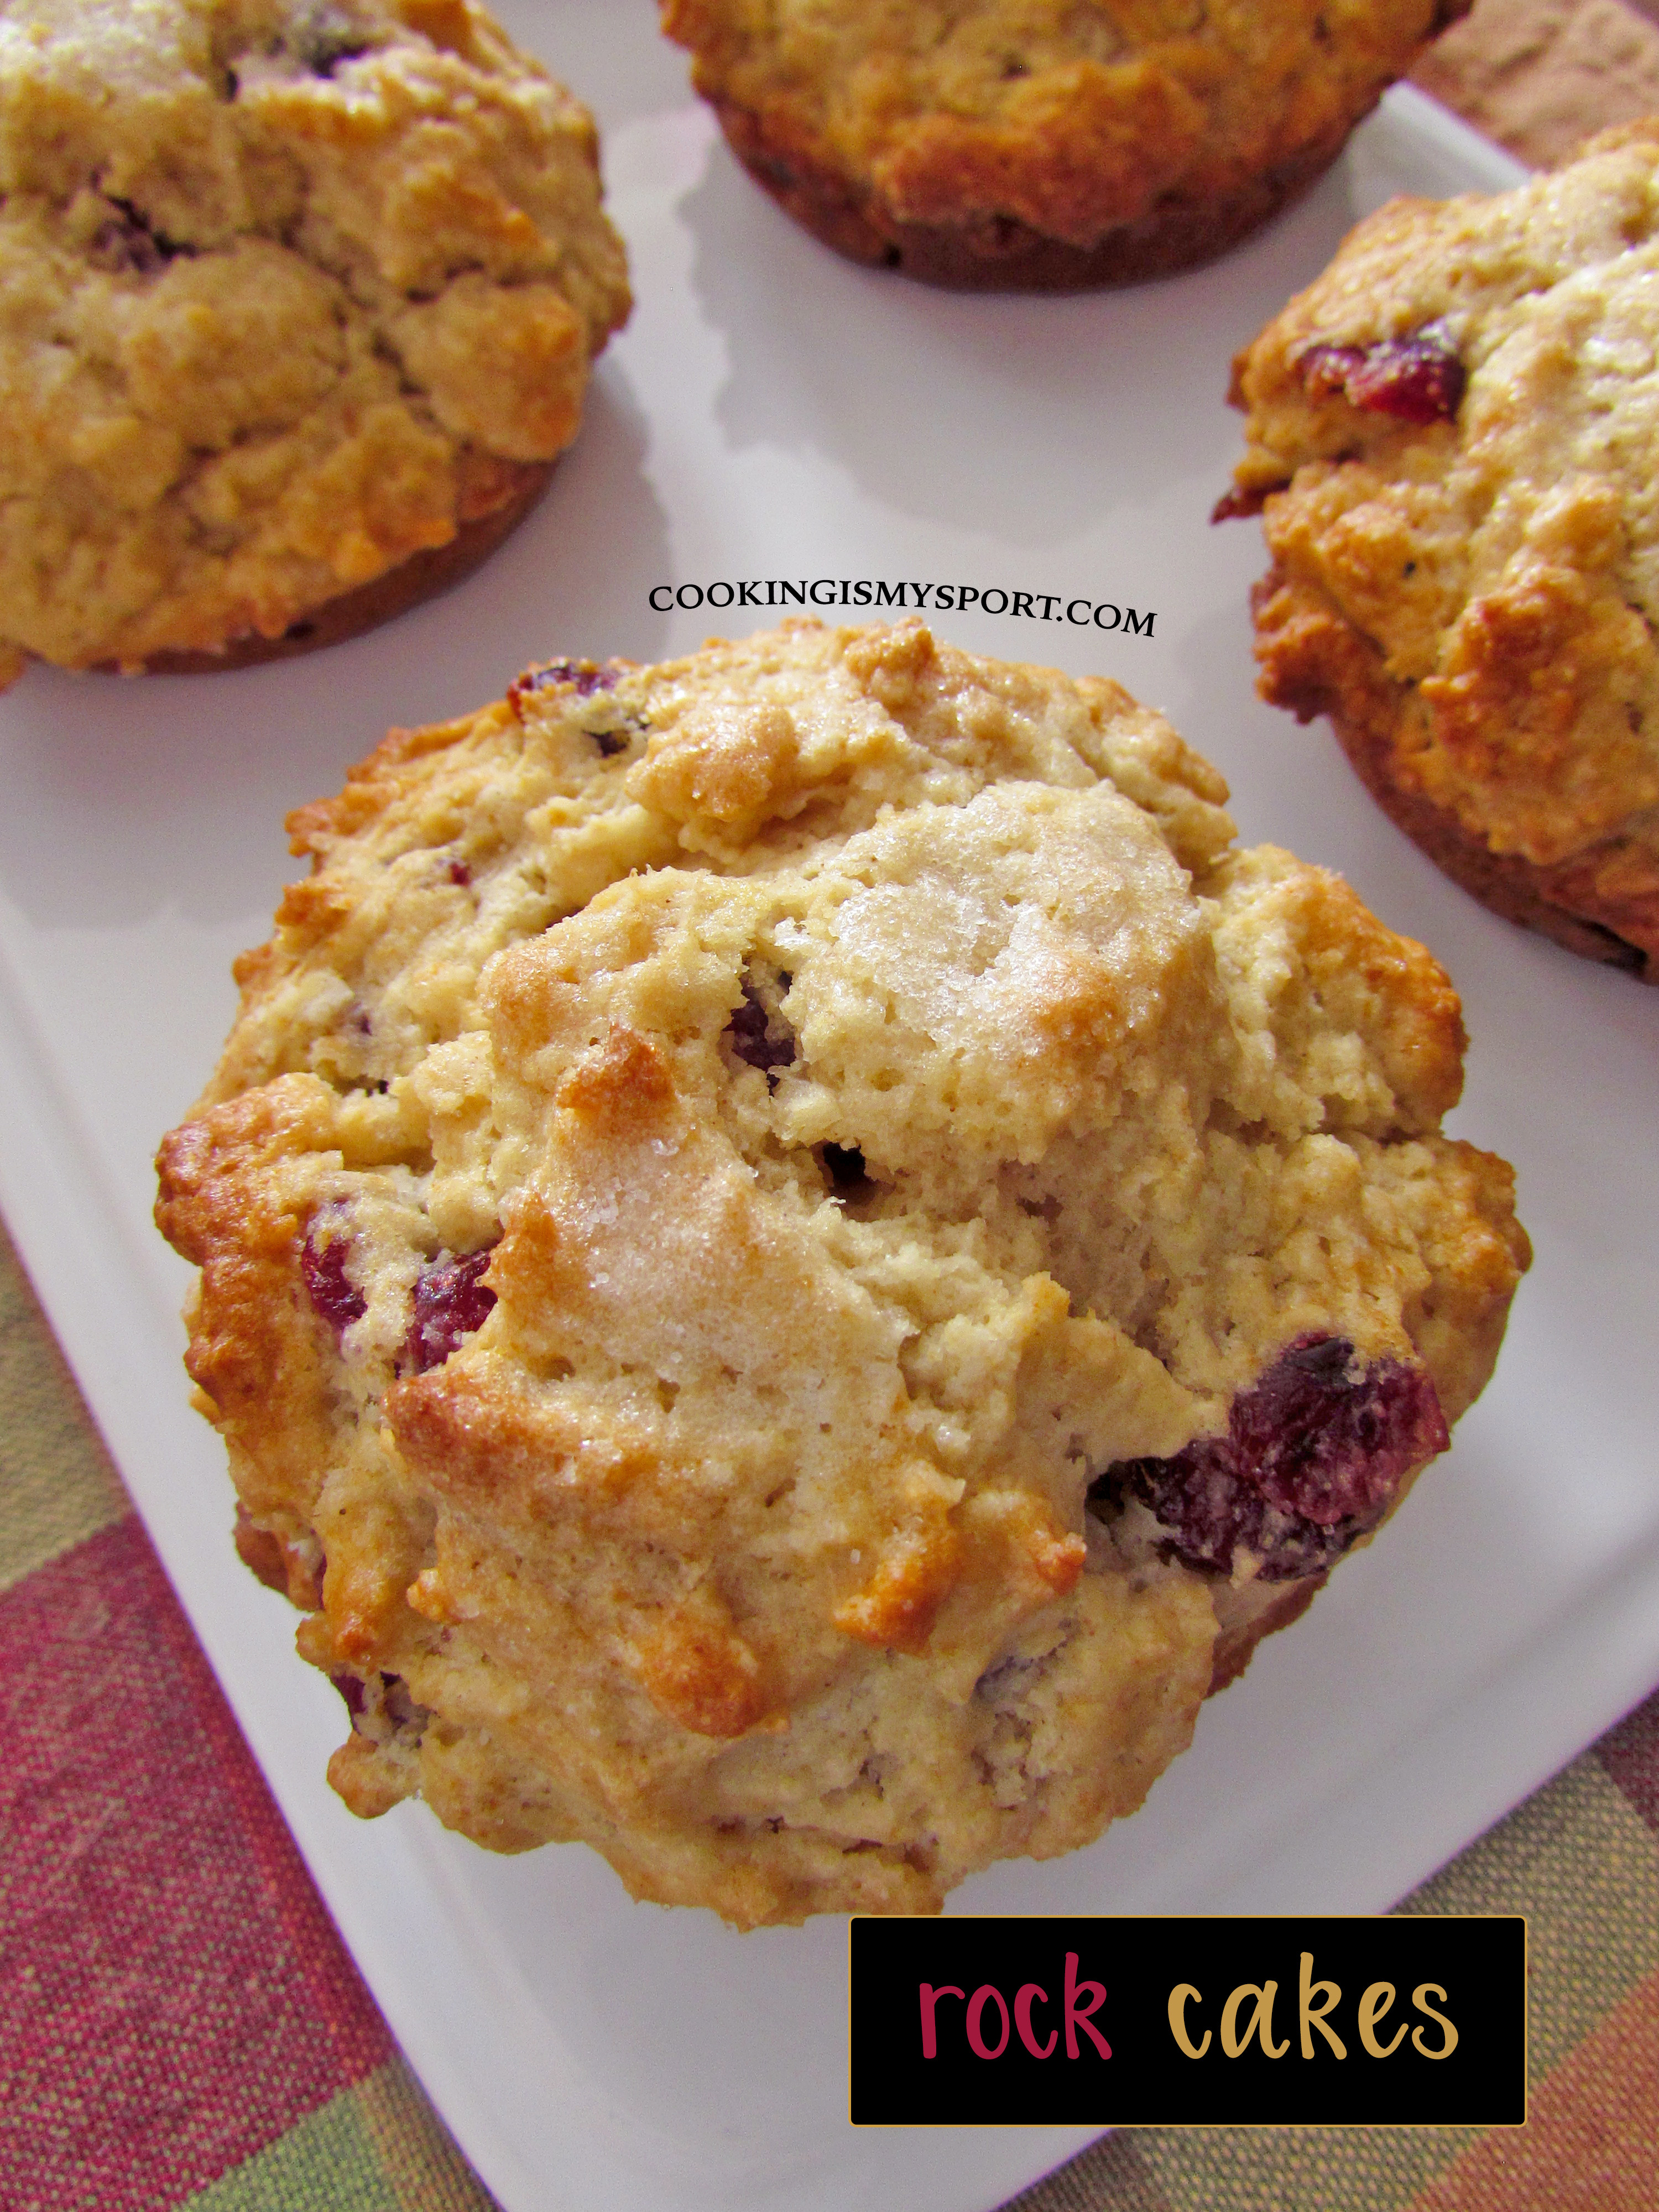
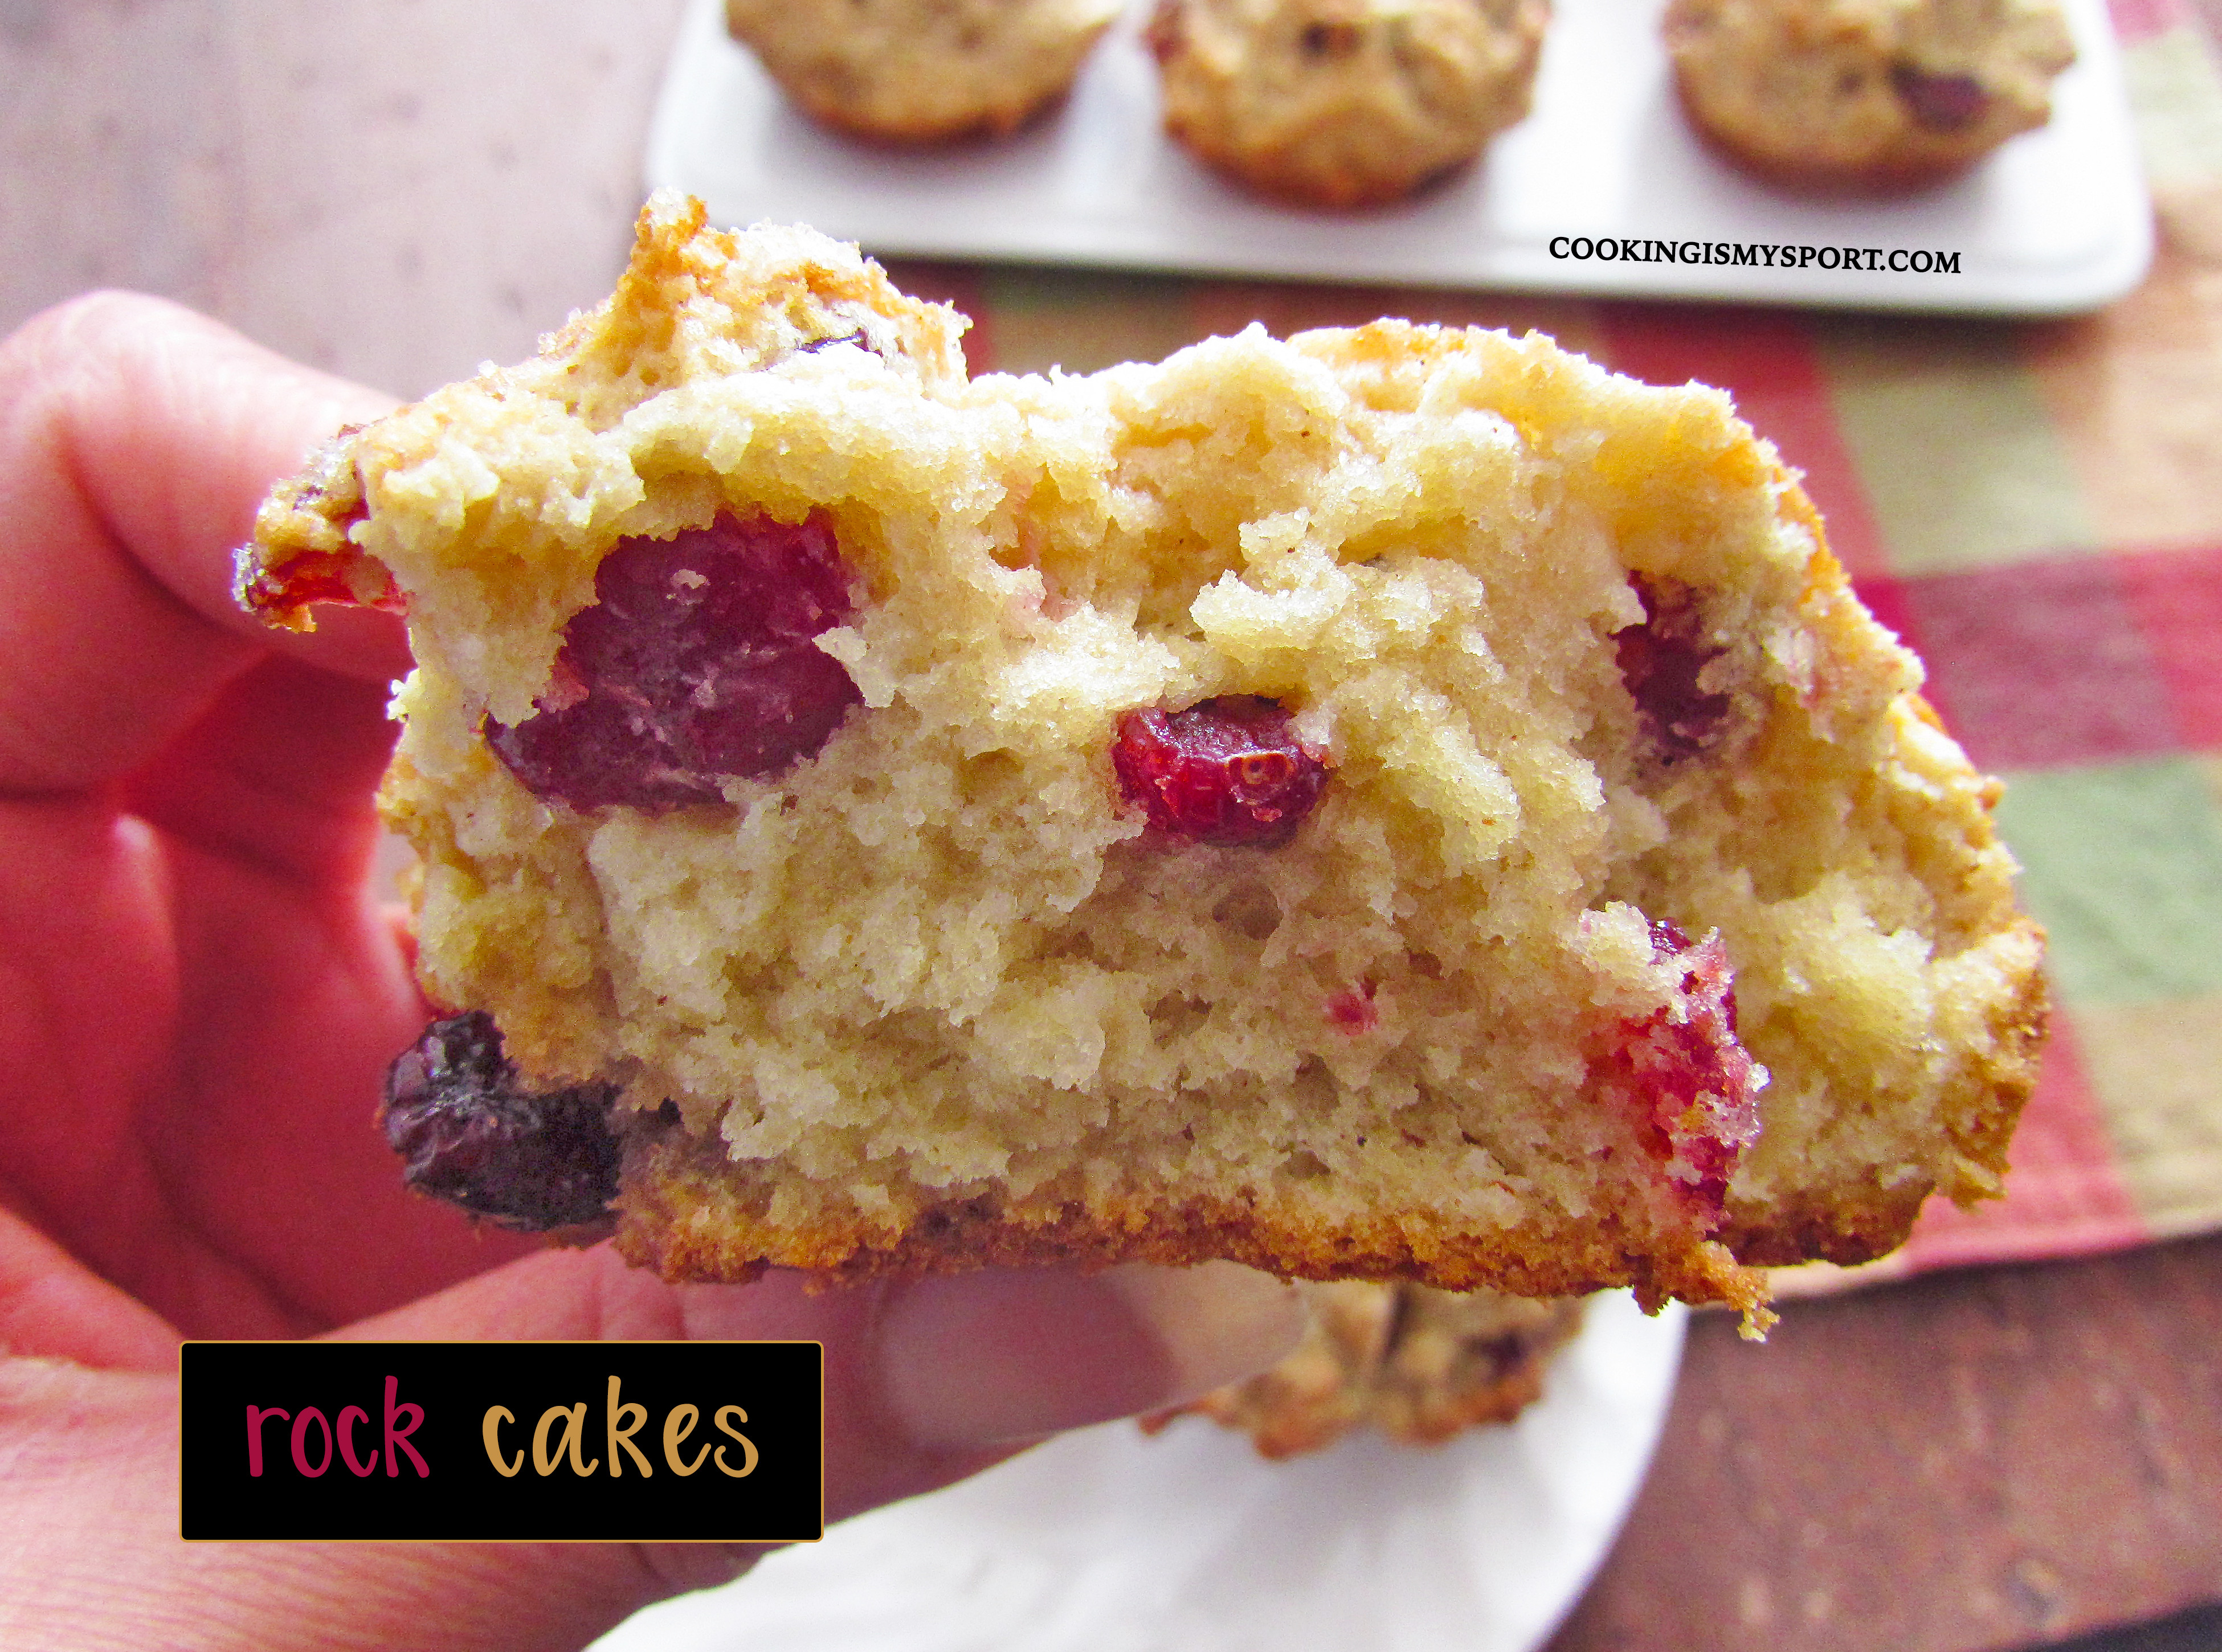
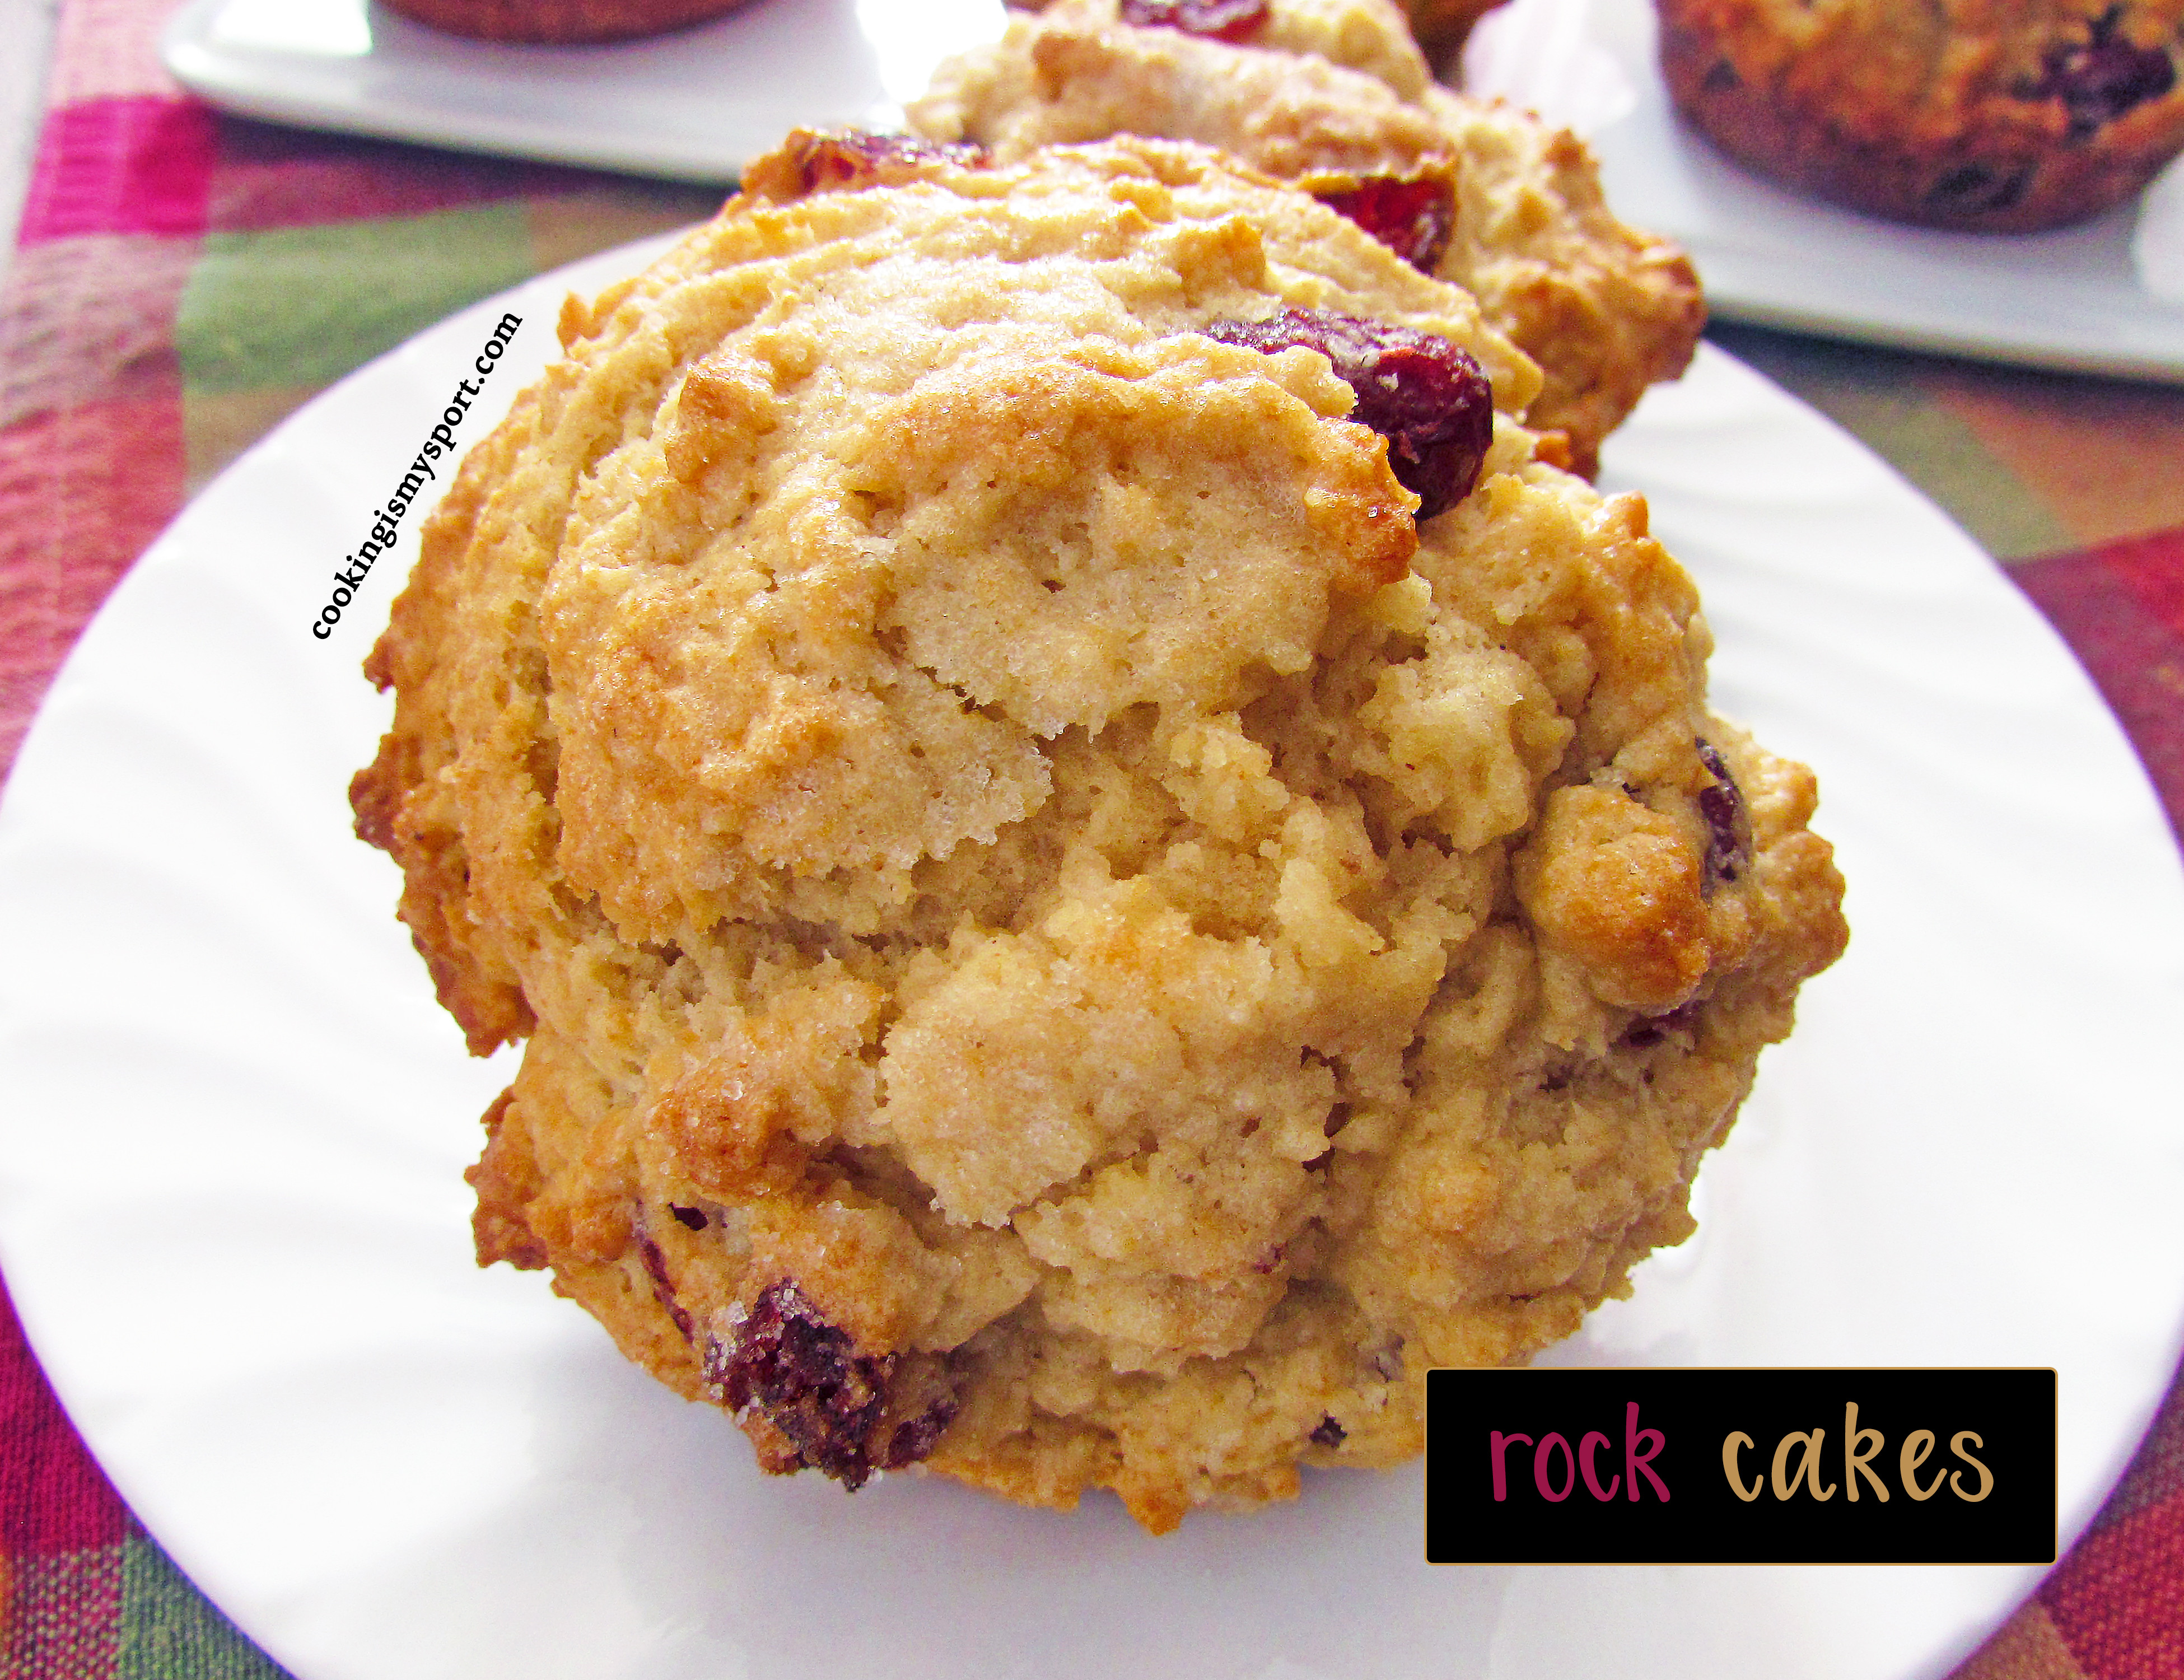 Close-up of rock cakes with various dried fruits
3. Step-by-Step Guide: How to Bake Rock Cakes
Baking rock cakes is a straightforward process. Here’s a step-by-step guide to help you create these delightful treats:
- Preheat the Oven: Preheat your oven to 350°F (175°C).
- Combine Dry Ingredients: In a large bowl, mix together the self-raising flour, sugar, and baking powder (if using plain flour).
- Add Butter: Cut the cold butter into small cubes and rub it into the flour mixture using your fingertips or a pastry blender until the mixture resembles breadcrumbs.
- Mix in Dried Fruit: Add the dried fruit to the flour mixture and mix well.
- Add Wet Ingredients: In a separate bowl, whisk together the egg and milk.
- Combine Wet and Dry: Pour the wet ingredients into the dry ingredients and mix gently until just combined. Be careful not to overmix.
- Drop onto Baking Sheet: Drop spoonfuls of the dough onto a baking sheet lined with parchment paper, leaving space between each cake.
- Sprinkle with Sugar: Sprinkle the tops of the rock cakes with extra sugar for a sweet, crunchy finish.
- Bake: Bake for 15-20 minutes, or until golden brown.
- Cool: Let the rock cakes cool on the baking sheet for a few minutes before transferring them to a wire rack to cool completely.
3.1. Avoiding Overmixing for a Tender Crumb
Overmixing the dough can result in tough rock cakes. Mix the wet and dry ingredients just until combined. A few streaks of flour are fine. The less you mix, the more tender your rock cakes will be.
3.2. The Importance of Parchment Paper
Lining your baking sheet with parchment paper prevents the rock cakes from sticking and makes cleanup easier. Parchment paper also helps distribute heat evenly, ensuring the bottoms of the cakes don’t burn.
3.3. Achieving the Perfect Golden-Brown Color
Bake the rock cakes until they are golden brown on top. This indicates that they are fully cooked and have a slightly crisp exterior. Keep a close eye on them during the last few minutes of baking to prevent burning.
4. How to Customize Your Rock Cakes with Different Flavors
One of the best things about rock cakes is their versatility. You can easily customize them with different flavors and ingredients to suit your taste.
4.1. Adding Spices for Warmth
Spices like cinnamon, nutmeg, and ginger add warmth and depth to rock cakes. Add 1/2-1 teaspoon of your favorite spice to the flour mixture.
4.2. Citrus Zest for a Zesty Twist
Citrus zest, such as lemon, orange, or lime, adds a bright, zesty flavor to rock cakes. Add the zest of one citrus fruit to the flour mixture.
4.3. Nutty Additions for Extra Texture
Chopped nuts, like almonds, walnuts, or pecans, add extra texture and flavor to rock cakes. Add 1/2 cup of chopped nuts to the flour mixture.
4.4. Chocolate Chips for a Sweet Treat
Chocolate chips are a delicious addition to rock cakes, especially for chocolate lovers. Add 1/2 cup of chocolate chips to the flour mixture.
 Rock cakes with chocolate chips and nuts
5. Serving Suggestions: What to Enjoy with Your Rock Cakes?
Rock cakes are delicious on their own, but they also pair well with various accompaniments. Here are some serving suggestions:
- Butter and Jam: A classic combination. Spread butter and your favorite jam on warm rock cakes.
- Clotted Cream and Berries: A luxurious treat. Serve rock cakes with clotted cream and fresh berries.
- Tea or Coffee: The perfect beverage to enjoy with rock cakes.
- Cheese: A savory option. Serve rock cakes with a slice of your favorite cheese.
5.1. Rock Cakes as Part of Afternoon Tea
Rock cakes are a delightful addition to afternoon tea. Serve them alongside other treats like scones, sandwiches, and cakes for a traditional British experience.
5.2. Storing Rock Cakes for Freshness
Store rock cakes in an airtight container at room temperature for up to 3 days. To keep them fresh, add a slice of bread to the container to absorb excess moisture.
5.3. Reheating Rock Cakes for a Warm Treat
Reheat rock cakes in the oven at 300°F (150°C) for 5-10 minutes to warm them up. You can also microwave them for a few seconds, but be careful not to overheat them.
6. Common Mistakes to Avoid When Baking Rock Cakes
Even with a simple recipe, some common mistakes can affect the outcome of your rock cakes. Here’s what to watch out for:
6.1. Using Warm Butter
Warm or melted butter will result in flat, greasy rock cakes. Ensure the butter is cold and cut into small cubes before incorporating it into the flour mixture.
6.2. Overworking the Dough
Overmixing the dough develops the gluten, leading to tough rock cakes. Mix the wet and dry ingredients just until combined.
6.3. Using Old Baking Powder
Old baking powder loses its effectiveness, resulting in flat, dense rock cakes. Check the expiration date on your baking powder and replace it if necessary. According to a study by the American Chemical Society, baking powder should be stored in a cool, dry place and replaced every 6-12 months for optimal results.
6.4. Baking at the Wrong Temperature
Baking at the wrong temperature can result in rock cakes that are either undercooked or burnt. Ensure your oven is properly preheated to 350°F (175°C) and monitor the cakes closely during baking.
 Baking tray with golden brown rock cakes
7. Exploring Rock Cake Variations from Around the World
While rock cakes are primarily associated with British cuisine, similar baked goods can be found in other cultures.
7.1. German “Felsenkekse”
In Germany, there’s a similar treat called “Felsenkekse,” which translates to “rock cookies.” These cookies often include nuts and chocolate, giving them a richer flavor profile.
7.2. Italian “Brutti ma Buoni”
Italy offers “Brutti ma Buoni,” meaning “ugly but good.” These meringue-based cookies are known for their irregular shape and delightful crunch, often featuring hazelnuts or almonds.
7.3. South African “Rusk”
In South Africa, “Rusk” is a type of twice-baked bread or biscuit that’s dried until hard and crunchy. While not exactly the same as rock cakes, their rustic appearance and texture share similarities.
8. Pairing Rock Cakes with Landscape Design: A Unique Twist
Now, let’s switch gears and explore an unexpected connection: pairing rock cakes with landscape design. Just as rock cakes offer a delightful blend of rustic charm and comforting flavor, incorporating natural stones into your landscape can create a similarly appealing aesthetic.
8.1. Incorporating Natural Stone Elements
Using natural stones in your garden or outdoor space adds texture, character, and a sense of timelessness. Here are some ideas:
- Rock Gardens: Create a rock garden featuring various sizes and types of stones, complemented by drought-resistant plants.
- Stone Pathways: Design pathways using flagstones or gravel for a natural, rustic look.
- Water Features: Incorporate stones around ponds or fountains to enhance the natural ambiance.
8.2. Choosing the Right Stone for Your Landscape
Selecting the right type of stone is crucial for achieving your desired aesthetic. Consider factors like color, texture, and durability. Here are some popular options:
- Granite: Known for its durability and versatility, granite is ideal for pathways, walls, and water features.
- Slate: With its natural layers and earthy tones, slate adds a touch of elegance to any landscape.
- River Rock: Smooth and rounded, river rocks are perfect for creating natural-looking borders and drainage solutions.
8.3. Finding Inspiration at Rockscapes.net
For inspiration and guidance on incorporating natural stones into your landscape, visit rockscapes.net. Explore a wide range of stone options, design ideas, and expert tips to transform your outdoor space into a stunning retreat.
9. Maintaining Your Landscape Stone for Lasting Beauty
Just as you care for your rock cakes to ensure they stay fresh and delicious, maintaining your landscape stone is essential for preserving its beauty and longevity.
9.1. Cleaning and Sealing Stone Surfaces
Regular cleaning helps remove dirt, moss, and algae from stone surfaces. Use a mild soap and water solution, along with a soft brush, to gently scrub the stone. Sealing the stone protects it from stains and water damage.
9.2. Preventing Weed Growth
Weeds can detract from the beauty of your landscape stone. Apply a pre-emergent herbicide in the spring to prevent weed seeds from germinating. Hand-pull any weeds that do manage to grow, being careful not to damage the stone.
9.3. Addressing Cracks and Damage
Inspect your landscape stone regularly for cracks and damage. Repair any cracks with a stone repair compound or mortar. Replace any damaged stones to maintain the integrity of your landscape.
10. Rock Cake FAQs: Your Burning Questions Answered
Here are some frequently asked questions about rock cakes, covering everything from ingredients to storage.
10.1. Can I make rock cakes without self-raising flour?
Yes, you can. Use plain flour and add 1-2 teaspoons of baking powder per cup of flour.
10.2. Can I freeze rock cakes?
Yes, you can freeze rock cakes for up to 2 months. Wrap them tightly in plastic wrap and store them in a freezer-safe bag.
10.3. How do I prevent my rock cakes from being too dry?
Ensure you don’t overbake them. Bake until they are golden brown but still slightly soft to the touch.
10.4. Can I add alcohol to rock cakes?
Yes, you can soak the dried fruit in alcohol, such as rum or brandy, for extra flavor.
10.5. What is the best way to reheat rock cakes?
Reheat them in the oven at 300°F (150°C) for 5-10 minutes or microwave them for a few seconds.
10.6. Are rock cakes suitable for vegans?
Traditional rock cakes contain butter, eggs, and milk. However, you can make vegan rock cakes by substituting these ingredients with plant-based alternatives.
10.7. How can I make my rock cakes gluten-free?
Use a gluten-free flour blend and ensure all other ingredients are gluten-free.
10.8. What is the best type of sugar to use in rock cakes?
Granulated sugar is commonly used, but you can also use caster sugar for a finer texture.
10.9. How do I stop my dried fruit from sinking to the bottom of the rock cakes?
Toss the dried fruit in flour before adding it to the dough. This helps prevent them from sinking.
10.10. What can I do if my rock cake dough is too sticky?
Add a little more flour, one tablespoon at a time, until the dough is easier to handle.
Conclusion: Embrace the Rustic Charm of Rock Cakes and Natural Stone
Rock cakes offer a delightful combination of simplicity, flavor, and rustic charm. Whether you’re a seasoned baker or a novice in the kitchen, these easy-to-make treats are sure to impress. And just as rock cakes bring warmth and comfort to your table, incorporating natural stone into your landscape can transform your outdoor space into a stunning and inviting retreat.
Ready to elevate your landscape with the beauty of natural stone? Visit rockscapes.net today to explore a wide range of options, discover inspiring design ideas, and connect with experts who can help you bring your vision to life. Don’t wait—create the outdoor oasis you’ve always dreamed of! Contact us at Address: 1151 S Forest Ave, Tempe, AZ 85281, United States. Phone: +1 (480) 965-9011.
Remember, whether it’s baking rock cakes or designing your landscape, the key is to embrace the natural beauty and imperfections that make each creation unique.