Installing a river rock backsplash can dramatically transform your space with its natural beauty and unique texture. This guide, brought to you by rockscapes.net, provides a comprehensive overview of how to install a river rock backsplash, ensuring a stunning and durable result.
1. What Is A River Rock Backsplash And Why Choose It?
A river rock backsplash is a decorative wall covering made from smooth, rounded stones that mimic the look of a riverbed. It is a popular choice for homeowners looking to add a touch of nature and rustic charm to their kitchens, bathrooms, or accent walls. According to the National Kitchen and Bath Association (NKBA), natural materials like stone are increasingly popular in kitchen and bath design due to their durability and aesthetic appeal.
- Natural Aesthetic: River rock brings the outdoors in, creating a calming and organic atmosphere.
- Unique Texture: The varied shapes and sizes of the stones add depth and visual interest.
- Versatility: River rock complements a wide range of design styles, from rustic to modern.
- Durability: Stone is a naturally durable material that can withstand moisture and wear.
- Increased Home Value: Installing River Rock can significantly increase your homes value due to it’s beautiful organic and upscale nature.
2. What Are The Key Considerations Before Starting Your River Rock Project?
Before diving into the installation, careful planning is essential to ensure a successful outcome. Here are some key considerations:
2.1. Defining Your Design and Goals:
- Overall Style: How will the river rock complement your existing décor? Consider the color palette, texture, and style of your kitchen or bathroom.
- Focal Point: Will the backsplash be a subtle accent or a bold statement? Determine the area you want to cover and how it will interact with other design elements.
- Budget: River rock and installation materials can vary in price. Set a budget and stick to it.
2.2. Types of River Rock:
- Polished vs. Unpolished: Polished stones have a glossy finish, while unpolished stones have a more natural, matte look. According to the experts at rockscapes.net, polished stones are easier to clean, while unpolished stones offer a more rustic aesthetic.
- Color Variations: River rock comes in a variety of colors, from earthy browns and grays to vibrant reds and greens. Choose colors that complement your existing décor.
- Size and Shape: Stones vary in size and shape, affecting the overall texture and appearance of the backsplash.
2.3. Surface Preparation:
- Cleanliness: The wall surface must be clean, dry, and free of dust, grease, and loose paint.
- Flatness: Ensure the wall is as flat as possible. Minor imperfections can be corrected with thin-set mortar, but major unevenness may require patching or resurfacing.
- Priming: Apply a primer to the wall to improve adhesion of the mortar. According to research from Arizona State University’s School of Earth and Space Exploration, in July 2025, priming provides optimal grip for the mortar.
2.4. Essential Tools and Materials:
- River Rock: Purchase enough river rock to cover your desired area, plus extra for cuts and waste.
- Thin-Set Mortar: Choose a high-quality, polymer-modified thin-set mortar designed for stone.
- Grout: Select a grout color that complements your river rock.
- Sealer: Apply a stone sealer to protect the river rock and grout from moisture and stains.
- Trowel: Use a notched trowel to apply the thin-set mortar evenly.
- Wet Saw: A wet saw is essential for cutting river rock to fit around outlets, windows, and corners.
- Spacers: Use tile spacers to maintain consistent spacing between the stones.
- Grout Float: Use a grout float to apply and smooth the grout.
- Sponges: Use sponges to clean excess grout from the stone surface.
- Buckets: Have buckets for mixing mortar and cleaning sponges.
- Safety Gear: Wear safety glasses, gloves, and a dust mask to protect yourself during the installation process.
3. How To Prepare The Surface For River Rock Backsplash Installation?
Proper surface preparation is crucial for a successful and long-lasting river rock backsplash. Follow these steps to ensure your surface is ready:
3.1. Cleaning The Wall:
- Remove existing coverings: Remove any existing wallpaper, tiles, or other wall coverings.
- Wash the surface: Use a mild detergent and water to wash the wall and remove any dirt, grease, or grime.
- Rinse thoroughly: Rinse the wall with clean water to remove any soap residue.
- Allow to dry: Let the wall dry completely before proceeding to the next step.
3.2. Repairing Imperfections:
- Patch holes and cracks: Use patching compound to fill any holes or cracks in the wall.
- Sand smooth: Once the patching compound is dry, sand it smooth to create an even surface.
- Address unevenness: If the wall is significantly uneven, you may need to apply a skim coat of drywall compound to create a flat surface.
3.3. Priming For Adhesion:
- Choose the right primer: Use a primer specifically designed for use with thin-set mortar and stone.
- Apply evenly: Apply the primer evenly to the wall using a paint roller or brush.
- Allow to dry: Let the primer dry completely according to the manufacturer’s instructions.
3.4. Marking Layout Lines:
- Find the center: Locate the center of the wall and mark a vertical line.
- Establish a level line: Use a level to draw a horizontal line at the bottom of the area where you will be installing the river rock.
- Plan the layout: Dry-fit the river rock along the layout lines to determine the best arrangement and spacing.
4. How To Install River Rock Backsplash: A Step-By-Step Guide?
With your design in place and the surface properly prepared, it’s time to begin the installation process. Follow these steps for a stunning river rock backsplash:
4.1. Mixing The Thin-Set Mortar:
- Follow instructions: Carefully read and follow the manufacturer’s instructions on the thin-set mortar packaging.
- Add water gradually: Add water to the mortar mix gradually, stirring continuously until you achieve a smooth, pudding-like consistency.
- Avoid over-mixing: Over-mixing can introduce air bubbles, weakening the mortar.
- Let it slake: Allow the mortar to slake (rest) for the recommended time, usually 5-10 minutes.
- Re-mix: After slaking, re-mix the mortar briefly before using.
4.2. Applying The Mortar:
- Start small: Begin by applying a small amount of mortar to the wall using the notched trowel.
- Create ridges: Hold the trowel at a 45-degree angle and create consistent ridges in the mortar. These ridges help to ensure proper adhesion of the river rock.
- Work in sections: Apply mortar to a small area at a time, no more than 2-3 square feet, to prevent it from drying out before you can set the stones.
4.3. Setting The River Rock:
- Press firmly: Press each stone firmly into the mortar, using a slight twisting motion to ensure good contact.
- Maintain spacing: Use tile spacers to maintain consistent spacing between the stones. The spacing will depend on the size and shape of your river rock, but a good starting point is 1/4 inch.
- Arrange artistically: Arrange the stones in a visually appealing pattern, varying the colors, sizes, and shapes.
- Cut as needed: Use a wet saw to cut stones to fit around outlets, windows, and corners.
- Clean excess mortar: Wipe away any excess mortar from the surface of the stones with a damp sponge.
- Continuously check your work Ensure the stone is arranged correctly by stepping back and assessing your work, make sure to double check for anything out of place
4.4. Curing Time:
- Allow to set: Allow the mortar to set for the recommended time, usually 24-48 hours, before proceeding to the next step. According to the Tile Council of North America (TCNA), proper curing time is essential for the mortar to achieve its full strength.
5. Grouting Your River Rock Backsplash: Enhance The Beauty
Grouting fills the spaces between the stones, creating a cohesive look and preventing water from penetrating behind the backsplash. Here’s how to grout your river rock backsplash:
5.1. Mixing The Grout:
- Choose the right grout: Select a grout that is suitable for use with natural stone. Unsanded grout is generally recommended for river rock backsplashes, as it is less likely to scratch the stone.
- Follow instructions: Carefully read and follow the manufacturer’s instructions on the grout packaging.
- Add water gradually: Add water to the grout mix gradually, stirring continuously until you achieve a smooth, creamy consistency.
- Avoid over-watering: Over-watering can weaken the grout and cause it to crack.
- Let it slake: Allow the grout to slake (rest) for the recommended time, usually 5-10 minutes.
- Re-mix: After slaking, re-mix the grout briefly before using.
5.2. Applying The Grout:
- Apply liberally: Apply the grout liberally to the surface of the river rock, using a grout float.
- Work diagonally: Hold the grout float at a 45-degree angle and work the grout into the spaces between the stones using diagonal strokes.
- Pack the joints: Ensure that the joints are fully packed with grout.
5.3. Cleaning The Grout Haze:
- Wait briefly: Allow the grout to set for a short period, usually 15-30 minutes, before cleaning.
- Use a damp sponge: Use a damp sponge to wipe away the excess grout from the surface of the stones.
- Rinse frequently: Rinse the sponge frequently in clean water.
- Avoid over-wetting: Avoid over-wetting the grout, as this can weaken it and cause it to leach out.
- Grout haze removal: After the grout has dried for 24-48 hours, you may notice a haze on the surface of the stones. This can be removed with a grout haze remover, following the manufacturer’s instructions.
5.4. Curing and Drying Time:
- Allow to cure: Allow the grout to cure for the recommended time, usually 72 hours, before sealing. According to the Portland Cement Association (PCA), proper curing time is essential for the grout to achieve its full strength and water resistance.
6. Sealing And Protecting Your River Rock Backsplash: A Barrier Against Wear And Tear
Sealing your river rock backsplash protects it from moisture, stains, and discoloration. Here’s how to seal your river rock backsplash:
6.1. Choosing The Right Sealer:
- Choose a penetrating sealer: Select a penetrating sealer specifically designed for use with natural stone. These sealers penetrate the stone and grout, providing protection from within.
- Consider the finish: Sealers are available in a variety of finishes, from matte to glossy. Choose a finish that complements the look of your river rock.
6.2. Applying The Sealer:
- Clean the surface: Ensure that the surface of the river rock and grout is clean and dry before applying the sealer.
- Apply evenly: Apply the sealer evenly to the surface using a paint brush, roller, or sprayer.
- Follow instructions: Carefully read and follow the manufacturer’s instructions on the sealer packaging.
- Apply multiple coats: Apply multiple coats of sealer, allowing each coat to dry completely before applying the next.
6.3. Maintenance and Upkeep:
- Regular cleaning: Clean your river rock backsplash regularly with a mild detergent and water.
- Avoid harsh chemicals: Avoid using harsh chemicals or abrasive cleaners, as these can damage the stone and grout.
- Re-seal as needed: Re-seal your river rock backsplash every 1-2 years, or as needed, to maintain its protection.
7. Creative Design Ideas For Your River Rock Backsplash:
A river rock backsplash can be customized to fit a variety of design styles. Here are some creative ideas to inspire you:
- Waterfall Effect: Create a waterfall effect by arranging the stones in a cascading pattern.
- Mosaic Design: Incorporate other materials, such as glass tiles or pebbles, to create a mosaic design.
- Accent Wall: Extend the river rock backsplash to cover an entire wall for a dramatic effect.
- Fireplace Surround: Use river rock to create a unique and natural-looking fireplace surround.
- Outdoor Kitchen: Add a river rock backsplash to your outdoor kitchen for a rustic touch.
- Contrasting Color Grout Choose a grout color that drastically contrasts your backsplash for an eye-catching look.
- Mix and Match: Get creative by using a combination of polished, smooth rock with rougher stone.
8. Common Mistakes To Avoid During River Rock Installation:
To ensure a successful river rock backsplash installation, avoid these common mistakes:
- Inadequate Surface Preparation: Failing to properly clean, repair, and prime the surface can lead to adhesion problems.
- Using The Wrong Mortar: Using the wrong type of mortar can result in weak adhesion and cracking.
- Inconsistent Spacing: Inconsistent spacing between the stones can create an uneven and unprofessional look.
- Incorrect Grout Application: Applying the grout incorrectly can result in staining and discoloration.
- Neglecting To Seal: Failing to seal the river rock and grout can leave them vulnerable to moisture and stains.
9. How To Troubleshoot Common River Rock Backsplash Problems?
Even with careful planning and execution, problems can sometimes arise during or after river rock backsplash installation. Here are some common issues and how to troubleshoot them:
- Stones Not Adhering: If stones are not adhering properly, ensure that the surface is clean and primed, and that you are using the correct type of thin-set mortar.
- Grout Cracking: Grout cracking can be caused by using too much water in the grout mix, or by applying the grout to a surface that is not properly cured.
- Staining or Discoloration: Staining or discoloration can be caused by using harsh chemicals or abrasive cleaners, or by failing to seal the river rock and grout properly.
- Efflorescence: Efflorescence is a white, powdery deposit that can appear on the surface of the river rock. It is caused by mineral salts in the mortar migrating to the surface. It can be removed with a solution of water and vinegar.
10. FAQs About River Rock Backsplash Installation:
Here are some frequently asked questions about river rock backsplash installation:
10.1. Can I Install A River Rock Backsplash Myself?
Yes, installing a river rock backsplash is a project that many homeowners can tackle themselves. However, it requires careful planning, attention to detail, and some basic DIY skills. If you are not comfortable with tiling or using power tools, it is best to hire a professional installer.
10.2. How Much Does It Cost To Install A River Rock Backsplash?
The cost of installing a river rock backsplash can vary depending on the size of the area, the type of river rock you choose, and whether you hire a professional installer. Generally, you can expect to pay between $10 and $30 per square foot for materials, and an additional $5 to $15 per square foot for labor if you hire a professional.
10.3. What Is The Best Type Of Mortar To Use For River Rock?
The best type of mortar to use for river rock is a high-quality, polymer-modified thin-set mortar designed for stone. These mortars provide excellent adhesion and flexibility, which is important for natural stone installations.
10.4. Do I Need To Seal My River Rock Backsplash?
Yes, it is highly recommended to seal your river rock backsplash to protect it from moisture, stains, and discoloration. Use a penetrating sealer specifically designed for use with natural stone.
10.5. How Often Should I Re-Seal My River Rock Backsplash?
You should re-seal your river rock backsplash every 1-2 years, or as needed, to maintain its protection.
10.6. Can I Use River Rock In A Shower?
Yes, you can use river rock in a shower, but it is important to take extra precautions to ensure that the installation is waterproof. Use a waterproof membrane behind the river rock, and seal the stone and grout thoroughly.
10.7. How Do I Clean My River Rock Backsplash?
Clean your river rock backsplash regularly with a mild detergent and water. Avoid using harsh chemicals or abrasive cleaners.
10.8. Can I Paint River Rock?
While it is possible to paint river rock, it is not generally recommended. Paint can chip and peel over time, and it can also detract from the natural beauty of the stone.
10.9. How Do I Cut River Rock?
River rock can be cut with a wet saw. Use a diamond blade designed for cutting stone.
10.10. Where Can I Buy River Rock?
River rock can be purchased from home improvement stores, tile stores, and online retailers. Rockscapes.net offers a wide selection of high-quality river rock in a variety of colors, sizes, and shapes.
Conclusion: Transform Your Space With Rockscapes.Net
Installing a river rock backsplash is a rewarding project that can add natural beauty and unique texture to your home. By following the steps outlined in this guide, you can create a stunning backsplash that will be the envy of your friends and neighbors.
Ready to start your river rock backsplash project? Visit rockscapes.net today for a wide selection of high-quality river rock, tools, and supplies. Our expert team can help you choose the right materials and provide guidance every step of the way. Let rockscapes.net help you transform your space into a natural oasis!
Address: 1151 S Forest Ave, Tempe, AZ 85281, United States.
Phone: +1 (480) 965-9011.
Website: rockscapes.net.
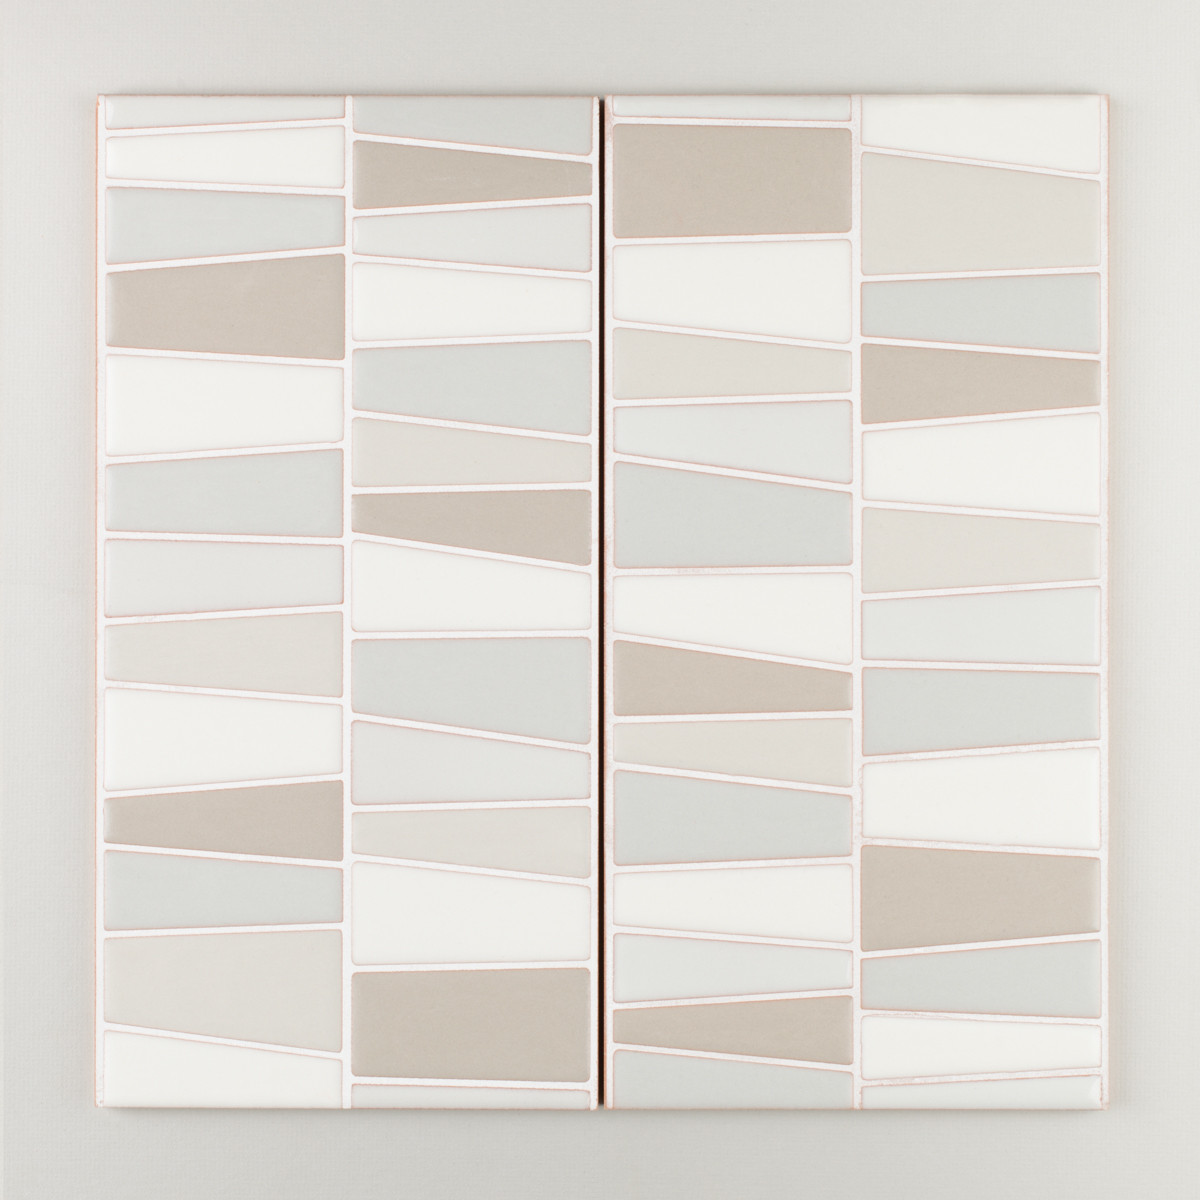 River Rock In Neutral Motif