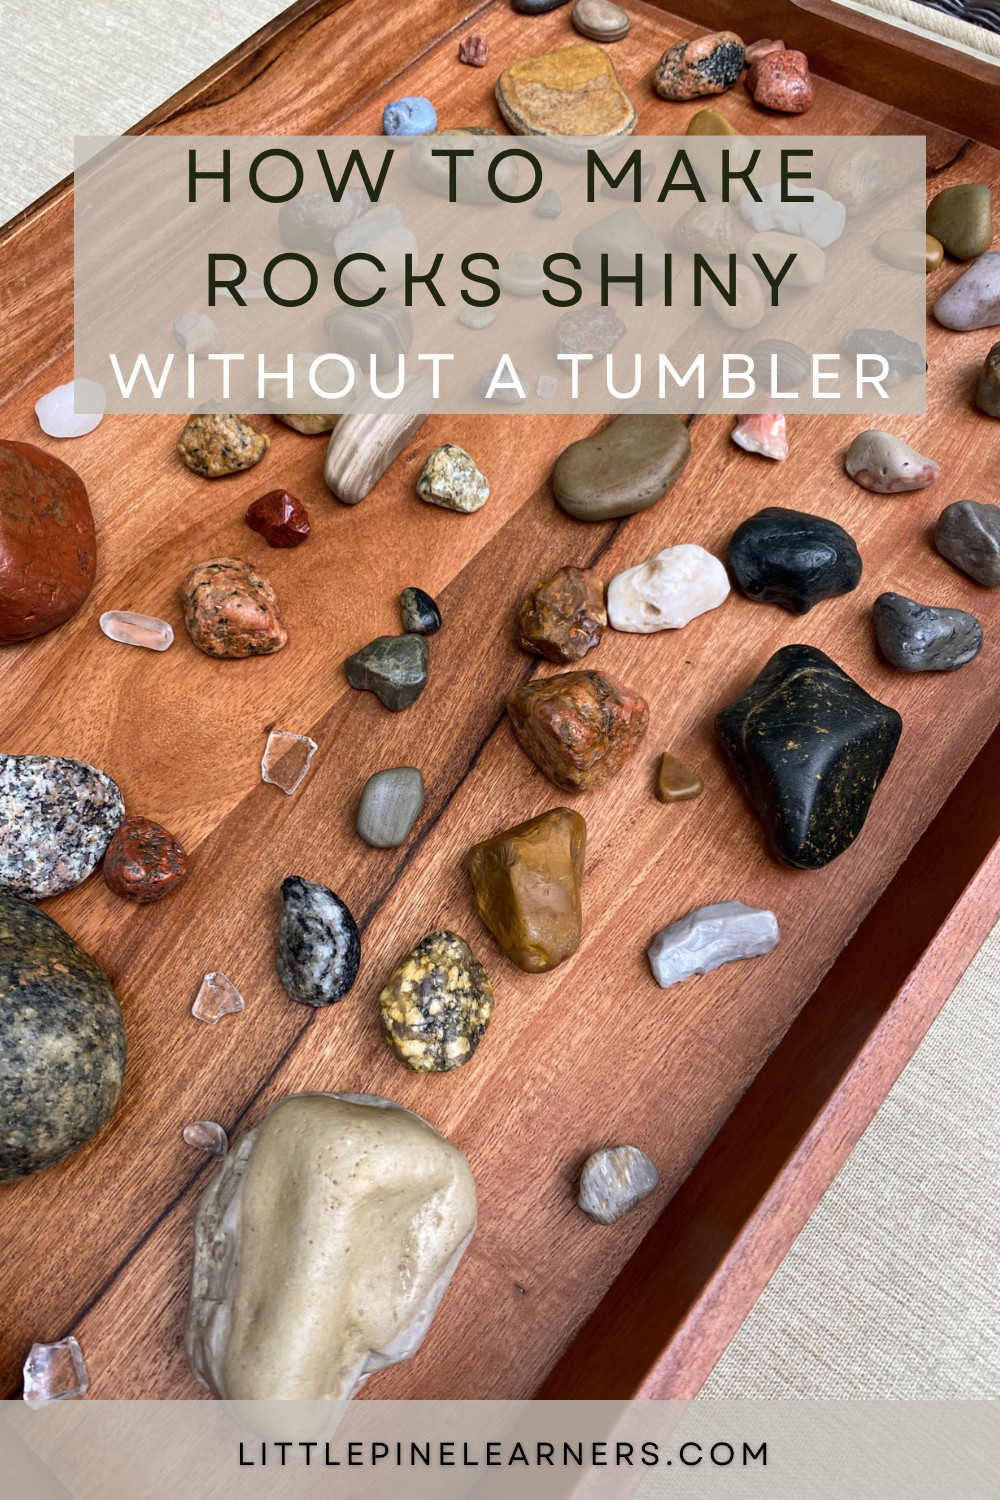
Making a rock shine enhances its natural beauty, adding a touch of elegance to any landscape. At rockscapes.net, we provide expert tips and resources to help you achieve stunning results. Discover the secrets to polishing rocks and transforming them into captivating features for your garden or home with rock polishing techniques, stone enhancement methods, and landscape design ideas.
1. Why Make Rocks Shine?
Why should you consider making your rocks shine? Shining rocks can dramatically enhance the visual appeal of your landscape and interior decor. Whether you are a homeowner, landscape designer, or a DIY enthusiast, understanding the benefits of polished rocks can inspire you to undertake this rewarding project.
- Aesthetic Enhancement: Polished rocks add a sophisticated and refined look to gardens, pathways, and water features.
- Highlighting Natural Beauty: Shining enhances the unique colors, patterns, and textures inherent in each rock.
- Versatile Decor: Polished rocks can be used in various decorative applications, from garden borders to indoor centerpieces.
- Increased Property Value: Well-maintained and aesthetically pleasing landscapes can increase the overall value of your property.
- Personal Satisfaction: The process of polishing rocks can be a fulfilling DIY project, offering a sense of accomplishment.
1.1. The Psychology of Shine: Why We’re Drawn to Polished Surfaces
Humans are naturally drawn to shiny objects, a trait that has evolutionary roots. According to research published in the Journal of Consumer Psychology, shiny surfaces are often associated with cleanliness, newness, and high value. This attraction is deeply ingrained in our psychology.
- Evolutionary Perspective: Shiny surfaces can signal the presence of water, a crucial resource for survival.
- Cultural Associations: In many cultures, polished materials like gold and gemstones are symbols of wealth and status.
- Emotional Response: Shine can evoke feelings of pleasure and satisfaction, making polished rocks an attractive addition to any environment.
1.2. Applications of Shiny Rocks in Landscaping and Decor
Shiny rocks can be used in a multitude of ways to enhance both indoor and outdoor spaces. Their versatility makes them a favorite among landscape designers and homeowners alike.
| Application | Description | Benefits |
|---|---|---|
| Garden Borders | Use polished rocks to create defined and attractive borders around flower beds and lawns. | Adds visual interest, prevents soil erosion, and complements plant life. |
| Water Features | Incorporate shiny rocks into ponds, fountains, and streams for a sparkling effect. | Enhances the natural beauty of water, provides a habitat for aquatic life, and creates a soothing ambiance. |
| Pathways and Walkways | Use polished stones to create elegant and durable pathways. | Offers a visually appealing alternative to traditional paving materials and provides good drainage. |
| Interior Decor | Display polished rocks in bowls, vases, or as standalone pieces to add a touch of nature to your home. | Creates a calming atmosphere, adds texture to interior spaces, and serves as unique decorative elements. |
| Xeriscaping | Utilize polished rocks in arid landscapes to conserve water and reduce maintenance. | Retains moisture in the soil, reduces weed growth, and provides a visually appealing, low-maintenance garden. |
| Rock Gardens | Combine various sizes and types of polished rocks to create stunning rock gardens. | Showcases the beauty of natural stone and provides a unique environment for alpine plants. |
| Driveway Decoration | Adding polished rocks to your driveway can increase the overall curb appeal. | A very cost-effective way to brighten your front lawn or driveway |
| Fire Pit Decoration | Creating a border around your firepit with shining rocks can add to a modern aesthetic. | It will ensure that the fire pit will get more use and it is aesthetically pleasing. |
| Around Water Fountains | Placing shining rocks around the water fountain is a great way to keep the area clean and looking great. | The rocks will also add to the water fountain in a unique way |
| As Memorial Stones | Polished stones are great to use as memorial stones for remembrance. | Can be customized with words or images |
| As a Base for Succulents | The shiny rocks can add to a succulent arrangement and create a unique experience for the plants. | Many think that succulents thrive better on rocks |
| As a Tool for Meditation | Using shining rocks for meditation can aid the mind in finding its balance during a stressful meditation. | Polished stones will make the entire experience more calming |
2. Understanding Different Types of Rocks
Before diving into the methods of making rocks shine, it’s crucial to understand the different types of rocks and their properties. This knowledge will help you choose the right polishing techniques and achieve the best results.
- Igneous Rocks: Formed from cooled magma or lava, such as granite and obsidian.
- Sedimentary Rocks: Formed from accumulated sediments, such as sandstone and limestone.
- Metamorphic Rocks: Formed from existing rocks transformed by heat and pressure, such as marble and slate.
2.1. The Geological Composition of Rocks and Its Impact on Shine
The geological composition of a rock significantly affects its ability to be polished. According to the Geological Society of America, rocks with a fine-grained, uniform structure tend to polish more easily and achieve a higher shine than those with coarse grains or multiple mineral inclusions.
- Hardness: Measured on the Mohs scale, hardness determines a rock’s resistance to scratching. Harder rocks like quartz (Mohs 7) can achieve a high polish, while softer rocks like talc (Mohs 1) are more challenging.
- Porosity: The porosity of a rock affects its ability to absorb polishing agents. Non-porous rocks like obsidian polish well, while porous rocks like sandstone may require sealing.
- Mineral Composition: The minerals present in a rock influence its color, texture, and polishing characteristics. For example, rocks rich in silica tend to take a high shine.
2.2. Common Types of Rocks Suitable for Polishing
Certain types of rocks are particularly well-suited for polishing due to their hardness, density, and aesthetic appeal. Here are some popular choices:
| Rock Type | Description | Mohs Hardness | Polishing Characteristics |
|---|---|---|---|
| Agate | A variety of chalcedony characterized by its banded patterns. | 6.5-7 | Polishes to a high gloss, showcasing intricate patterns. |
| Jasper | An opaque variety of chalcedony, often colorful and patterned. | 6.5-7 | Takes a good polish, enhancing its vibrant colors. |
| Quartz | A common mineral found in many types of rocks, known for its durability. | 7 | Polishes well, resulting in a clear, reflective surface. |
| Obsidian | A volcanic glass with a smooth, uniform texture. | 5-6 | Achieves a high shine with minimal effort. |
| Petrified Wood | Fossilized wood that has been replaced by minerals, often quartz. | 7 | Can be polished to reveal the wood’s original structure and patterns. |
| Aventurine | A variety of quartz with small mineral inclusions that create a sparkling effect. | 7 | Polishes well, enhancing its shimmer. |
| Turquoise | This striking stone has been used for centuries as jewelry and decor. | 5-6 | Turquoise has a very striking appearance, so polishing it helps it stand out even more |
| Amethyst | This is a striking stone with an equally impressive color | 7 | Polishing an amethyst is essential if you want it to stand out in your yard or on your driveway |
 Polished Agate Rocks
3. Methods to Make Rocks Shine
There are several methods to make rocks shine, each with its own advantages and disadvantages. The best method for you will depend on the type of rocks you have, the equipment available, and the level of shine you want to achieve.
- Rock Tumbling: A long but effective process that uses abrasive grits to gradually polish rocks.
- Hand Polishing: A manual method ideal for individual rocks or small projects.
- Using Mineral Oil: A quick and simple method to temporarily enhance the shine of rocks.
3.1. Rock Tumbling: A Comprehensive Guide
Rock tumbling is a popular method for polishing a large number of rocks simultaneously. It involves using a rotating barrel to gradually grind and polish the rocks with different grades of abrasive grit.
- Equipment: Requires a rock tumbler, abrasive grits (coarse, medium, fine, and polish), and water.
- Process: The rocks are tumbled with each grade of grit for several days, followed by a final polish.
- Pros: Produces a high shine, can polish many rocks at once.
- Cons: Time-consuming (can take several weeks), requires specialized equipment.
3.1.1. Step-by-Step Guide to Rock Tumbling
- Preparation: Wash the rocks thoroughly to remove any dirt or debris.
- First Grind (Coarse Grit): Place the rocks in the tumbler with coarse grit and water, filling the barrel about two-thirds full. Tumble for 7-10 days.
- Second Grind (Medium Grit): Clean the rocks and tumbler thoroughly. Add medium grit and water, and tumble for another 7-10 days.
- Third Grind (Fine Grit): Repeat the cleaning process. Add fine grit and water, and tumble for an additional 7-10 days.
- Polishing: Clean the rocks and tumbler again. Add polishing compound (such as aluminum oxide) and water. Tumble for 7-10 days for the final shine.
- Final Cleaning: Wash the rocks thoroughly and admire your newly polished stones.
According to the Gemological Institute of America (GIA), the key to successful rock tumbling is patience and meticulous cleaning between each grit stage.
3.1.2. Tips for Achieving the Best Results with Rock Tumbling
- Use the Right Grit: Always use the correct grit for each stage, starting with coarse and gradually moving to finer grits.
- Maintain the Right Water Level: Ensure the rocks are always submerged in water to prevent damage and ensure even polishing.
- Clean Thoroughly: Thoroughly clean the rocks and tumbler between each grit stage to prevent contamination.
- Check Regularly: Periodically check the rocks to monitor their progress and adjust the tumbling time as needed.
- Be Patient: Rock tumbling takes time, so be patient and allow each stage to run its full course.
3.2. Hand Polishing: Detailed Techniques
Hand polishing is a great option for polishing individual rocks or small batches. It requires more manual effort but allows for greater control over the final result.
- Equipment: Requires sandpaper (various grits), polishing cloths, polishing compound, and water.
- Process: The rock is sanded with progressively finer grits of sandpaper, followed by polishing with a polishing compound and cloth.
- Pros: Allows for precise control, ideal for unique or delicate rocks.
- Cons: Time-consuming, requires more manual effort.
3.2.1. Step-by-Step Guide to Hand Polishing
- Preparation: Clean the rock thoroughly and examine it for any imperfections.
- Sanding (Coarse Grit): Use coarse-grit sandpaper to remove any rough edges or blemishes. Wet the sandpaper and rock to reduce friction.
- Sanding (Medium Grit): Switch to medium-grit sandpaper and continue sanding to smooth the surface.
- Sanding (Fine Grit): Use fine-grit sandpaper for the final sanding, creating a smooth, even surface.
- Polishing: Apply a small amount of polishing compound to a polishing cloth and rub the rock vigorously until it shines.
- Final Cleaning: Wipe the rock clean with a soft cloth to remove any remaining polishing compound.
3.2.2. Tips for Achieving the Best Results with Hand Polishing
- Use Quality Sandpaper: Invest in high-quality sandpaper for best results.
- Keep the Rock Wet: Keep the rock and sandpaper wet to reduce friction and prevent overheating.
- Apply Even Pressure: Apply even pressure while sanding to ensure a uniform finish.
- Use a Good Polishing Compound: Choose a polishing compound appropriate for the type of rock you are polishing.
- Be Patient: Hand polishing takes time and effort, so be patient and persistent.
 Polishing Rocks with mineral oil
3.3. Using Mineral Oil: A Quick and Easy Method
Using mineral oil is a simple and quick way to enhance the shine of rocks without the need for specialized equipment. This method is ideal for temporarily improving the appearance of rocks for display or photography.
- Supplies:
- Rocks
- Soap
- Water
- Food grade Mineral Oil or Jojoba Oil
- Jar
- Paper Towel
- Absorbent Towel
- Process: The rocks are cleaned and dried, then submerged in mineral oil for a few hours. Excess oil is wiped off to reveal a temporary shine.
- Pros: Quick, easy, requires no specialized equipment.
- Cons: The shine is temporary, oil can attract dust and dirt.
3.3.1. Step-by-Step Guide to Polishing Rocks with Mineral Oil
- Cleaning: Use a light soap and water to wash the rocks
- Drying: Let the rocks dry under the sun
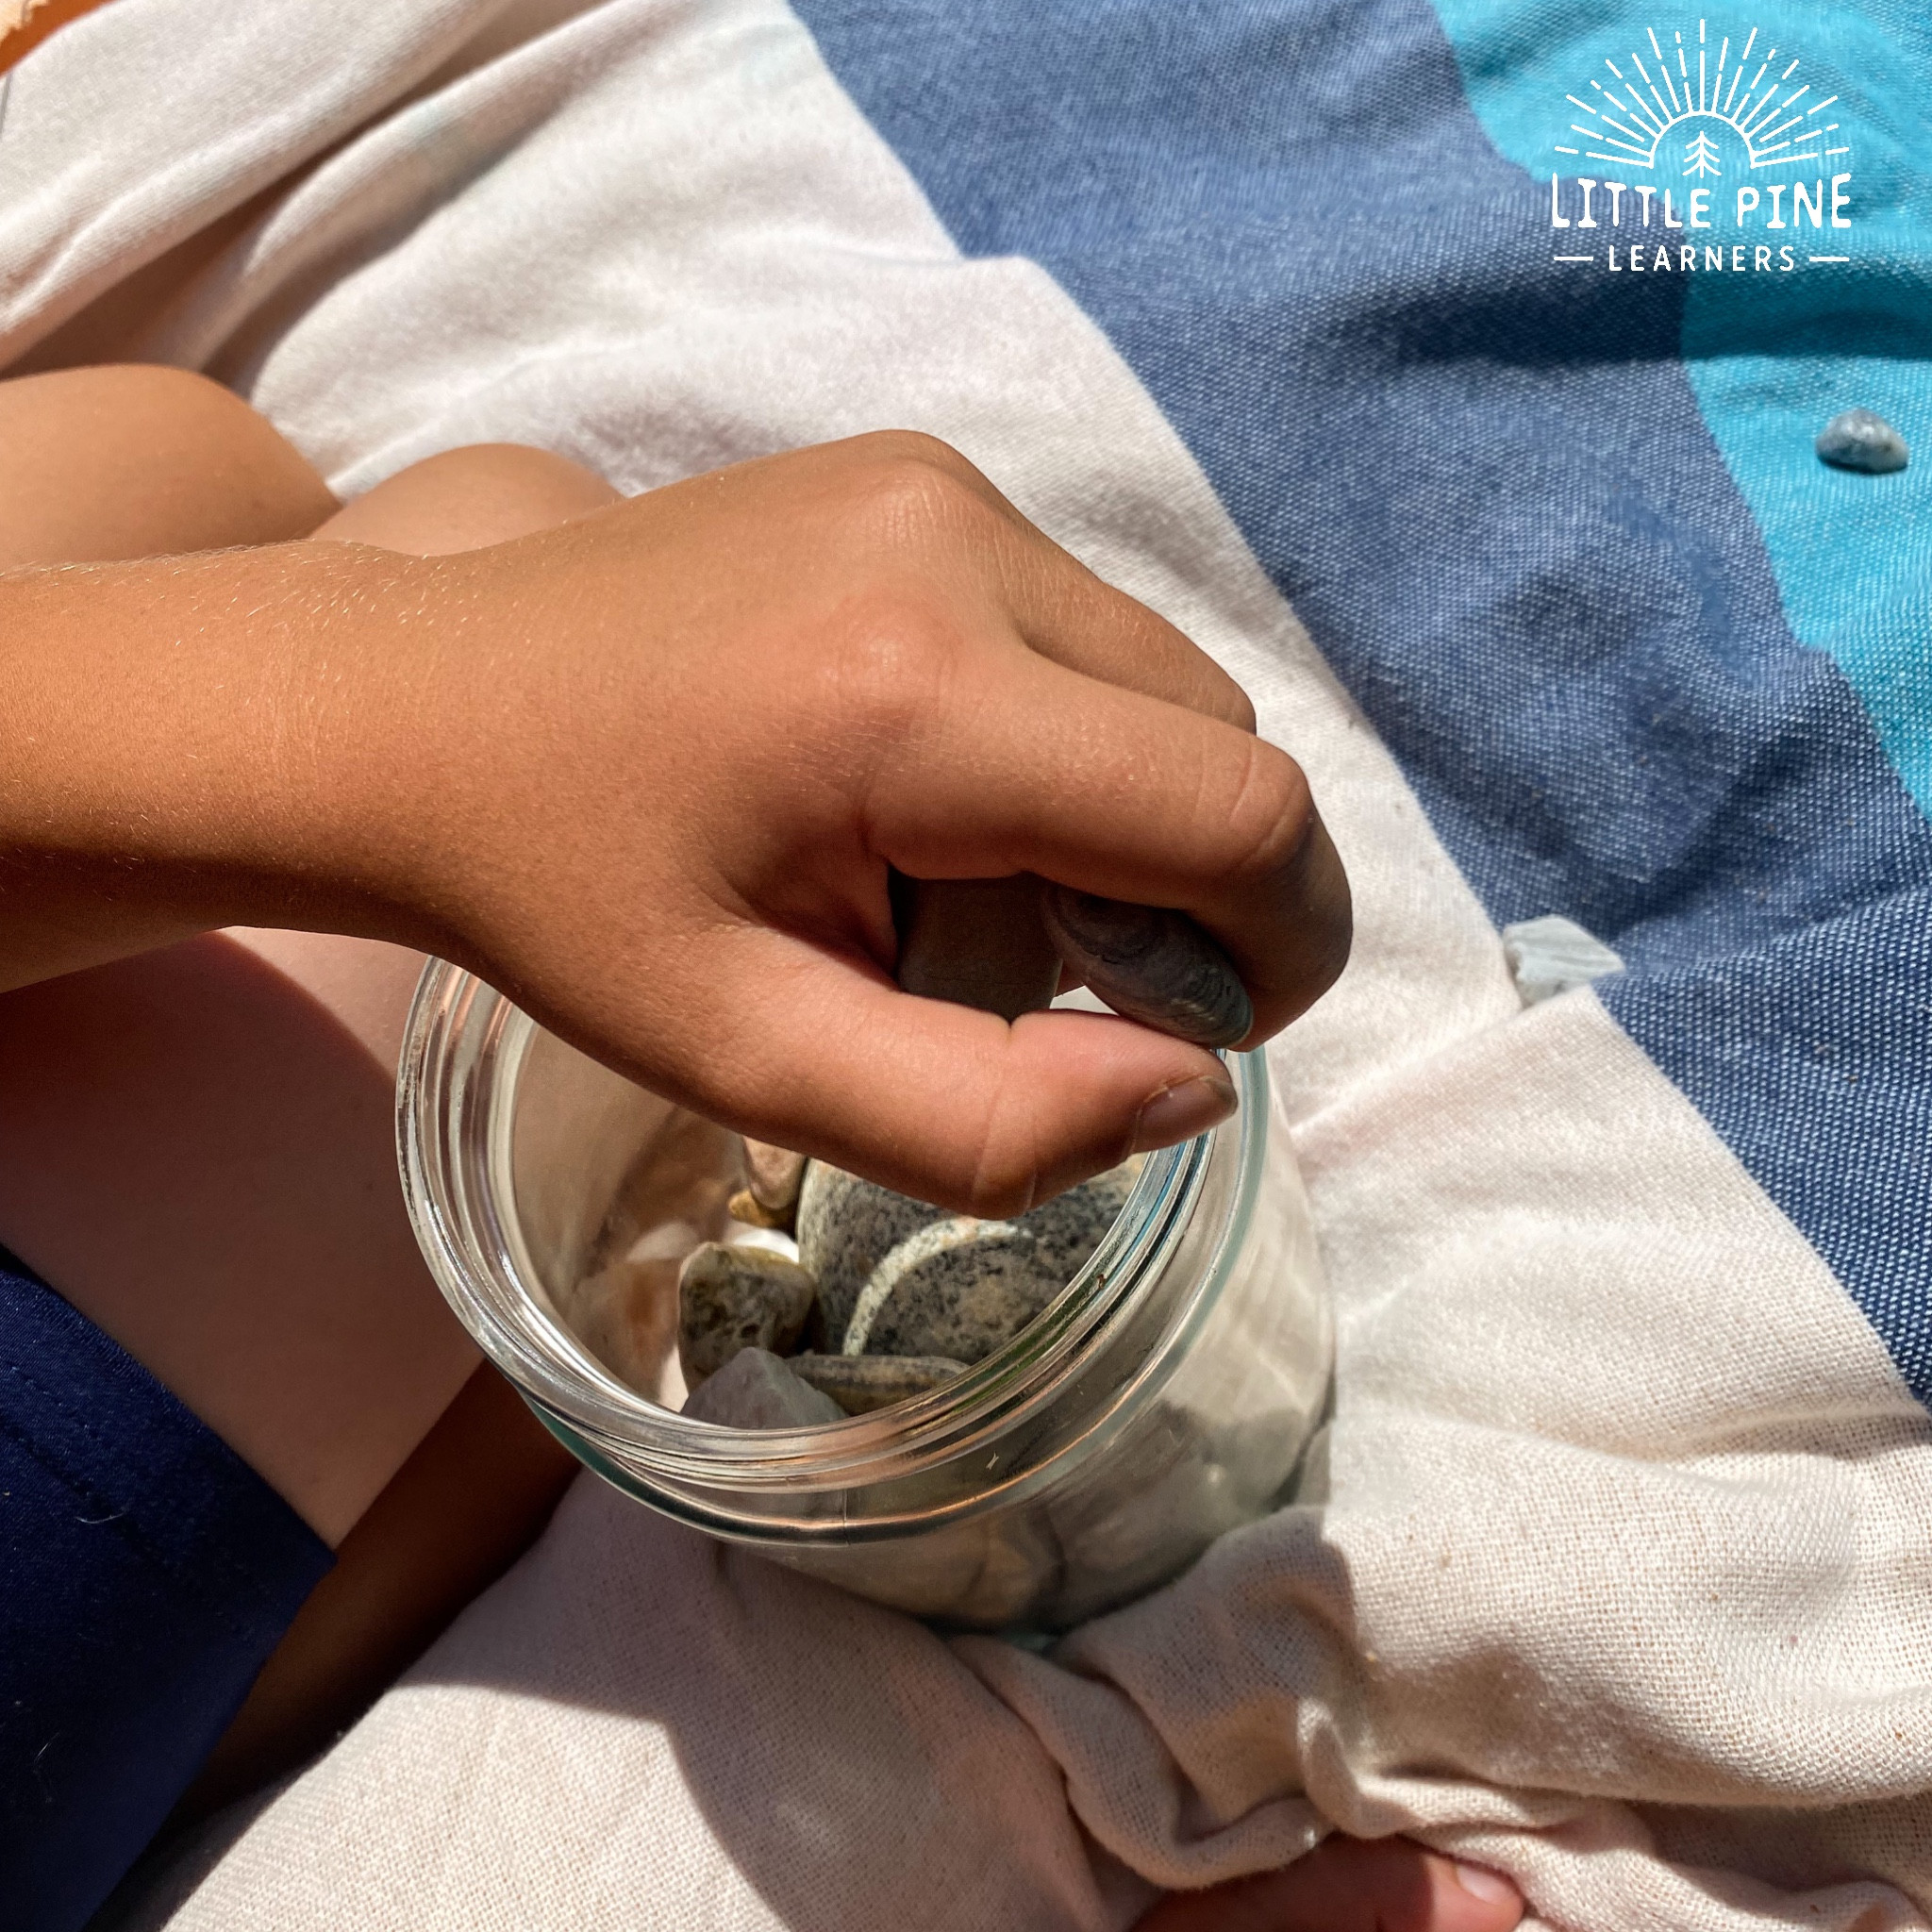
- Submerge: Gently add rocks to a jar and submerge them in oil. Make sure the rocks are completely covered with oil.
- Soaking: Put the cover on the jar and let the rocks sit in the oil for at least two hours
- Straining: Place a bowl under the strainer and strain the oil from the jar. Set aside the extra oil and add it back in the jar for future polishing.
- Paper Towel: The rocks are pretty oily at this point so I like to give the rocks a quick polish with paper towel to soak up some of the oil.
- Towel Polish: Use an old towel to polish the rocks and wipe off the rest of the oil. The oil will stain the towel, so you might want to set this one aside to use over and over again.
3.3.2. Tips for Achieving the Best Results with Mineral Oil
- Use Food-Grade Mineral Oil: Ensure the mineral oil is food-grade to avoid any harmful chemicals.
- Apply Sparingly: Use just enough oil to coat the rocks, avoiding excessive buildup.
- Wipe Thoroughly: Thoroughly wipe off any excess oil to prevent the rocks from feeling greasy or attracting dust.
- Reapply as Needed: The shine will fade over time, so reapply oil as needed to maintain the desired appearance.
- Consider Jojoba Oil: Jojoba oil is an environmentally friendly alternative to mineral oil.
4. Choosing the Right Polishing Technique
Selecting the appropriate polishing technique depends on several factors, including the type of rock, the desired level of shine, and the available equipment.
- Rock Type: Harder rocks may require more abrasive methods like rock tumbling, while softer rocks can be polished by hand.
- Desired Shine: Rock tumbling produces the highest shine, while mineral oil provides a temporary enhancement.
- Equipment: Consider the equipment you have available and the cost of purchasing additional tools.
4.1. Comparing the Effectiveness of Different Polishing Methods
| Method | Rock Type Suitability | Shine Level | Time Required | Equipment Required | Pros | Cons |
|---|---|---|---|---|---|---|
| Rock Tumbling | Hard, Durable Rocks | High | Weeks | Rock Tumbler, Grits | Produces a High Shine, Polishes Many Rocks At Once | Time Consuming, Requires Specialized Equipment |
| Hand Polishing | Individual, Soft Rocks | Medium | Hours | Sandpaper, Cloths | Allows Precise Control, Ideal For Unique Rocks | Time Consuming, Requires More Manual Effort |
| Mineral Oil | All Rock Types | Low (Temp) | Minutes | Mineral Oil, Cloth | Quick, Easy, Requires No Specialized Equipment | Temporary Shine, Oil Can Attract Dust |
| Polishing Spray | All Rock Types | Low (Temp) | Minutes | Polishing Spray | Quick, Easy, Requires No Specialized Equipment | Temporary Shine, Oil Can Attract Dust |
| Toothpaste | Softer Stones | Low to Medium | Minutes | Toothpaste, Cloth | Quick, Easy, Minimal Cost | Temporary Shine, Might Leave Residue |
| Commercial Polish | Various Rock Types | High | Hours | Commercial Polish | Good Shine, Designed for Polishing Different Materials | Might Require Specific Applicators |
| Car Polish | Various Rock Types | High | Hours | Car Polish | Produces a Good Shine, Can Be Used On Many Materials | Only To Be Used On More Solid Rocks |
4.2. Factors to Consider When Selecting a Polishing Method
- Cost: Rock tumbling requires an initial investment in a tumbler, while hand polishing is more affordable.
- Time: Rock tumbling takes weeks, while hand polishing and mineral oil are much faster.
- Effort: Hand polishing requires more manual effort, while rock tumbling is more hands-off.
- Results: Rock tumbling produces the highest shine, while mineral oil provides a temporary enhancement.
5. Advanced Techniques for Enhancing Rock Shine
For those looking to achieve professional-level results, advanced techniques can further enhance the shine and appearance of polished rocks.
- Using Diamond Polishing Pads: Diamond polishing pads provide a more aggressive and precise polishing action.
- Sealing and Coating: Applying a sealant or coating can protect the polished surface and enhance its shine.
5.1. Using Diamond Polishing Pads for Professional Results
Diamond polishing pads are abrasive pads embedded with diamond particles, offering superior polishing performance compared to traditional sandpaper.
- Equipment: Requires diamond polishing pads (various grits), a wet polisher, and water.
- Process: The rock is polished with progressively finer grits of diamond pads, using water to keep the surface cool and lubricated.
- Pros: Produces a very high shine, ideal for hard rocks, offers precise control.
- Cons: Requires specialized equipment, can be expensive.
According to research from Arizona State University’s School of Earth and Space Exploration, in July 2025, diamond polishing pads provide a more consistent and efficient polishing action due to the uniform distribution of diamond particles.
5.1.1. Step-by-Step Guide to Using Diamond Polishing Pads
- Preparation: Clean the rock thoroughly and examine it for any imperfections.
- Initial Polishing (Coarse Grit): Attach a coarse-grit diamond polishing pad to the wet polisher and begin polishing the rock, using water to keep the surface wet.
- Intermediate Polishing (Medium Grit): Switch to a medium-grit pad and continue polishing to smooth the surface.
- Final Polishing (Fine Grit): Use a fine-grit pad for the final polishing, creating a smooth, even surface.
- Final Cleaning: Wipe the rock clean with a soft cloth to remove any remaining residue.
5.1.2. Tips for Achieving the Best Results with Diamond Polishing Pads
- Use a Wet Polisher: A wet polisher provides a constant flow of water to keep the surface cool and lubricated.
- Apply Light Pressure: Apply light, even pressure while polishing to prevent overheating and damage to the pad.
- Move in a Circular Motion: Move the polisher in a circular motion to ensure even polishing.
- Clean the Pads Regularly: Clean the diamond pads regularly to remove any buildup of debris.
- Wear Safety Gear: Wear safety glasses and gloves to protect yourself from debris and water.
5.2. Sealing and Coating: Protecting and Enhancing Shine
Applying a sealant or coating to polished rocks can protect the surface from scratches and stains, while also enhancing its shine and color.
- Types of Sealants: Acrylic sealants, polyurethane coatings, and epoxy resins.
- Process: The sealant is applied to the polished rock and allowed to dry, creating a protective layer.
- Pros: Protects the surface, enhances shine, improves color.
- Cons: Can alter the natural appearance of the rock, may require reapplication.
5.2.1. Step-by-Step Guide to Sealing and Coating Polished Rocks
- Preparation: Ensure the rock is clean and dry before applying the sealant.
- Application: Apply a thin, even coat of sealant to the rock using a brush or spray.
- Drying: Allow the sealant to dry completely according to the manufacturer’s instructions.
- Reapplication (Optional): Apply a second coat of sealant for added protection and shine.
- Final Cleaning: Wipe the rock clean with a soft cloth to remove any excess sealant.
5.2.2. Tips for Achieving the Best Results with Sealants and Coatings
- Choose the Right Sealant: Select a sealant that is appropriate for the type of rock and the desired finish.
- Apply Thin Coats: Apply thin, even coats of sealant to prevent drips and buildup.
- Allow Proper Drying Time: Allow the sealant to dry completely before handling the rock.
- Test in an Inconspicuous Area: Test the sealant in an inconspicuous area to ensure it does not alter the rock’s appearance in an undesirable way.
- Follow Manufacturer’s Instructions: Always follow the manufacturer’s instructions for application and drying times.
6. Maintaining the Shine of Your Rocks
Once you have polished your rocks, it’s important to maintain their shine and appearance. Proper maintenance will ensure that your rocks continue to look beautiful for years to come.
- Regular Cleaning: Clean the rocks regularly to remove dirt, dust, and debris.
- Avoiding Harsh Chemicals: Avoid using harsh chemicals or abrasive cleaners that can damage the polished surface.
- Reapplication of Sealants: Reapply sealants or coatings as needed to maintain the protective layer and enhance shine.
6.1. Best Practices for Cleaning Polished Rocks
- Use Mild Soap and Water: Clean the rocks with mild soap and water to remove dirt and debris.
- Rinse Thoroughly: Rinse the rocks thoroughly to remove any soap residue.
- Dry with a Soft Cloth: Dry the rocks with a soft cloth to prevent water spots.
- Avoid Abrasive Cleaners: Avoid using abrasive cleaners that can scratch the polished surface.
- Clean Regularly: Clean the rocks regularly to prevent buildup of dirt and grime.
6.2. Protecting Polished Rocks from the Elements
- Avoid Direct Sunlight: Prolonged exposure to direct sunlight can cause the color of polished rocks to fade over time.
- Protect from Extreme Temperatures: Extreme temperatures can cause the rocks to crack or become damaged.
- Prevent Water Damage: Protect the rocks from prolonged exposure to water, which can cause them to become dull or stained.
- Use Protective Covers: Use protective covers or shelters to protect the rocks from the elements when necessary.
- Store Properly: Store polished rocks properly when not in use to prevent damage and maintain their shine.
7. Finding Inspiration and Resources at rockscapes.net
At rockscapes.net, we offer a wealth of inspiration and resources to help you create stunning landscapes with polished rocks.
- Design Ideas: Explore our gallery of landscape designs featuring polished rocks.
- Product Information: Learn about different types of rocks and their properties.
- Expert Advice: Get tips and advice from our team of landscape design experts.
- Supplier Directory: Find reputable suppliers of rocks and polishing equipment.
7.1. Showcasing Landscape Designs Featuring Shiny Rocks
Our website features a wide range of landscape designs that showcase the beauty and versatility of shiny rocks.
- Rock Gardens: Discover inspiring ideas for creating stunning rock gardens with polished stones.
- Water Features: See how polished rocks can enhance the beauty of ponds, fountains, and streams.
- Pathways: Explore elegant pathway designs using polished stones.
- Outdoor Living Spaces: Find inspiration for incorporating polished rocks into outdoor living spaces.
7.2. Providing Detailed Information on Rock Types and Polishing Techniques
We provide detailed information on different types of rocks and the best polishing techniques for each.
- Rock Profiles: Learn about the geological composition, properties, and uses of various types of rocks.
- Polishing Guides: Get step-by-step instructions on different polishing methods.
- Maintenance Tips: Find tips on how to maintain the shine and appearance of your polished rocks.
- Troubleshooting: Get answers to common questions and solutions to common problems.
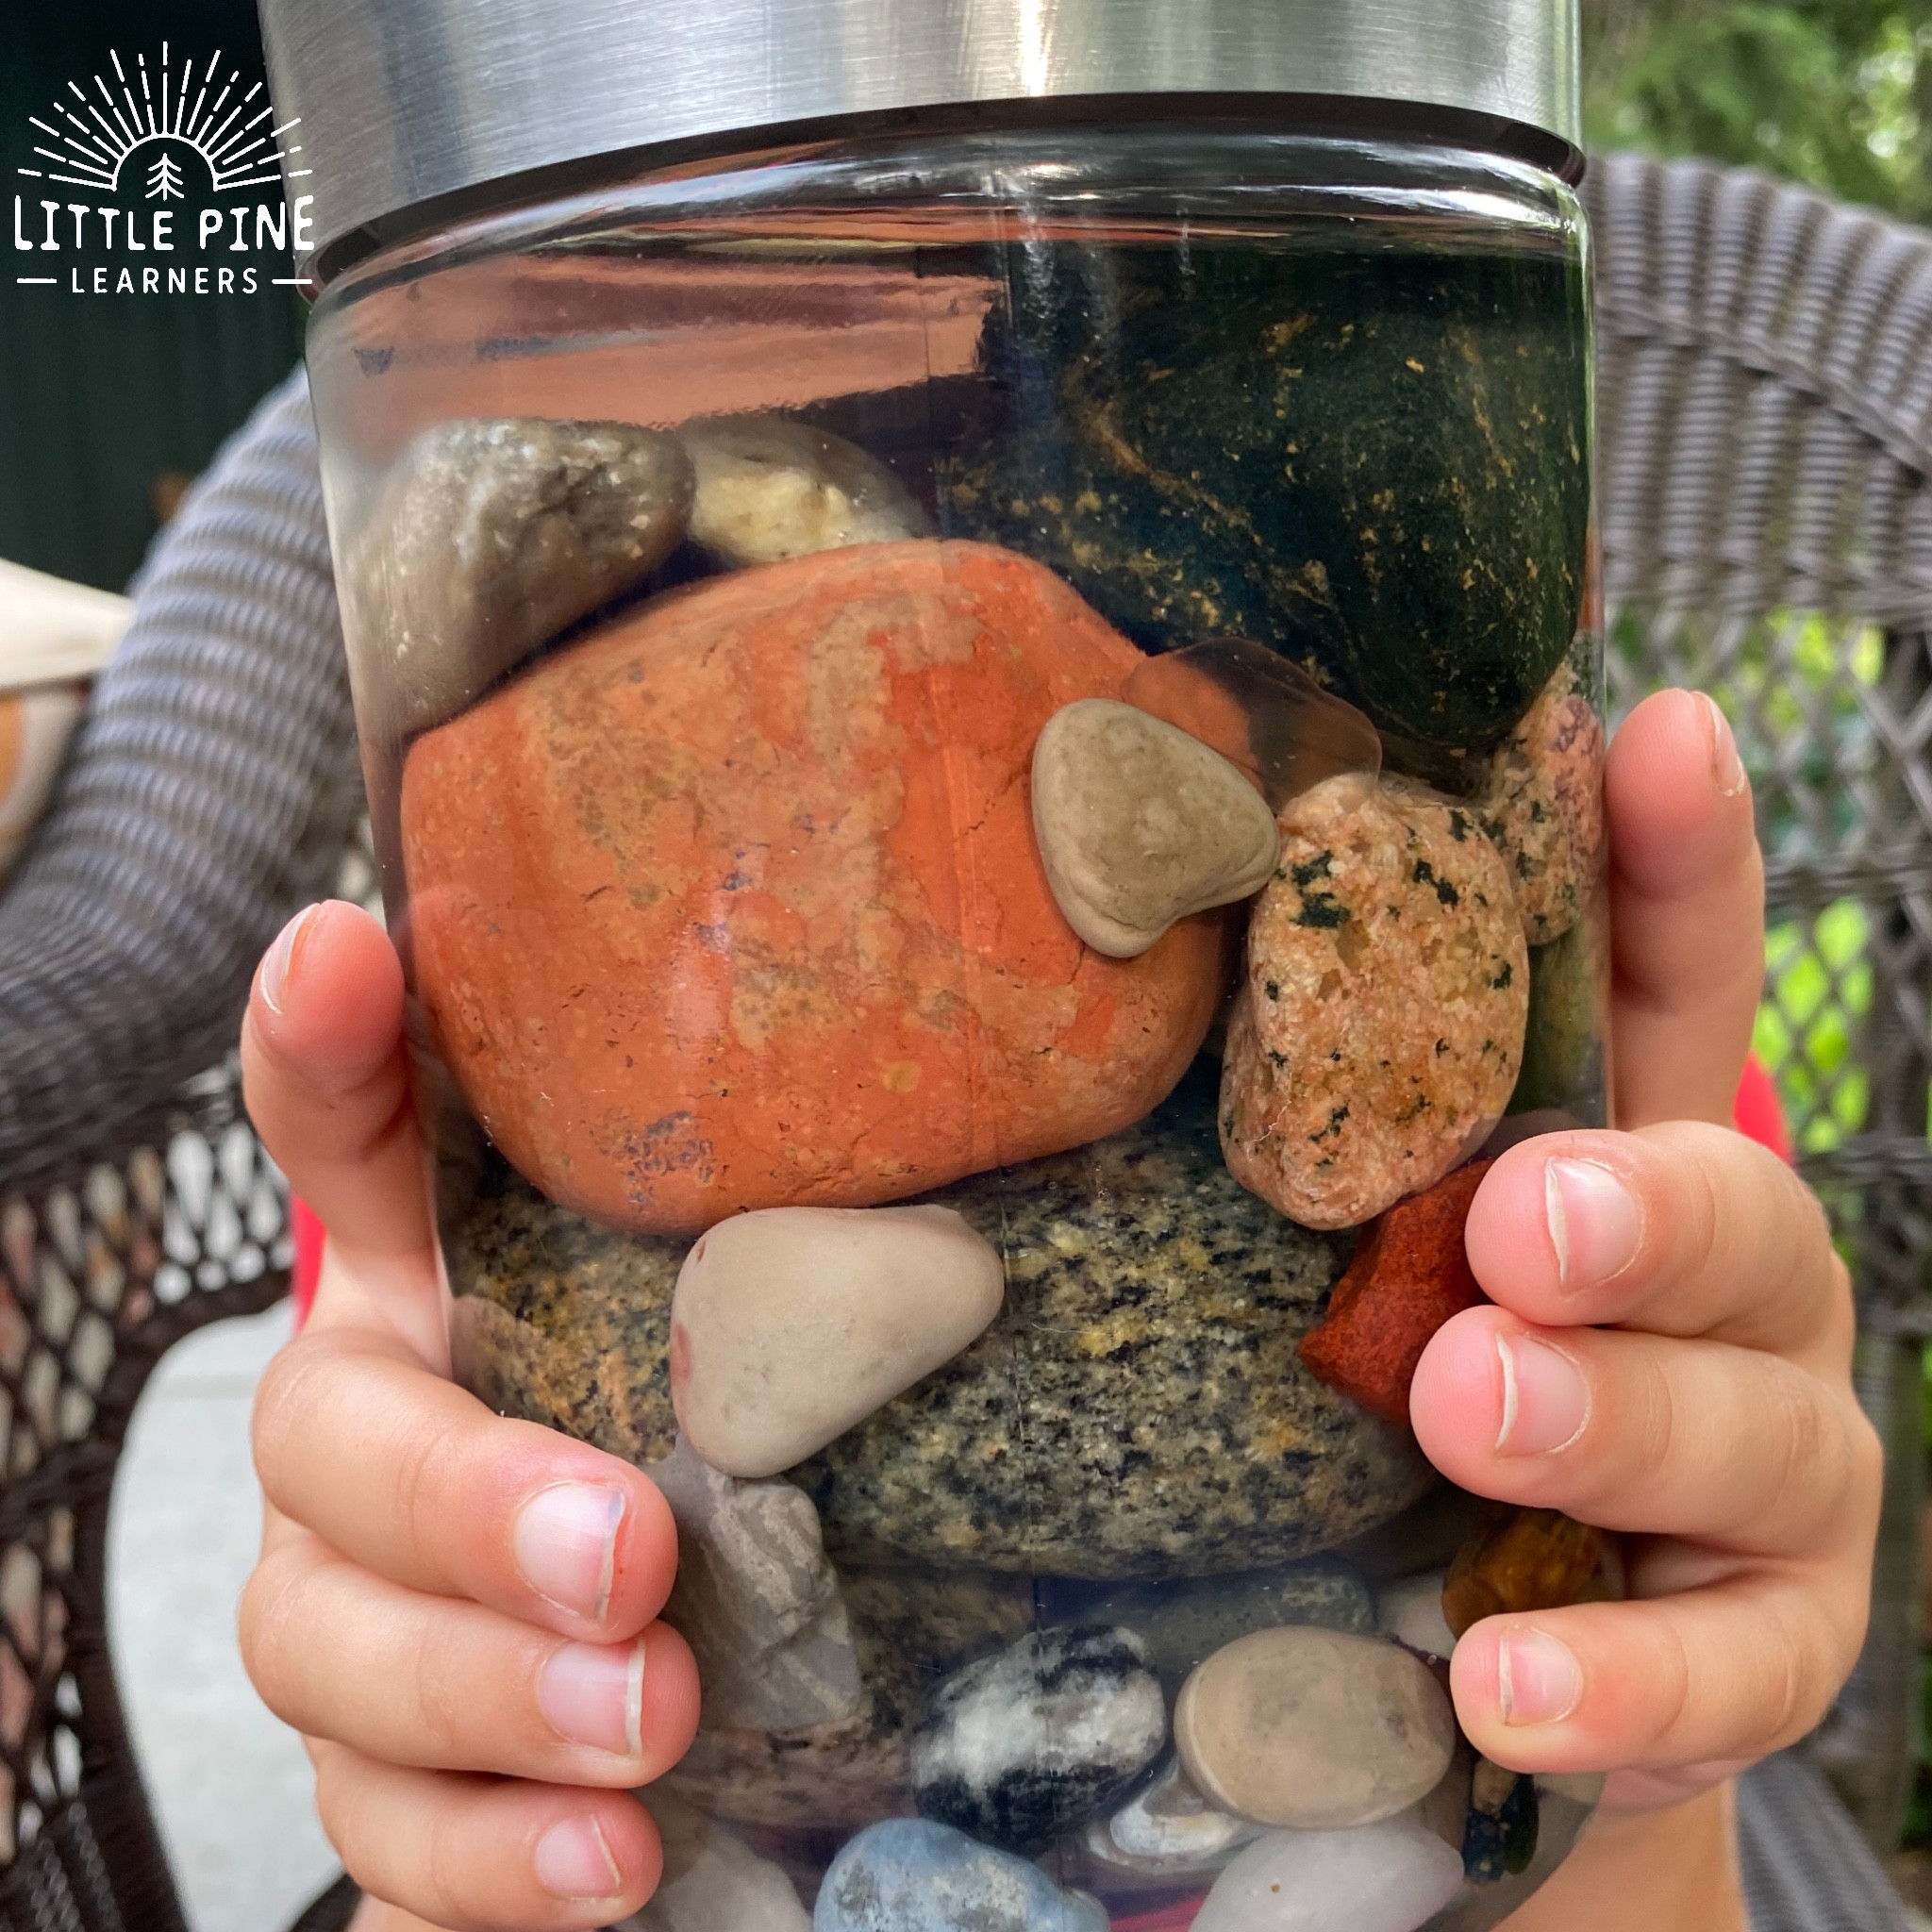
 Shiny rocks in jar
8. The Environmental Impact of Rock Polishing
It’s important to consider the environmental impact of rock polishing and take steps to minimize your footprint.
- Sustainable Sourcing: Choose rocks from sustainable sources to minimize environmental damage.
- Responsible Disposal: Dispose of used grits and polishing compounds responsibly.
- Water Conservation: Conserve water during the polishing process.
- Eco-Friendly Products: Use eco-friendly polishing compounds and sealants.
8.1. Sustainable Practices in Rock Collection and Polishing
- Collect Responsibly: Collect rocks from areas where it is permitted and avoid disturbing sensitive ecosystems.
- Use Recycled Materials: Use recycled materials whenever possible, such as recycled water and recycled polishing compounds.
- Reduce Waste: Reduce waste by using only the necessary amount of materials and reusing materials whenever possible.
- Support Sustainable Suppliers: Support suppliers who use sustainable practices in their rock collection and processing.
8.2. Eco-Friendly Polishing Compounds and Sealants
- Biodegradable Compounds: Use biodegradable polishing compounds that break down naturally in the environment.
- Water-Based Sealants: Use water-based sealants that are low in VOCs (volatile organic compounds).
- Natural Oils: Consider using natural oils like jojoba oil as an alternative to mineral oil.
- Avoid Harsh Chemicals: Avoid using harsh chemicals that can harm the environment.
9. Common Mistakes to Avoid When Polishing Rocks
Avoiding common mistakes can save you time, effort, and frustration when polishing rocks.
- Using the Wrong Grit: Using the wrong grit can damage the rocks or prevent them from achieving a high shine.
- Not Cleaning Thoroughly: Not cleaning the rocks and equipment thoroughly between grit stages can contaminate the polishing process.
- Overloading the Tumbler: Overloading the tumbler can prevent the rocks from polishing properly.
- Using Too Much Water: Using too much water can dilute the polishing compound and reduce its effectiveness.
- Being Impatient: Being impatient and rushing the polishing process can result in a poor finish.
9.1. Troubleshooting Common Polishing Problems
- Rocks Not Shining: Ensure you are using the correct grit and polishing compound, and that you are cleaning thoroughly between stages.
- Rocks Getting Scratched: Use finer grits of sandpaper or polishing pads, and ensure there is no debris in the polishing compound.
- Rocks Breaking: Avoid overloading the tumbler and use rocks of similar hardness.
- Uneven Polishing: Ensure the rocks are evenly distributed in the tumbler and that the water level is correct.
9.2. Seeking Expert Advice for Complex Projects
For complex projects or valuable rocks, it may be best to seek expert advice from a professional rock polisher.
- Consult with Experts: Consult with experts at rockscapes.net for personalized advice and recommendations.
- Hire a Professional: Consider hiring a professional rock polisher for valuable or delicate rocks.
- Attend Workshops: Attend workshops or classes to learn advanced polishing techniques.
- Join a Rockhounding Club: Join a rockhounding club to connect with other enthusiasts and learn from their experience.
10. Frequently Asked Questions (FAQs) About Making Rocks Shine
1. What is the best way to make rocks shine?
The best way to make rocks shine depends on the type of rock and the desired level of shine. Rock tumbling produces the highest shine, while hand polishing and mineral oil are quicker options.
2. Can I use household items to polish rocks?
Yes, you can use household items like toothpaste and mineral oil to polish rocks, but the results may not be as dramatic as with professional polishing methods.
3. How long does it take to polish rocks?
The time it takes to polish rocks varies depending on the method used. Rock tumbling can take several weeks, while hand polishing and mineral oil can be done in a few hours.
4. What types of rocks are best for polishing?
Hard, durable rocks like agate, jasper, and quartz are best for polishing.
5. Do I need special equipment to polish rocks?
Rock tumbling requires a rock tumbler, while hand polishing requires sandpaper and polishing cloths. Mineral oil requires no special equipment.
6. How do I maintain the shine of my polished rocks?
Clean the rocks regularly with mild soap and water, avoid harsh chemicals, and reapply sealants as needed.
7. Can I polish rocks I find in my backyard?
Yes, you can polish rocks you find in your backyard, but be sure to identify the type of rock and use the appropriate polishing method.
8. Is rock polishing environmentally friendly?
Rock polishing can have an environmental impact, so it’s important to use sustainable practices and eco-friendly products.
9. What are some common mistakes to avoid when polishing rocks?
Avoid using the wrong grit, not cleaning thoroughly, overloading the tumbler, using too much water, and being impatient.
10. Where can I find more information about rock polishing?
You can find more information about rock polishing at rockscapes.net, including design ideas, product information, and expert advice.
Elevate your landscape with the timeless beauty of shining rocks. Visit rockscapes.net today to discover design ideas, explore rock types, and receive expert guidance. Transform your outdoor and indoor spaces into stunning showcases of natural elegance. Contact us at Address: 1151 S Forest Ave, Tempe, AZ 85281, United States or call us at Phone: +1 (480) 965-9011. Let us help you bring your vision to life!