Making a foam rock wall brings the beauty of natural stone into your space with a lightweight and cost-effective solution. Rockscapes.net shows you how to design and build a stunning faux rock feature, opening up amazing landscape possibilities. Ready to elevate your space with the rustic charm of stone?
1. What is a Foam Rock Wall and Why Should I Build One?
A foam rock wall is a decorative structure made from insulation foam, sculpted and painted to resemble natural stone. The result is a lightweight, durable, and visually striking feature that adds character to any space. Choosing a foam rock wall provides a number of benefits over traditional stone:
- Cost-effectiveness: Foam and paint are less expensive than natural stone, reducing project costs.
- Lightweight: Easy to handle and install, ideal for areas with weight restrictions.
- Customization: You can mold the foam into any shape, size, or texture, creating a unique design.
- Insulation: Adds an extra layer of insulation, potentially reducing energy costs.
- DIY-Friendly: A project that is easy to do yourself, even with little experience.
Foam rock walls are perfect for various applications:
- Interior Design: As accent walls in living rooms, bedrooms, and basements.
- Landscaping: For garden features, pond surrounds, and retaining walls.
- Event Decor: To create realistic backdrops for parties, weddings, and theatrical productions.
- Retail Displays: For eye-catching displays in stores and showrooms.
2. What Materials Do I Need To Create a Foam Rock Wall?
Gathering the right materials is key to a successful foam rock wall project. Here’s a comprehensive list:
Foam Sheets:
- Type: Extruded Polystyrene (XPS) foam is ideal due to its density and workability.
- Thickness: 2-inch thick sheets provide a good balance of durability and ease of carving.
- Quantity: Measure the area you want to cover to determine the number of sheets needed.
Tools for Shaping the Foam:
| Tool | Use |
|---|---|
| Hot Wire Cutter | For precise cuts and shaping of the foam. |
| Utility Knife | For scoring and cutting the foam. |
| Heat Gun | To create texture and melt away small areas. |
| Wire Brush | For adding rough textures to the foam surface. |
| Sandpaper | To smooth out edges and refine the shape. |
| Foam Rasp | For shaping and removing larger pieces of foam. |
| Protective Gear | Safety glasses, gloves, and a dust mask are essential to protect yourself during the carving process. |
Materials for Painting and Finishing:
| Material | Use |
|---|---|
| Acrylic Paints | Choose a range of colors, from dark browns and grays to lighter tans and creams, to mimic natural stone variations. |
| Dry Pigments | To add depth and realism to the paint job. |
| Paint Brushes | Various sizes for base coating, detailing, and dry brushing. |
| Spray Sealer | To protect the painted surface and make it weather-resistant. |
| Exterior Varnish | If the wall is outdoors, use a UV-resistant varnish to prevent fading. |
| Optional | Use sand or texture additives for paint to give the wall a rougher, more realistic stone-like feel, especially for outdoor walls |
Adhesives and Fasteners:
| Material | Use |
|---|---|
| Foam Adhesive | To attach the foam sheets to a backing surface. Ensure it is compatible with foam to prevent melting. |
| Construction Screws | For securing the foam sheets to the backing, especially for larger walls. Use washers to prevent the screws from sinking into the foam. |
| Mortar or Grout | For filling in gaps between the foam stones, adding to the realistic look. Choose a color that complements your paint job. |
| Backing Material | Plywood or cement board to provide a stable base for the foam rock wall. This is crucial for both indoor and outdoor applications to ensure the wall is secure and stable. |
| Waterproof Membrane | For outdoor applications, a waterproof membrane between the wall and the foam can protect against moisture damage. |
3. How Do I Plan and Design My Foam Rock Wall?
Effective planning and design are essential for creating a foam rock wall that looks realistic and fits your space perfectly.
- Measure the Space: Accurately measure the wall or area where you plan to install the foam rock wall. This will help you determine the amount of foam and other materials needed.
- Sketch Your Design: Create a detailed sketch of the wall, including the size, shape, and arrangement of the stones. Consider the overall style you want to achieve, whether it’s a rugged mountain look or a more refined stone finish.
- Choose a Stone Pattern: Research different types of stone patterns, such as stacked stone, random rubble, or ashlar. Look at natural stone walls in your area for inspiration.
- Decide on Color Palette: Select a color palette that matches your desired aesthetic. Natural stone colors range from dark grays and browns to lighter tans and creams.
- Plan the Installation: Consider how you will attach the foam sheets to the wall. For indoor walls, construction adhesive may be sufficient. For outdoor walls, you may need to use screws and a waterproof membrane.
- Consider Lighting: Think about how lighting will affect the appearance of the wall. Uplighting can accentuate the texture, while downlighting can create dramatic shadows.
4. Step-by-Step Guide: Creating Your Foam Rock Wall
Follow these steps to bring your foam rock wall to life:
4.1. Prepare the Foam Sheets
-
Remove Any Coating: If your foam sheets have a plastic coating, remove it to allow for better adhesion of paint and textures.
-
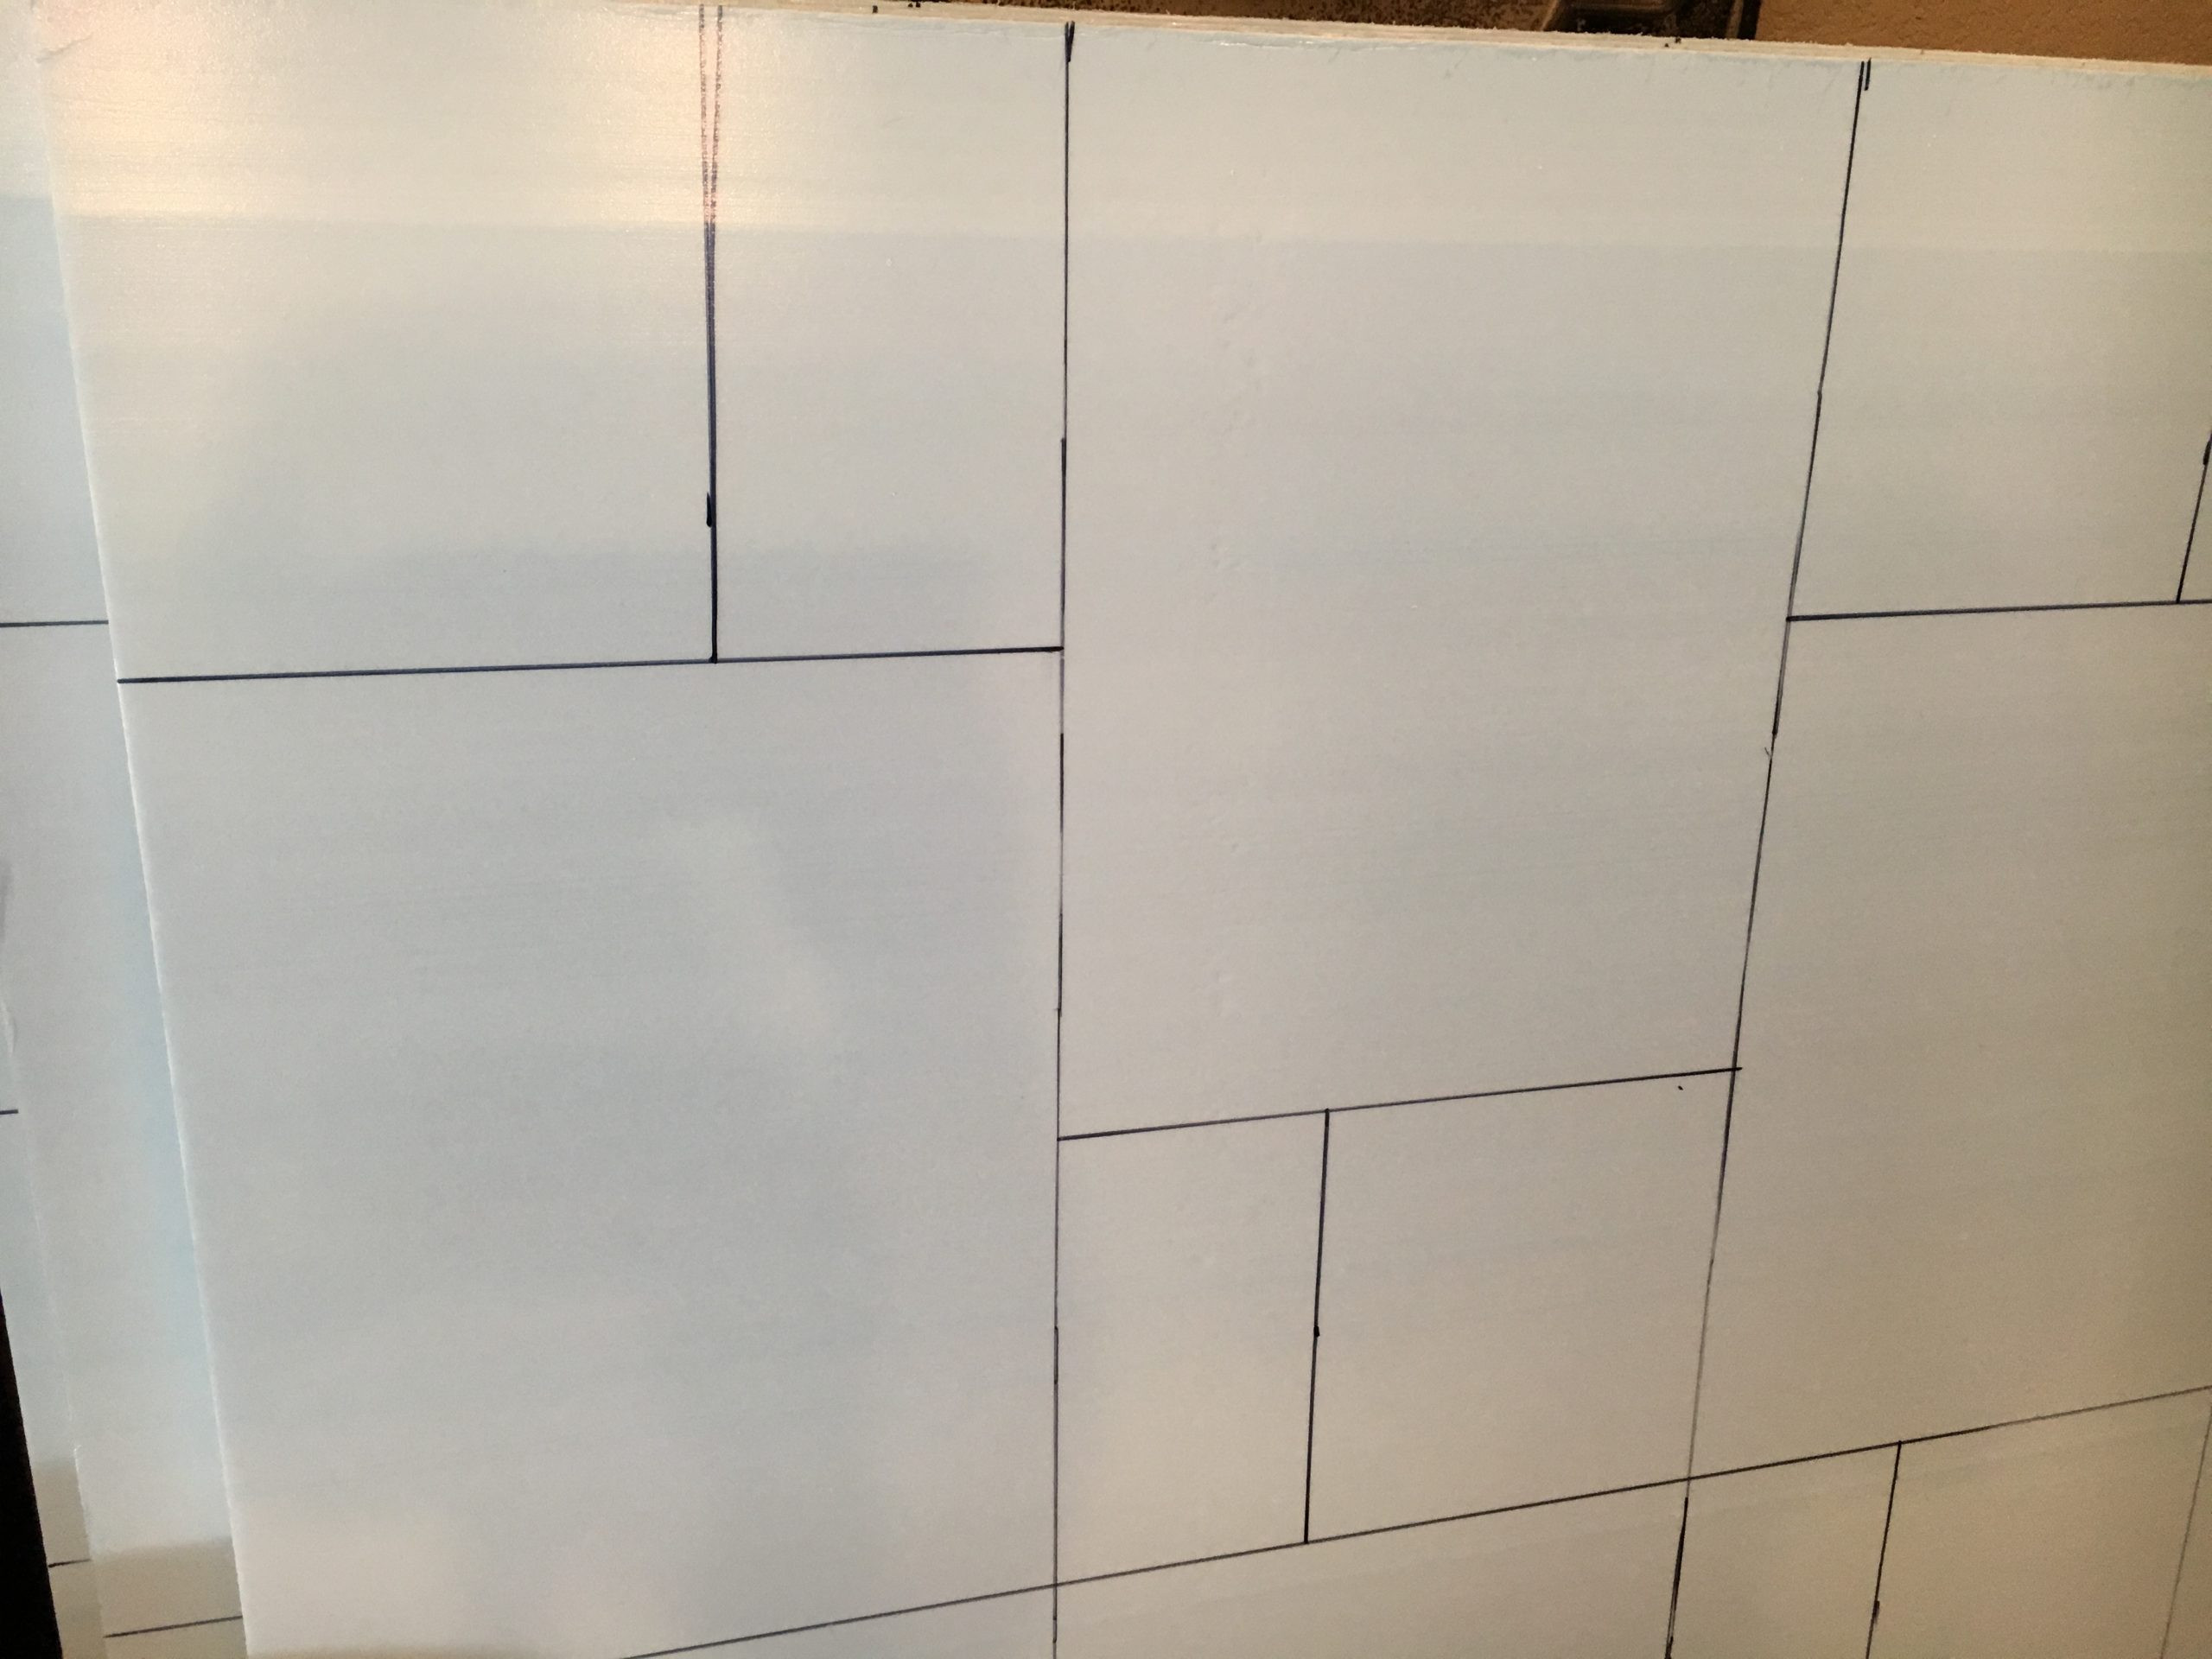
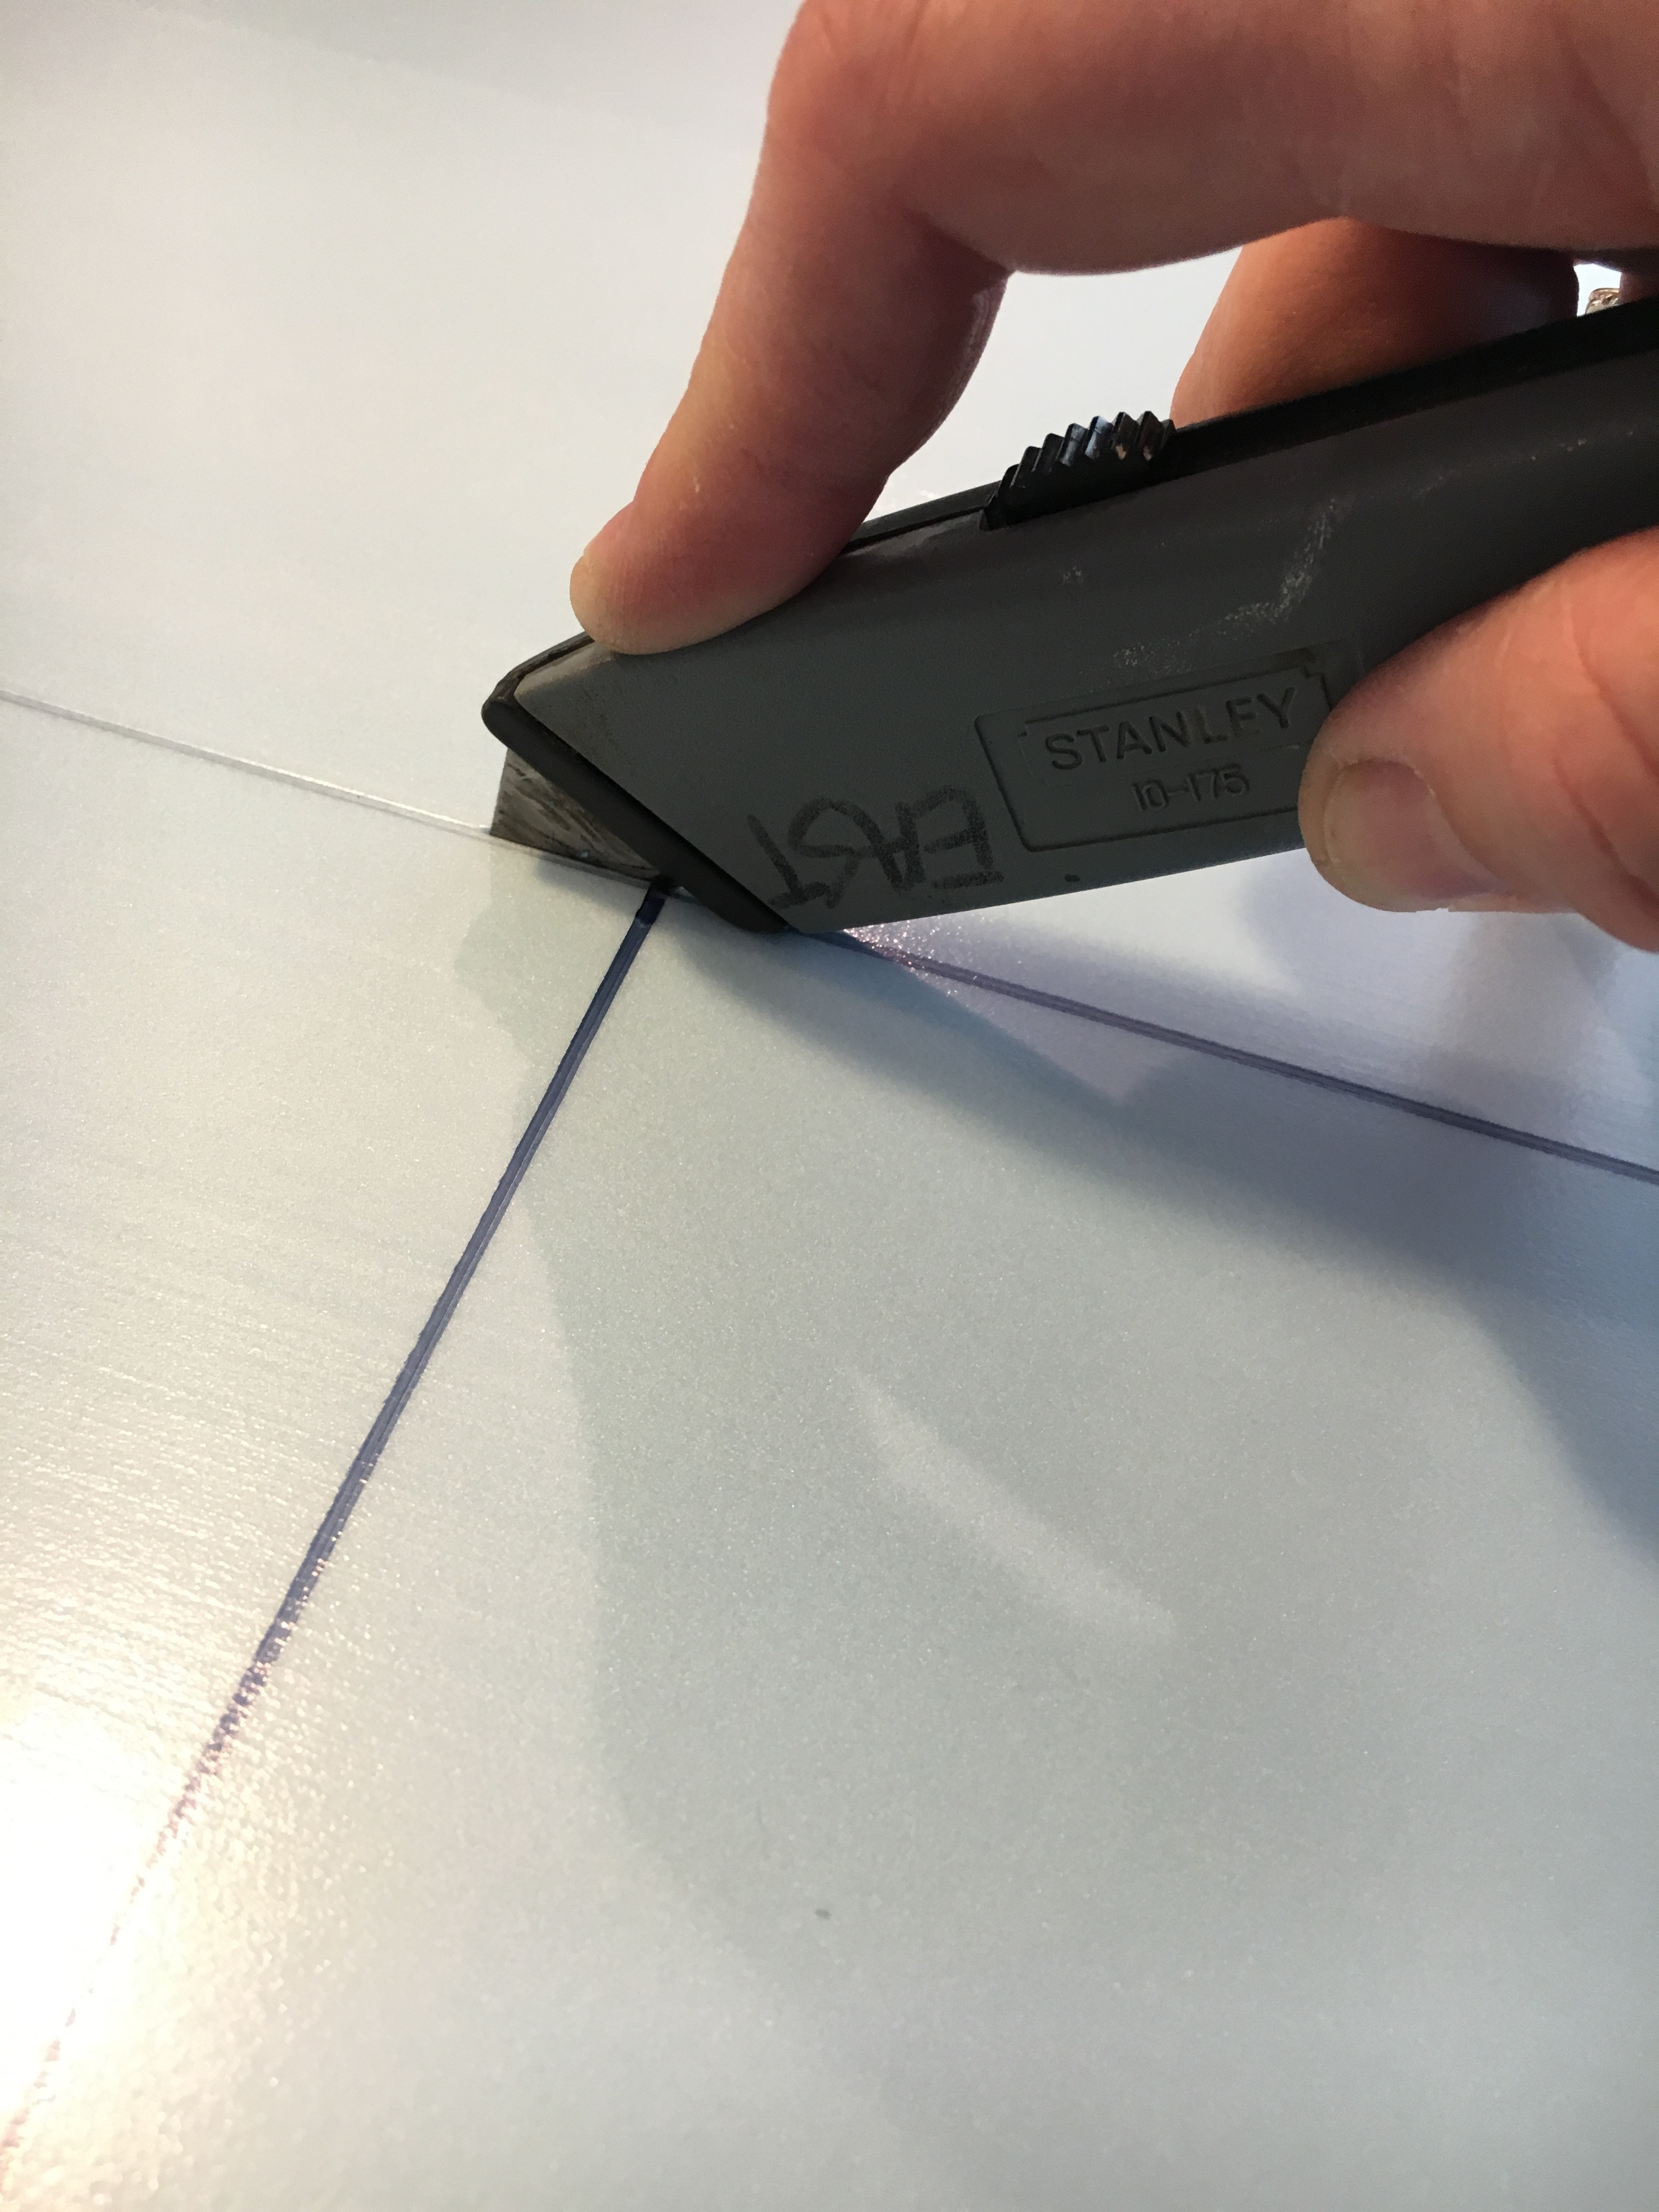
Cut the Foam: Using a hot wire cutter or utility knife, cut the foam sheets into various sizes and shapes to resemble stones. Vary the sizes for a more natural look.
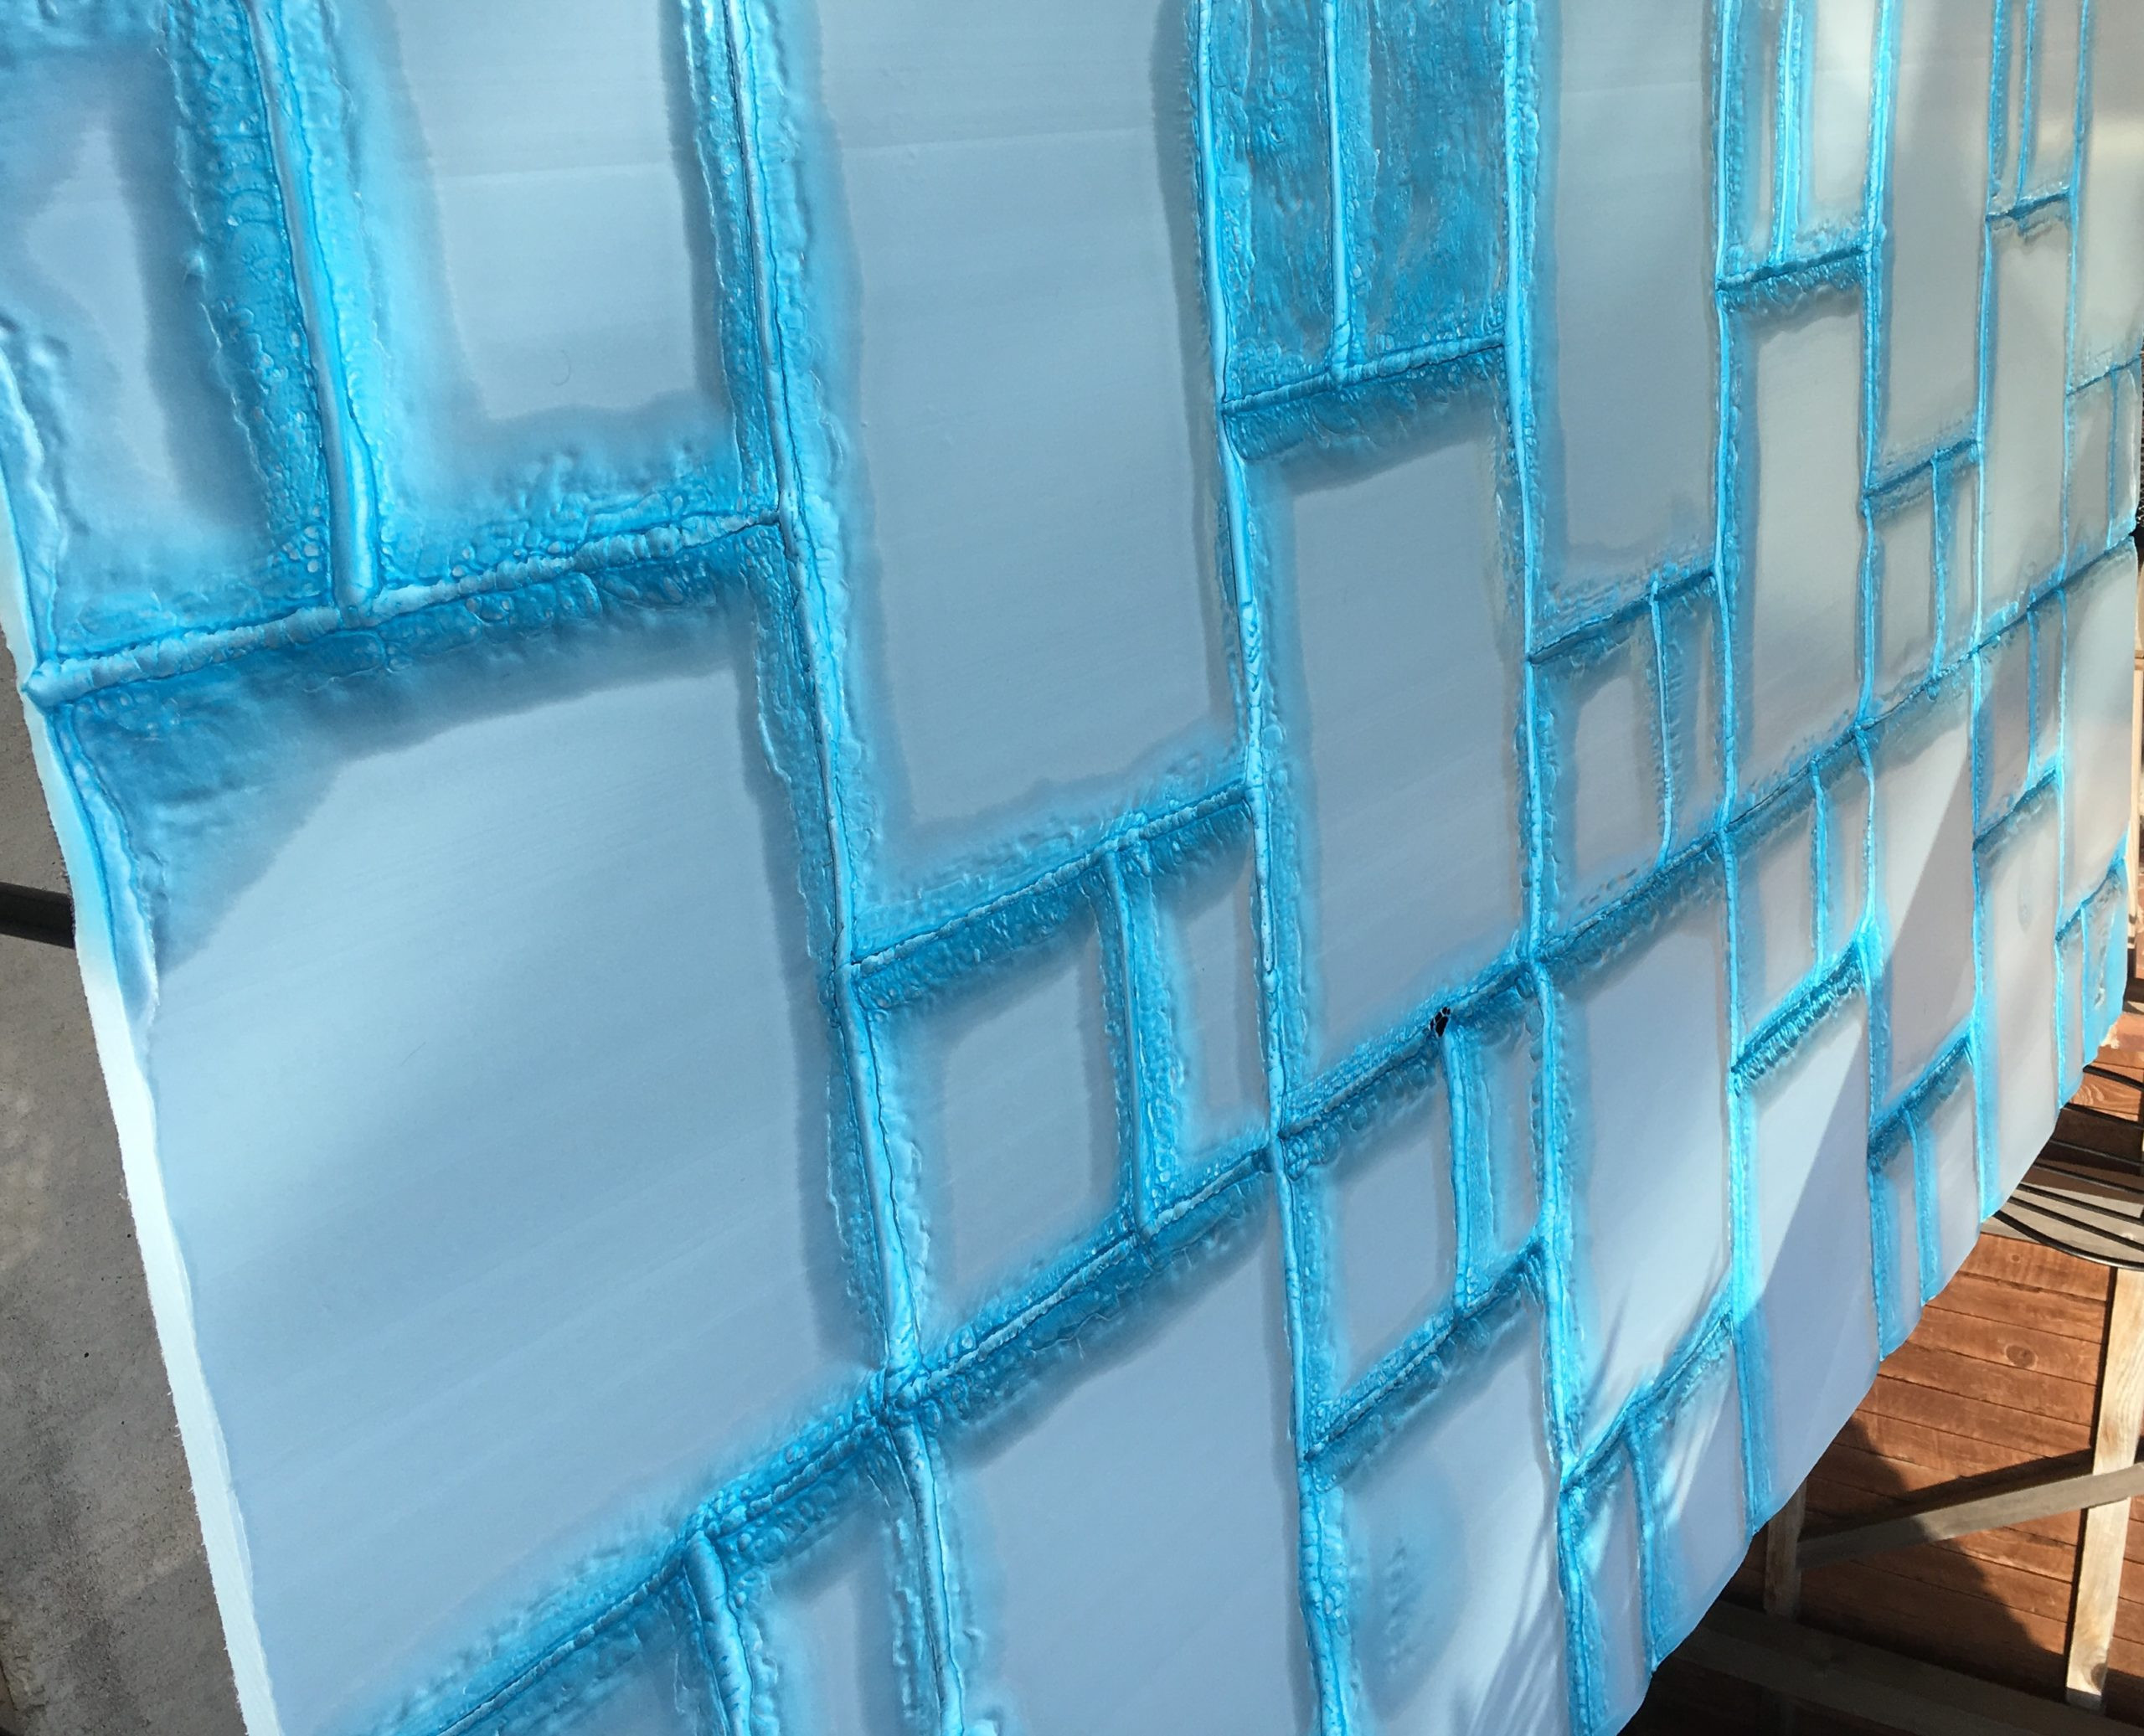
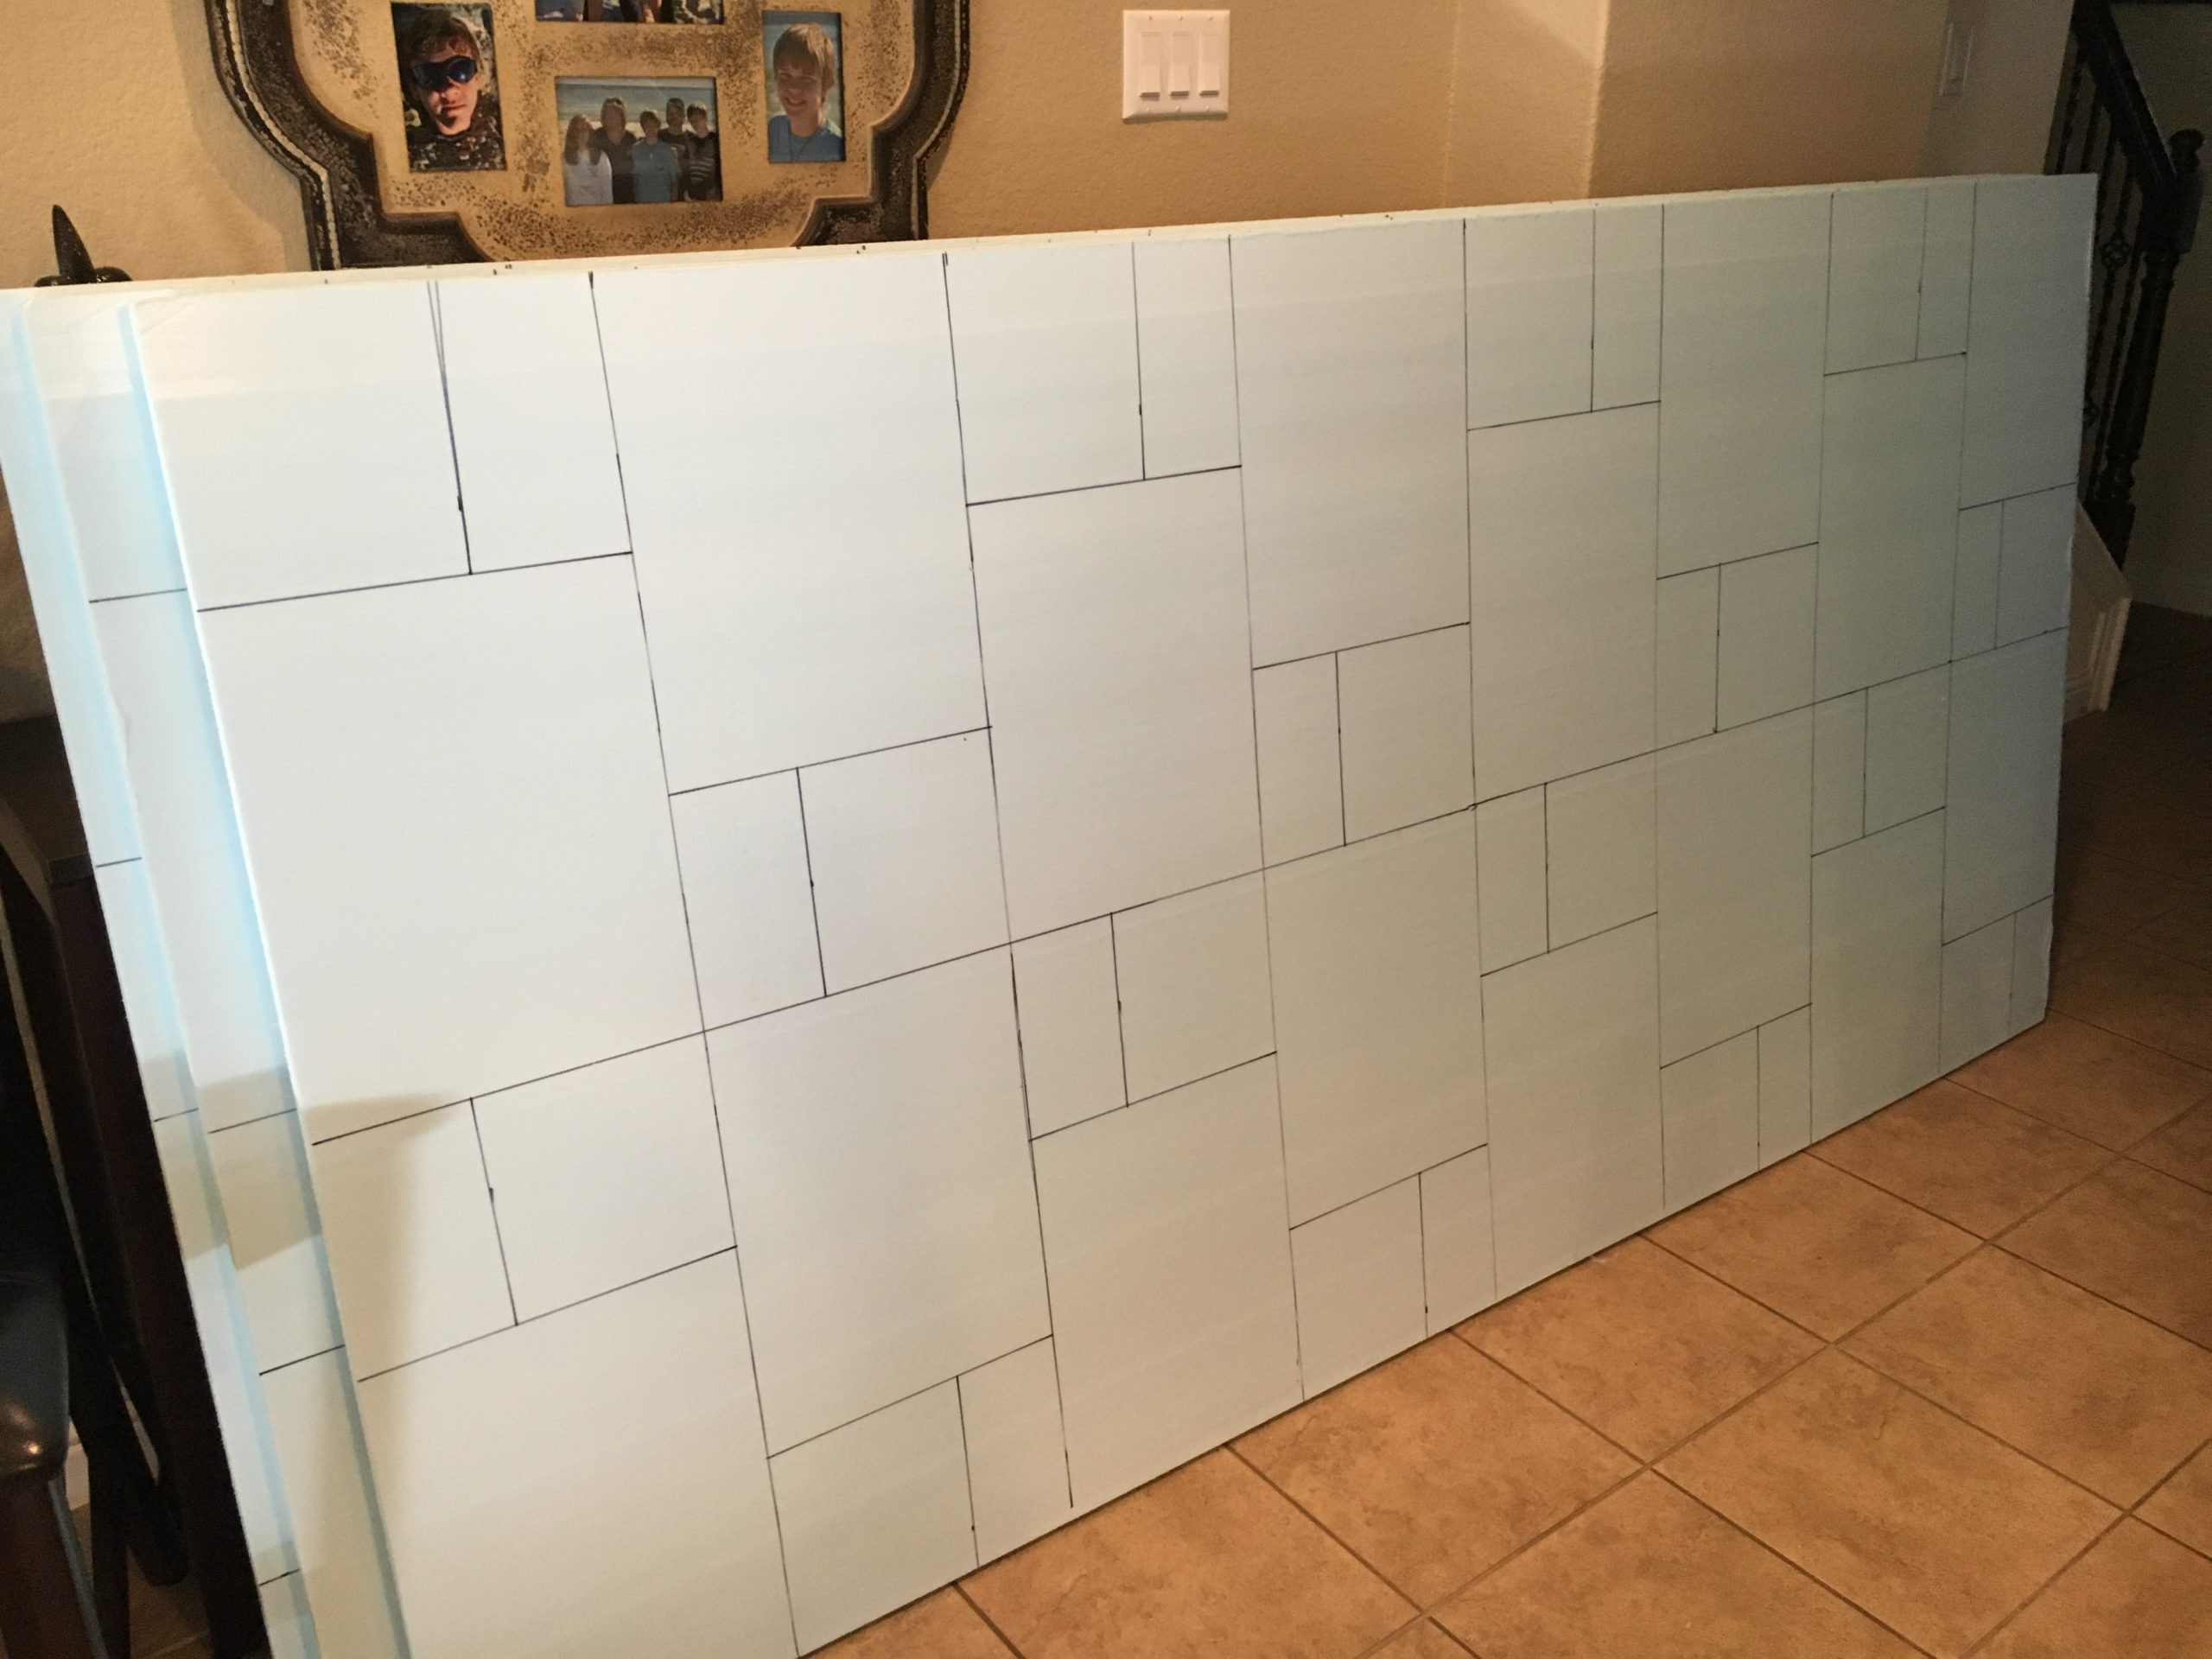 Cutting foam sheets into stone shapes with a hot wire cutter for creating realistic faux rock features.
4.2. Carve and Texture the Foam
-
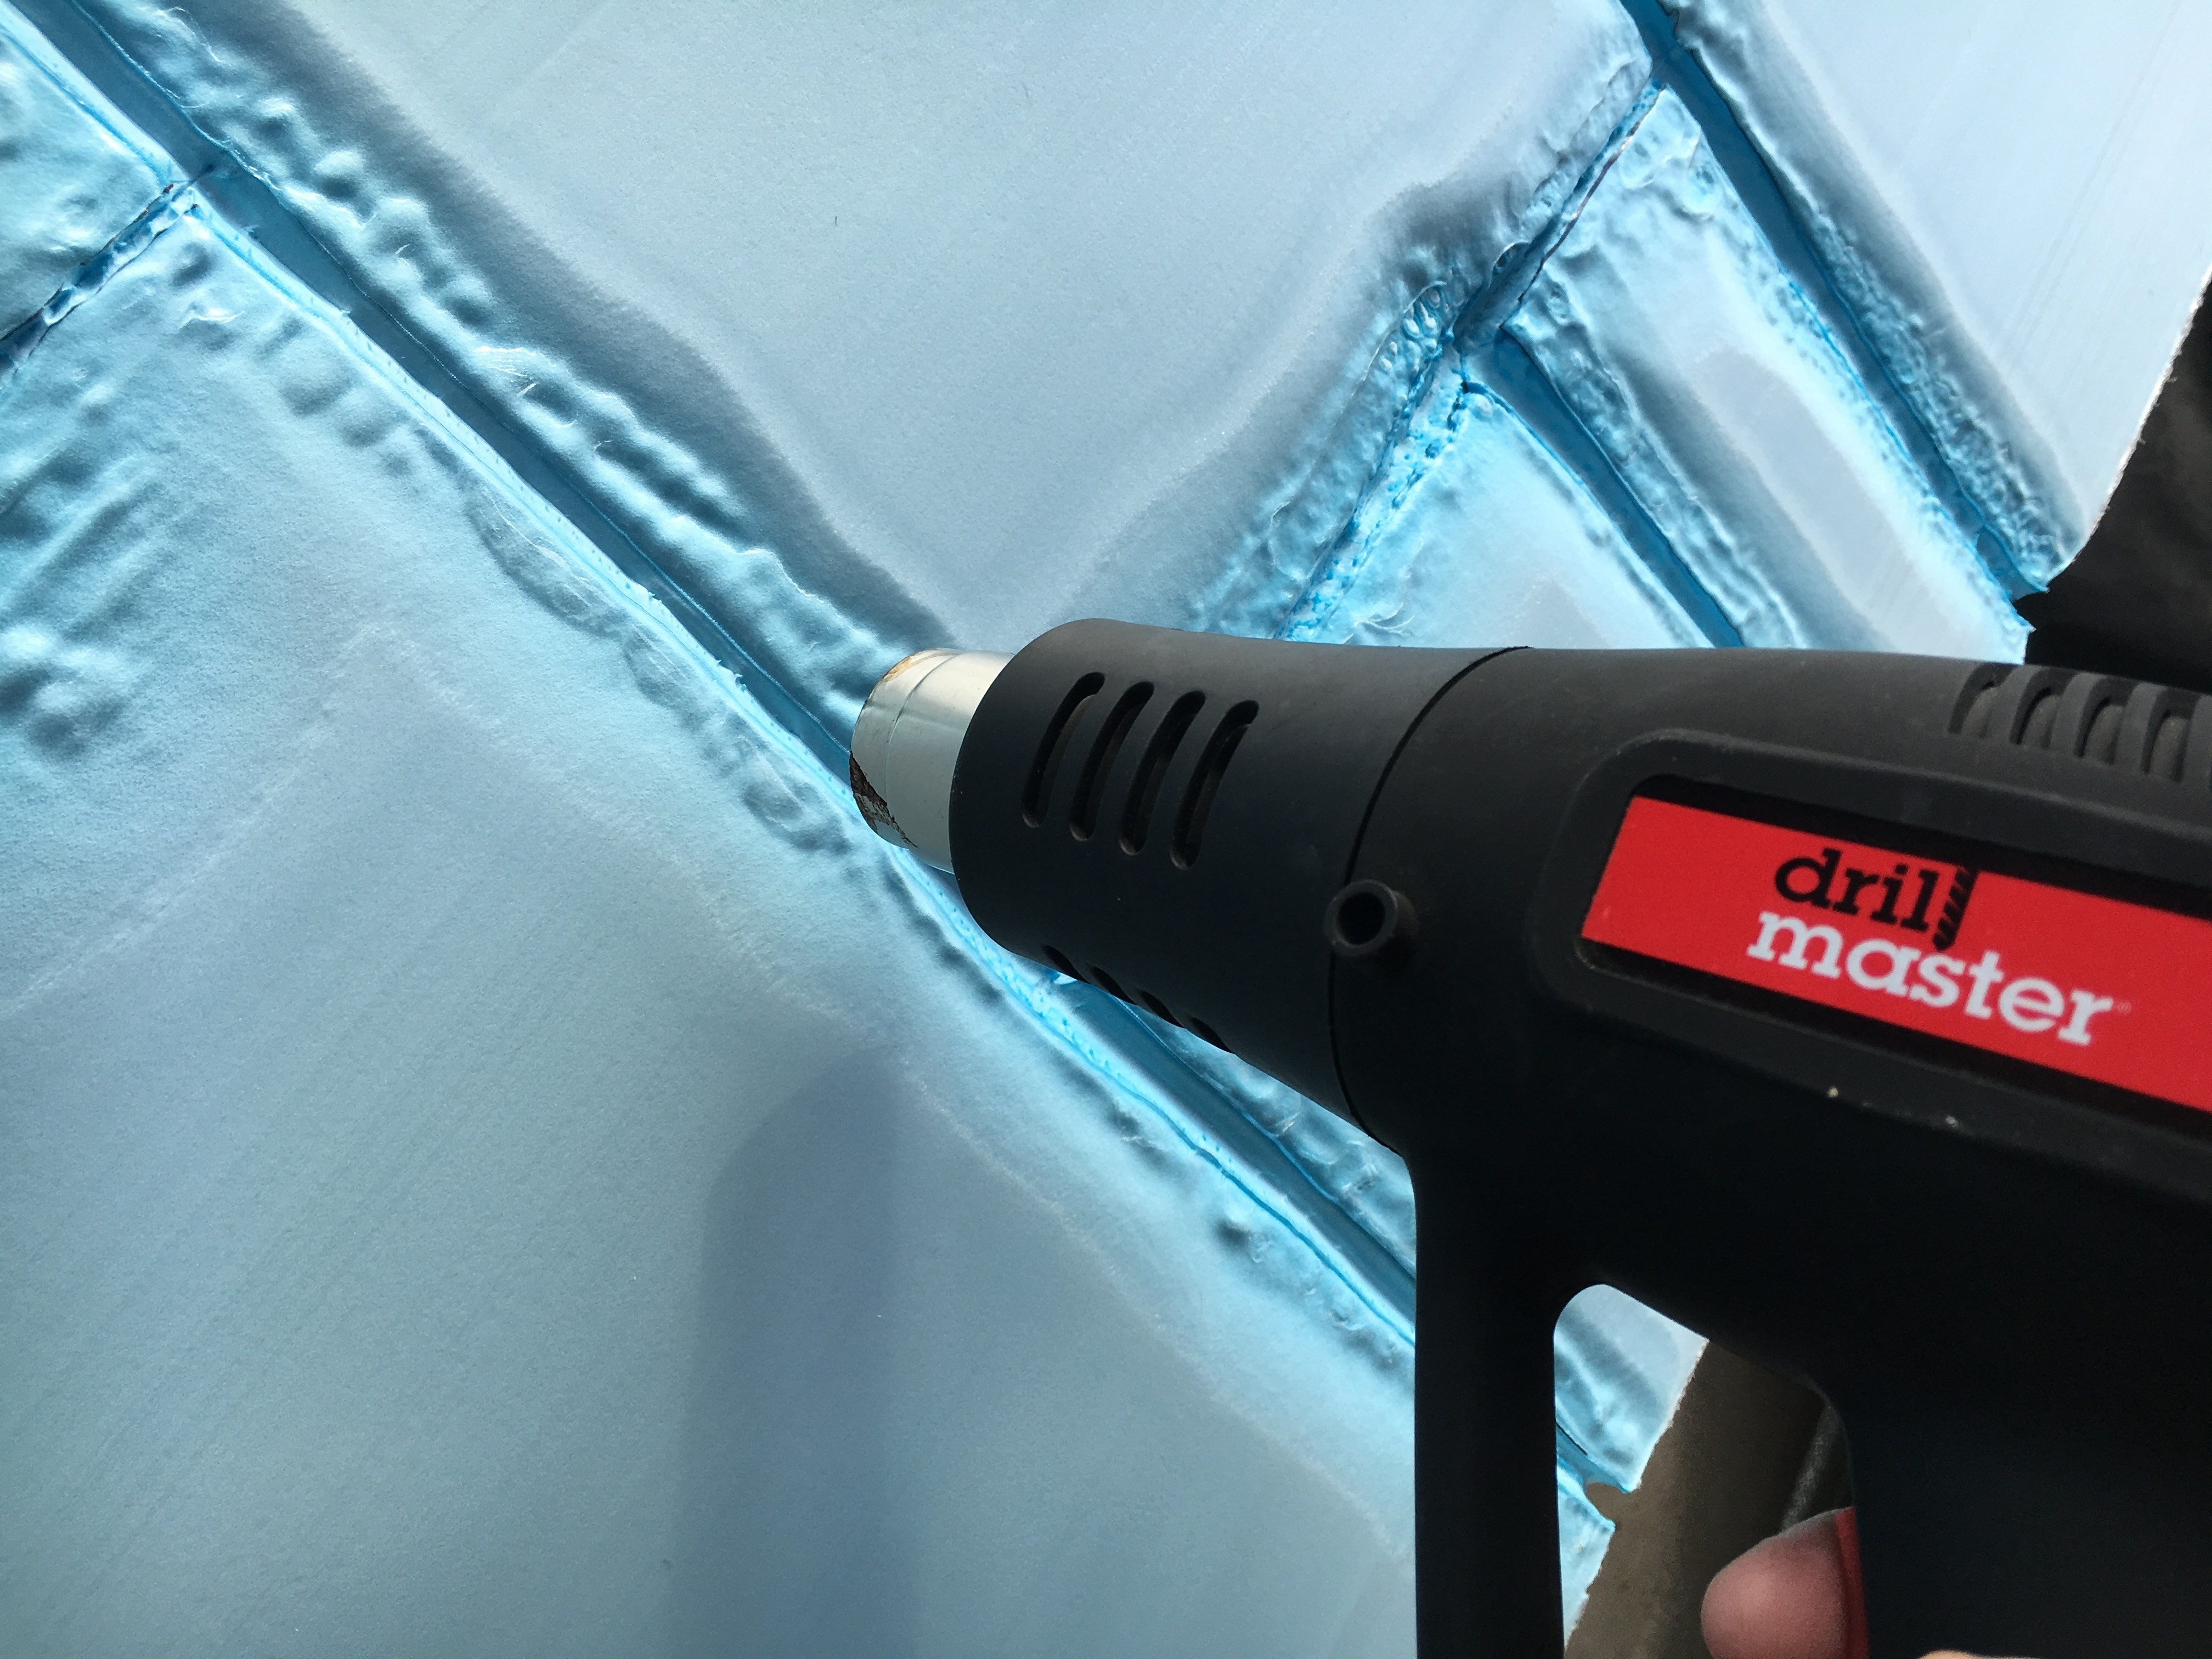
Carve Stone Details: Use a utility knife, foam rasp, or heat gun to carve details into the foam, such as cracks, chips, and uneven surfaces.
-
Create Texture: Use a wire brush or heat gun to add texture to the surface of the foam. A heat gun can melt away small areas, creating a rough, natural look.
-
Sand the Edges: Use sandpaper to smooth out any sharp edges and create a more rounded, natural appearance.
 Creating realistic stone textures on foam sheets using a heat gun, wire brush, and carving tools.
4.3. Paint the Foam Stones
-
Base Coat: Apply a base coat of dark brown or gray acrylic paint to the entire surface of the foam stones.
-
Layer Colors: Use a variety of paint colors to create depth and dimension. Apply lighter shades of tan, cream, and gray to the raised areas, and darker shades to the crevices.
-
Dry Brushing: Use a dry brush technique to highlight the texture of the stones. Dip a brush in a light-colored paint, wipe off the excess, and lightly brush over the surface.
-
Add Pigments: Use dry pigments to add subtle color variations and enhance the realism of the paint job.
 Painting foam sheets with acrylics, dry brushing, and pigments to achieve realistic stone colors and textures.
4.4. Install the Foam Rock Wall
-
Prepare the Wall: Clean the wall surface and ensure it is smooth and dry.
-
Attach Backing: If needed, attach plywood or cement board to the wall to create a stable base for the foam rock wall.
-
Apply Adhesive: Apply foam adhesive to the back of each foam stone.
-
Attach Stones to Wall: Press each stone firmly against the wall, ensuring it is level and aligned with your design.
-
Secure with Screws: For larger walls, use construction screws with washers to further secure the foam sheets to the backing.
-
Fill Gaps: Fill any gaps between the stones with mortar or grout, using a color that complements your paint job.
-
Seal the Wall: Apply a spray sealer to protect the painted surface and make it weather-resistant.
 Installing painted foam stone sheets on a wall using adhesive and screws to create a faux rock wall.
4.5. Add Finishing Touches
-
Apply Varnish: For outdoor walls, apply a UV-resistant varnish to prevent fading.
-
Add Plants: Incorporate plants and greenery to soften the look of the wall and create a more natural feel.
-
Install Lighting: Install uplighting or downlighting to highlight the texture and create dramatic shadows.
5. What Are Some Design Ideas for My Foam Rock Wall?
The design possibilities for a foam rock wall are endless. Here are some ideas to inspire you:
- Stacked Stone: Create a classic look with horizontally stacked stones of varying sizes and shapes.
- Random Rubble: Arrange the stones in a random, organic pattern for a more rustic appearance.
- Ashlar: Use rectangular stones of uniform size for a clean, modern look.
- Water Feature: Incorporate a waterfall or pond into your foam rock wall for a tranquil and visually stunning feature.
- Fireplace Surround: Create a cozy and inviting atmosphere by using a foam rock wall as a fireplace surround.
- Garden Feature: Build a foam rock wall as a backdrop for your garden, adding height and texture to your landscape.
- Indoor Accent Wall: Add character to any room by creating an indoor accent wall with a foam rock wall.
 Faux stone wall design showcasing stacked stone pattern for a classic and textured look.
6. What Are The Best Tips for Creating a Realistic Look for My Foam Rock Wall?
Achieving a realistic look for your foam rock wall requires attention to detail and a few key techniques:
- Vary Stone Sizes and Shapes: Use a variety of stone sizes and shapes to create a more natural and organic appearance.
- Add Texture: Use a wire brush, heat gun, or carving tools to add texture to the surface of the foam.
- Layer Colors: Use a variety of paint colors to create depth and dimension.
- Dry Brushing: Use a dry brush technique to highlight the texture of the stones.
- Use Pigments: Use dry pigments to add subtle color variations and enhance the realism of the paint job.
- Incorporate Natural Elements: Incorporate plants, moss, and other natural elements to soften the look of the wall and create a more realistic feel.
7. How Do I Maintain My Foam Rock Wall?
Maintaining your foam rock wall is simple and straightforward:
- Clean Regularly: Use a soft brush or cloth to remove dust and debris.
- Repair Damage: Repair any cracks or chips with foam adhesive and touch up the paint as needed.
- Protect from Moisture: For outdoor walls, ensure the sealer and varnish are intact to protect the foam from moisture damage.
- Reapply Sealer: Reapply sealer and varnish every few years to maintain the wall’s appearance and protect it from the elements.
8. What Are The Safety Precautions I Need to Consider When Building a Foam Rock Wall?
Safety should always be a top priority when working on any DIY project. Here are some safety precautions to consider when building a foam rock wall:
- Work in a Well-Ventilated Area: Work in a well-ventilated area when cutting, carving, and painting the foam.
- Wear Protective Gear: Wear safety glasses, gloves, and a dust mask to protect yourself from dust, fumes, and sharp objects.
- Use Tools Safely: Use all tools according to the manufacturer’s instructions.
- Be Careful with Heat Gun: Use caution when using a heat gun to avoid burns.
- Dispose of Waste Properly: Dispose of foam scraps and paint waste properly.
9. What are Common Mistakes to Avoid When Making a Foam Rock Wall?
Avoiding these common mistakes can save you time, money, and frustration:
- Using the Wrong Type of Foam: Ensure you use Extruded Polystyrene (XPS) foam, as it is more durable and easier to work with than other types of foam.
- Skipping the Base Coat: Applying a base coat of paint is essential for creating a realistic look.
- Using Too Few Colors: Using too few colors can result in a flat, unrealistic appearance.
- Not Adding Texture: Adding texture is crucial for creating a realistic stone look.
- Rushing the Installation: Take your time when installing the foam stones to ensure they are level and aligned properly.
10. FAQ About How to Make a Foam Rock Wall
10.1. Can I use a foam rock wall outdoors?
Yes, but you must seal it properly with a waterproof sealer and UV-resistant varnish to protect it from the elements.
10.2. How long does a foam rock wall last?
With proper maintenance, a foam rock wall can last for many years.
10.3. Can I paint a foam rock wall any color?
Yes, you can paint a foam rock wall any color you like. However, natural stone colors tend to look the most realistic.
10.4. How do I clean a foam rock wall?
Use a soft brush or cloth to remove dust and debris. For tougher stains, use a mild soap and water solution.
10.5. Can I add real stones to my foam rock wall?
Yes, you can add real stones to your foam rock wall to create a more varied and realistic look.
10.6. What is the best adhesive for attaching foam to a wall?
Foam adhesive is the best choice, as it is specifically designed to bond foam without melting it.
10.7. How do I cut foam without making a mess?
Use a hot wire cutter, as it melts the foam as it cuts, reducing the amount of dust and debris.
10.8. Can I use a foam rock wall as a retaining wall?
No, a foam rock wall is not strong enough to be used as a retaining wall. It is a decorative feature only.
10.9. How do I make the grout lines look realistic?
Use a flexible grout that is designed for use with foam. Apply it carefully and wipe away any excess with a damp sponge.
10.10. Where can I find inspiration for my foam rock wall design?
Rockscapes.net offers a wealth of design ideas and inspiration for creating stunning landscapes with natural stone and faux rock features.
Ready to Transform Your Space?
Creating a foam rock wall is a rewarding DIY project that can add beauty and character to any space. With careful planning, the right materials, and a little creativity, you can build a stunning faux rock feature that will impress your friends and family.
For more inspiration, detailed guides, and expert advice on using natural stone and faux rock in your landscape, visit rockscapes.net today. Discover how to bring the timeless beauty of stone into your home and garden with Rockscapes. Let Rockscapes.net guide you in creating a landscape that reflects your unique style and enhances your outdoor living experience.
Contact Us:
Address: 1151 S Forest Ave, Tempe, AZ 85281, United States
Phone: +1 (480) 965-9011
Website: rockscapes.net