Making hard rock candy on a stick is a delightful and rewarding experience, and rockscapes.net is here to guide you through every step. Whether you’re looking for a fun DIY project, a unique homemade gift, or a tasty treat, this guide will provide you with the knowledge and inspiration you need to create beautiful and delicious rock candy, adding a touch of sweetness to any occasion. Let’s explore the world of candy making, including sugar crystals, supersaturated solution, and candy-making equipment.
Table of Contents
1. What is Hard Rock Candy On A Stick?
2. Why Make Hard Rock Candy On A Stick at Home?
3. Essential Equipment for Making Hard Rock Candy On A Stick
4. A Step-by-Step Guide on How To Make Hard Rock Candy On A Stick
5. Can You Re-Use the Sugar Solution?
6. Why Isn’t My Hard Rock Candy Growing?
7. How Can I Make Hard Rock Candy Fast?
8. How to Store Hard Rock Candy On A Stick
9. Tips and Tricks for Perfect Hard Rock Candy On A Stick
10. FAQs About Making Hard Rock Candy On A Stick
1. What is Hard Rock Candy On A Stick?
Hard rock candy on a stick, often simply called rock candy, is a type of confection made from large sugar crystals. It’s created by dissolving sugar in water to form a supersaturated solution, which then crystallizes around a stick or string as the water evaporates. The result is a visually appealing and deliciously sweet treat that’s often enjoyed by people of all ages.
Rock candy is pure crystallized sugar, offering a satisfyingly sweet taste. It’s made from simple ingredients – sugar and water – and sometimes includes food coloring and flavorings. You’ll find it comes in various colors, shapes, and flavors, making it a popular choice for parties, gifts, and as a fun treat.
2. Why Make Hard Rock Candy On A Stick at Home?
While it’s easy to purchase rock candy in stores, making it at home offers several unique advantages.
- Creative Control: Crafting your own rock candy allows you to experiment with different colors, flavors, and designs, tailoring the treat to your specific preferences.
- Cost-Effective: Making rock candy at home can be more economical than buying pre-made versions, especially if you’re making large quantities.
- Educational Experience: The process of making rock candy is a fascinating science experiment, perfect for teaching kids about crystallization and the properties of sugar.
- Personalized Gifts: Homemade rock candy makes a thoughtful and personalized gift for friends and family, adding a special touch to any occasion.
- Fun Activity: Making rock candy can be a fun and engaging activity for individuals, families, or groups, creating lasting memories and delicious results.
2.1. Scientific Exploration
Making rock candy isn’t just about creating a sweet treat; it’s also a fun science experiment. According to research from Arizona State University’s School of Earth and Space Exploration, the crystallization process demonstrates basic principles of chemistry and physics. You can teach kids about supersaturated solutions, evaporation, and crystal formation, making learning both educational and enjoyable.
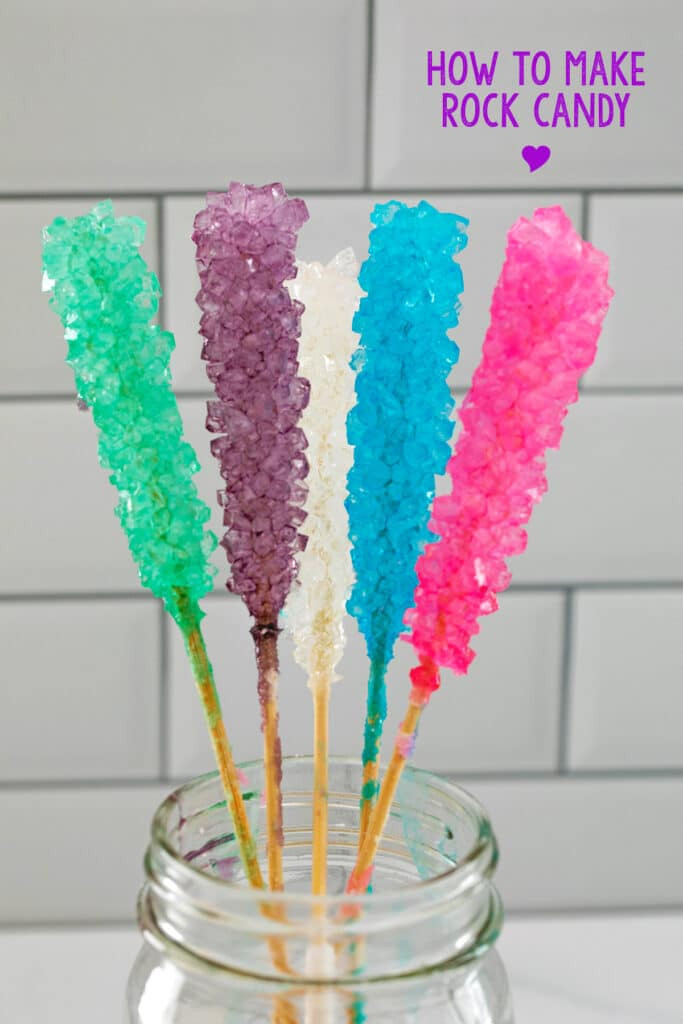 Close-up of 5 different colors rock candy in mason jar with
2.2. Unique DIY Project
If you’re searching for a distinctive do-it-yourself project, making hard rock candy on a stick is an excellent option. You can customize the colors and flavors to match any event or personal taste. Whether you’re creating party favors, holiday treats, or simply a fun snack, homemade rock candy adds a special touch.
3. Essential Equipment for Making Hard Rock Candy On A Stick
Before you start making hard rock candy on a stick, it’s important to gather the necessary equipment and ingredients. Here’s a comprehensive list of what you’ll need:
3.1. Ingredients
- Granulated Sugar: The main ingredient for making rock candy. You’ll need a significant amount to create a supersaturated solution.
- Water: Used to dissolve the sugar and create the syrup.
- Food Coloring: Optional, but adds a fun and vibrant look to your rock candy. Gel food coloring is recommended for the best results.
- Flavoring Extracts: Optional, but can add delicious flavors to your rock candy. Popular choices include vanilla, fruit extracts, and essential oils.
3.2. Equipment
- Saucepan: A large, heavy-bottomed saucepan is essential for heating the sugar and water mixture.
- Wooden Skewers or Candy Sticks: These provide a base for the sugar crystals to form around.
- Mason Jars or Glasses: Used to hold the sugar solution while the crystals grow.
- Clothespins or Clips: Used to suspend the skewers in the jars without touching the bottom.
- Candy Thermometer: Helps monitor the temperature of the sugar solution for optimal crystallization.
- Stirring Spoon: A long-handled spoon for stirring the sugar and water mixture.
- Measuring Cups and Spoons: For accurate measurement of ingredients.
3.3. Additional Items
- Parchment Paper: For drying the rock candy after it’s removed from the jars.
- Cellophane Bags or Wrappers: For storing and gifting your homemade rock candy.
- Gloves: To protect your hands when handling hot sugar solution.
Having all of these items on hand will make the process of making hard rock candy on a stick smoother and more enjoyable.
4. A Step-by-Step Guide on How to Make Hard Rock Candy On A Stick
Now that you have your ingredients and equipment ready, let’s dive into the step-by-step process of making hard rock candy on a stick.
4.1. Prepare the Skewers
- Coat the Skewers: Dip the skewers in water and then roll them in granulated sugar. This “seeds” the skewers, providing a surface for the sugar crystals to adhere to.
- Dry the Skewers: Allow the sugar-coated skewers to dry completely. This may take an hour or more.
4.2. Set Up the Jars
- Clean the Jars: Ensure your mason jars or glasses are clean and dry.
- Suspend the Skewers: Attach a clothespin or clip to each skewer and balance them on top of the jars, ensuring the skewer hangs about an inch from the bottom.
4.3. Make the Sugar Solution
- Combine Water and Sugar: In a large saucepan, combine 4 cups of water and 10 cups of granulated sugar.
- Heat the Mixture: Bring the mixture to a boil over medium heat, stirring constantly until the sugar is completely dissolved.
- Simmer: Once the sugar is dissolved, reduce the heat and let the mixture simmer for about 5 minutes.
- Cool: Remove the saucepan from the heat and let the mixture cool for about 15 minutes.
4.4. Add Color and Flavor
- Divide the Solution: Divide the sugar solution evenly among your prepared jars.
- Add Food Coloring and Flavoring: Stir in a few drops of food coloring and flavoring extract to each jar, if desired.
4.5. Crystallize the Candy
- Place the Skewers: Carefully place the prepared skewers into the sugar solution in each jar.
- Wait: Allow the jars to sit undisturbed for 6-7 days, or until the sugar crystals have formed to your desired size.
4.6. Remove and Dry the Candy
- Remove the Candy: Gently crack the hardened sugar on top of the jar and carefully remove the rock candy sticks.
- Dry the Candy: Place the rock candy sticks on parchment paper to dry completely. This may take several hours.
4.7. Storing the Candy
- Wrap the Candy: Once the rock candy is dry, wrap each stick in cellophane bags or wrappers to keep them fresh.
- Store the Candy: Store the wrapped rock candy in a cool, dry place.
Following these steps will help you create beautiful and delicious hard rock candy on a stick at home.
5. Can You Re-Use the Sugar Solution?
Many people wonder if it’s possible to re-use the sugar solution left over after making rock candy. The answer is yes, but with a few important considerations.
5.1. Reheating the Solution
- Pour into a Saucepan: After removing the rock candy sticks, pour the remaining sugar solution back into a saucepan.
- Boil and Add Sugar: Bring the solution to a boil and add an additional ¼ cup of sugar. This will help to re-saturate the solution.
- Simmer: Let the mixture simmer for a few minutes, then remove from heat and let cool slightly.
- Pour into Clean Jars: Pour the re-heated solution into clean jars and repeat the crystallization process.
5.2. Why Reheating is Important
Reheating the sugar solution is crucial because the sugar concentration decreases as crystals form. Adding more sugar and reheating helps to ensure that the solution is still supersaturated, which is necessary for crystal growth.
5.3. Results of Reusing Solution
If you reuse the sugar solution without reheating and adding more sugar, the resulting rock candy may be smaller and less defined. Reheating and adding sugar yields better results.
6. Why Isn’t My Hard Rock Candy Growing?
Sometimes, despite your best efforts, your rock candy may not grow as expected. Here are some common reasons and how to troubleshoot them:
6.1. Insufficient Sugar Concentration
- Problem: The sugar solution may not be supersaturated.
- Solution: Return the mixture to the saucepan, bring to a boil, and add more sugar, stirring until it dissolves. Use new sugar-coated skewers.
6.2. Impurities in the Solution
- Problem: Impurities in the sugar or water can prevent crystal formation.
- Solution: Use high-quality granulated sugar and filtered water. Ensure your jars and equipment are clean.
6.3. Temperature Fluctuations
- Problem: Temperature fluctuations can disrupt the crystallization process.
- Solution: Keep the jars in a stable, room-temperature environment away from drafts and direct sunlight.
6.4. Disturbances
- Problem: Moving or jostling the jars can prevent crystal formation.
- Solution: Once the skewers are in place, avoid moving the jars until the crystals have fully formed.
6.5. Lack of Seed Crystals
- Problem: The skewers may not have enough sugar crystals to act as seeds.
- Solution: Ensure the skewers are thoroughly coated in sugar and completely dry before placing them in the solution.
By addressing these potential issues, you can increase your chances of successful rock candy growth.
7. How Can I Make Hard Rock Candy Fast?
While patience is key to making hard rock candy, there are a few things you can try to speed up the process slightly.
7.1. Refrigeration
- Method: Some people suggest placing the jars in the refrigerator to speed up crystal growth.
- Considerations: This method may not always be effective and can sometimes result in smaller, less defined crystals.
7.2. Higher Sugar Concentration
- Method: Using a higher concentration of sugar in the solution may accelerate crystal formation.
- Considerations: Be careful not to add too much sugar, as this can prevent the solution from properly crystallizing.
7.3. Removing Early
- Method: You can remove the rock candy from the jars after just a couple of days if you’re willing to accept smaller crystals.
- Considerations: The sticks may be a bit sparse, but this can still be a viable option if you’re short on time.
7.4. Professional Equipment
- Method: Although it is not as fun, but using professional candy making equipment can definitely speed up the process.
- Considerations: This might be costly.
8. How to Store Hard Rock Candy On A Stick
Proper storage is essential to keep your hard rock candy fresh and prevent it from becoming sticky or dissolving.
8.1. Wrapping
- Cellophane Wrappers: Wrap each rock candy stick individually in cellophane wrappers to protect it from moisture.
8.2. Airtight Containers
- Storage: Place the wrapped rock candy in an airtight container to further protect it from humidity.
8.3. Cool, Dry Place
- Location: Store the container in a cool, dry place away from direct sunlight and heat.
8.4. Shelf Life
- Duration: When stored properly, hard rock candy can last for up to a year.
By following these storage tips, you can enjoy your homemade rock candy for months to come.
9. Tips and Tricks for Perfect Hard Rock Candy On A Stick
Here are some additional tips and tricks to help you achieve perfect hard rock candy every time:
- Clean Jars: Make sure your mason jars are completely clean and not cold. Rinse them with hot water before use.
- Don’t Skip Seeding: Coating your sticks in sugar is crucial for crystal formation.
- Darker Colors: Make the color a bit darker than you think you should, as it will look lighter once the crystals form.
- Concentrated Flavoring: Use concentrated flavoring extracts to avoid adding too much liquid to the solution.
- Avoid Disturbances: Once the sticks are in the jars, avoid moving them or jostling the sticks.
- Monitor Progress: Check on your rock candy daily to monitor crystal growth.
- Experiment: Try different colors, flavors, and shapes to create unique and personalized rock candy.
10. FAQs About Making Hard Rock Candy On A Stick
Here are some frequently asked questions about making hard rock candy on a stick:
Q1: What is the ideal ratio of sugar to water for making rock candy?
The ideal ratio is typically 4 cups of water to 10 cups of sugar. This creates a supersaturated solution necessary for crystal formation.
Q2: Can I use different types of sugar to make rock candy?
Granulated sugar is the best choice for making rock candy due to its purity and consistency. Other types of sugar may not yield the same results.
Q3: How long does it take for rock candy crystals to form?
It typically takes 6-7 days for rock candy crystals to fully form.
Q4: Can I add essential oils to flavor my rock candy?
Yes, you can add essential oils, but use them sparingly as they can be quite potent. A few drops are usually sufficient.
Q5: Why is my rock candy cloudy instead of clear?
Cloudiness can be caused by impurities in the sugar or water. Using high-quality ingredients and clean equipment can help prevent this.
Q6: What can I do with leftover sugar solution that didn’t crystallize?
You can reheat the solution, add more sugar, and try again. Alternatively, you can use it to sweeten beverages or make other candies.
Q7: Can I make rock candy without using skewers?
Yes, you can use cotton string or fishing line instead of skewers. Suspend the string in the sugar solution and allow the crystals to form around it.
Q8: How do I prevent my rock candy from sticking to the bottom of the jar?
Ensure the skewers are suspended high enough in the jar so they don’t touch the bottom. Also, avoid moving the jars once the crystallization process has begun.
Q9: Is it safe to eat rock candy that has been stored for a long time?
As long as the rock candy has been stored properly in a cool, dry place, it should be safe to eat for up to a year.
Q10: Can I make rock candy in different shapes?
Yes, you can experiment with different shapes by using molds or bending the skewers into desired forms before placing them in the sugar solution.
By understanding these tips, tricks, and answers to common questions, you’ll be well-equipped to create stunning and delicious hard rock candy on a stick at home.
Making hard rock candy on a stick is a fun and rewarding process that allows you to create a sweet treat tailored to your preferences. With the right ingredients, equipment, and a little patience, you can enjoy homemade rock candy that’s perfect for parties, gifts, or simply satisfying your sweet tooth. For more creative ideas, detailed guides, and expert advice, visit rockscapes.net and explore the beauty of rock candy and more.
Are you ready to explore more creative ideas and detailed guides? Visit rockscapes.net today and discover the beauty of rock candy and more! Contact us at 1151 S Forest Ave, Tempe, AZ 85281, United States, or call +1 (480) 965-9011.