Homemade rock candy is a delightful treat and a fascinating science experiment all rolled into one. With just a few simple ingredients and a bit of patience, you can create shimmering, sweet crystals right in your own kitchen. Whether you’re looking for a fun dessert, an educational activity for kids, or unique edible decorations, making your own rock candy is surprisingly easy and rewarding.
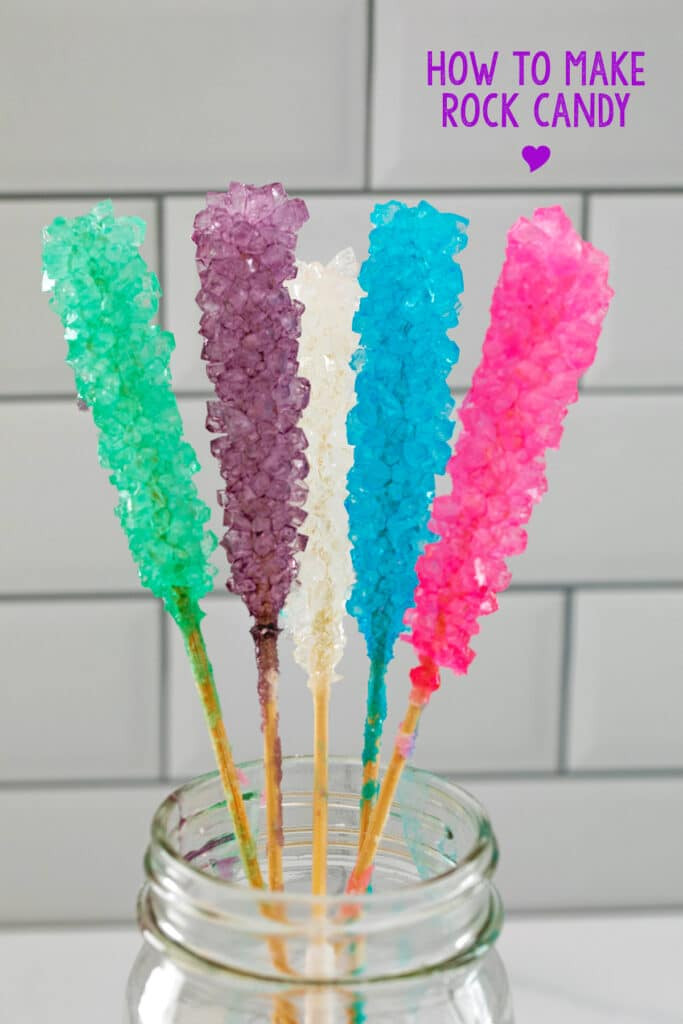 Close-up of 5 different colors rock candy in mason jar with
What Exactly is Rock Candy?
Rock candy, also known as sugar candy, is essentially large crystals of pure sugar. Its simple composition is what makes it so intriguing and fun to make. If you’ve ever dabbled in making simple syrup, you’re already halfway to understanding the basics of rock candy. The process involves creating a supersaturated sugar solution – meaning it contains more sugar than can typically dissolve in water at room temperature. As this solution cools and sits undisturbed, the excess sugar molecules begin to latch onto each other, forming beautiful, sizable crystals.
This crystallization process is a fantastic example of basic chemistry in action, making rock candy not just a treat, but also a great educational tool.
Why Make Your Own Rock Candy?
While you can certainly purchase rock candy from stores or online, crafting it yourself offers a unique and enjoyable experience. Homemade rock candy is perfect for personal enjoyment, and it also makes a thoughtful and personalized gift. Imagine presenting a jar of vibrant, homemade rock candy – it’s far more special than anything store-bought!
Beyond the sweetness and gift-giving potential, making rock candy is a brilliant science experiment. It provides a hands-on way to learn about crystallization, saturation, and the fascinating properties of sugar. Kids and adults alike can observe the crystal growth day by day, turning the kitchen into a mini-laboratory.
And let’s not forget the fun factor! Rock candy can elevate your beverages too. Use it to sweeten and add a touch of whimsy to cocktails or create kid-friendly mocktails with a sugary stir stick. For those interested in exploring more candy making, consider delving into homemade fudge or gummy candies to further expand your confectionary skills and understanding of sugar chemistry.
How Much Time Does Rock Candy Need?
The preparation of the sugar solution for rock candy is quick and straightforward, taking very little time. However, patience is key in the rock candy making process. Once your solution is ready, it needs to sit undisturbed for approximately 6 to 7 days to allow the sugar crystals to fully develop.
This waiting period is part of the magic. It’s an opportunity to observe the gradual formation of crystals, checking on your jars daily to witness the growth. This slow and steady process is what creates the large, impressive crystals that make rock candy so unique.
Essential Equipment for Making Rock Candy
You likely already have most of the necessary items in your kitchen to embark on your rock candy adventure. Here’s a simple list of what you’ll need:
- Granulated Sugar: The star ingredient! For about 5 sticks of rock candy, you’ll need around 10 cups of sugar.
- Water: Plain tap water works perfectly.
- Food Coloring (Optional): To add vibrant colors to your candy. Gel food coloring is recommended for concentrated color.
- Mason Jars or Glass Containers: To hold the sugar solution and allow crystal growth. Standard 16 oz mason jars are a good size.
- Skewers or Candy Sticks: To provide a surface for the crystals to grow on. Wooden skewers or dedicated rock candy sticks will work.
- Clothespins or Clips: To suspend the skewers in the jars, ensuring they don’t touch the bottom.
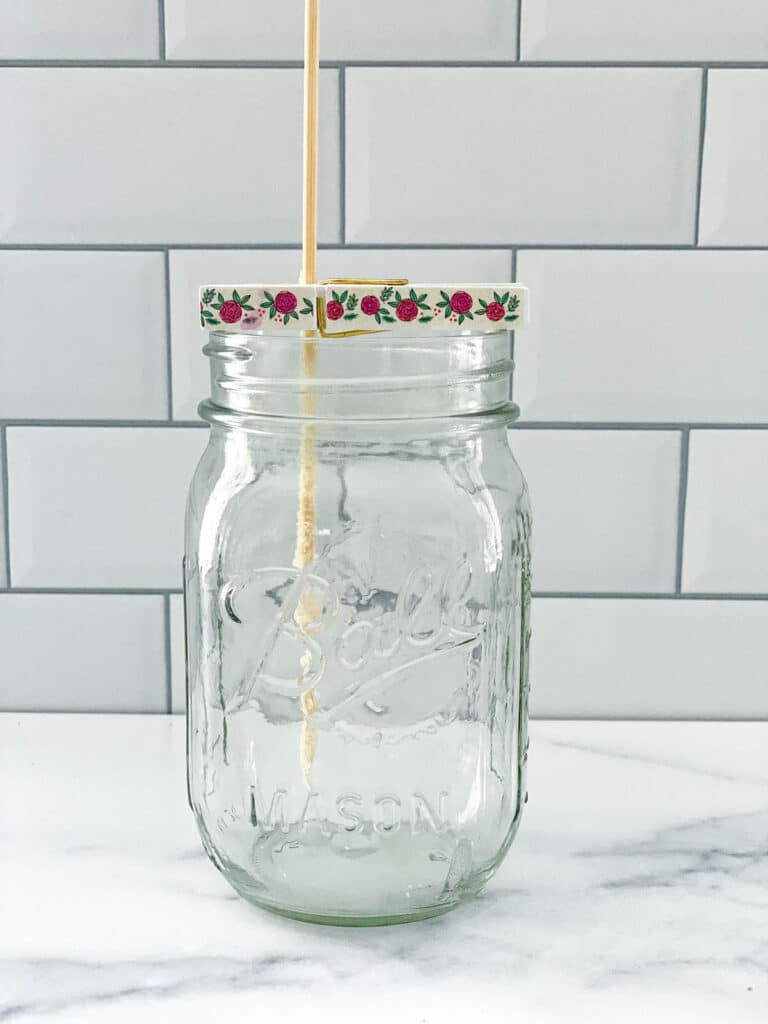 Skewer sitting in mason jar ready for rock candy sugar solution
Step-by-Step Guide: How to Make Rock Candy
This recipe is designed to yield approximately 5 sticks of rock candy, and you can easily customize colors by using separate jars. Keeping one jar clear is also a great idea for easily monitoring crystal growth.
Step 1: Prepare the Skewers
To kickstart crystal formation, you need to “seed” your skewers with sugar. This gives the sugar crystals a starting point to latch onto and grow.
Trim the sharp ends of your wooden skewers for safety and easier handling. Submerge each skewer in water briefly, then roll it in granulated sugar until well coated. Set the sugar-coated skewers aside to dry completely. Ideally, do this a few hours ahead or even the day before to ensure they are thoroughly dry.
Step 2: Prepare the Jars
Ensure your mason jars are spotlessly clean and warmed to prevent temperature shock when adding the hot sugar solution. Rinsing them with hot water is a good practice. Attach a clothespin or clip to each skewer and position them across the mouth of the jars. Adjust the skewer so it hangs about an inch from the bottom of the jar. This prevents the growing crystals from sticking to the jar bottom, making removal difficult. Once set up, remove the skewers temporarily – they will be reinserted after the sugar solution is poured in.
Step 3: Make the Sugar Solution
In a large, clean saucepan, pour 4 cups of water and bring it to a rolling boil over medium-high heat. Once boiling, reduce the heat to medium and begin adding the sugar, one cup at a time. Stir continuously with a wooden spoon, ensuring each cup of sugar is fully dissolved before adding the next. As you add more sugar, you’ll notice it becomes increasingly difficult to dissolve, and the solution will thicken. This is a sign that you are achieving supersaturation, which is crucial for crystal growth.
Continue adding sugar until all 10 cups are incorporated and dissolved as much as possible. Once the final cup of sugar is mostly dissolved, let the mixture simmer gently for about 5 minutes. This ensures all sugar is fully dissolved and the solution is properly saturated.
Remove the saucepan from the heat and let the hot sugar solution rest for about 15 minutes. This slight cooling period helps prevent cracking the glass jars when you pour the hot liquid into them.
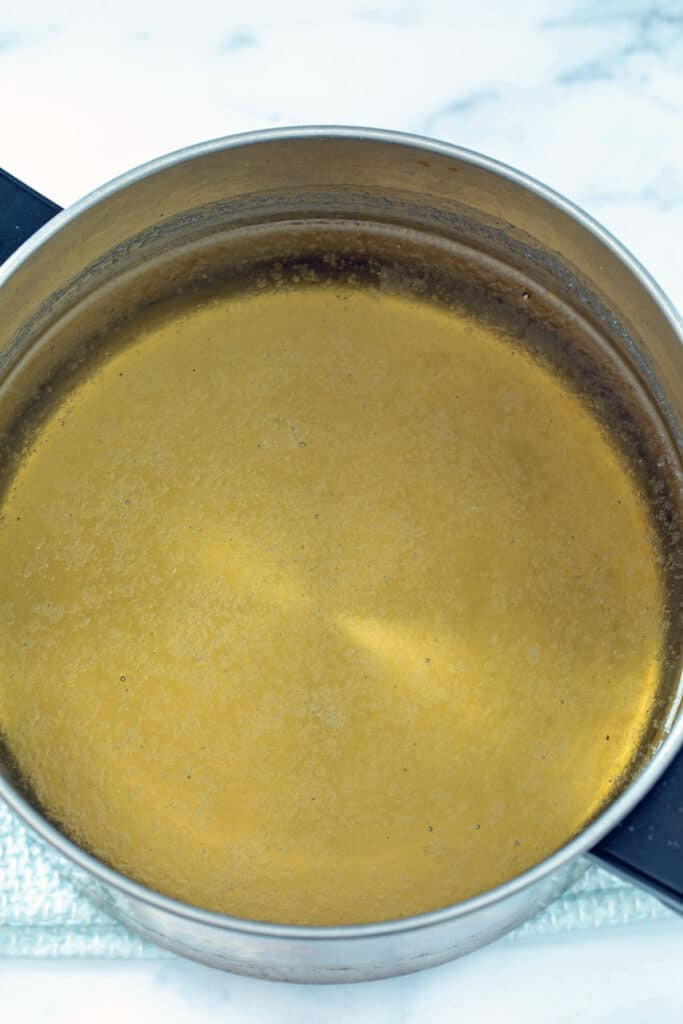 Sugar water solution simmering in saucepan
Step 4: Add Color and Pour into Jars
Divide the slightly cooled sugar solution evenly among your 5 prepared mason jars. If you are using food coloring, add a few drops to each jar now and gently stir to achieve your desired shade. Remember that the color will appear lighter once the crystals form, so a slightly darker shade in the solution is recommended.
Carefully move the jars to a stable location where they can sit undisturbed for the next week. Pour the hot solution with caution to avoid spills and burns. Once the jars are in their resting place, gently reinsert the prepared skewers into the solution, using the clothespins to suspend them in the center of the jars. Try to minimize movement of the jars once the skewers are in place to avoid disrupting the initial crystal formation.
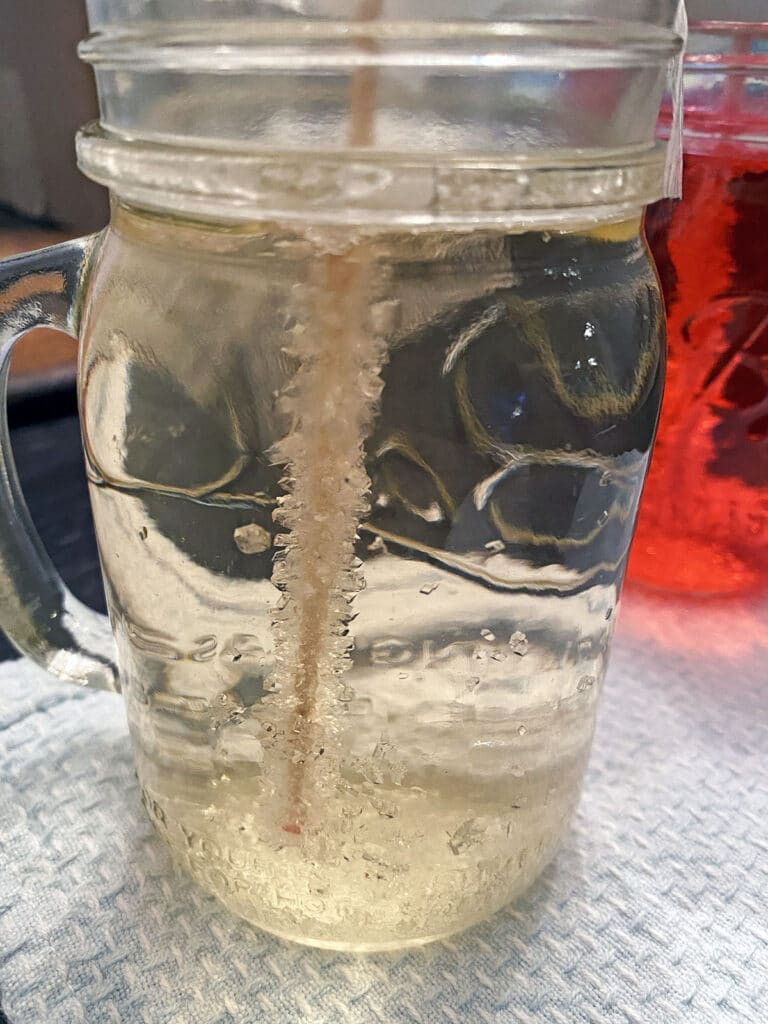
Step 5: Crystallization – The Waiting Game
Now comes the most challenging part – waiting. But it’s also the most exciting as you watch the sugar crystals begin to form and grow. You should start to see small crystals appearing on the sugar-coated skewers within the first 24 hours.
Observe your jars daily to monitor the crystal growth. Over the next 6-7 days, the crystals will continue to enlarge and become more defined.
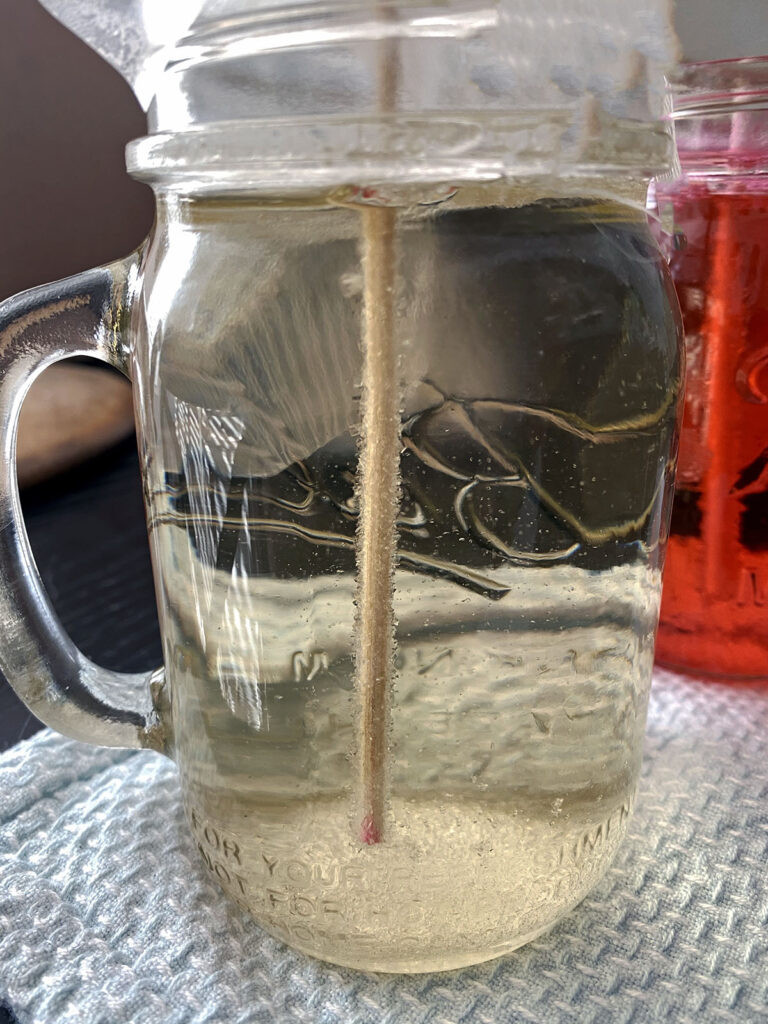 Rock candy crystals forming in jar after 1 day
 Rock candy crystals forming in jar after 3 days
Step 6: Harvesting Your Rock Candy
After 6-7 days, or when the crystals have reached your desired size, it’s time to remove your homemade rock candy. Use your finger or a utensil to gently break the hardened sugar crust that has formed on the top of the jar. Carefully wiggle each skewer to loosen it from the jar and gently pull it out.
Allow any excess sugar syrup to drip off the rock candy stick. You can hold it over an empty jar or place it on a paper towel to catch the drips. Once dripping has slowed, your beautiful homemade rock candy is ready to enjoy!
Reusing Sugar Solution: Can You Do It?
It’s natural to wonder if the leftover sugar solution can be reused. The answer is yes, with a little extra effort. While you might be tempted to simply add a new sugar-coated skewer to the remaining solution, you’ll get much better results by reheating and enriching it.
To reuse the solution, pour it back into your saucepan and bring it to a boil again. Add an additional ¼ cup of sugar and simmer for a few minutes to re-saturate the solution. Then, pour it back into a clean jar and proceed with a new sugar-coated skewer.
Experimenting with and without reheating clearly shows that reheating and adding more sugar is essential for successful second-batch crystal growth. Reheating ensures the solution is still supersaturated, leading to better crystal formation.
Rock candy made from reused sugar solution without reheating, showing less crystal growth and a less successful outcome.
Troubleshooting: Why Isn’t My Rock Candy Growing?
If your rock candy isn’t crystallizing as expected, don’t worry! Rock candy making can be a bit sensitive, but common issues are easily addressed. The most frequent reason for failure is an undersaturated sugar solution. If you didn’t use enough sugar or the sugar wasn’t fully dissolved, crystals may not form.
If you notice no crystal growth after a few days, you can rescue your solution. Pour the mixture back into the saucepan, bring it to a boil, and dissolve an additional cup of sugar. If it dissolves easily, add another half cup. Remember to use new sugar-coated skewers for the best chance of success.
Also, ensure your jars are clean and warm, and avoid moving the jars excessively once the skewers are in place. These factors can also hinder crystal growth.
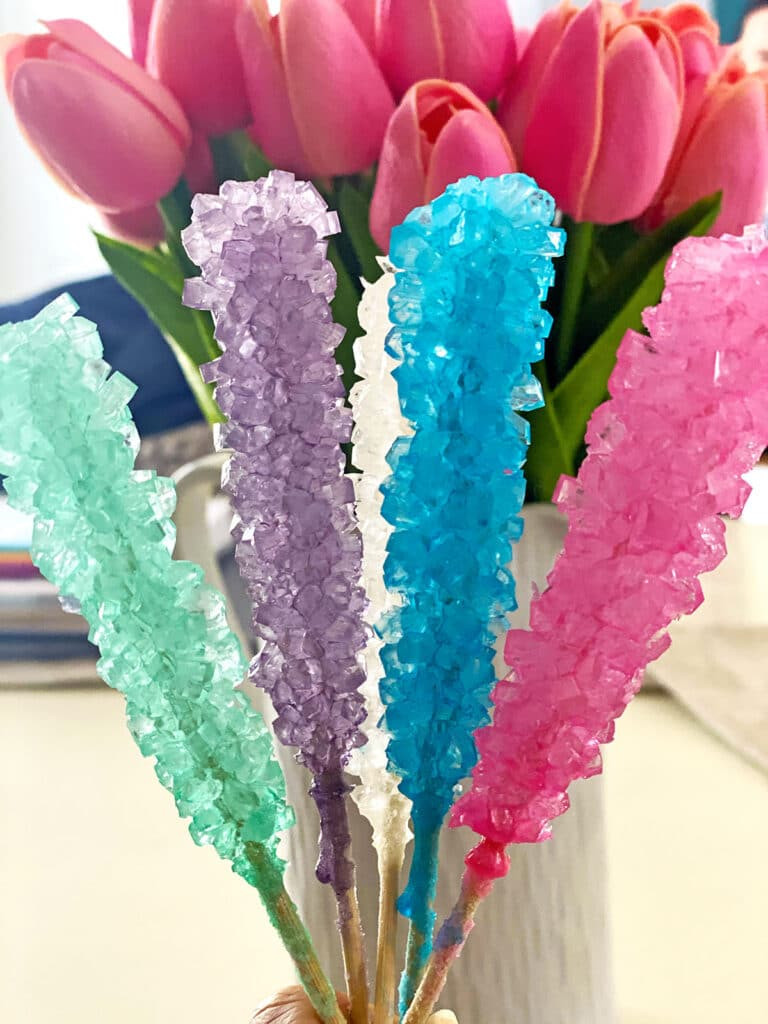 Homemade rock candy on sticks with pink tulips in the background
Speeding Up the Process: Is it Possible?
While patience is a virtue in rock candy making, you might wonder if there’s a way to speed things up. Unfortunately, there isn’t a reliable method to significantly accelerate crystal growth. Some suggest refrigeration might slightly hasten the process, but this isn’t a guaranteed method and hasn’t been widely tested.
You can remove your rock candy after just a couple of days if you’re in a rush, but the crystals will be smaller and less dense. For the best, most impressive rock candy, allowing the full 6-7 days is recommended.
Best Ways to Store Rock Candy
To keep your homemade rock candy in perfect condition, store it in a cool, dry place. If you’re planning to store it for an extended period or give it as gifts, wrapping each stick in cellophane wrappers will help maintain its freshness and prevent it from becoming sticky. When properly stored, rock candy can last for up to a year.
Helpful Tips and Tricks for Rock Candy Success
Making rock candy is a rewarding experience, and with a few helpful tips, you can ensure success every time:
- Clean and Warm Jars: Always use thoroughly clean jars and warm them before adding the hot sugar solution to prevent cracking.
- Don’t Skip Sugar Coating: Coating your skewers with sugar is crucial. It provides the necessary “seed” crystals for the sugar in the solution to attach to and grow.
- Go Bold with Color: When adding food coloring, make the solution slightly darker than your desired final color, as the crystals will appear lighter.
- Flavoring Options: If you want to add flavor, use concentrated flavorings sparingly to avoid diluting the supersaturated solution.
- Minimize Movement: Once the skewers are in the jars, try to move them as little as possible to avoid disturbing the crystal formation.
With these tips and a little patience, you’ll be creating stunning homemade rock candy in no time. It’s a simple yet fascinating process that brings a touch of sweetness and science to your kitchen.
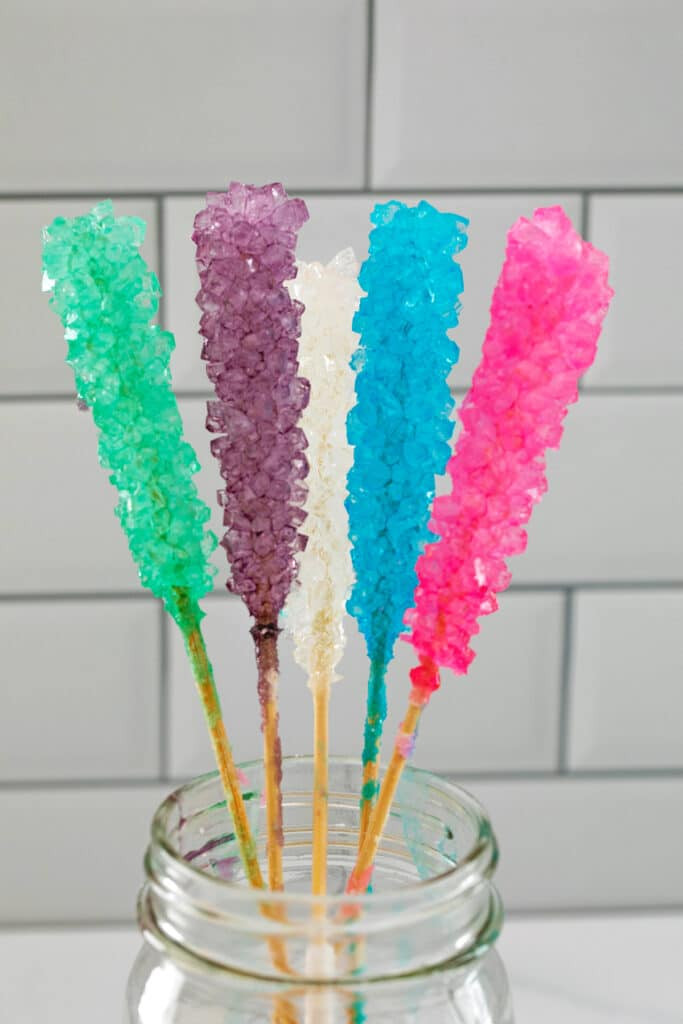 Mason jar filled with 5 different colors of rock candy on sticks
Making rock candy at home truly gives you a new appreciation for this classic candy. Enjoy the process, the science, and of course, the sweet reward!
📖 Recipe: DIY Rock Candy
Homemade rock candy is easier than you think! It just requires a little patience and a lot of sugar. Perfect as a sweet treat, a fun science project, or a unique homemade gift.
Prep Time: 30 minutes
Crystallizing Time: 6-7 days
Yields: 5 sticks
Ingredients:
- 5 wooden skewers or candy sticks
- 5 mason jars (16 oz recommended)
- 5 clothespins or chip clips
- 4 cups water
- 10 cups granulated sugar, plus extra for coating skewers
- Food coloring (optional)
Instructions:
- Prepare Skewers: Wet skewers with water, coat in sugar, and let dry for at least an hour or overnight.
- Prepare Jars: Ensure jars are clean and warm. Attach clothespins to skewers and balance them over jars, ensuring skewers hang about 1 inch from the bottom. Remove skewers temporarily.
- Make Sugar Solution: Boil water in a large saucepan. Add sugar one cup at a time, stirring until dissolved before adding the next. Simmer for 5 minutes after all sugar is added. Let cool for 15 minutes.
- Color and Pour: Divide solution among jars. Add food coloring if desired. Place jars in a stable location and insert prepared skewers.
- Crystallize: Let sit undisturbed for 6-7 days, observing crystal growth.
- Harvest: Gently break sugar crust, wiggle and remove skewers. Let excess syrup drip off before enjoying.
Notes:
- To reuse solution, re-boil with an extra ¼ cup of sugar and cool before using.
Enjoy your homemade rock candy!