Making rock candy at home for kids is a fun and educational science experiment that results in a sweet treat! At rockscapes.net, we’ll guide you through a simple process of creating these crystalline candies using common kitchen ingredients. Get ready to transform sugar and water into dazzling edible gems, perfect for a delightful family activity.
1: What is Rock Candy and Why Make It at Home?
Rock candy is a type of confection composed of large sugar crystals. Making it at home offers a fun, educational experience for kids, teaching them about science while creating a tasty treat. This classic candy is more than just a sweet—it’s a fascinating science experiment disguised as dessert. With simple ingredients and a bit of patience, you can create beautiful, edible crystals right in your own kitchen. Plus, homemade rock candy allows for customization with different colors and flavors, making it a unique treat.
1.1: The Science Behind Rock Candy
The creation of rock candy demonstrates the scientific principle of supersaturation. Supersaturation is a state where a liquid contains more of a dissolved substance (in this case, sugar) than it would normally hold at room temperature. This is achieved by heating the water, which allows it to dissolve a much larger quantity of sugar than it could when cold. According to research from Arizona State University’s School of Earth and Space Exploration, understanding crystal formation can provide insights into various geological processes.
When the solution cools, the water can no longer hold all the dissolved sugar, causing the sugar molecules to precipitate out of the solution and form crystals. The process is similar to how minerals crystallize from magma or hot water solutions deep within the Earth.
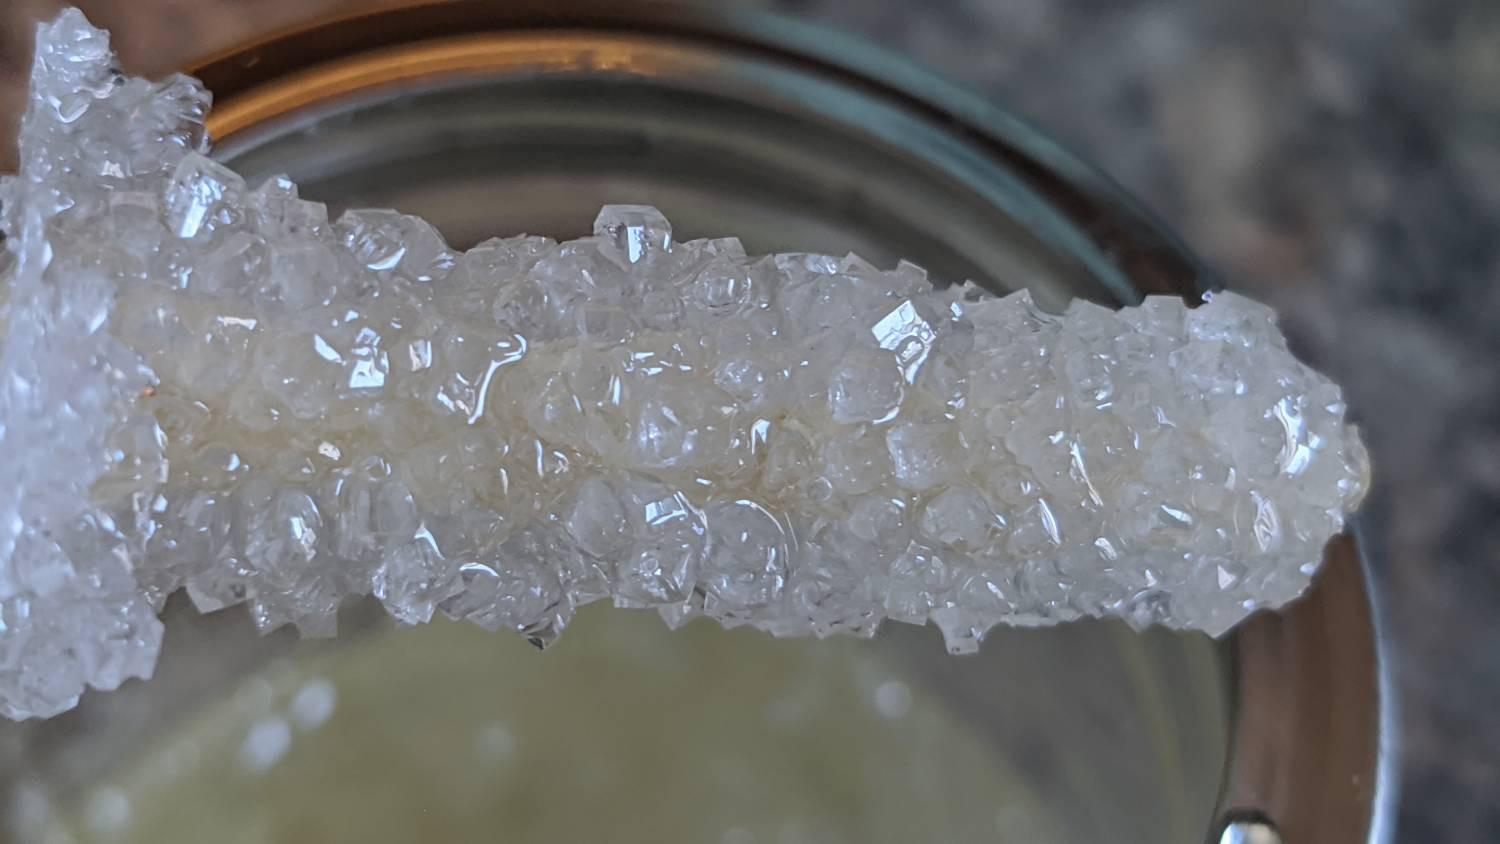 Crystals forming on a chopstick in a jar
The sugar on the string or stick acts as a seed crystal, providing a surface for the sugar molecules to attach to and grow. Over time, these crystals grow larger and larger, eventually forming the rock candy we know and love.
1.2: Benefits of Making Rock Candy at Home
Making rock candy at home is not just about the sweet treat at the end. It provides several benefits, especially for children:
- Educational Experience: It’s a hands-on lesson in chemistry and patience.
- Customization: You can choose your own colors and flavors.
- Family Activity: It’s a fun project to do together.
- Cost-Effective: Making it at home is cheaper than buying it in stores.
- Sense of Accomplishment: Kids feel proud of creating something themselves.
By engaging in this activity, children learn about scientific concepts in an engaging and memorable way. They also develop patience and attention to detail as they wait for the crystals to form.
2: What You’ll Need: Ingredients and Equipment
To make rock candy at home, you’ll need just a few simple ingredients and basic kitchen equipment. Here’s a comprehensive list to get you started, inspired by the resources available at rockscapes.net:
2.1: Essential Ingredients
- Sugar: 2 ½ cups of granulated sugar are the foundation of your candy.
- Water: 1 cup of water to dissolve the sugar and create the supersaturated solution.
2.2: Necessary Equipment
- Saucepan: A saucepan for boiling the water and dissolving the sugar.
- Spoon: A spoon for stirring the mixture.
- Mason Jars or Heat-Proof Glasses: 2 (12-ounce) mason jars or similar heat-proof glasses to hold the solution.
- Chopsticks or Wooden Skewers: A pair of chopsticks or wooden skewers to serve as the candy sticks.
- Clothespins: Clothespins to hold the sticks in place.
- Paper Towels: Paper towels to cover the jars and keep out dust.
2.3: Optional Additions
- Food Coloring: Food coloring of your choice to add vibrant colors.
- Flavoring Extracts: Food flavoring of your choice to customize the taste.
2.4: Why Quality Matters
Using high-quality ingredients and equipment can significantly impact the outcome of your rock candy project. For example, using purified water can help ensure that your crystals are clear and free from impurities. Similarly, using sturdy, heat-proof glass jars can prevent accidents and ensure that your solution cools properly.
3: Step-by-Step Instructions: How to Make Rock Candy
Making rock candy is a straightforward process, but it requires patience and attention to detail. Follow these steps carefully to ensure the best results:
3.1: Preparing the Sugar Solution
- Boil the Water: In a saucepan, bring 1 cup of water to a boil. Adult supervision is crucial for this step to prevent burns.
- Add the Sugar: Gradually pour in 2 ½ cups of sugar, stirring constantly until all the sugar crystals are completely dissolved. This creates a supersaturated solution.
- Cool the Solution: Once the sugar is fully dissolved, remove the saucepan from the heat and allow the solution to cool to room temperature. You can either leave it in the pot or pour it directly into the mason jars to speed up the cooling process.
3.2: Adding Color and Flavor (Optional)
- Add Food Coloring: If desired, add a few drops of food coloring to the solution and stir until the color is evenly distributed. The amount of food coloring will depend on how vibrant you want the color to be.
- Add Flavoring Extracts: Similarly, add a few drops of flavoring extract to the solution and stir. The amount of flavoring will depend on how intense you want the flavor to be.
3.3: Preparing the Sticks
- Wet the Sticks: Dip the chopsticks or wooden skewers in water. This helps the sugar crystals adhere to the sticks.
- Coat with Sugar: Pour some sugar onto a plate and roll the wet ends of the sticks in the sugar. Ensure they pick up as many crystals as possible.
- Dry the Sticks: Let the sugar-coated sticks dry for a few minutes. You can place them on top of something so the sugar-covered end stays in the air.
3.4: Assembling the Rock Candy
- Pour Solution into Jars: Pour the cooled sugar solution into the mason jars, ensuring each jar has enough solution to fully submerge the sugar-coated ends of the sticks.
- Position the Sticks: Place one sugar-coated stick into each jar, making sure the stick doesn’t touch the bottom or the sides of the jar. Use a clothespin to secure the stick in place, preventing it from touching the jar.
- Cover the Jars: Cover the jars with paper towels to prevent dust and other particles from falling into the solution. Fold the paper towel in two and make a small cut in the center to put the stick through.
3.5: Waiting for the Crystals to Grow
- Patience is Key: This is the most critical step. Place the jars in a cool, undisturbed location and wait for the crystals to grow. You should start to see some crystals forming within a few days, but the crystals will reach their peak growth after about two weeks.
- Check Regularly: Check the jars regularly to monitor the progress of the crystal growth. Avoid disturbing the jars as much as possible.
3.6: Harvesting the Rock Candy
- Remove the Candy: Once you’re satisfied with the size of the crystals, use a spoon to break the sugar layer on top of the jar.
- Carefully Remove the Sticks: Gently move the stick around to loosen it and lift it out of the jar. If the stick is stuck to the jar, an adult can use a knife to carefully chisel it out.
- Dry the Candy: Place the rock candy on a clean surface to dry completely before enjoying.
By following these detailed instructions, you can create beautiful and delicious rock candy at home with your kids. Remember to emphasize the importance of patience and attention to detail throughout the process.
4: Tips and Tricks for Perfect Rock Candy
Making rock candy can be a delightful experience, but it also comes with its challenges. Here are some tips and tricks to ensure your rock candy turns out perfectly every time, drawing inspiration from the expertise found at rockscapes.net:
4.1: Ensuring Crystal Growth
- Supersaturation is Key: The most critical factor in growing large, well-formed crystals is achieving a proper supersaturated solution. Ensure that you dissolve the correct amount of sugar in the water.
- Avoid Disturbing the Jars: Once the sticks are in the solution, avoid moving or bumping the jars. Vibrations can disrupt the crystal growth process.
- Maintain a Consistent Temperature: Keep the jars in a location with a consistent temperature. Fluctuations in temperature can affect the crystal formation.
4.2: Preventing Common Problems
- Preventing Sugar from Crystallizing Too Quickly: If the sugar starts to crystallize too quickly, it can form a crust on top of the solution or small crystals on the bottom of the jar. To prevent this, ensure that the solution is cooled slowly and evenly.
- Preventing Sticks from Sticking to the Jar: To prevent the sticks from sticking to the jar, make sure they are suspended in the solution and not touching the bottom or sides of the jar. Use clothespins to hold the sticks in place.
- Preventing Cloudy Crystals: Cloudy crystals can be caused by impurities in the water or sugar. Use purified water and high-quality sugar to minimize this issue.
4.3: Experimenting with Flavors and Colors
- Choosing the Right Flavorings: Use high-quality flavoring extracts for the best taste. Avoid oil-based flavorings, as they can interfere with the crystal formation.
- Creating Unique Colors: Experiment with different food colorings to create unique and vibrant colors. Gel food coloring tends to produce more intense colors than liquid food coloring.
- Layering Flavors and Colors: Try layering different flavors and colors in the same jar to create a multi-flavored and multi-colored rock candy. Pour one layer of solution, let it partially crystallize, then add another layer of a different flavor and color.
4.4: Troubleshooting
- No Crystals Forming: If no crystals are forming after a week, the solution may not be supersaturated enough. Try dissolving more sugar in the solution and repeating the process.
- Small, Grainy Crystals: Small, grainy crystals can be caused by the solution cooling too quickly. Make sure the solution cools slowly and evenly.
- Mold or Bacteria Growth: If you notice any mold or bacteria growth in the jars, discard the solution and start over. Ensure that the jars and equipment are clean and sterilized before starting the process.
By following these tips and tricks, you can overcome common challenges and create perfect rock candy every time. Experiment with different flavors, colors, and techniques to create unique and delicious treats that your kids will love.
5: Creative Variations: Fun Twists on Rock Candy
Once you’ve mastered the basic rock candy recipe, the possibilities are endless. Here are some creative variations to try, inspired by the innovative ideas at rockscapes.net:
5.1: Flavored Rock Candy
- Fruity Flavors: Add a few drops of your favorite fruit extracts, such as strawberry, raspberry, or lemon, to the sugar solution.
- Spiced Flavors: Infuse the sugar solution with spices like cinnamon, cloves, or ginger for a warm, comforting treat.
- Herbal Flavors: Add fresh herbs like mint, lavender, or rosemary to the sugar solution for a unique and aromatic flavor.
5.2: Colored Rock Candy
- Rainbow Rock Candy: Divide the sugar solution into several smaller batches and add different food colorings to each batch. Layer the colored solutions in the jars to create a rainbow effect.
- Ombre Rock Candy: Gradually add more food coloring to the sugar solution as you pour it into the jars, creating an ombre effect.
- Glitter Rock Candy: Add edible glitter to the sugar solution for a sparkly and magical treat.
5.3: Shaped Rock Candy
- Rock Candy Lollipops: Pour the sugar solution into lollipop molds and insert lollipop sticks. Allow the crystals to form in the molds.
- Rock Candy Swizzle Sticks: Dip the ends of swizzle sticks into the sugar solution and allow the crystals to form on the sticks. These can be used to stir coffee or tea.
- Rock Candy Geodes: Create a hollow sugar shell and fill it with the sugar solution. Allow the crystals to form inside the shell, creating a rock candy geode.
5.4: Layered Rock Candy
- Peanut Butter and Chocolate Rock Candy: Layer peanut butter and chocolate-flavored sugar solutions in the jars to create a decadent treat.
- Caramel and Sea Salt Rock Candy: Add a layer of caramel-flavored sugar solution and sprinkle with sea salt for a sweet and salty combination.
- Coffee and Vanilla Rock Candy: Layer coffee and vanilla-flavored sugar solutions for a sophisticated and aromatic treat.
5.5: Infused Rock Candy
- Edible Flower Rock Candy: Infuse the sugar solution with edible flowers like pansies, violets, or roses for a delicate and floral flavor.
- Tea-Infused Rock Candy: Steep your favorite tea in the sugar solution for a unique and aromatic flavor.
- Spice-Infused Rock Candy: Infuse the sugar solution with spices like cardamom, star anise, or chili for a warm and exotic flavor.
By experimenting with these creative variations, you can create unique and delicious rock candy that will impress your friends and family. Let your imagination run wild and see what other fun twists you can come up with.
6: Safety First: Making Rock Candy with Kids
While making rock candy is a fun and educational activity, it’s essential to prioritize safety, especially when working with children. Here are some safety guidelines to follow, reinforced by the safety measures advocated at rockscapes.net:
6.1: Adult Supervision
- Constant Supervision: Always have an adult supervise the entire process, from boiling the water to handling the hot sugar solution.
- Designated Adult: Assign one adult to be in charge of the project to ensure that all safety measures are followed.
6.2: Preventing Burns
- Handling Hot Liquids: Use caution when handling hot liquids and equipment. Wear oven mitts or heat-resistant gloves to protect your hands.
- Keep Away from Edge: Keep children away from the stovetop and hot pots to prevent accidental burns.
- Cooling Time: Allow the sugar solution to cool completely before allowing children to handle it.
6.3: Avoiding Breakage
- Heat-Proof Containers: Use heat-proof glass jars or containers to prevent breakage when pouring in the hot sugar solution.
- Careful Handling: Handle the jars and containers with care to avoid dropping or breaking them.
- Safe Storage: Store the jars in a safe location where they won’t be knocked over or broken.
6.4: Allergies and Dietary Restrictions
- Check for Allergies: Be aware of any allergies or dietary restrictions that the children may have before starting the project.
- Ingredient Substitutions: Make ingredient substitutions as needed to accommodate any allergies or dietary restrictions.
- Labeling: Clearly label all ingredients and finished products to avoid confusion and prevent accidental consumption of allergens.
6.5: Hygiene
- Wash Hands: Wash hands thoroughly before starting the project to prevent the spread of germs.
- Clean Equipment: Use clean and sanitized equipment to avoid contamination of the sugar solution.
- Avoid Tasting: Avoid tasting the sugar solution or finished rock candy until it has cooled completely to prevent burns and contamination.
By following these safety guidelines, you can ensure that making rock candy with kids is a fun, educational, and safe experience. Remember to always prioritize safety and take precautions to prevent accidents.
7: Educational Opportunities: Science and Math Lessons
Making rock candy isn’t just a fun activity; it’s also a fantastic opportunity to teach children about science and math. Here are some educational lessons that you can incorporate into your rock candy project, aligning with the educational resources promoted at rockscapes.net:
7.1: Science Lessons
- Crystallization: Explain the process of crystallization, which is the formation of solid crystals from a solution. Discuss how sugar molecules come together to form crystals as the solution cools.
- Supersaturation: Teach children about supersaturation, which is the state where a liquid contains more of a dissolved substance than it would normally hold at room temperature. Explain how heating the water allows it to dissolve more sugar.
- Thermodynamics: Introduce the concept of thermodynamics, which is the study of heat and energy. Discuss how temperature affects the solubility of sugar in water.
- States of Matter: Review the different states of matter (solid, liquid, and gas) and how they relate to the rock candy project. Explain how sugar starts as a solid, dissolves into a liquid, and then forms solid crystals.
7.2: Math Lessons
- Measurement: Practice measuring ingredients using measuring cups and spoons. Discuss the importance of accurate measurements in the rock candy recipe.
- Ratios: Explain the concept of ratios and how they relate to the rock candy recipe. Discuss the ratio of sugar to water and how it affects the outcome of the project.
- Fractions: Use fractions to represent the amount of ingredients used in the recipe. For example, explain that 2 ½ cups of sugar is the same as 2 and ½ cups.
- Geometry: Discuss the shapes of crystals and how they relate to geometry. Explain how crystals have a regular, repeating pattern of atoms or molecules.
- Time: Track the time it takes for the crystals to form. Discuss how time affects the size and shape of the crystals.
7.3: Hands-On Activities
- Crystal Observation: Use a magnifying glass to observe the crystals as they form. Discuss the different shapes and patterns of the crystals.
- Experimentation: Experiment with different variables, such as temperature, sugar concentration, and additives, to see how they affect the crystal growth.
- Data Collection: Collect data on the crystal growth over time. Measure the size of the crystals and track their growth rate.
- Graphing: Create graphs to represent the data collected on the crystal growth. Discuss how graphs can be used to visualize and analyze data.
By incorporating these educational lessons into your rock candy project, you can turn a fun activity into a valuable learning experience. Children will not only enjoy making and eating the rock candy, but they will also gain a deeper understanding of science and math concepts.
8: Storing Your Homemade Rock Candy
Proper storage is essential to maintain the quality and prevent your homemade rock candy from becoming sticky or dissolving. Here are some tips for storing your rock candy effectively, complementing the storage solutions available at rockscapes.net:
8.1: Cooling Completely
- Allow to Cool: Ensure that the rock candy is completely cooled and dry before storing it. This will prevent condensation from forming inside the storage container.
- Avoid Humidity: Store the rock candy in a cool, dry place away from humidity. Humidity can cause the sugar to dissolve and make the candy sticky.
8.2: Individual Wrapping
- Wrap Individually: Wrap each piece of rock candy individually in plastic wrap or cellophane bags. This will prevent the pieces from sticking together and protect them from moisture.
- Secure Wrapping: Make sure the wrapping is secure to prevent air from getting in. Use tape or twist ties to seal the wrapping.
8.3: Airtight Containers
- Use Airtight Containers: Place the wrapped rock candy in airtight containers, such as plastic containers or glass jars with tight-fitting lids.
- Prevent Air Exposure: This will prevent air from getting in and keep the candy fresh and dry.
8.4: Storage Location
- Cool, Dry Place: Store the airtight containers in a cool, dry place, such as a pantry or cupboard.
- Avoid Direct Sunlight: Avoid storing the rock candy in direct sunlight or near heat sources, as this can cause the sugar to melt and make the candy sticky.
8.5: Shelf Life
- Shelf Life: Homemade rock candy can last for several weeks if stored properly.
- Check for Spoilage: Check the rock candy periodically for any signs of spoilage, such as stickiness, discoloration, or mold growth. Discard any spoiled candy.
8.6: Additional Tips
- Desiccant Packets: Add desiccant packets to the storage containers to absorb any excess moisture.
- Refrigeration: Refrigeration is not recommended, as it can cause condensation and make the candy sticky.
- Freezing: Freezing is also not recommended, as it can alter the texture of the candy.
By following these storage tips, you can keep your homemade rock candy fresh and delicious for weeks to come. Proper storage will prevent the candy from becoming sticky or dissolving and ensure that it retains its flavor and texture.
9: Troubleshooting Common Issues
Even with the best instructions, sometimes things don’t go as planned. Here are some common issues you might encounter when making rock candy and how to troubleshoot them, drawing on the problem-solving insights at rockscapes.net:
9.1: No Crystal Growth
- Issue: No crystals are forming after several days.
- Solution:
- Supersaturation: Ensure the sugar solution is supersaturated. Add more sugar to the hot water, stirring until it dissolves completely.
- Seed Crystals: Make sure the sticks are well-coated with sugar crystals. If not, re-wet the sticks and re-coat them with sugar.
- Temperature: Maintain a consistent temperature in the storage area. Avoid fluctuations that can disrupt crystal growth.
- Patience: Sometimes, it just takes time. Be patient and wait a little longer.
9.2: Small, Grainy Crystals
- Issue: The crystals are small and grainy instead of large and well-formed.
- Solution:
- Cooling Too Fast: The solution may have cooled too quickly. Try cooling it more slowly by leaving it at room temperature for a longer period before placing it in the jars.
- Disturbances: Avoid disturbing the jars during the crystal growth process. Vibrations can disrupt the crystal formation.
- Impurities: Use purified water and high-quality sugar to minimize impurities that can affect crystal growth.
9.3: Cloudy Crystals
- Issue: The crystals are cloudy or opaque instead of clear.
- Solution:
- Impurities: Use purified water and high-quality sugar to minimize impurities.
- Contamination: Ensure the jars and equipment are clean and sanitized to prevent contamination.
- Slow Cooling: Cool the solution slowly and evenly to prevent rapid crystal formation that can trap impurities.
9.4: Sticks Sticking to the Jar
- Issue: The sticks are sticking to the bottom or sides of the jar.
- Solution:
- Suspension: Make sure the sticks are suspended in the solution and not touching the bottom or sides of the jar.
- Clothespins: Use clothespins to secure the sticks in place and prevent them from touching the jar.
- Careful Removal: When removing the rock candy, use a spoon to gently break the sugar layer on top and carefully lift the stick out of the jar.
9.5: Mold Growth
- Issue: Mold is growing in the sugar solution.
- Solution:
- Discard: Discard the entire batch of sugar solution and start over.
- Sterilization: Sterilize the jars and equipment before starting the process to kill any mold spores.
- Cleanliness: Ensure the work area is clean and free from contaminants.
9.6: Sticky Rock Candy
- Issue: The rock candy is sticky or dissolving.
- Solution:
- Humidity: Store the rock candy in a cool, dry place away from humidity.
- Airtight Containers: Wrap each piece of rock candy individually and store them in airtight containers.
- Desiccant Packets: Add desiccant packets to the storage containers to absorb any excess moisture.
By following these troubleshooting tips, you can overcome common issues and ensure that your rock candy turns out perfectly every time. Remember to be patient and persistent, and don’t be afraid to experiment with different variables to find what works best for you.
10: Frequently Asked Questions (FAQ)
Here are some frequently asked questions about making rock candy at home, along with detailed answers to help you succeed, drawing from the expertise shared at rockscapes.net:
-
What is the ideal ratio of sugar to water for making rock candy?
The ideal ratio is 2.5 cups of sugar to 1 cup of water. This creates a supersaturated solution necessary for crystal formation.
-
How long does it take for rock candy crystals to grow?
It typically takes about 1-2 weeks for the crystals to grow to a satisfactory size. You’ll start seeing crystals within a few days.
-
Can I use different types of sugar to make rock candy?
Granulated sugar works best for making rock candy. Other types of sugar may not dissolve as easily or produce clear crystals.
-
Why are my crystals small and grainy?
This can be caused by the solution cooling too quickly. Ensure the solution cools slowly and evenly to promote larger crystal growth.
-
How can I prevent the sticks from sticking to the jar?
Use clothespins to suspend the sticks in the solution, ensuring they don’t touch the bottom or sides of the jar.
-
Is it safe for kids to make rock candy?
Yes, but adult supervision is crucial, especially when boiling water and handling hot sugar solution.
-
Can I add flavors and colors to rock candy?
Yes, you can add food coloring and flavoring extracts to customize your rock candy. Use high-quality flavorings for the best results.
-
What is the best way to store rock candy?
Wrap each piece individually in plastic wrap and store them in an airtight container in a cool, dry place.
-
Why is my rock candy sticky?
This is usually due to humidity. Store the rock candy in a cool, dry place and use desiccant packets in the storage container to absorb moisture.
-
What if no crystals are forming?
Ensure that the sugar solution is supersaturated by adding more sugar. Also, make sure the sticks are well-coated with sugar crystals.
By addressing these frequently asked questions, you can gain a better understanding of the rock candy-making process and troubleshoot any issues you may encounter.
Ready to Get Started?
Making rock candy at home is a delightful activity that combines science, creativity, and a sweet reward. With the right ingredients, equipment, and guidance, you can create beautiful and delicious rock candy with your kids. For more inspiration, detailed instructions, and expert tips on all things rock-related, visit rockscapes.net today and discover the beauty of rock candy!
Looking for more creative ideas and high-quality materials for your rock candy projects? Contact us at:
Address: 1151 S Forest Ave, Tempe, AZ 85281, United States
Phone: +1 (480) 965-9011
Website: rockscapes.net
Let rockscapes.net be your guide to a world of fun and delicious possibilities!