How To Make Rock Candy Science? It’s a fun and delicious science experiment! You can transform simple ingredients into beautiful, edible crystals, and rockscapes.net is here to guide you through this fascinating process. Learning the science of making rock candy, you can discover the secrets to growing perfect sugar crystals with this step-by-step guide, using common materials and understanding the scientific principles at play, and you’ll be creating amazing treats in no time. Let’s explore the world of sugar crystallization, supersaturated solutions, and the joy of edible science.
1. Understanding the Science of Rock Candy
The science of creating rock candy involves understanding a few key concepts. What are these essential elements?
1.1. Supersaturation: The Key to Crystal Growth
Supersaturation is the key. A supersaturated solution is one that contains more dissolved solute (in this case, sugar) than it would normally hold at a given temperature.
When water is heated, it can dissolve more sugar than it can at room temperature. As the solution cools, the sugar molecules are forced to come out of the solution and form crystals. According to research from Arizona State University’s School of Molecular Sciences, the rate of cooling can affect the size and shape of the crystals formed. A slower cooling process generally results in larger, more well-defined crystals.
1.2. Nucleation: Starting the Crystal Formation
Nucleation is the initial process in crystal formation. It is the formation of a new phase (in this case, solid sugar crystals) within a homogeneous phase (the sugar solution).
Tiny seed crystals, like the sugar on your stick, provide a surface for the sugar molecules to attach to. These seed crystals act as nucleation sites, initiating the crystal growth process. According to “Crystals and Crystal Growth” by Holden and Morrison, the presence of impurities or rough surfaces can also promote nucleation.
1.3. Crystal Growth: Building the Sweet Structures
Crystal growth is the process by which the crystals increase in size. As the supersaturated solution cools, sugar molecules in the solution attach to the seed crystals, causing them to grow larger and larger.
The sugar molecules arrange themselves in a highly ordered pattern, forming a crystal lattice. The rate of crystal growth depends on several factors, including the degree of supersaturation, the temperature, and the presence of impurities. As stated in “Industrial Crystallization” by Mullin, maintaining a stable temperature and avoiding disturbances can promote the growth of large, well-formed crystals.
1.4. Thermodynamics: Finding Equilibrium
Thermodynamic equilibrium is the state where the system is at its lowest possible energy. In the context of rock candy, it’s when the solution reaches a point where no more sugar can dissolve, and the crystals stop growing.
The sugar molecules in the solution are constantly moving and colliding with each other. When they encounter a seed crystal, they may attach to it if the conditions are right. As the solution approaches equilibrium, the rate of crystal growth slows down, and eventually, the crystals stop growing altogether. According to thermodynamics principles, the system will always tend towards a state of minimum energy.
2. Essential Materials for Your Rock Candy Experiment
What are the necessary materials for your rock candy adventure? Gather these items to ensure a successful and enjoyable experiment:
- 2 ½ cups of granulated sugar: The main ingredient for creating your sweet crystals.
- 1 cup of water: Used to dissolve the sugar and create the supersaturated solution.
- A pair of chopsticks or wooden skewers: These will serve as the base for your crystals to grow on.
- A saucepan: For heating the water and dissolving the sugar.
- A spoon: To stir the mixture and ensure the sugar dissolves completely.
- Two 12-ounce mason jars or heat-proof glasses: To hold the sugar solution while the crystals grow.
- Clothespins: To hold the chopsticks in place and prevent them from touching the bottom of the jar.
- Paper towels: To cover the jars and keep dust and impurities out.
- (Optional) Food coloring: To add a fun and colorful twist to your rock candy.
- (Optional) Food flavoring: To customize the taste of your rock candy.
- Candy thermometer: To accurately measure the temperature of the sugar solution.
- Measuring cups and spoons: To ensure precise measurements of ingredients.
3. Step-by-Step Instructions: Crafting Your Rock Candy
How do you make rock candy? Follow these instructions carefully for optimal results:
3.1. Preparing the Supersaturated Solution
1. Bring the water to a boil. An adult should perform this step to prevent burns. Once the water boils, reduce the heat to low.
2. Gradually add the sugar. Slowly pour the sugar into the boiling water while stirring continuously. This ensures that the sugar dissolves completely and prevents it from burning. Continue stirring until all the sugar crystals have dissolved.
3. Monitor the saturation. The solution should become clear as the sugar dissolves. Keep stirring until no more sugar can be dissolved. This creates a supersaturated solution, which is crucial for crystal growth.
3.2. Cooling and Coloring the Solution
1. Cool the solution. Allow the sugar solution to cool to room temperature. This can be done either in the saucepan or by transferring the solution to the mason jars. Cooling it in the jars will expedite the process.
2. Add color and flavoring (optional). If you wish to add color, put a few drops of food coloring into the solution and stir gently. The amount of coloring will depend on the desired vibrancy. This is also the time to add any flavorings, such as vanilla extract, peppermint oil, or fruit extracts.
3.3 Preparing the Seed Sticks
1. Wet the sticks. Submerge the chopsticks or wooden skewers in a glass of water. The depth will depend on the size of your mason jars. For 12-ounce jars, submerge them about a third of their length.
2. Coat with sugar. Pour some sugar onto a plate. Roll the wet ends of the sticks in the sugar, ensuring they pick up as many crystals as possible.
3. Dry the sticks. Allow the sugar-coated sticks to dry for a few minutes. Place them on a surface where the sugar-covered end remains elevated to prevent it from sticking to the surface.
3.4. Setting Up the Crystal Growing Environment
1. Pour solution into jars. Pour the cooled and colored sugar solution into the mason jars. Make sure each jar has enough solution to fully submerge the sugar-coated ends of your chopsticks.
2. Insert the sticks. Carefully insert one chopstick into each mason jar, ensuring that the sugar-covered end is fully submerged. The stick should not touch the bottom or sides of the jar to prevent crystals from growing between the stick and the glass.
3. Secure the sticks. Use clothespins to hold the sticks in place. Clip the clothespins onto the top of the jar, securing the stick in the center of the solution.
3.5. Waiting and Observing Crystal Growth
1. Cover the jars. Cover the jars with paper towels to prevent dust and other particles from entering the solution. Fold the paper towel in half and make a small cut in the center to put the chopstick through.
2. Wait patiently. Growing rock candy is a slow process. You will start to see some crystals forming within a few days, but they will reach their peak growth after about two weeks.
3. Observe the crystals. Watch as the crystals grow larger and more defined over time. You may notice crystals forming on the sides of the jar as well.
3.6. Harvesting Your Rock Candy
1. Remove the candy. Once you are satisfied with the size of your rock candy, carefully remove it from the jar. Use a spoon to break the sugar layer on top and gently wiggle the chopstick to dislodge it.
2. Handle with care. If the stick is stuck to the jar, an adult can use a knife to carefully chisel it out. Be gentle to avoid breaking the candy.
3. Enjoy your creation. Allow the rock candy to dry for a few minutes before enjoying your sweet and crystalline creation.
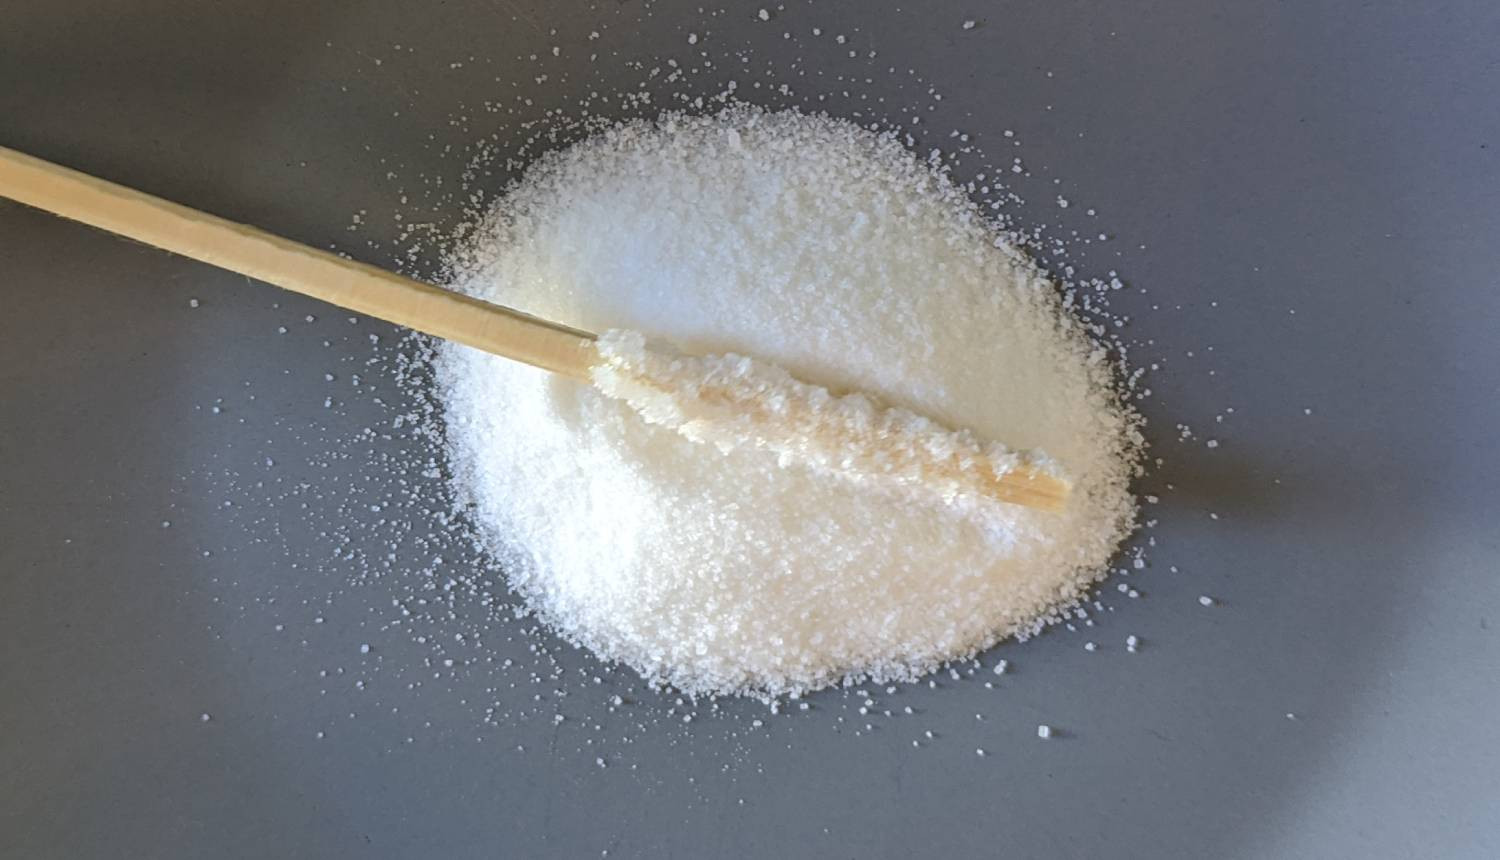 Stick with sugar
4. Troubleshooting Common Issues in Rock Candy Making
What challenges might you encounter, and how can you overcome them? Here are some common issues and solutions:
4.1. No Crystal Growth
If no crystals form, the solution might not be supersaturated enough. Try adding more sugar to the boiling water, ensuring it dissolves completely. Another reason could be that the temperature is too stable, preventing nucleation.
Make sure that the seed crystals on the sticks are well-formed and evenly distributed. Ensure the solution is truly supersaturated by adding more sugar than the water can typically hold at room temperature. As the solution cools, the excess sugar will precipitate out, forming crystals.
4.2. Small, Grainy Crystals
Small, grainy crystals may result from rapid cooling. Slow down the cooling process by insulating the jars or placing them in a cooler location.
According to research in the “Journal of Crystal Growth,” slow cooling promotes the formation of larger, more uniform crystals.
4.3. Crystals Forming on the Jar Instead of the Stick
If crystals form on the jar instead of the stick, it means the stick might be touching the sides or bottom of the jar. Suspend the stick in the center of the jar using clothespins to prevent contact with the glass.
Also, ensure that the seed crystals on the stick are plentiful and well-formed, providing a better surface for the sugar molecules to attach to.
4.4. Mold Growth
Mold growth indicates contamination. Ensure your jars and utensils are thoroughly cleaned and sterilized before starting. Covering the jars with paper towels can also prevent airborne contaminants from entering the solution.
According to food safety guidelines, maintaining a clean and sterile environment is crucial for preventing mold growth in sugary solutions.
4.5. Cloudy Solution
A cloudy solution may be due to impurities in the sugar or water. Use filtered water and high-quality granulated sugar to ensure a clear solution. Also, avoid stirring the solution excessively after it has cooled, as this can introduce air bubbles and cloudiness.
5. Enhancing Your Rock Candy: Flavors and Colors
How can you customize your rock candy? Here are some ideas for flavors and colors:
5.1. Flavoring Options
- Vanilla extract: Add a teaspoon of vanilla extract to the solution for a classic flavor.
- Peppermint extract: Use a few drops of peppermint extract for a refreshing twist.
- Lemon or orange extract: Add citrus extracts for a tangy and zesty flavor.
- Cinnamon oil: Add a drop or two of cinnamon oil for a warm and spicy flavor.
- Fruit extracts: Experiment with strawberry, raspberry, or other fruit extracts for a fruity candy.
5.2. Coloring Options
- Gel food coloring: Gel food coloring provides vibrant and concentrated colors.
- Liquid food coloring: Liquid food coloring is readily available and easy to use.
- Natural food coloring: Beet juice, spinach juice, and turmeric can be used for natural coloring options.
5.3. Layering Flavors and Colors
To create layered rock candy, divide the sugar solution into multiple jars and add different flavors and colors to each. As the crystals grow, they will form distinct layers of different flavors and colors.
6. Advanced Techniques: Growing Large and Unique Crystals
How can you take your rock candy to the next level? Try these advanced techniques:
6.1. Seed Crystal Selection
Select large and well-formed seed crystals for the sticks. These will act as better nucleation sites and promote the growth of larger crystals.
6.2. Temperature Control
Maintain a stable temperature environment for crystal growth. Use a temperature-controlled incubator or a stable room to ensure consistent crystal formation.
6.3. Slow Evaporation
Allow the solution to evaporate slowly over time. This can be achieved by covering the jars loosely with a breathable material, such as cheesecloth. Slow evaporation promotes the formation of larger crystals.
6.4. Crystal Rotation
Rotate the sticks periodically to ensure even crystal growth on all sides. This prevents crystals from clumping on one side and promotes the formation of symmetrical crystals.
7. The Role of Rockscapes.net in Your Rock Candy Journey
What can rockscapes.net offer to enhance your understanding and enjoyment of rock candy making?
7.1. Educational Resources
Rockscapes.net provides a wealth of educational resources on the science of crystal growth, including articles, tutorials, and videos. Learn about the principles of supersaturation, nucleation, and crystal formation.
7.2. Inspiration and Ideas
Discover inspiring ideas for creating unique and beautiful rock candy designs. Explore different flavor combinations, coloring techniques, and crystal growing methods.
7.3. Community Forum
Connect with other rock candy enthusiasts in the rockscapes.net community forum. Share your experiences, ask questions, and learn from others.
7.4. Expert Advice
Access expert advice from experienced crystal growers and food scientists. Get tips and tricks for troubleshooting common issues and achieving optimal results.
8. Applications Beyond Candy: Exploring Crystal Science
How can the principles of crystal growth be applied in other fields?
8.1. Geology
Geology involves the study of rocks and minerals, which are essentially crystals formed through natural processes. Understanding crystal growth helps geologists analyze the formation of various geological structures. According to the Geological Society of America, crystal growth processes play a crucial role in the formation of igneous, sedimentary, and metamorphic rocks.
8.2. Pharmaceuticals
In the pharmaceutical industry, crystal growth is essential for producing pure and stable drug compounds. The size and shape of the crystals can affect the drug’s bioavailability and efficacy. Pharmaceutical scientists use controlled crystallization techniques to optimize the properties of drug crystals. Research from the American Association of Pharmaceutical Scientists highlights the importance of crystal engineering in drug development.
8.3. Materials Science
Materials science utilizes crystal growth to create advanced materials with specific properties. Single-crystal materials are used in semiconductors, lasers, and other high-tech applications. The controlled growth of crystals allows scientists to tailor the properties of these materials for specific uses. According to the Materials Research Society, crystal growth is a fundamental aspect of materials science and engineering.
8.4. Culinary Arts
Beyond rock candy, crystal growth principles are used in various culinary applications, such as making sea salt flakes, fondant, and other crystalline confections. Chefs and food scientists use their understanding of crystallization to create unique textures and flavors in their creations.
9. Safety Precautions: Ensuring a Safe Experiment
What safety measures should you take while making rock candy?
9.1. Adult Supervision
Adult supervision is required, especially when boiling water and handling hot sugar solutions. Children should not perform these steps without the direct supervision of an adult.
9.2. Heat Protection
Use oven mitts or heat-resistant gloves when handling hot pots and jars. This will protect your hands from burns.
9.3. Safe Handling of Sharp Objects
Use caution when handling knives or other sharp objects to chisel out the rock candy. An adult should perform this step to prevent injuries.
9.4. Allergen Awareness
Be aware of any potential allergens when adding flavorings or colorings. Check the labels of all ingredients and avoid using anything that could cause an allergic reaction.
9.5. Proper Storage
Store the finished rock candy in an airtight container to prevent it from becoming sticky or attracting pests. Keep it in a cool, dry place away from direct sunlight.
10. Rock Candy FAQ: Your Questions Answered
What are some frequently asked questions about making rock candy?
10.1. Can I use brown sugar instead of white sugar?
No, brown sugar contains molasses, which will interfere with the crystal growth process. Use high-quality granulated white sugar for best results.
10.2. How long does it take for rock candy to grow?
It typically takes about two weeks for rock candy to reach its peak growth. You will start to see crystals forming within a few days, but they will continue to grow larger over time.
10.3. Can I reuse the sugar solution?
It is not recommended to reuse the sugar solution, as it may contain impurities and will not be as effective for growing crystals.
10.4. What is the best temperature for crystal growth?
The best temperature for crystal growth is room temperature, around 68-72°F (20-22°C). Maintaining a stable temperature is crucial for consistent crystal formation.
10.5. Why is my rock candy sticky?
Rock candy can become sticky if it is exposed to moisture. Store it in an airtight container to prevent it from absorbing moisture from the air.
10.6. Can I make rock candy without sticks?
Yes, you can make rock candy without sticks by allowing the crystals to grow on a string or directly on the bottom of the jar. However, using sticks makes it easier to handle and enjoy the candy.
10.7. How do I prevent the sticks from touching the bottom of the jar?
Use clothespins to suspend the sticks in the center of the jar. Clip the clothespins onto the top of the jar, securing the stick in place.
10.8. Can I add glitter to my rock candy?
Yes, you can add edible glitter to your rock candy for a sparkling effect. Add the glitter to the sugar solution before inserting the sticks.
10.9. What is the scientific explanation for crystal growth?
Crystal growth occurs when a supersaturated solution cools, causing sugar molecules to come out of the solution and attach to seed crystals. The sugar molecules arrange themselves in a highly ordered pattern, forming a crystal lattice.
10.10. Where can I find more information about crystal science?
You can find more information about crystal science on rockscapes.net, as well as in scientific journals, textbooks, and educational websites.
Making rock candy is not only a fun and tasty activity but also a great way to learn about the science of crystal growth. By following these instructions and tips, you can create beautiful and delicious rock candy that will impress your friends and family. So gather your ingredients, put on your lab coat, and get ready to embark on a sweet and scientific adventure.
Address: 1151 S Forest Ave, Tempe, AZ 85281, United States. Phone: +1 (480) 965-9011. Website: rockscapes.net.
Explore the endless possibilities of rock candy making with rockscapes.net. Unlock your inner scientist and confectioner today!