Want to keep your rocks looking as vibrant as they do when wet? rockscapes.net unveils simple DIY methods to enhance your rock displays, ensuring they maintain a perpetually fresh and lively appearance. Let’s explore the secrets to achieving that stunning, enduring wet look for your stones, complete with expert insights and guidance. Dive in to discover the best sealants, application techniques, and maintenance tips to keep your stones looking their absolute best, boosting your curb appeal with some simple rock polishing techniques, permanent sealant options, and long-lasting enhancement solutions.
1. What Are The Key Considerations Before Making Rocks Look Wet Permanently DIY?
Before diving into a DIY project to make rocks look wet permanently, it’s crucial to consider several factors that will influence the outcome and longevity of the effect. Understanding these aspects ensures you select the right materials and methods for your specific needs and the type of rocks you are working with.
-
Type of Rock: The porosity and composition of the rock play a significant role in how well it absorbs and retains the treatment. For instance, porous rocks like sandstone will require different treatments than denser rocks like granite.
-
Location and Environment: Consider where the rocks will be placed—indoors or outdoors. Outdoor rocks are exposed to weather elements like rain, sunlight, and temperature fluctuations, which can affect the durability of the sealant or treatment.
-
Desired Level of Shine: Determine how shiny you want the rocks to look. Some treatments provide a high-gloss finish, while others offer a more subtle, natural wet look.
-
Longevity Expectations: Understand that no DIY treatment is truly permanent. However, some options will last longer than others. Consider how much maintenance you are willing to perform to keep the rocks looking wet over time.
-
Safety: Always prioritize safety when handling chemicals and sealants. Use appropriate protective gear, such as gloves and masks, and work in a well-ventilated area.
1.1. Rock Type
The type of rock significantly influences the choice of treatment and its effectiveness. Here’s a breakdown of common rock types and considerations for each:
| Rock Type | Characteristics | Treatment Considerations |
|---|---|---|
| Sandstone | Porous, sedimentary rock with a rough texture. | Requires a penetrating sealant to prevent water absorption. Multiple coats may be needed. |
| Granite | Dense, igneous rock with a crystalline structure. | Less porous, so surface sealants work well. Choose a sealant that enhances color without creating a plastic-like appearance. |
| Slate | Fine-grained, metamorphic rock that splits into layers. | Enhancing sealants can highlight the natural layers and colors. Avoid sealants that make the surface too slippery, especially for walkways. |
| River Rock | Smooth, rounded rocks shaped by water erosion. | A clear, glossy sealant can enhance the wet look and protect the smooth surface. Consider the rock’s original color to ensure the sealant complements its appearance. |
| Limestone | Sedimentary rock composed mainly of calcium carbonate. | Prone to staining and erosion. Use a sealant specifically designed for limestone to protect against acid rain and other environmental factors. |
| Quartzite | Hard, metamorphic rock formed from sandstone. | Very durable and resistant to weathering. A penetrating sealant can enhance its natural colors and provide a long-lasting wet look. |
1.2. Environmental Factors
The environment in which the rocks are placed affects the choice and durability of the treatment. Here are some key considerations based on the location:
| Location | Environmental Factors | Treatment Considerations |
|---|---|---|
| Outdoor | Exposure to sunlight, rain, snow, temperature fluctuations, and UV radiation. | Use a UV-resistant sealant to prevent fading and degradation. Ensure the sealant is waterproof and can withstand temperature changes without cracking. |
| Indoor | Controlled temperature and humidity, less exposure to UV radiation. | Focus on aesthetic appeal and ease of cleaning. Choose sealants that are low-VOC and safe for indoor use. |
| Water Feature | Constant exposure to water, potential for algae and mineral buildup. | Use a waterproof sealant that is safe for aquatic life. Consider a sealant with anti-algae properties to reduce maintenance. |
| High Traffic Areas | Constant abrasion from foot traffic and other physical contact. | Choose a durable sealant that can withstand abrasion. Apply multiple coats and reapply regularly to maintain the wet look. |
| Coastal Areas | Exposure to saltwater, high humidity, and strong winds. | Use a sealant that is resistant to saltwater corrosion and can withstand high winds. Regular cleaning may be needed to remove salt buildup. |
| Arid Climates | Intense sunlight, low humidity, and extreme temperature variations. | Choose a sealant that can withstand high temperatures and UV radiation. Consider using a penetrating sealant to prevent the rocks from drying out and cracking. |
| Cold Climates | Freezing temperatures, snow, and ice. | Use a sealant that is freeze-thaw resistant to prevent cracking and damage from ice formation. Ensure the sealant is flexible enough to accommodate temperature fluctuations. |
1.3. Safety and Preparation
Safety should always be a top priority when working with sealants and chemicals. Proper preparation ensures a safe and effective application process.
Safety Measures:
- Ventilation: Work in a well-ventilated area to avoid inhaling harmful fumes.
- Protective Gear: Wear gloves, safety glasses, and a mask to protect your skin, eyes, and respiratory system.
- Read Instructions: Carefully read and follow the manufacturer’s instructions for the sealant or treatment you are using.
- Storage: Store chemicals in a safe place, away from children and pets.
Preparation Steps:
- Cleaning: Thoroughly clean the rocks to remove dirt, debris, and any existing coatings. Use a scrub brush and a mild detergent, then rinse well and allow the rocks to dry completely.
- Repair: Repair any cracks or chips in the rocks before applying the sealant. Use a suitable epoxy or filler designed for stone repair.
- Testing: Test the sealant on a small, inconspicuous area of the rock to ensure it provides the desired effect and does not damage the stone.
- Surface Preparation: Ensure the rocks are completely dry before applying the sealant. Moisture can prevent the sealant from adhering properly and can lead to clouding or peeling.
By carefully considering these factors and taking the necessary precautions, you can achieve a beautiful and long-lasting wet look for your rocks while ensuring the safety of yourself and the environment.
2. What Are The Best DIY Methods To Make Rocks Look Wet Permanently?
Achieving a permanent wet look for rocks involves a variety of methods, each with its own advantages and disadvantages. Here are some of the best DIY techniques, ranging from simple oil applications to more durable sealant options.
2.1. Mineral Oil Application
Mineral oil is a popular choice for enhancing the appearance of rocks, providing a temporary wet look that highlights their natural colors and textures.
Pros:
- Easy Application: Mineral oil is simple to apply and requires no special equipment.
- Natural Look: It provides a natural, non-glossy sheen that enhances the rock’s existing features.
- Cost-Effective: Mineral oil is relatively inexpensive and readily available.
Cons:
- Temporary Effect: The wet look is not permanent and requires frequent reapplication, typically every few weeks to months.
- Attracts Dust: Oily surfaces can attract dust and debris, requiring regular cleaning.
- Not Suitable for All Environments: Mineral oil can wash away in outdoor environments with heavy rain.
How to Apply Mineral Oil:
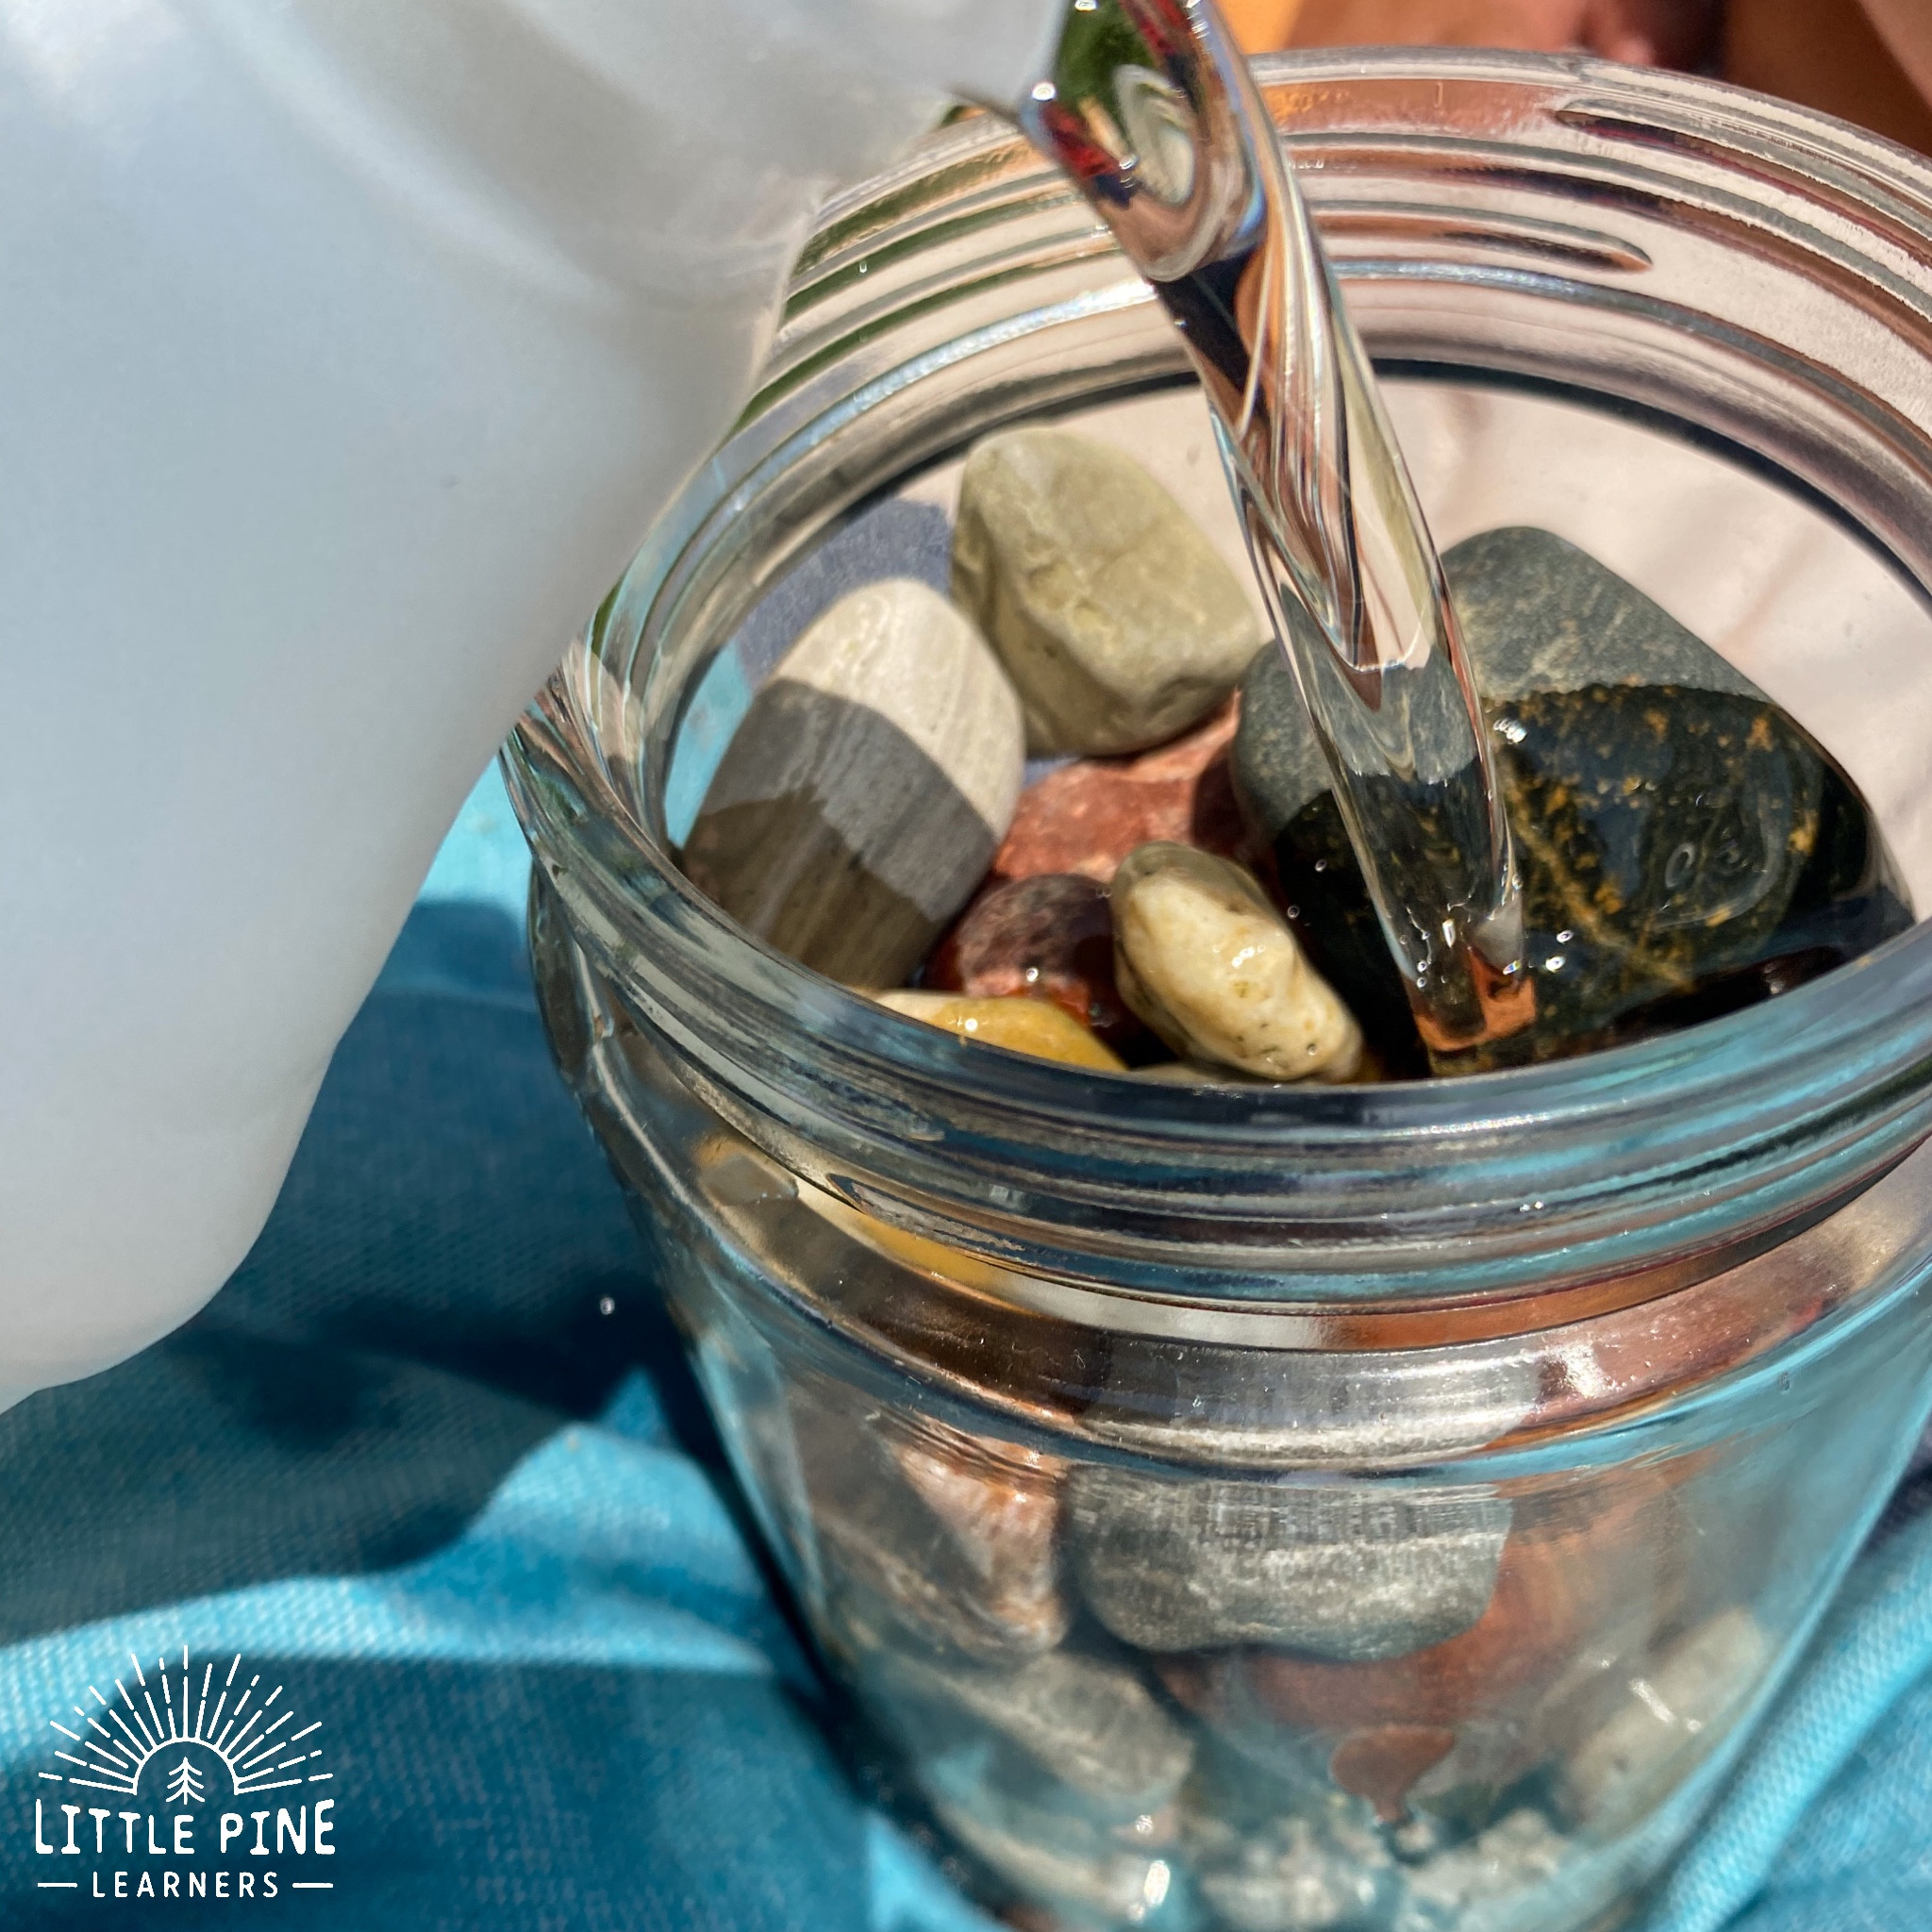
- Clean the Rocks: Wash the rocks with soap and water to remove any dirt or debris. Rinse thoroughly and allow them to dry completely.
- Apply Mineral Oil: Pour a small amount of mineral oil onto a clean cloth.
- Wipe the Rocks: Wipe each rock with the oil-soaked cloth, ensuring even coverage.
- Buff: Use a clean, dry cloth to buff the rocks, removing any excess oil.
- Allow to Dry: Let the rocks dry for a few hours before placing them in their final location.
2.2. Jojoba Oil Application
Jojoba oil is a natural alternative to mineral oil, offering similar benefits with a more environmentally friendly profile.
Pros:
- Natural and Biodegradable: Jojoba oil is a plant-based oil that is biodegradable and less harmful to the environment.
- Non-Greasy: It has a lighter consistency than mineral oil, making it less likely to attract dust.
- Enhances Natural Colors: Jojoba oil enhances the natural colors and textures of the rocks, providing a subtle wet look.
Cons:
- Temporary Effect: Like mineral oil, the wet look is not permanent and requires regular reapplication.
- Cost: Jojoba oil is more expensive than mineral oil.
- May Not Be Suitable for All Rock Types: It may not provide as dramatic a wet look on very porous rocks.
How to Apply Jojoba Oil:
- Clean the Rocks: Wash the rocks with soap and water to remove any dirt or debris. Rinse thoroughly and allow them to dry completely.
- Apply Jojoba Oil: Pour a small amount of jojoba oil onto a clean cloth.
- Wipe the Rocks: Wipe each rock with the oil-soaked cloth, ensuring even coverage.
- Buff: Use a clean, dry cloth to buff the rocks, removing any excess oil.
- Allow to Dry: Let the rocks dry for a few hours before placing them in their final location.
2.3. Acrylic Sealants
Acrylic sealants are a more durable option for achieving a permanent wet look, providing a protective coating that enhances the rock’s appearance.
Pros:
- Durable: Acrylic sealants provide a long-lasting finish that can withstand weathering and wear.
- UV Resistant: Many acrylic sealants are UV resistant, preventing fading and discoloration.
- Waterproof: They provide a waterproof barrier that protects the rocks from moisture damage.
Cons:
- Can Look Artificial: Some acrylic sealants can create a plastic-like appearance that may not look natural.
- Application Requires Care: Proper application is essential to avoid streaks and uneven coverage.
- May Require Reapplication: While durable, acrylic sealants may need to be reapplied every few years to maintain the wet look.
How to Apply Acrylic Sealants:
- Clean the Rocks: Wash the rocks with soap and water to remove any dirt or debris. Rinse thoroughly and allow them to dry completely.
- Apply Sealant: Use a brush, roller, or spray applicator to apply a thin, even coat of acrylic sealant.
- Allow to Dry: Let the sealant dry completely according to the manufacturer’s instructions.
- Apply Additional Coats: Apply additional coats as needed to achieve the desired level of shine and protection.
- Cure: Allow the sealant to cure completely before exposing the rocks to water or heavy use.
2.4. Epoxy Resin Coating
Epoxy resin provides a high-gloss, durable finish that can create a dramatic wet look for rocks.
Pros:
- Extremely Durable: Epoxy resin creates a hard, scratch-resistant surface that can withstand heavy use.
- High Gloss Finish: It provides a high-gloss, wet look that enhances the rock’s colors and textures.
- Waterproof: Epoxy resin is completely waterproof, making it ideal for water features and outdoor environments.
Cons:
- Complex Application: Applying epoxy resin requires careful mixing and application to avoid bubbles and uneven coverage.
- Cost: Epoxy resin is more expensive than other sealant options.
- Not UV Resistant: Some epoxy resins can yellow or degrade over time when exposed to UV radiation.
How to Apply Epoxy Resin:
- Clean the Rocks: Wash the rocks with soap and water to remove any dirt or debris. Rinse thoroughly and allow them to dry completely.
- Prepare Epoxy Resin: Mix the epoxy resin according to the manufacturer’s instructions.
- Apply Epoxy Resin: Pour the mixed epoxy resin over the rocks, ensuring even coverage. Use a brush or spreader to remove any bubbles and ensure a smooth finish.
- Allow to Cure: Let the epoxy resin cure completely according to the manufacturer’s instructions. This may take several days.
- UV Protection: If using epoxy resin outdoors, apply a UV-resistant topcoat to protect the resin from yellowing and degradation.
2.5. Polyurethane Sealants
Polyurethane sealants are another durable option for achieving a permanent wet look, offering excellent resistance to abrasion and chemicals.
Pros:
- Excellent Durability: Polyurethane sealants provide a tough, abrasion-resistant finish that can withstand heavy use.
- Chemical Resistance: They are resistant to many chemicals, making them suitable for industrial and commercial applications.
- Waterproof: Polyurethane sealants provide a waterproof barrier that protects the rocks from moisture damage.
Cons:
- Can Yellow Over Time: Some polyurethane sealants can yellow over time when exposed to UV radiation.
- Application Requires Care: Proper application is essential to avoid bubbles and uneven coverage.
- Strong Odor: Polyurethane sealants can have a strong odor during application, requiring good ventilation.
How to Apply Polyurethane Sealants:
- Clean the Rocks: Wash the rocks with soap and water to remove any dirt or debris. Rinse thoroughly and allow them to dry completely.
- Apply Sealant: Use a brush, roller, or spray applicator to apply a thin, even coat of polyurethane sealant.
- Allow to Dry: Let the sealant dry completely according to the manufacturer’s instructions.
- Apply Additional Coats: Apply additional coats as needed to achieve the desired level of shine and protection.
- Cure: Allow the sealant to cure completely before exposing the rocks to water or heavy use.
2.6. Penetrating Sealers
Penetrating sealers are designed to soak into the rock’s surface, enhancing its natural color and providing protection from within.
Pros:
- Natural Look: Penetrating sealers enhance the natural color of the rock without leaving a glossy or artificial finish.
- Long-Lasting Protection: They provide protection from within, helping to prevent water damage, staining, and fading.
- Breathable: Many penetrating sealers are breathable, allowing moisture to escape from the rock and preventing damage from trapped water.
Cons:
- May Not Provide a High-Gloss Wet Look: Penetrating sealers typically do not create a high-gloss finish, so they may not be suitable if you’re looking for a dramatic wet look.
- Application Requires Thoroughness: Proper application is essential to ensure the sealer penetrates evenly and provides adequate protection.
- Can Be More Expensive: Penetrating sealers can be more expensive than other sealant options.
How to Apply Penetrating Sealers:
- Clean the Rocks: Wash the rocks with soap and water to remove any dirt or debris. Rinse thoroughly and allow them to dry completely.
- Apply Sealant: Use a brush, roller, or spray applicator to apply the penetrating sealer. Follow the manufacturer’s instructions for application rates and techniques.
- Allow to Penetrate: Allow the sealer to penetrate into the rock’s surface for the recommended amount of time.
- Remove Excess: Wipe away any excess sealer from the surface of the rock.
- Cure: Allow the sealer to cure completely before exposing the rocks to water or heavy use.
Choosing the right DIY method depends on your desired level of shine, the type of rock you’re working with, and the environment in which the rocks will be placed. Whether you opt for a simple oil application or a more durable sealant option, following the proper application techniques will help you achieve a beautiful and long-lasting wet look for your rocks.
 Application of Mineral Oil on Rocks
3. How To Choose The Right Sealant For A Permanent Wet Look?
Selecting the right sealant is crucial for achieving a long-lasting, aesthetically pleasing wet look for your rocks. The best choice depends on factors like rock type, environmental conditions, desired finish, and budget. Here’s a detailed guide to help you make an informed decision.
3.1. Understanding Sealant Types
Different sealants offer varying levels of durability, finish, and protection. Here’s an overview of the most common types:
-
Acrylic Sealants: Water-based sealants that provide good UV resistance and flexibility. They are suitable for both indoor and outdoor use but may not be as durable as other options.
-
Epoxy Sealants: Two-part systems that create a hard, durable, and glossy finish. They offer excellent chemical resistance but can be susceptible to yellowing in sunlight.
-
Polyurethane Sealants: Oil-based sealants known for their abrasion resistance and durability. They provide a glossy finish and are suitable for high-traffic areas but can also yellow over time.
-
Silicone Sealants: Flexible sealants that offer excellent water resistance. They are ideal for areas exposed to moisture but may not provide the same level of gloss as other options.
-
Penetrating Sealers: These sealers penetrate the surface of the rock, enhancing its natural color without leaving a glossy finish. They provide protection from within and are suitable for porous rocks like sandstone.
3.2. Matching Sealant To Rock Type
The type of rock you are working with should influence your choice of sealant. Here’s how to match the right sealant to different rock types:
| Rock Type | Recommended Sealant | Rationale |
|---|---|---|
| Sandstone | Penetrating Sealer or Acrylic Sealant | Sandstone is porous, so a penetrating sealer will protect from within. Acrylic sealants can provide a surface barrier while allowing the stone to breathe. |
| Granite | Epoxy Sealant or Polyurethane Sealant | Granite is dense and less porous, so a surface sealant like epoxy or polyurethane will provide a glossy, durable finish. |
| Slate | Acrylic Sealant or Silicone Sealant | Slate is prone to flaking, so a flexible sealant like acrylic or silicone can accommodate movement. Silicone is particularly good for areas exposed to moisture. |
| River Rock | Epoxy Sealant or Polyurethane Sealant | River rock is smooth and non-porous, so a glossy surface sealant like epoxy or polyurethane will enhance its wet look and provide a durable finish. |
| Limestone | Penetrating Sealer or Acrylic Sealant | Limestone is soft and porous, so a penetrating sealer will protect from within. Acrylic sealants can provide a surface barrier while allowing the stone to breathe. |
| Quartzite | Epoxy Sealant or Polyurethane Sealant | Quartzite is hard and durable, so a glossy surface sealant like epoxy or polyurethane will enhance its wet look and provide long-lasting protection. |
3.3. Considering Environmental Factors
The environment in which the rocks will be placed is another critical factor to consider. Here’s how different environments affect sealant choice:
| Environment | Recommended Sealant Properties | Rationale |
|---|---|---|
| Outdoor | UV Resistance, Waterproof, Freeze-Thaw Resistance | Outdoor rocks are exposed to sunlight, rain, and temperature fluctuations, so the sealant must be UV resistant, waterproof, and able to withstand freeze-thaw cycles without cracking. |
| Indoor | Low VOC, Aesthetic Appeal | Indoor rocks are not exposed to harsh weather, so the focus is on aesthetic appeal and safety. Choose sealants with low VOC (volatile organic compounds) to minimize indoor air pollution. |
| Water Features | Waterproof, Aquatic Life Safe, Anti-Algae Properties | Rocks in water features are constantly exposed to moisture, so the sealant must be waterproof and safe for aquatic life. Anti-algae properties can help reduce maintenance. |
| High Traffic | Abrasion Resistance, Durability | Rocks in high-traffic areas are subject to constant abrasion, so the sealant must be highly durable and abrasion-resistant. Regular reapplication may be necessary. |
| Coastal Areas | Saltwater Resistance, High Wind Resistance | Coastal areas expose rocks to saltwater and strong winds, so the sealant must be resistant to saltwater corrosion and able to withstand high winds without peeling or cracking. |
| Arid Climates | High-Temperature Resistance, UV Resistance, Penetrating | Arid climates subject rocks to intense sunlight and high temperatures, so the sealant must be resistant to both. A penetrating sealer can help prevent the rocks from drying out and cracking. |
| Cold Climates | Freeze-Thaw Resistance, Flexibility | Cold climates subject rocks to freezing temperatures and ice formation, so the sealant must be freeze-thaw resistant and flexible enough to accommodate temperature fluctuations without cracking. |
3.4. Evaluating The Desired Finish
The desired finish is a matter of personal preference, but here are some guidelines:
-
High-Gloss Finish: Achieved with epoxy or polyurethane sealants. Ideal for creating a dramatic wet look that enhances the rock’s colors and textures.
-
Natural Finish: Achieved with penetrating sealers. Ideal for enhancing the rock’s natural color without adding a glossy sheen.
-
Satin Finish: Achieved with some acrylic sealants. Provides a subtle sheen that enhances the rock’s appearance without looking too artificial.
3.5. Considering Budget And Maintenance
Finally, consider your budget and how much maintenance you are willing to perform. Epoxy and polyurethane sealants are generally more expensive but offer greater durability. Acrylic and silicone sealants are more affordable but may require more frequent reapplication.
| Factor | Considerations |
|---|---|
| Budget | Consider the initial cost of the sealant and any additional materials or tools required for application. |
| Maintenance | Determine how often you are willing to reapply the sealant. Some sealants require reapplication every few years, while others can last much longer. |
| Longevity | Evaluate the expected lifespan of the sealant and whether it meets your long-term needs. |
| Application | Consider the complexity of the application process and whether you have the skills and equipment to apply the sealant properly. |
| Environmental Impact | Consider the environmental impact of the sealant and whether it is low-VOC and safe for the environment. |
By carefully considering these factors, you can choose the right sealant to achieve a permanent wet look for your rocks that is both aesthetically pleasing and long-lasting.
4. Step-By-Step Guide: Applying Sealant For A Wet Look
Applying sealant correctly is essential to achieving a permanent wet look for your rocks. Here’s a step-by-step guide to ensure a professional and long-lasting finish.
4.1. Preparation And Safety
Before you begin, gather all the necessary materials and take the necessary safety precautions:
-
Materials:
- Sealant of your choice
- Soap and water
- Scrub brush
- Clean cloths
- Paintbrush, roller, or spray applicator
- Drop cloths or plastic sheeting
-
Safety Gear:
- Gloves
- Safety glasses
- Respirator or mask
-
Preparation:
- Choose a Well-Ventilated Area: Work in an area with good airflow to avoid inhaling harmful fumes.
- Protect Surrounding Areas: Cover nearby surfaces with drop cloths or plastic sheeting to protect them from spills and splatters.
- Read Manufacturer’s Instructions: Carefully read and follow the manufacturer’s instructions for the sealant you are using.
4.2. Cleaning The Rocks
Proper cleaning is essential for sealant adhesion. Follow these steps to clean the rocks thoroughly:
- Remove Loose Debris: Use a brush or broom to remove any loose dirt, leaves, or debris from the rocks.
- Wash with Soap and Water: Mix a mild detergent with warm water and use a scrub brush to scrub the rocks.
- Rinse Thoroughly: Rinse the rocks with clean water to remove all traces of soap.
- Allow to Dry Completely: Let the rocks dry completely before proceeding to the next step. This may take several hours or even a day, depending on the weather and humidity.
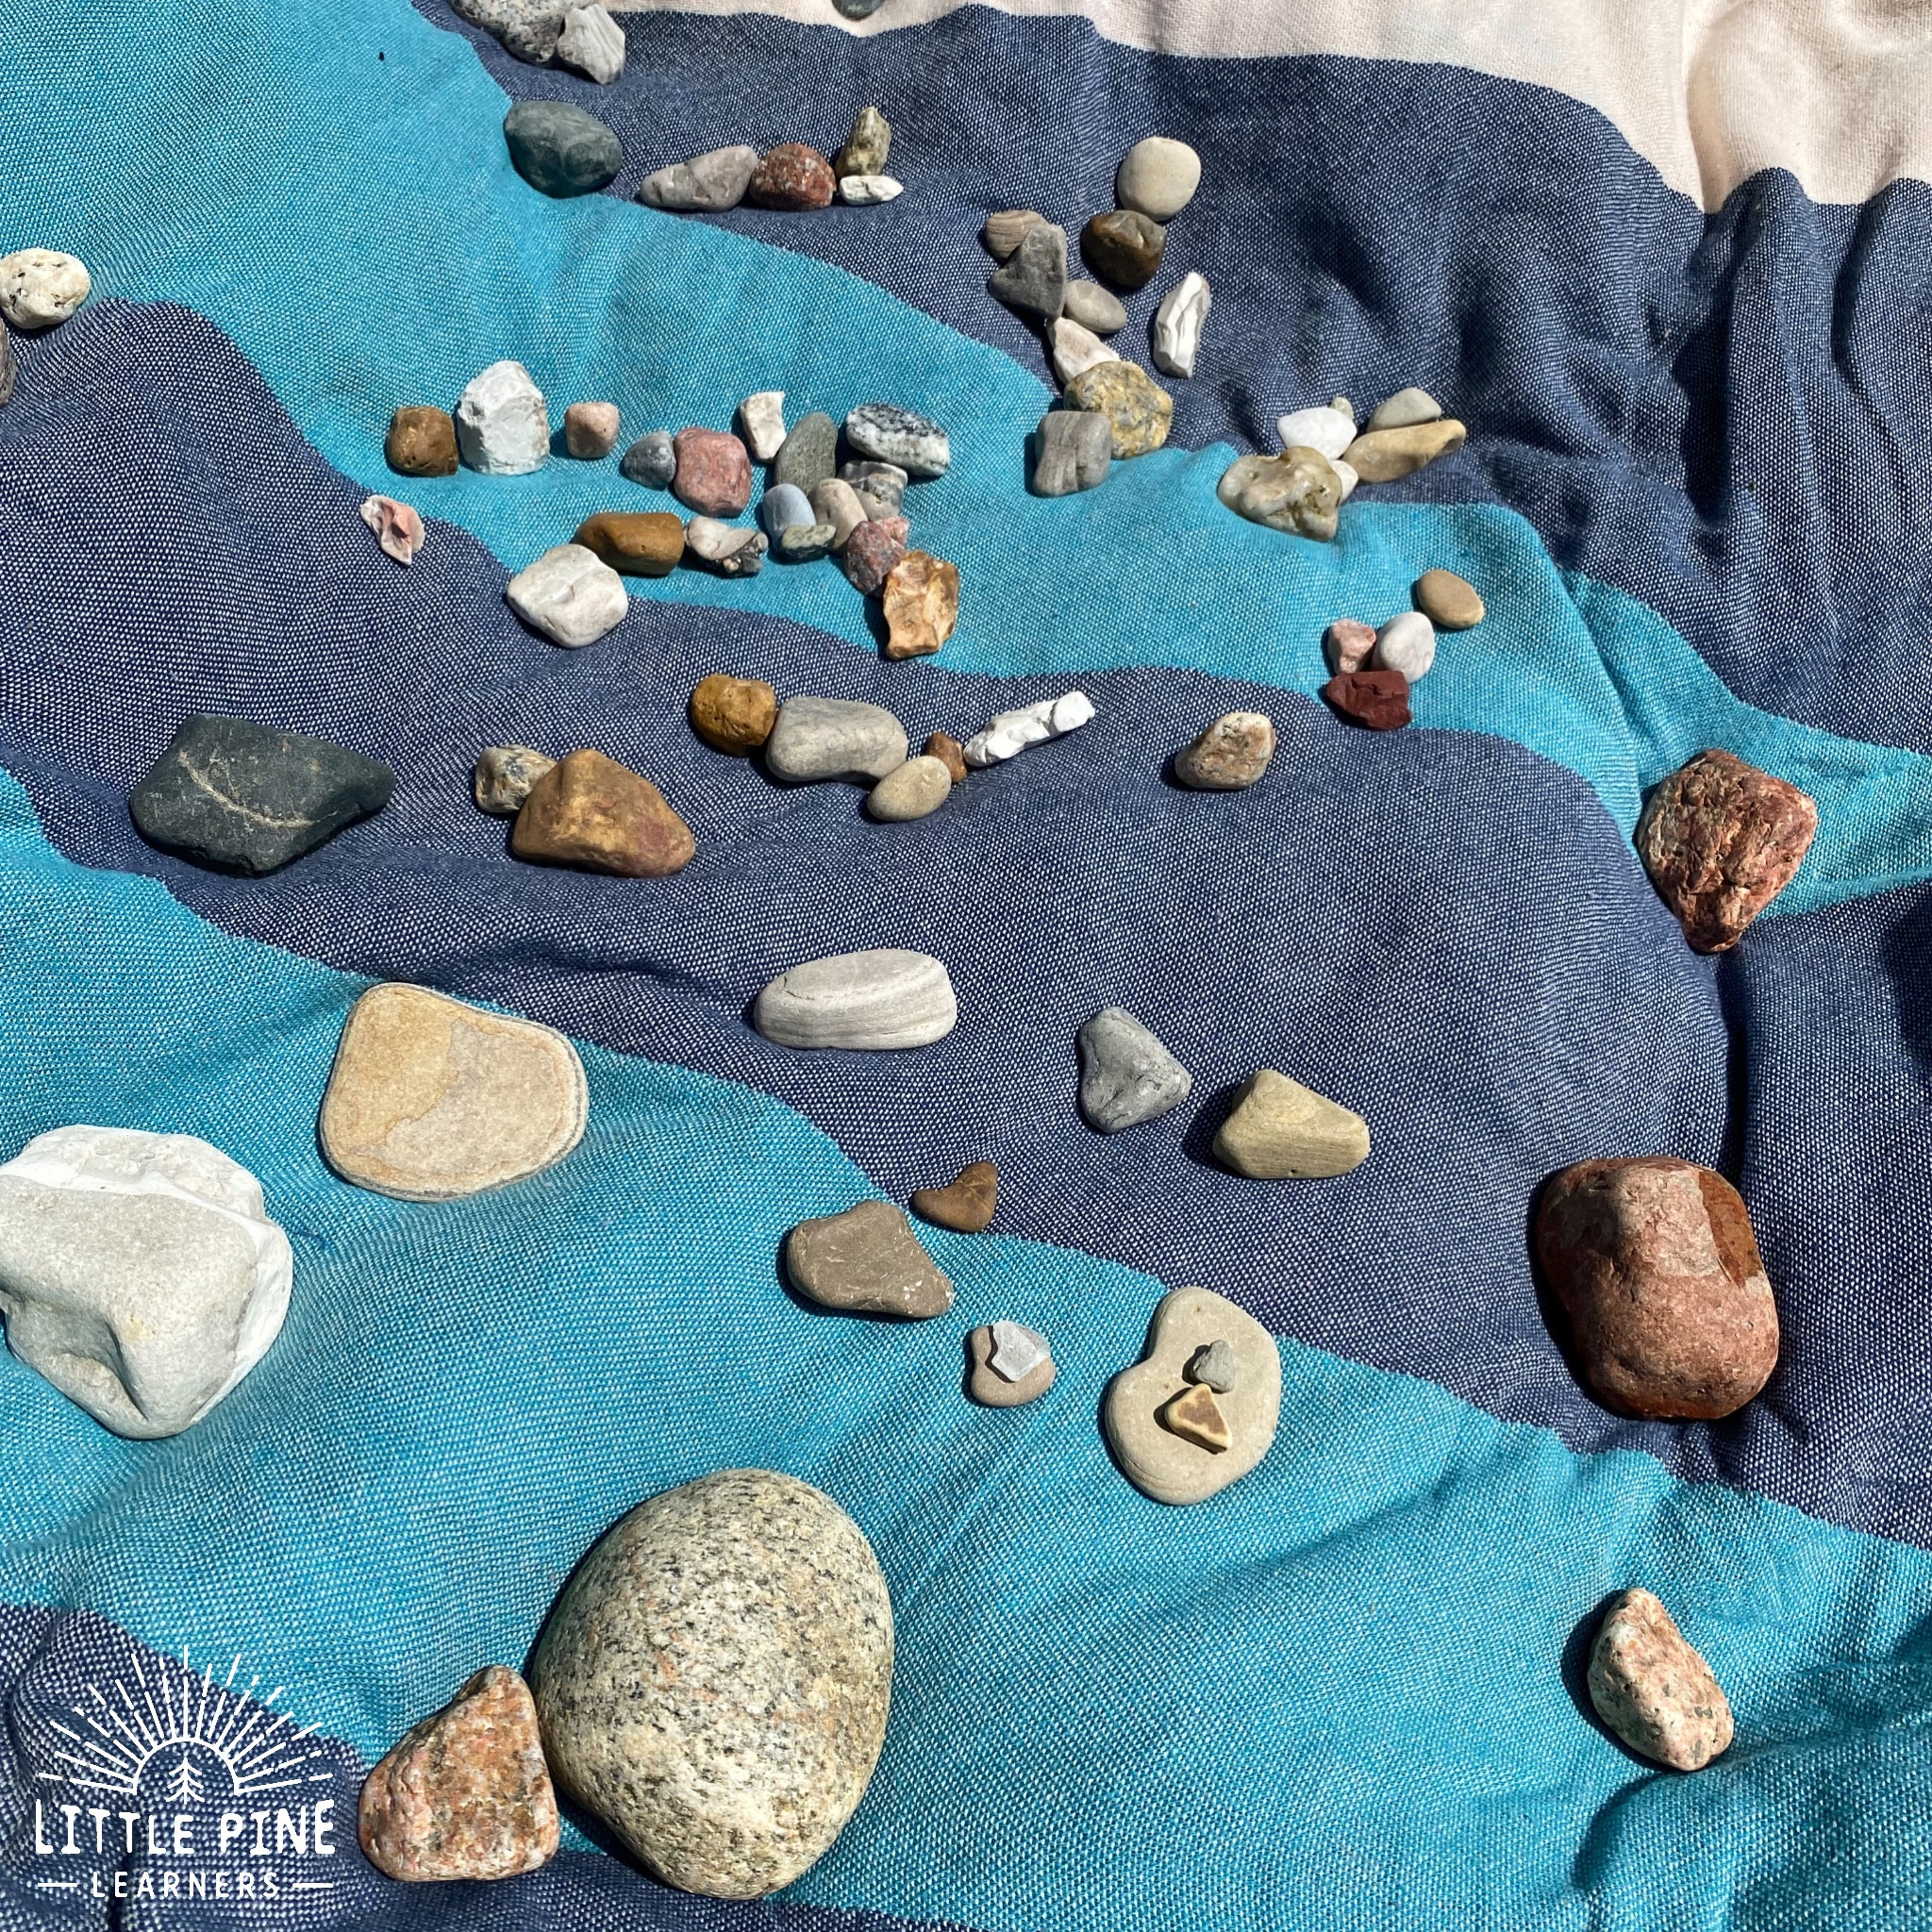 Cleaning Rocks before Treatment
4.3. Applying The Sealant
The application technique varies depending on the type of sealant and the desired finish. Here are general guidelines for each method:
-
Brush Application:
- Choose the Right Brush: Use a high-quality brush with synthetic bristles for water-based sealants and natural bristles for oil-based sealants.
- Dip the Brush: Dip the brush into the sealant, being careful not to overload it.
- Apply Evenly: Apply the sealant to the rocks in thin, even strokes, following the contours of the stone.
- Avoid Pooling: Avoid pooling or dripping of the sealant.
- Apply Additional Coats: Apply additional coats as needed, allowing each coat to dry completely before applying the next.
-
Roller Application:
- Choose the Right Roller: Use a foam roller for smooth surfaces and a nap roller for rough surfaces.
- Load the Roller: Load the roller with sealant, being careful not to saturate it.
- Apply Evenly: Apply the sealant to the rocks in smooth, even strokes, overlapping each stroke slightly.
- Avoid Streaks: Avoid streaks or uneven coverage.
- Apply Additional Coats: Apply additional coats as needed, allowing each coat to dry completely before applying the next.
-
Spray Application:
- Choose the Right Sprayer: Use an airless sprayer for large projects and a pump sprayer for smaller projects.
- Adjust the Nozzle: Adjust the nozzle to achieve a fine, even spray pattern.
- Apply Evenly: Apply the sealant to the rocks in thin, even coats, overlapping each coat slightly.
- Avoid Runs: Avoid runs or drips.
- Apply Additional Coats: Apply additional coats as needed, allowing each coat to dry completely before applying the next.
4.4. Drying And Curing
Proper drying and curing are essential for the sealant to achieve its full strength and durability. Follow these steps:
- Allow to Dry: Allow the sealant to dry completely according to the manufacturer’s instructions. This may take several hours or even a day, depending on the type of sealant and the environmental conditions.
- Protect from Moisture: Protect the rocks from moisture during the drying process.
- Curing Time: Allow the sealant to cure completely before exposing the rocks to water or heavy use. Curing times vary depending on the type of sealant, but generally, it takes several days to a week.
4.5. Clean-Up
Proper clean-up is essential for maintaining your equipment and ensuring a safe environment. Follow these steps:
- Dispose of Waste: Dispose of any waste materials, such as used brushes, rollers, and containers, according to local regulations.
- Clean Equipment: Clean your equipment immediately after use with the appropriate solvent, such as mineral spirits for oil-based sealants and water for water-based sealants.
- Store Materials: Store any remaining sealant and cleaning materials in a safe place, away from children and pets.
By following these step-by-step instructions, you can achieve a professional and long-lasting wet look for your rocks that enhances their natural beauty and protects them from the elements.
5. Maintaining The Wet Look Of Rocks
Maintaining the wet look of rocks requires regular care and attention. Here are some tips to keep your rocks looking their best.
5.1. Regular Cleaning
Regular cleaning is essential to remove dirt, debris, and algae that can dull the appearance of your rocks.
- Frequency: Clean your rocks every few weeks or as needed, depending on the environment.
- Method: Use a soft brush and a mild detergent to scrub the rocks gently. Rinse thoroughly with clean water.
- Pressure Washing: For larger rocks or areas with heavy buildup, you can use a pressure washer. Be careful not to use too much pressure, as this can damage the sealant or the rocks themselves.
5.2. Reapplication Of Sealant
Over time, the sealant will wear down due to weathering, abrasion, and UV exposure. Reapplying the sealant every few years will help maintain the wet look and protect the rocks from damage.
- Frequency: Reapply the sealant every 2-3 years, or as needed.
- Preparation: Before reapplying the sealant, clean the rocks thoroughly and allow them to dry completely.
- Application: Follow the same application instructions as when you initially applied the sealant.
5.3. Protecting From Environmental Damage
Protecting your rocks from environmental damage can help prolong the life of the sealant and maintain the wet look.
- Sun Protection: Use a UV-resistant sealant to protect the rocks from fading and discoloration caused by sunlight.
- Water Protection: Ensure the sealant is waterproof to prevent water damage and algae growth.
- Freeze-Thaw Protection: In cold climates, use a sealant that is freeze-thaw resistant to prevent cracking and damage from ice formation.
5.4. Removing Stains And Algae
Stains and algae can detract from the appearance of your rocks. Here are some tips for removing them:
- Stains: Use a mild detergent or a specialized stone cleaner to remove stains. Follow the manufacturer’s instructions carefully.
- Algae: Use a solution of bleach and water to kill algae. Apply the solution to the affected areas and let it sit for a few minutes before scrubbing with a brush. Rinse thoroughly with clean water.
5.5. Addressing Cracks And Chips
Cracks and chips can compromise the integrity of the sealant and detract from the appearance of your rocks. Address any cracks or chips promptly to prevent further damage.
- Repair: Use a suitable epoxy or filler designed for stone repair to fill any cracks or chips.
- Seal: After repairing the cracks or chips, reseal the area to protect it from moisture and further damage.
5.6. Avoiding Harsh Chemicals
Avoid using harsh chemicals or abrasive cleaners on your rocks, as these can damage the sealant and the rocks themselves.
- Mild Detergents: Use only mild detergents or specialized stone cleaners.
- Avoid Abrasives: Avoid using abrasive cleaners, such as scouring pads or steel wool.
By following these maintenance tips, you can keep your rocks looking wet and beautiful for years to come.
6. Common Mistakes To Avoid When Making Rocks Look Wet
Achieving a lasting wet look for rocks requires careful attention to detail. Avoiding common mistakes can save time, money, and ensure a professional finish.
6.1. Neglecting Proper Cleaning
One of the most common mistakes is failing to clean the rocks thoroughly before applying any sealant or treatment.
- Why It Matters: Dirt, debris, and algae can prevent the sealant from adhering properly, resulting in a patchy or uneven finish.
- Solution: Always clean the rocks with soap and water, using a scrub brush to remove any stubborn dirt or debris. Rinse thoroughly and allow the rocks to dry completely before proceeding.
6.2. Applying Sealant In Direct Sunlight
Applying sealant in direct sunlight can cause it to dry too quickly, resulting in streaks, bubbles, and an uneven finish.
- Why It Matters: Direct sunlight can also cause the sealant to cure prematurely, reducing its durability and longevity.
- Solution: Apply the sealant in a shaded area or on a cloudy day. If you must work in direct sunlight, apply the sealant in thin coats and work quickly to avoid drying.
6.3. Using The Wrong Type Of Sealant
Using the wrong type of sealant for your rock type or environment can result in a poor finish and premature failure.
- Why It Matters: Some sealants are not suitable for porous rocks, while others are not UV resistant or waterproof.
- Solution: Research the different types of sealants and choose one that is specifically designed for your rock type and environment.
6.4. Applying Too Much Sealant
Applying too much sealant can result in a thick, uneven finish that is prone to cracking and peeling.
- Why It Matters: Excess sealant can also take longer to dry and cure, increasing the risk of damage.
- Solution: Apply the sealant in thin, even coats, following the manufacturer’s instructions carefully. Allow each coat to dry completely before applying the next.
6.5. Not Allowing Sufficient Drying Time
Failing to allow sufficient drying time between coats or before exposing the rocks to water or heavy use can result in a compromised finish.
- Why It Matters: Premature exposure to moisture or abrasion can damage the sealant and reduce its durability.
- Solution: Allow the sealant to dry completely according to the manufacturer’s instructions. Avoid exposing the rocks to water or heavy use until the sealant is fully cured.
6.6. Neglecting Safety Precautions
Neglecting safety precautions when working with sealants can result in health problems and accidents.
- Why It Matters: Sealants can contain harmful chemicals that can irritate the skin, eyes, and respiratory system.
- Solution: Always wear gloves, safety glasses, and a respirator or mask when working with sealants. Work in a well-ventilated area to avoid inhaling harmful fumes.
6.7. Ignoring Weather Conditions
Ignoring weather conditions, such as high humidity or impending rain, can affect the application and drying of the sealant.
- Why It Matters: High humidity can slow down the drying process, while rain can wash away the sealant before it has a chance to cure.
- Solution: Check the weather forecast before applying the sealant and avoid working in high humidity or when rain is expected.
6.8. Skipping A Test Area
Skipping a test area before applying sealant to all the rocks can lead to undesirable results.
- Why It Matters: Without testing, you might not like the final look, or the sealant could react poorly with the rock.
- Solution: Apply the sealant to a small, inconspicuous area first. Let it dry completely to ensure it provides the desired effect without damaging the stone.
By avoiding these common mistakes, you can achieve a professional and long-lasting wet look for your rocks that enhances their natural beauty and protects them from the elements.
7. Innovative Ideas For Landscaping With Wet-Look Rocks
Wet-look rocks can add a touch of elegance and sophistication to any landscape. Here are some innovative ideas for incorporating them into your outdoor spaces.
7.1. Water Features
Incorporating wet-look rocks into water features can create a stunning visual effect