Piping Rock Club stands as a testament to the enduring genius of classic golf course architecture. Designed by the legendary C.B. Macdonald and meticulously constructed by Seth Raynor, this course offers a golfing experience that resonates deeply with those who appreciate the finer nuances of the game. For golf aficionados seeking a course that blends historical significance with strategic brilliance, Piping Rock is an essential destination.
Experiencing Piping Rock for the first time is akin to savoring a rare vintage wine. While a novice might appreciate its surface qualities, it is the seasoned golfer, familiar with the subtleties of course design and strategic play, who will truly grasp the depth of its artistry. Just as a whiskey connoisseur discerns the layers of flavor in a fine bourbon, an experienced golfer recognizes the intricate routing, the masterful hazard placement, and the distinctive character of each hole at Piping Rock. This course isn’t just a round of golf; it’s an immersive lesson in golf course architecture.
Constructed in 1911, just three years after the iconic National Golf Links of America, Piping Rock represents an early collaboration between Macdonald and Raynor. The walk to the practice range itself is a prelude to the experience, passing through grounds that once hosted polo fields, hinting at the club’s rich history. Macdonald, famously constrained by the pre-existing polo grounds, was tasked with routing the course in a way that wouldn’t interfere with the then-dominant sport. Despite this limitation, he crafted a masterpiece. Piping Rock holds the distinction of being the first inland course designed by this legendary duo. Unlike links courses that rely on natural coastal terrain, Piping Rock’s design ingenuity is the sole focal point. Its parkland setting provides a unique canvas for the grandeur of its fairways and greens. The generous space allowed for creative versatility in play, letting the natural terrain dictate the strategic structure of each hole. Crucially, Piping Rock has been meticulously preserved, maintaining Macdonald’s original vision and offering a playing experience of exceptional quality. As the first course built after National Golf Links, it shares a similar DNA of grand templates thoughtfully adapted to the existing landscape, radiating both artistic flair and robust design integrity. The success of these initial projects likely solidified Macdonald and Raynor’s commitment to this distinctive design philosophy.
The craftsmanship at Piping Rock is immediately apparent. However, truly understanding how to navigate the subtle intricacies of the terrain is a skill honed over time. The course features both dramatic, sweeping slopes and more understated contours, hidden hollows that can significantly influence a golfer’s fate, often in ways that aren’t immediately obvious. The strategic placement of hazards is a hallmark of Macdonald’s design, executed with remarkable precision and efficiency.
As golfers warm up on the former polo field, now the driving range, and notice remnants of an old racetrack interwoven with the course, they sense the evolution of the land. Golf now reigns supreme here, and Piping Rock’s design flourishes. Whether Macdonald intentionally sought this dominance or simply adapted to constraints, his ability to overcome limitations and create something exceptional is undeniable. Golf, as a whole, is enriched by the enduring legacy of Piping Rock.
Hole-by-Hole Breakdown of Piping Rock Club
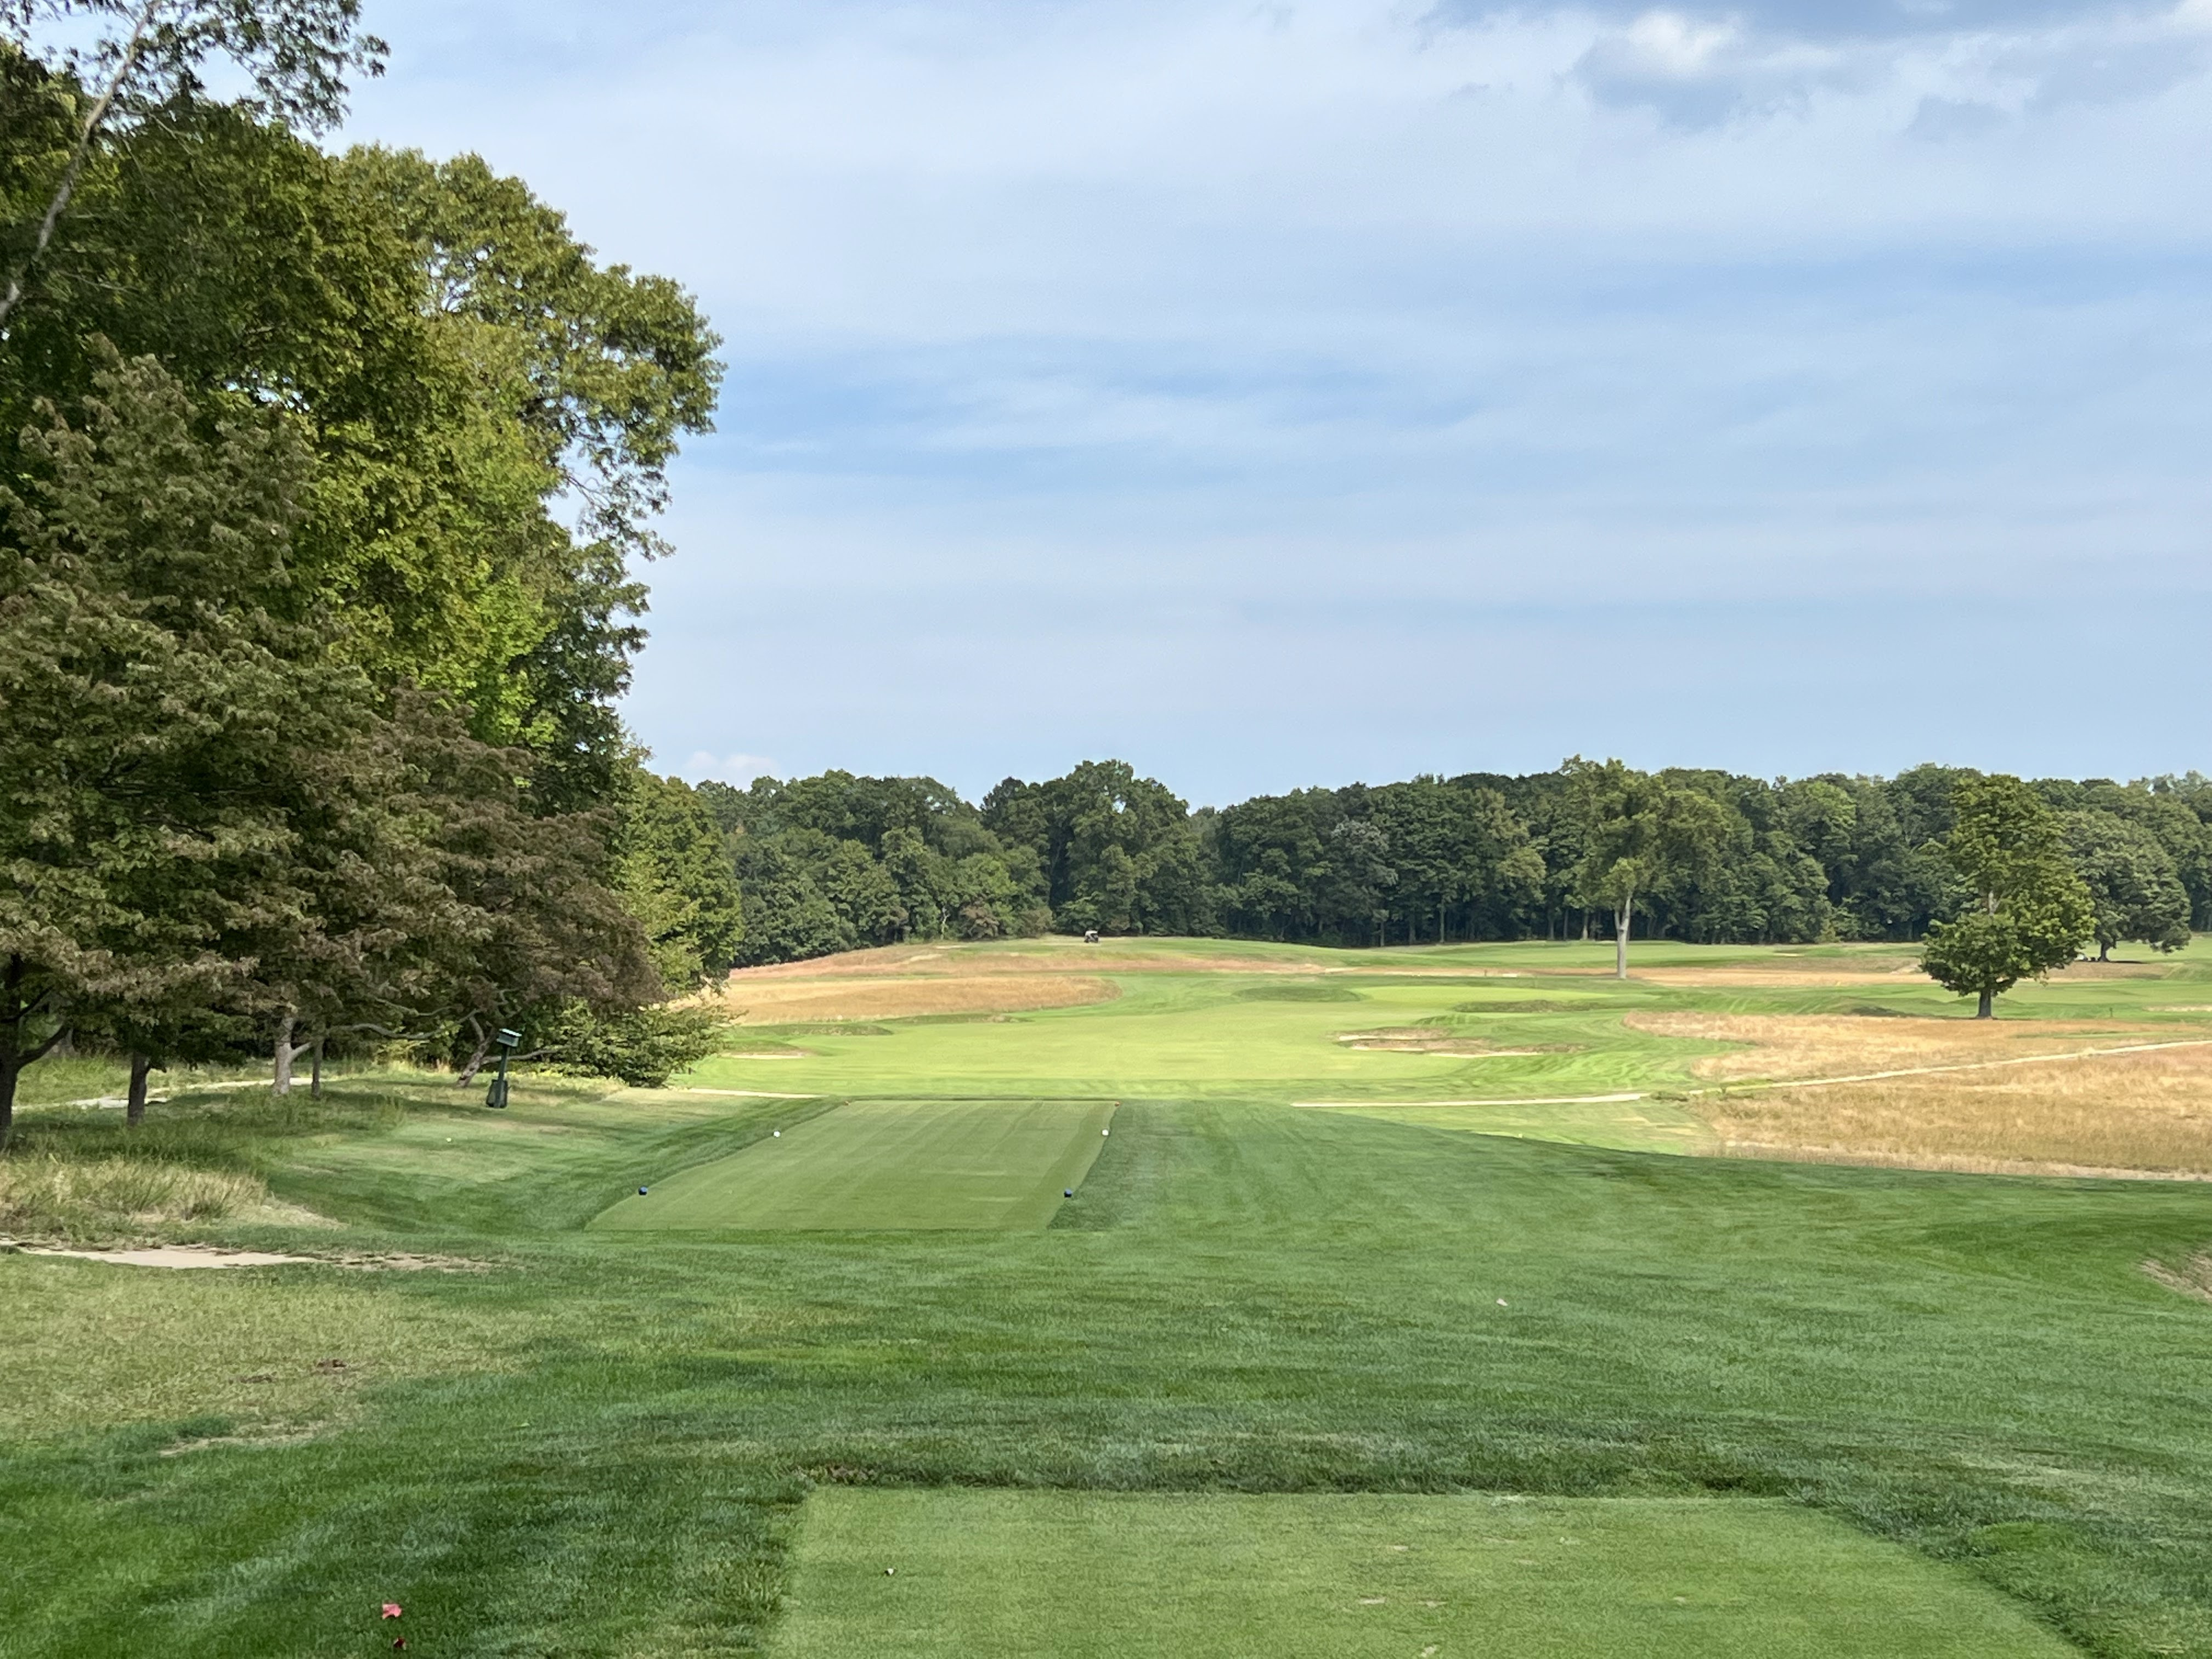
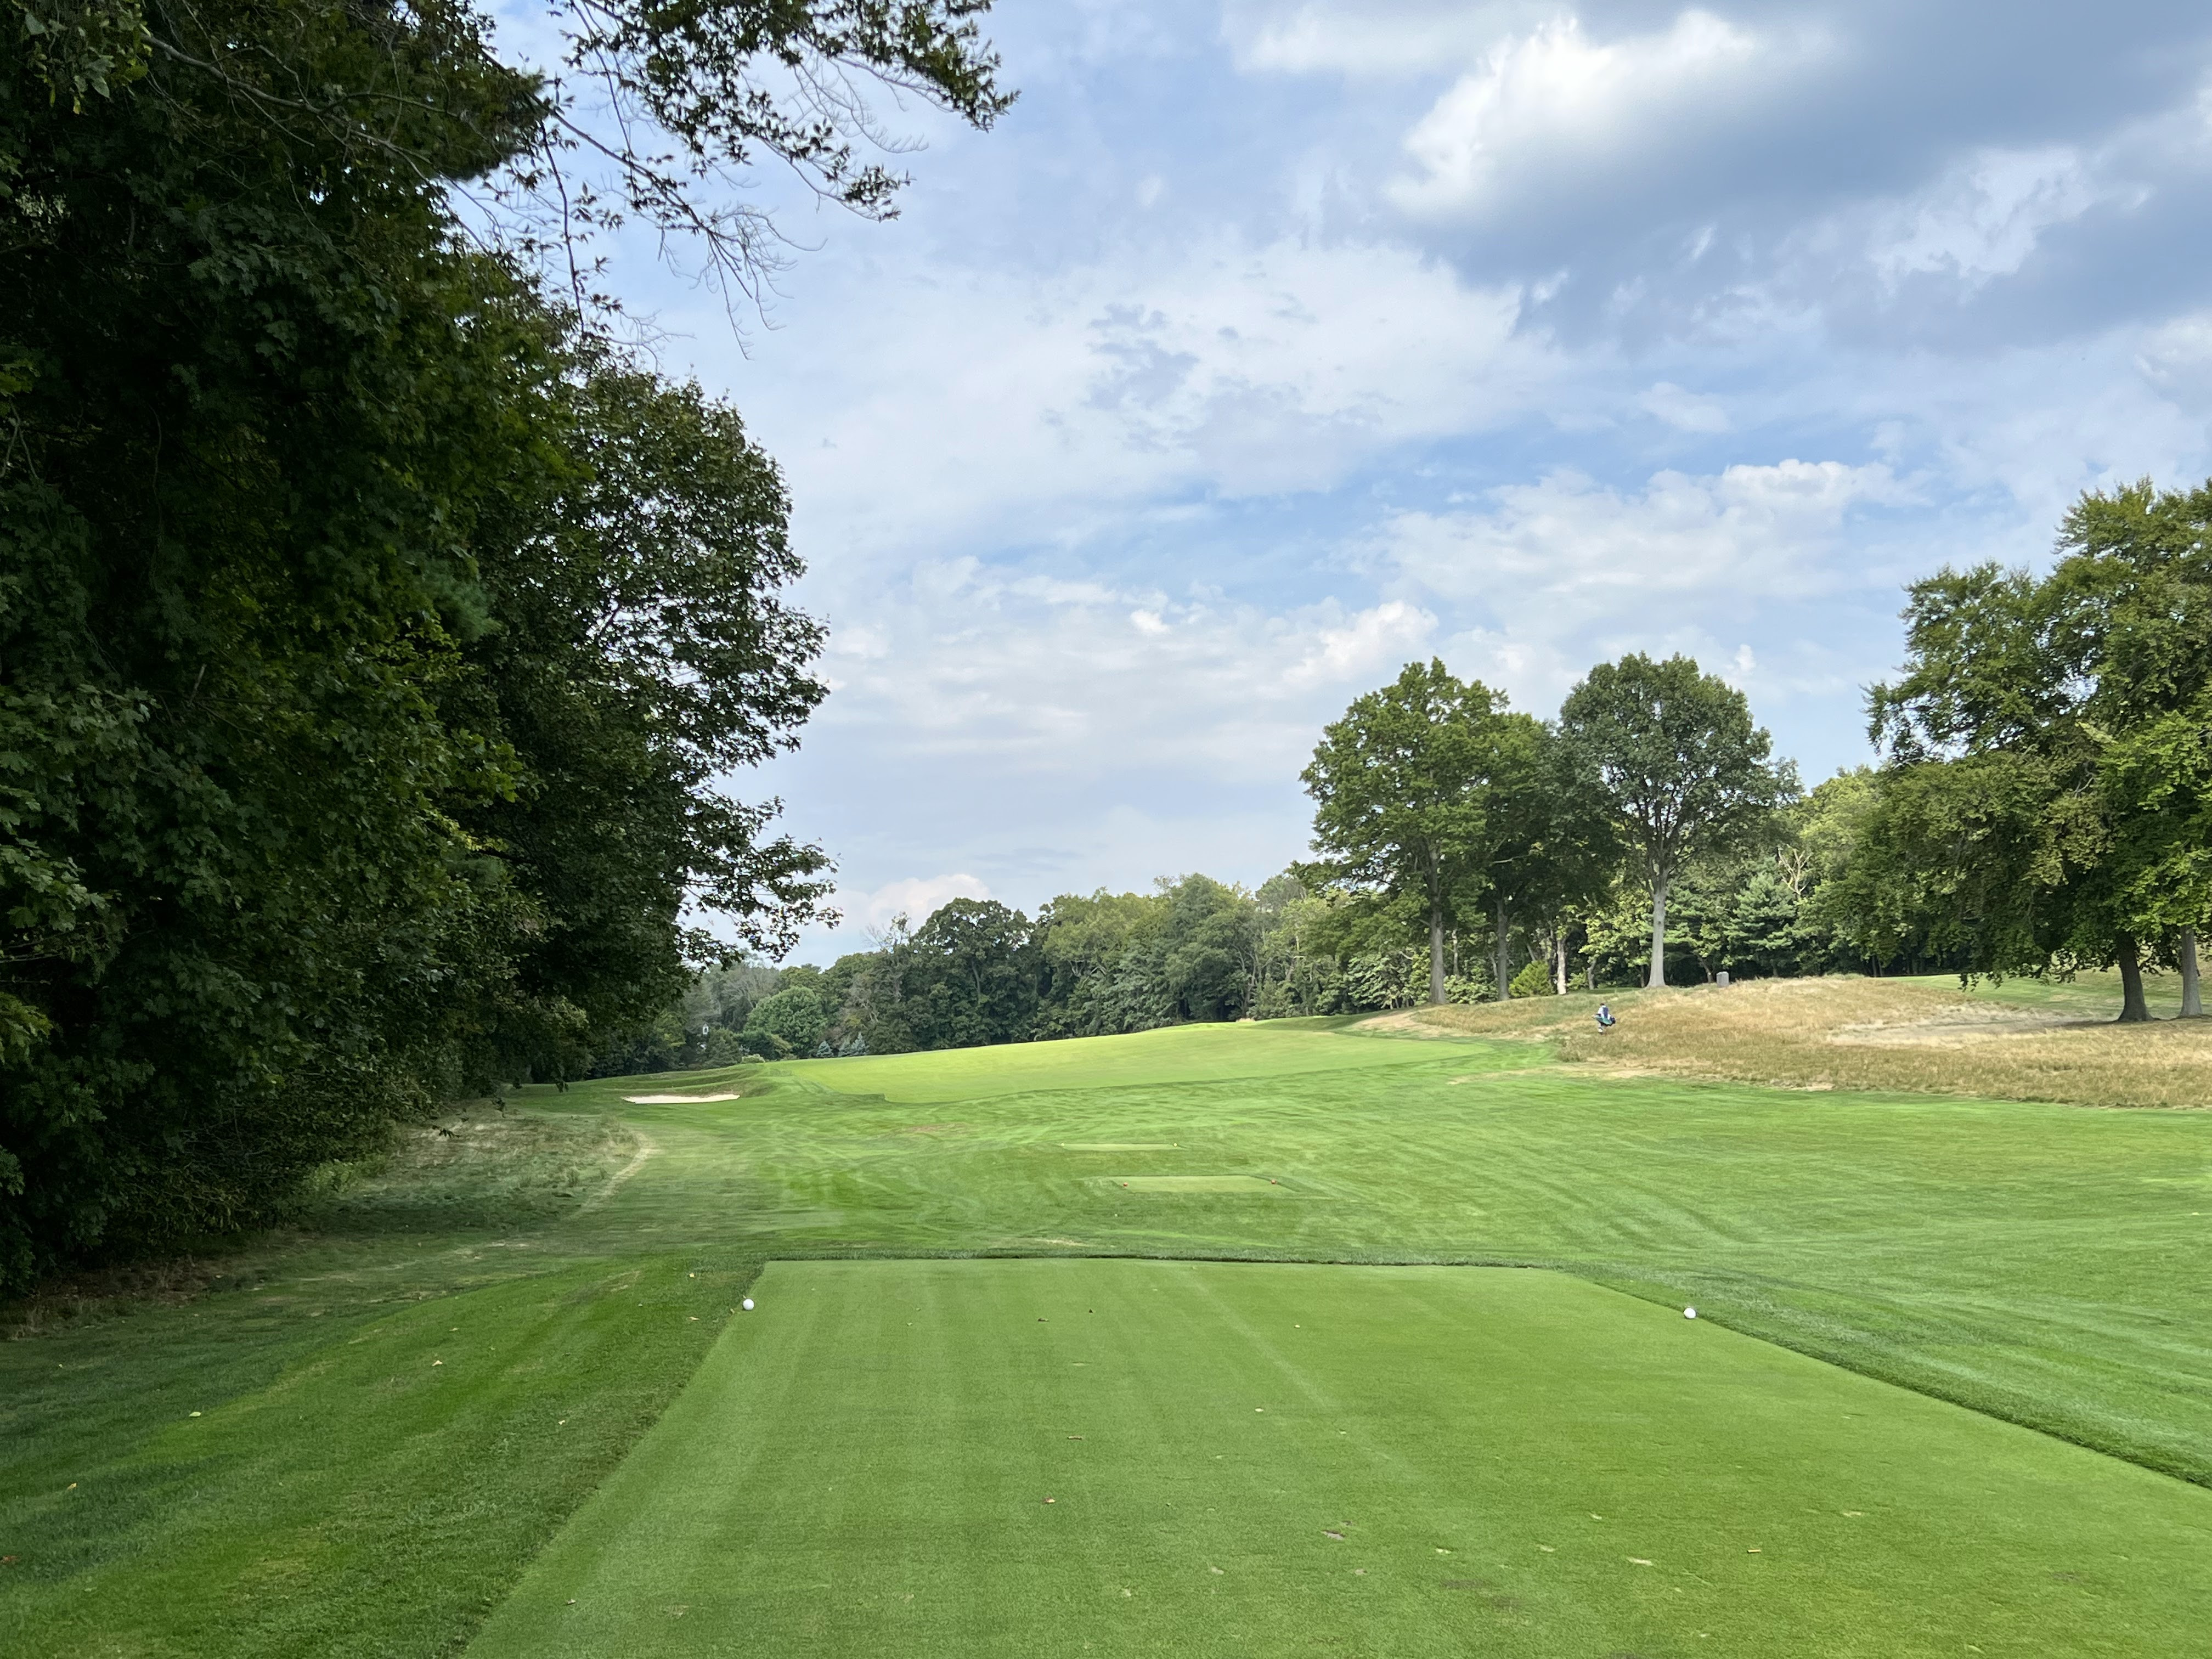
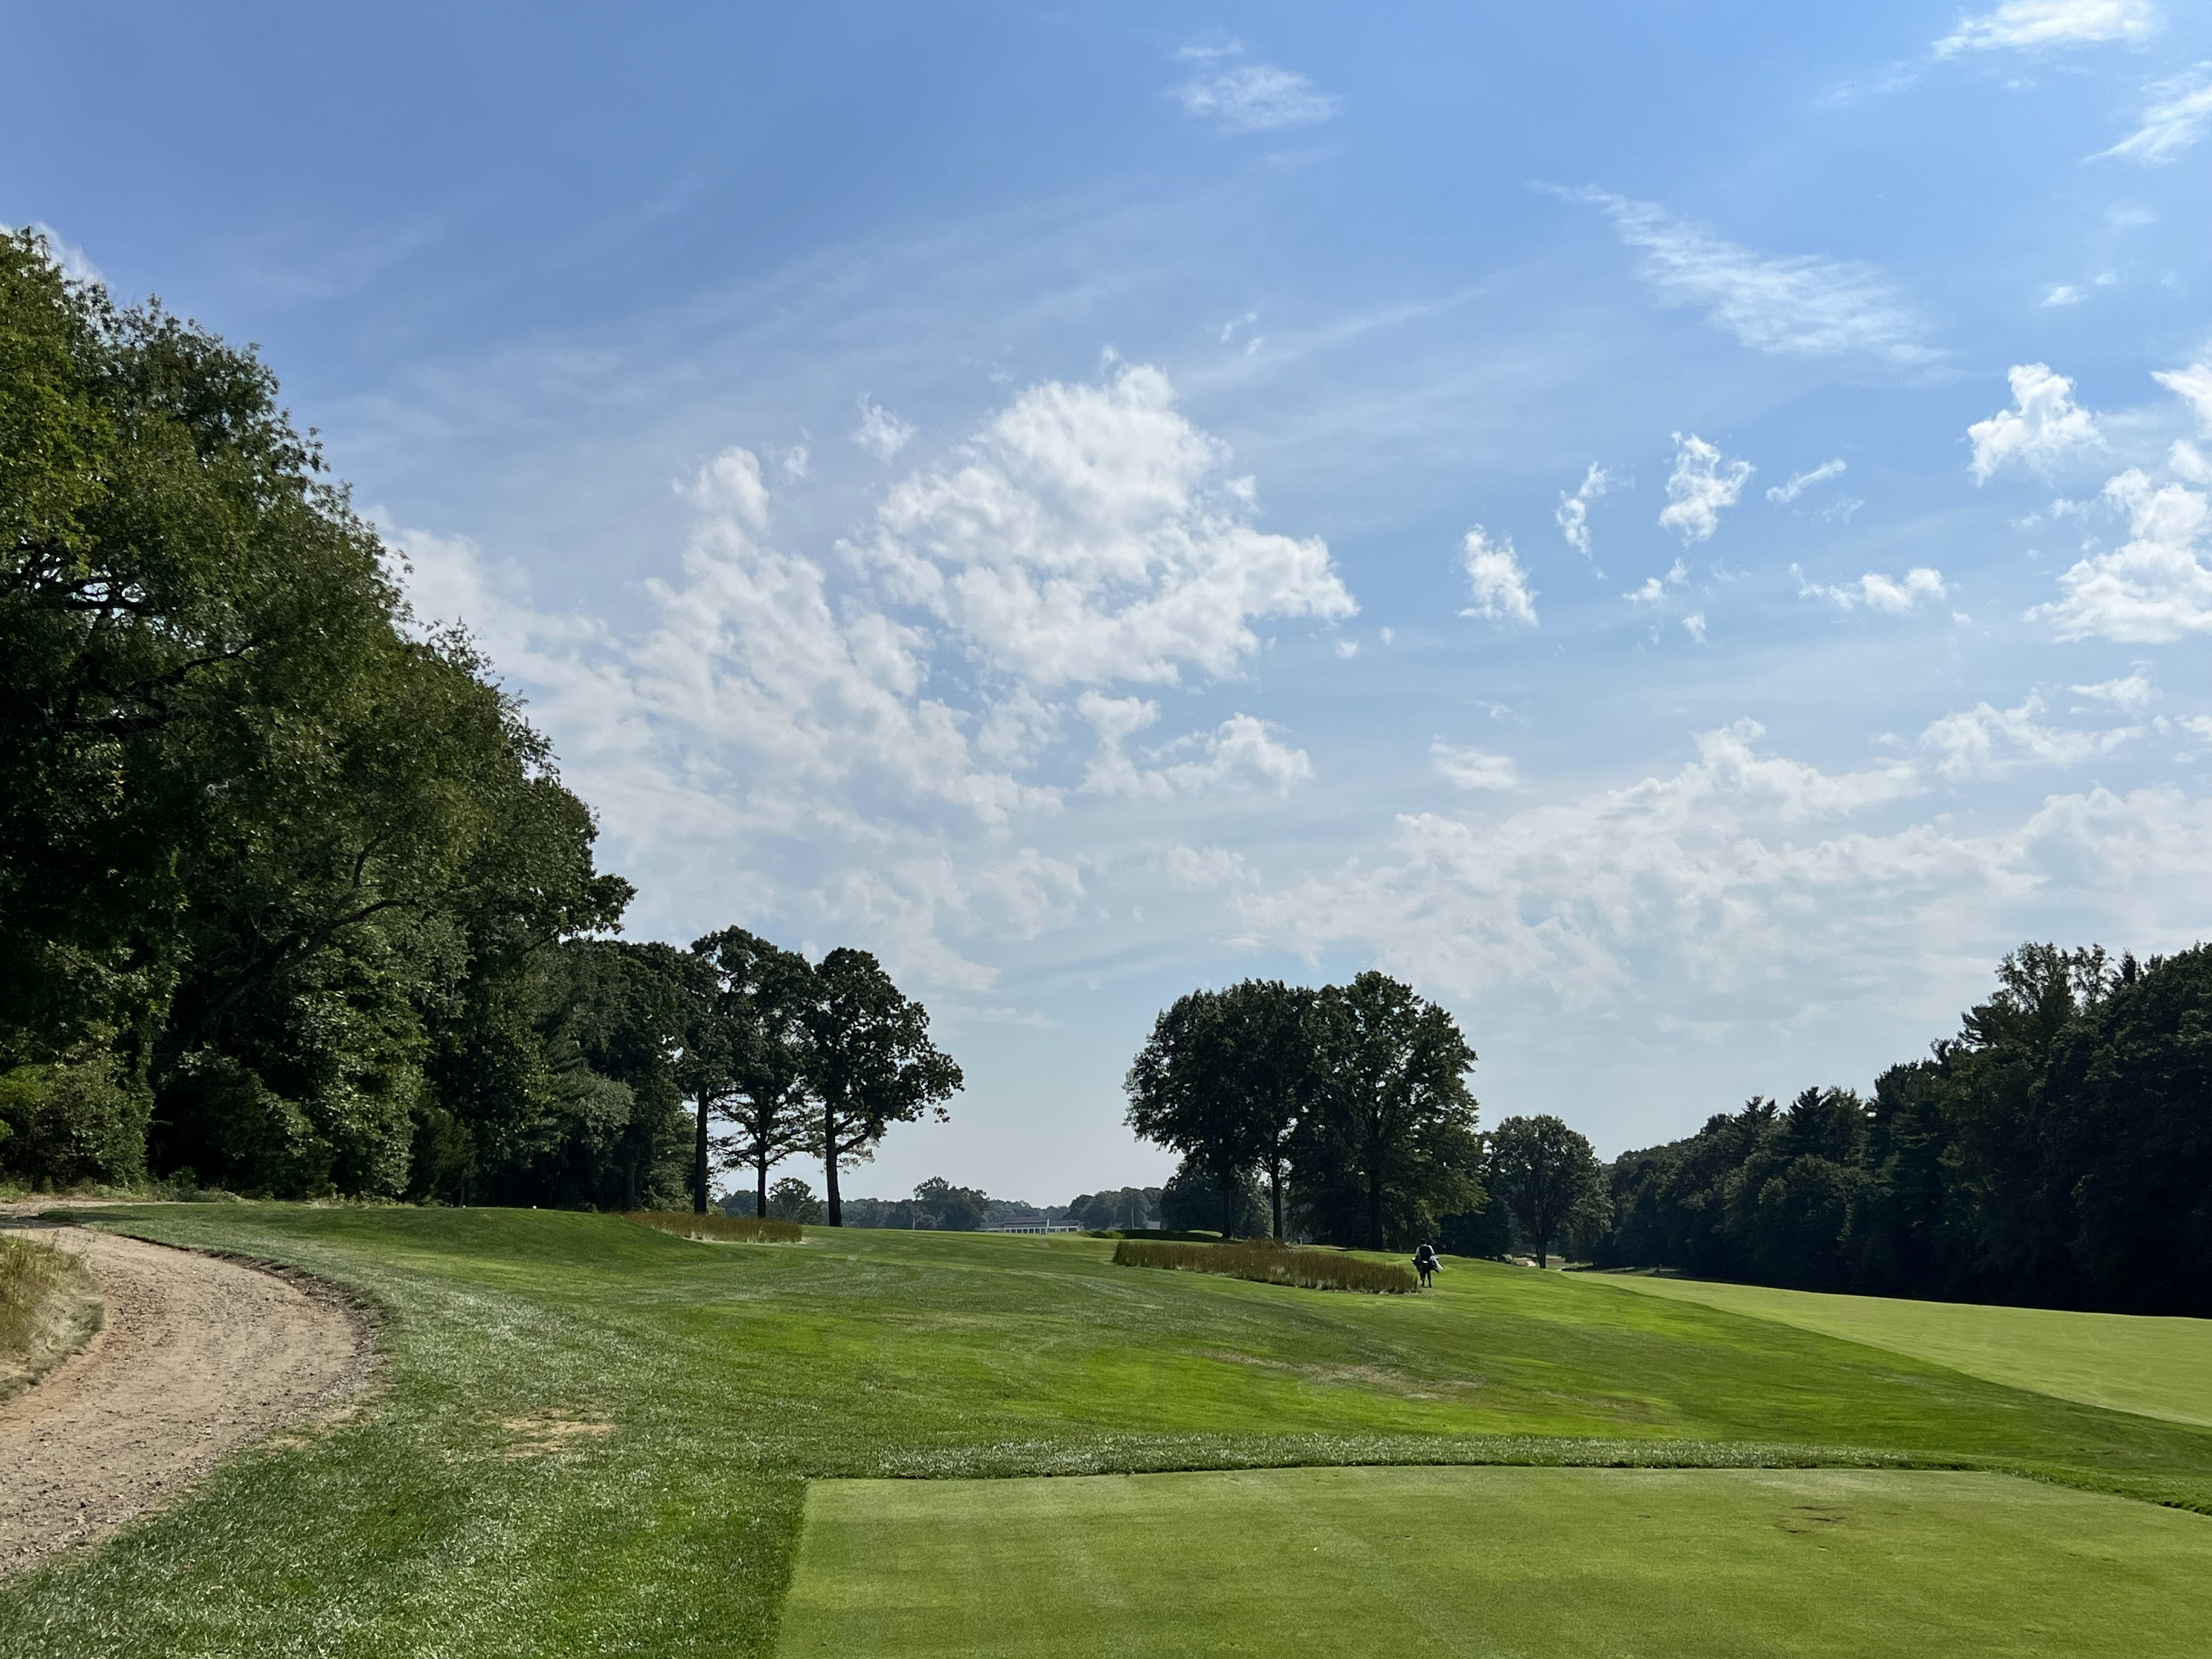
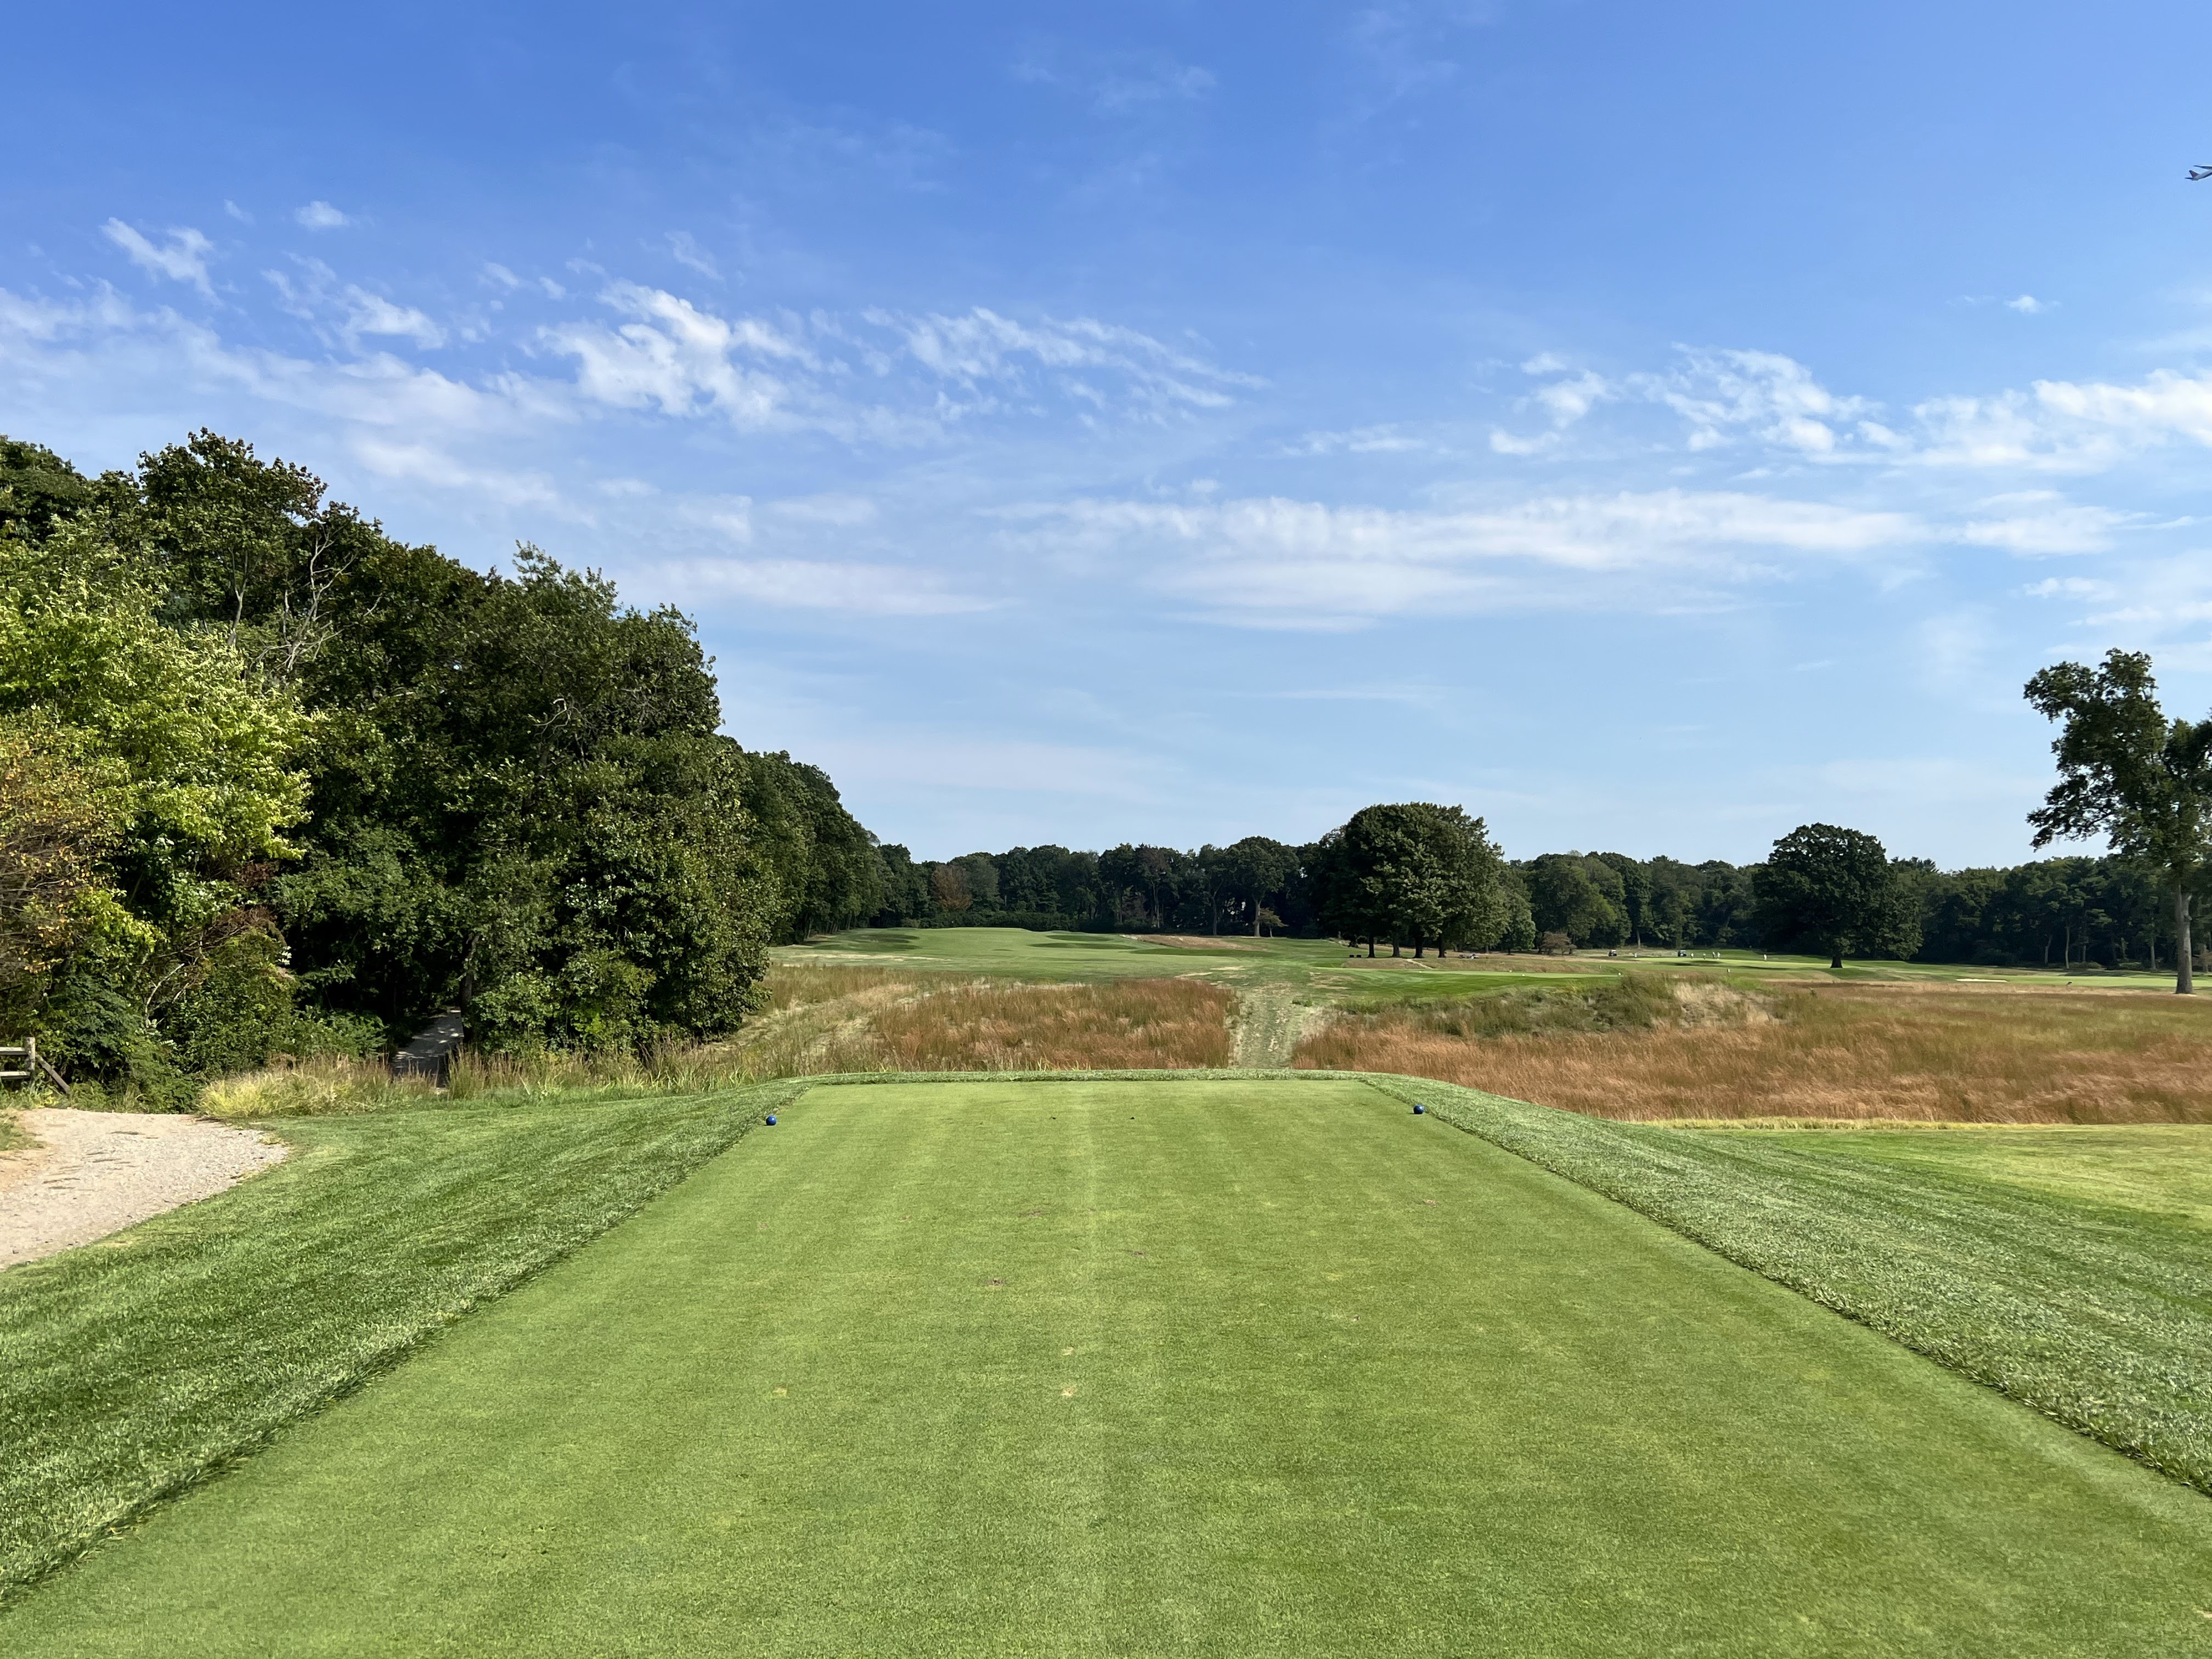
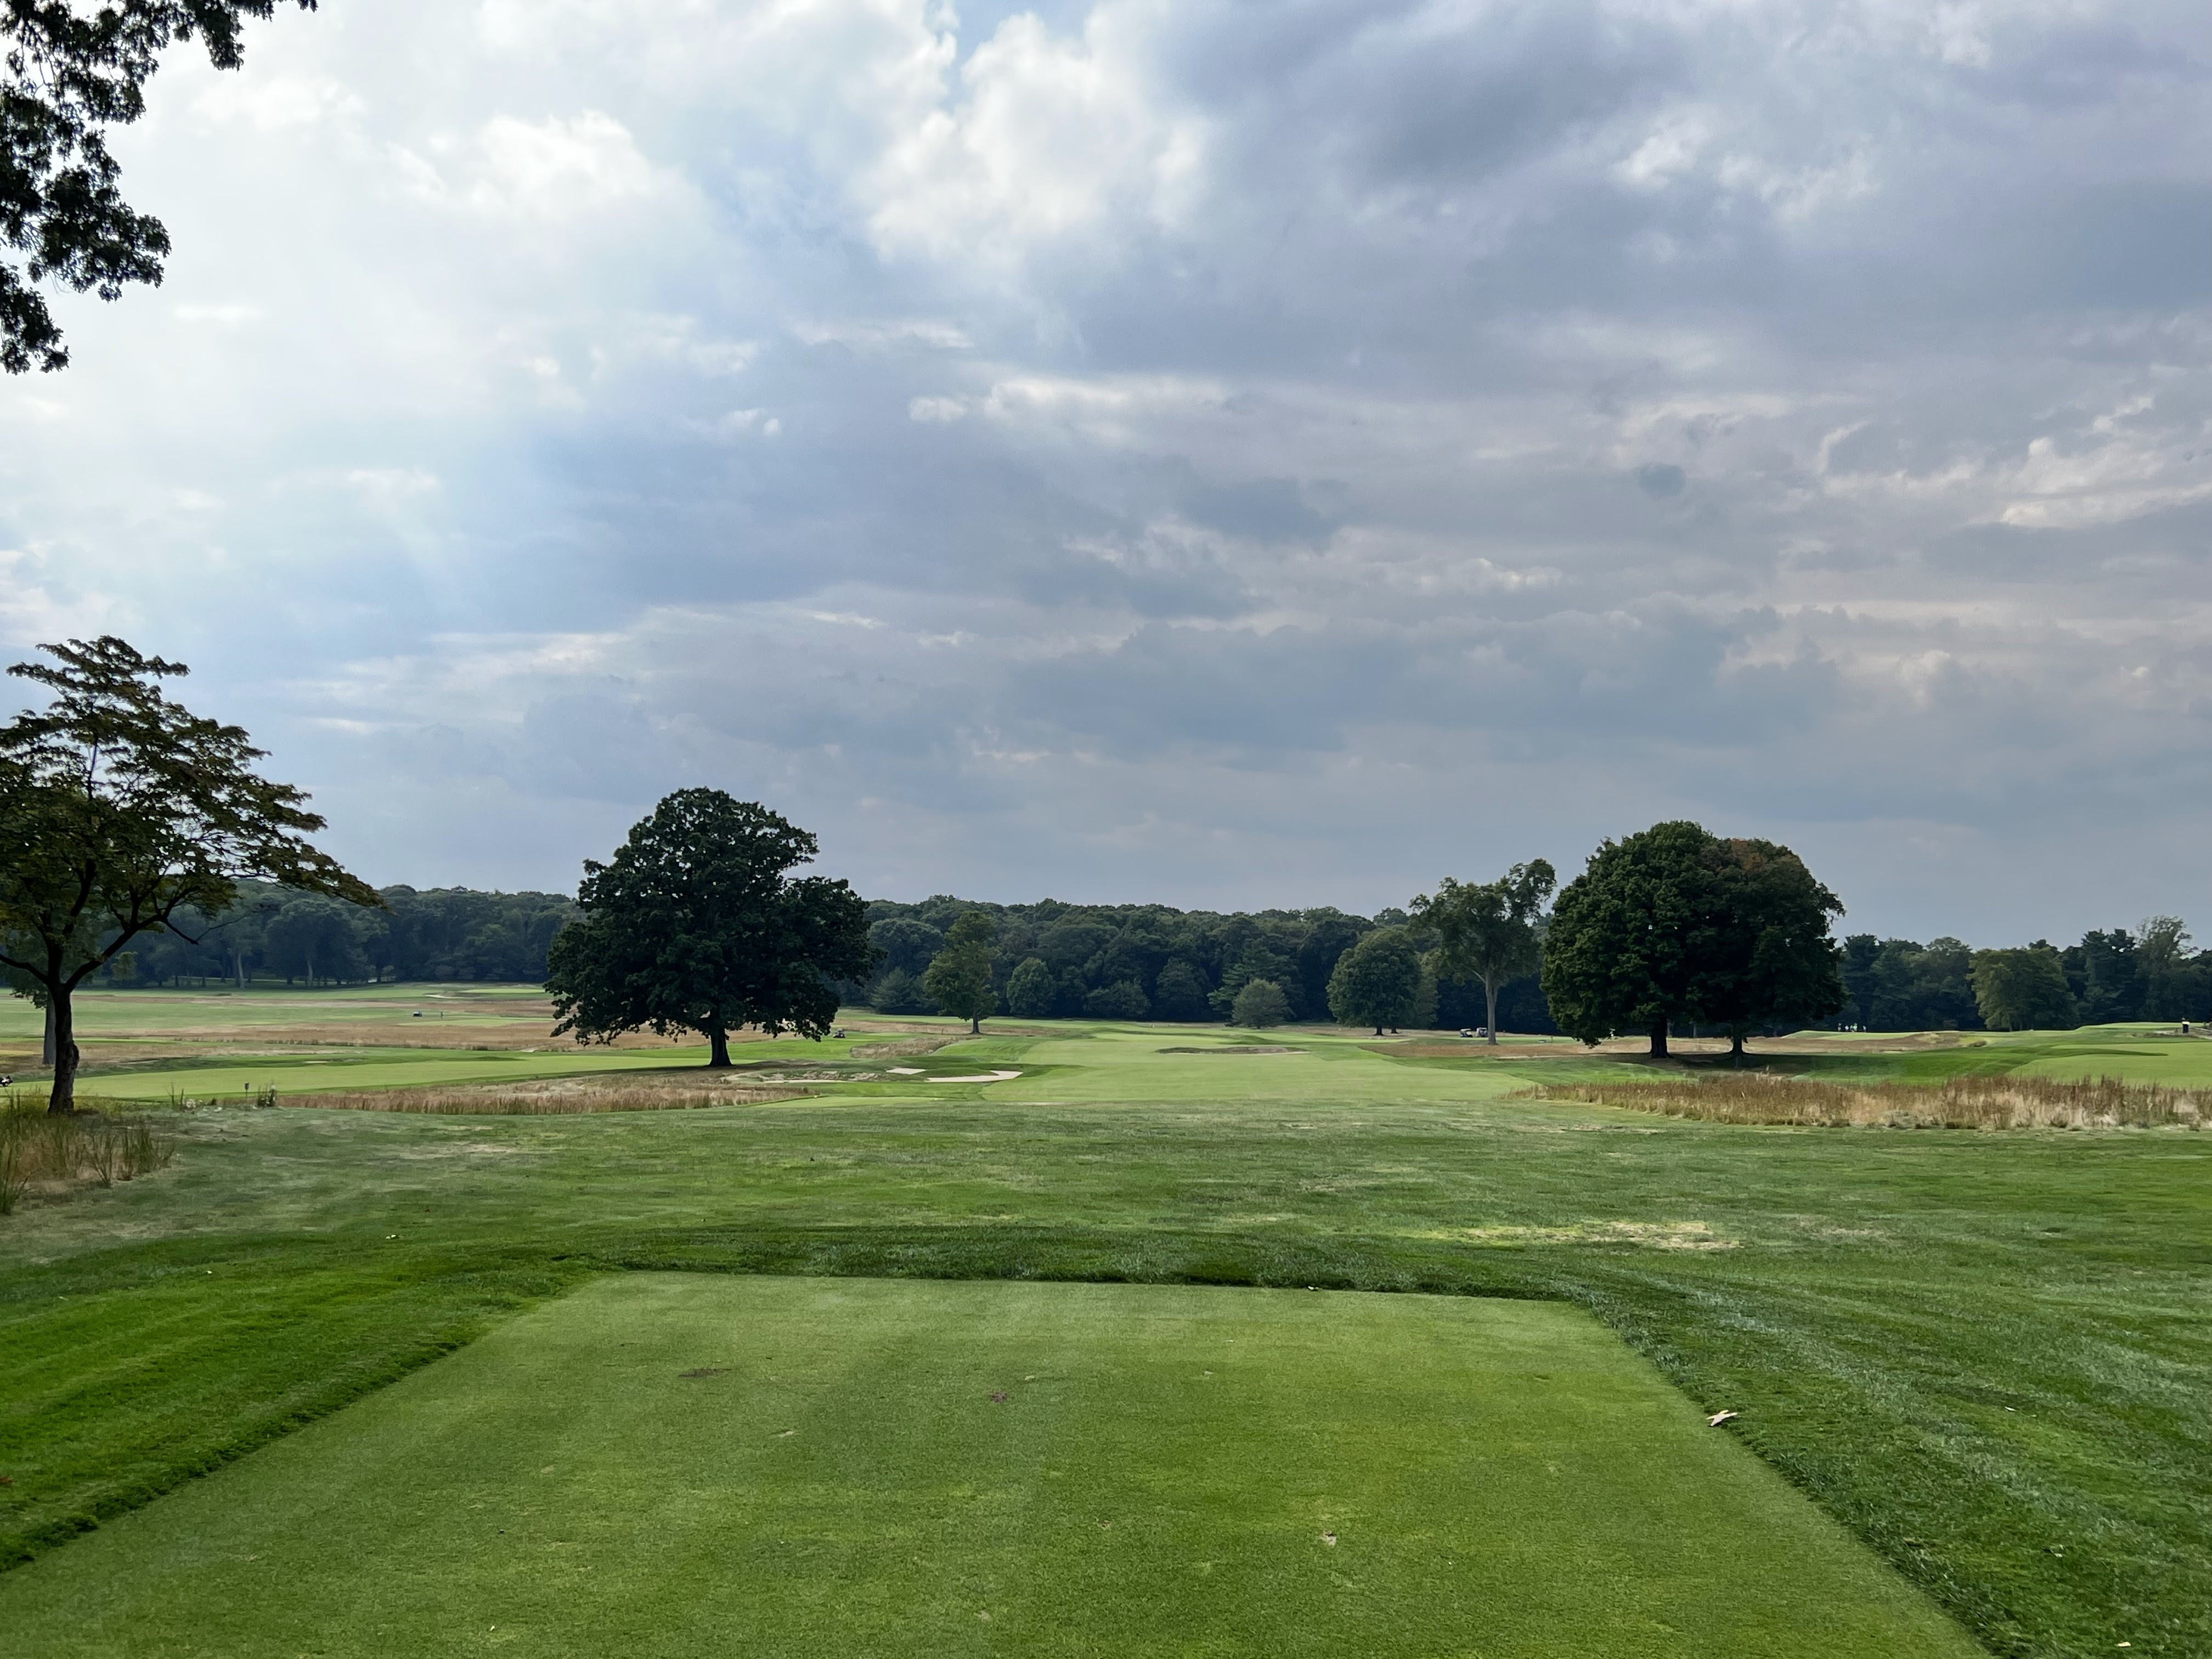
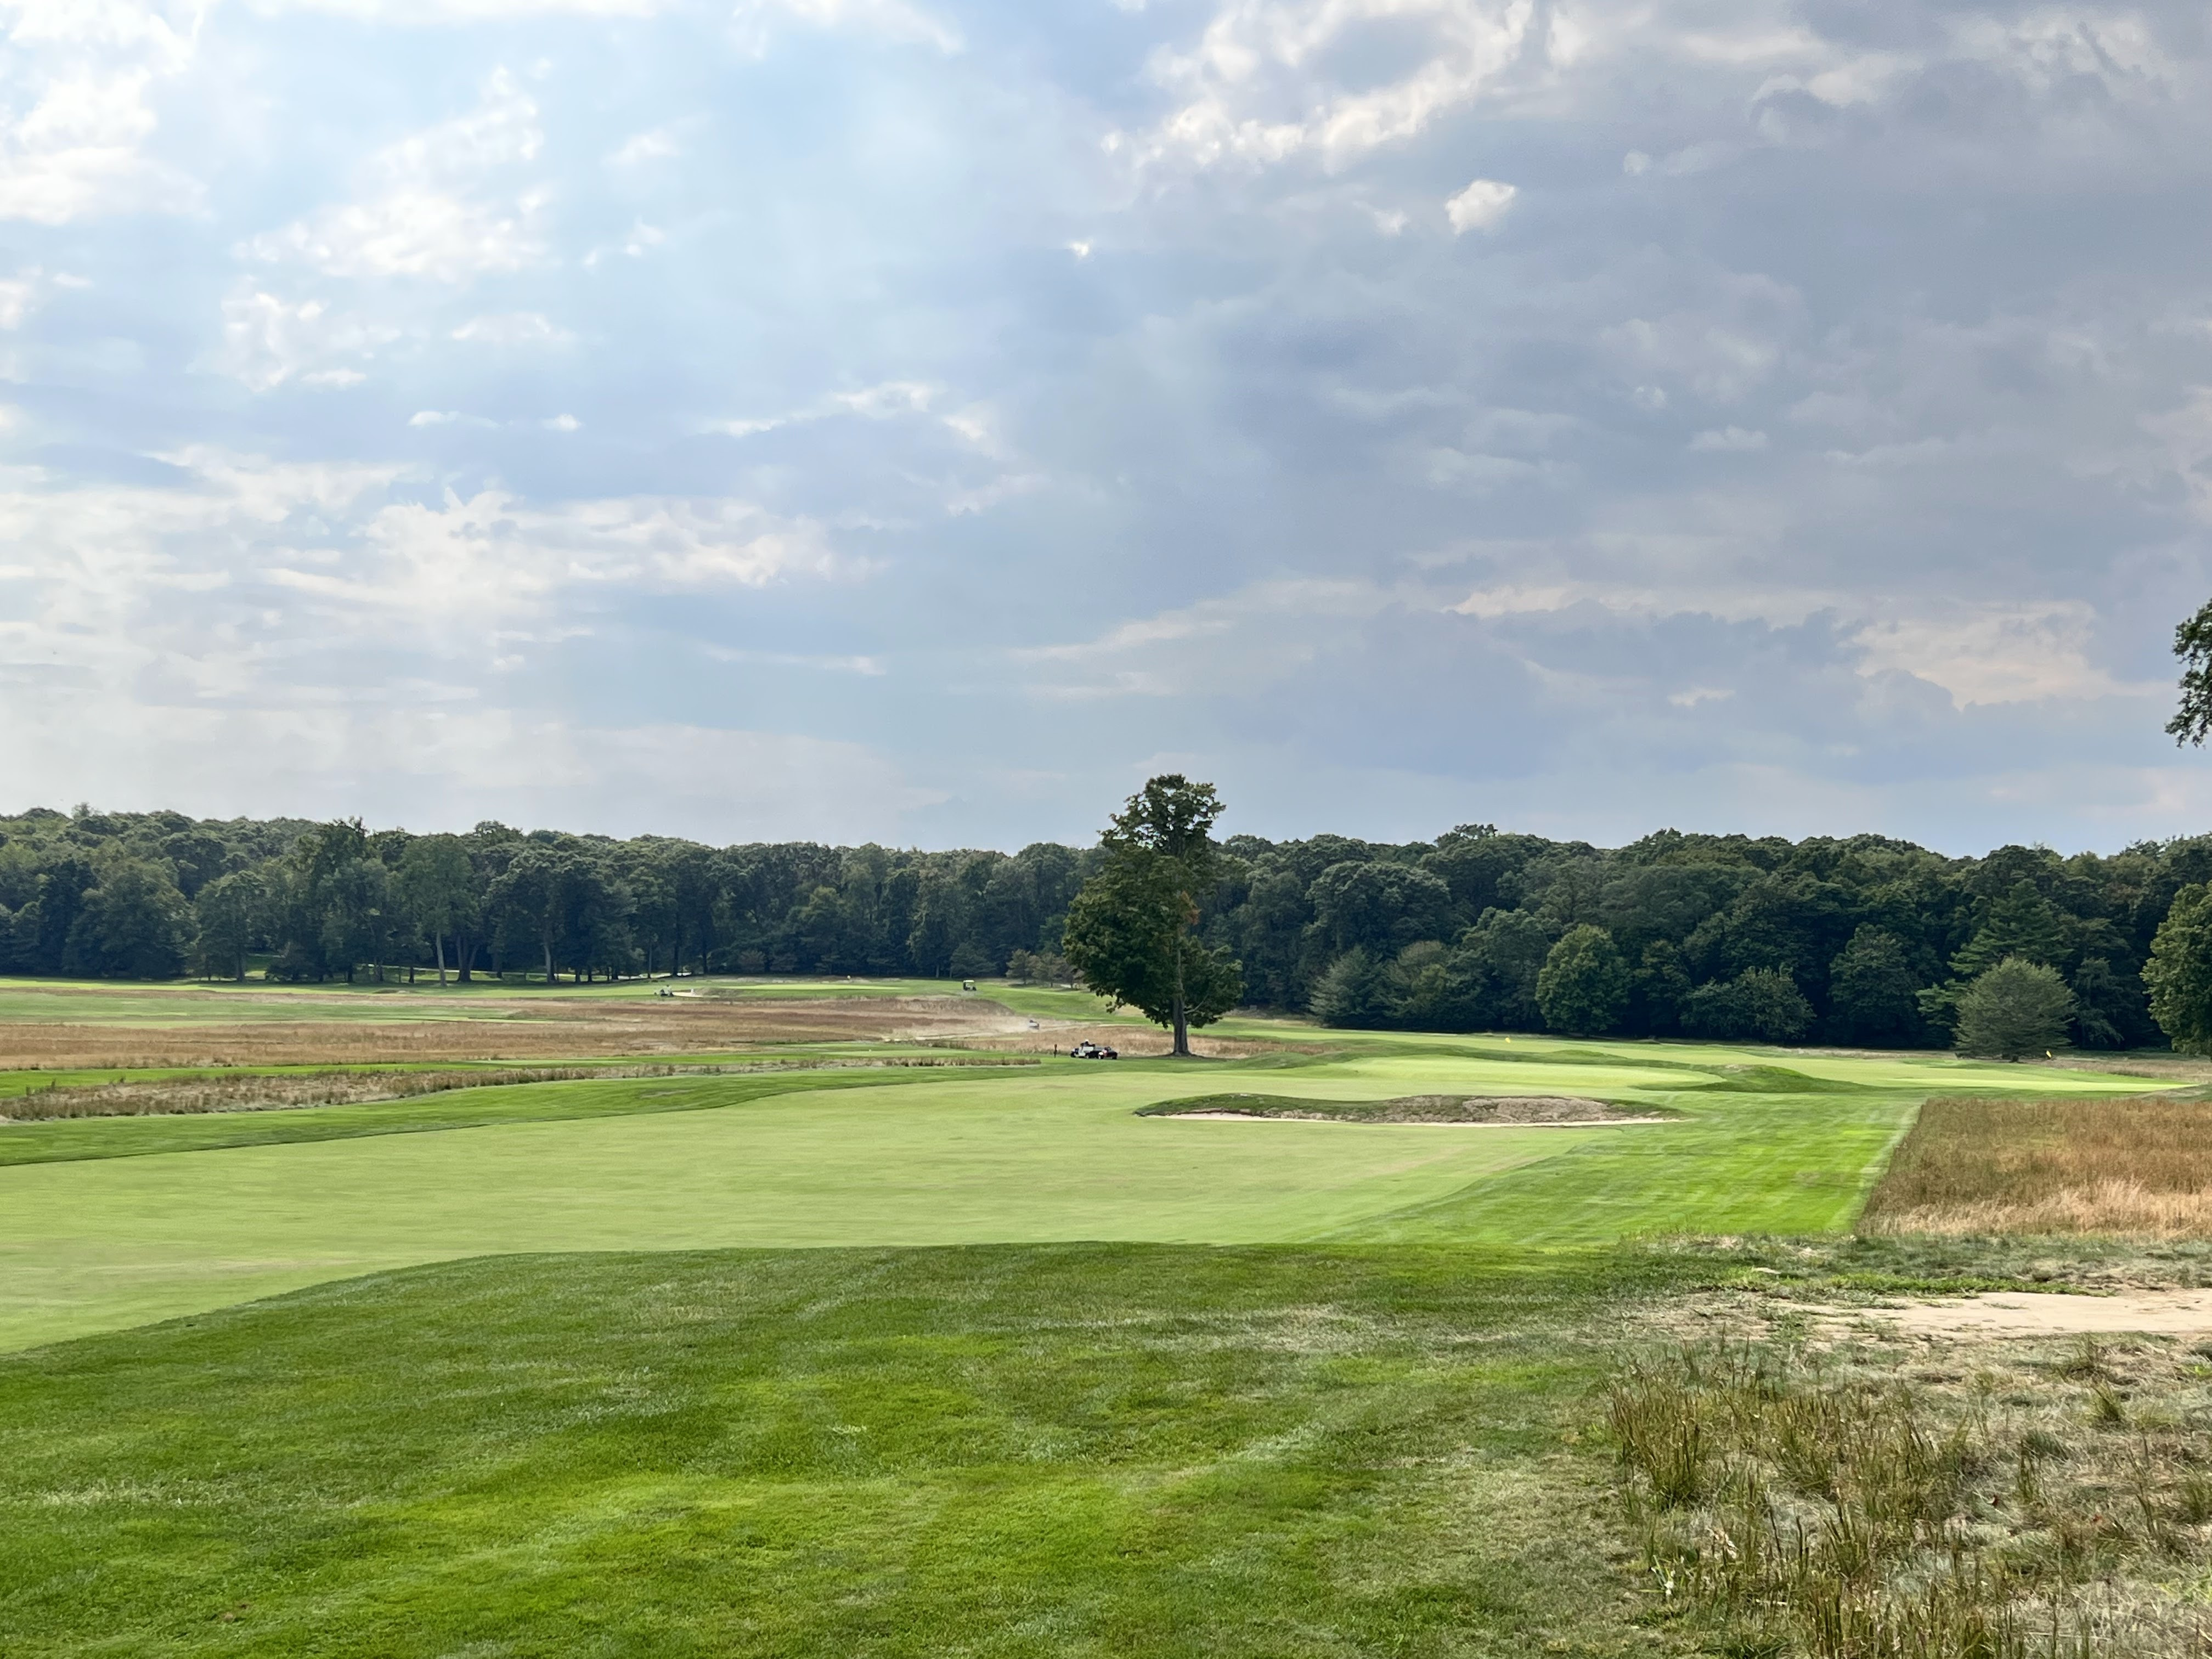
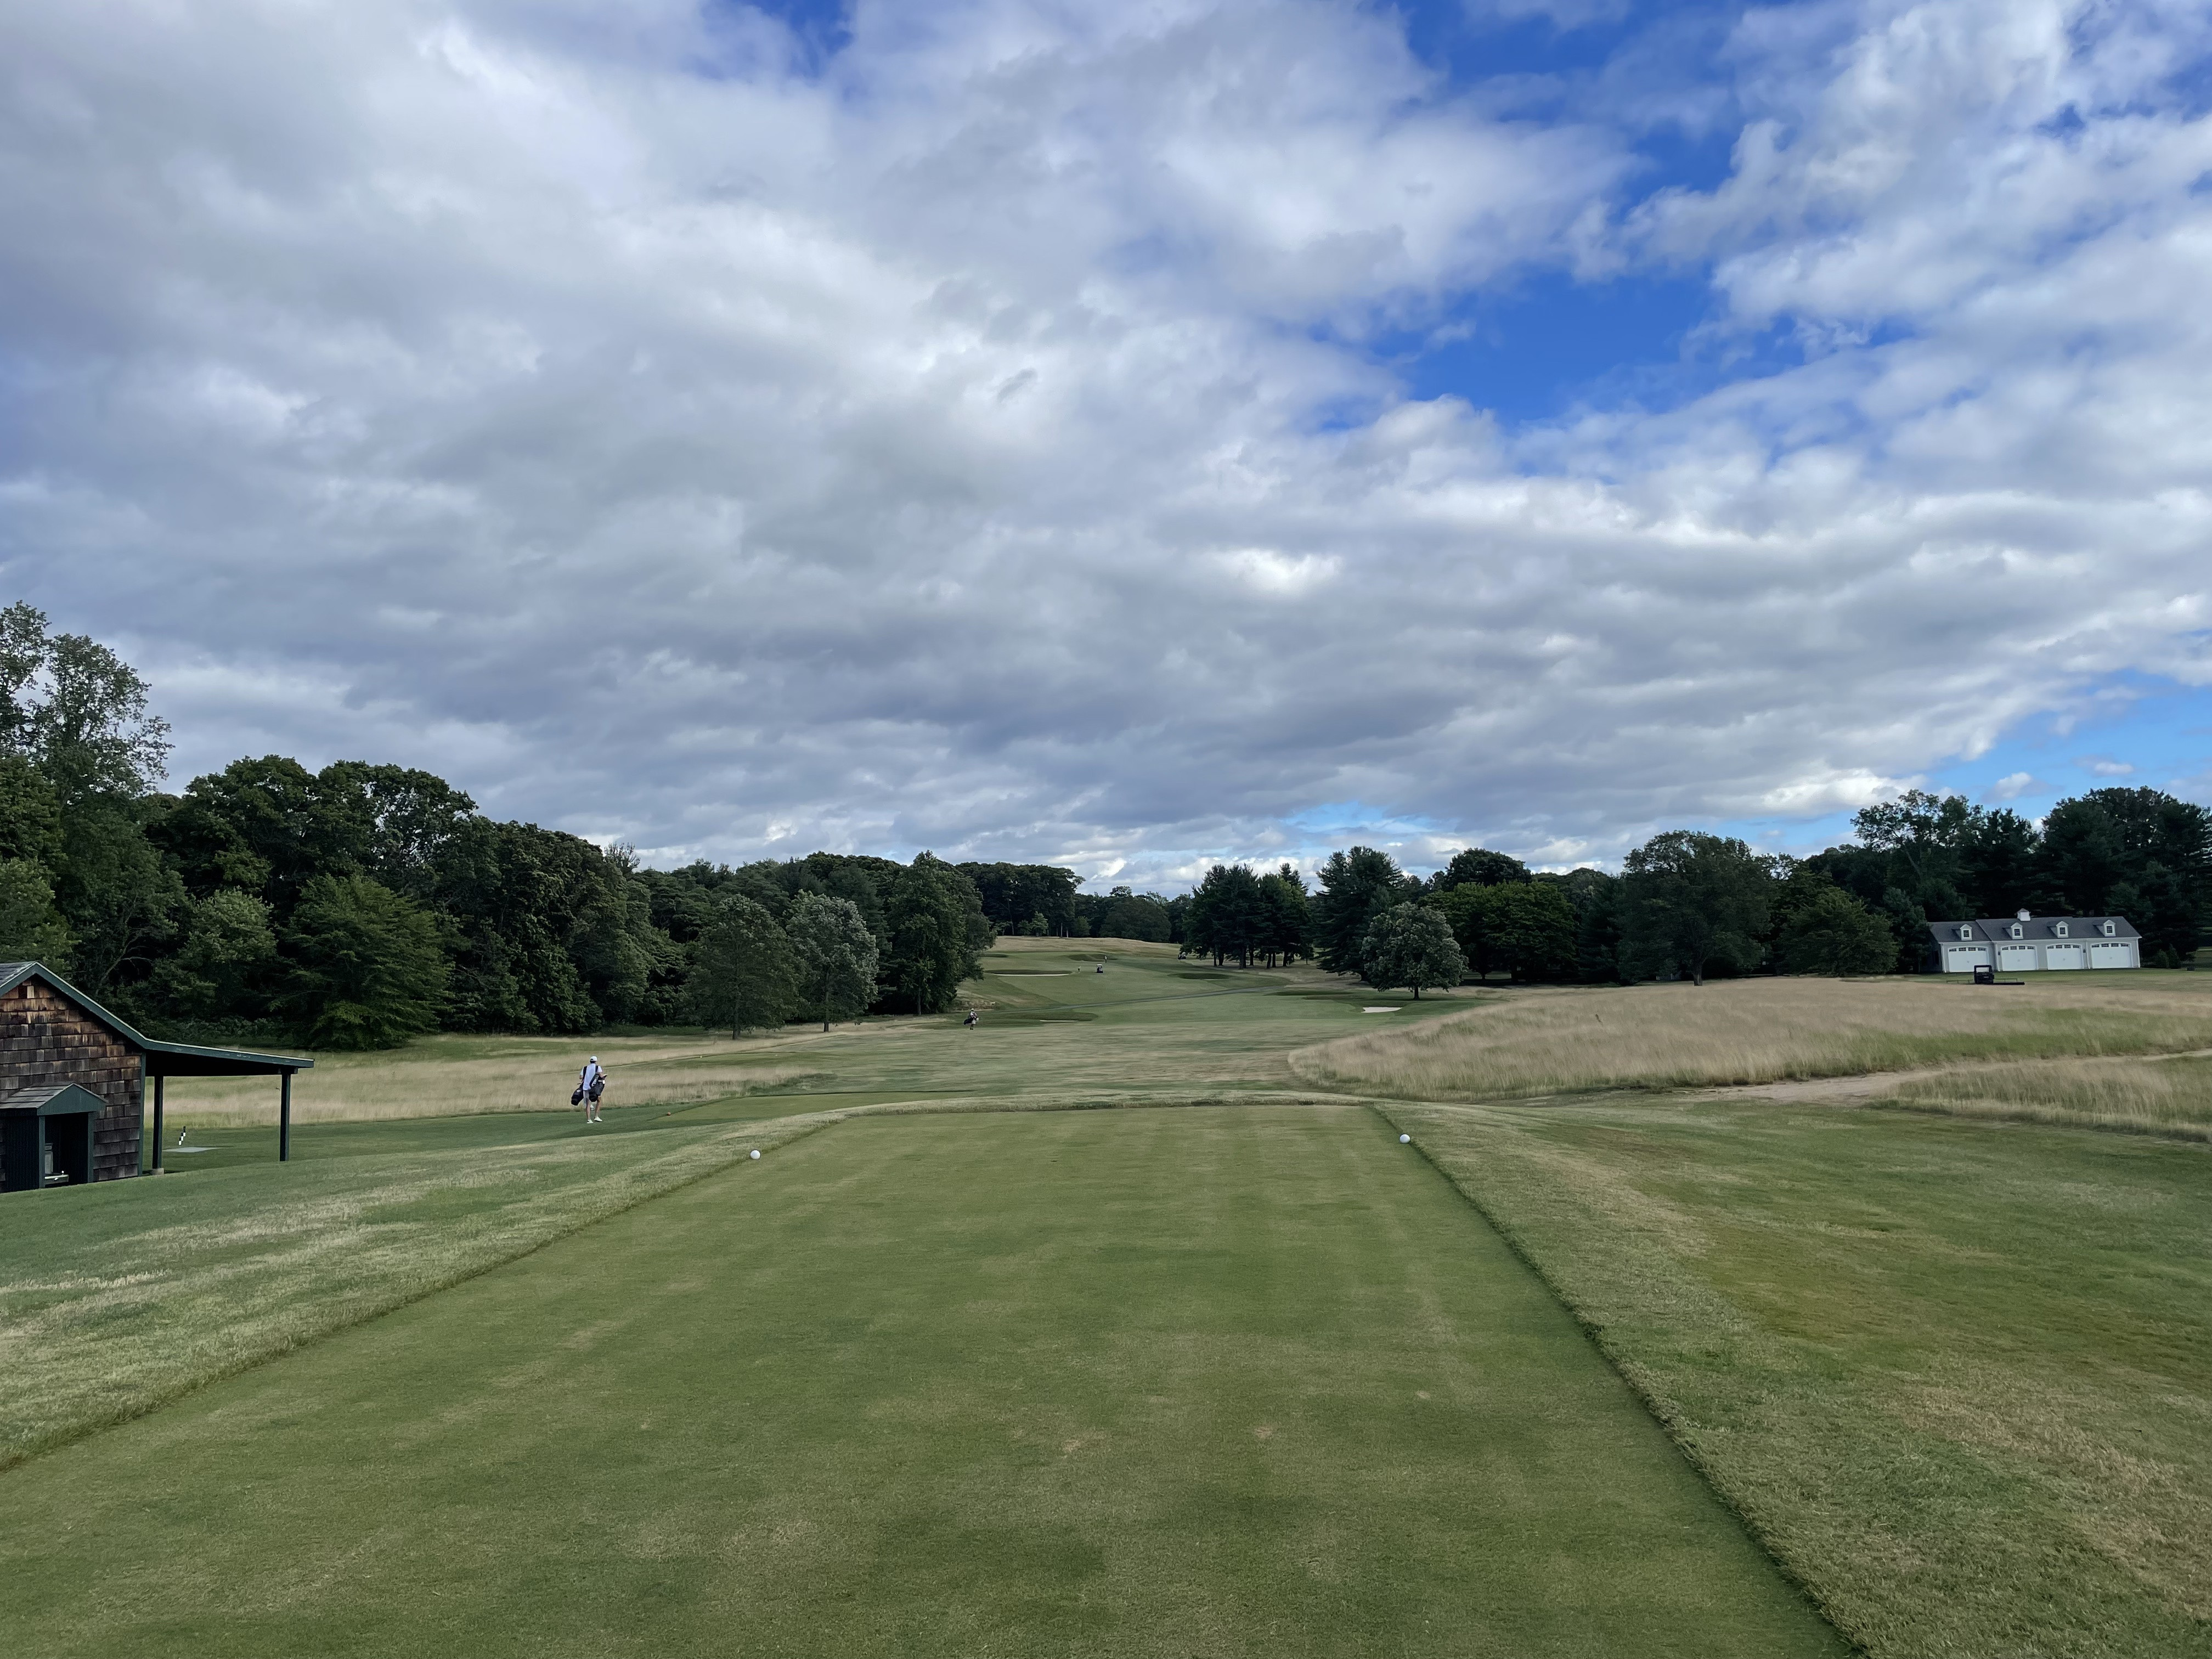
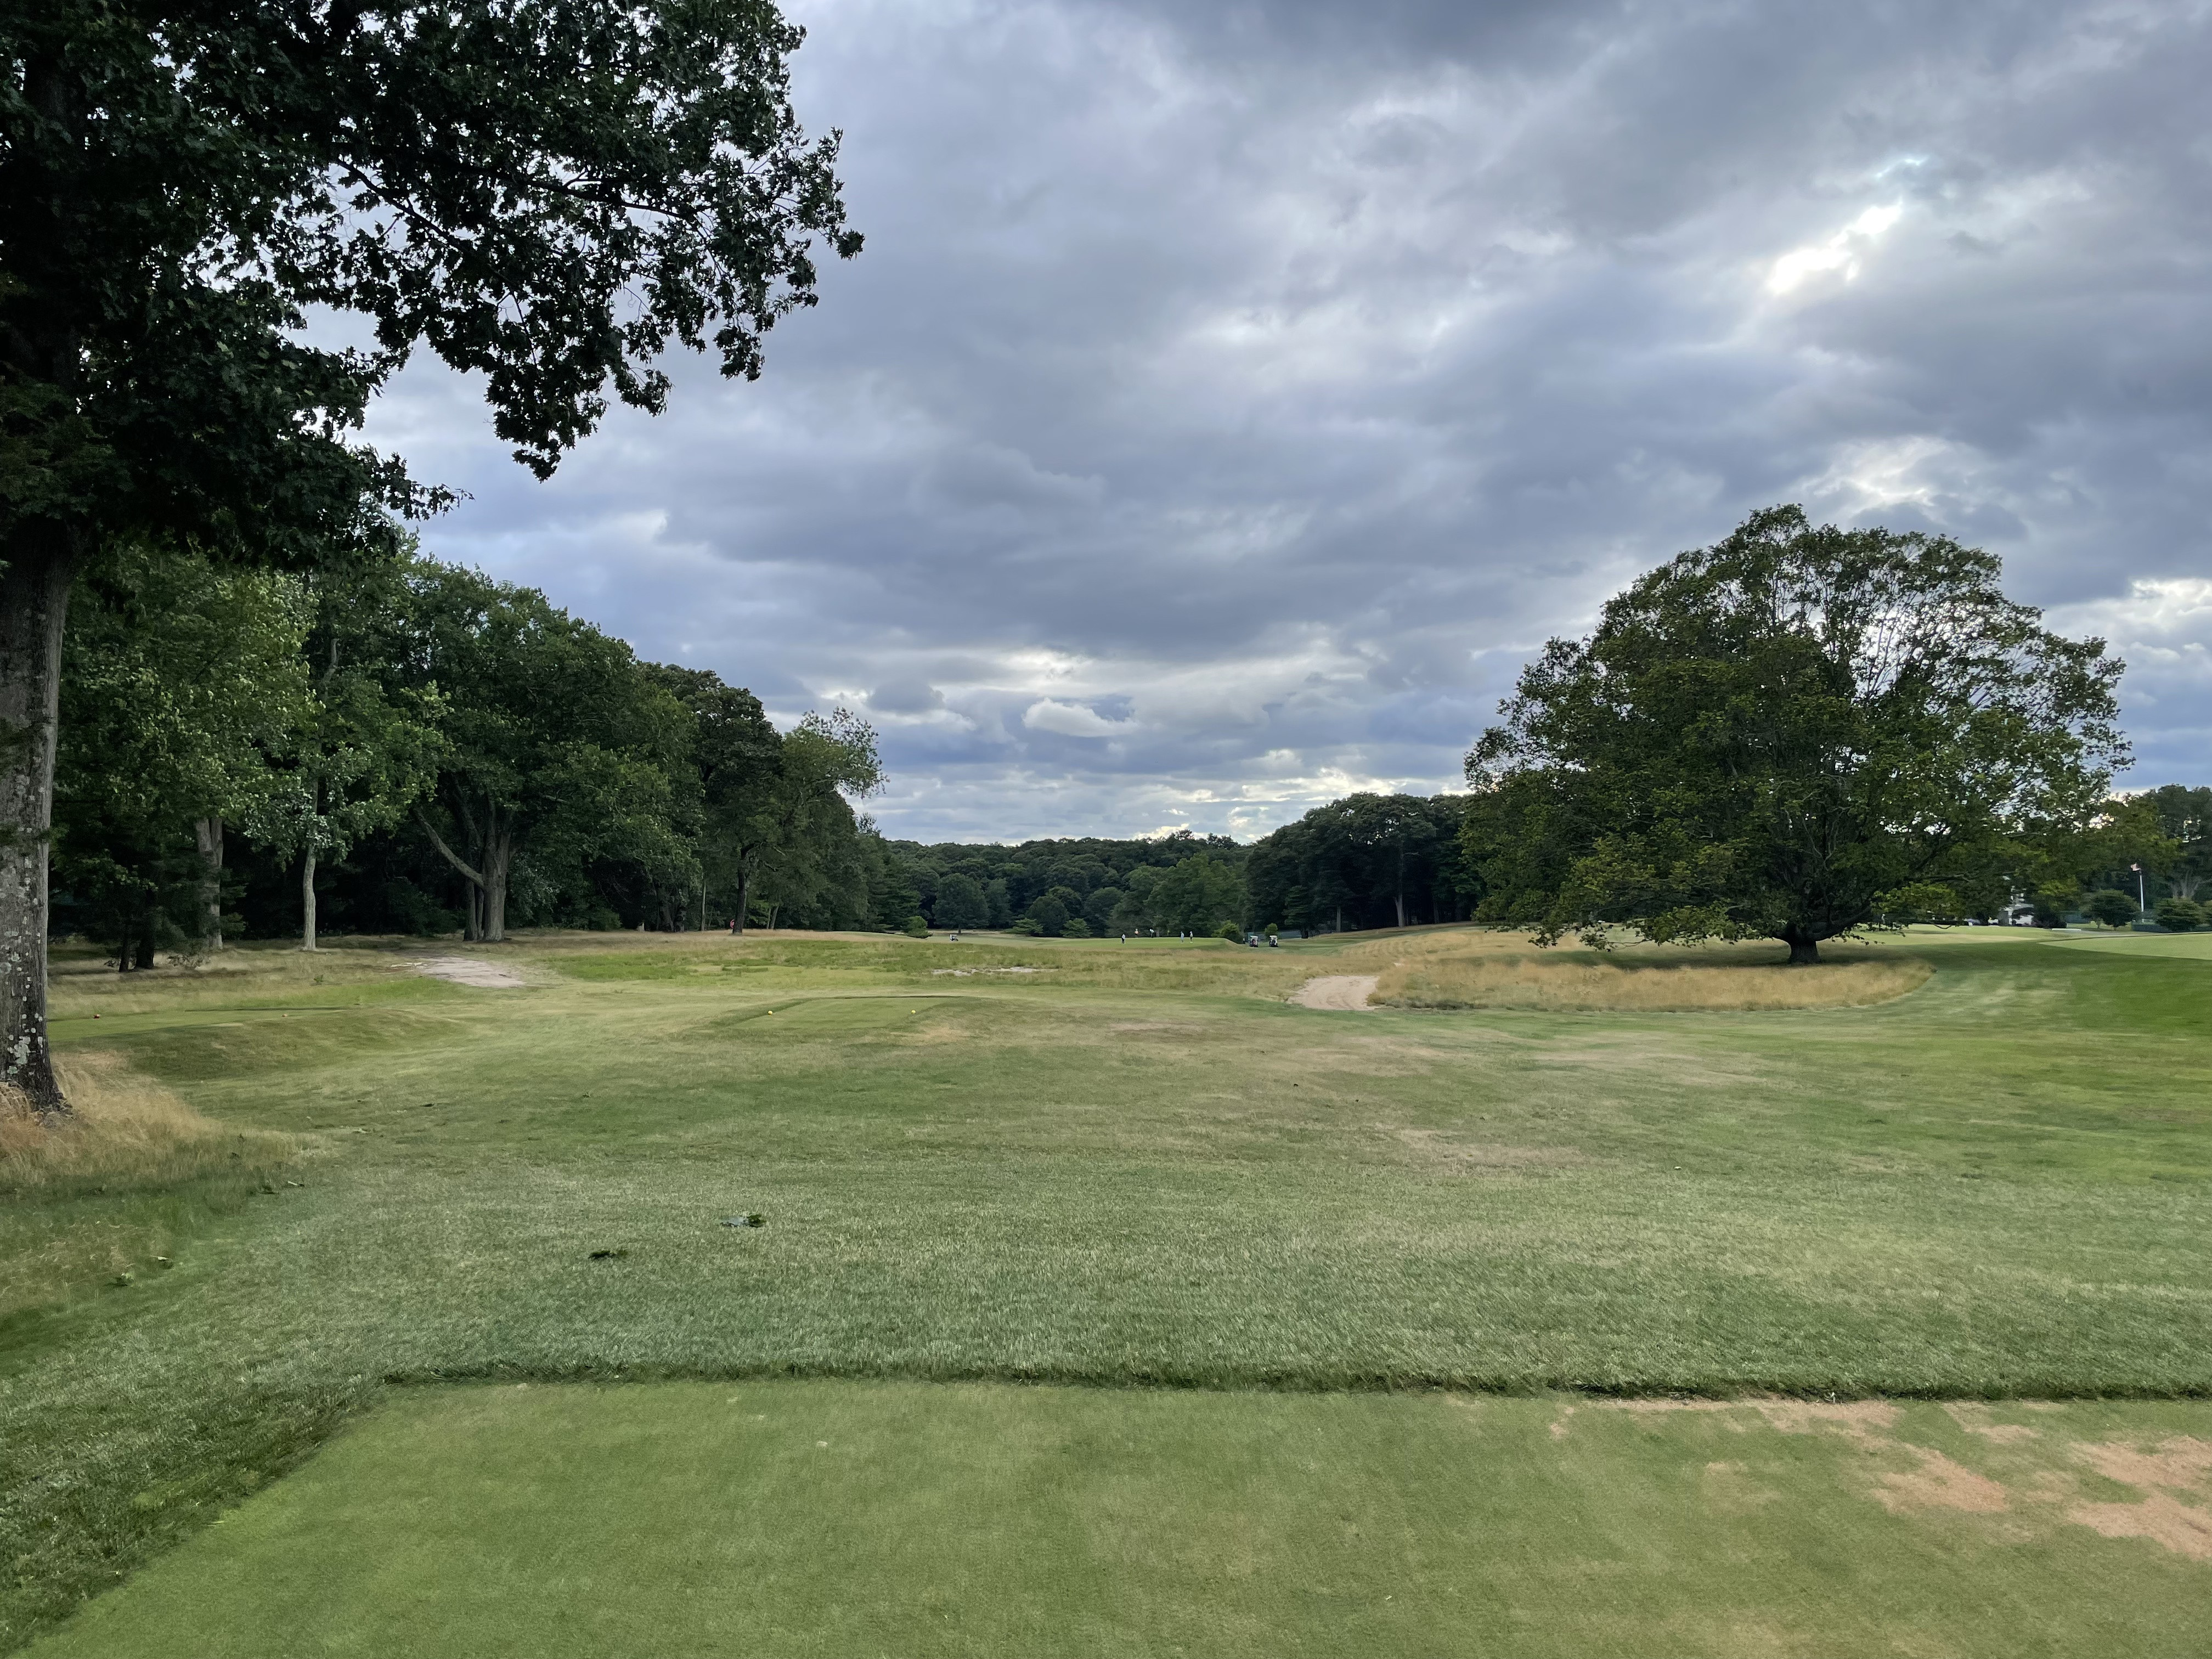
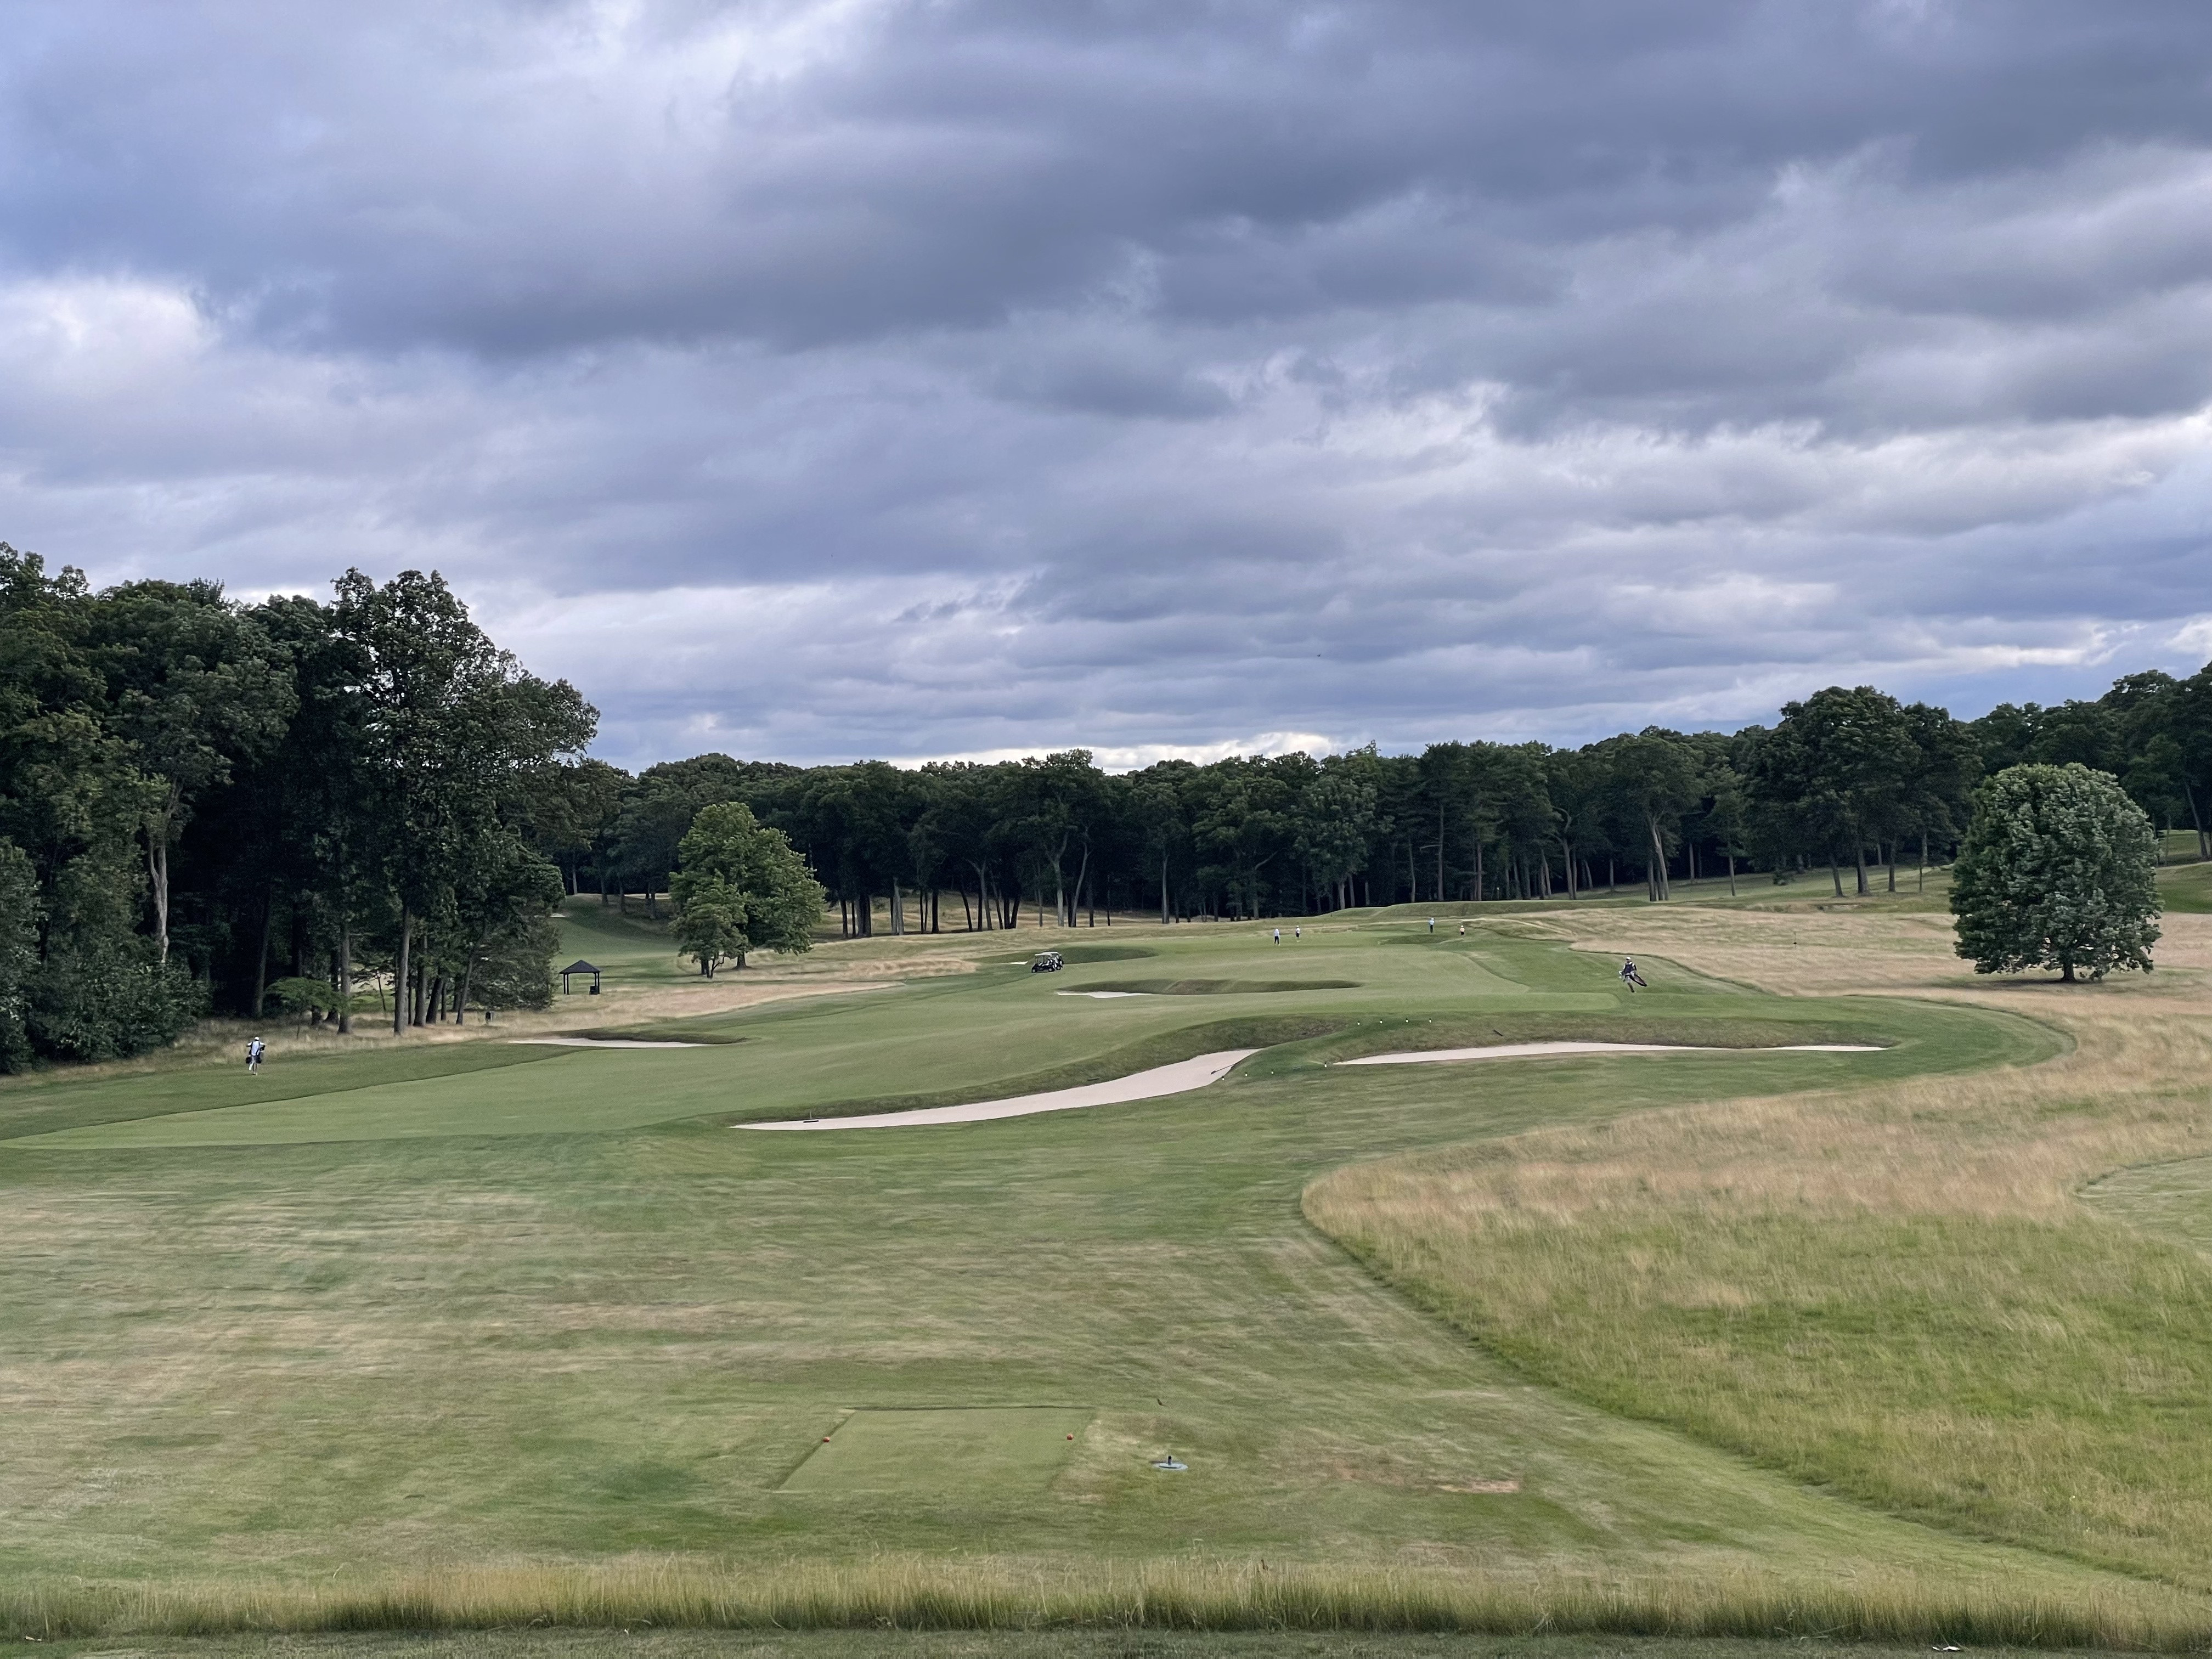
#1: First Hole (Par 4, 399 yards)
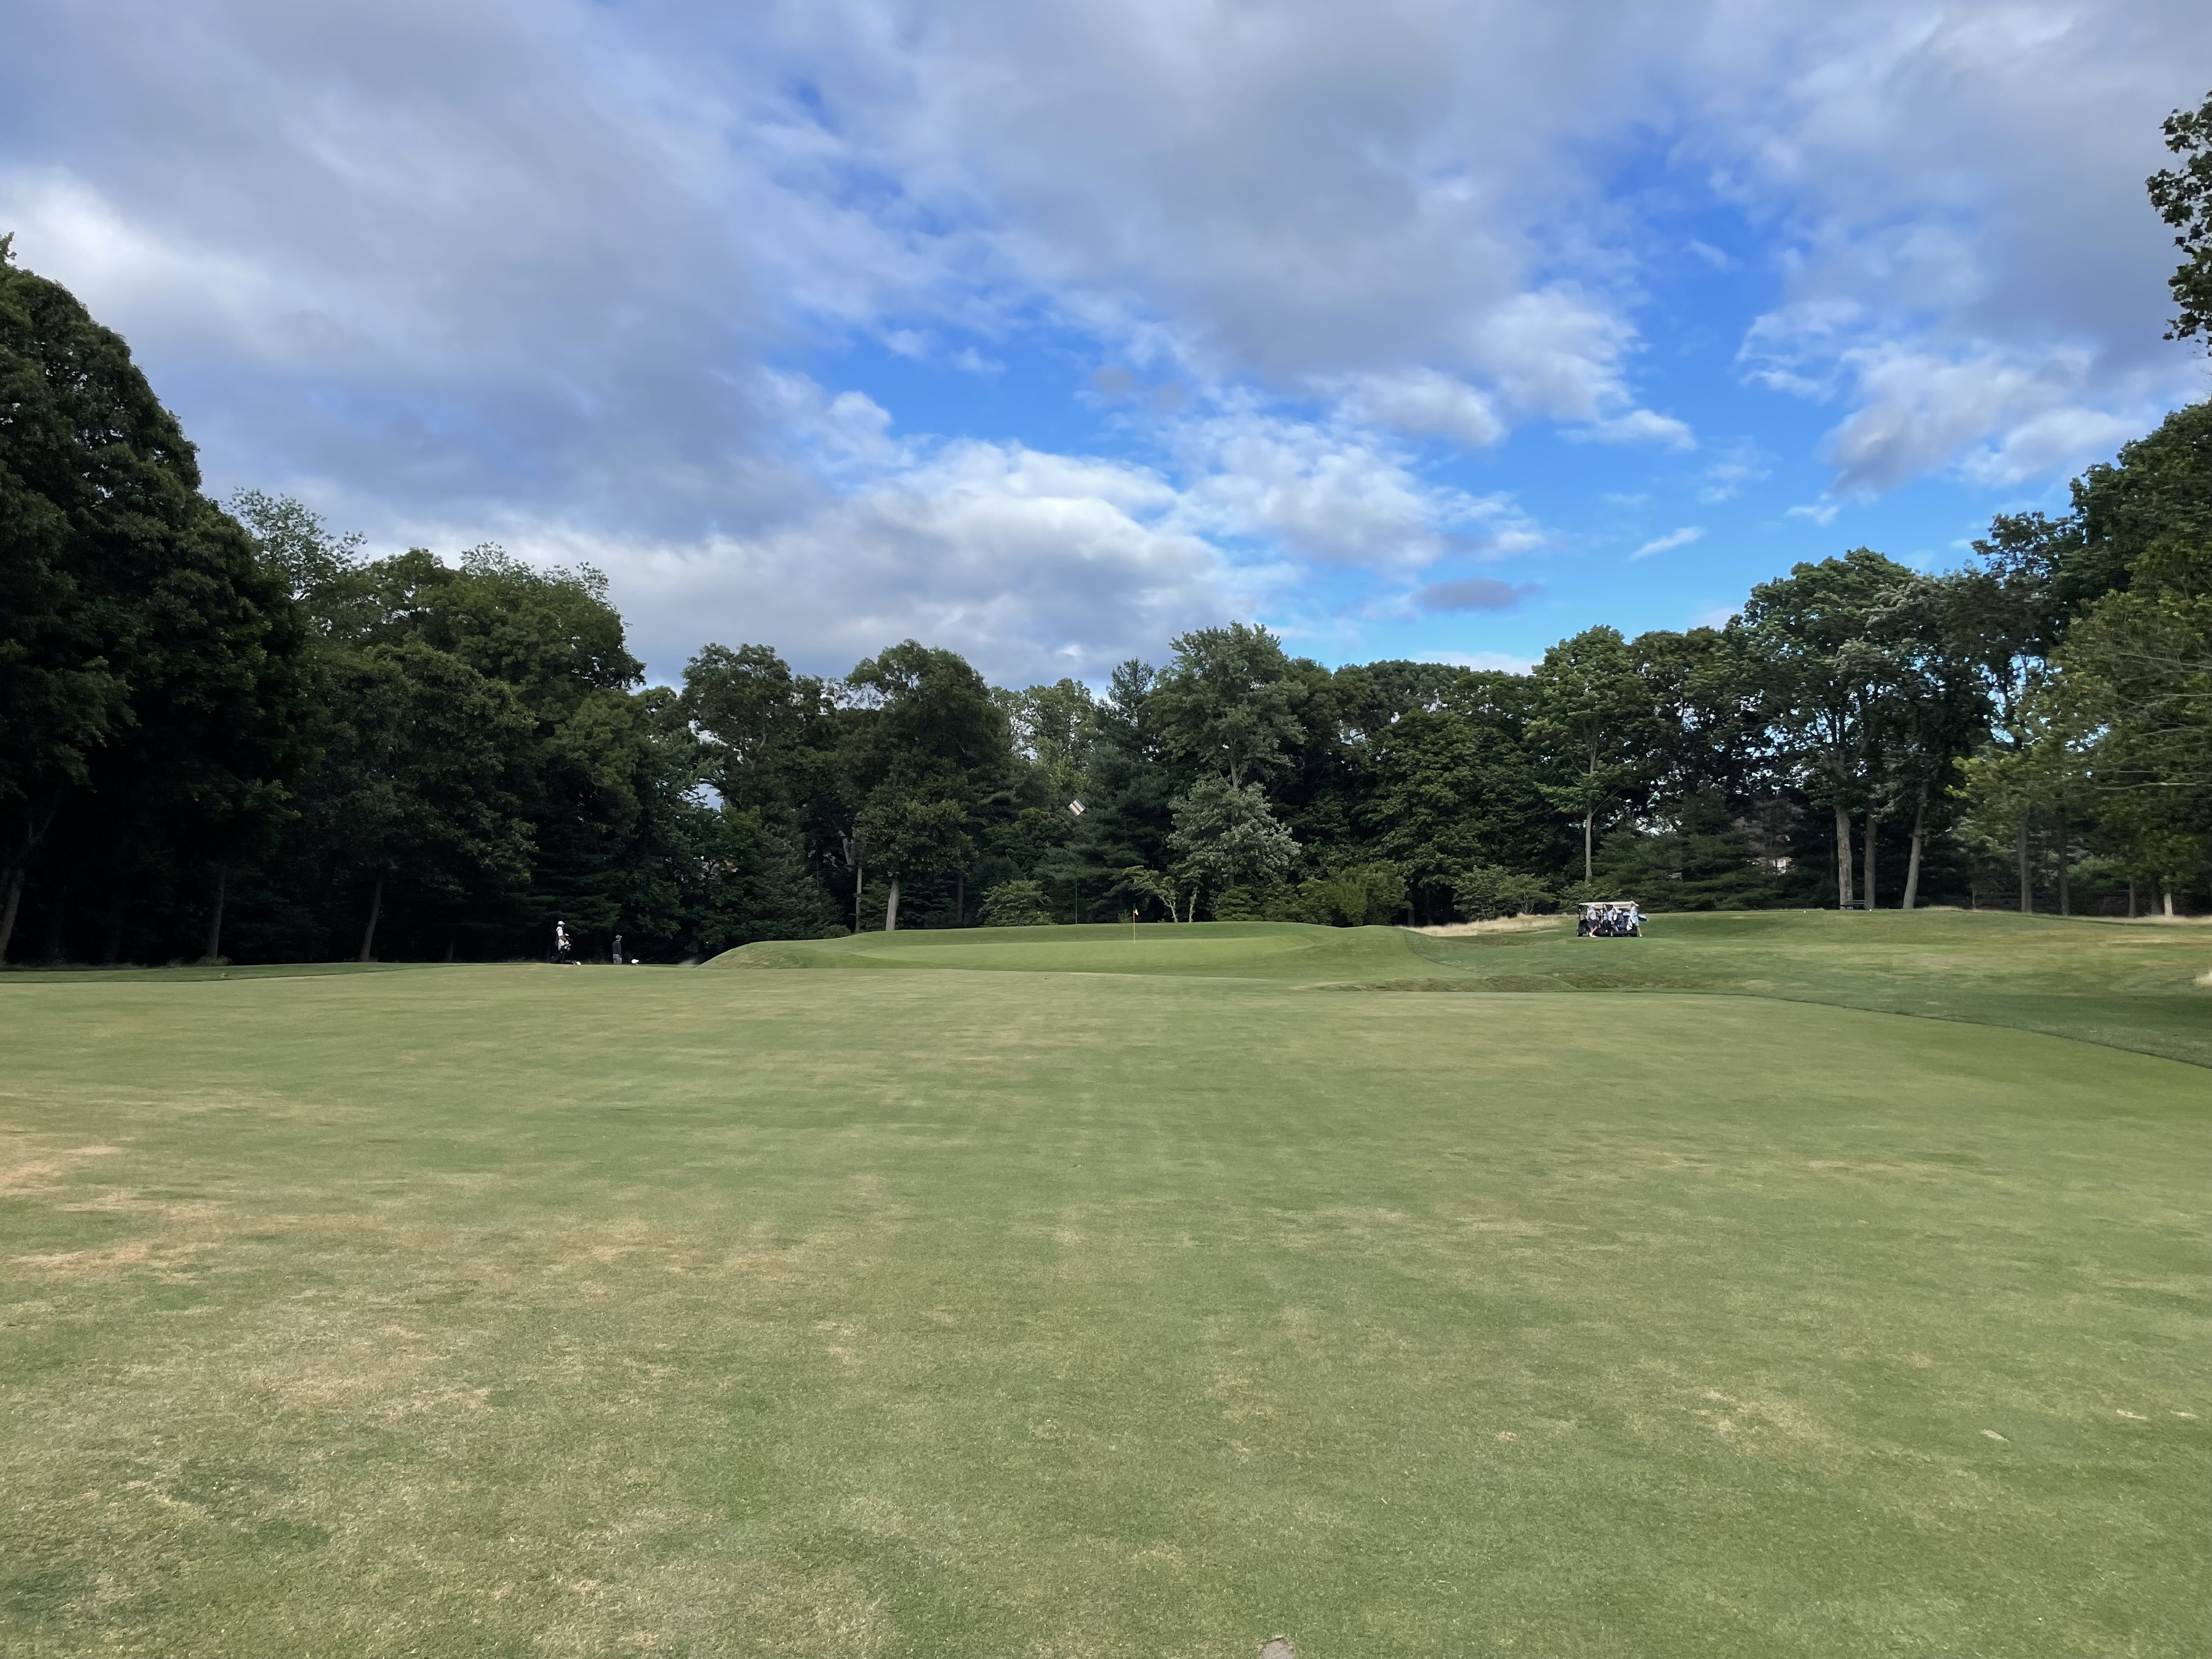
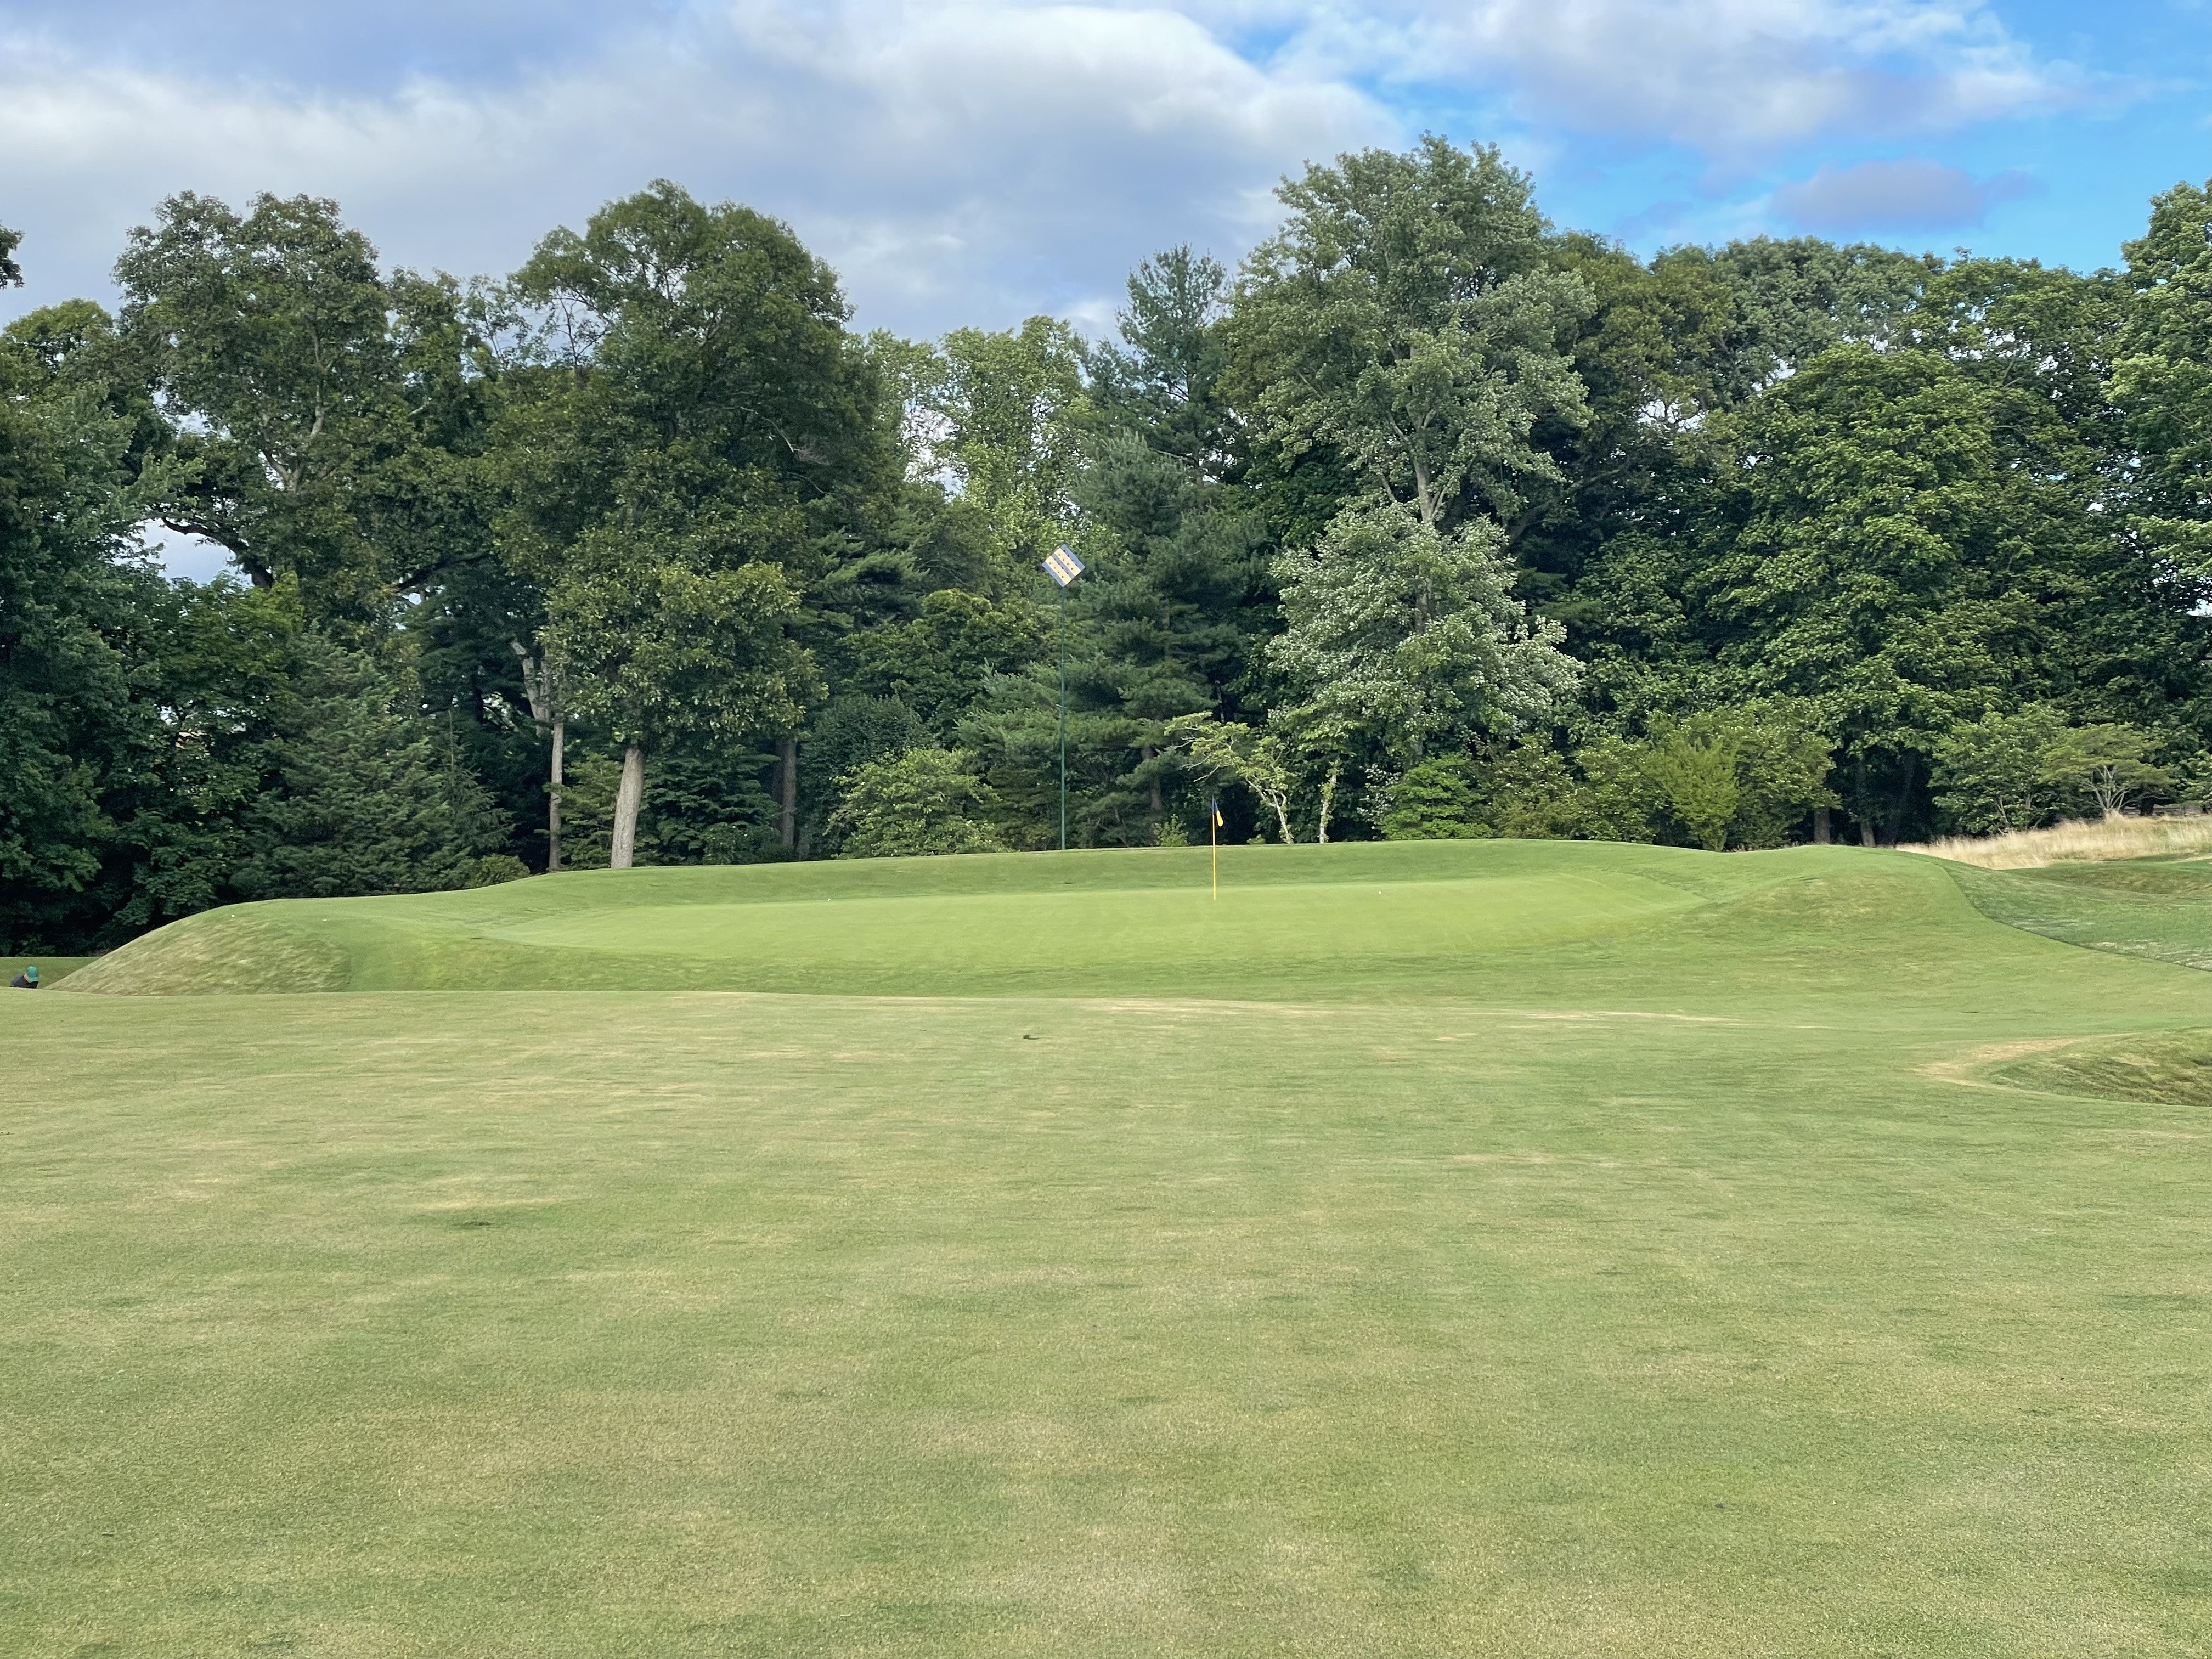
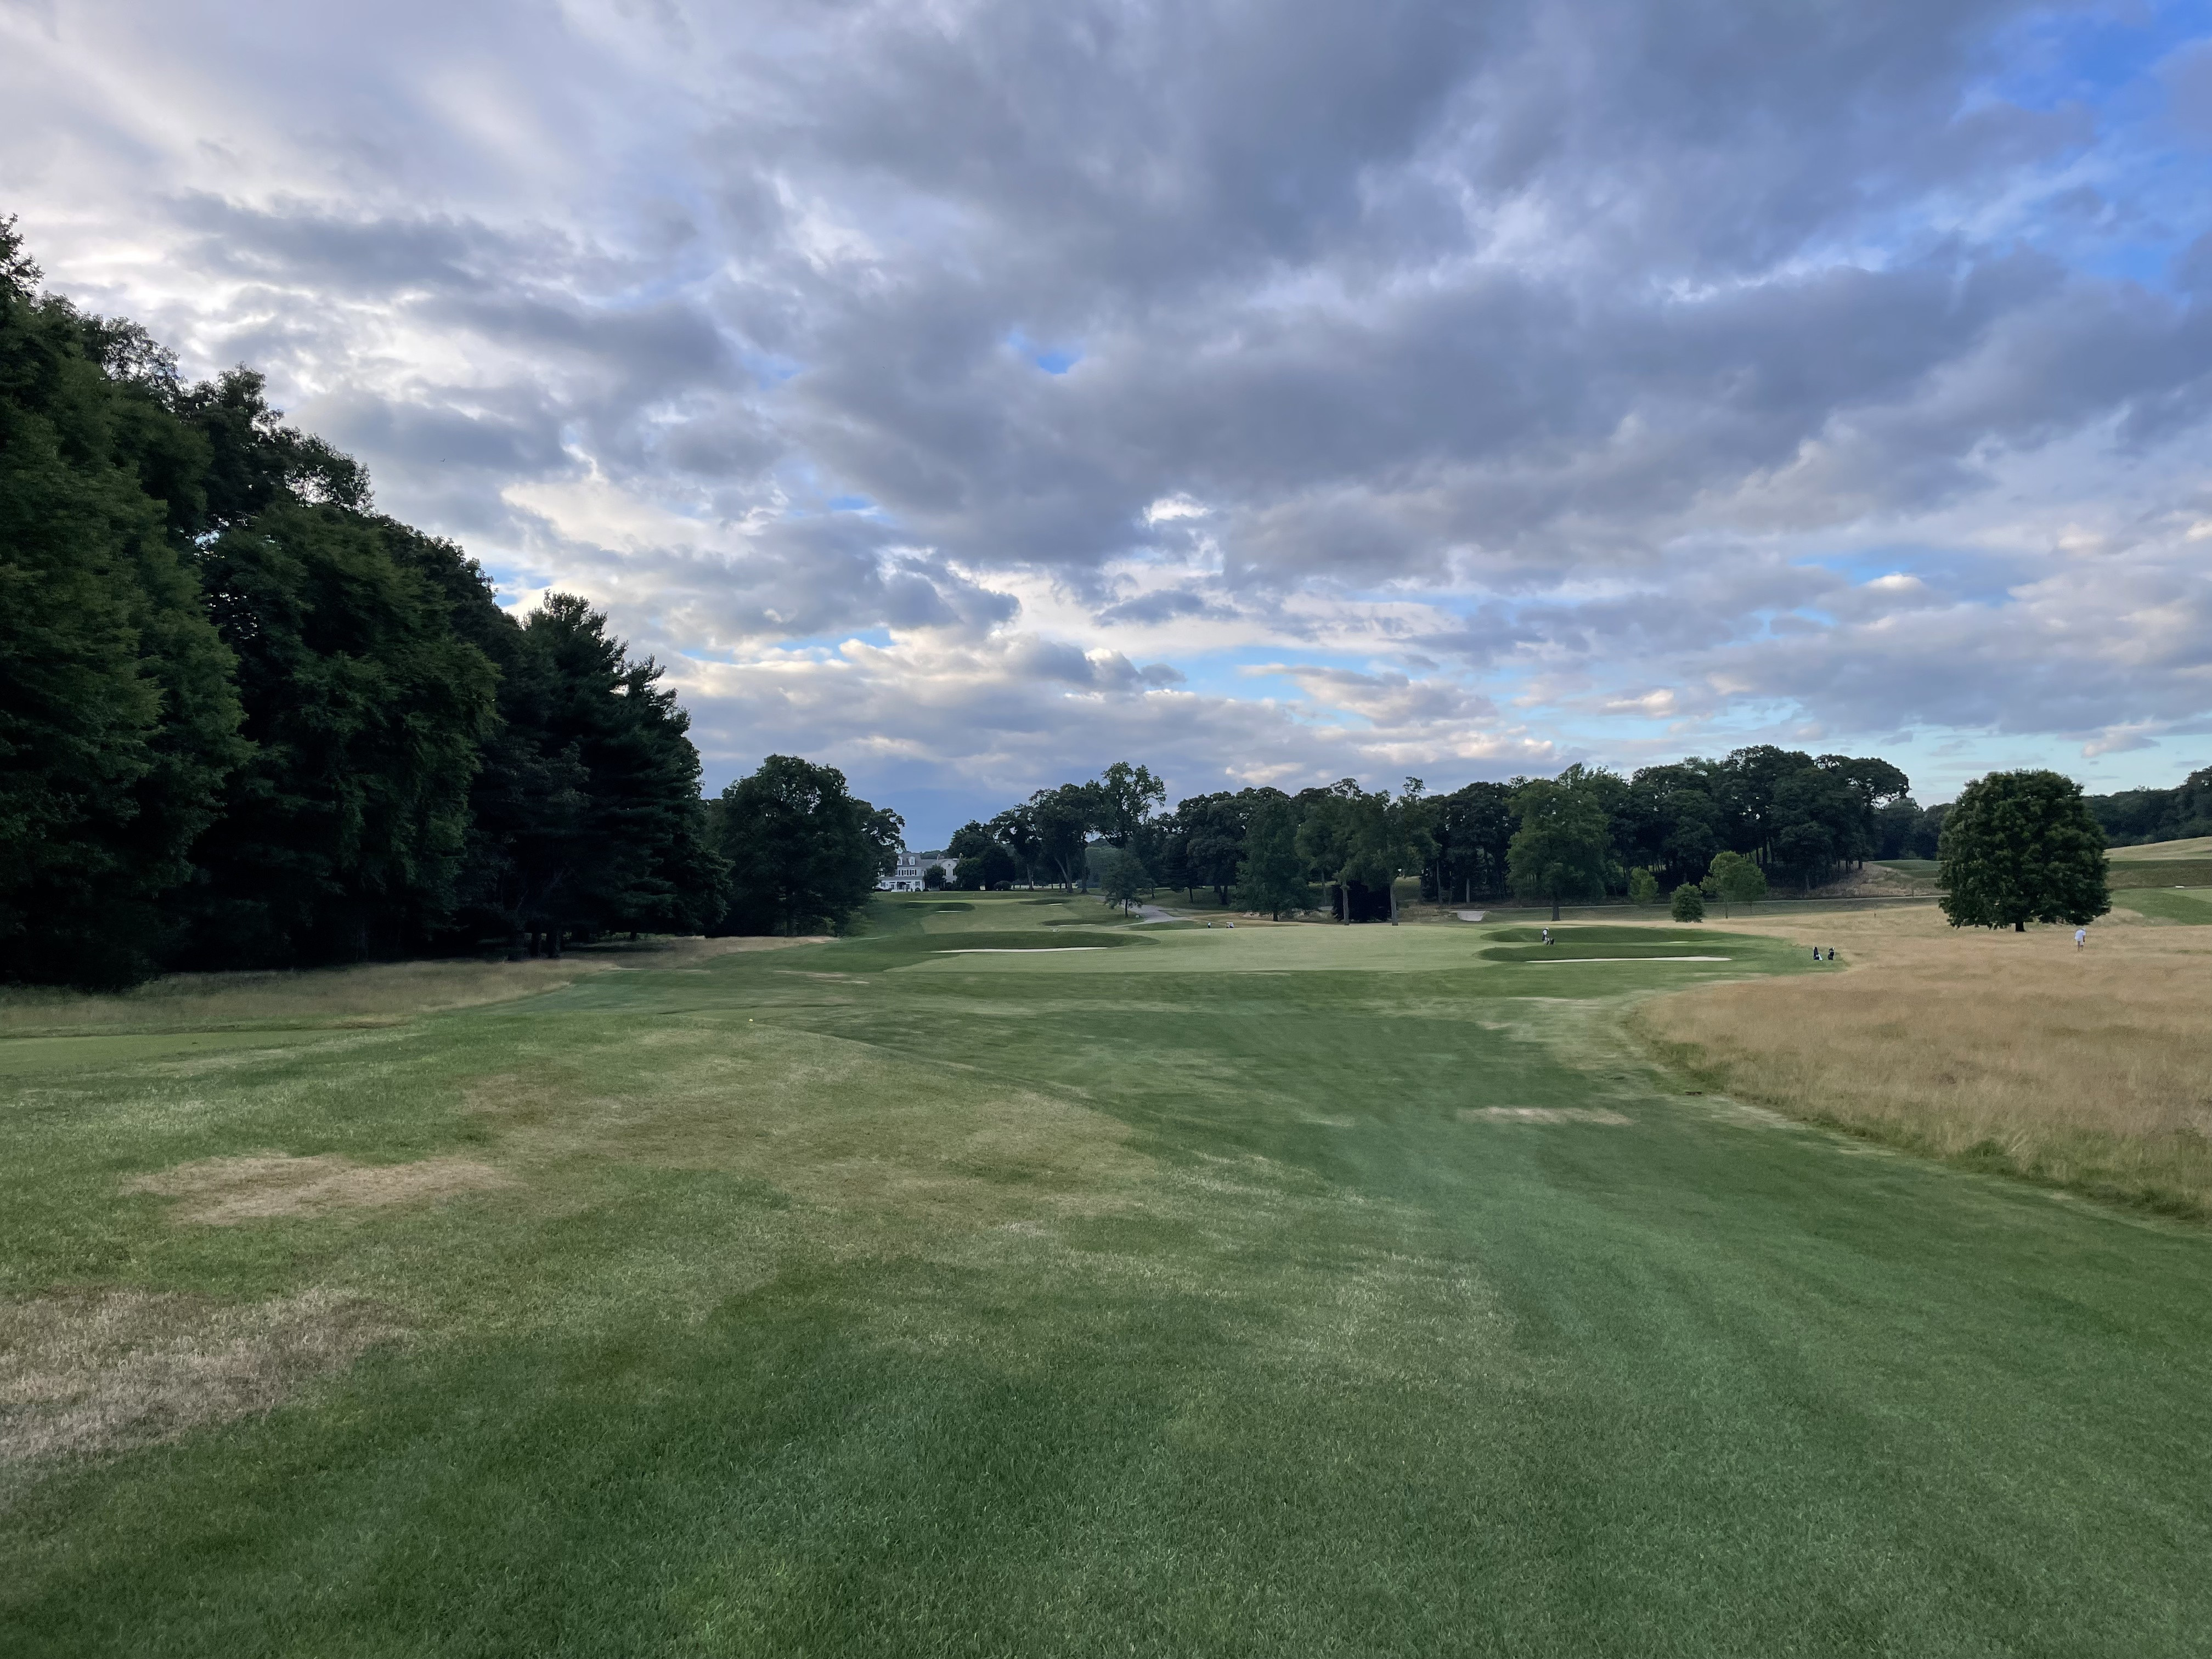
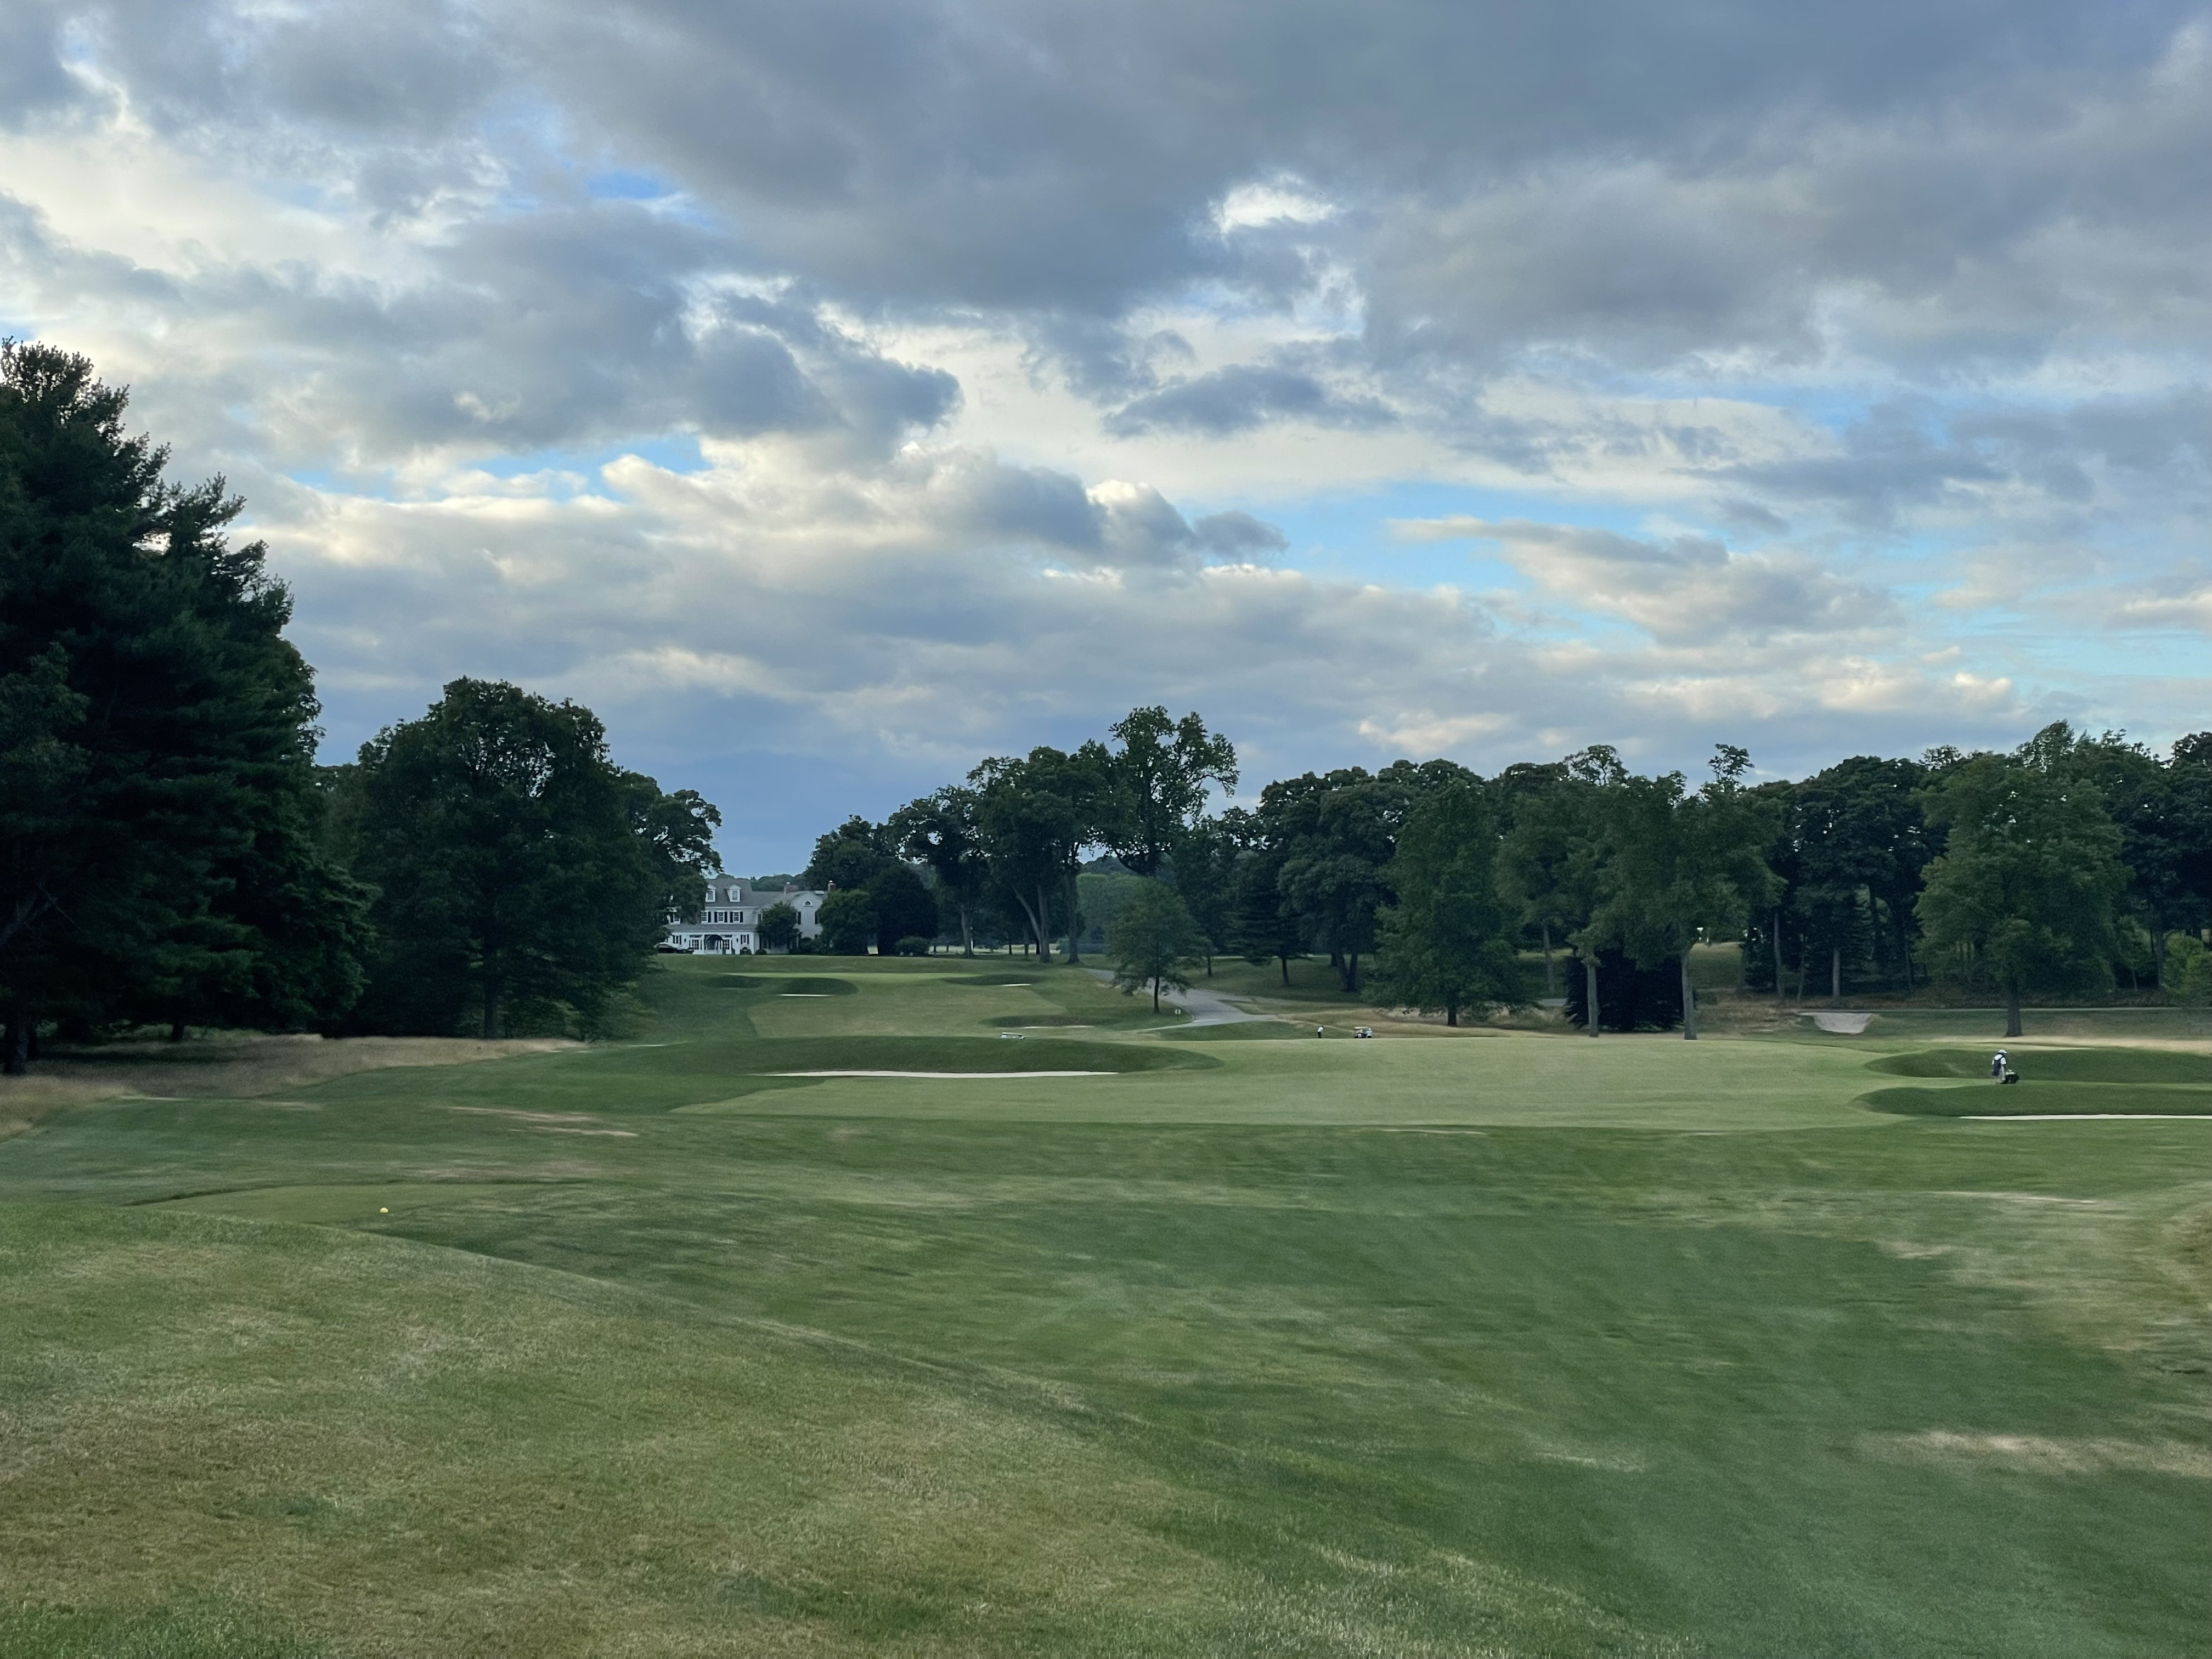
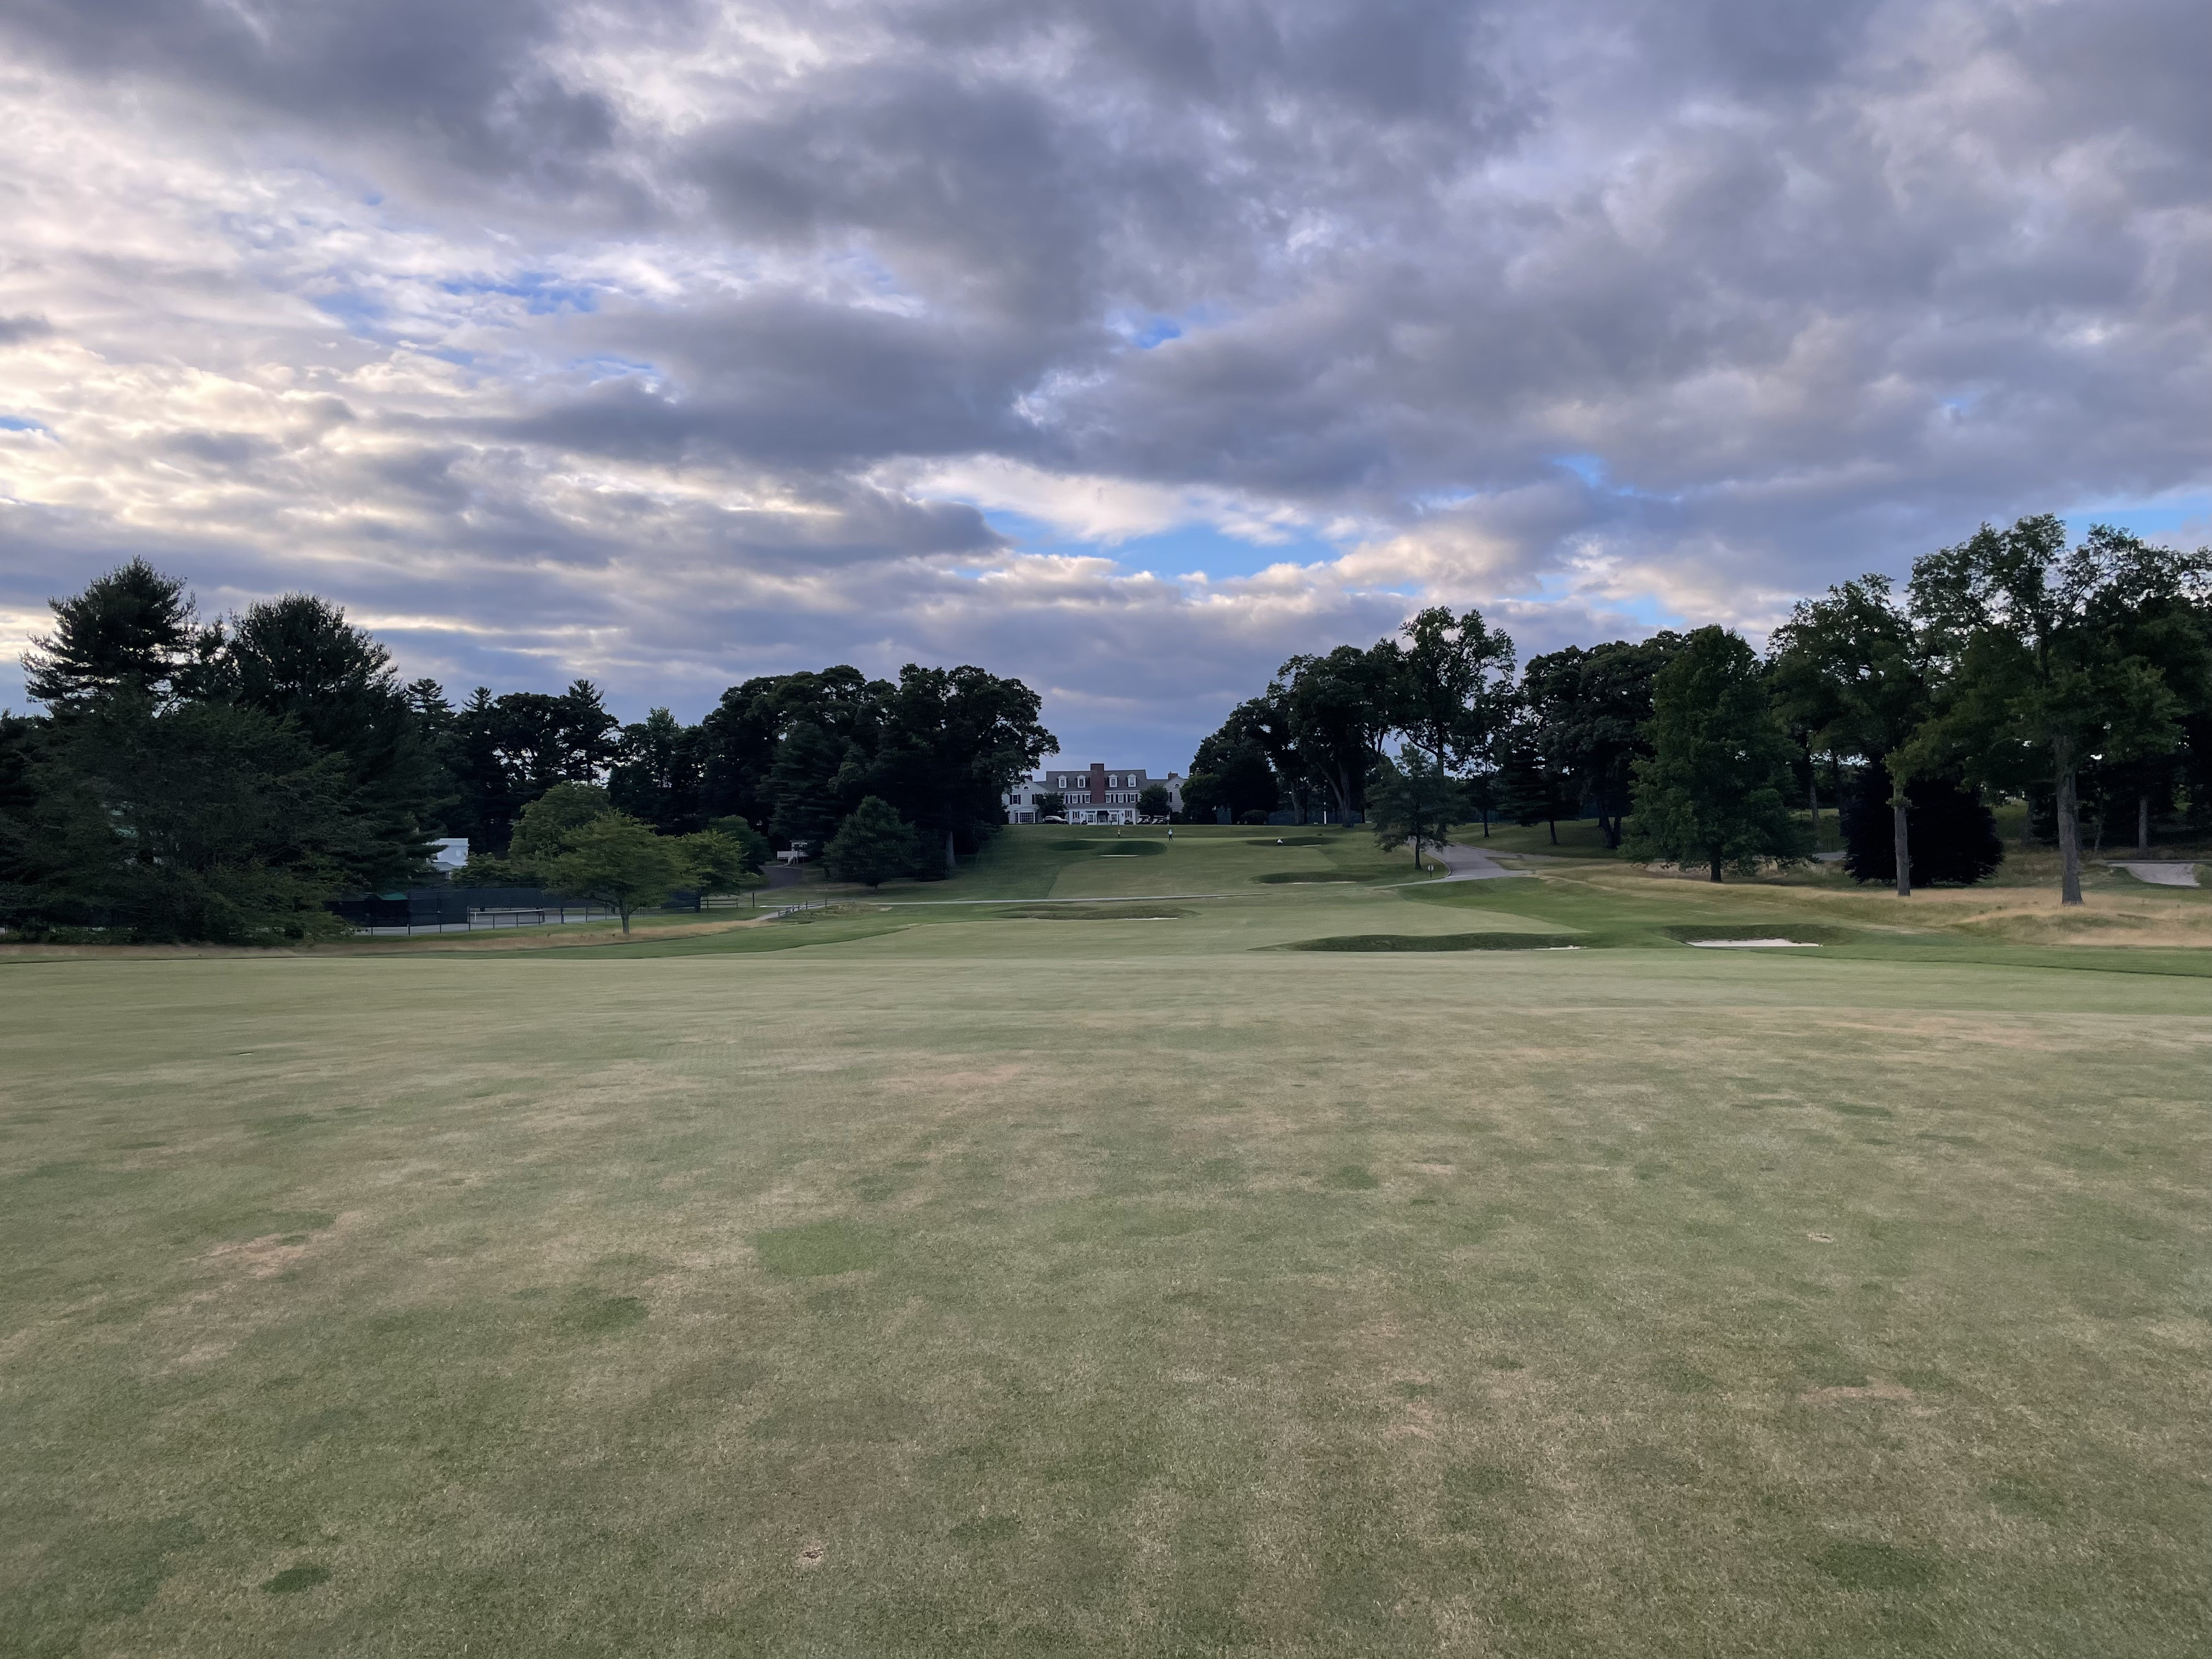
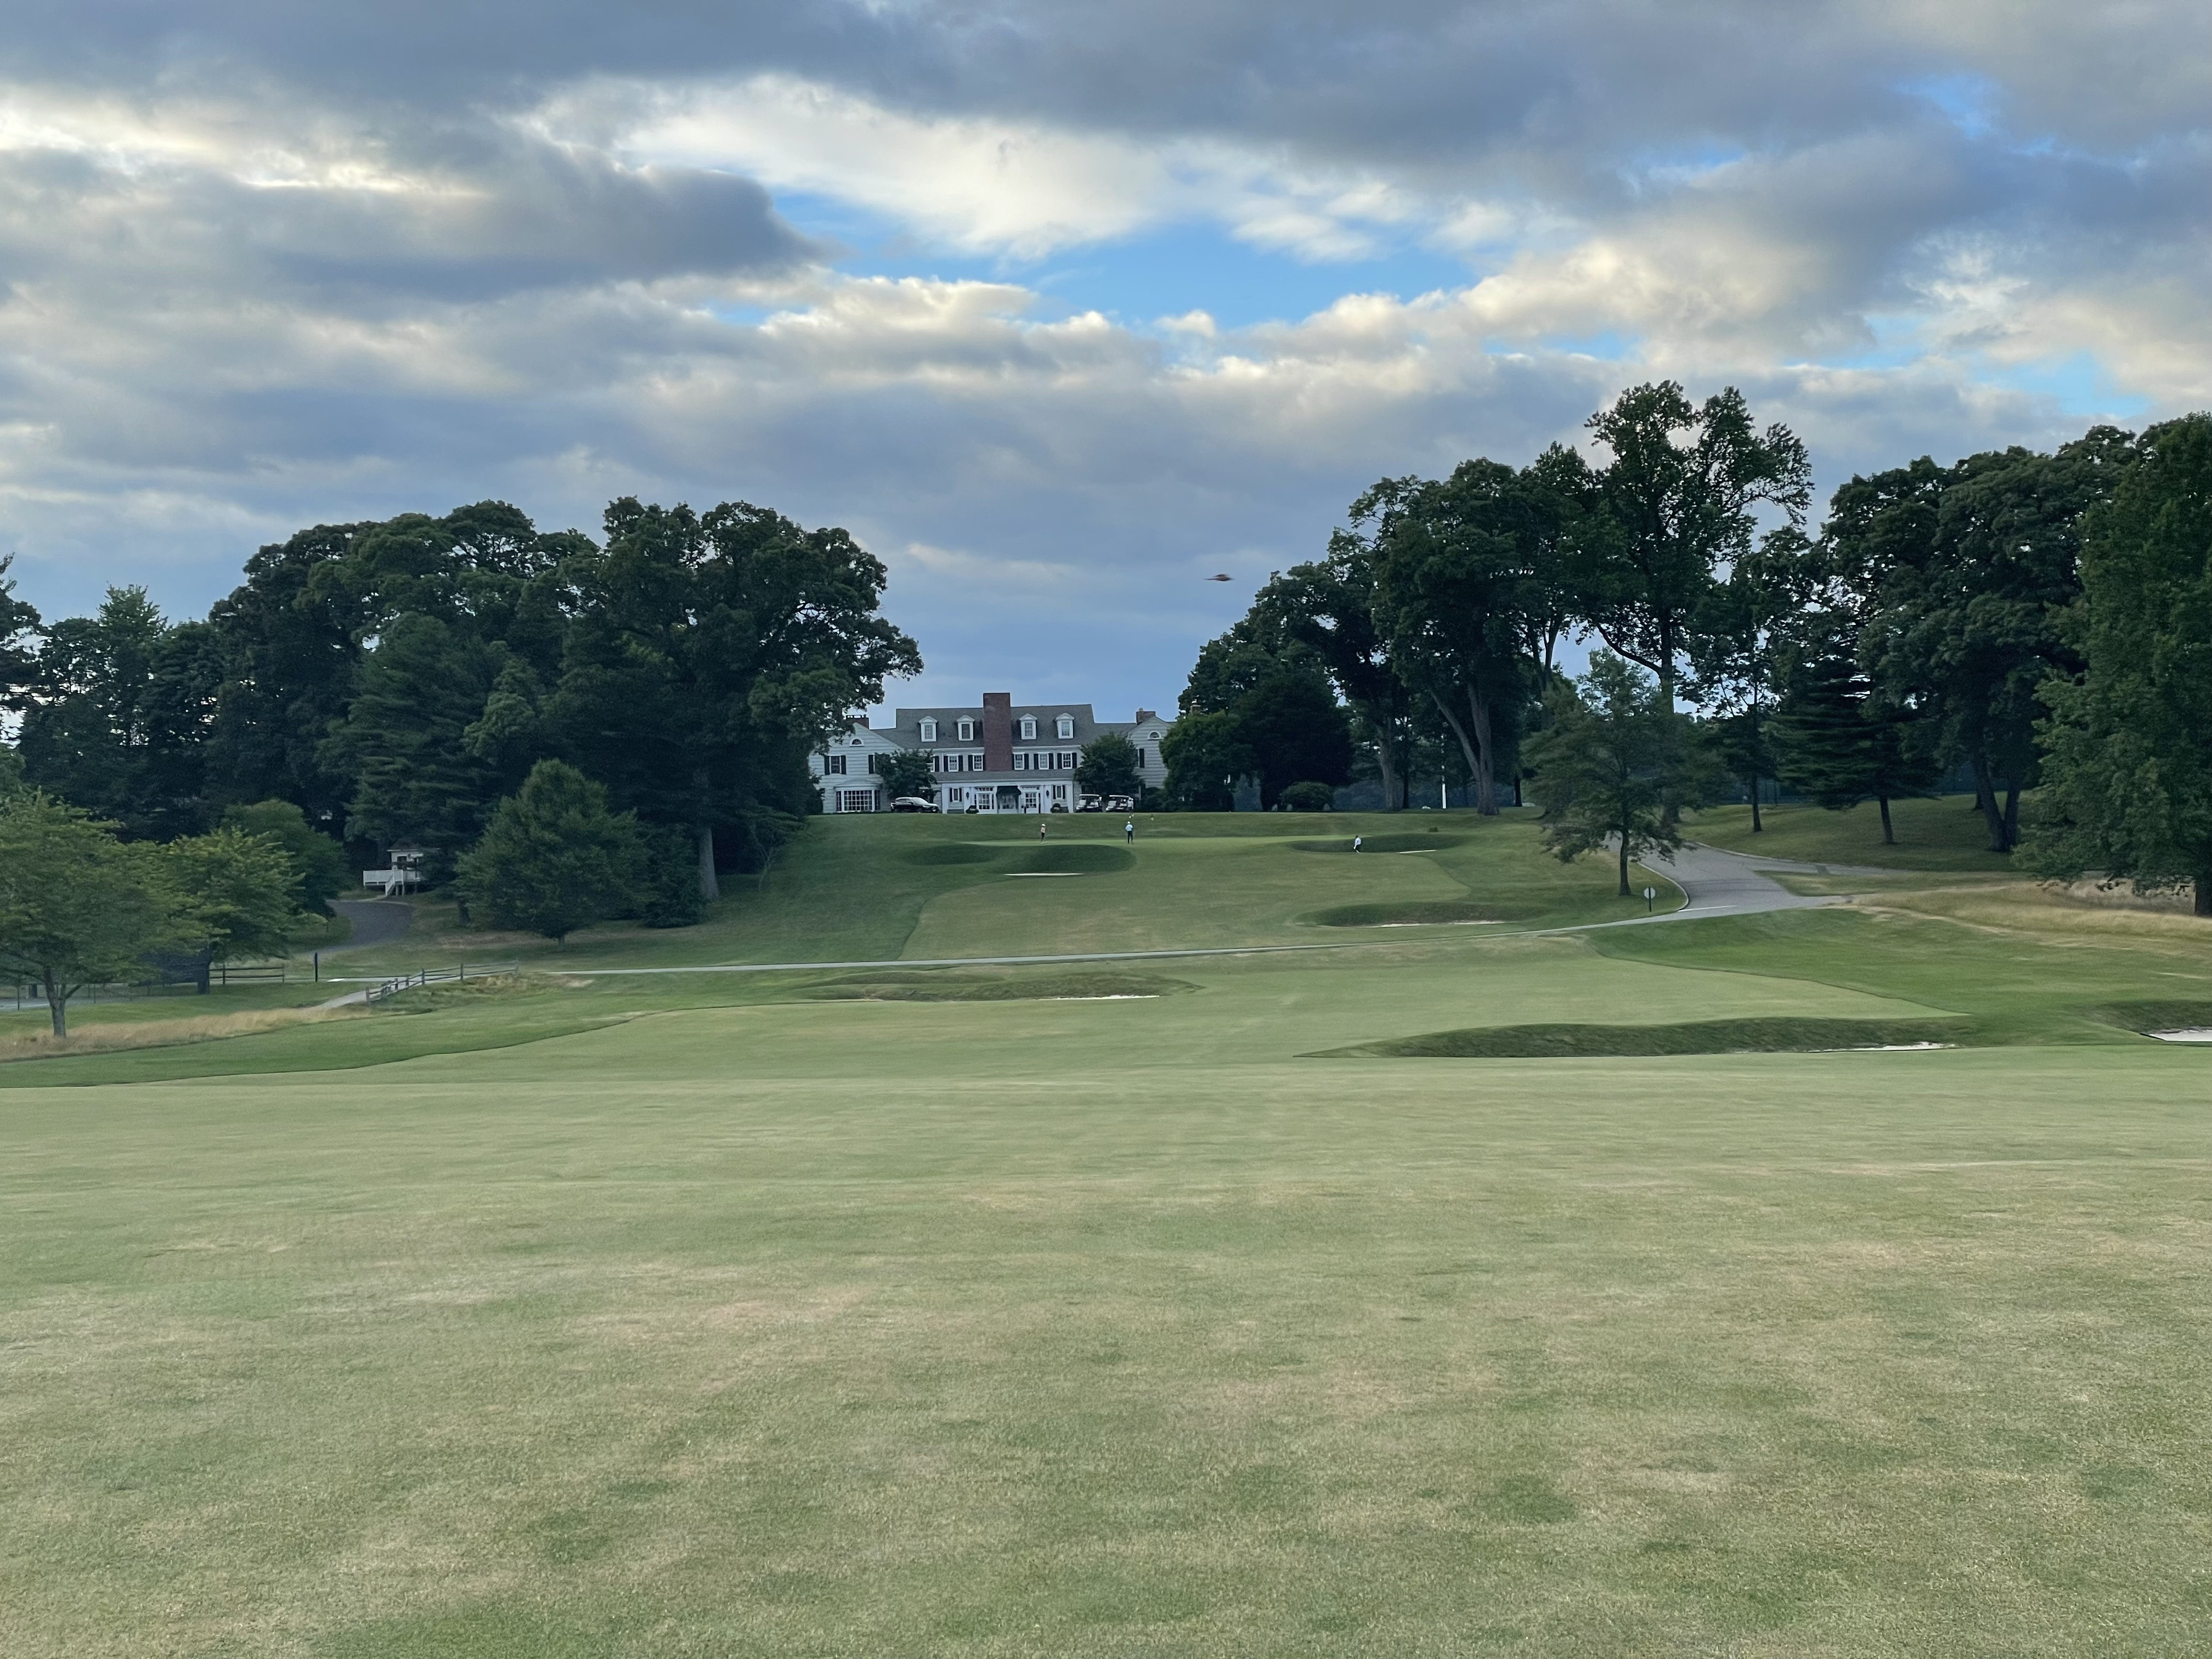
The opening hole at Piping Rock, aptly named “First Hole,” is a 399-yard par 4 that sets the stage for the strategic challenges to come. From the slightly elevated tee, golfers are presented with a clear view of the bunker placement, allowing for a calculated opening shot. The ideal approach favors the left side of the fairway, cautiously navigating the central bunker complex. The right side presents a more demanding angle. The green offers a welcoming entry point at the front but is well-guarded by bunkers on multiple sides, immediately initiating the strategic chess match that defines Piping Rock.
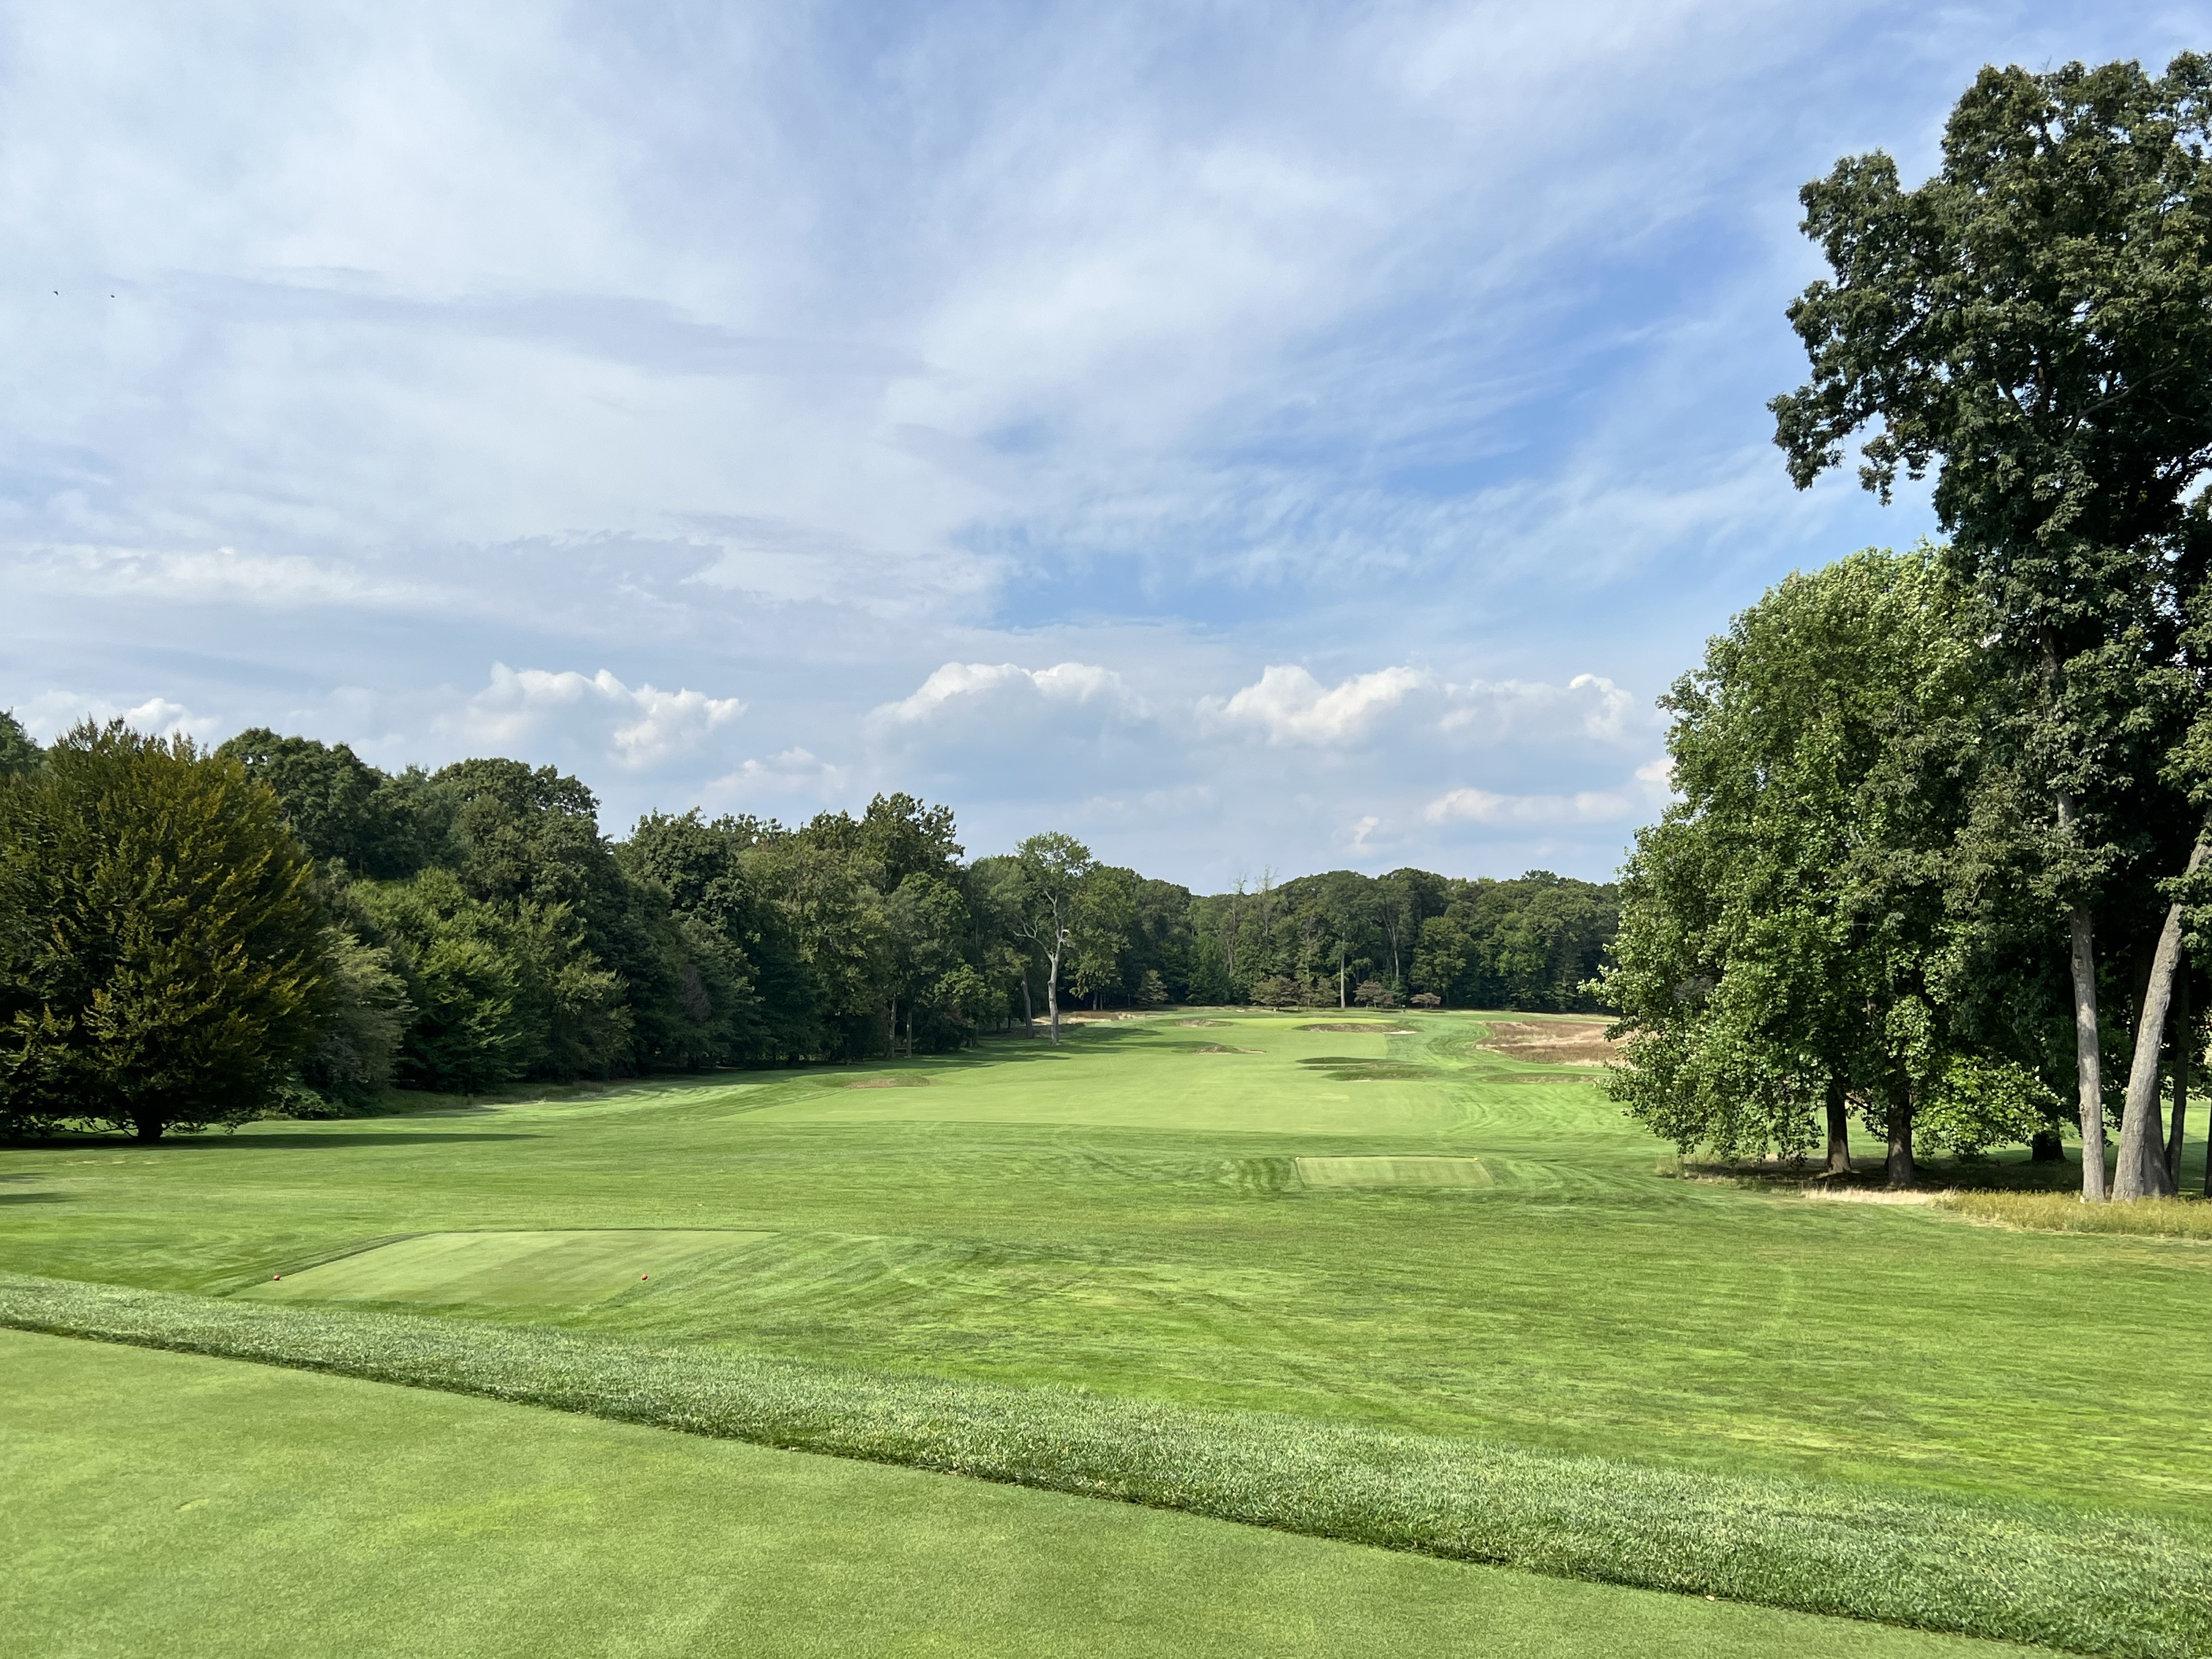 The First
 Moving down the fairway, the strategic bunkering at hand
 Moving down the fairway, the strategic bunkering at hand
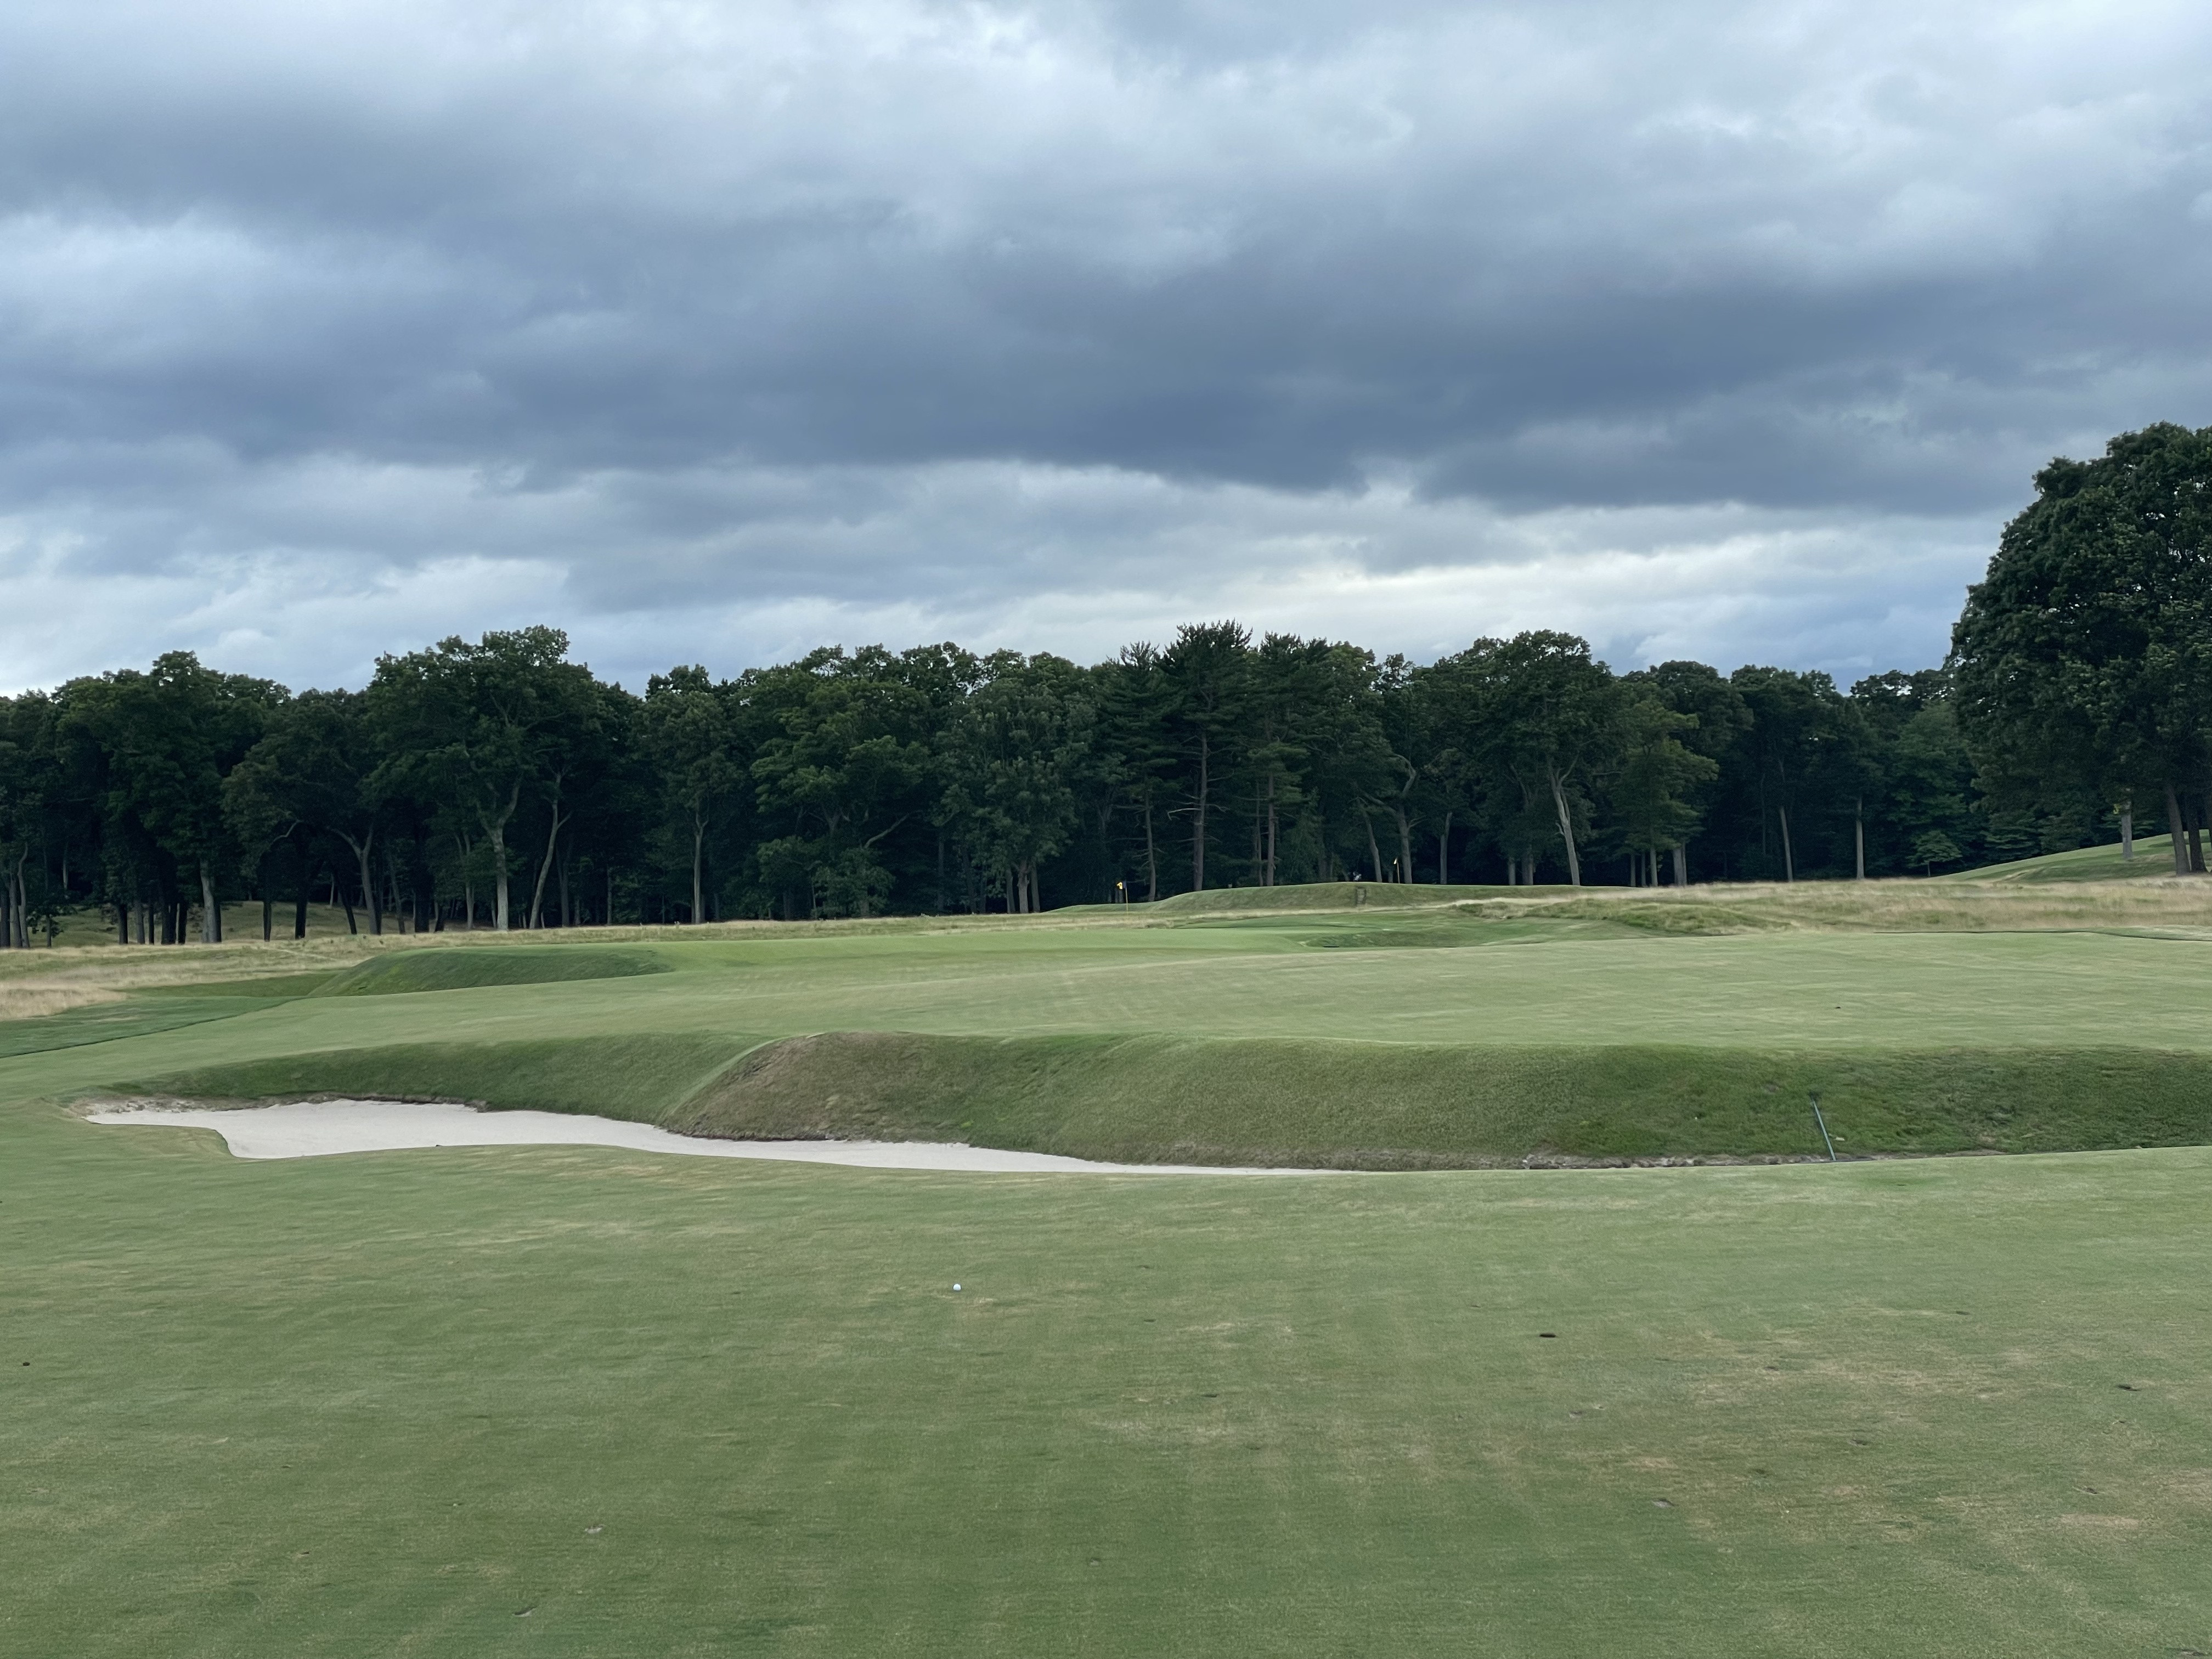
 Approach shot territory
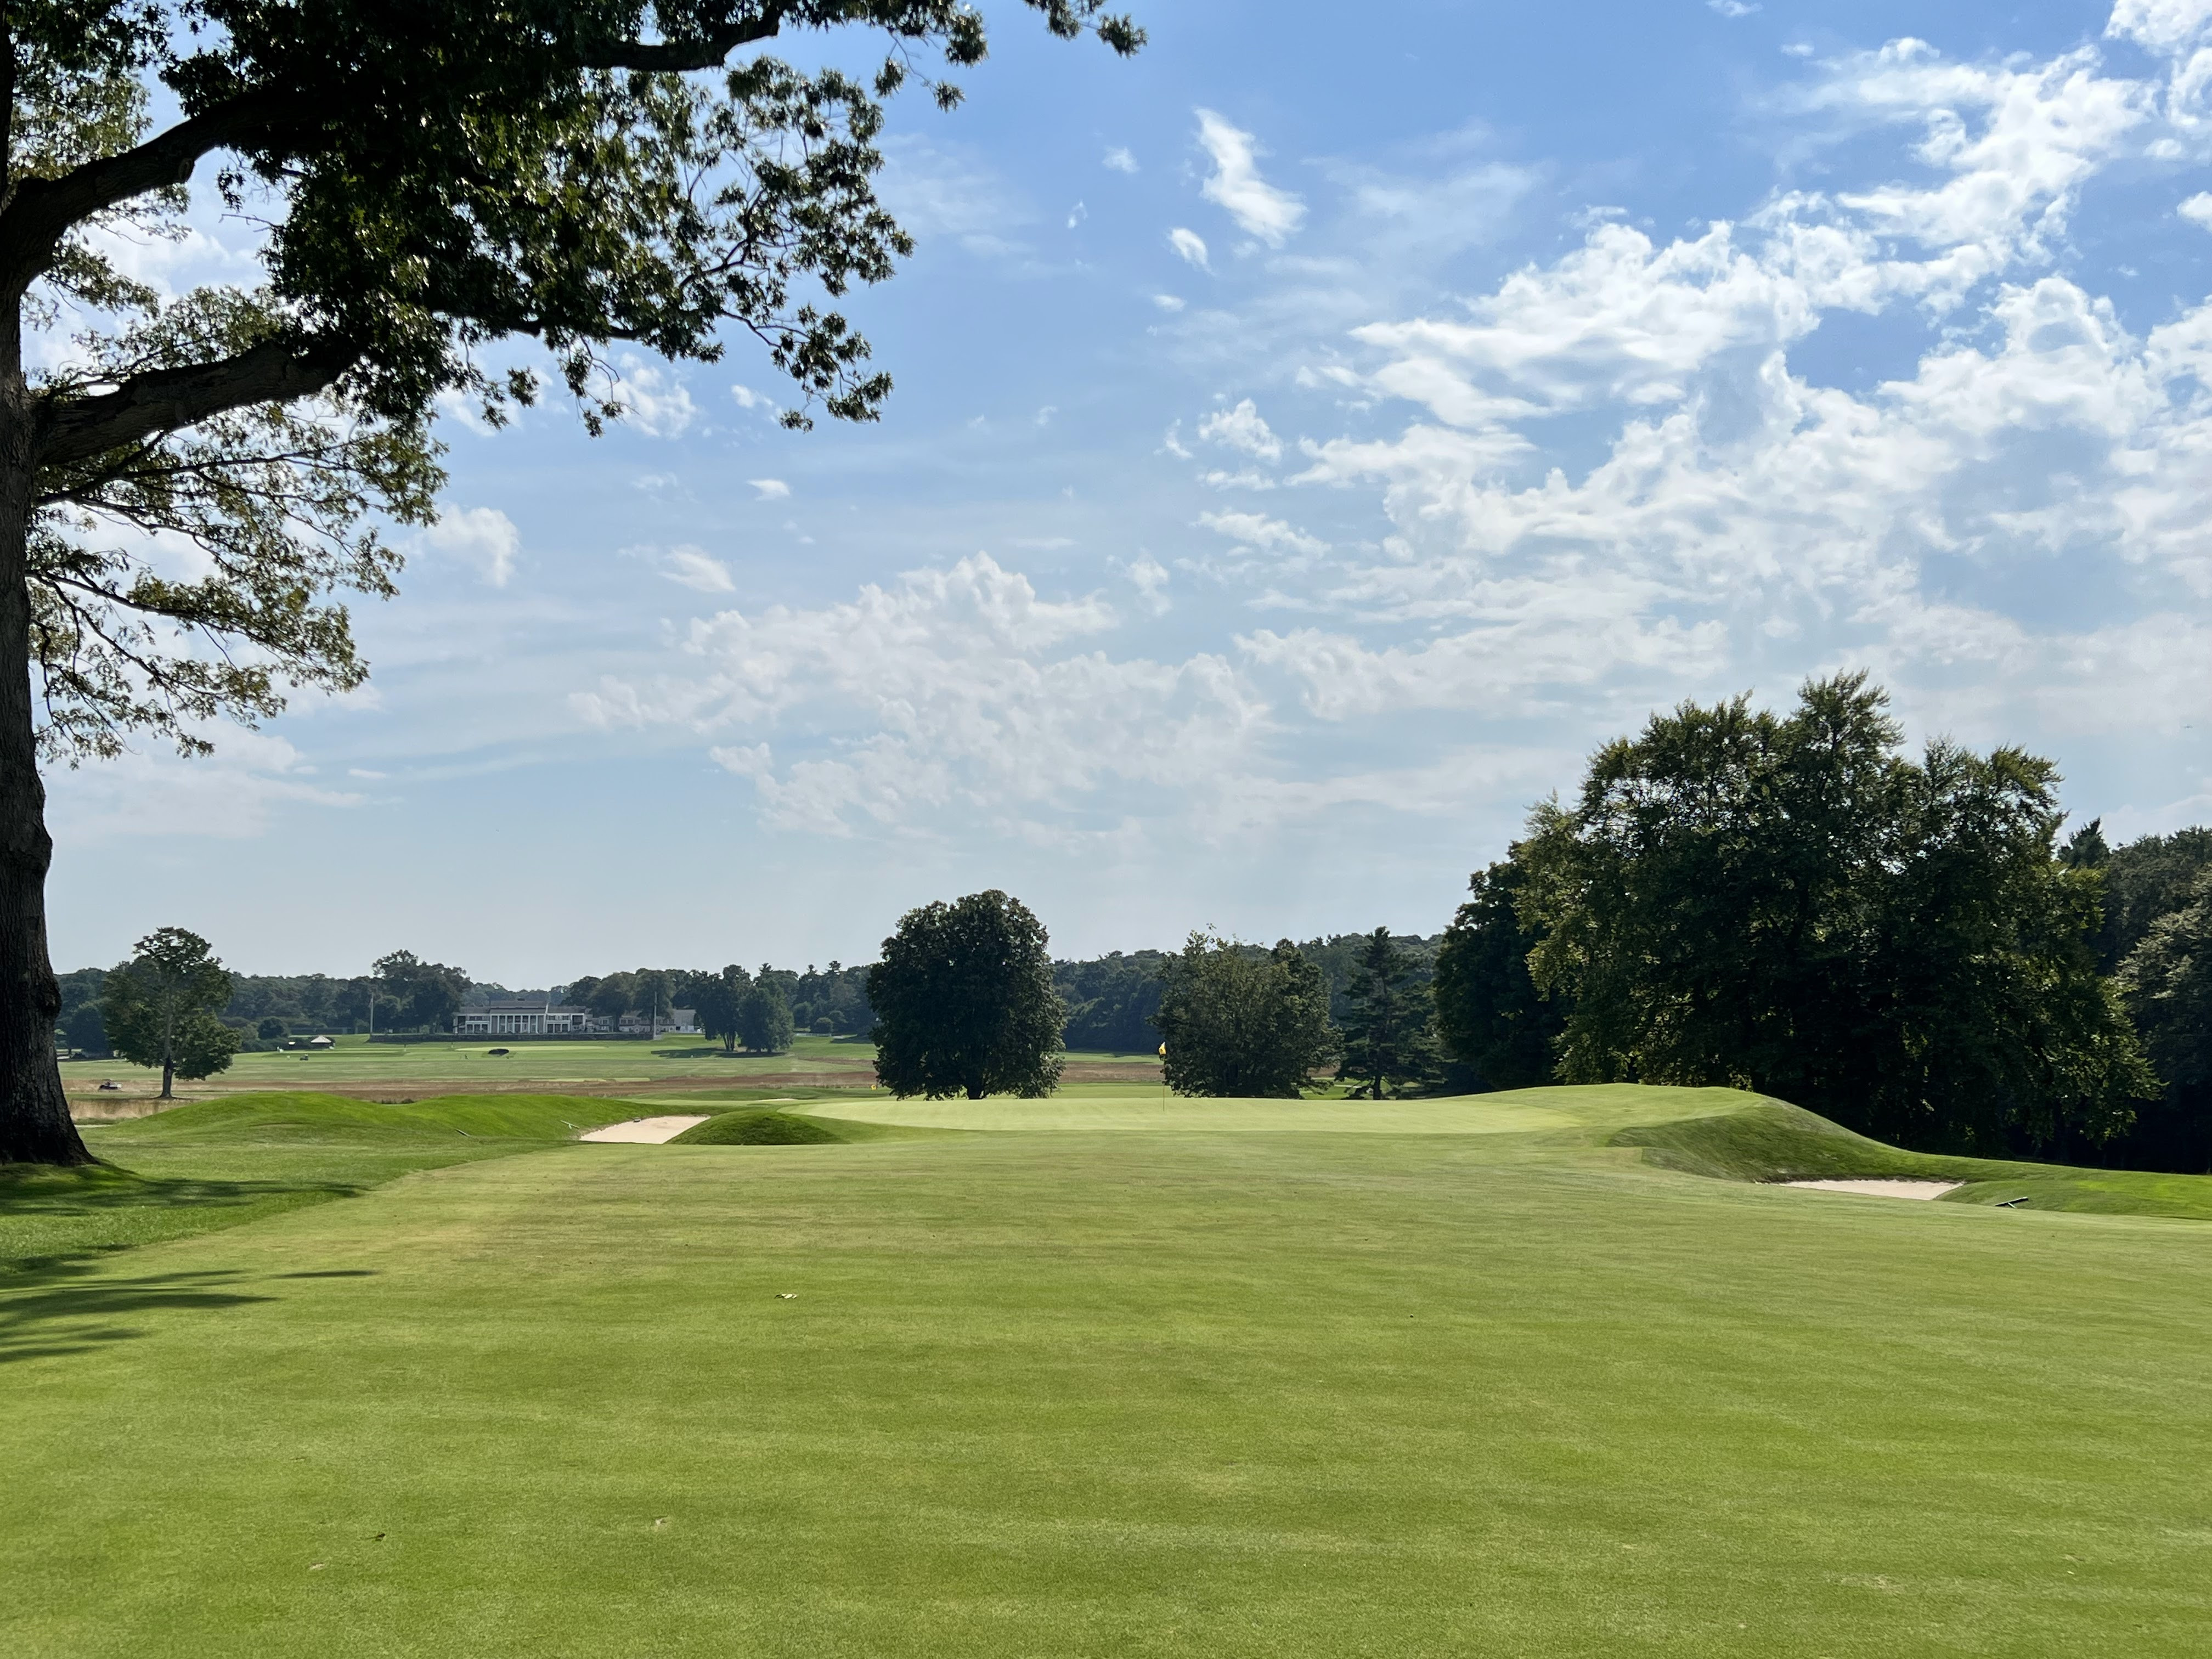
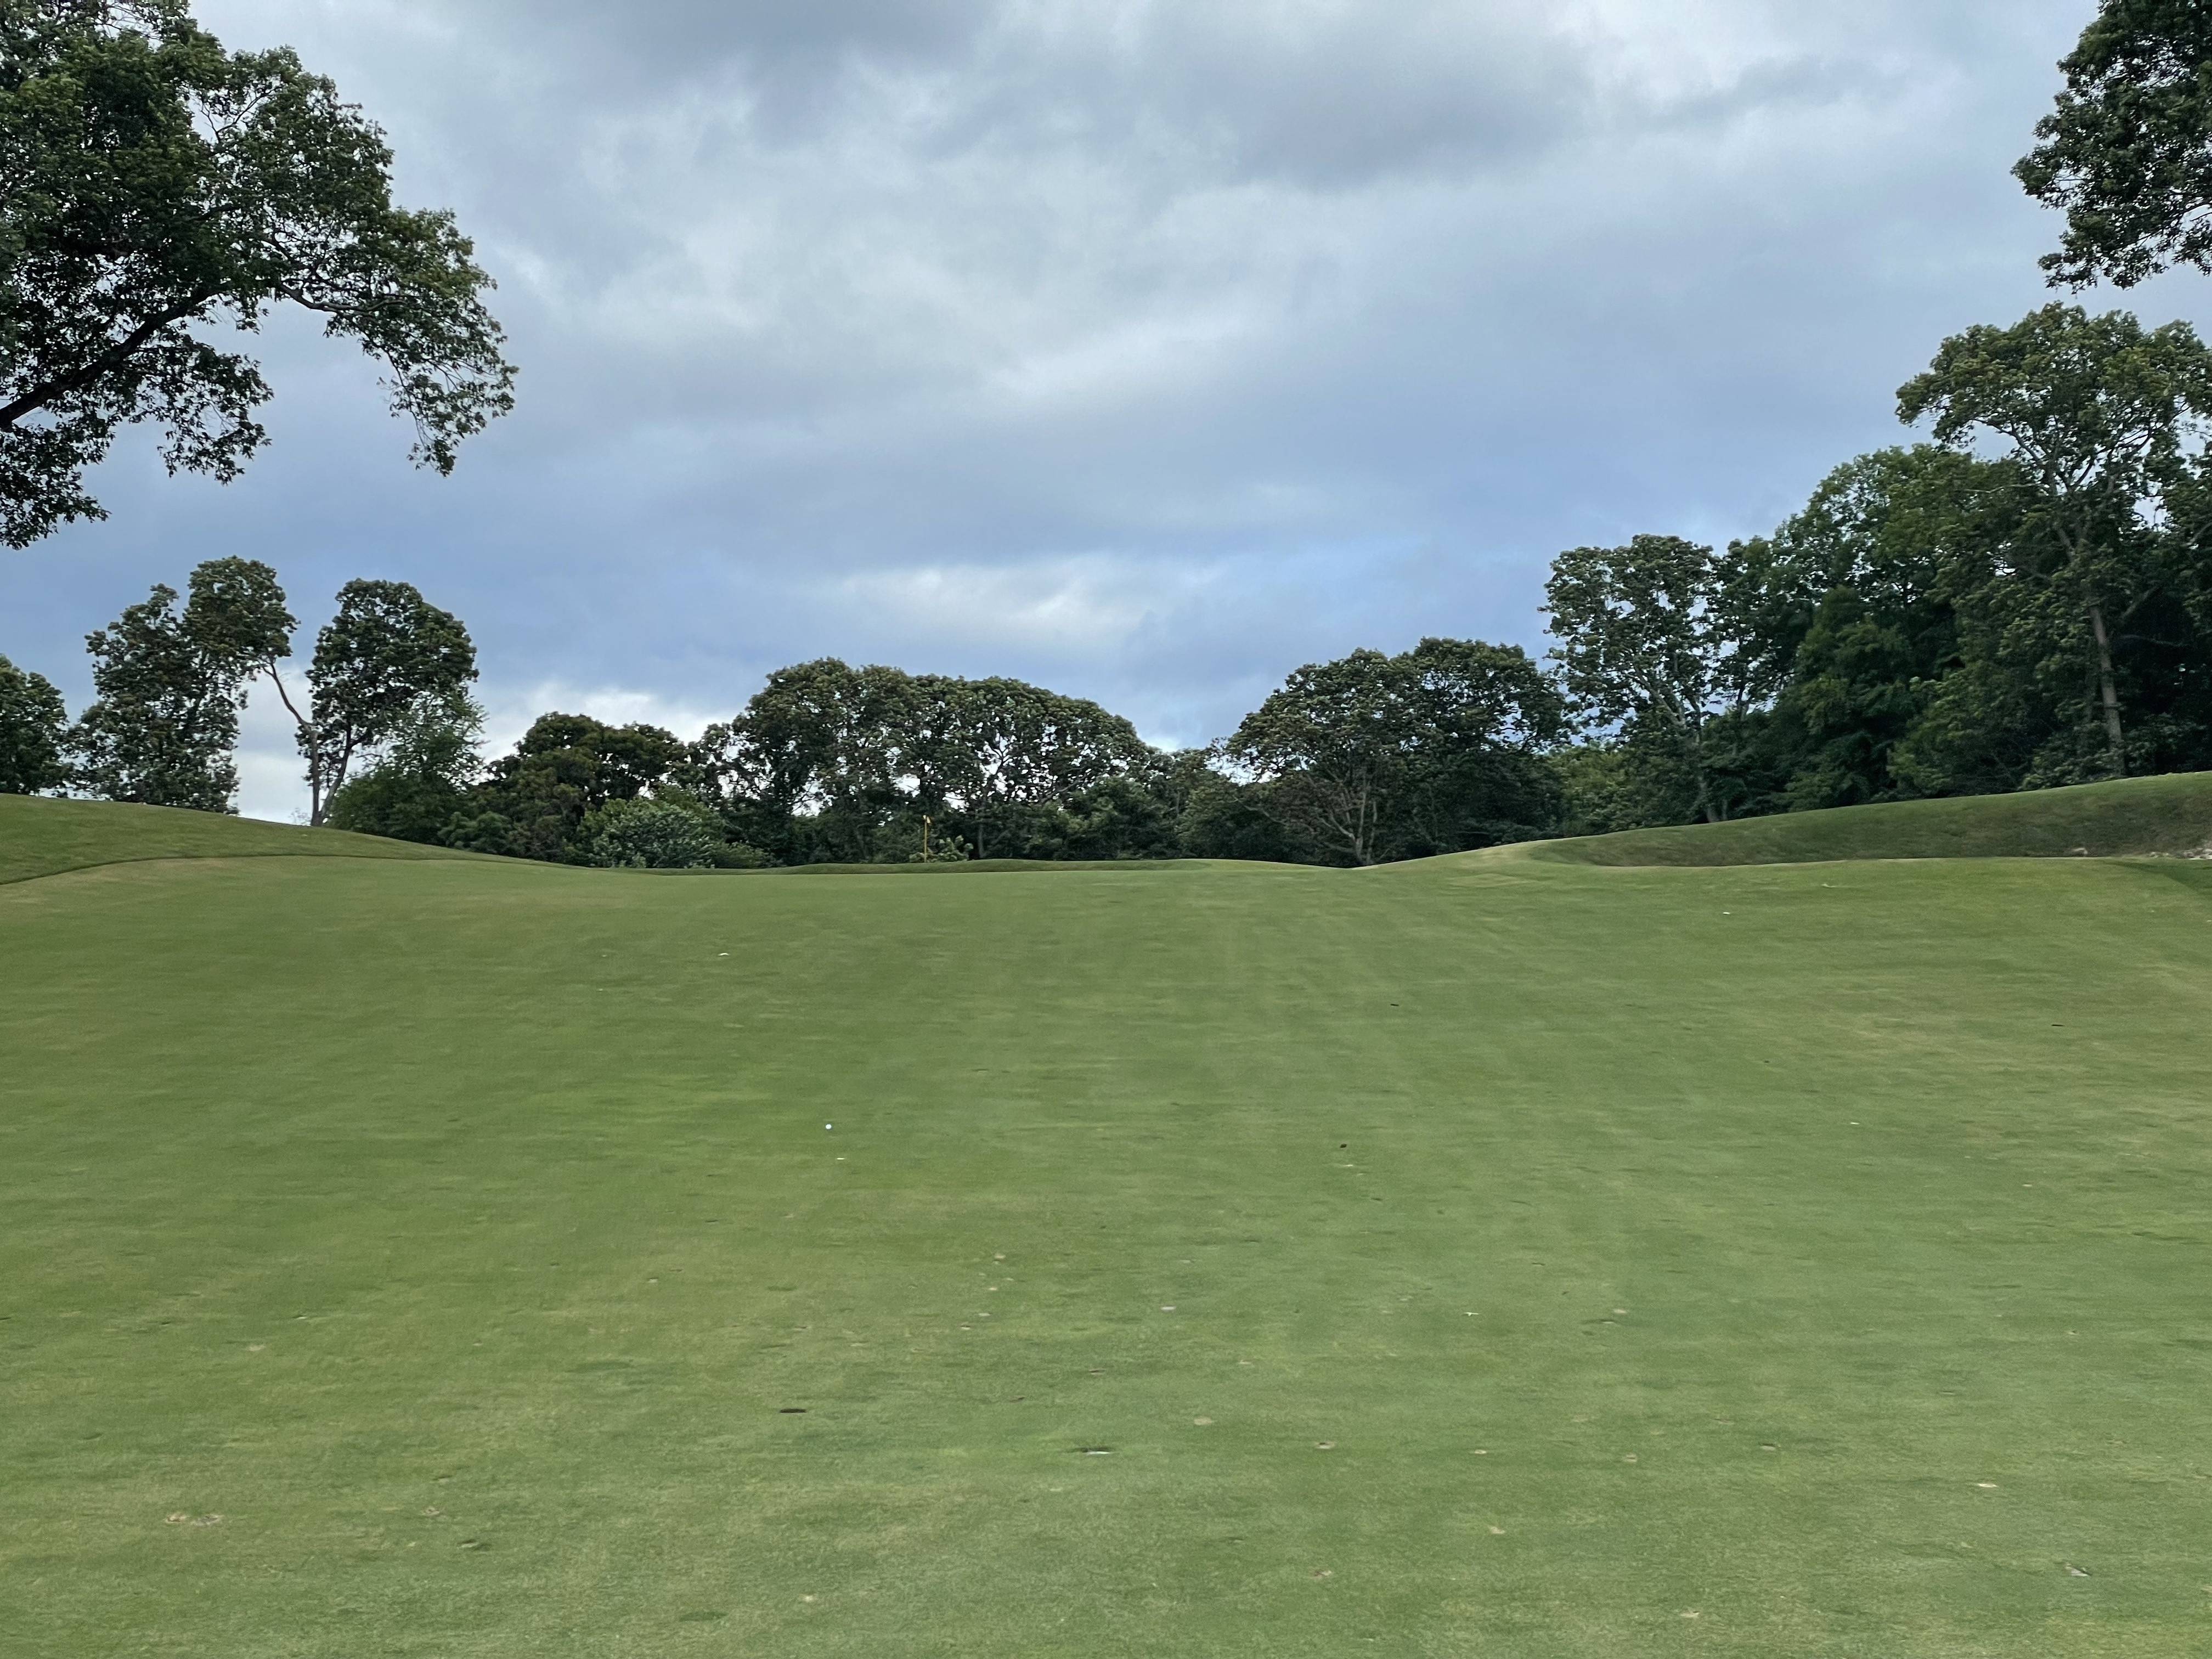
 The green
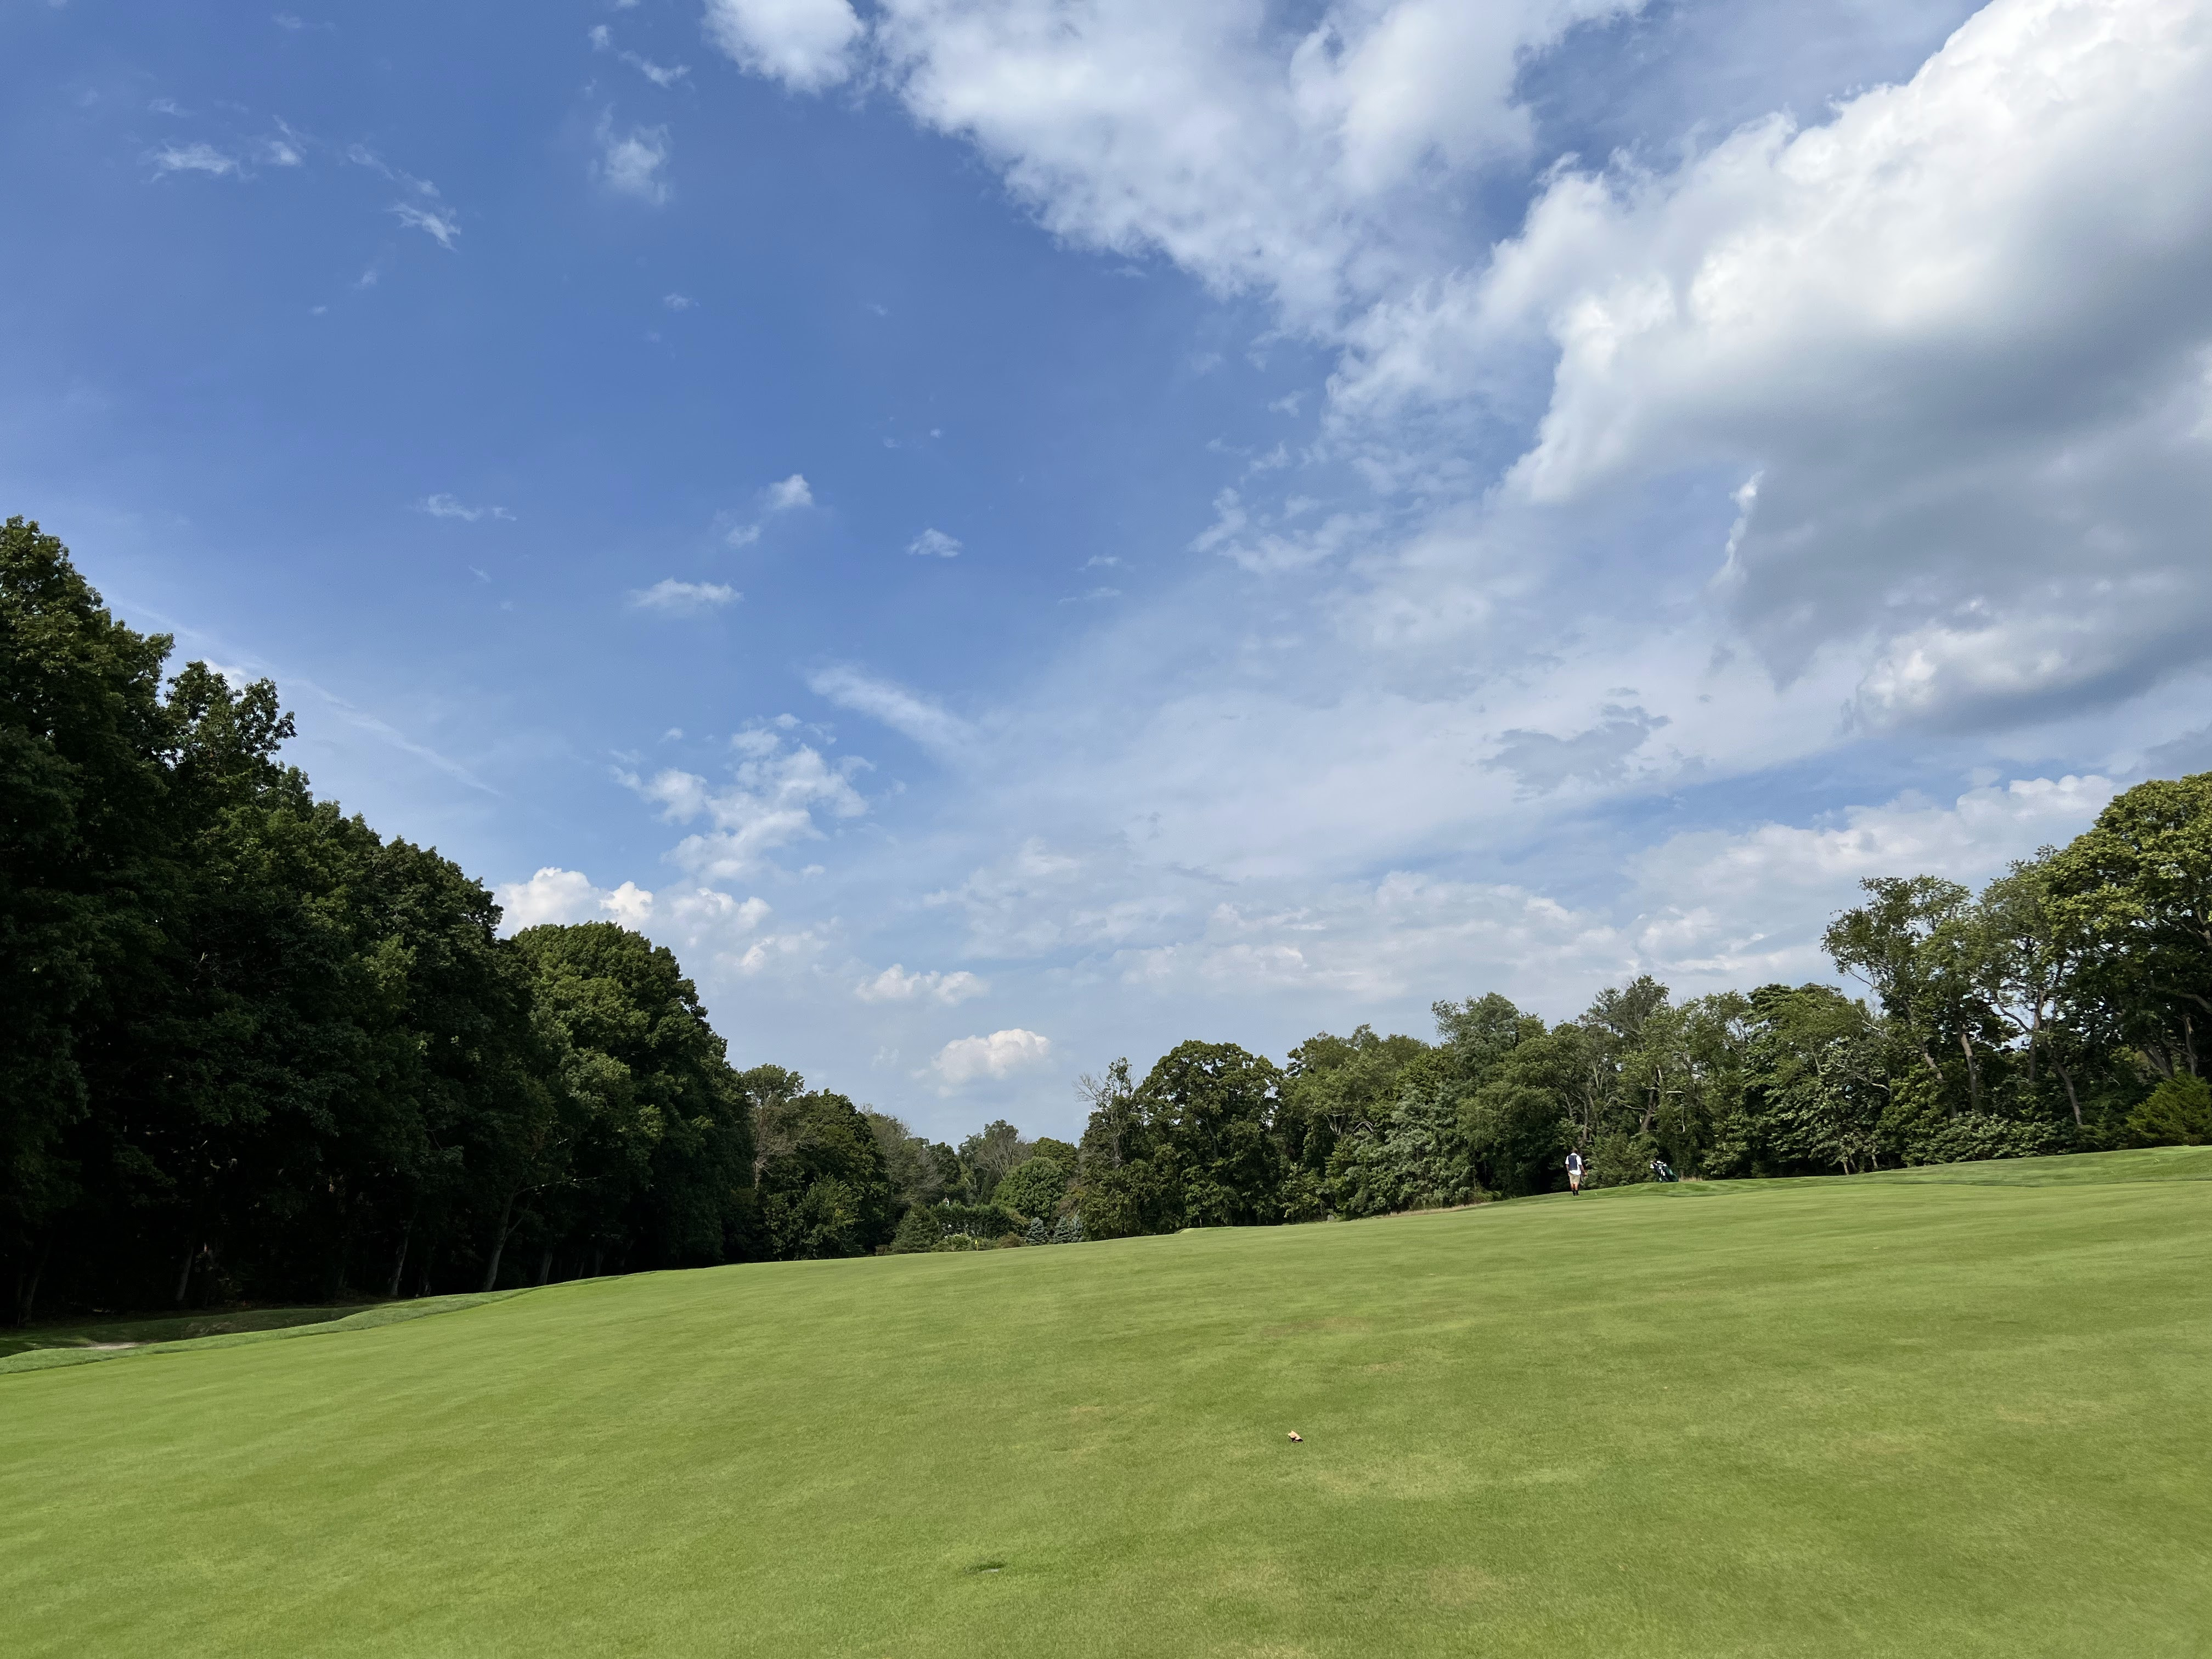
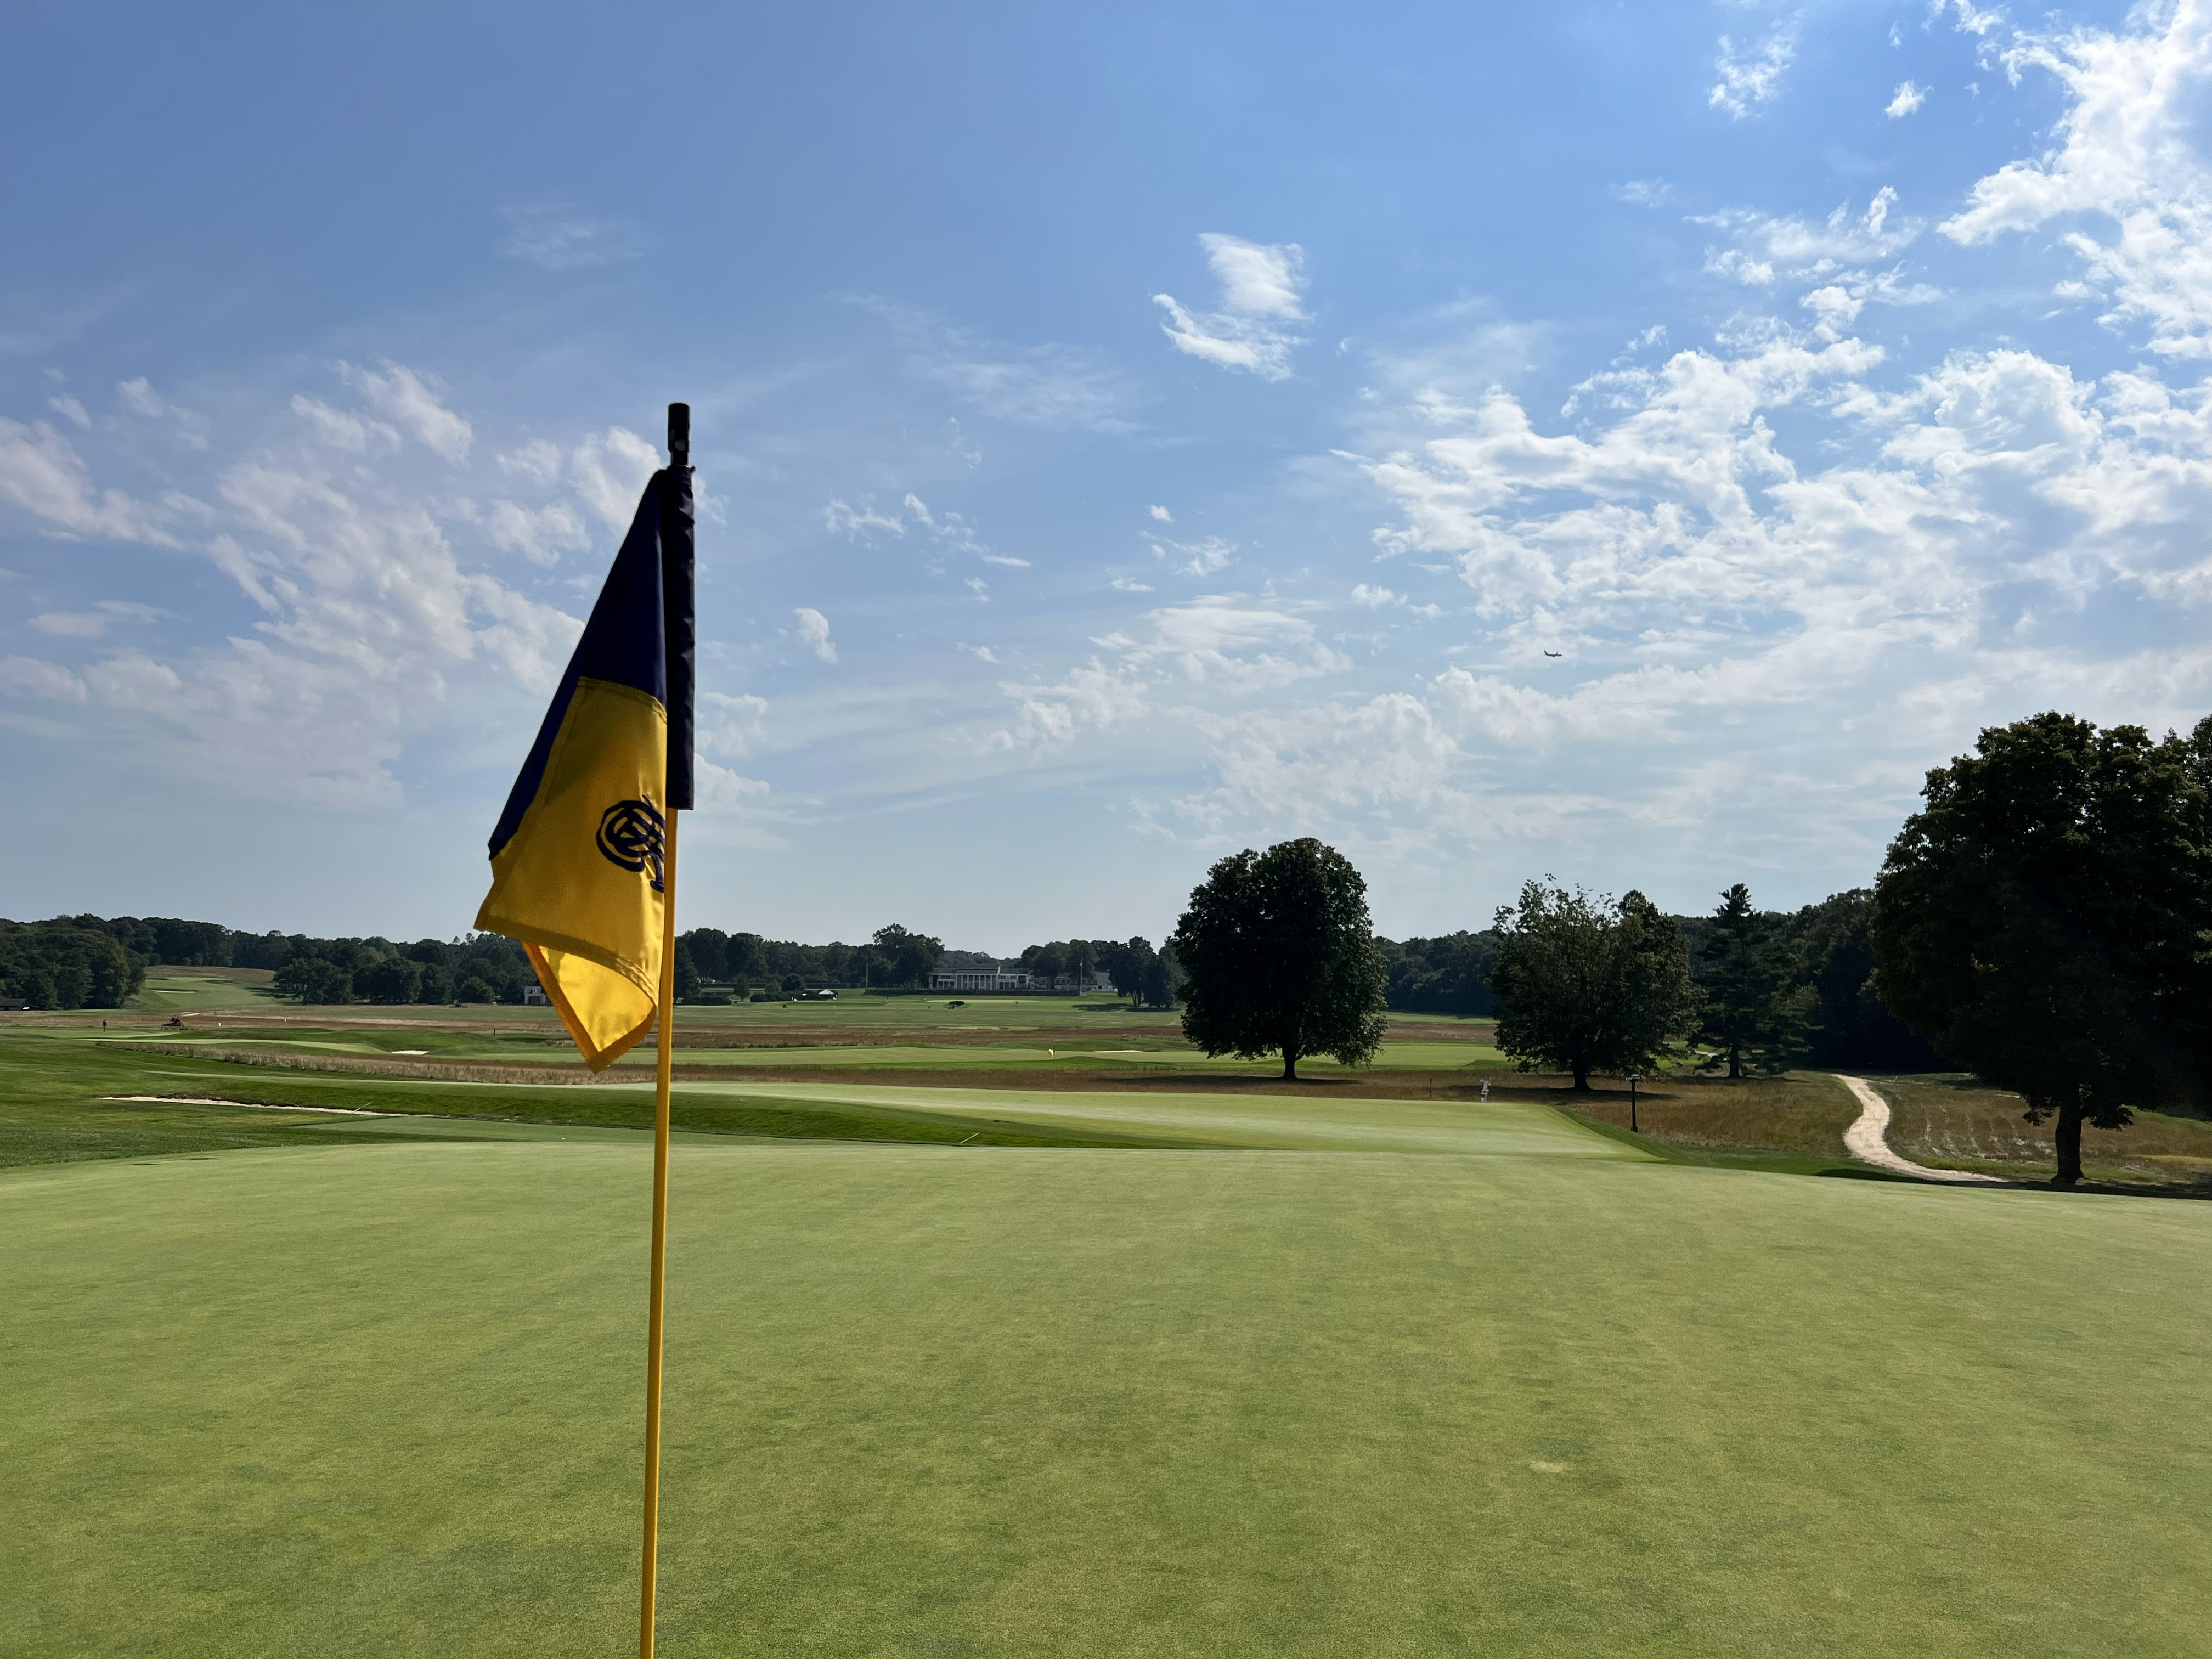
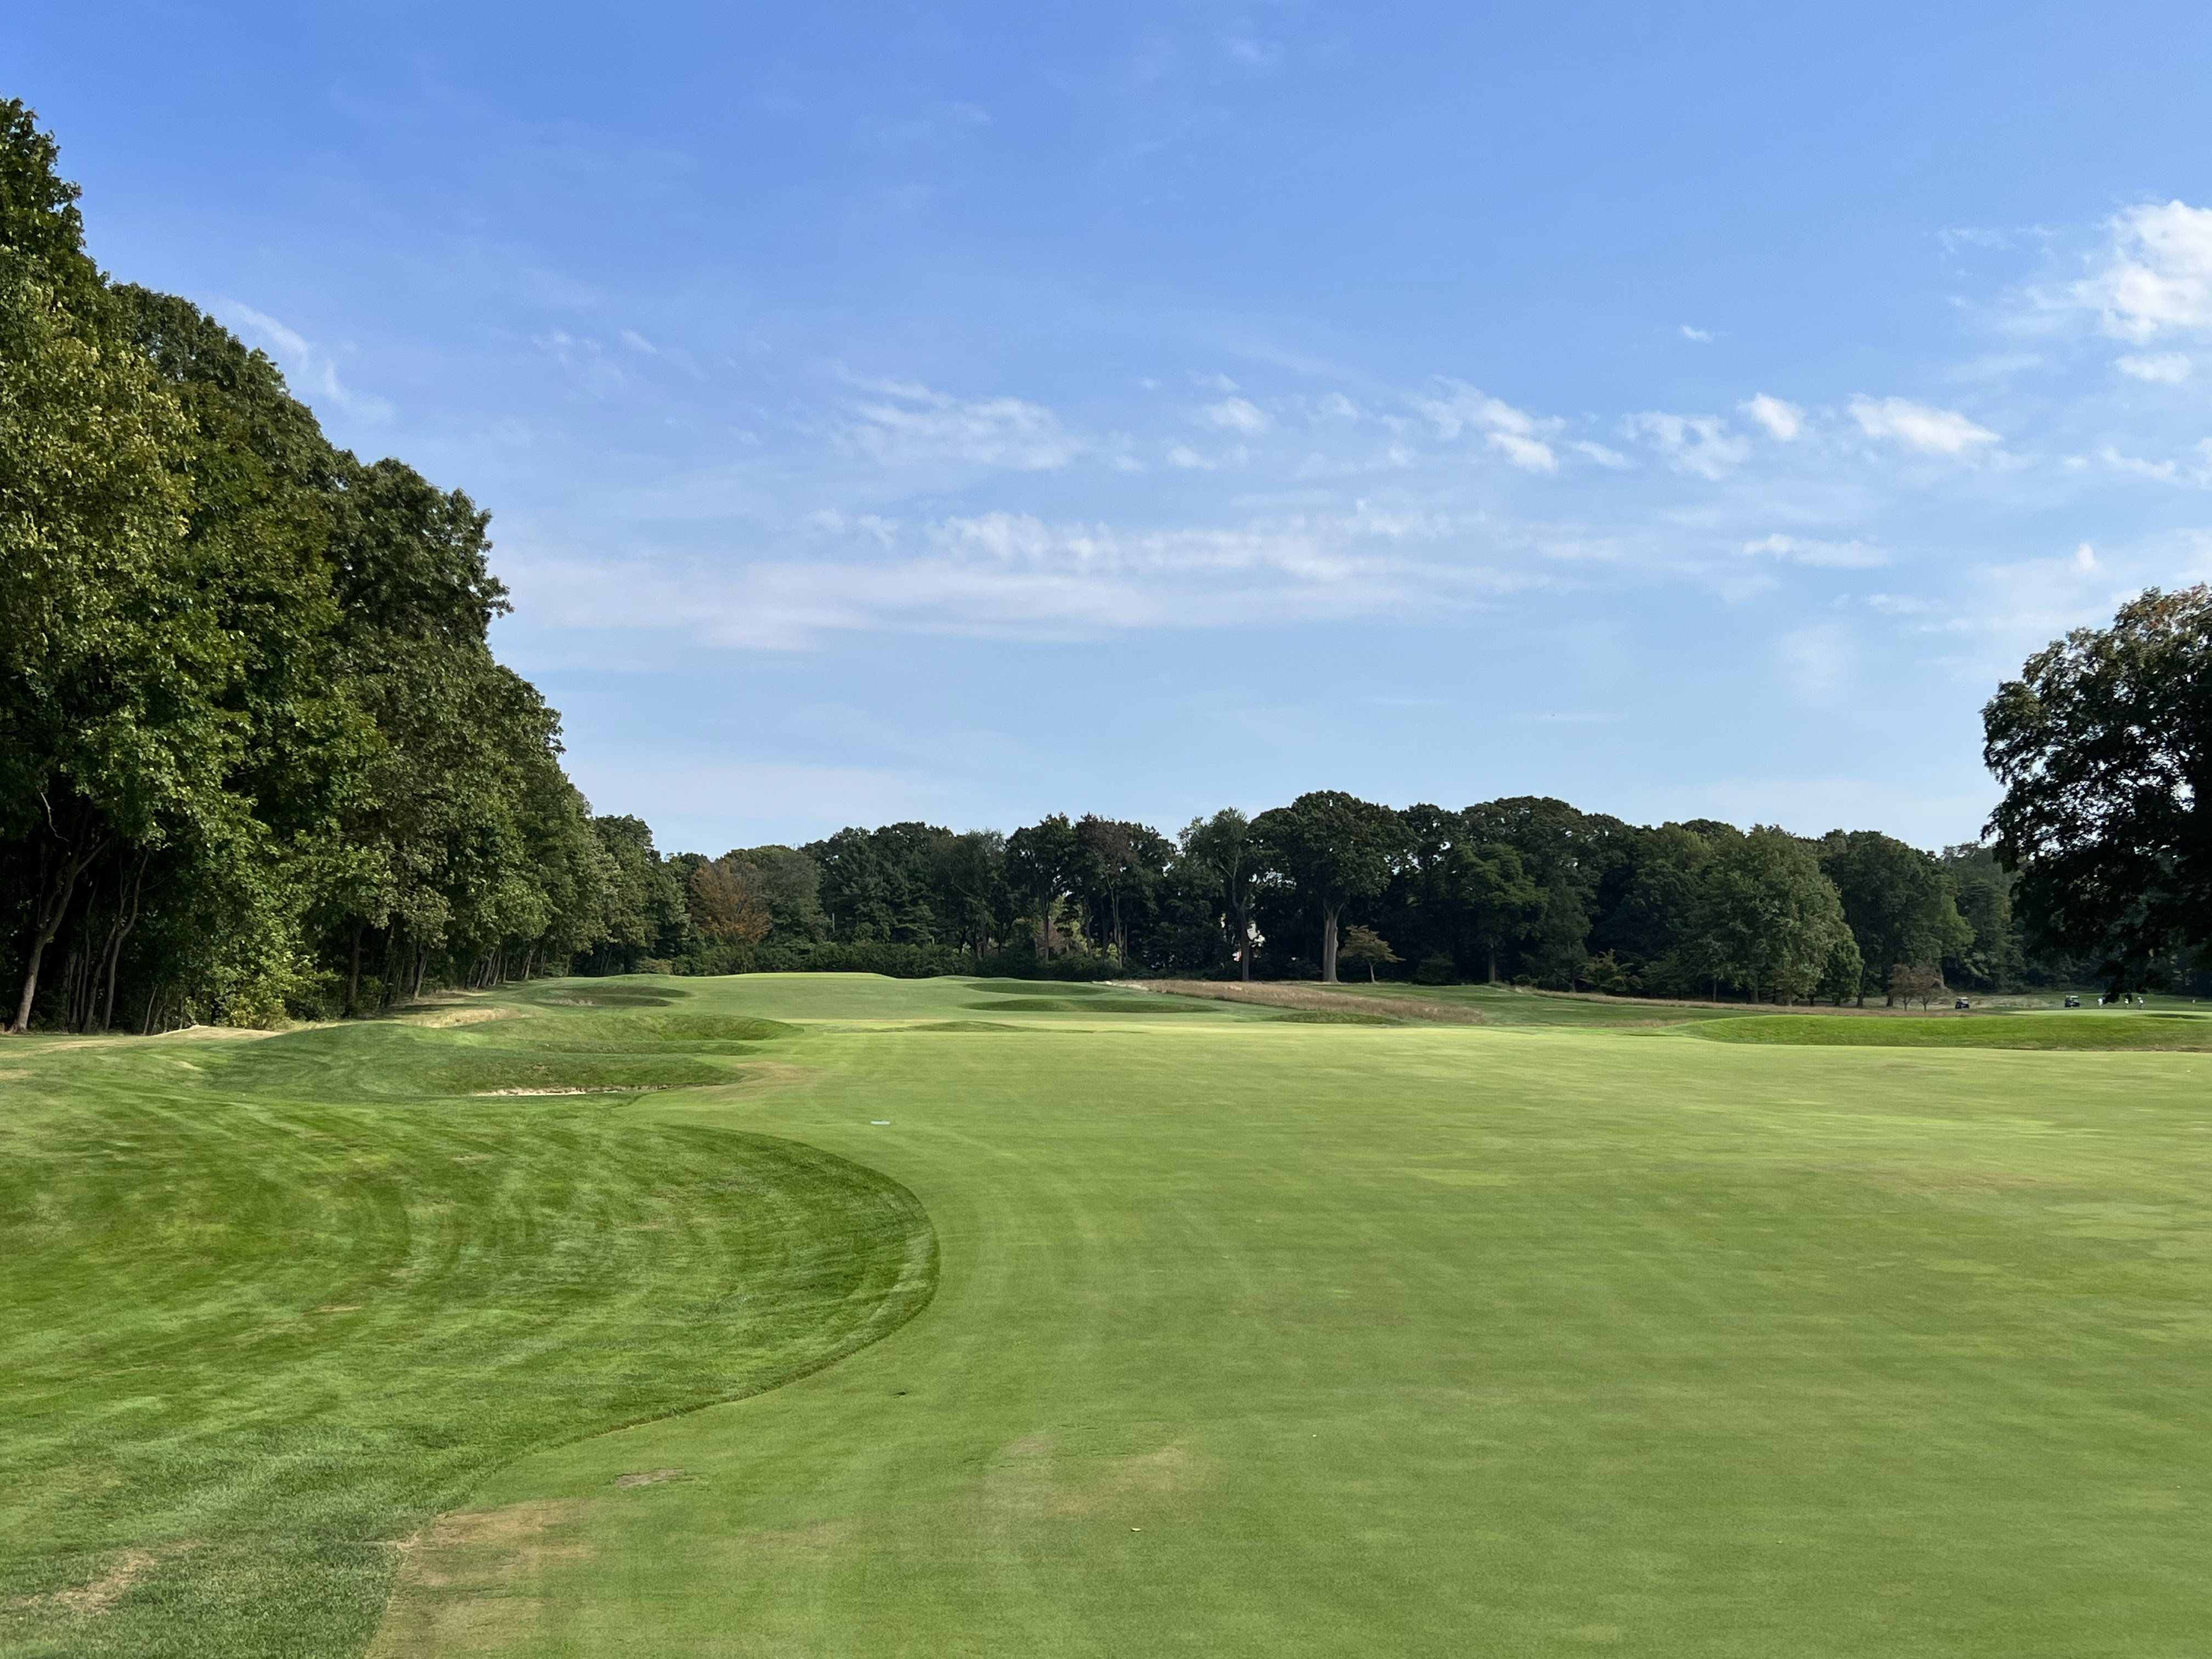
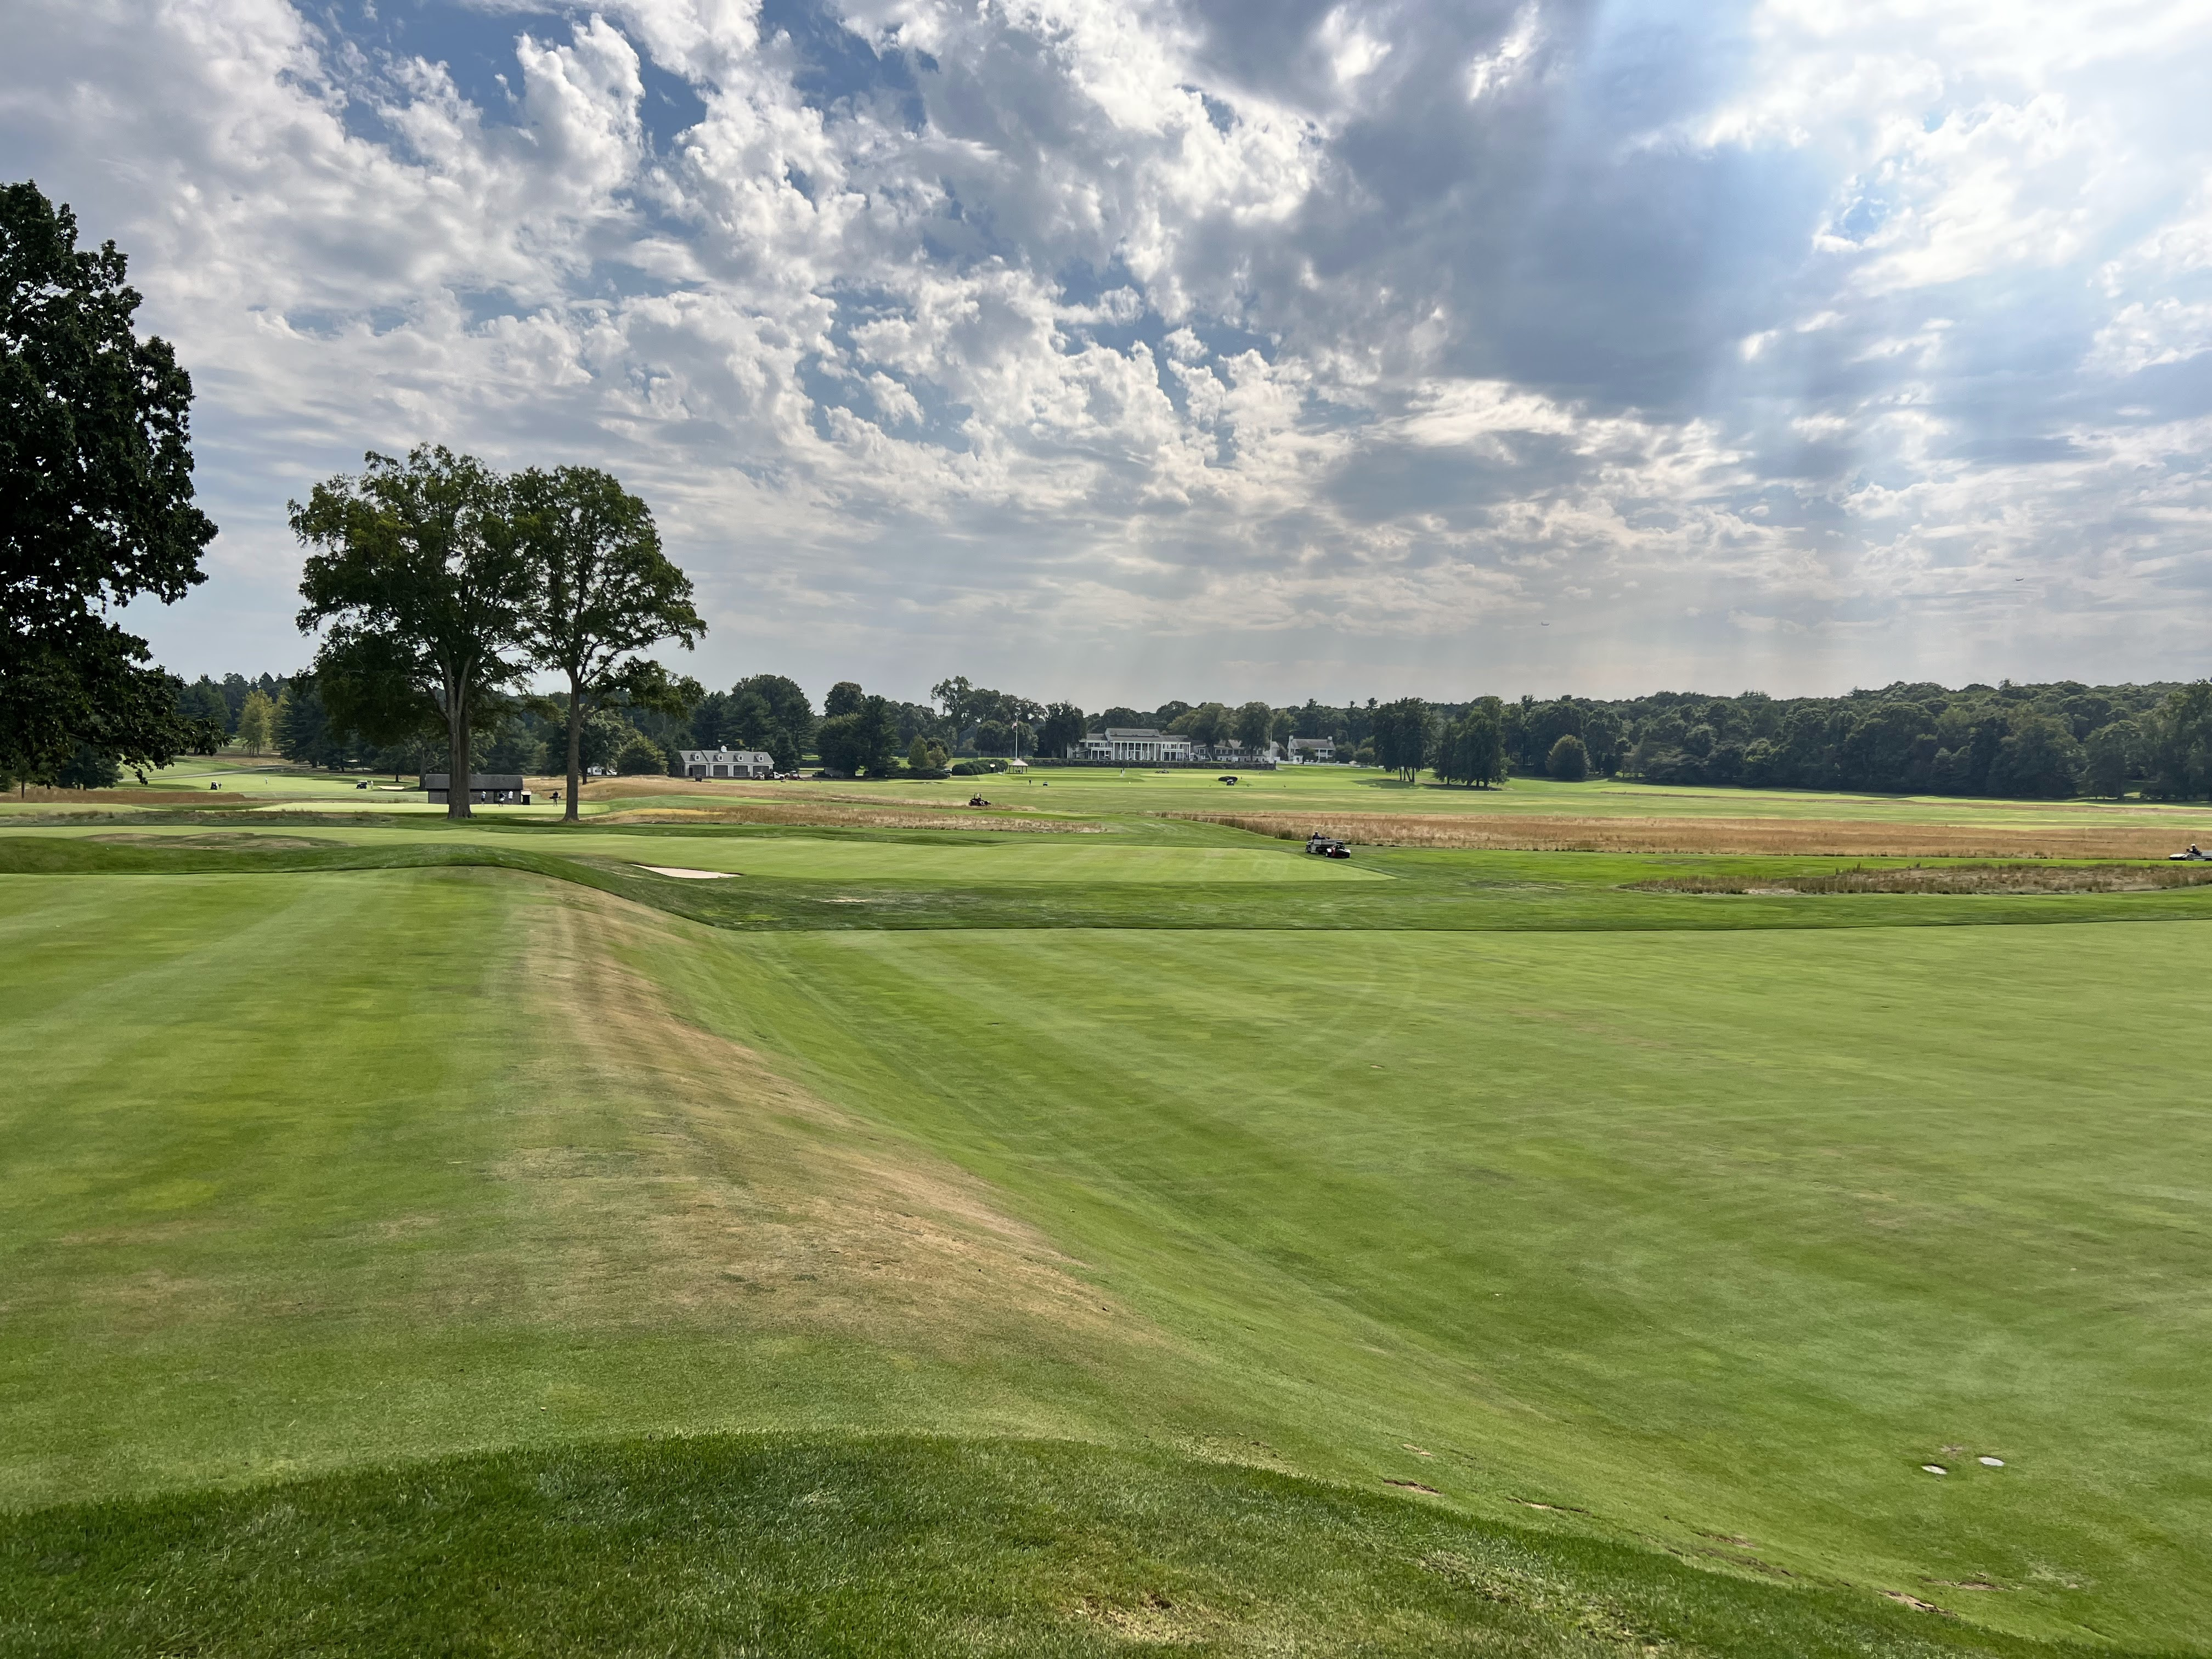
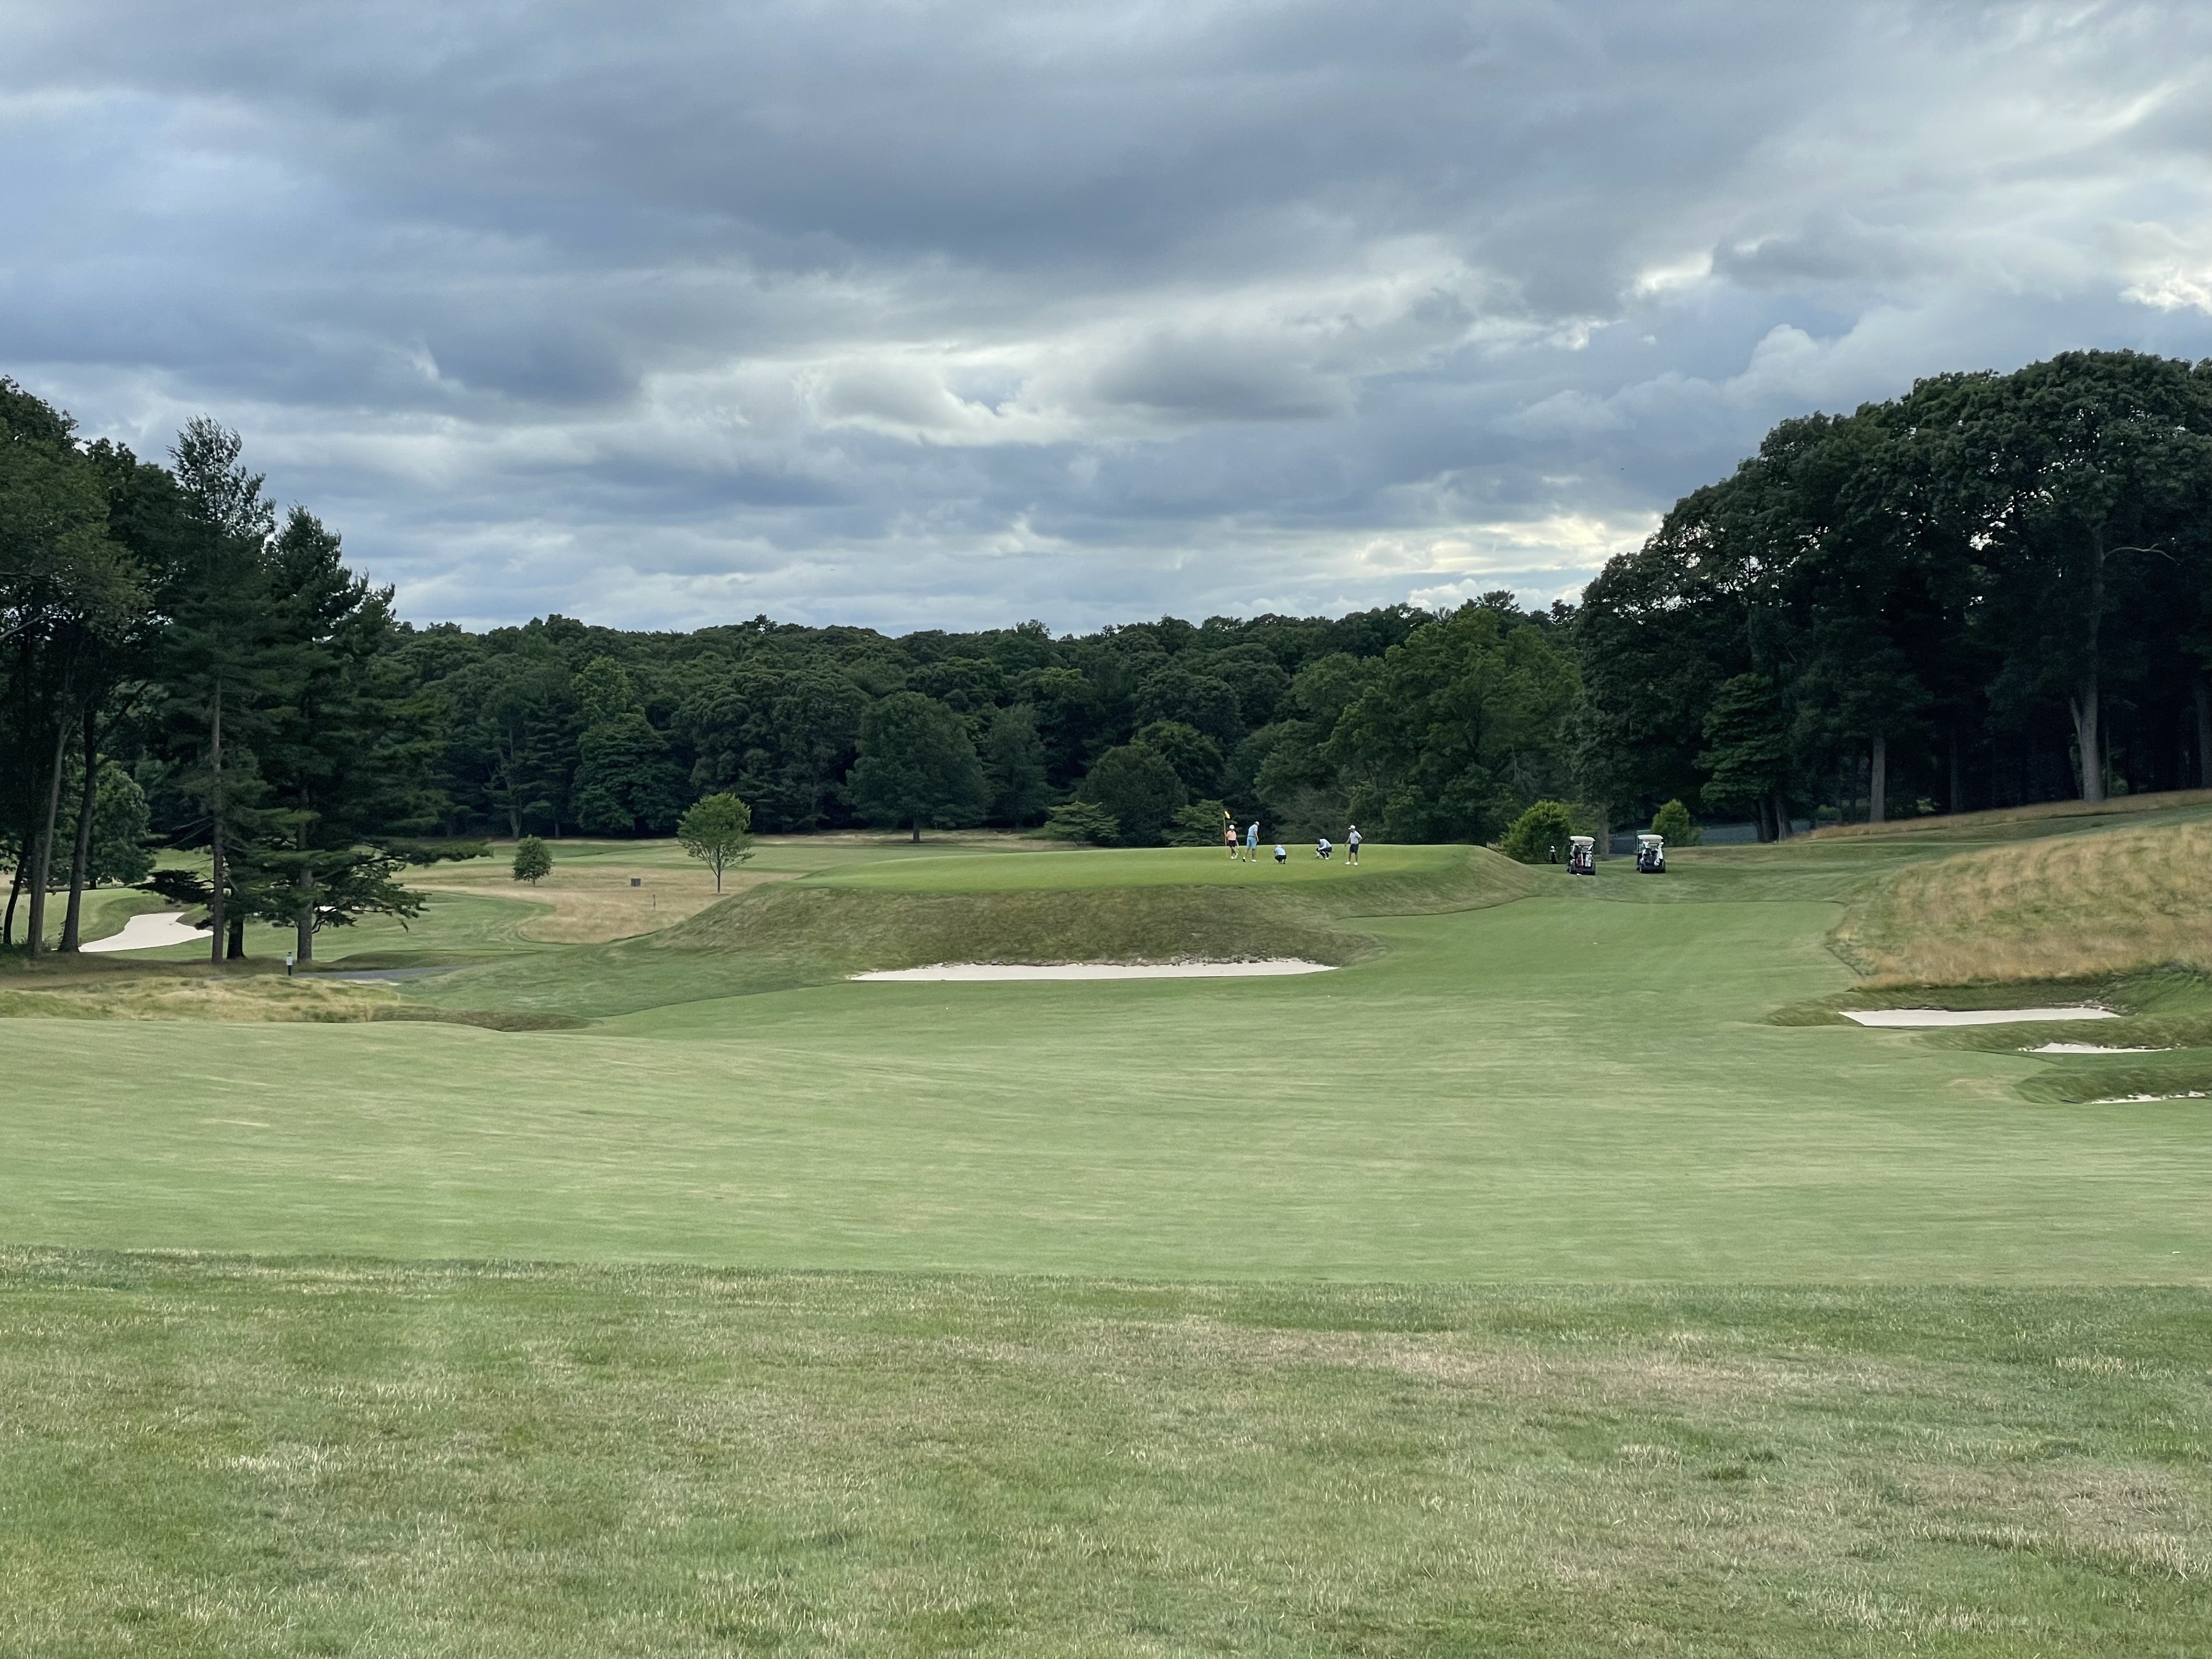
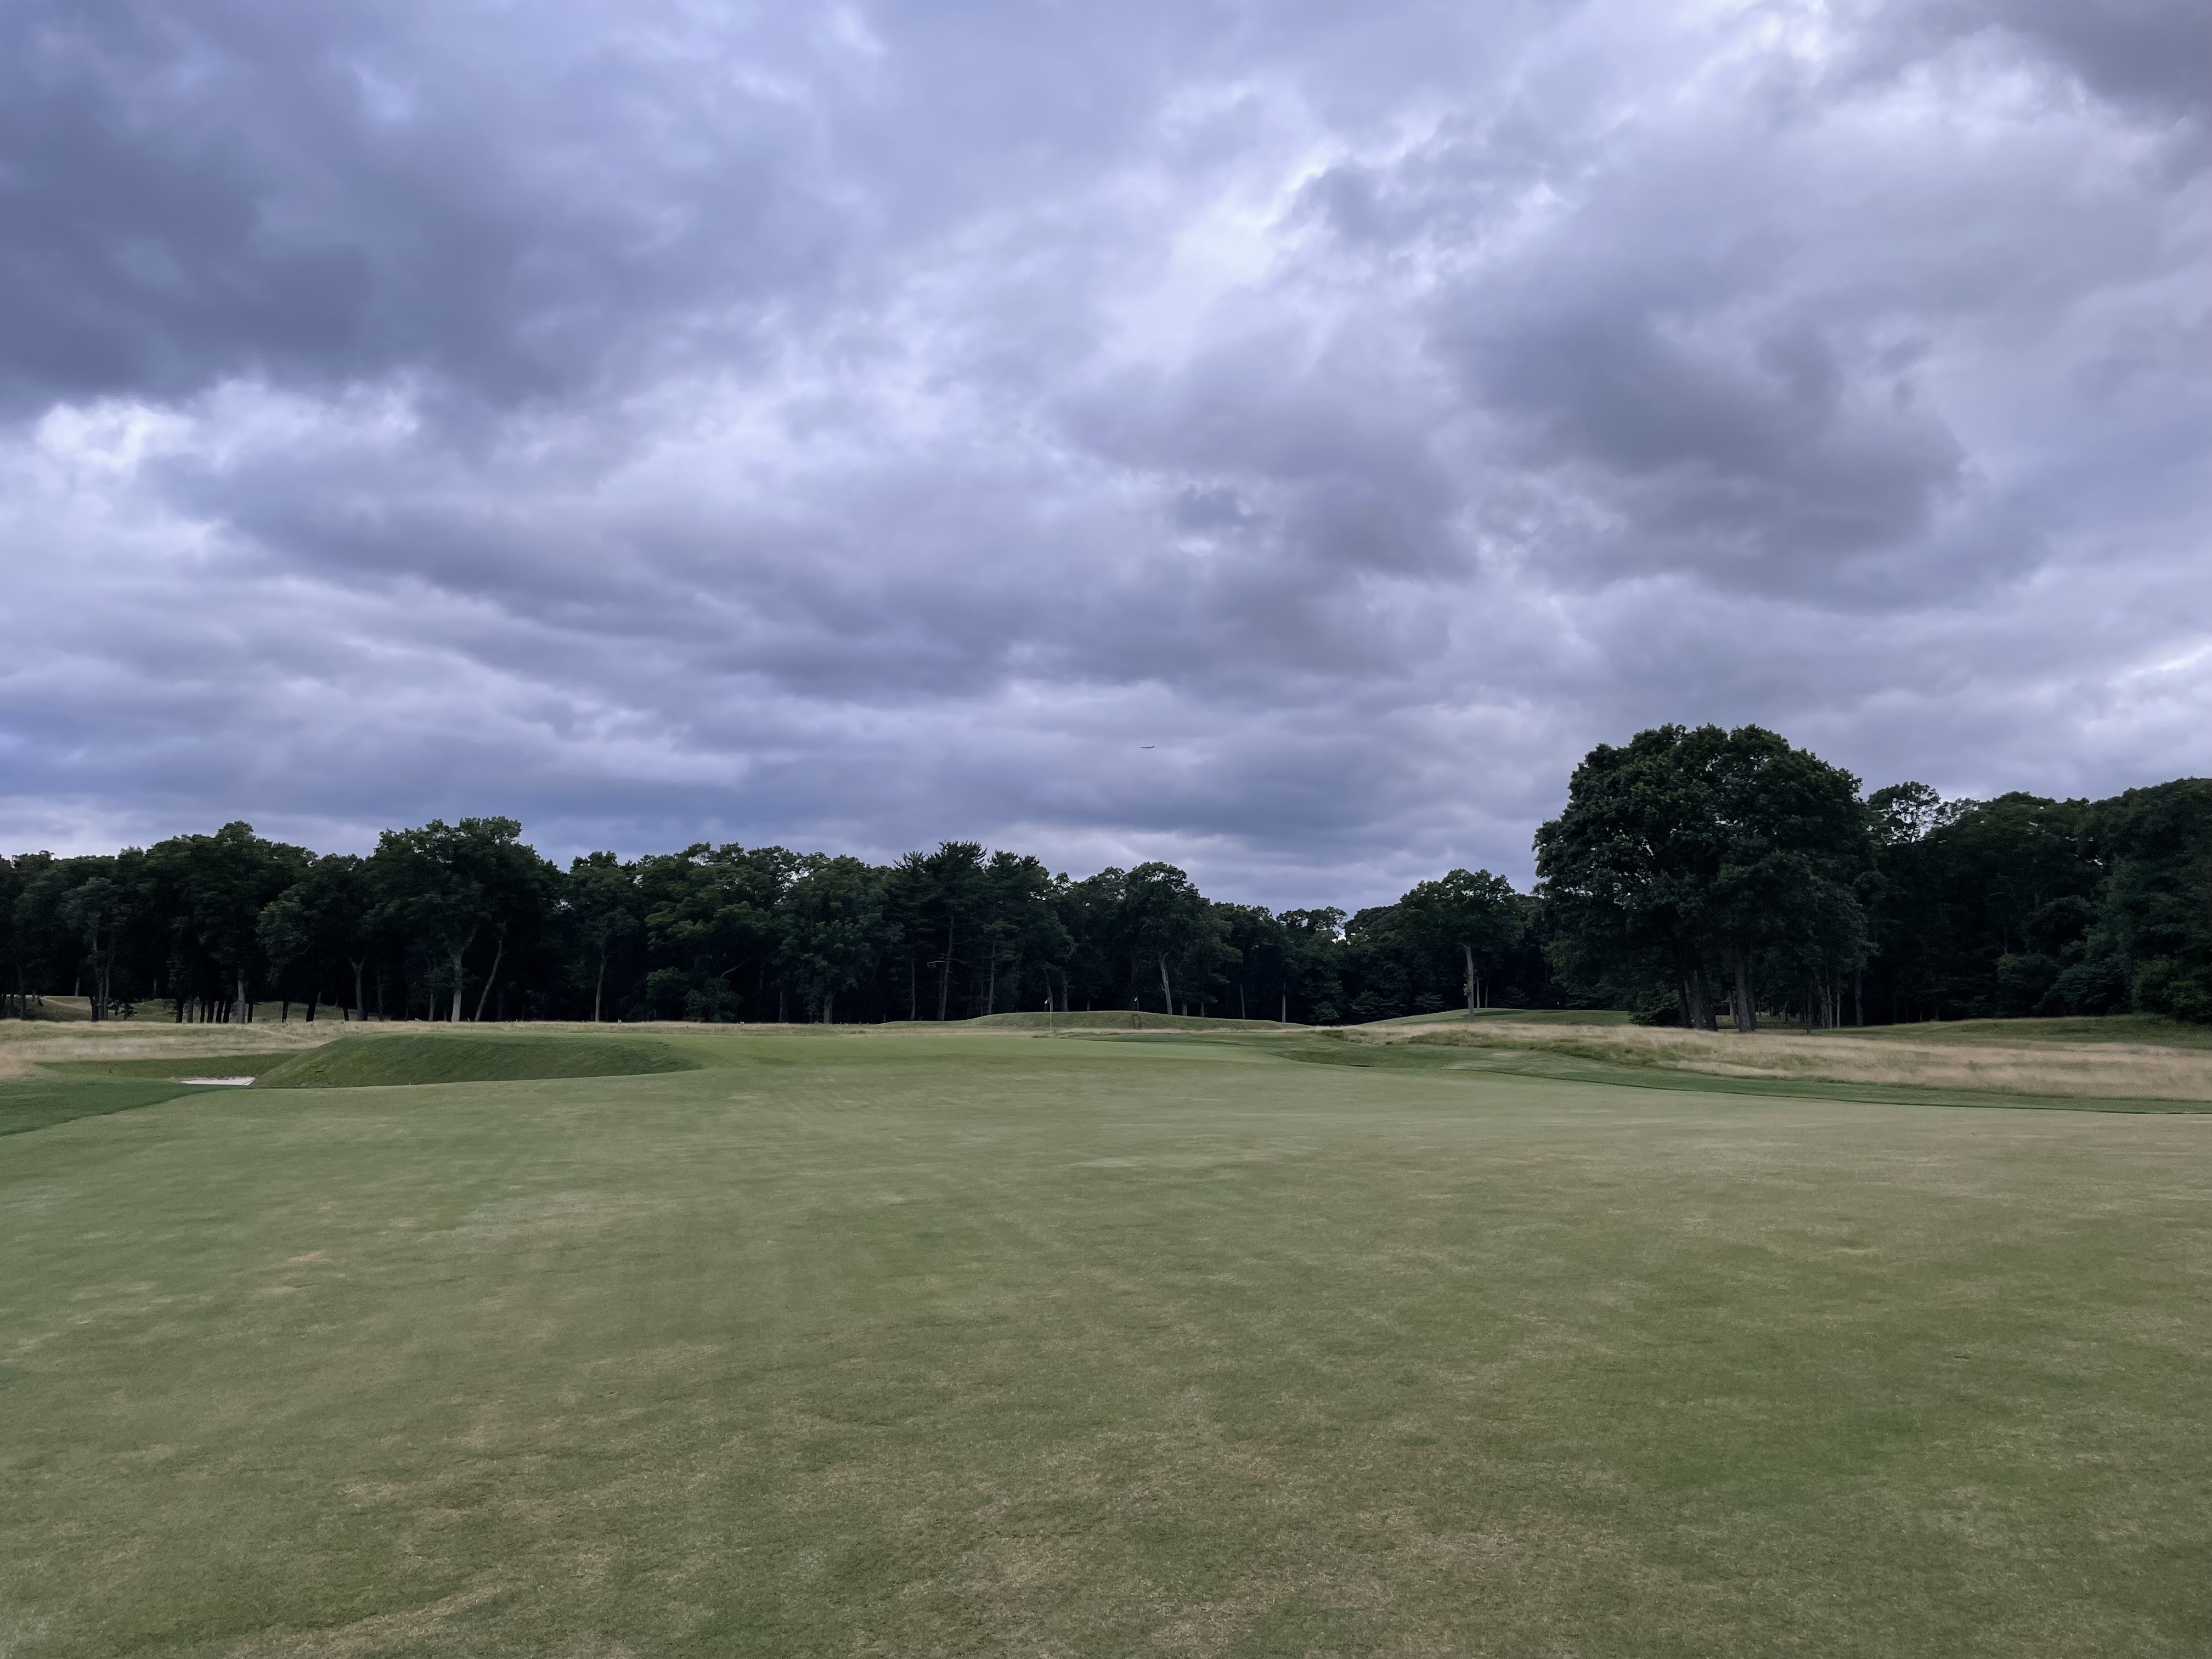
#2: Second Hole “Polo” (Par 4, 414 yards)
The second hole, named “Polo,” pays homage to the club’s history. This 414-yard par 4 continues the journey around the perimeter of the former polo field, now crossing its far side. The hole gently curves to the right, with strategically placed bunkers flanking the fairway on both sides. This theme of precise bunkering extends to the green, which features bunkers guarding both the left and right front.
 The Second
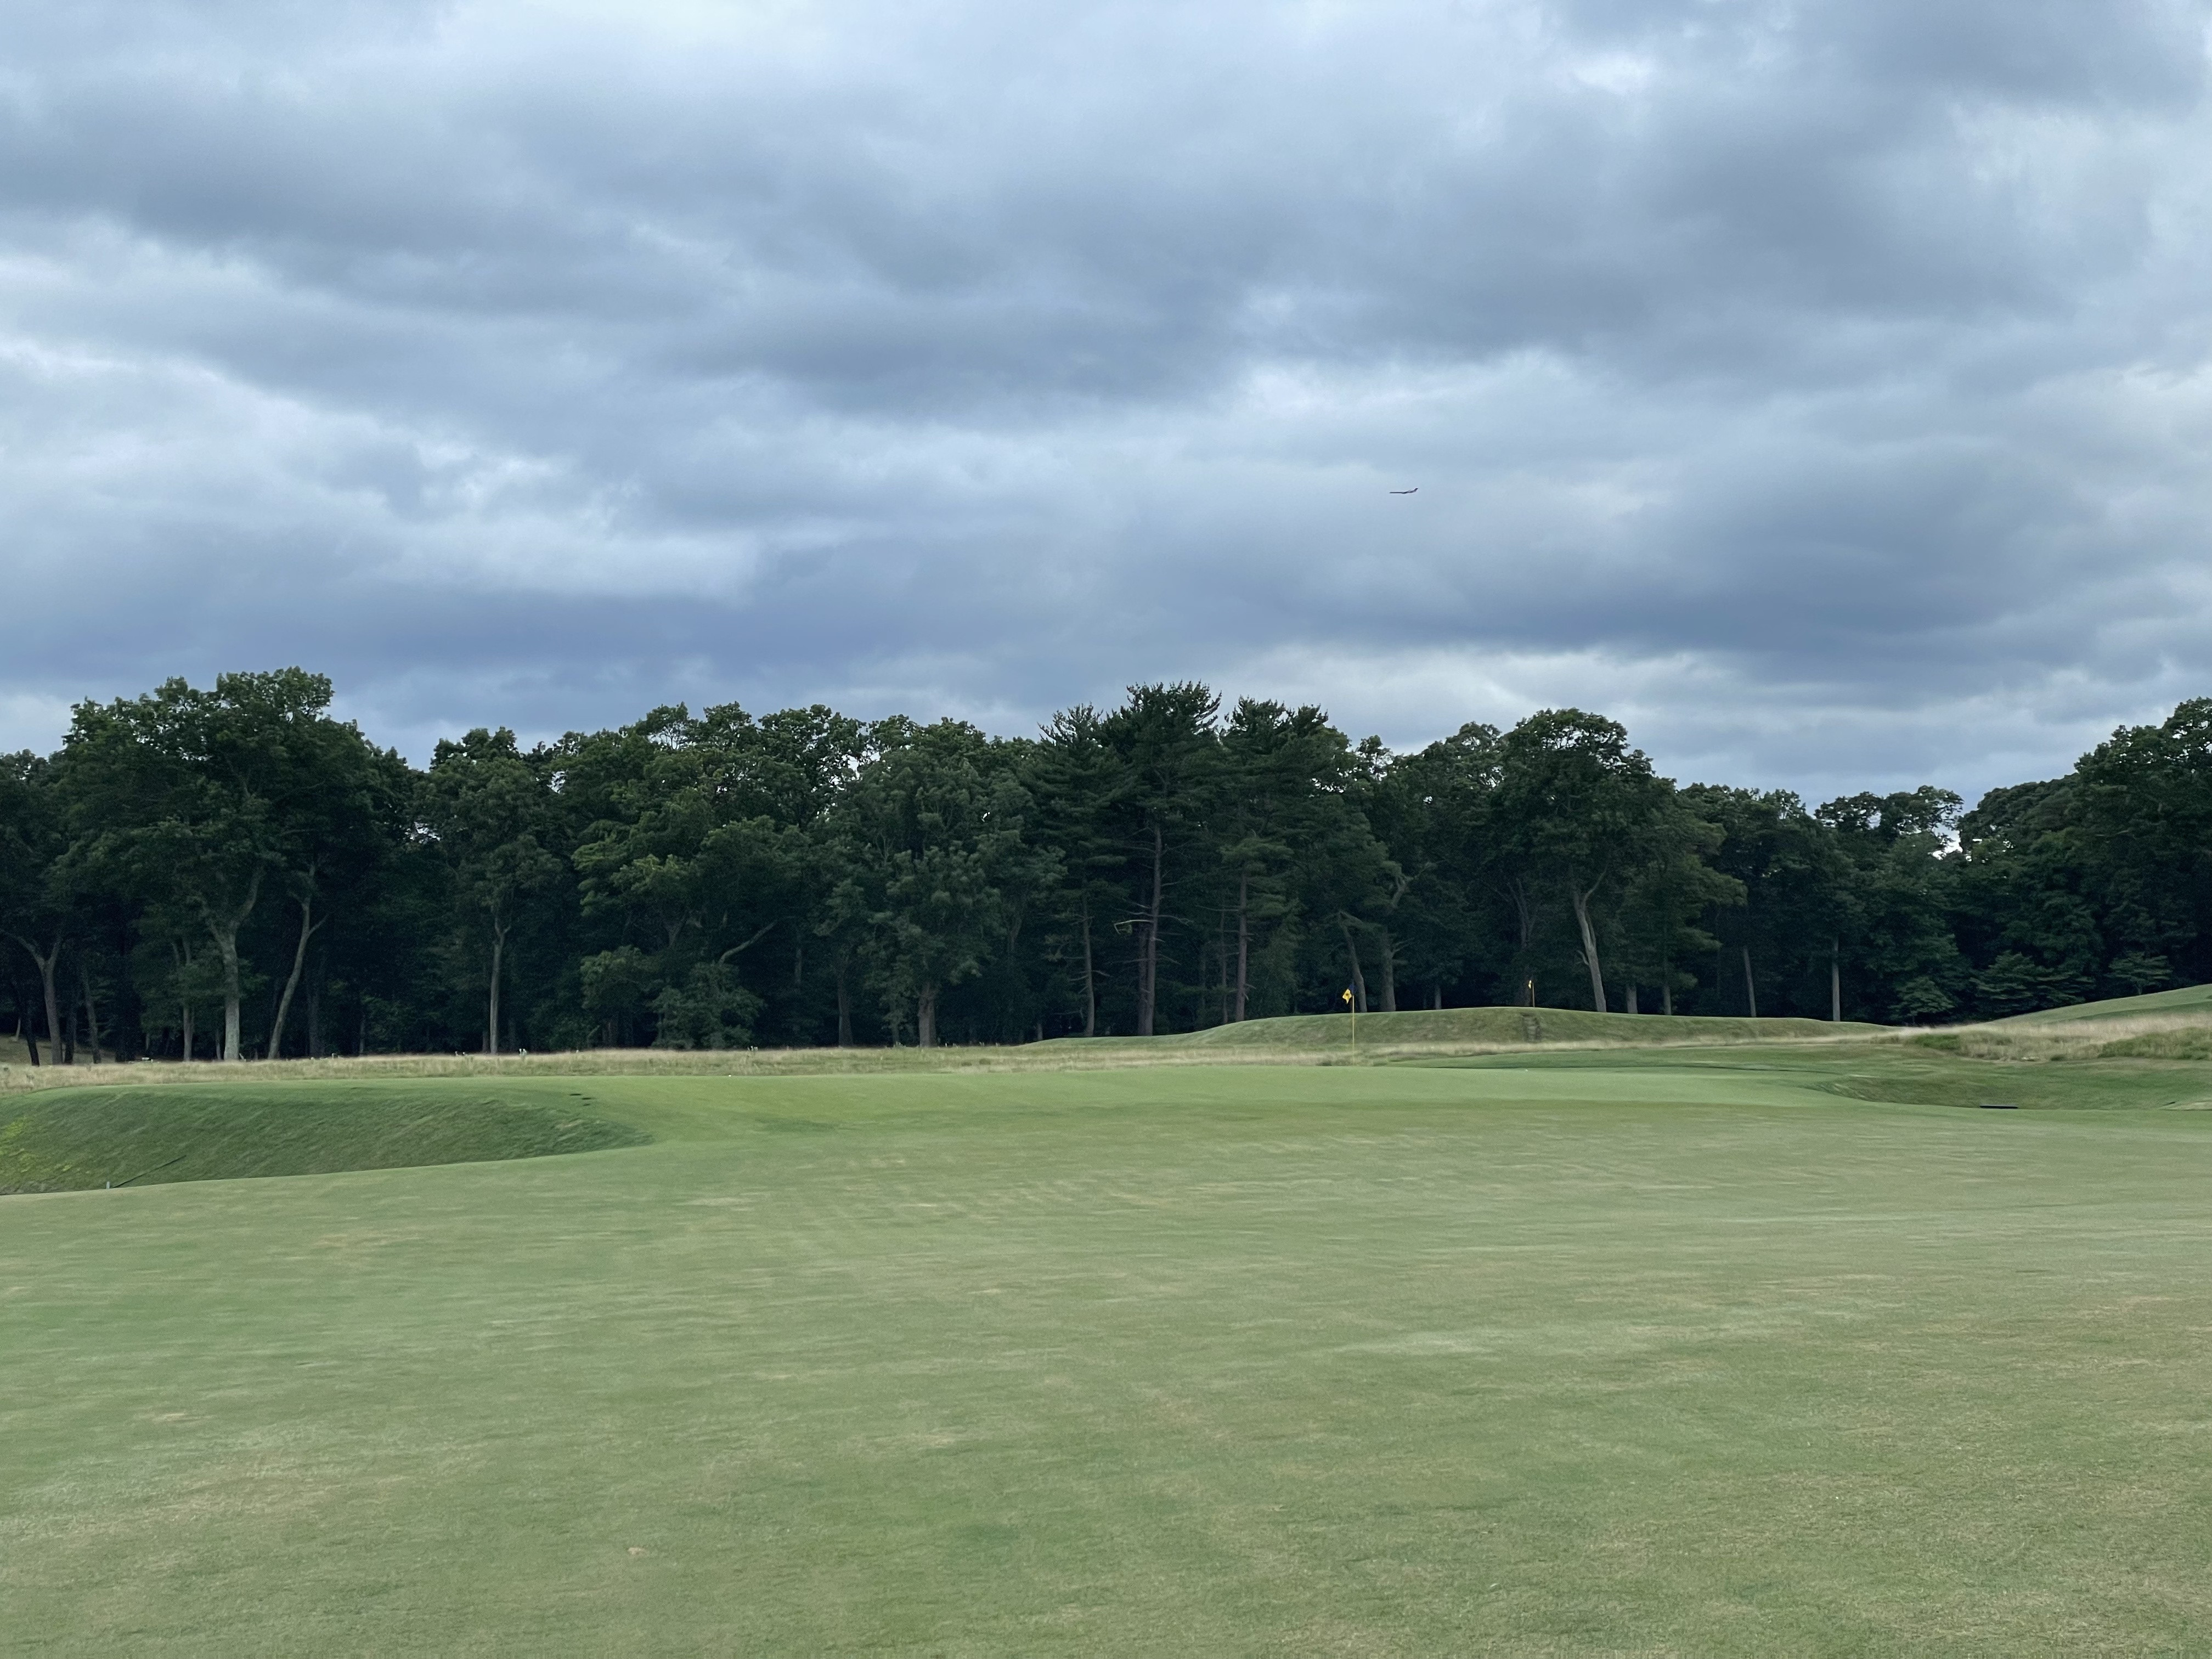
 Approach shot territory
 Closer
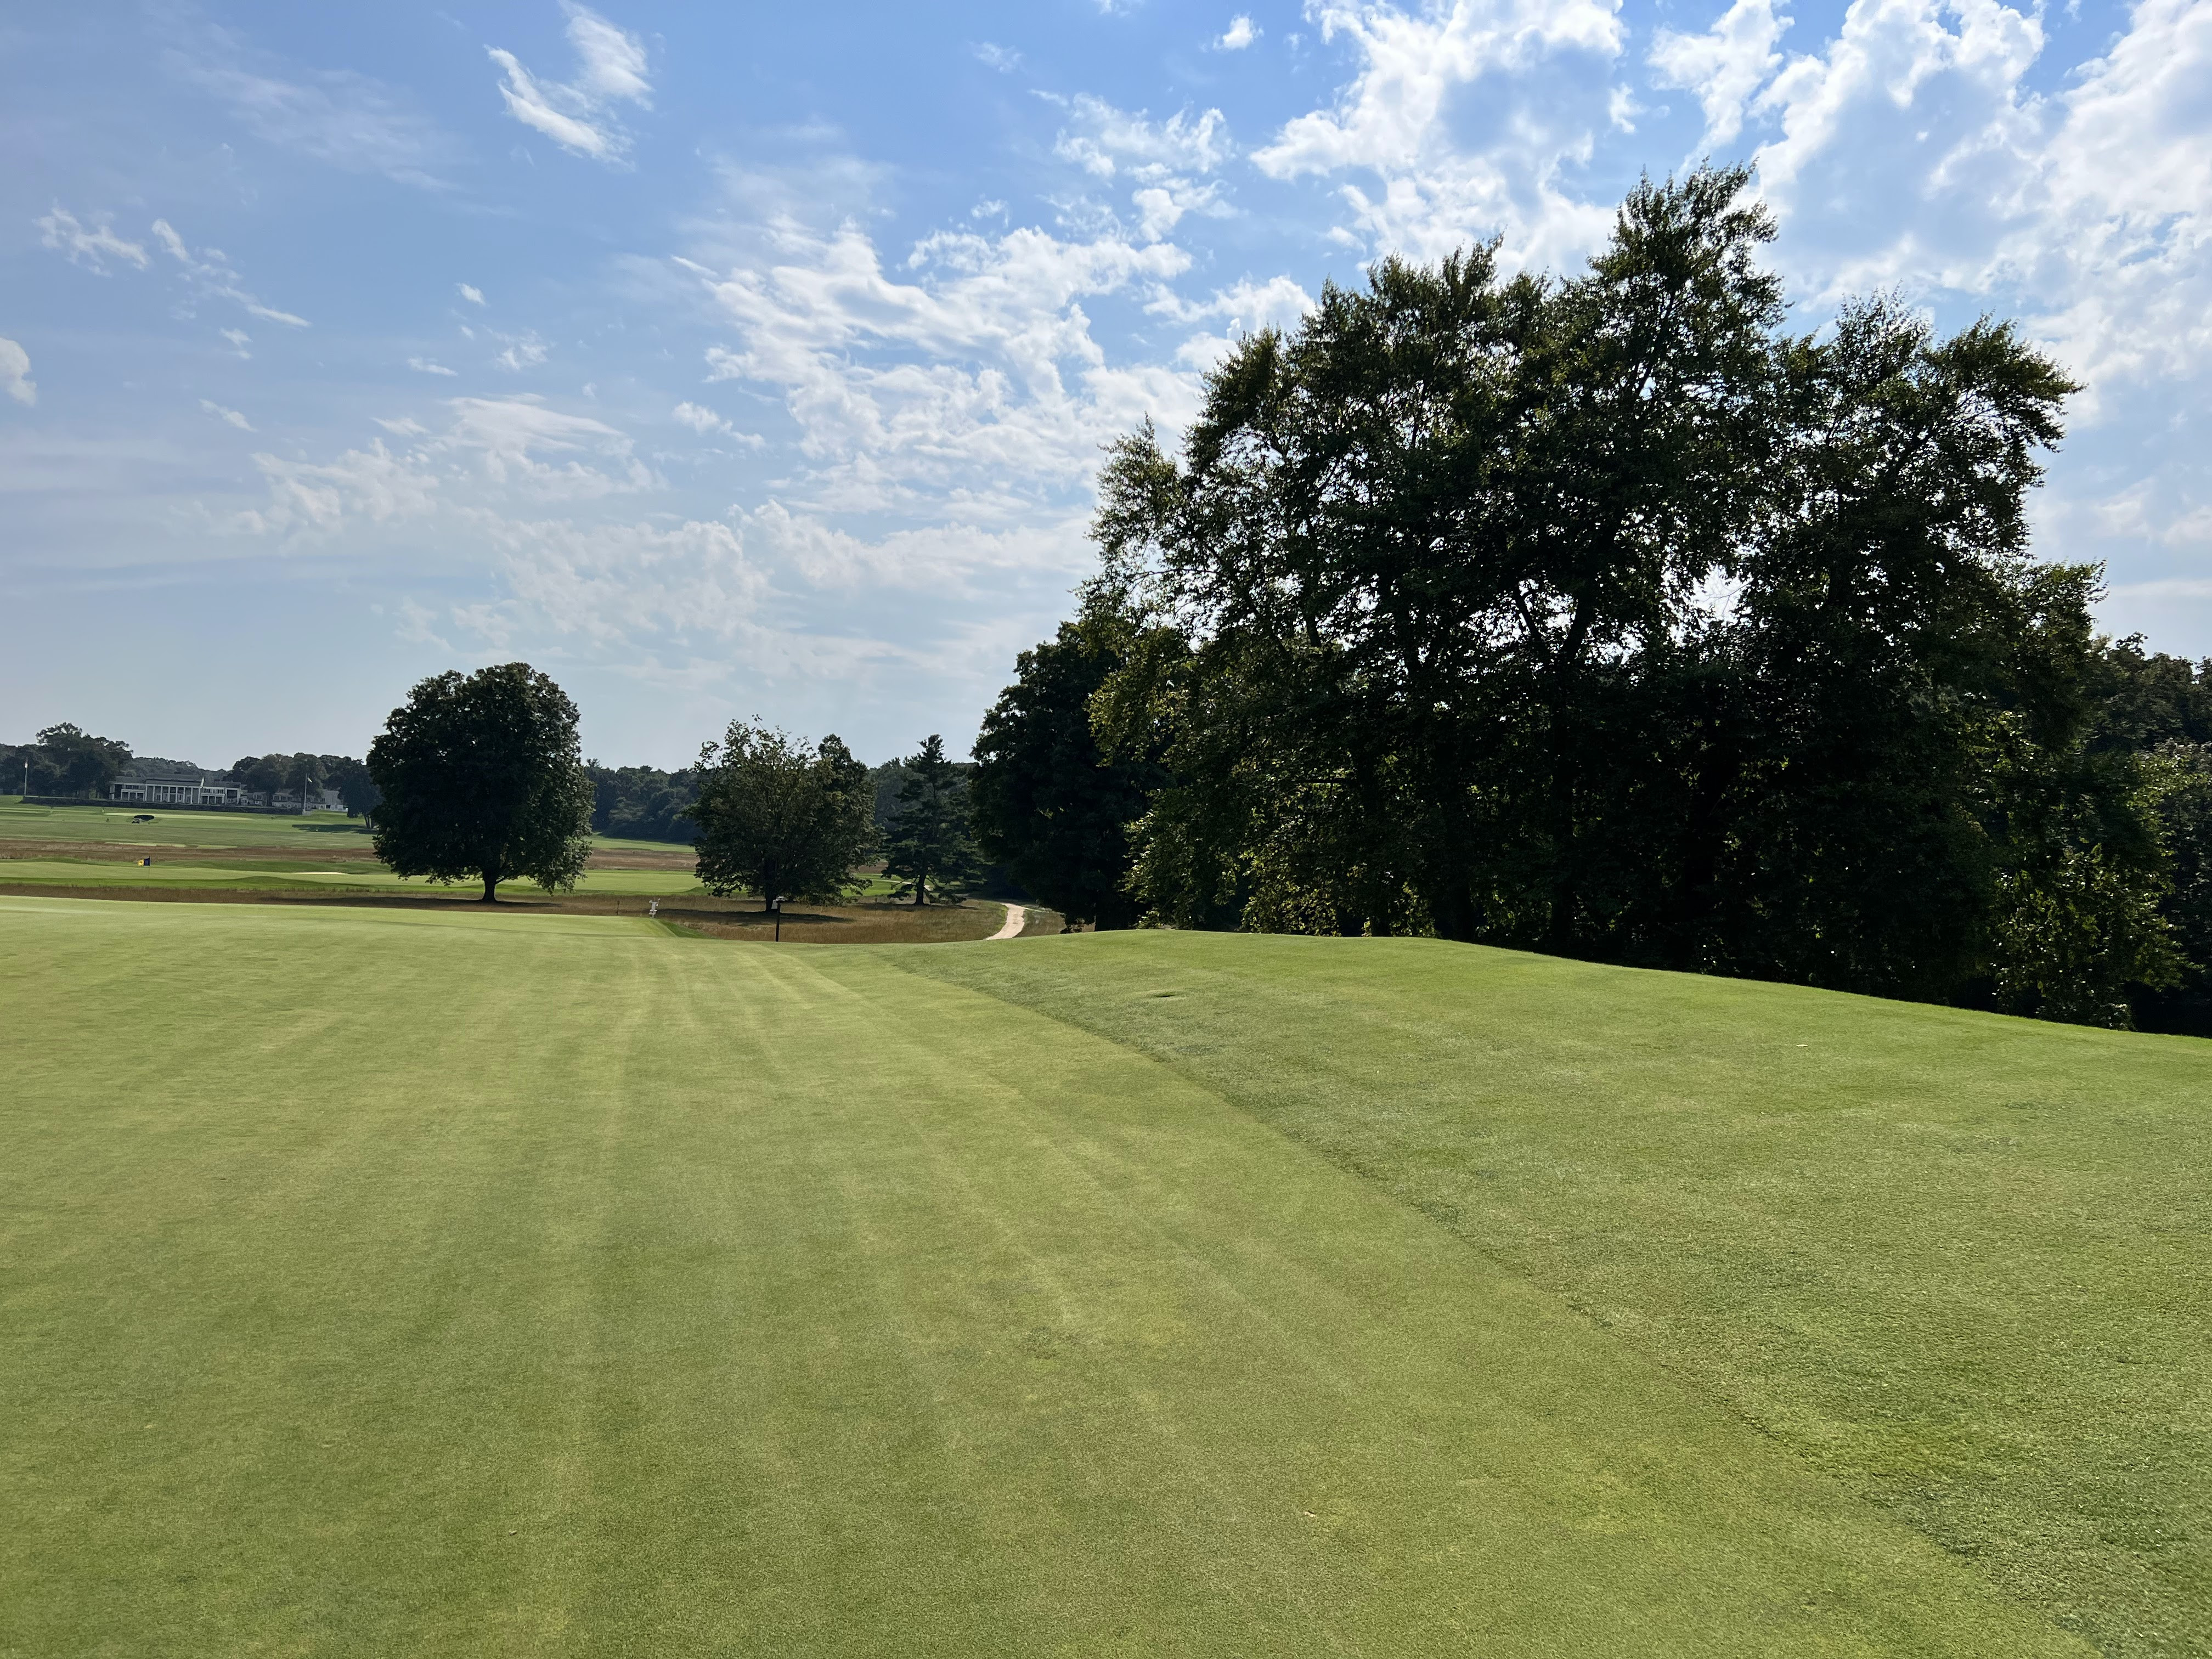
 The driving range and clubhouse, off to the right
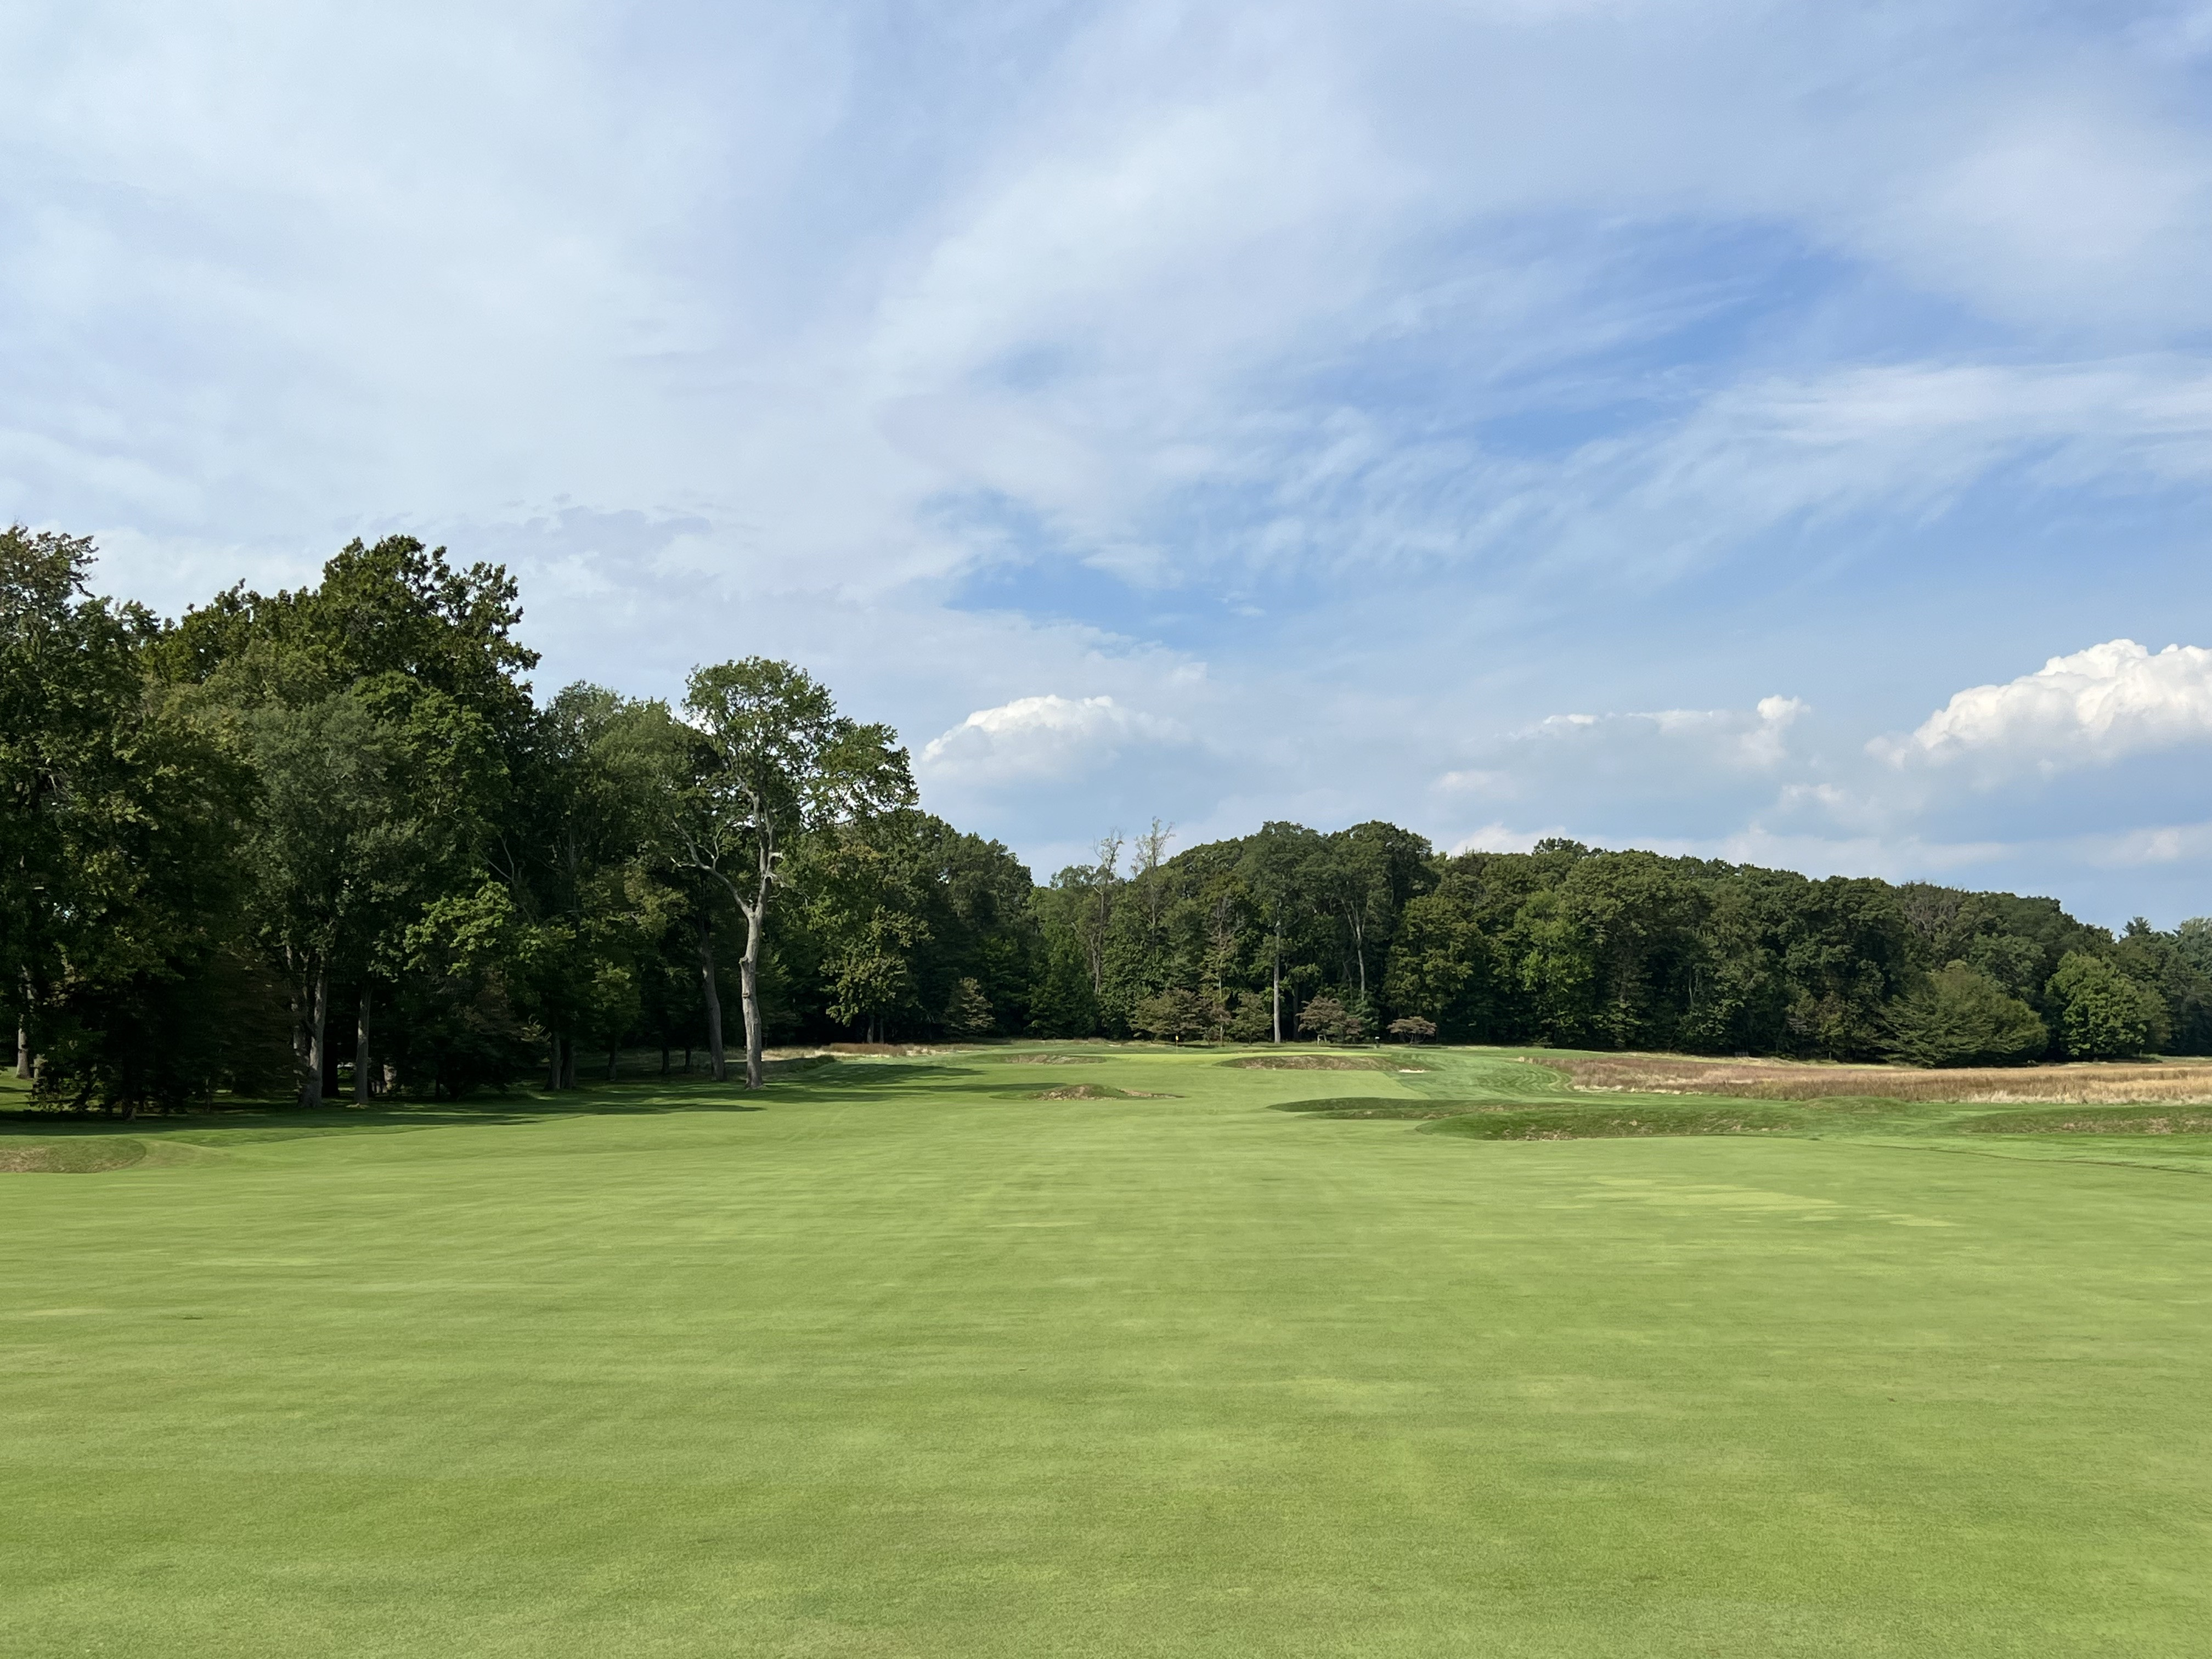
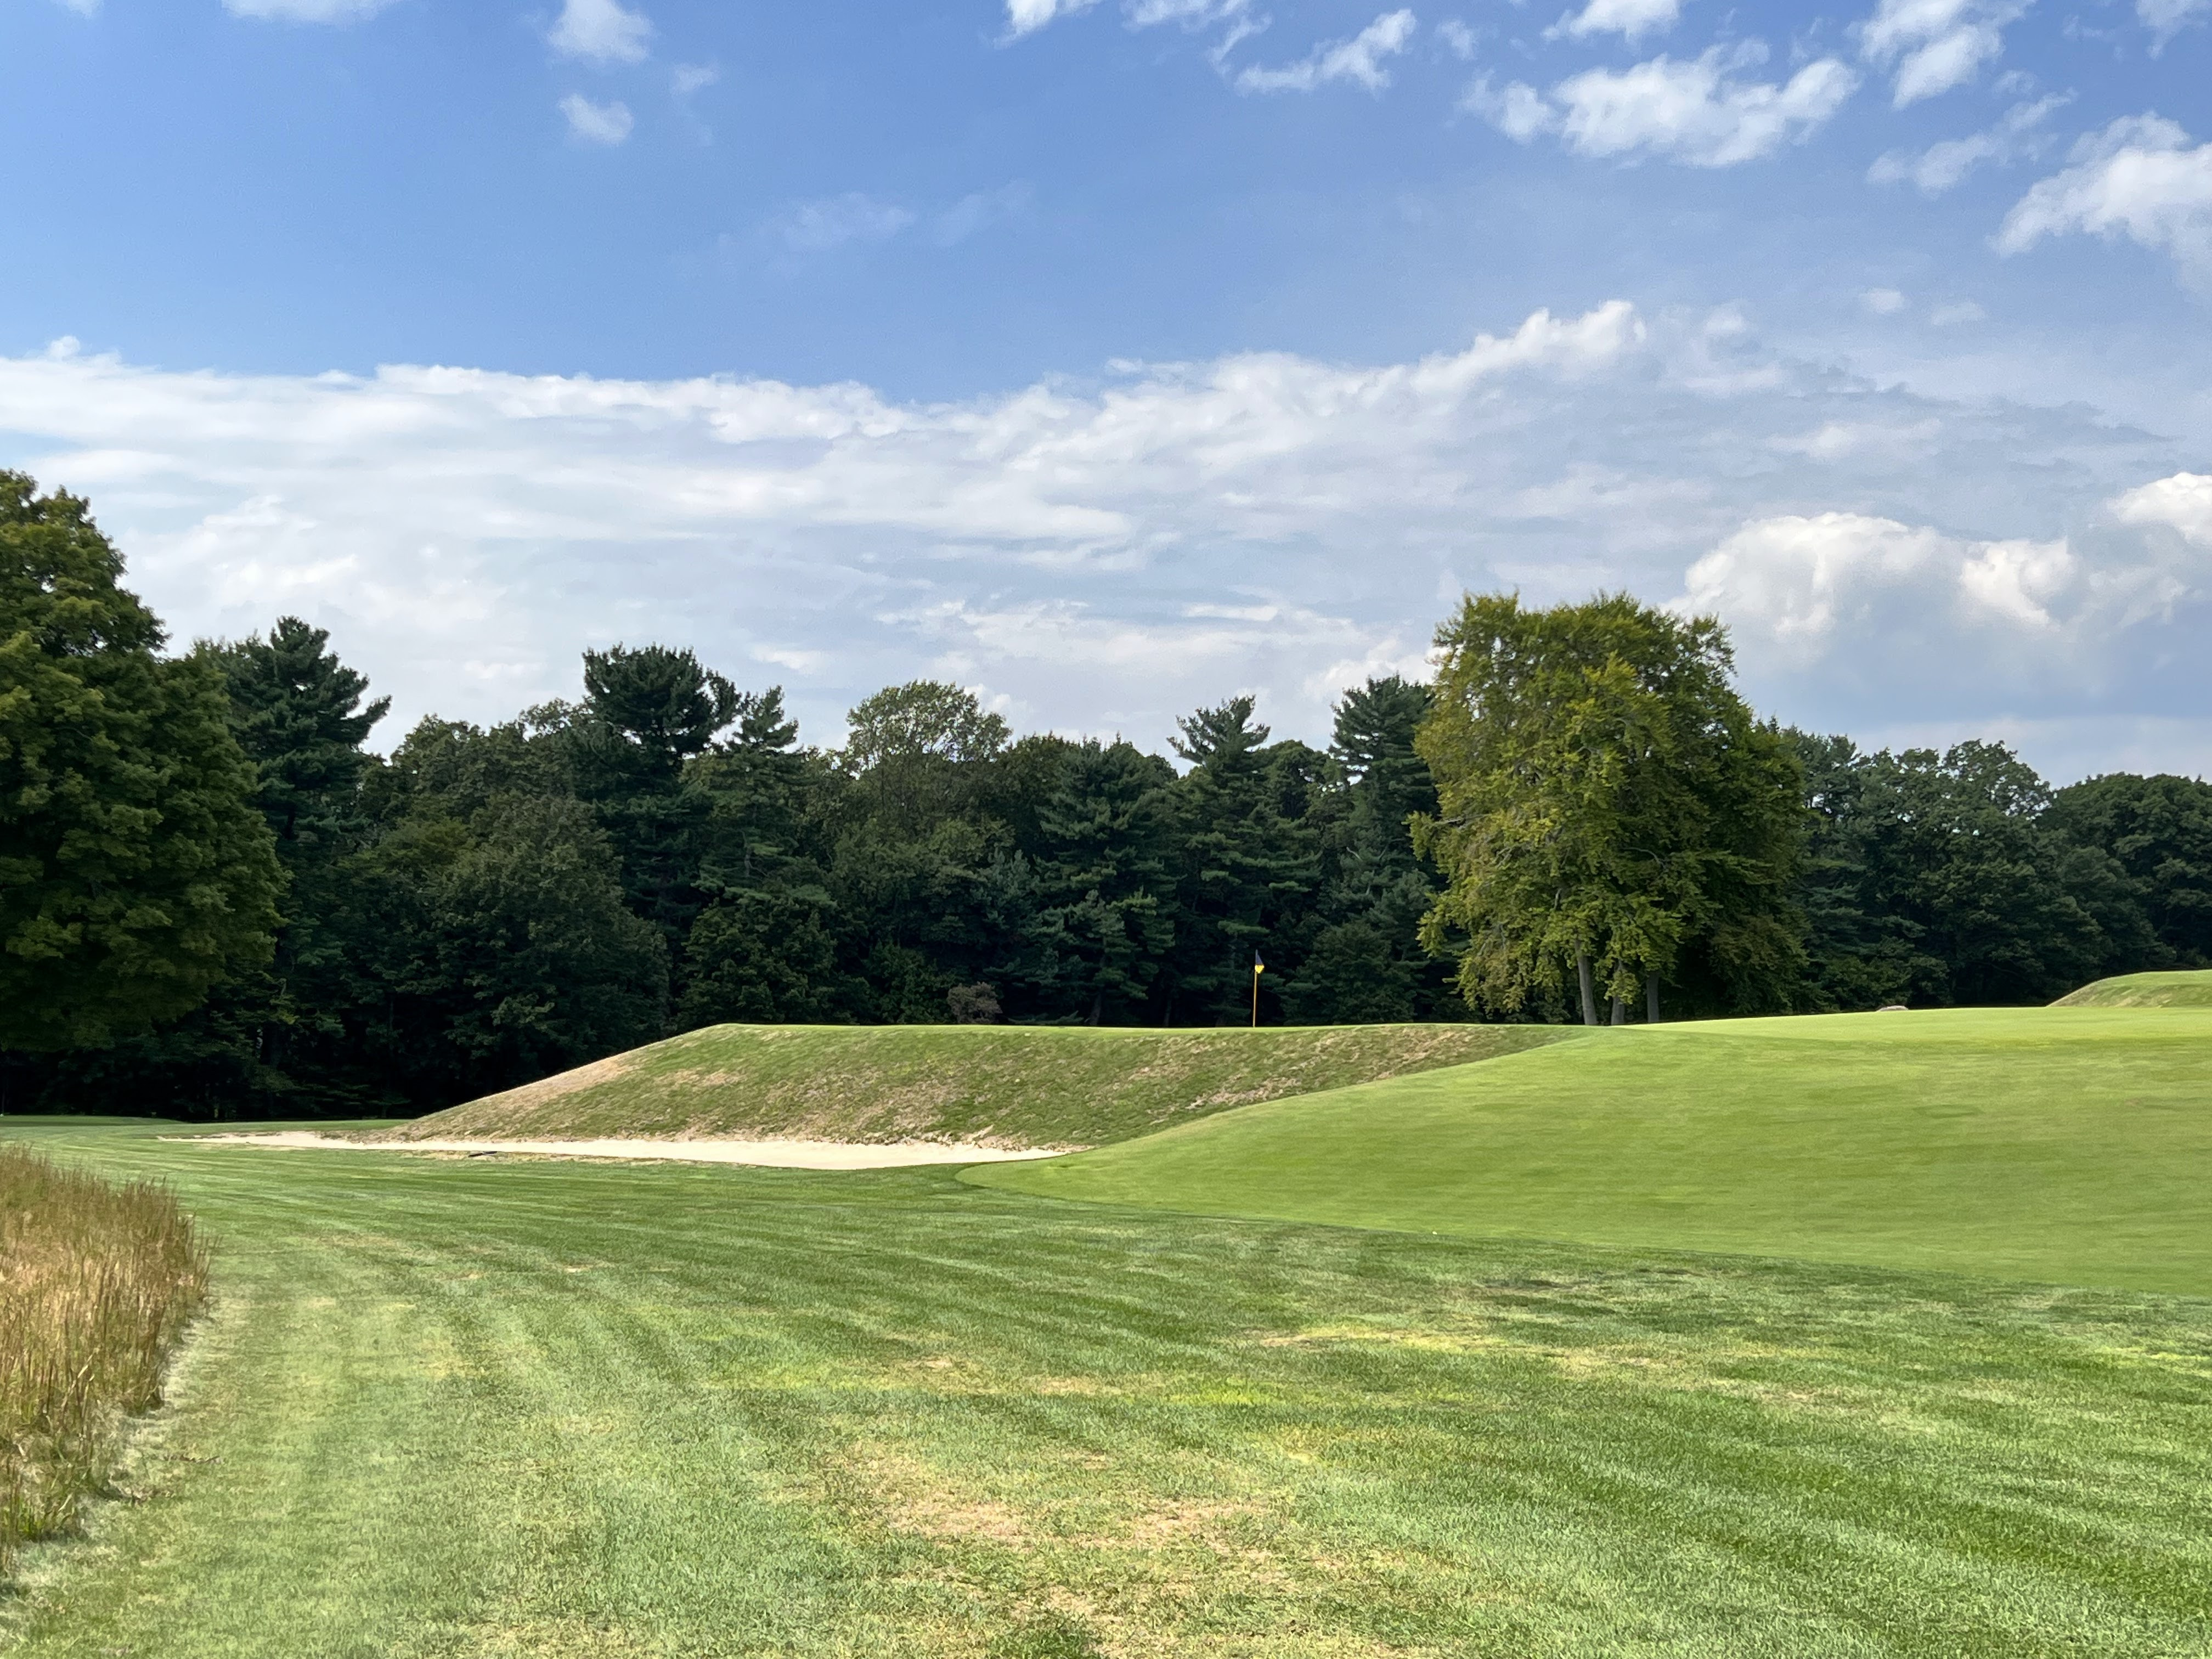
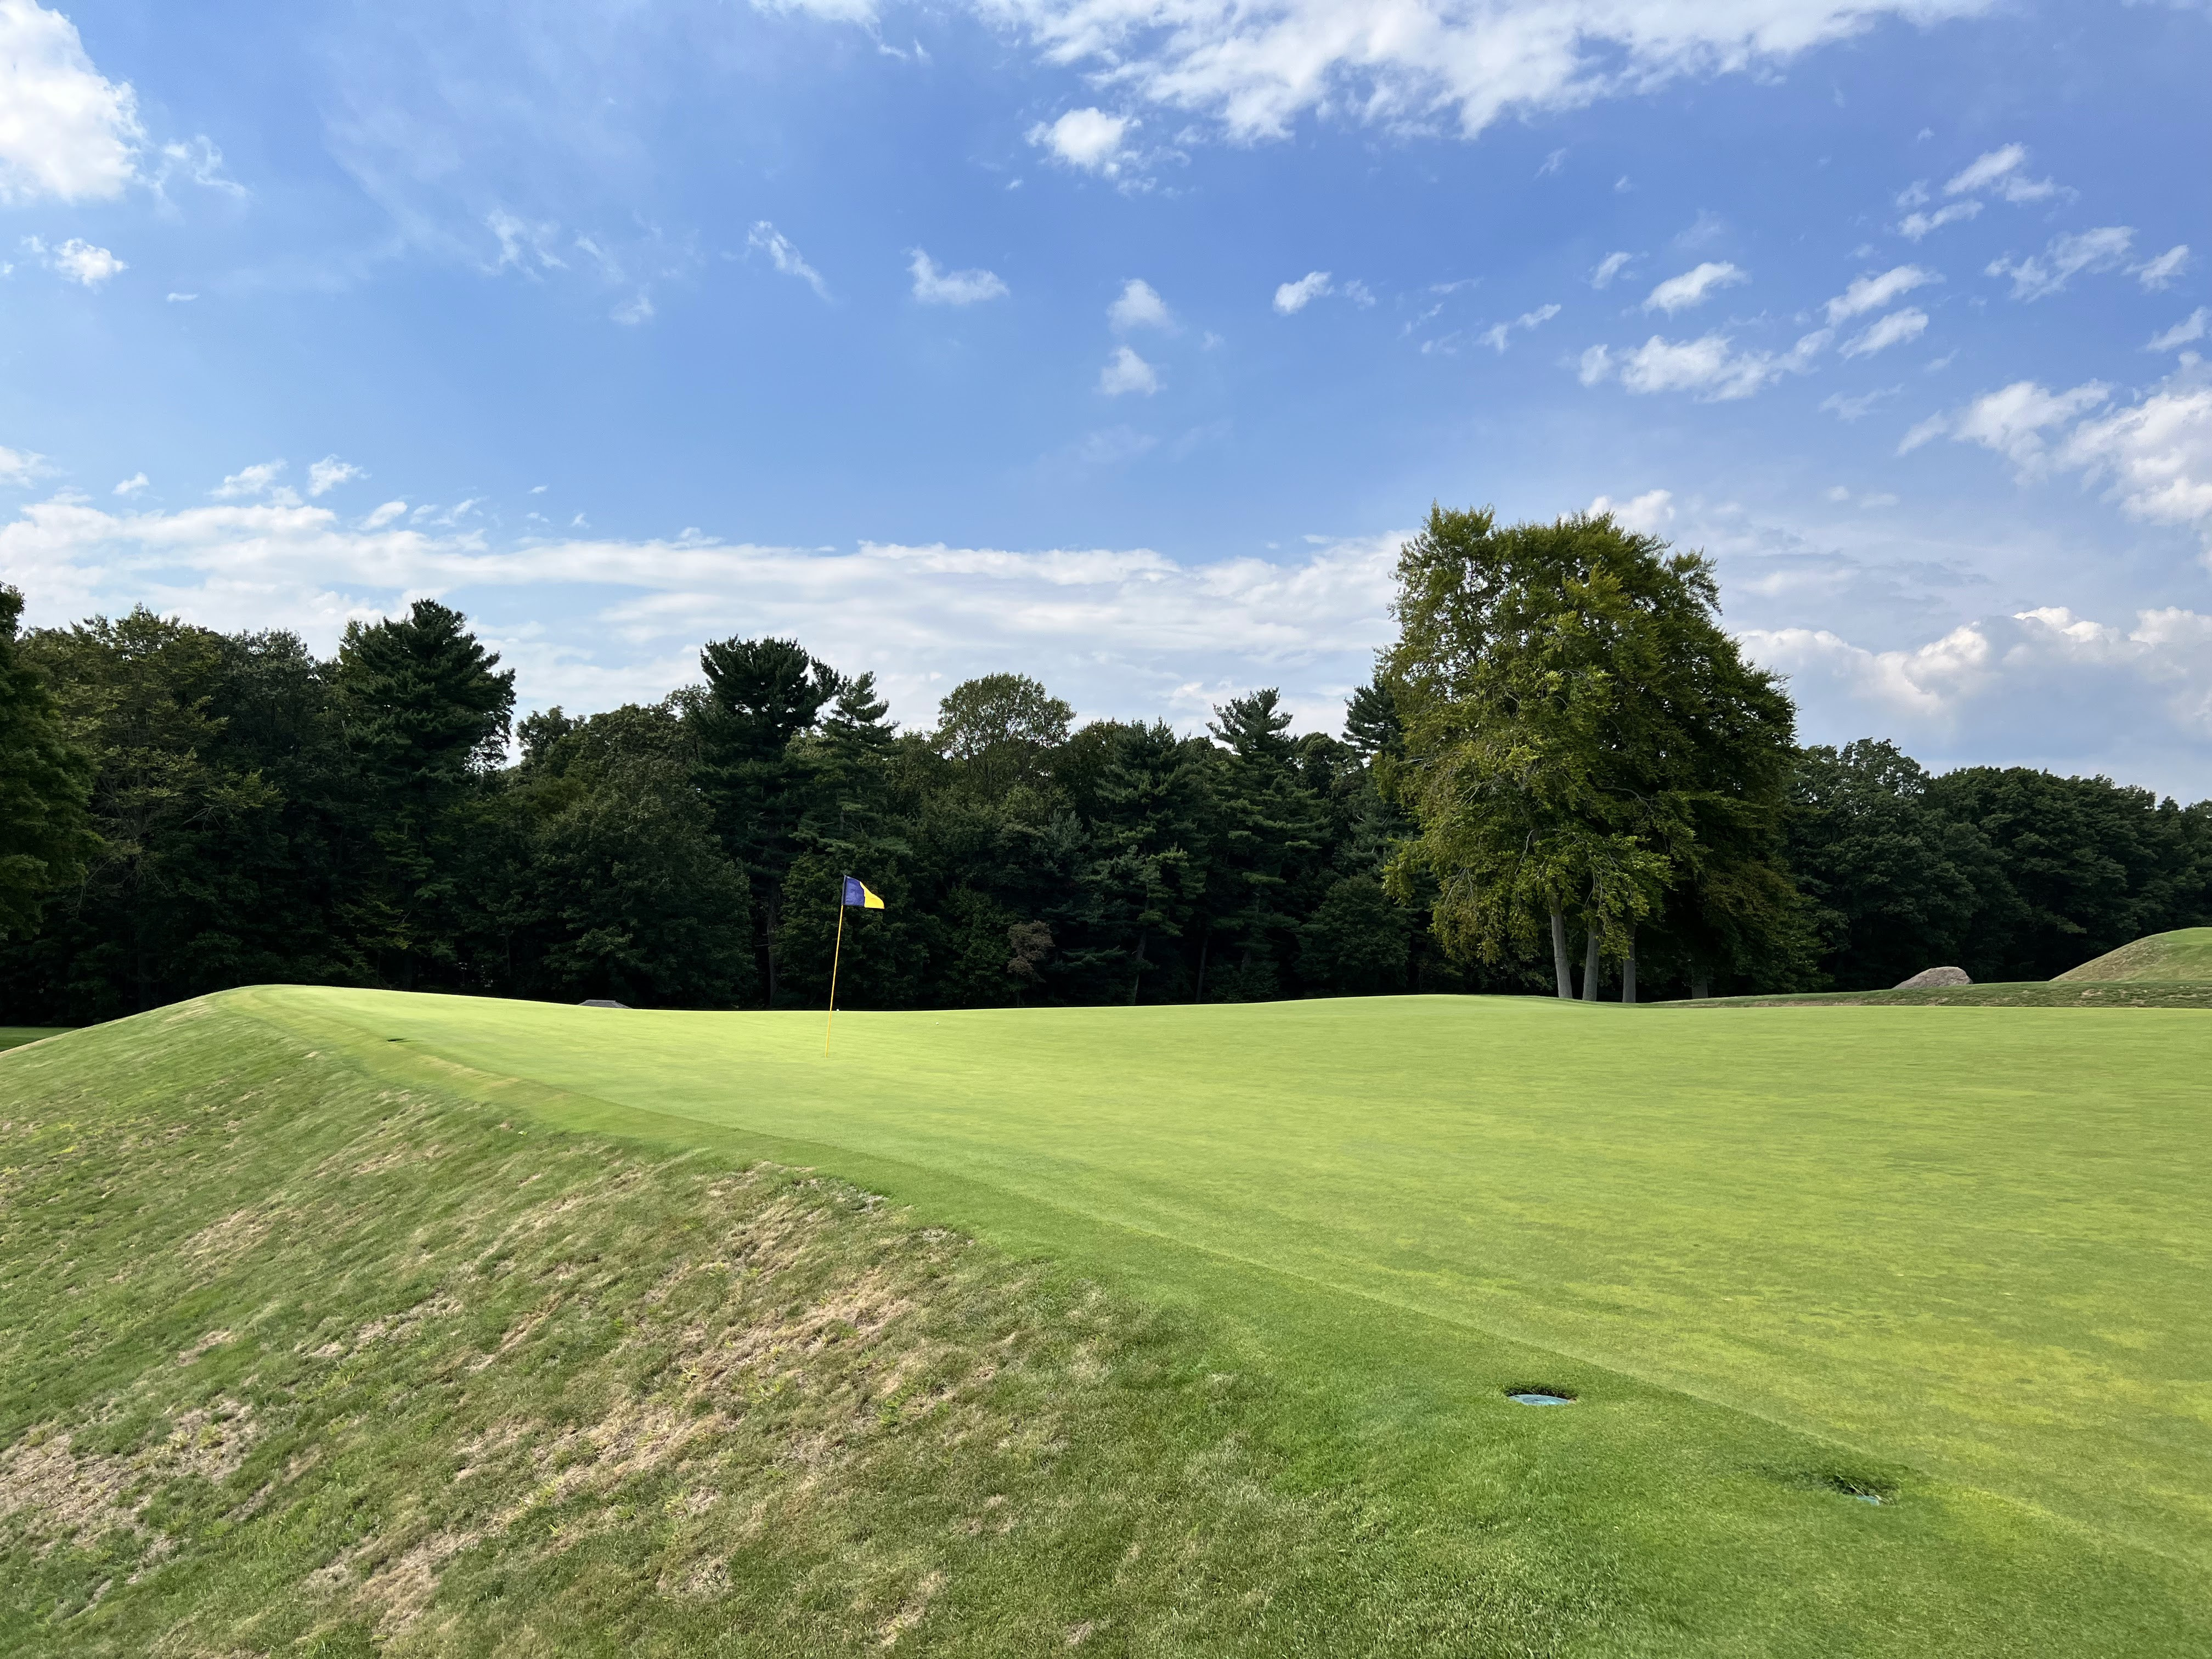
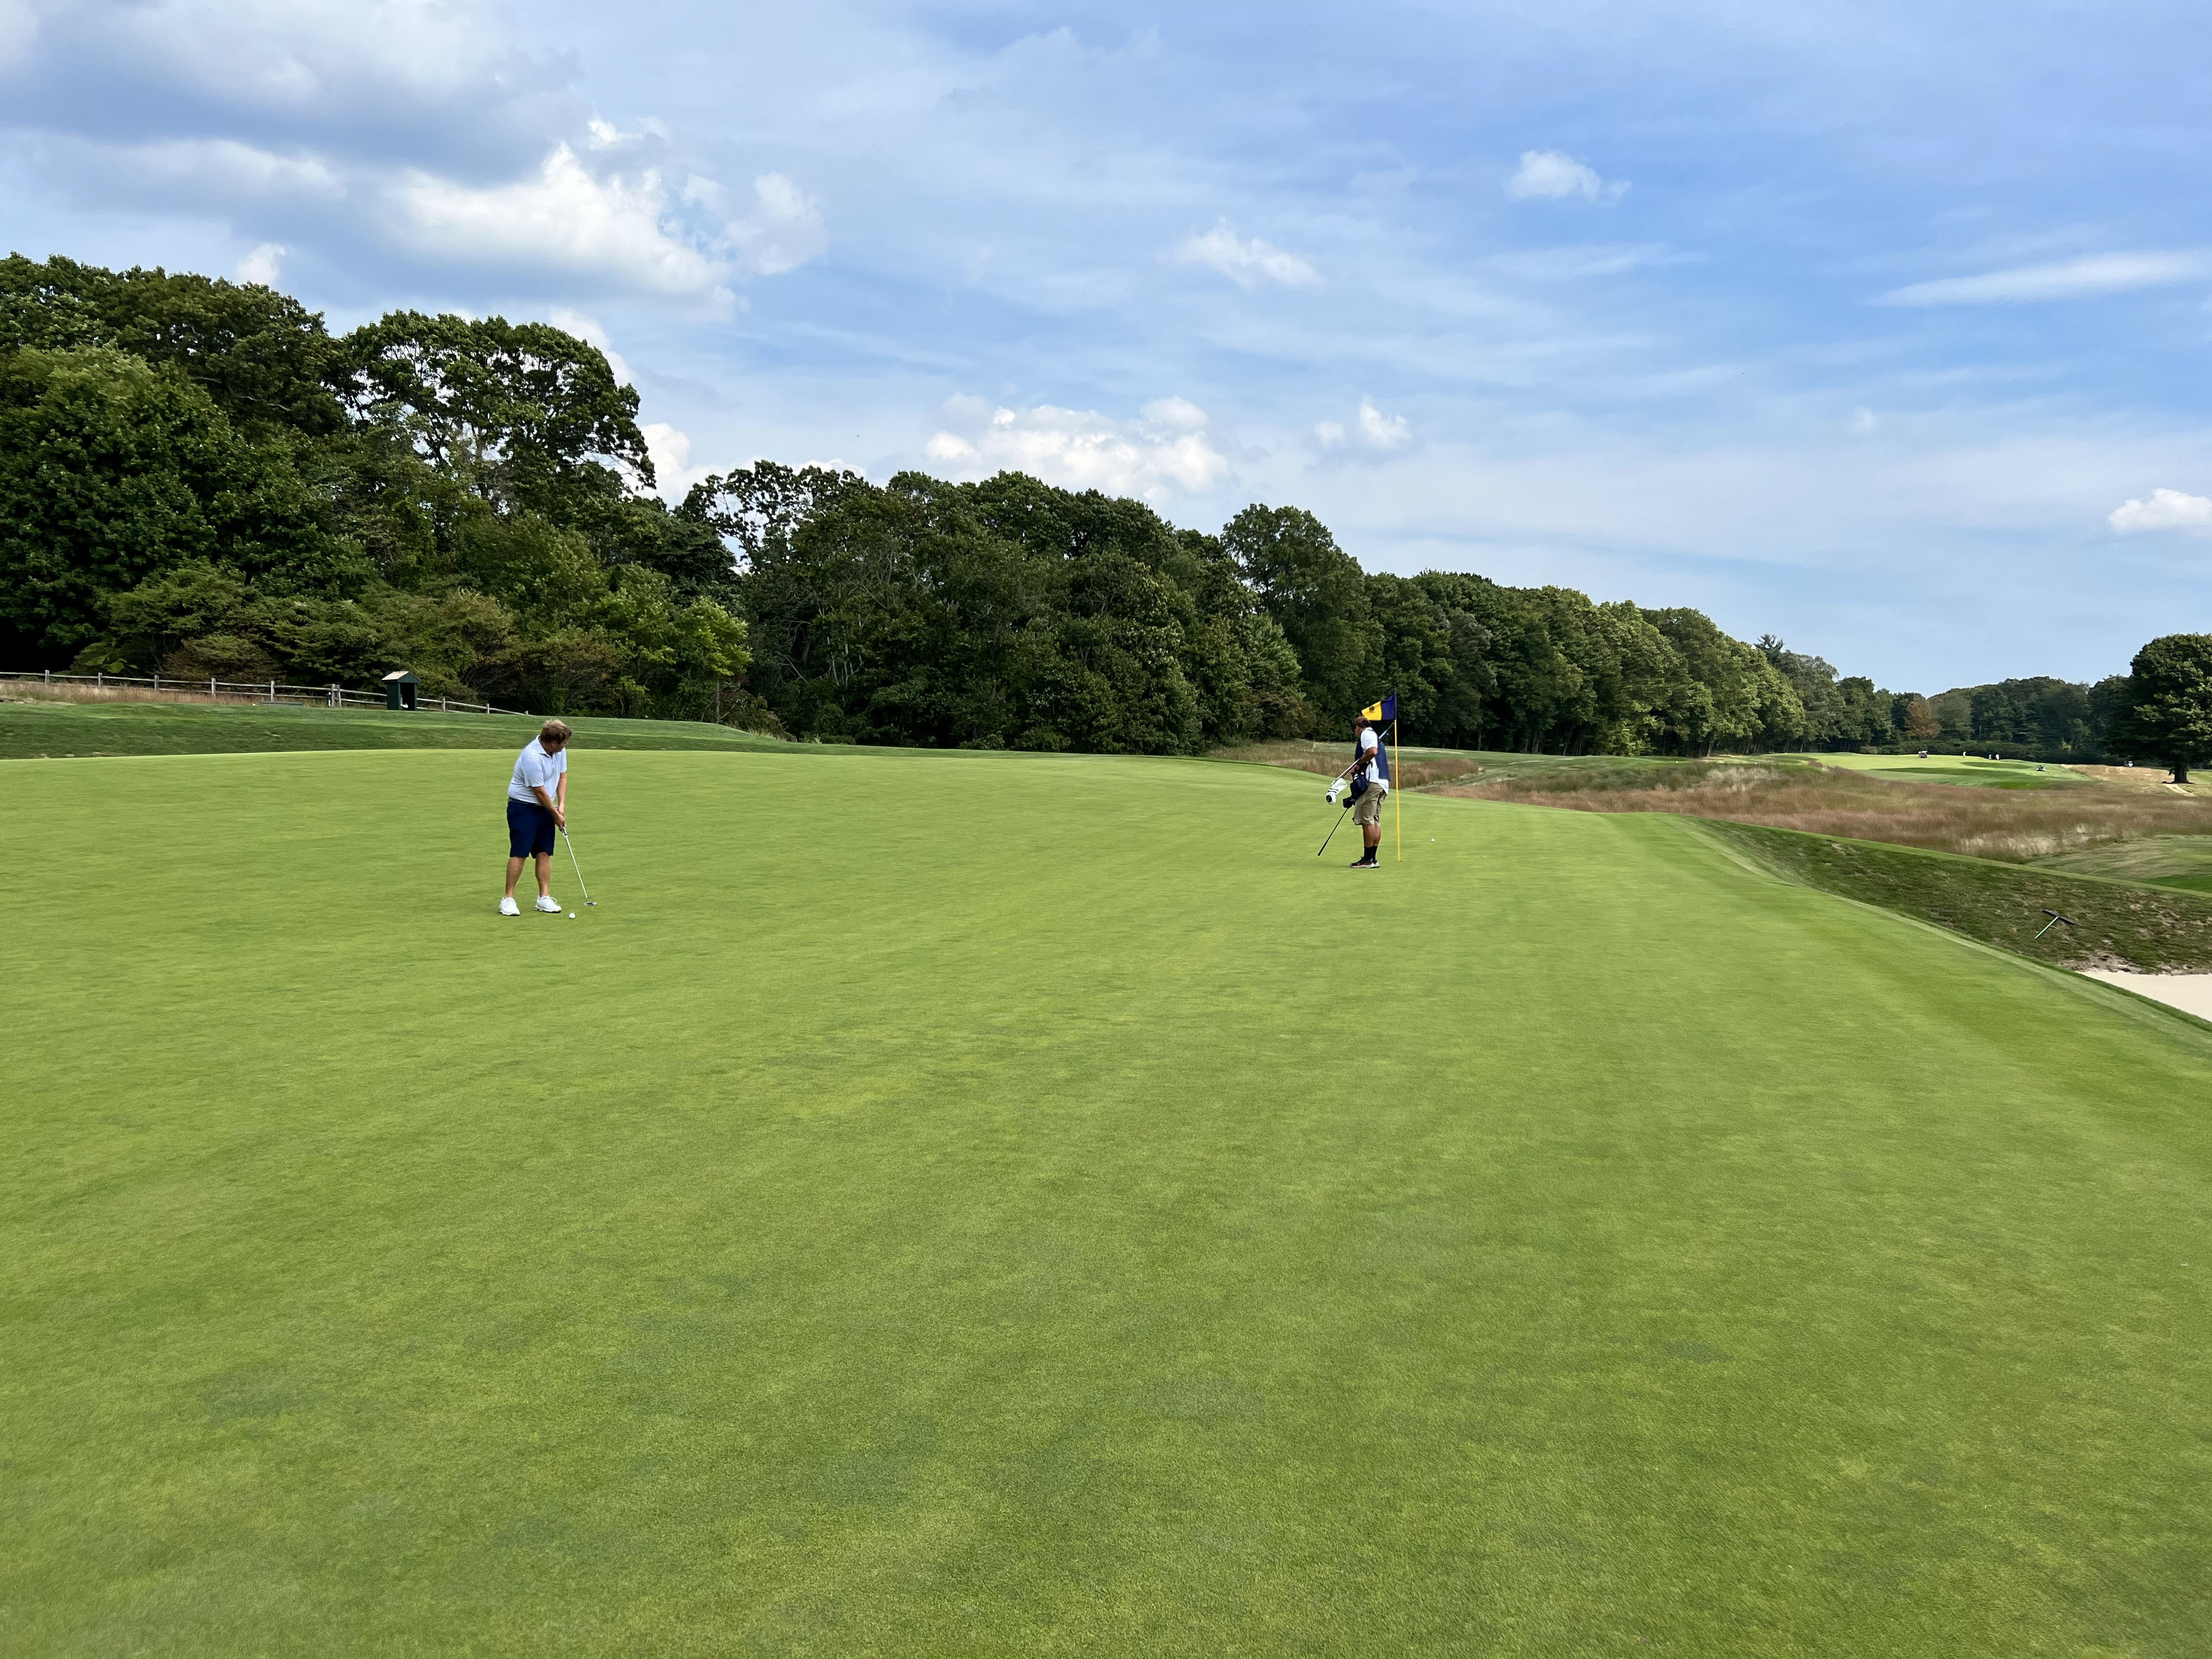
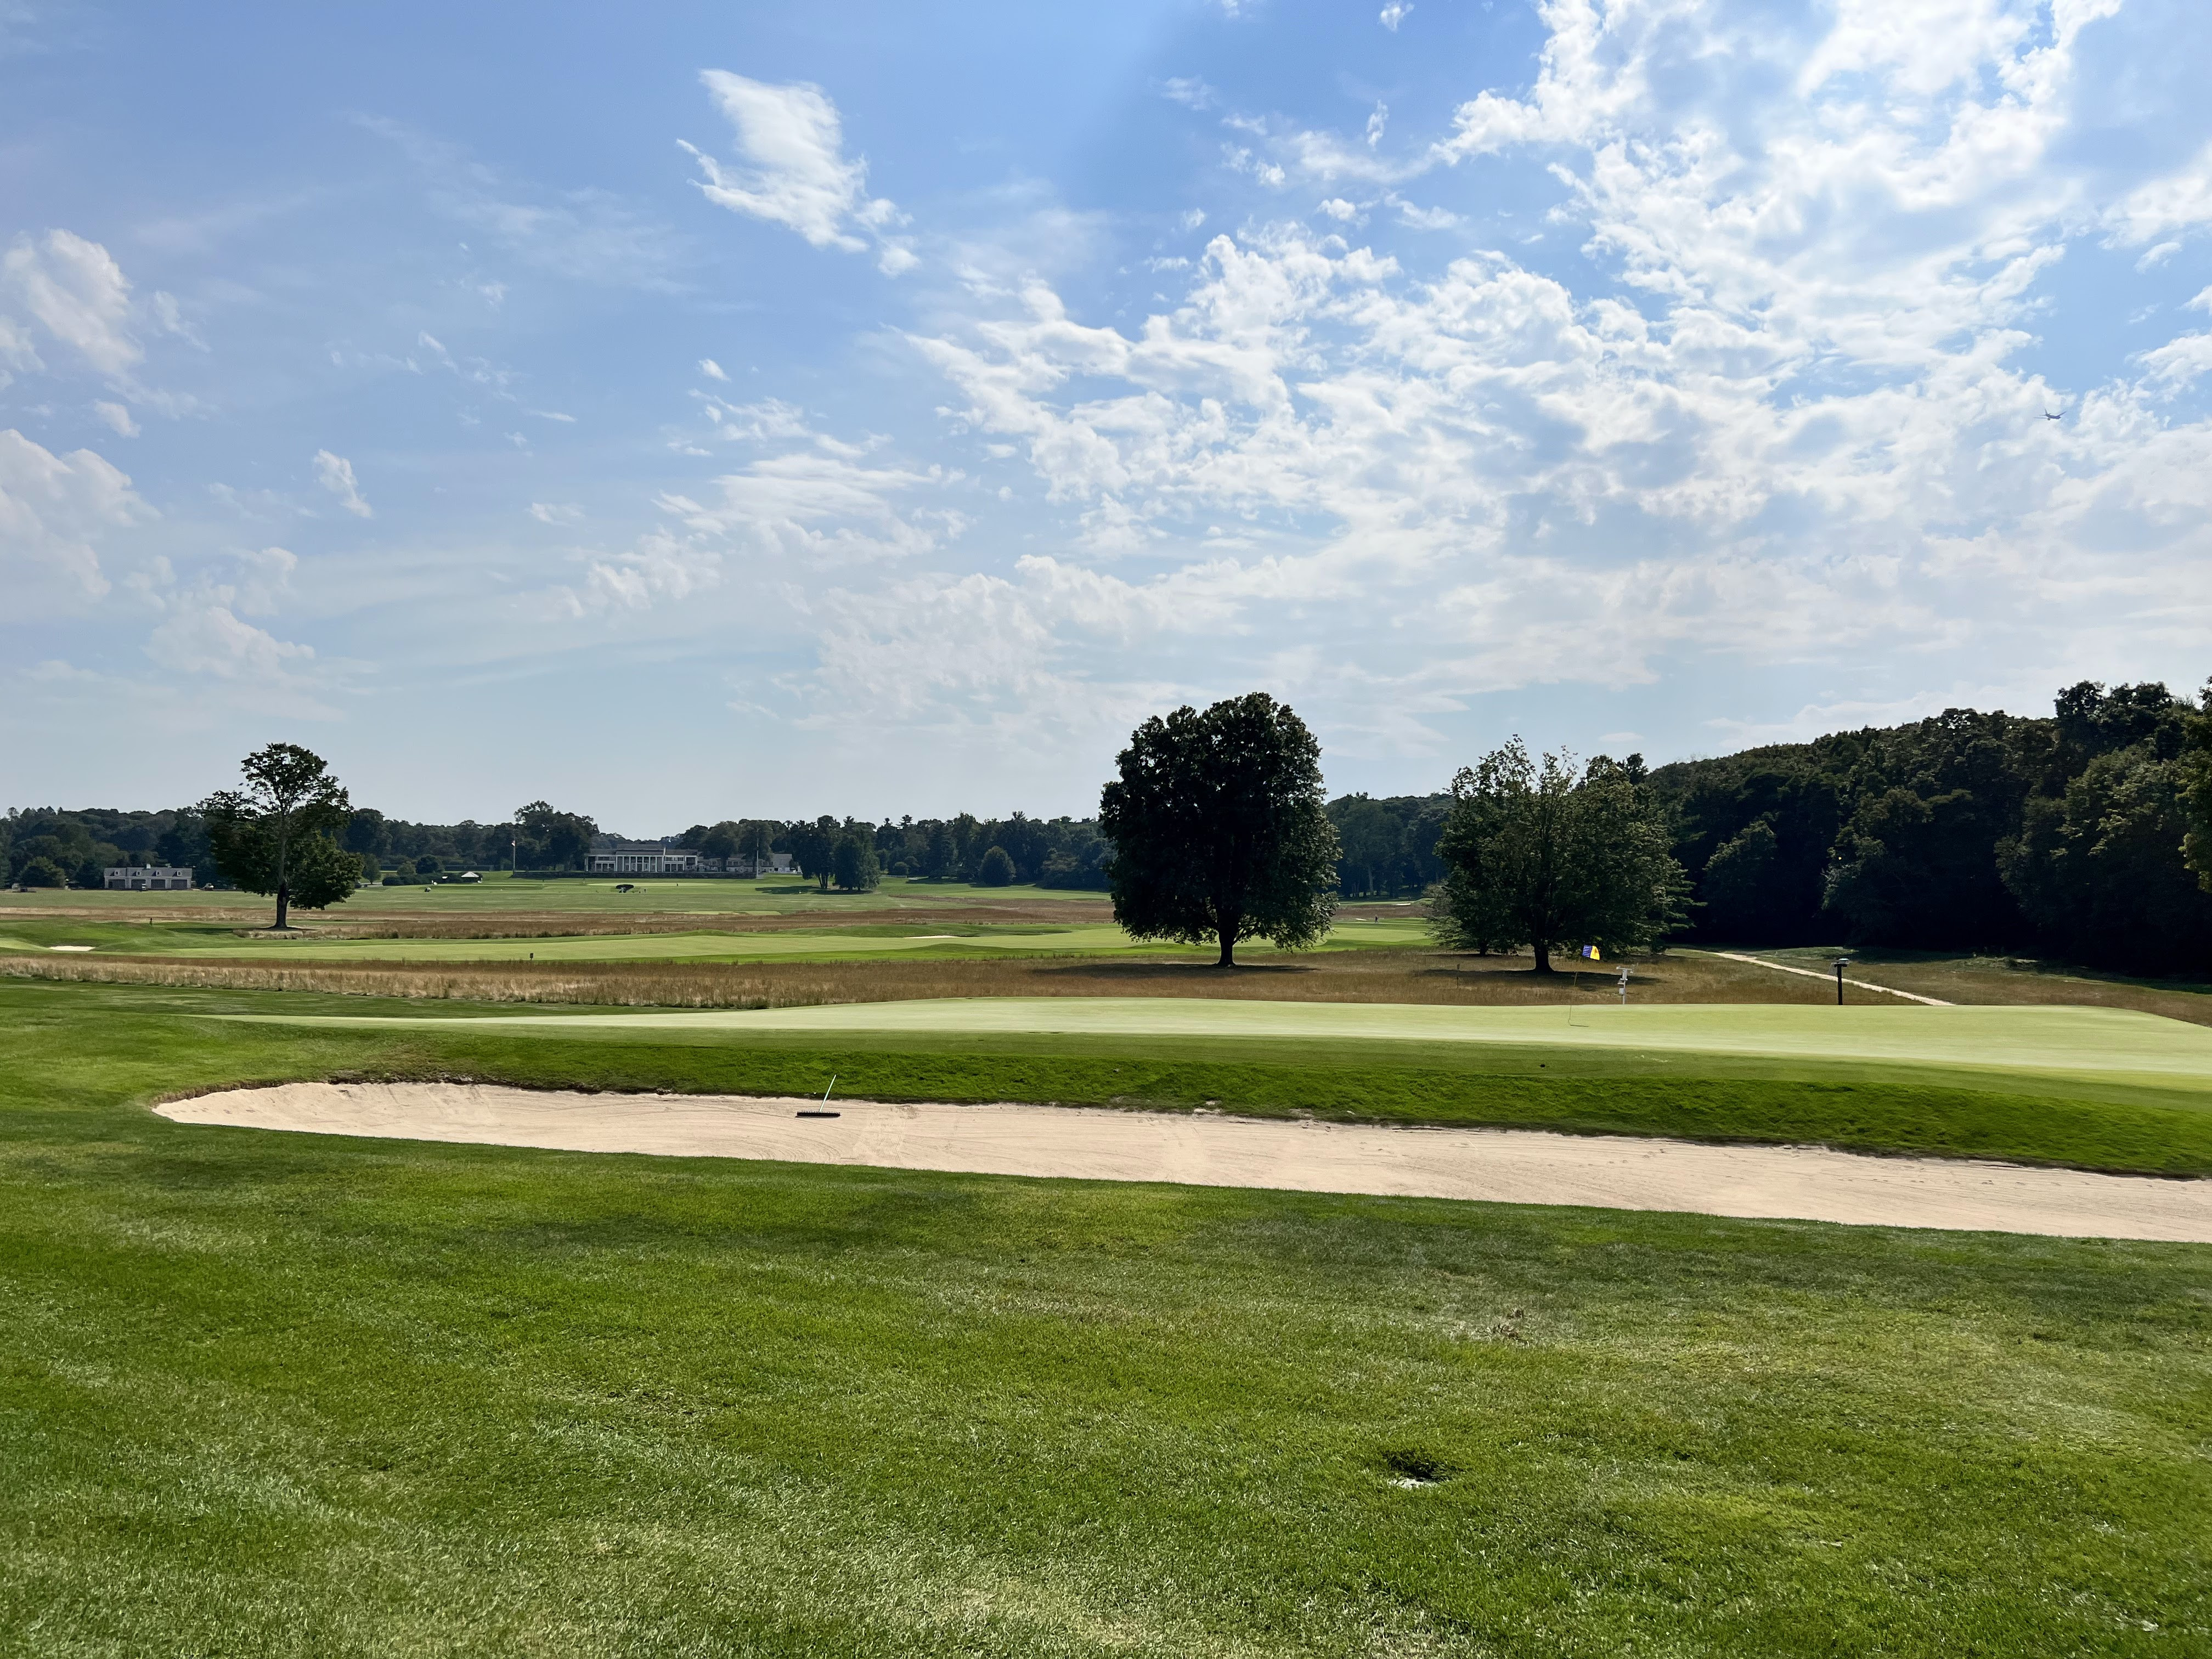
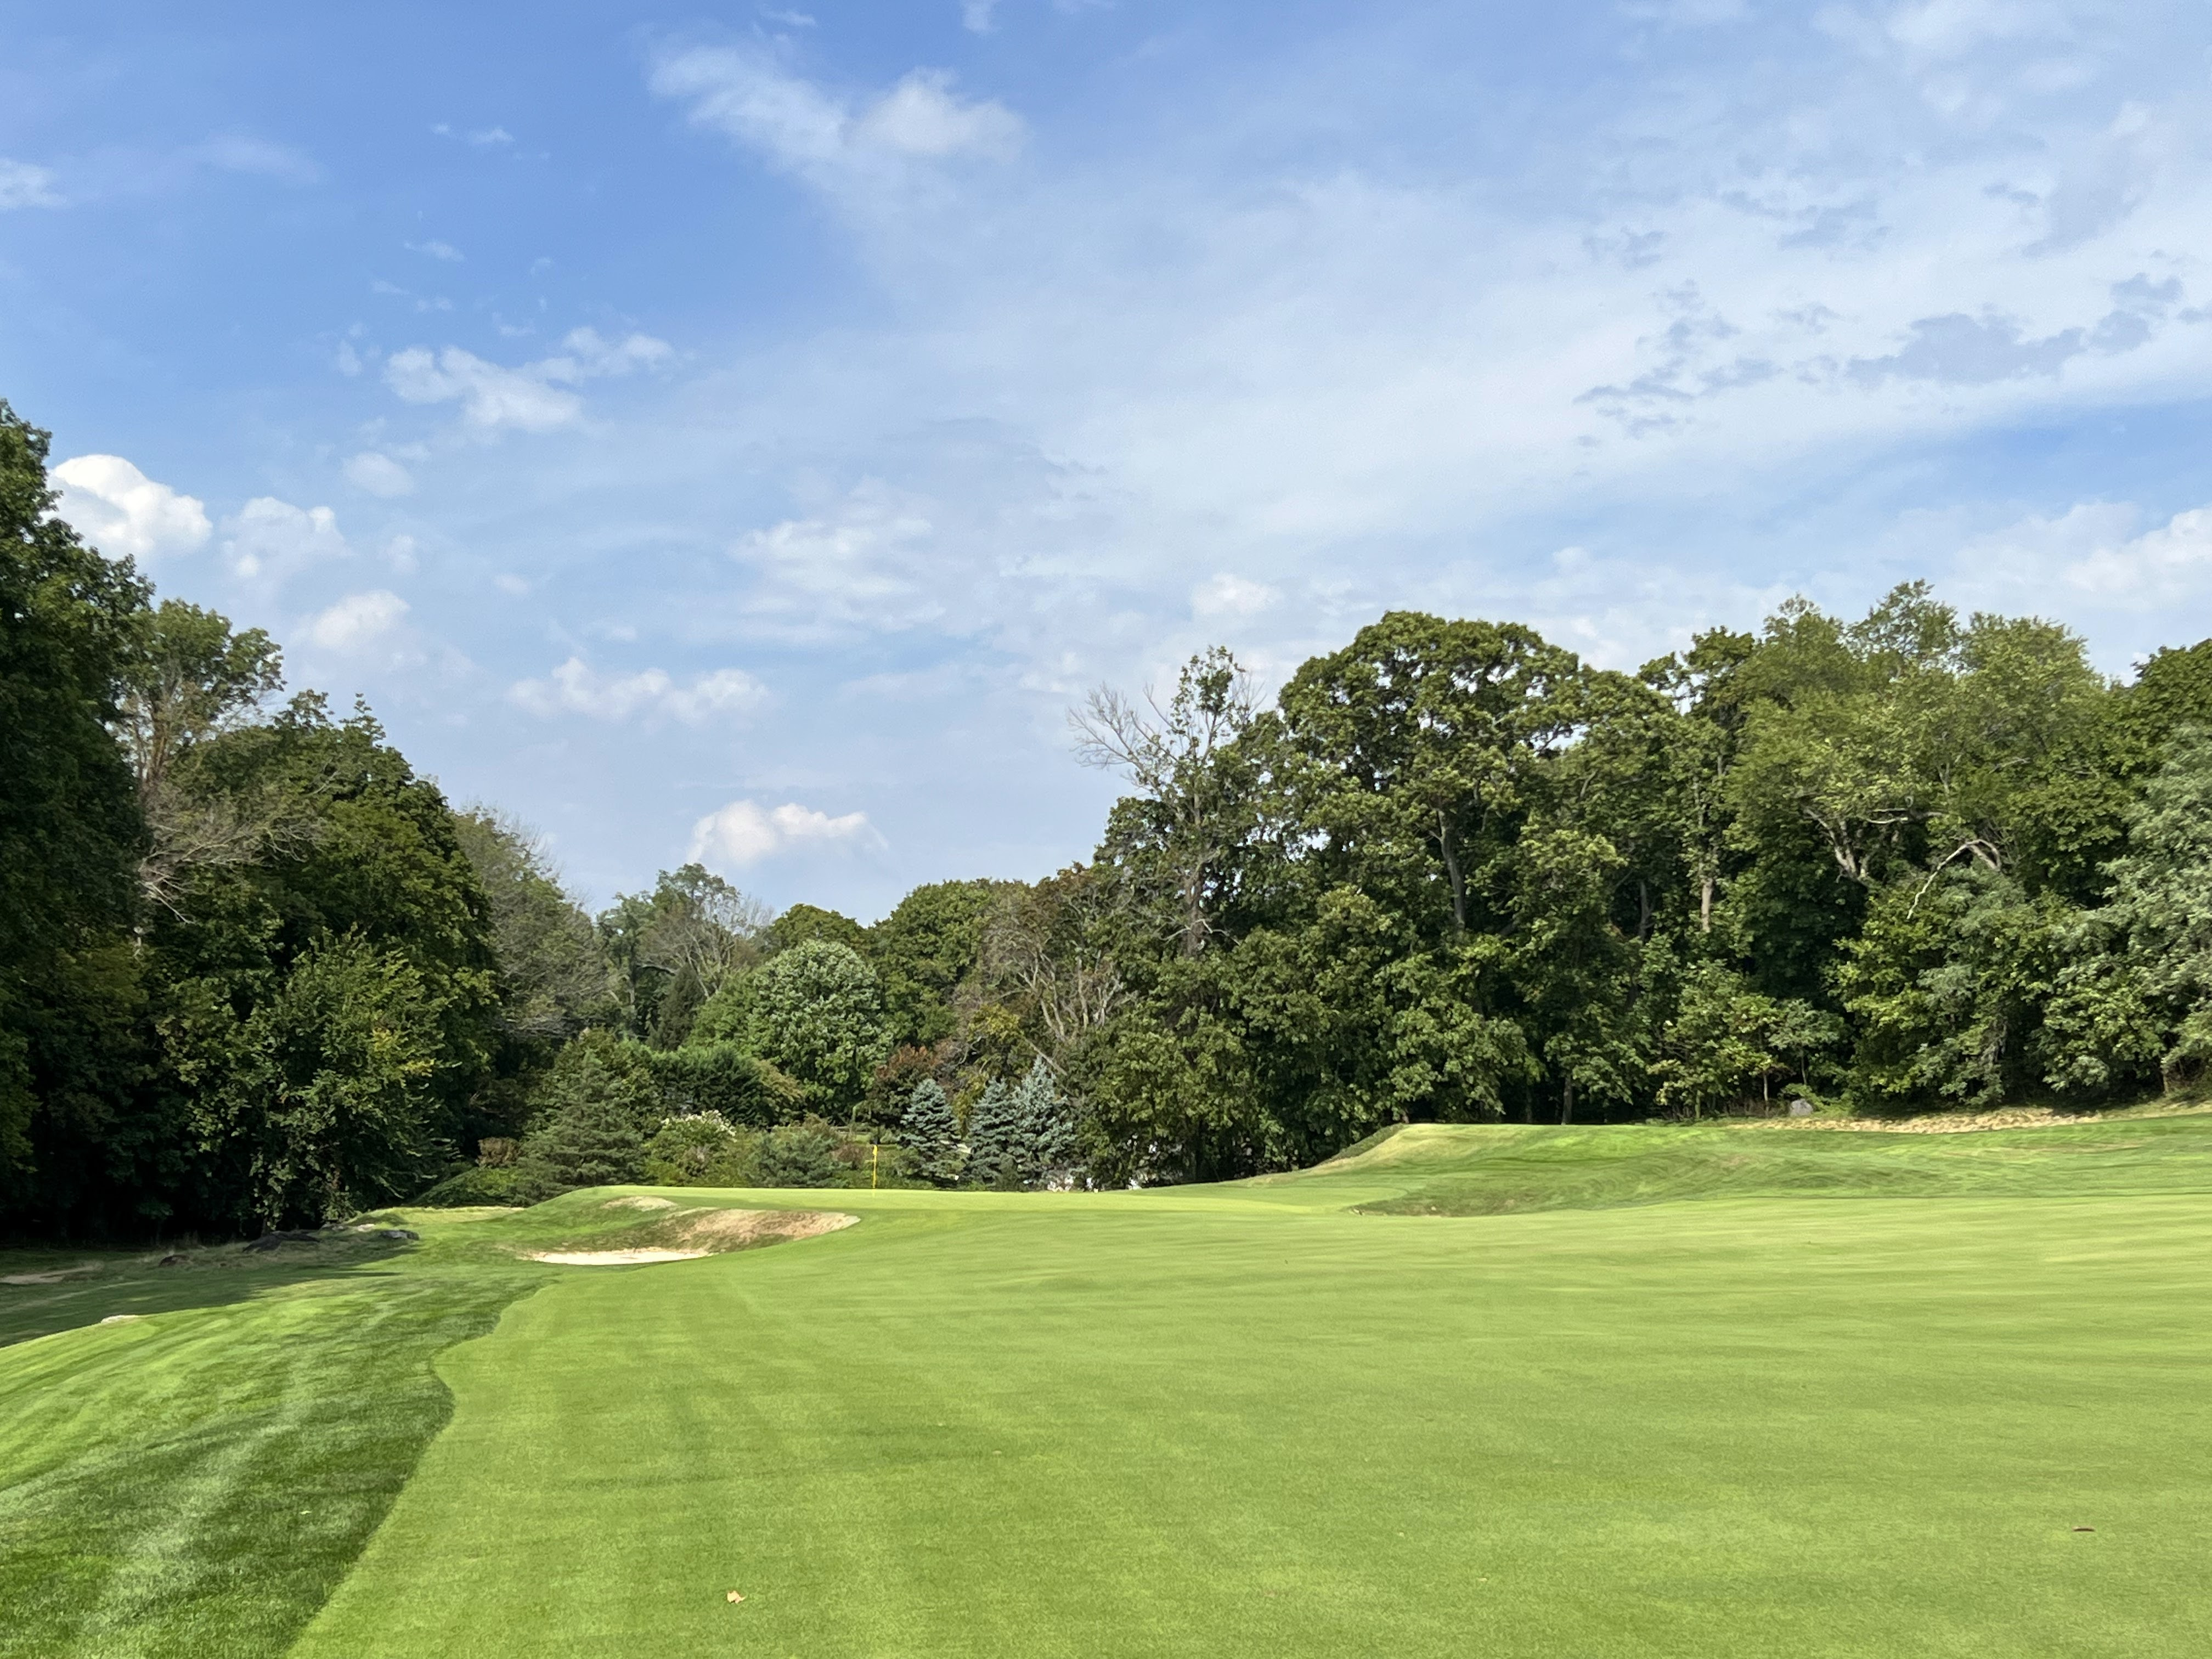
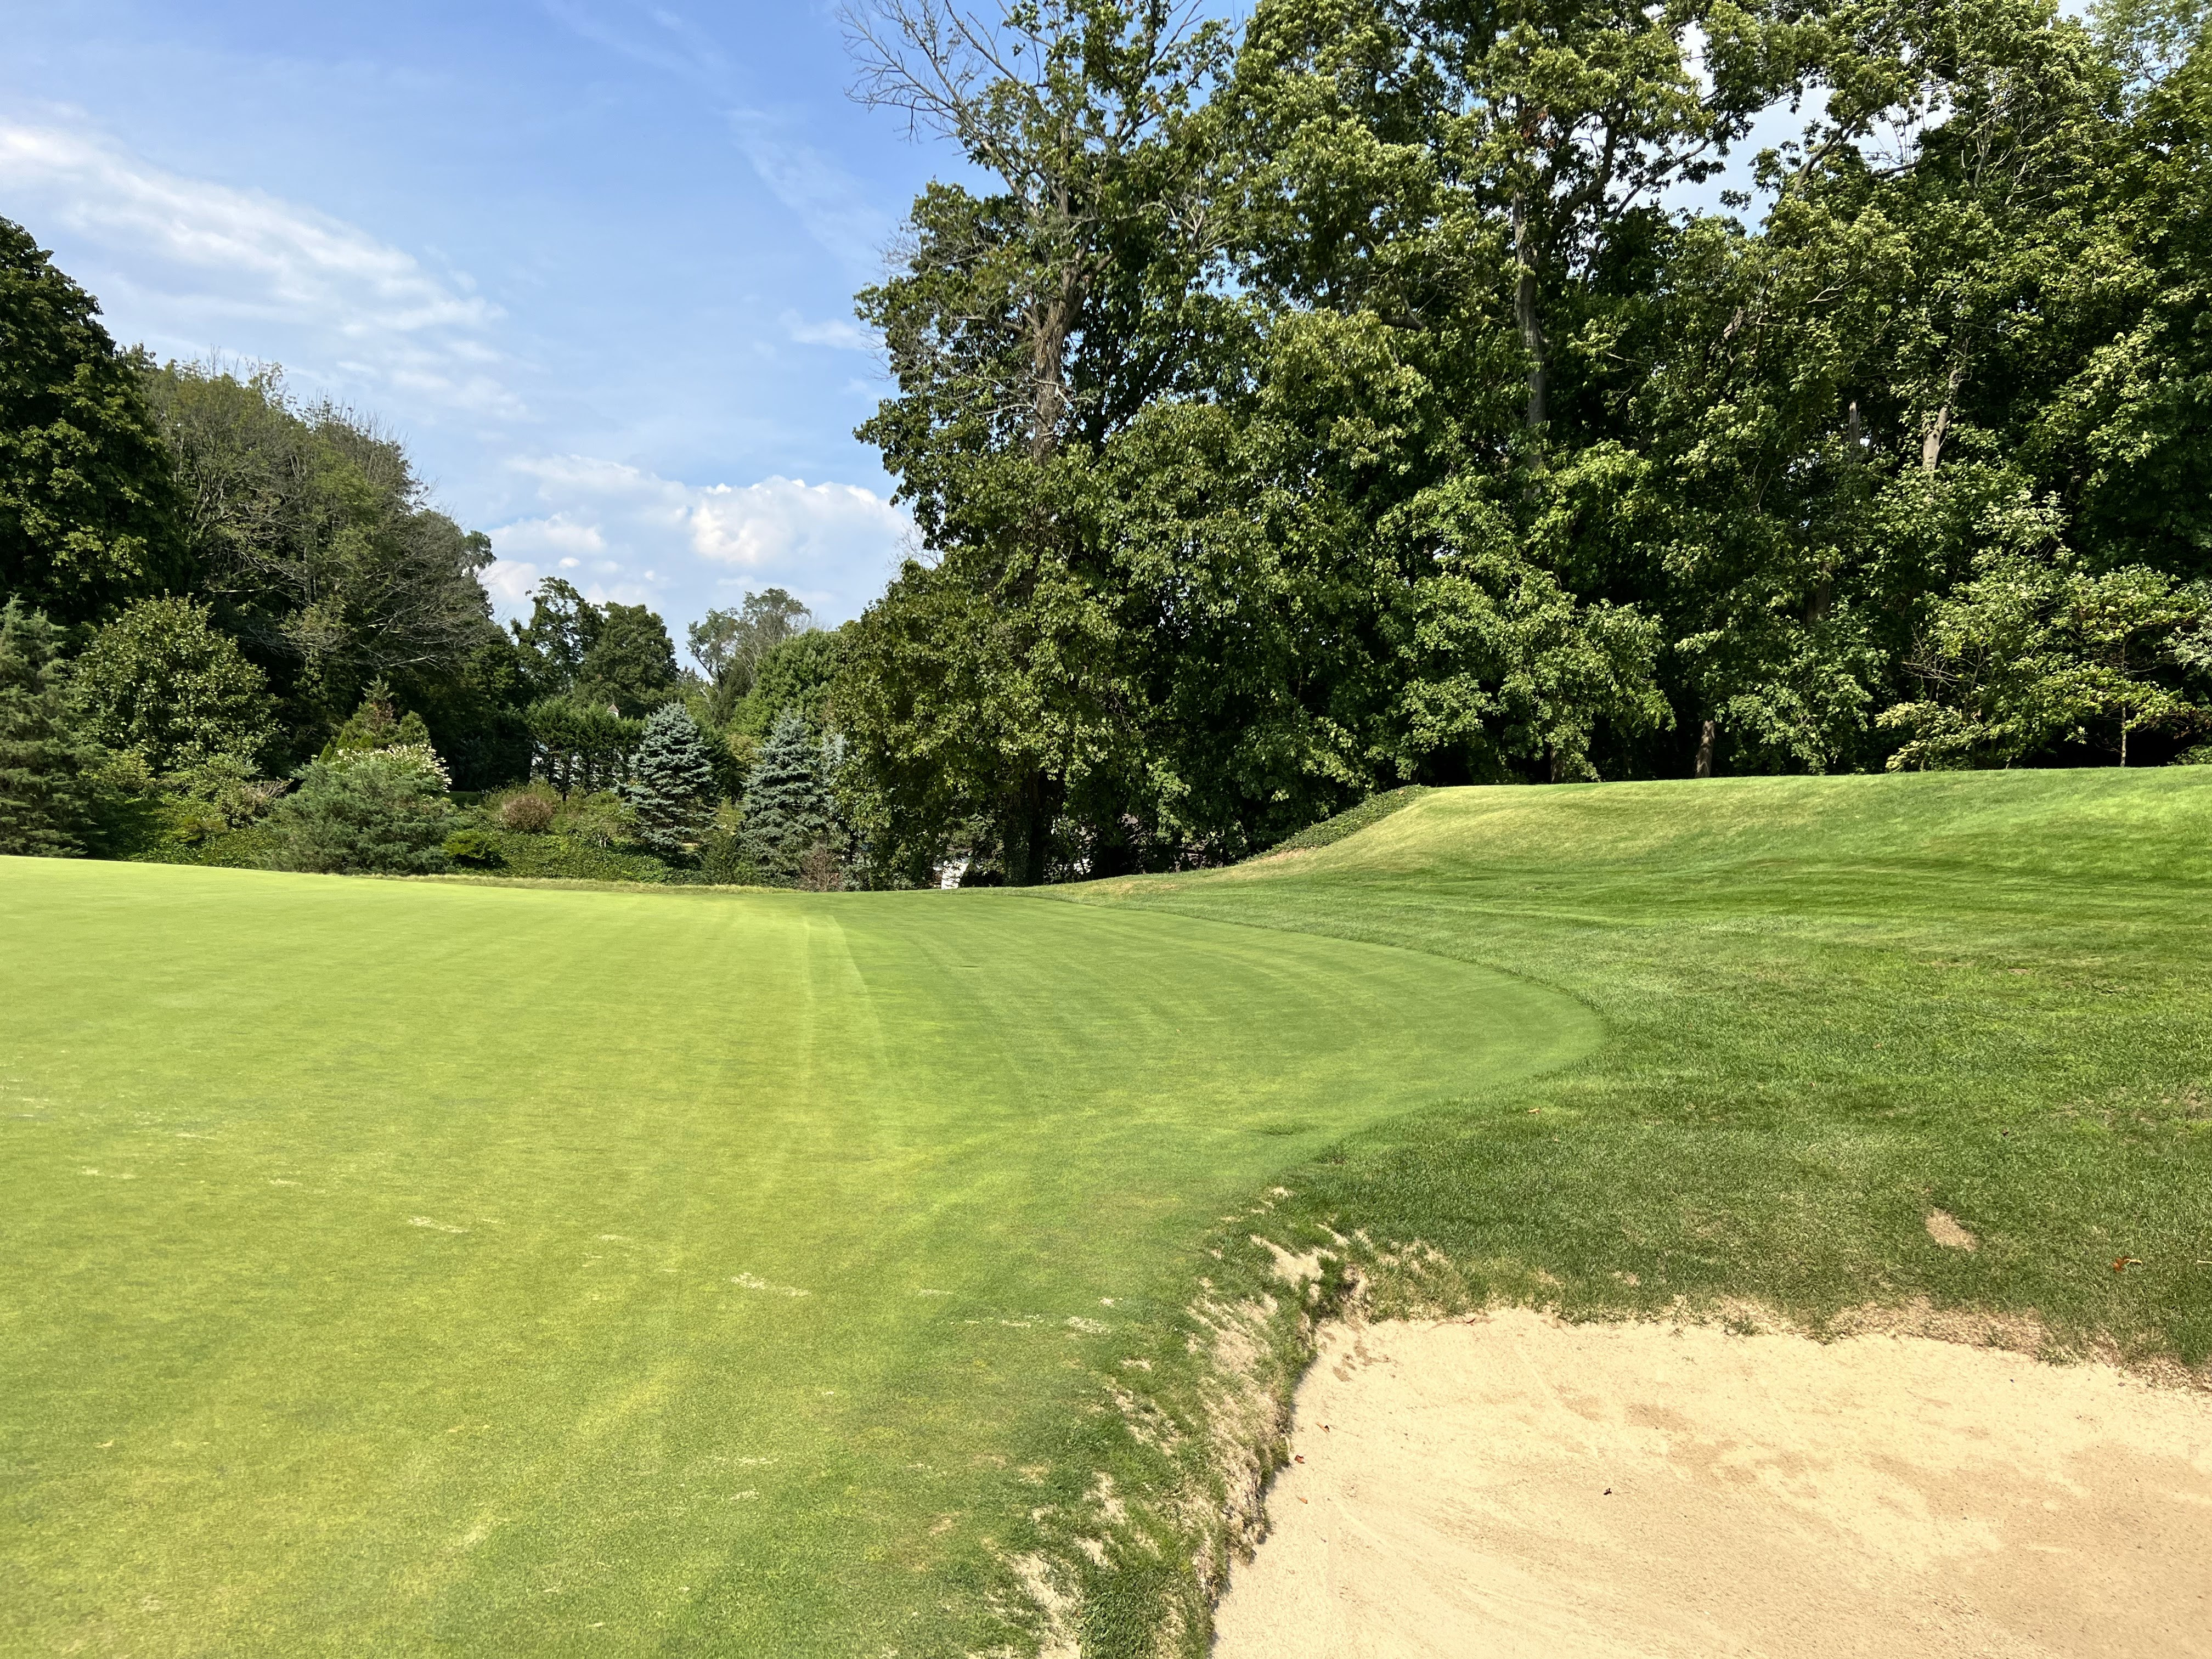
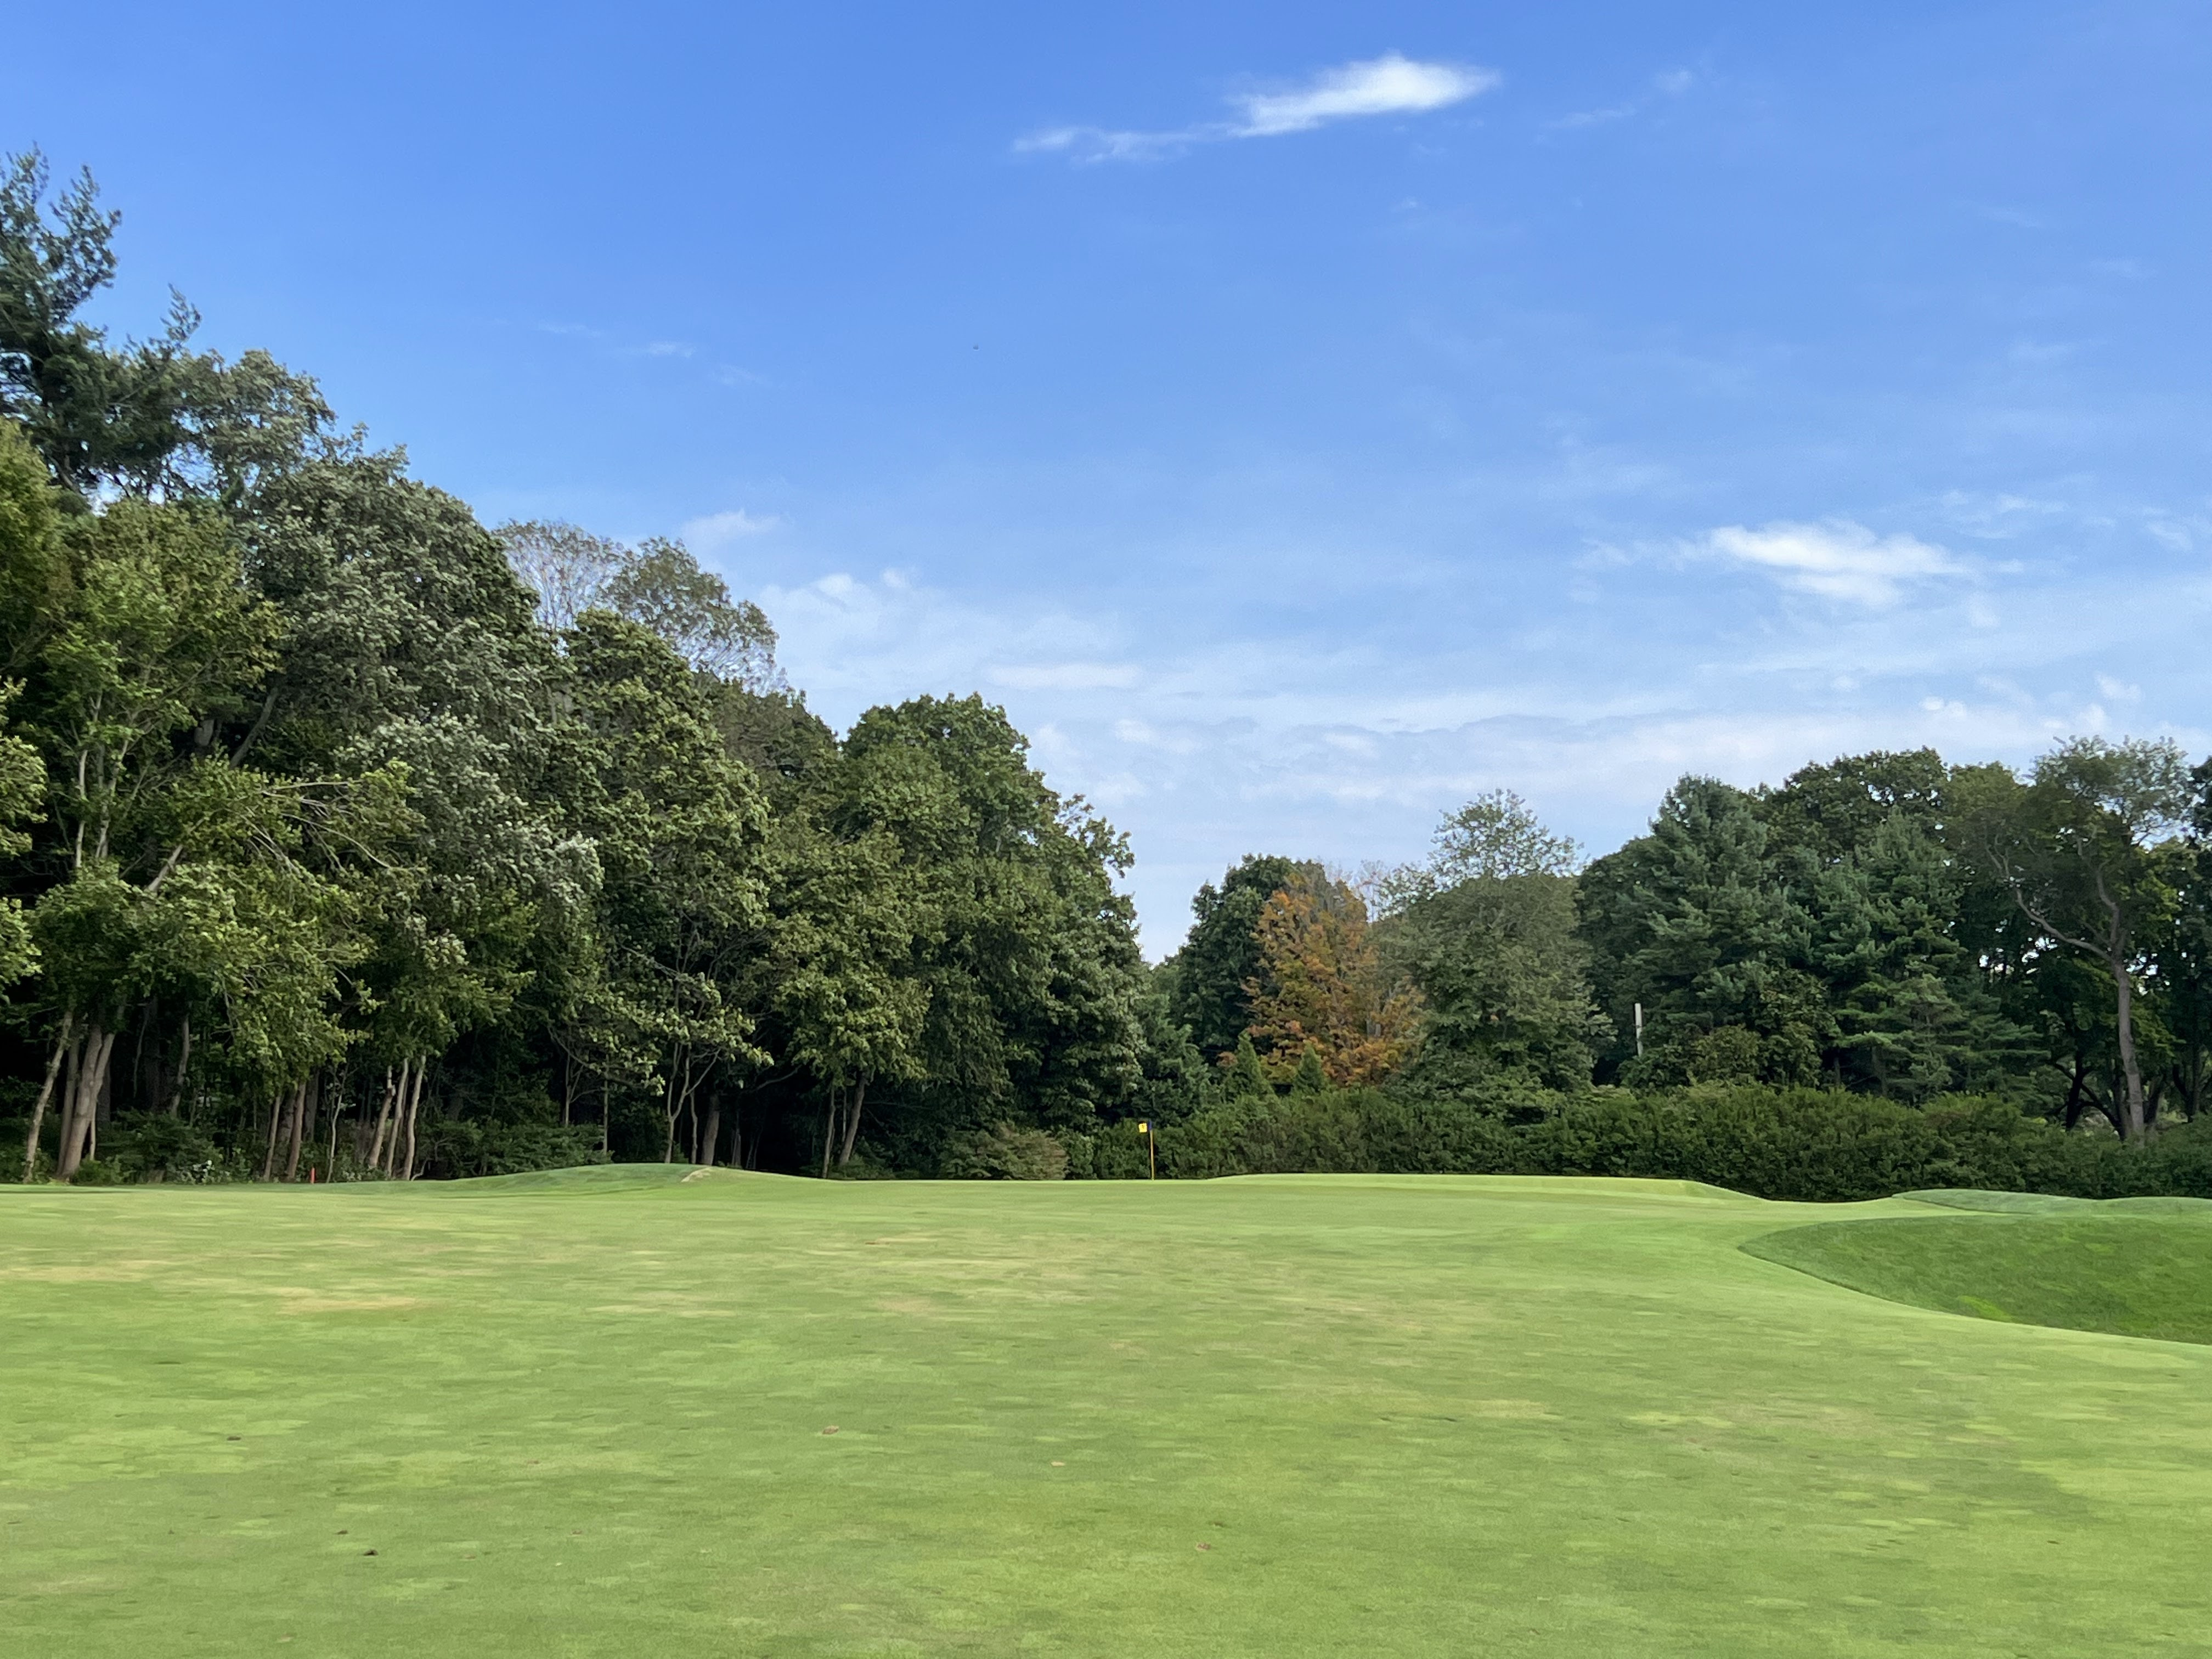
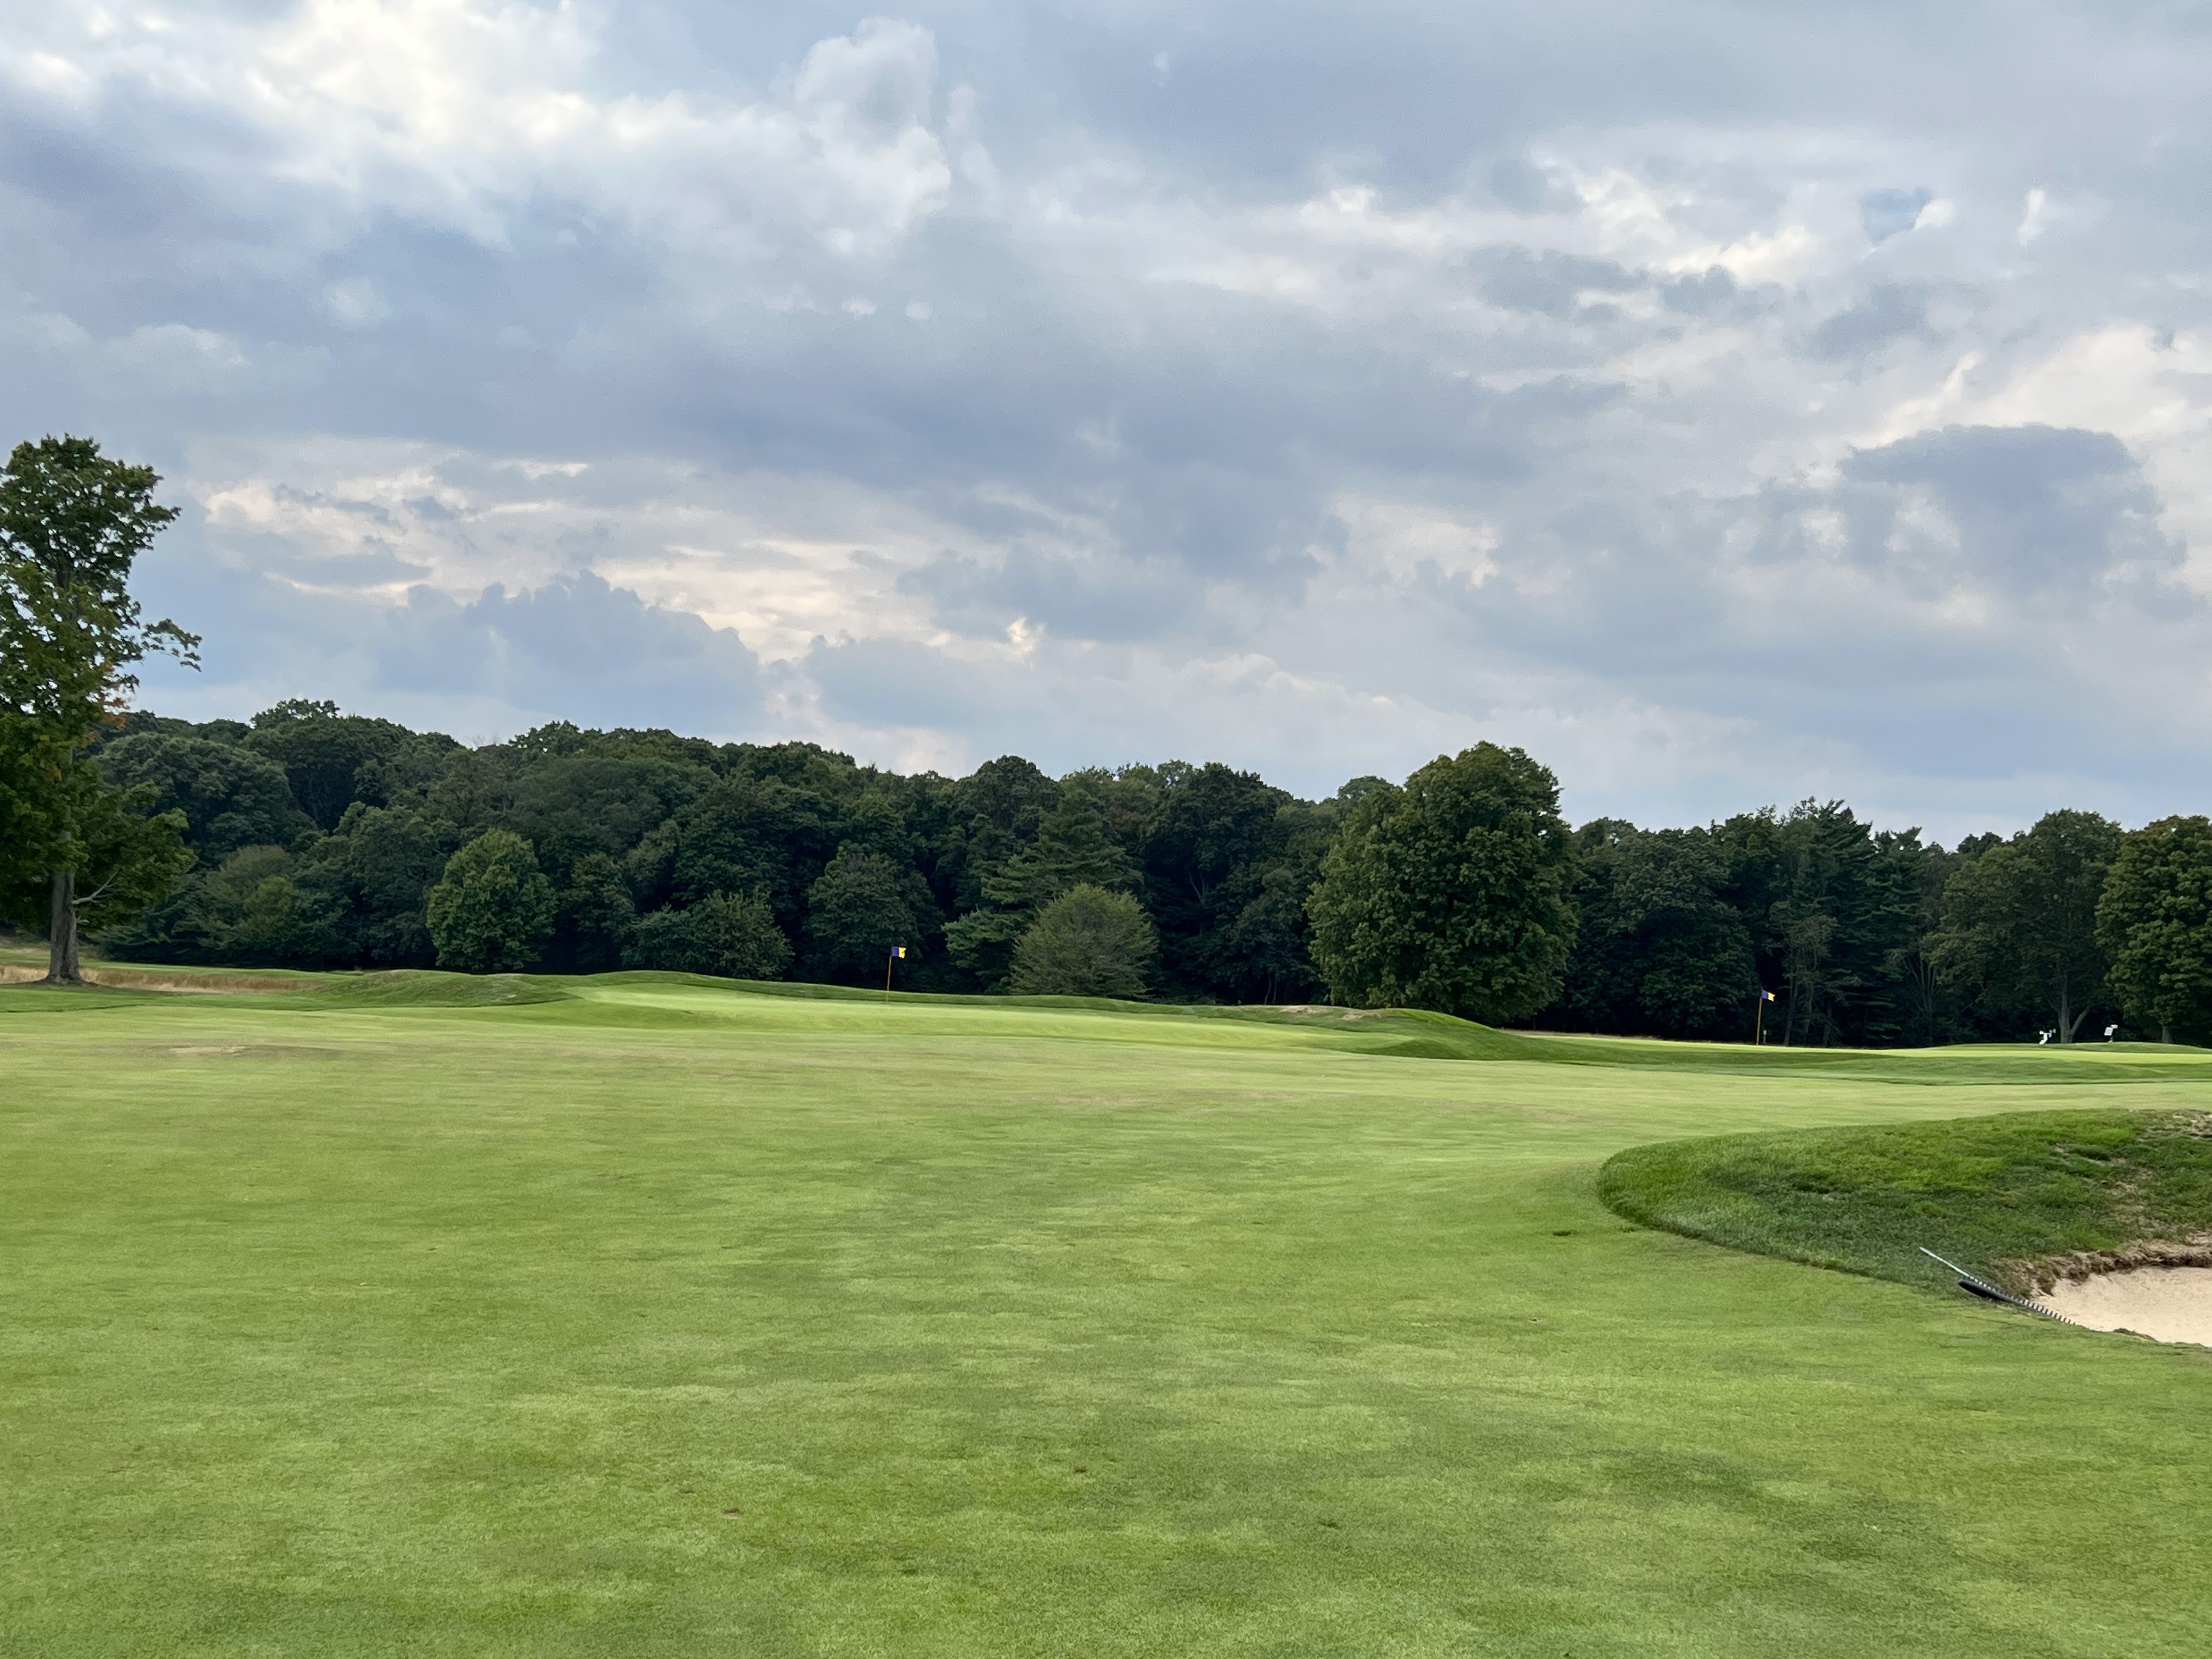
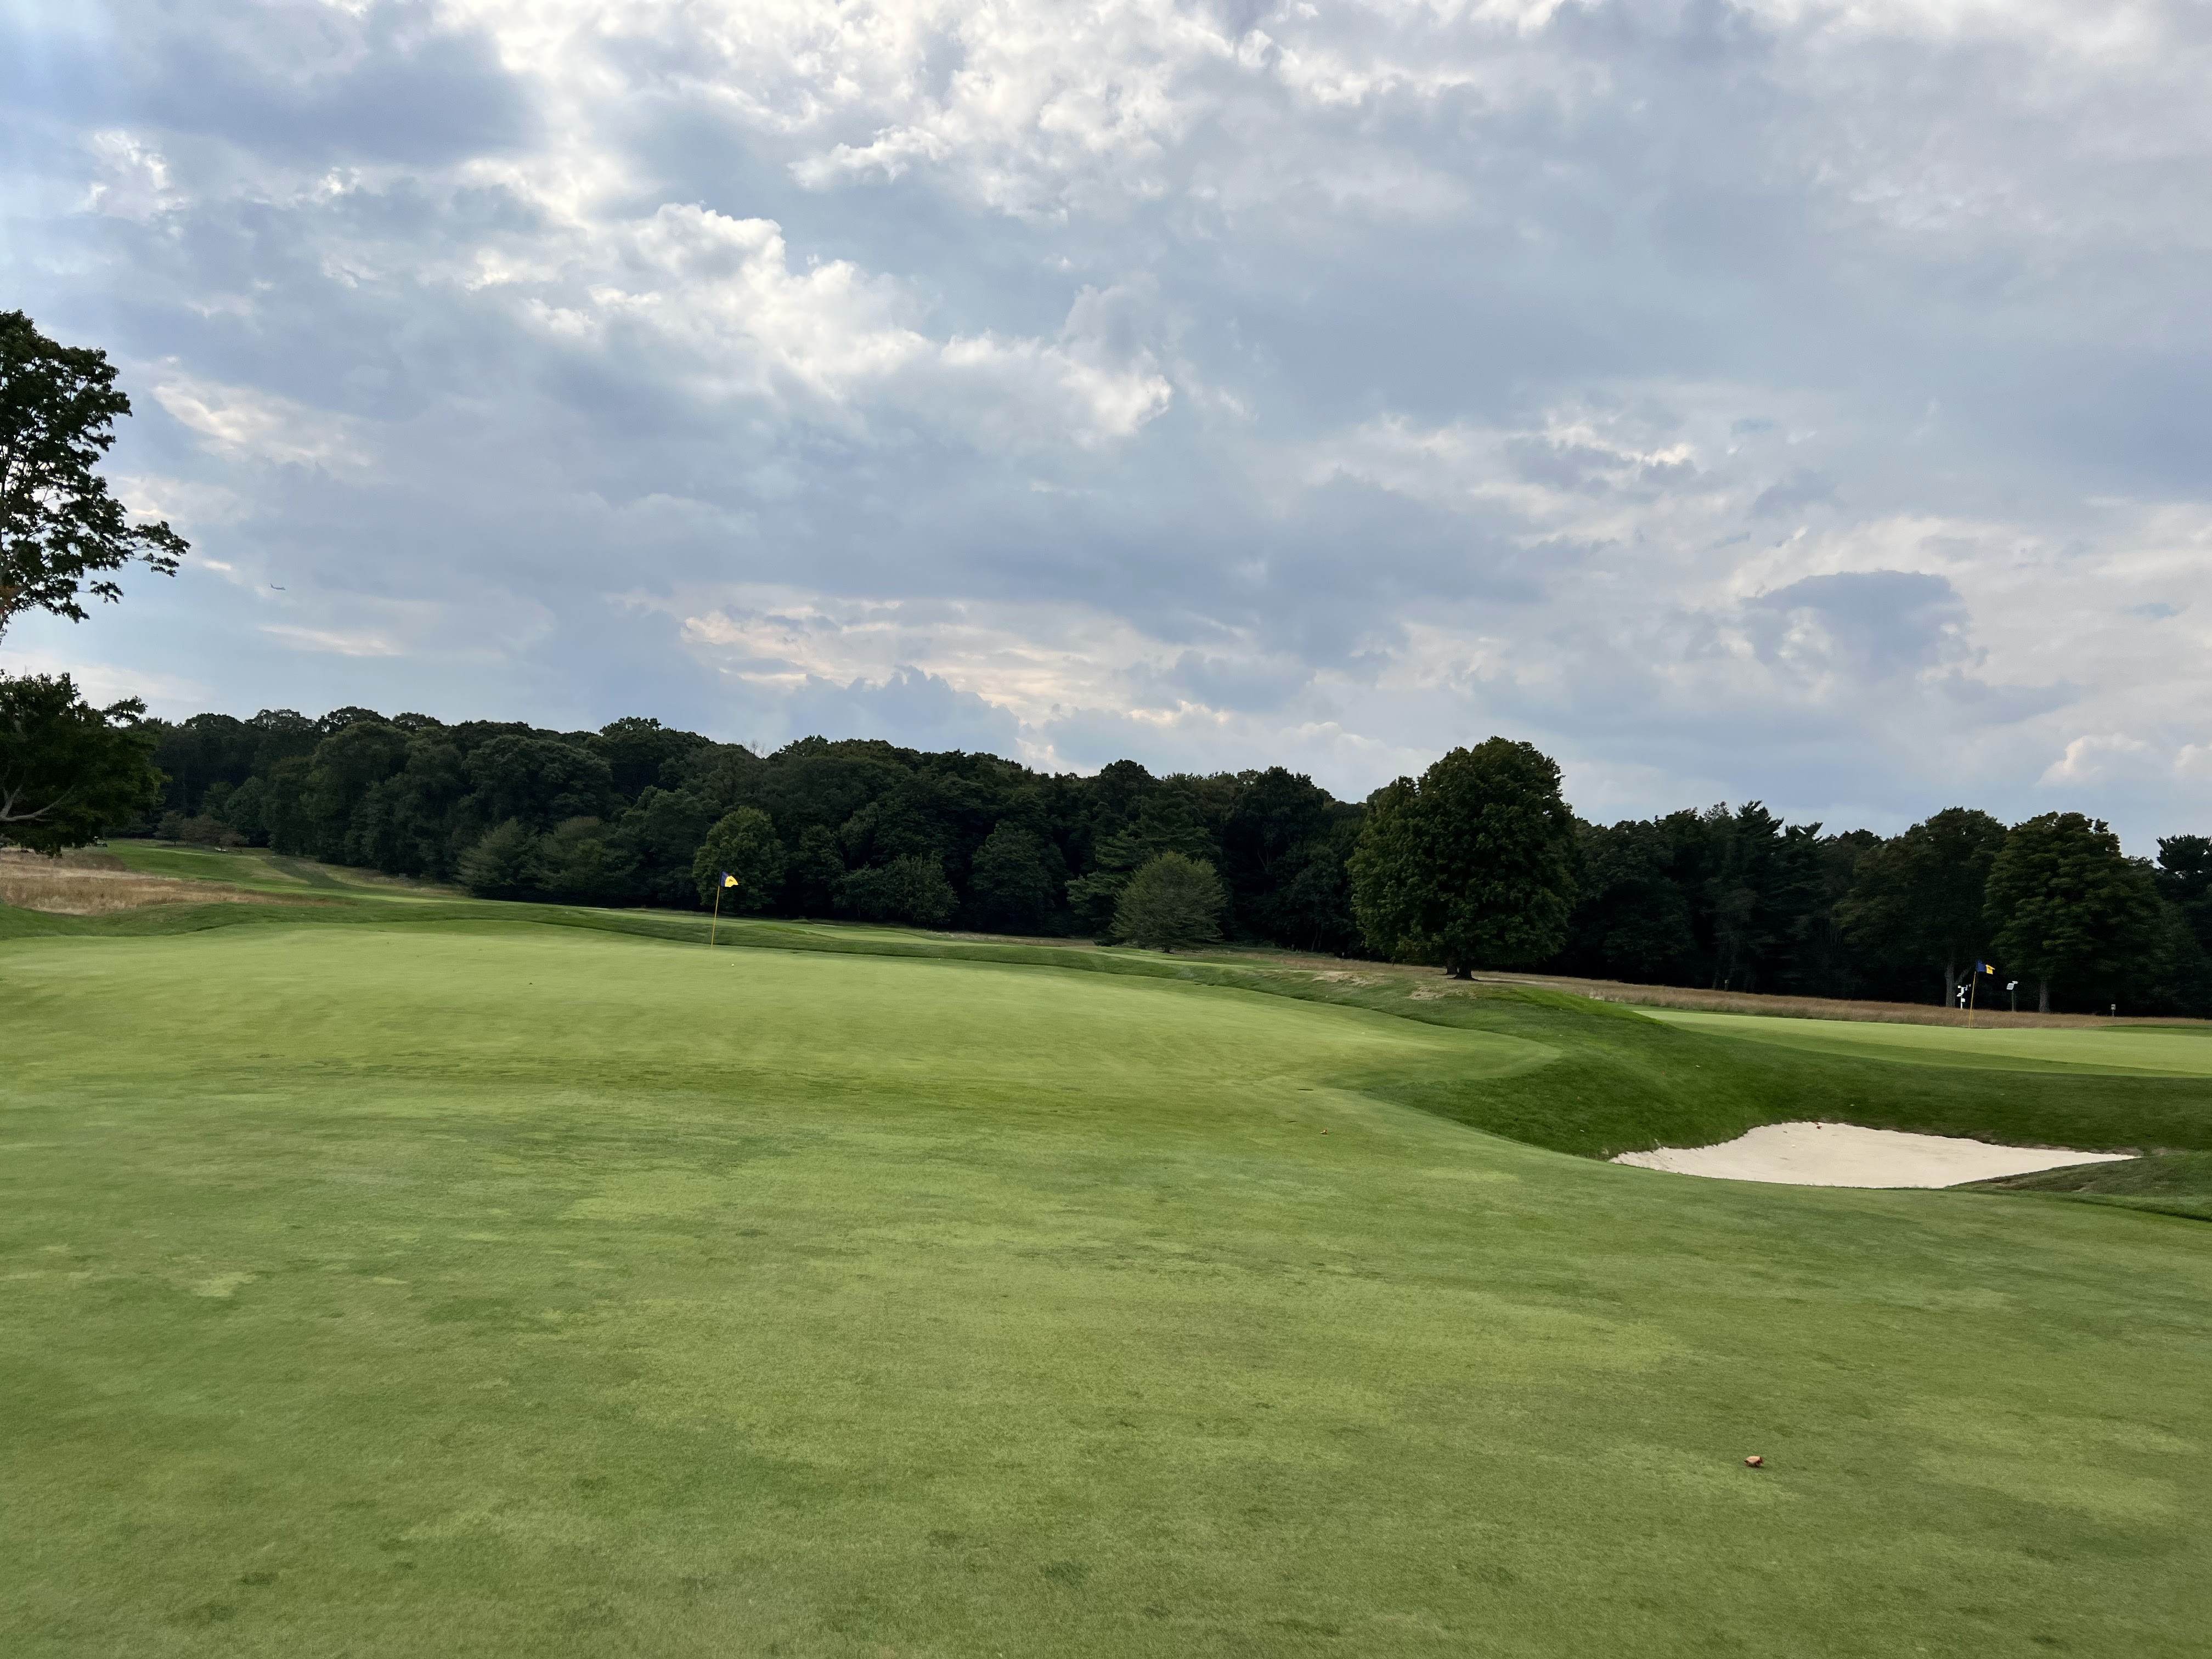
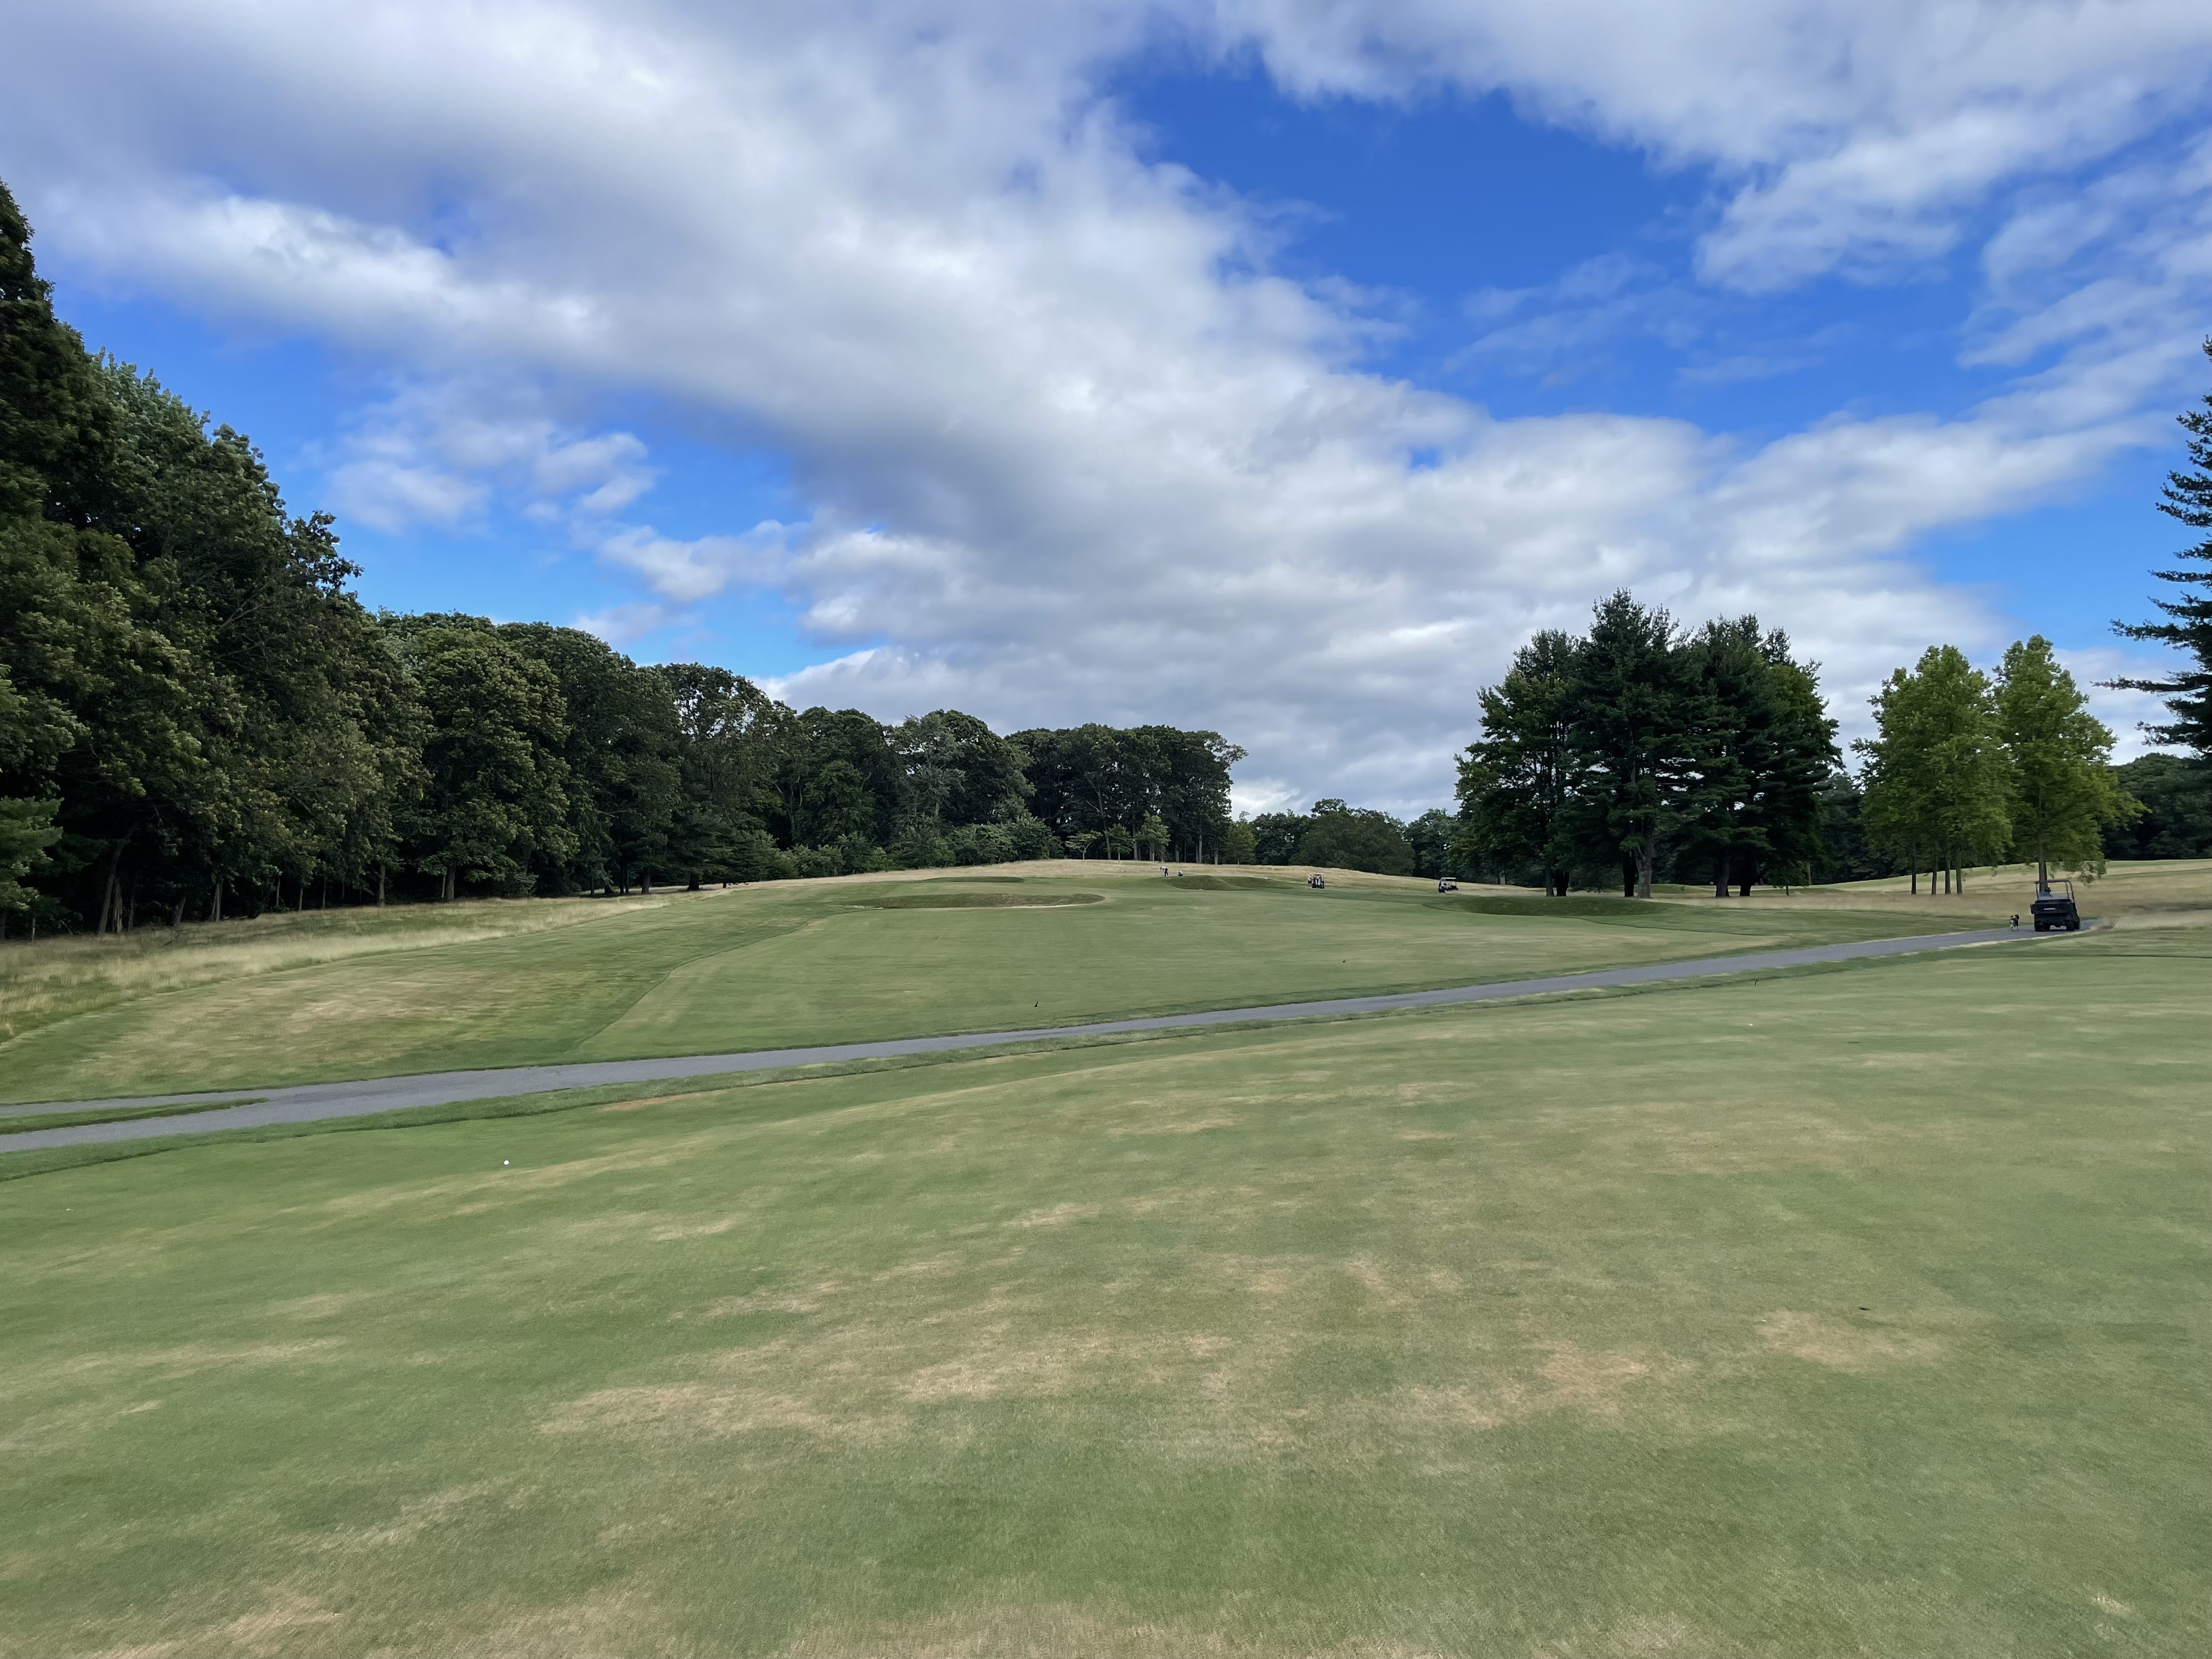
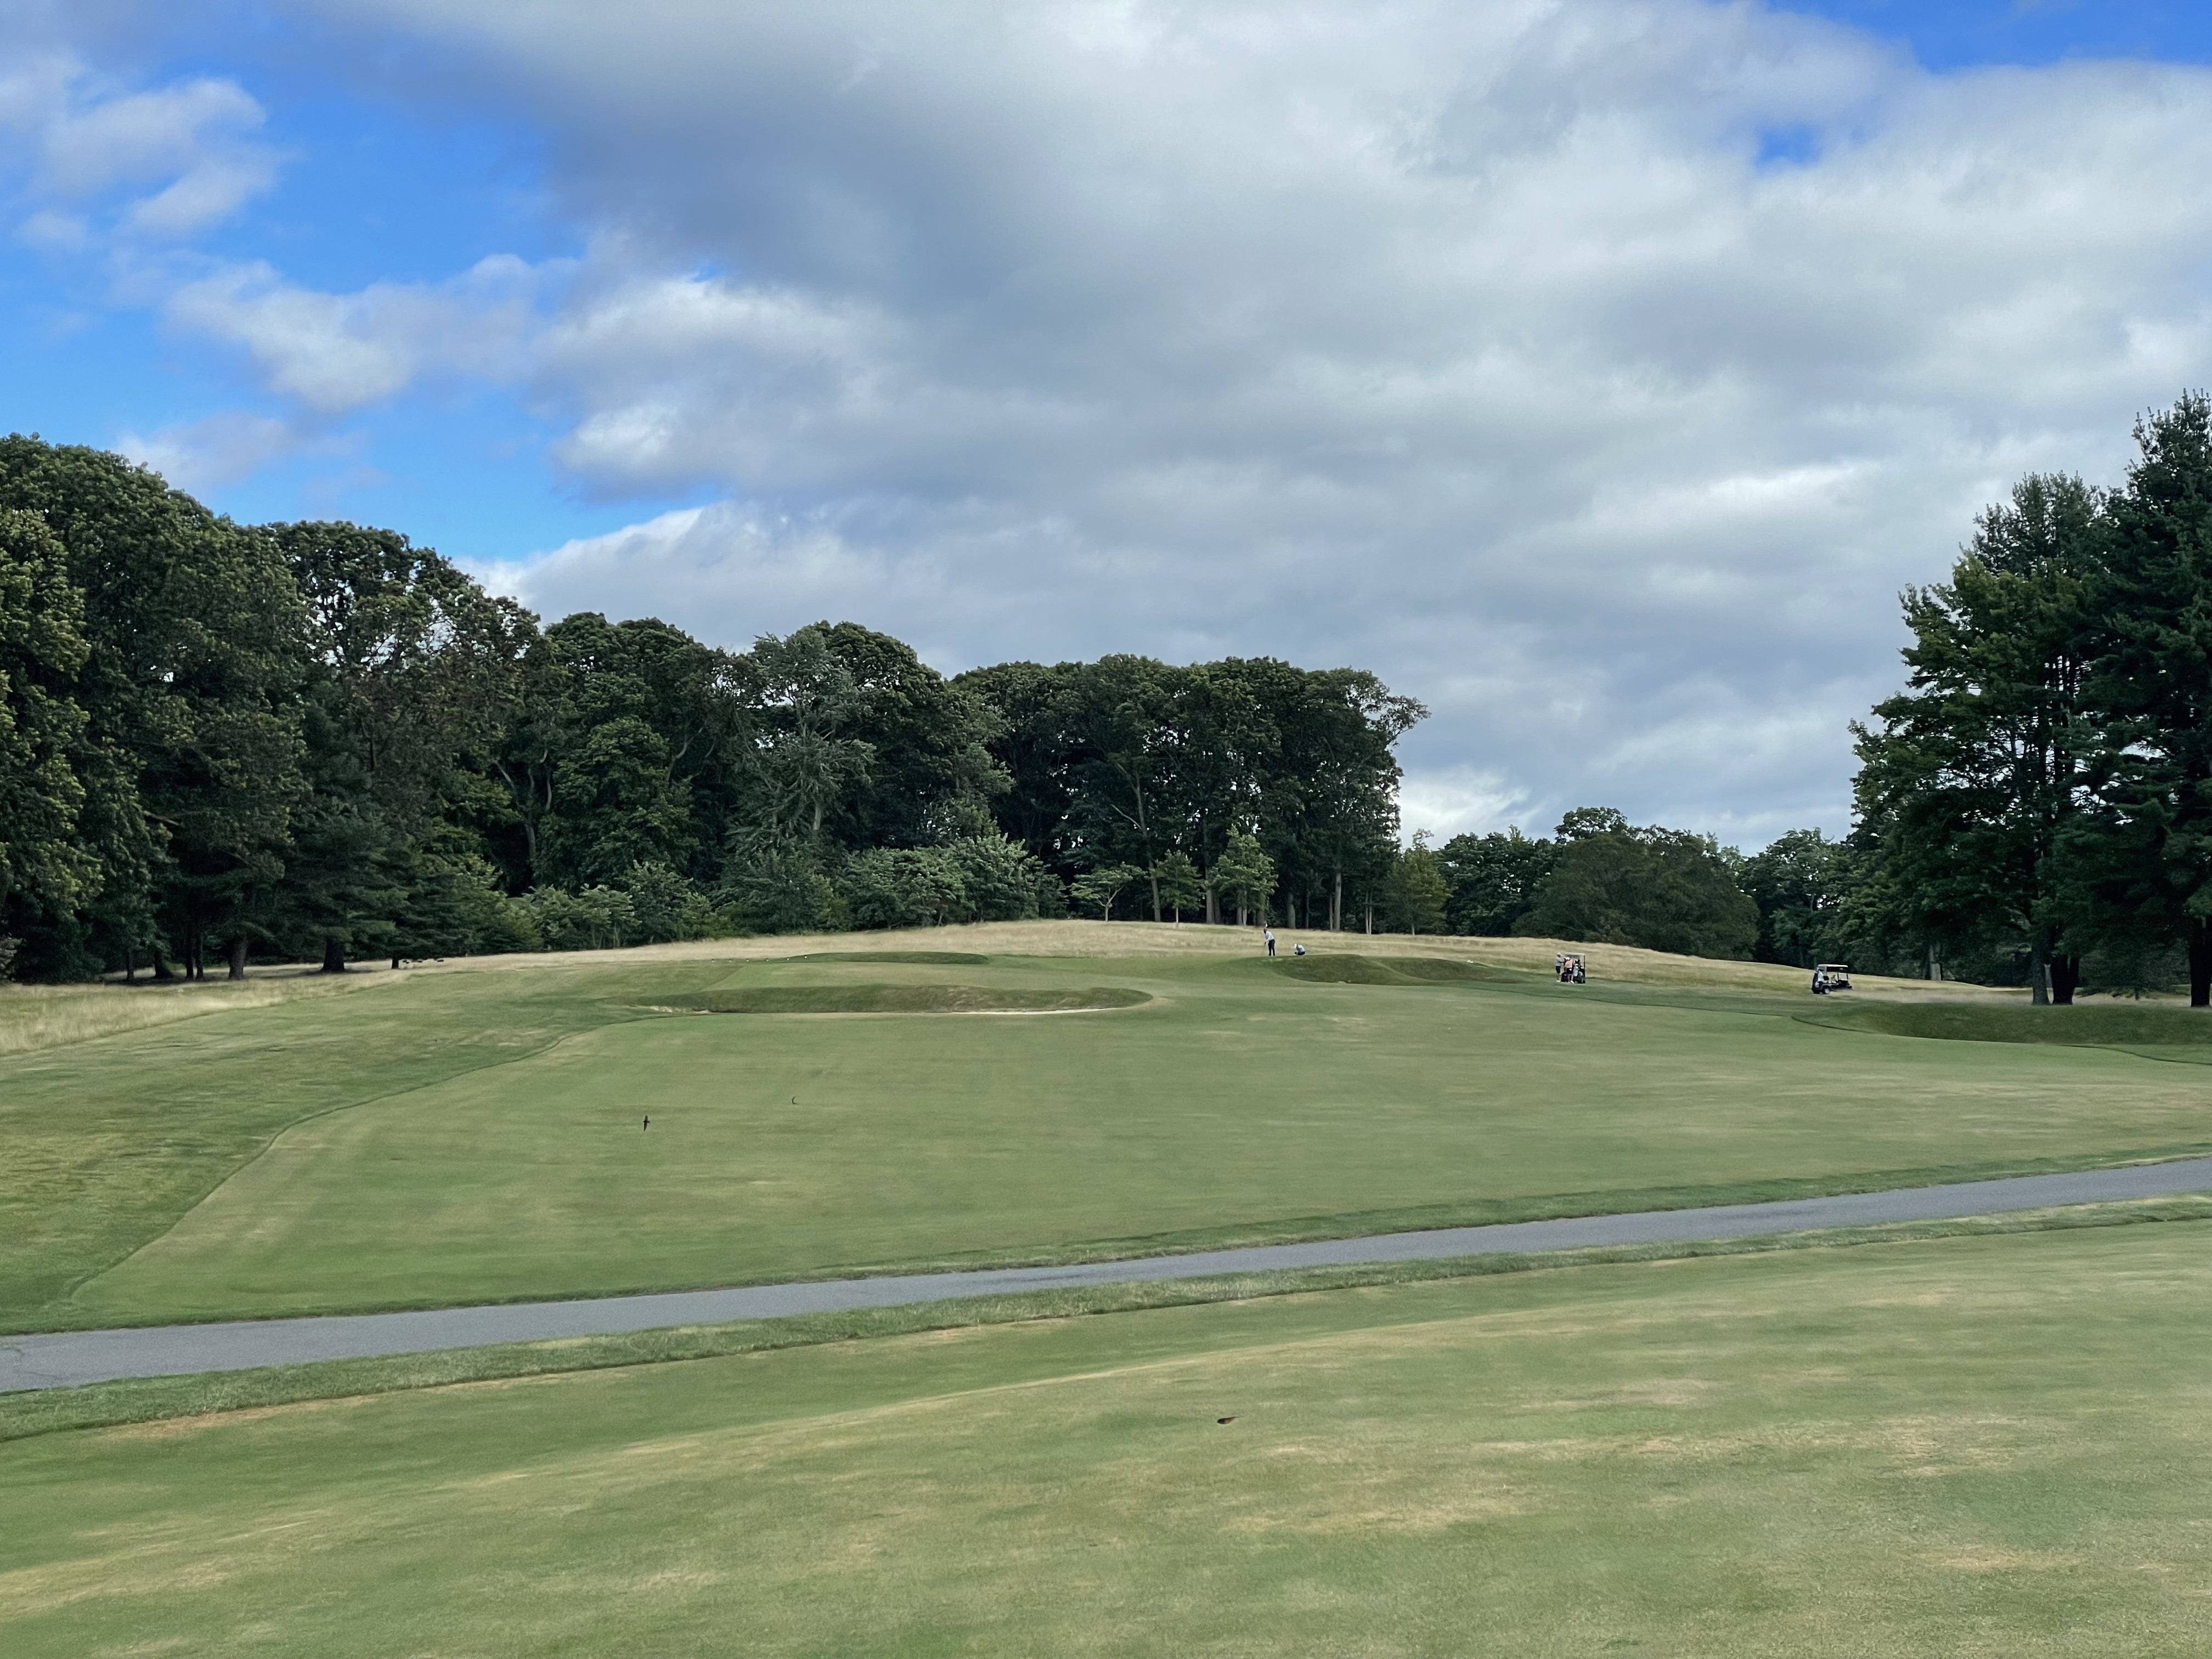
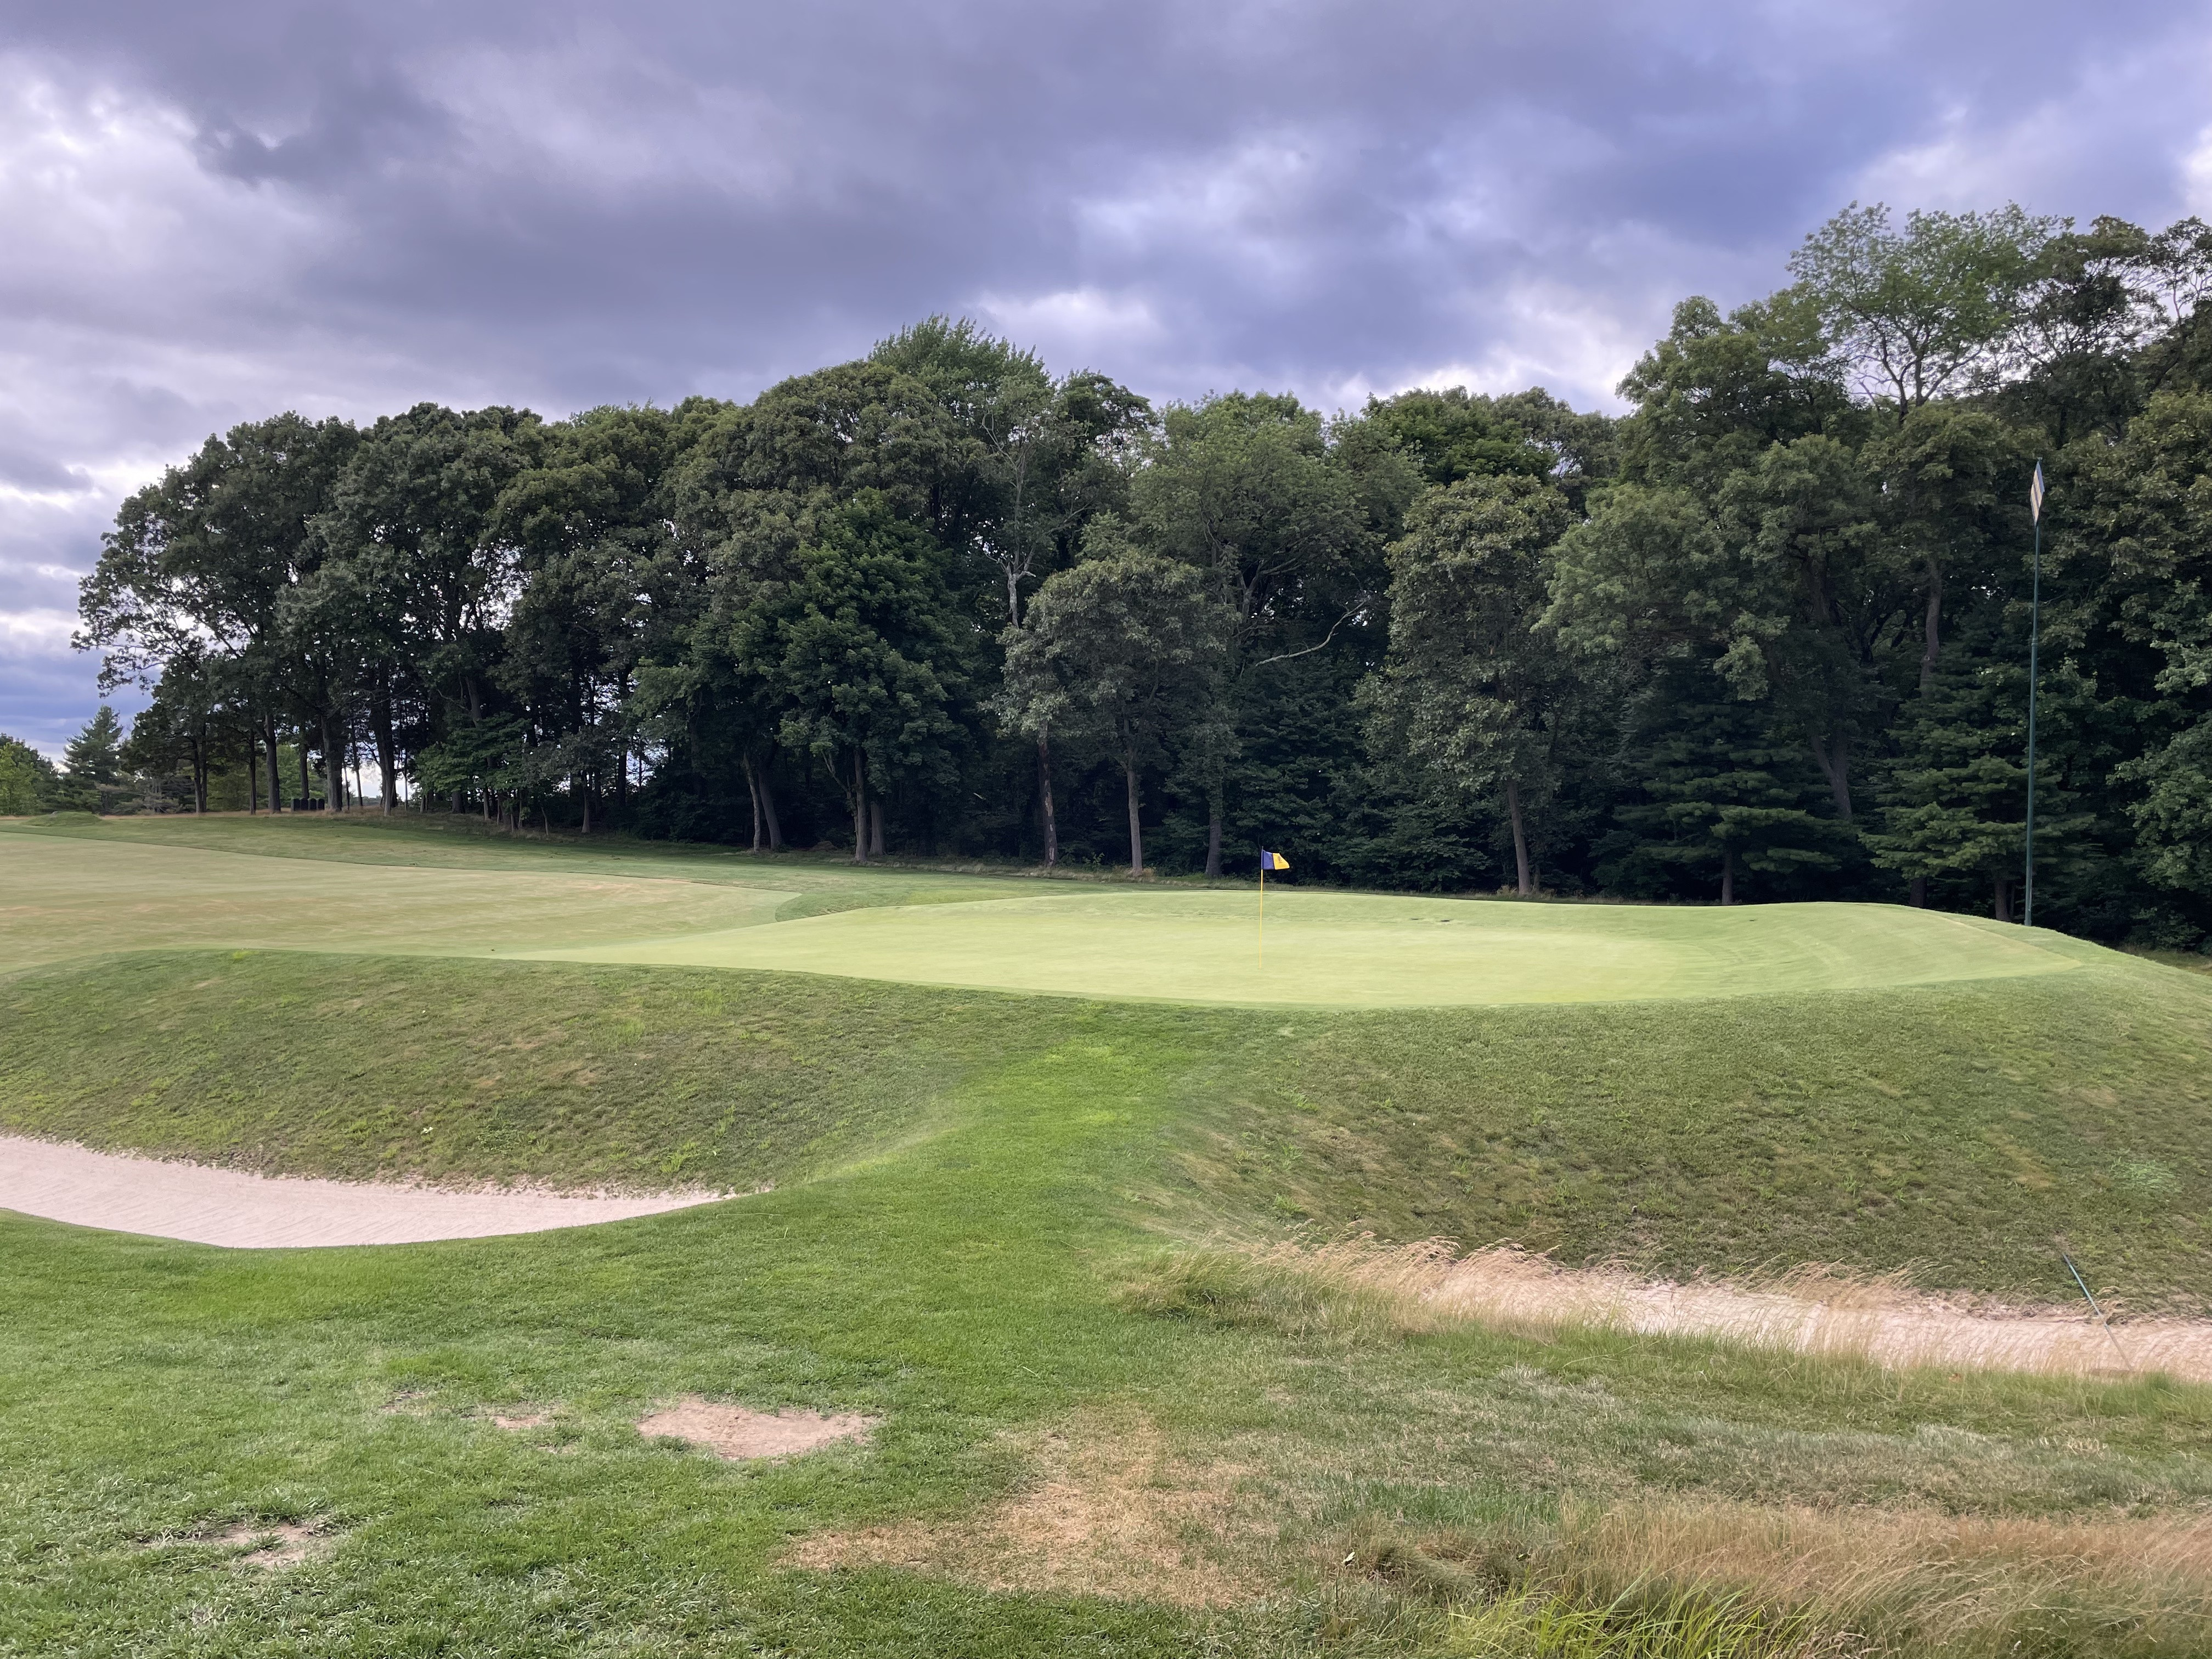
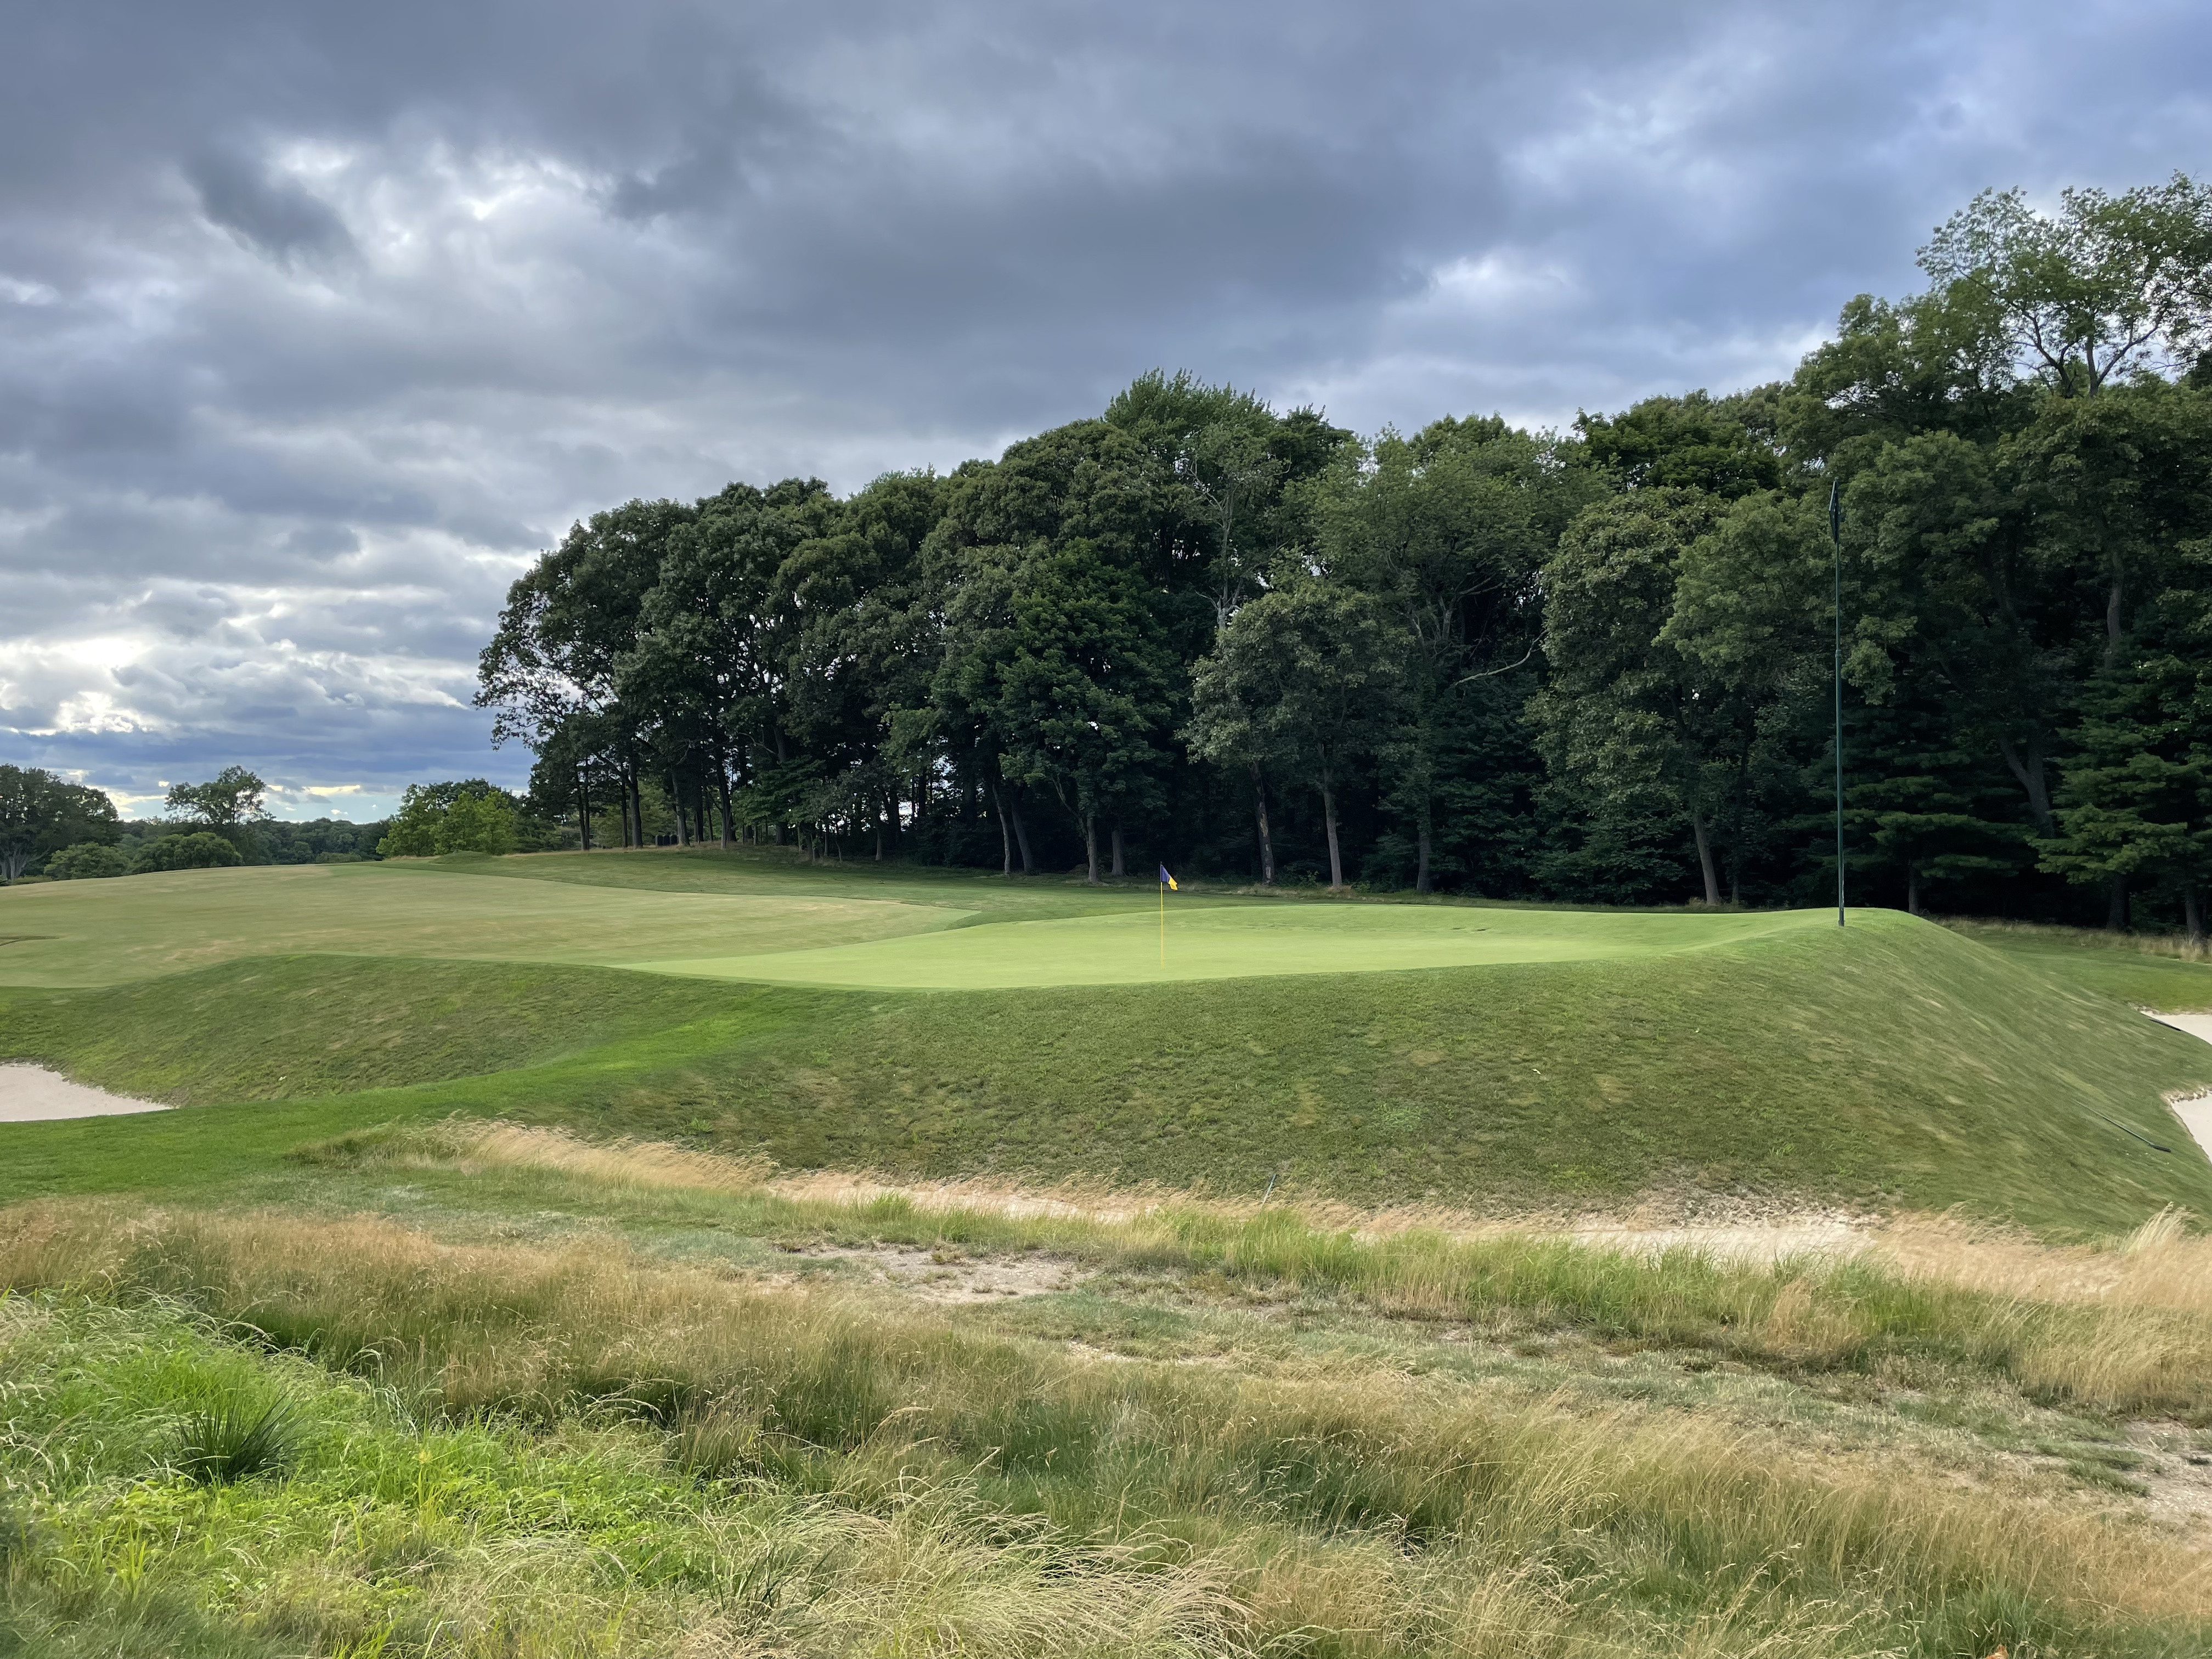
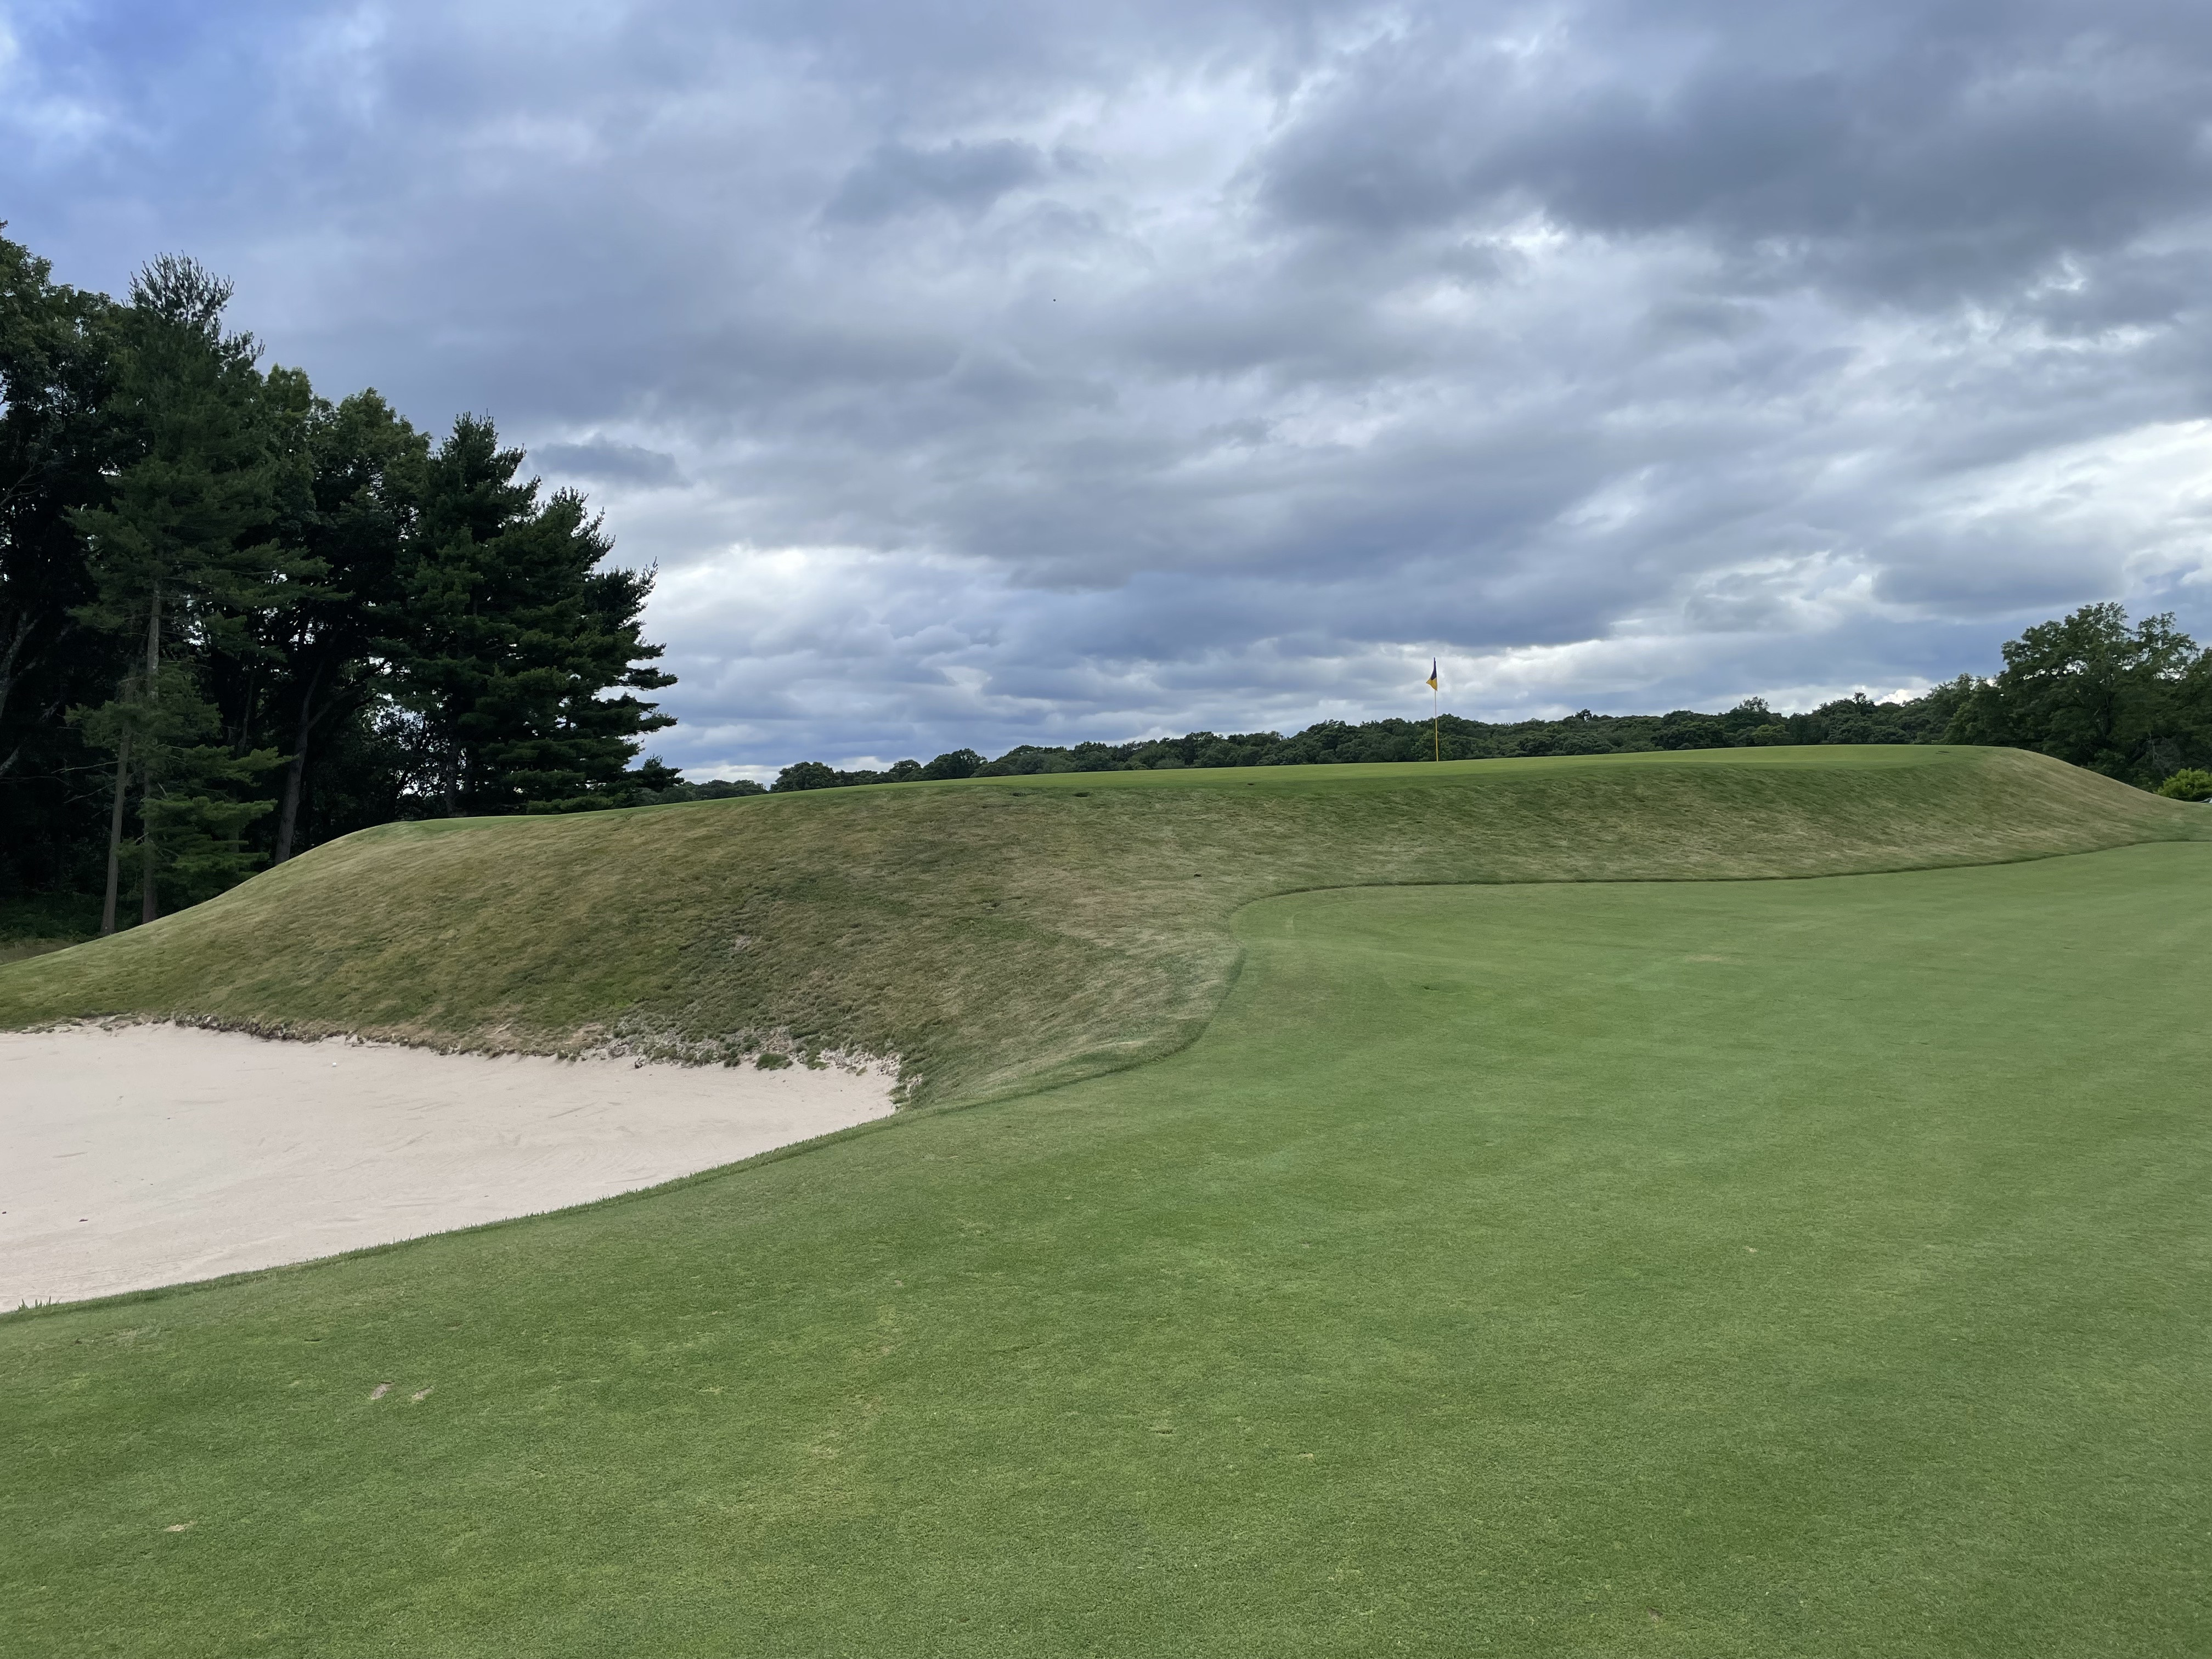
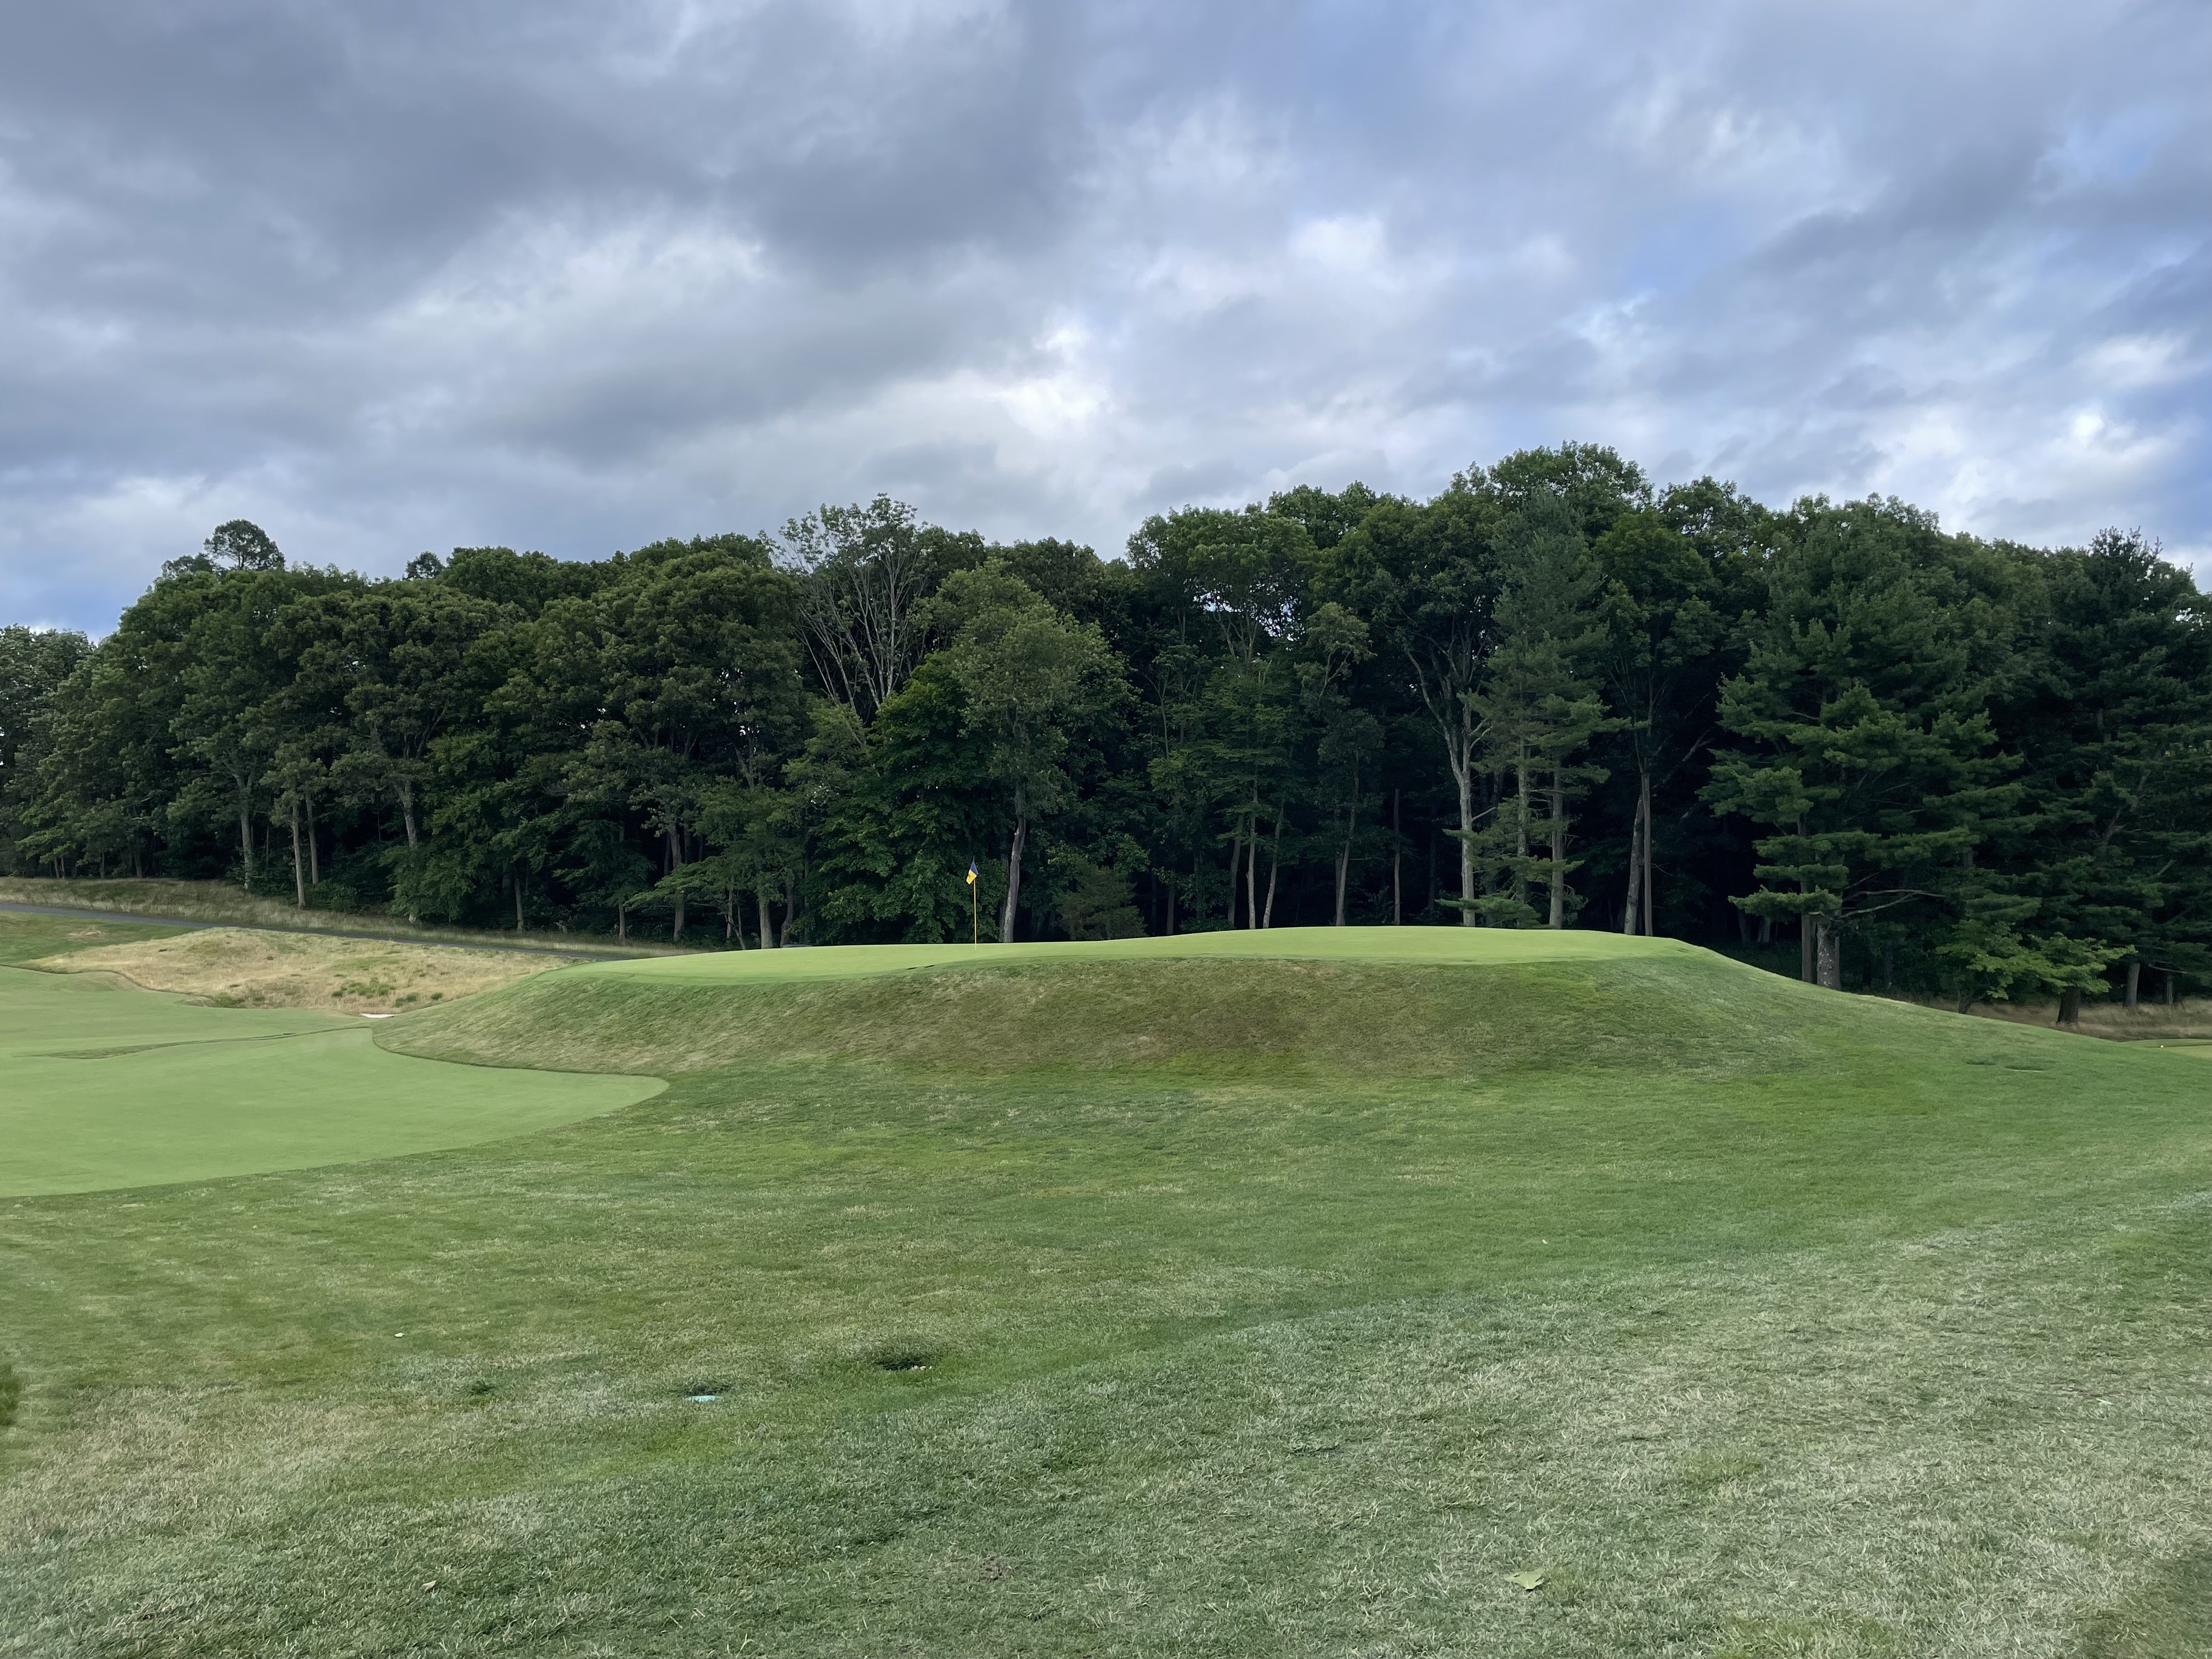
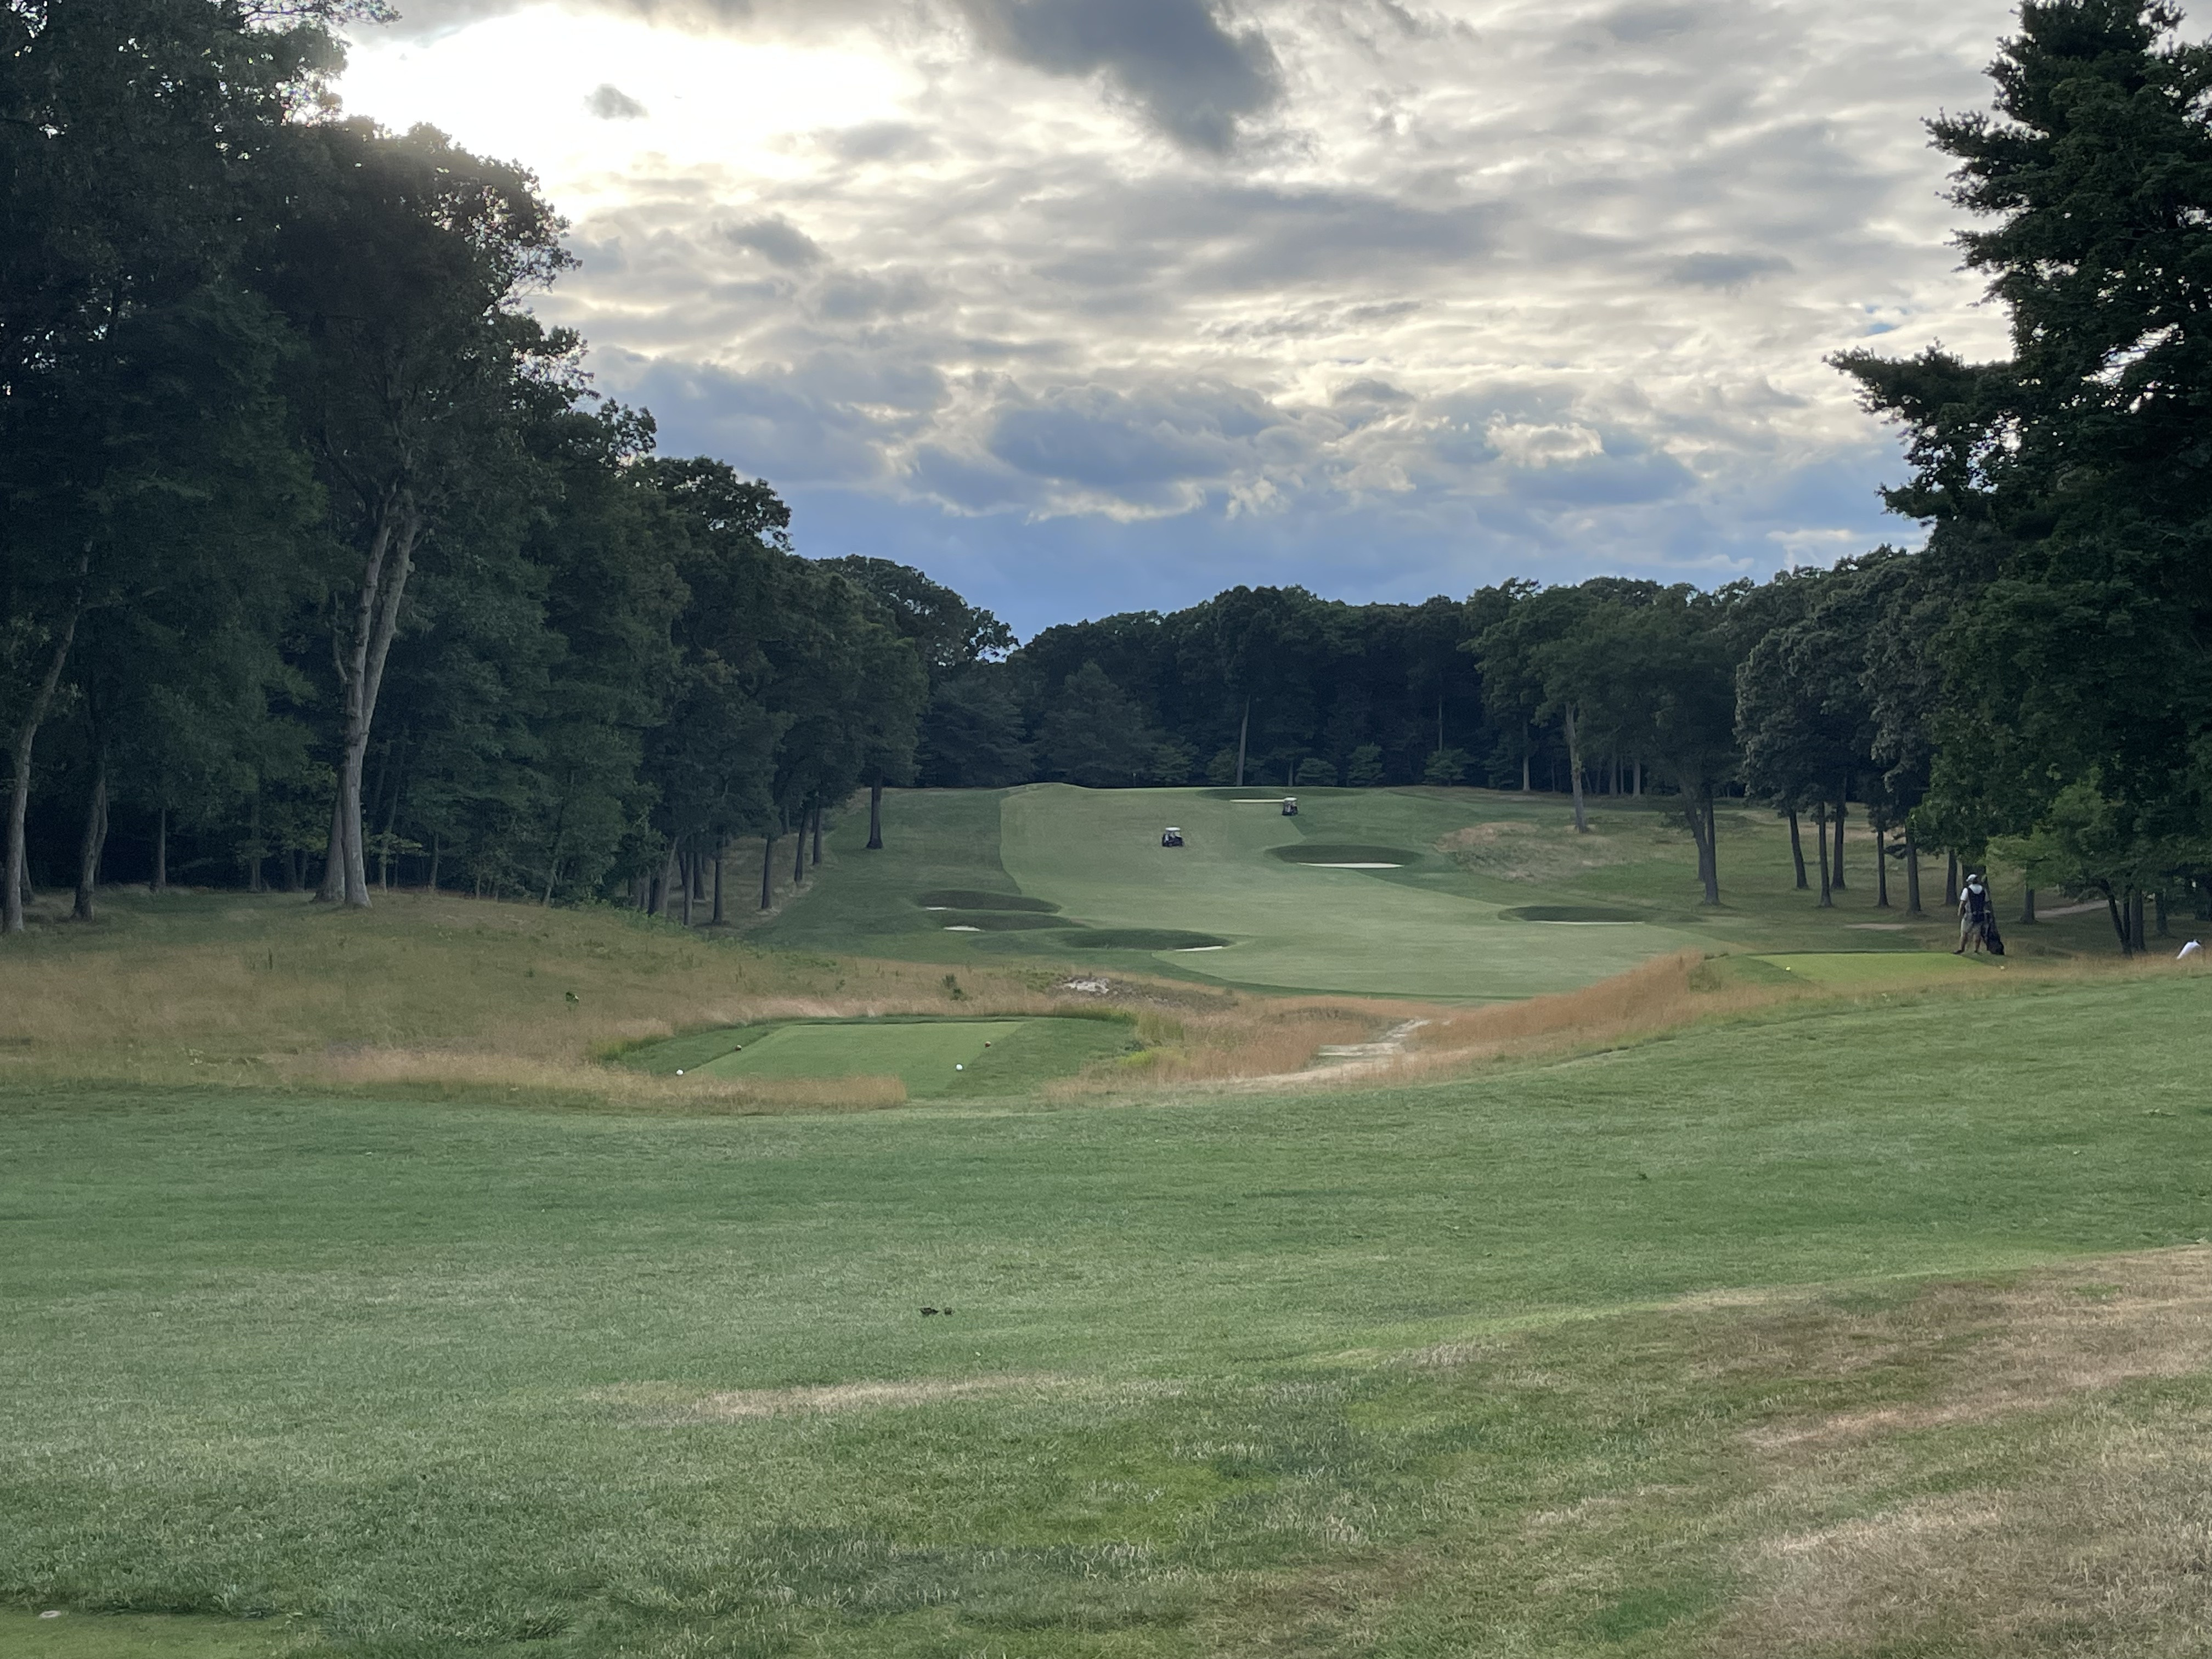
#3: Third Hole “Redan” (Par 3, 182 yards)
The third hole is a classic “Redan,” a 182-yard par 3. The tee shot is blind, yet the rolling terrain provides visual cues. The green slopes dramatically from right to left, almost suggesting that the tee shot can’t be aimed far enough right. While the green is expansive enough to accommodate this movement, straying too far right can lead to the greenside bunker. Conversely, missing too far left presents a challenging uphill recovery. However, the generous green depth offers a substantial backboard to work with.
 The Third
 The Third
 The green
 The green
 The bunkering moving from the right corner and rear
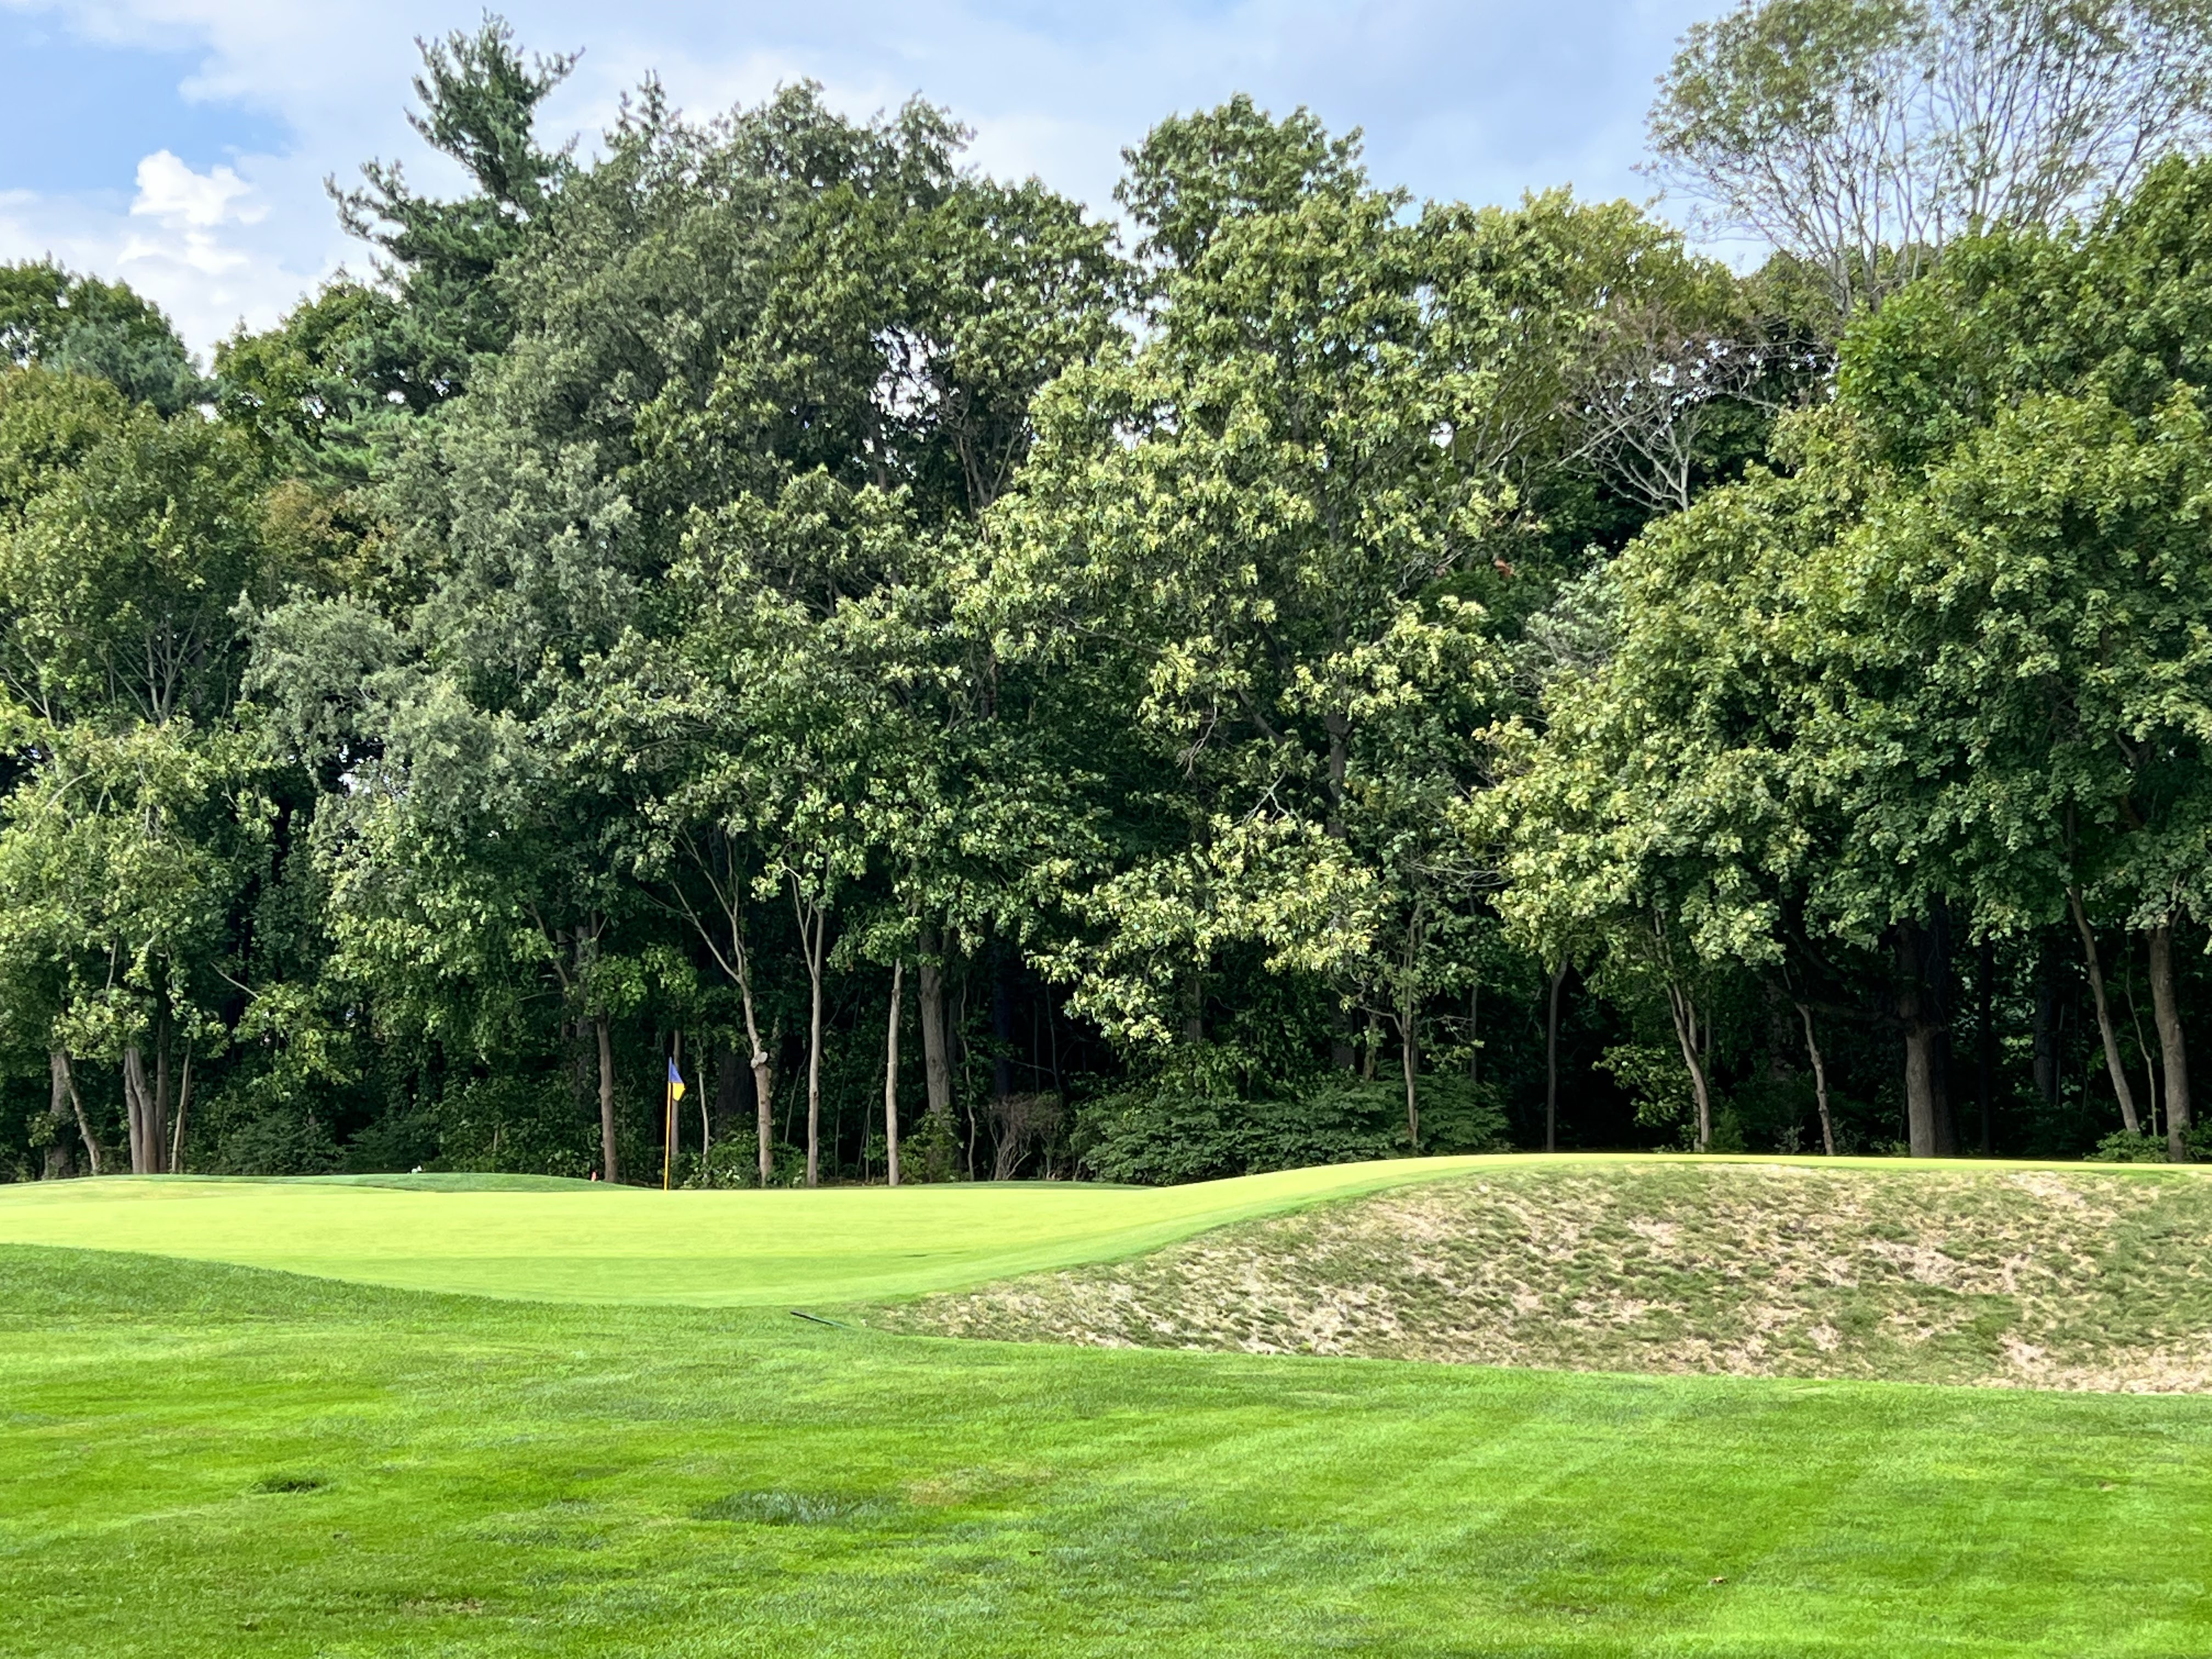
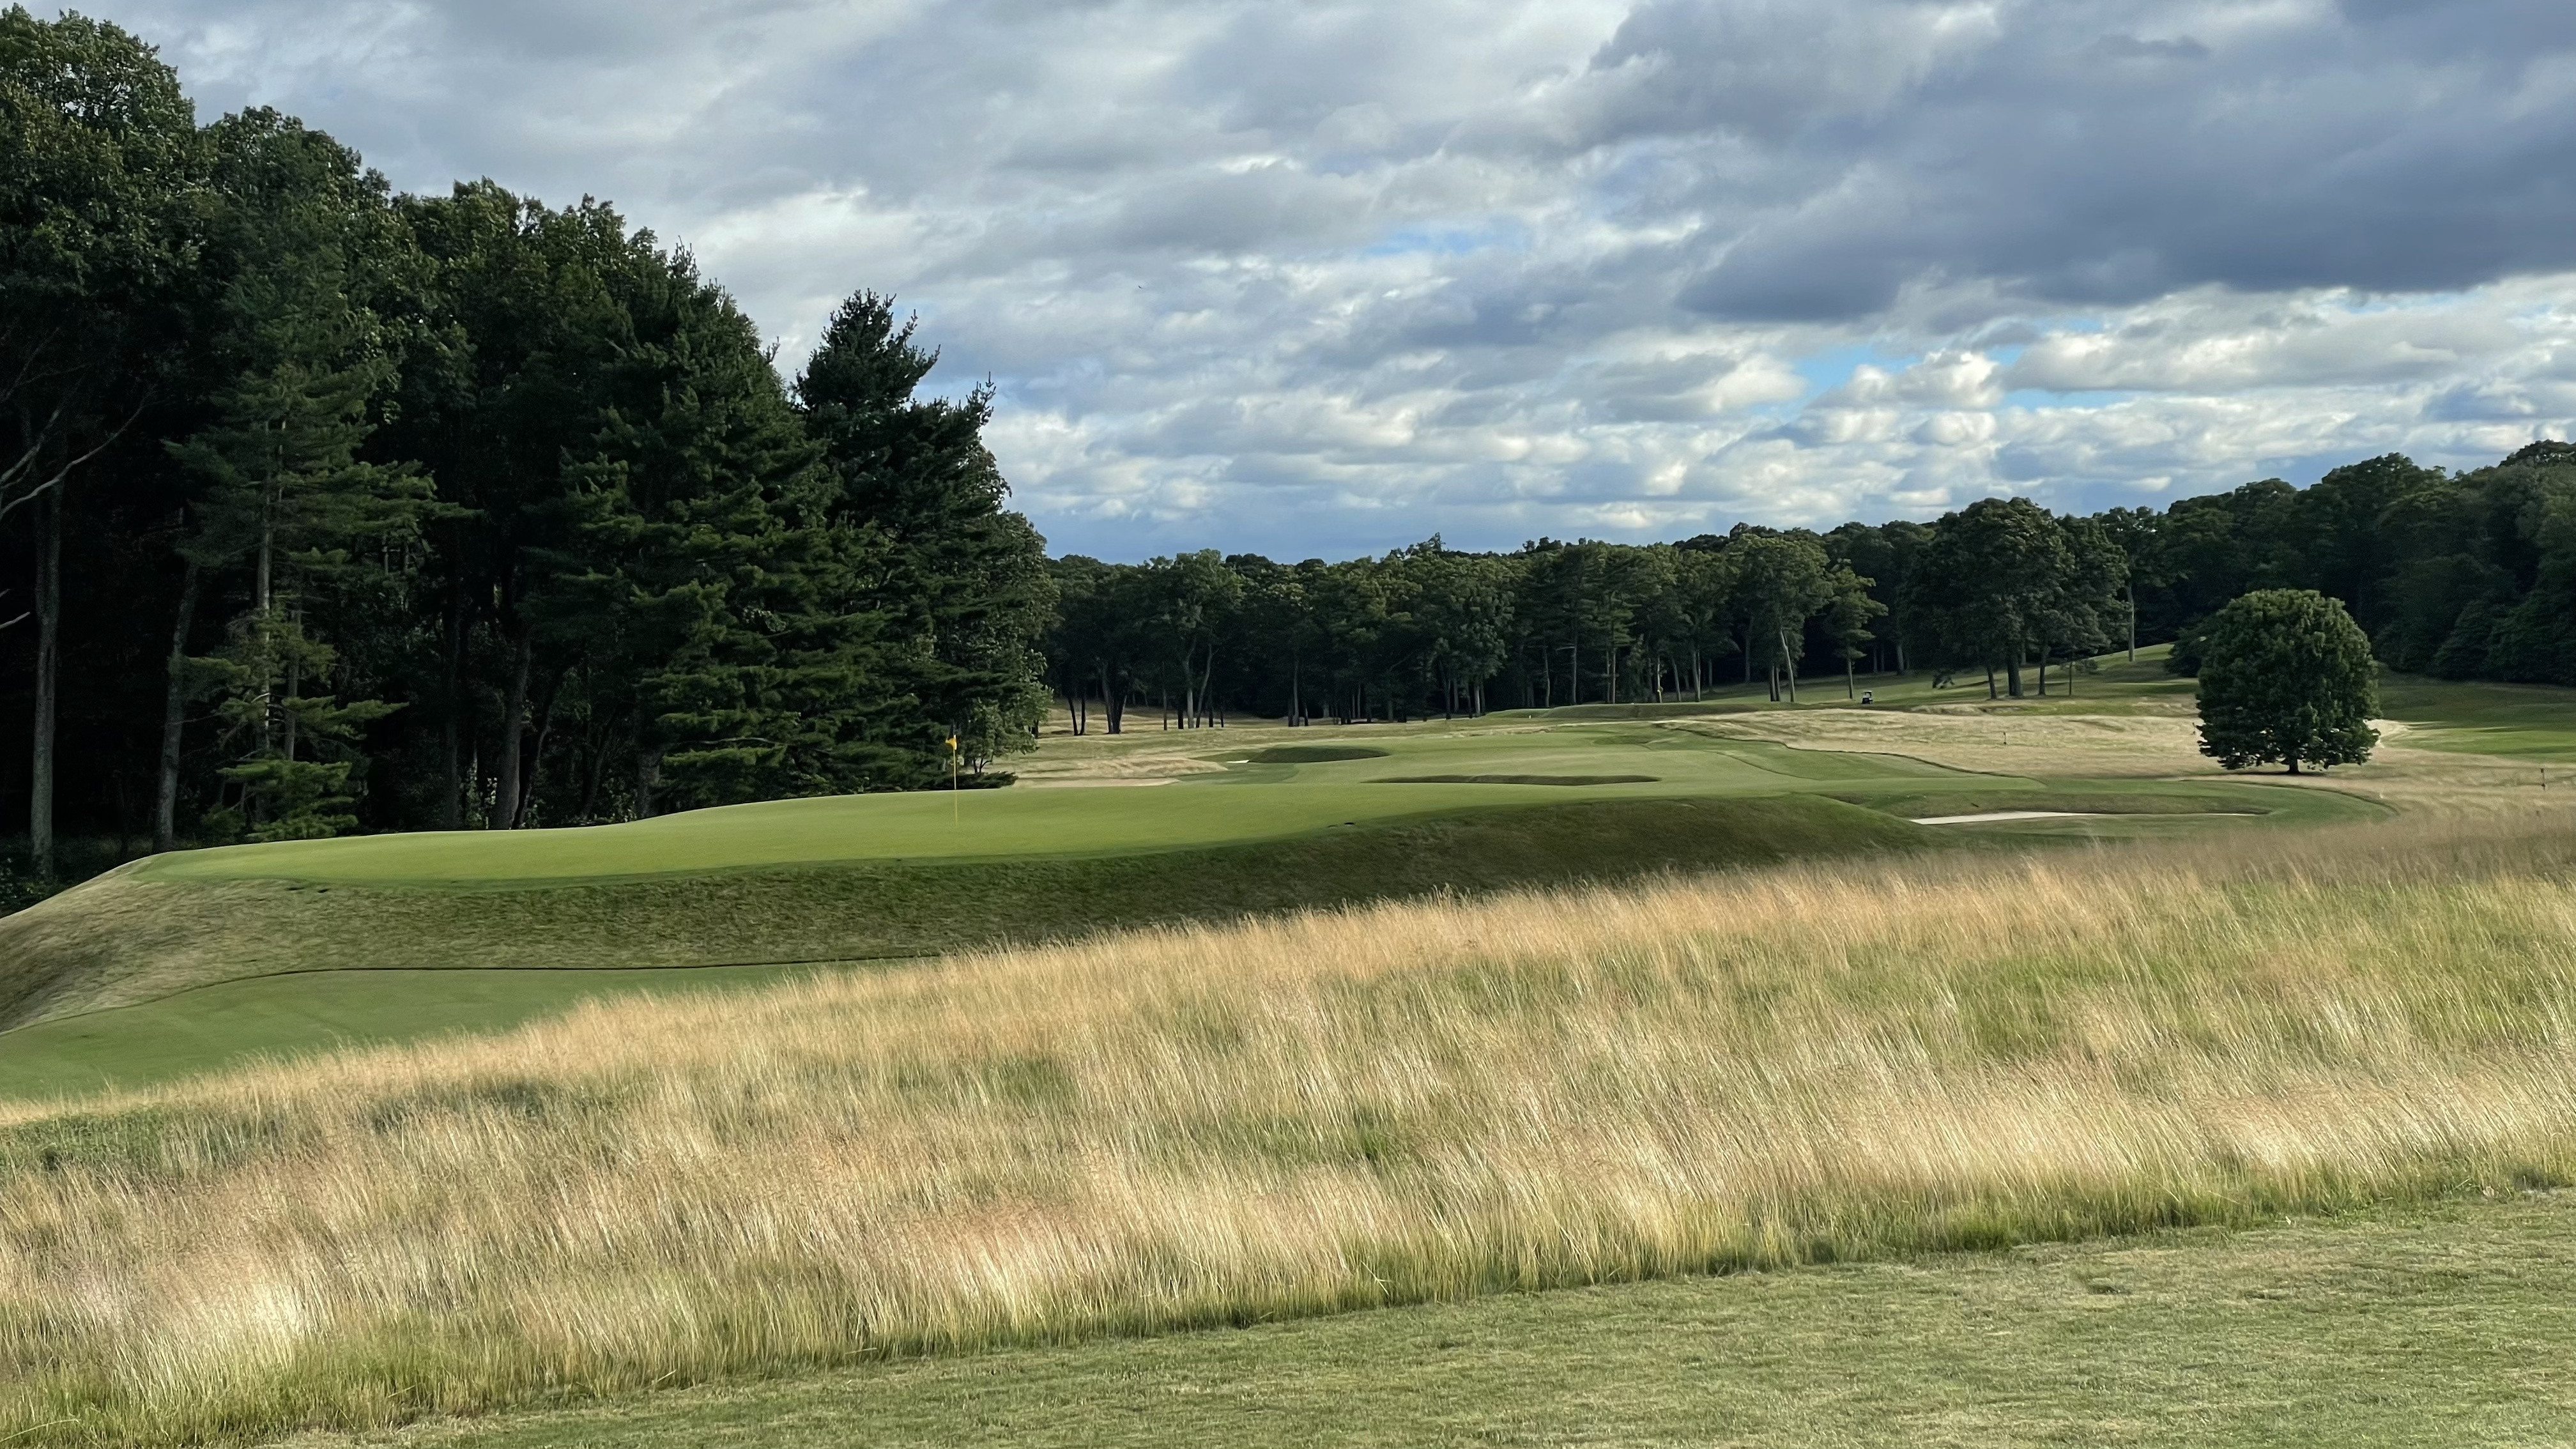
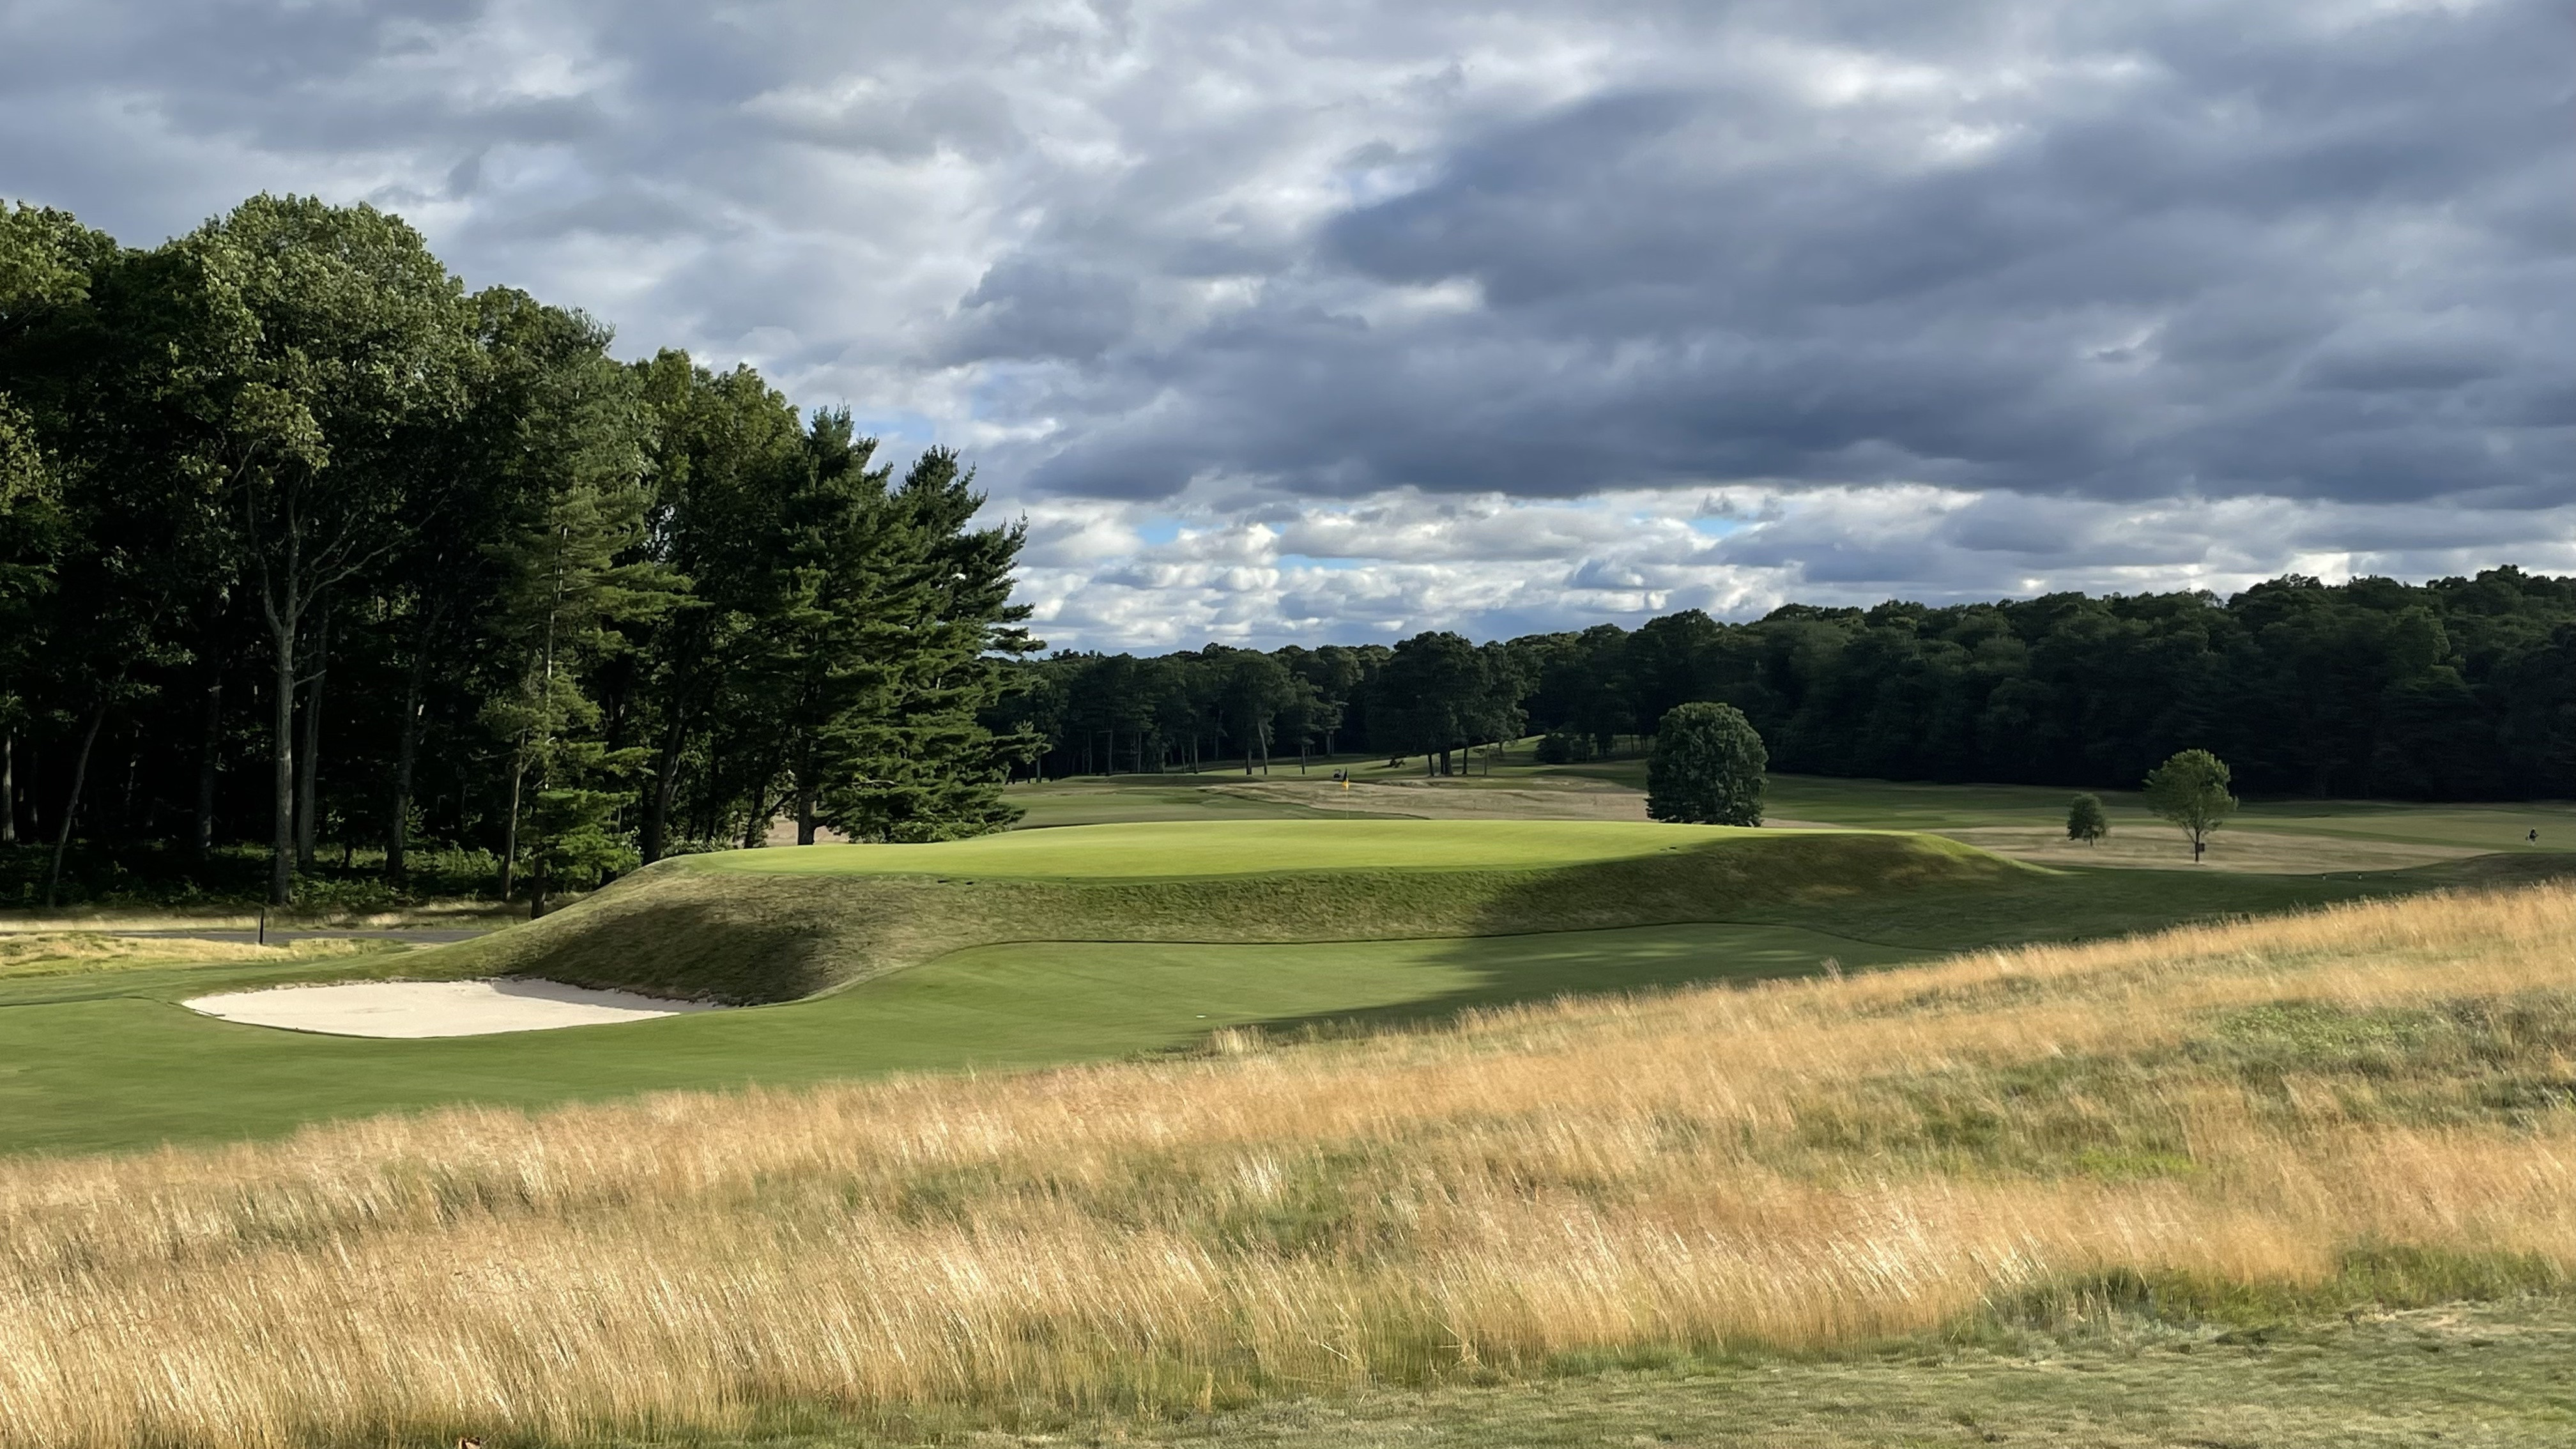
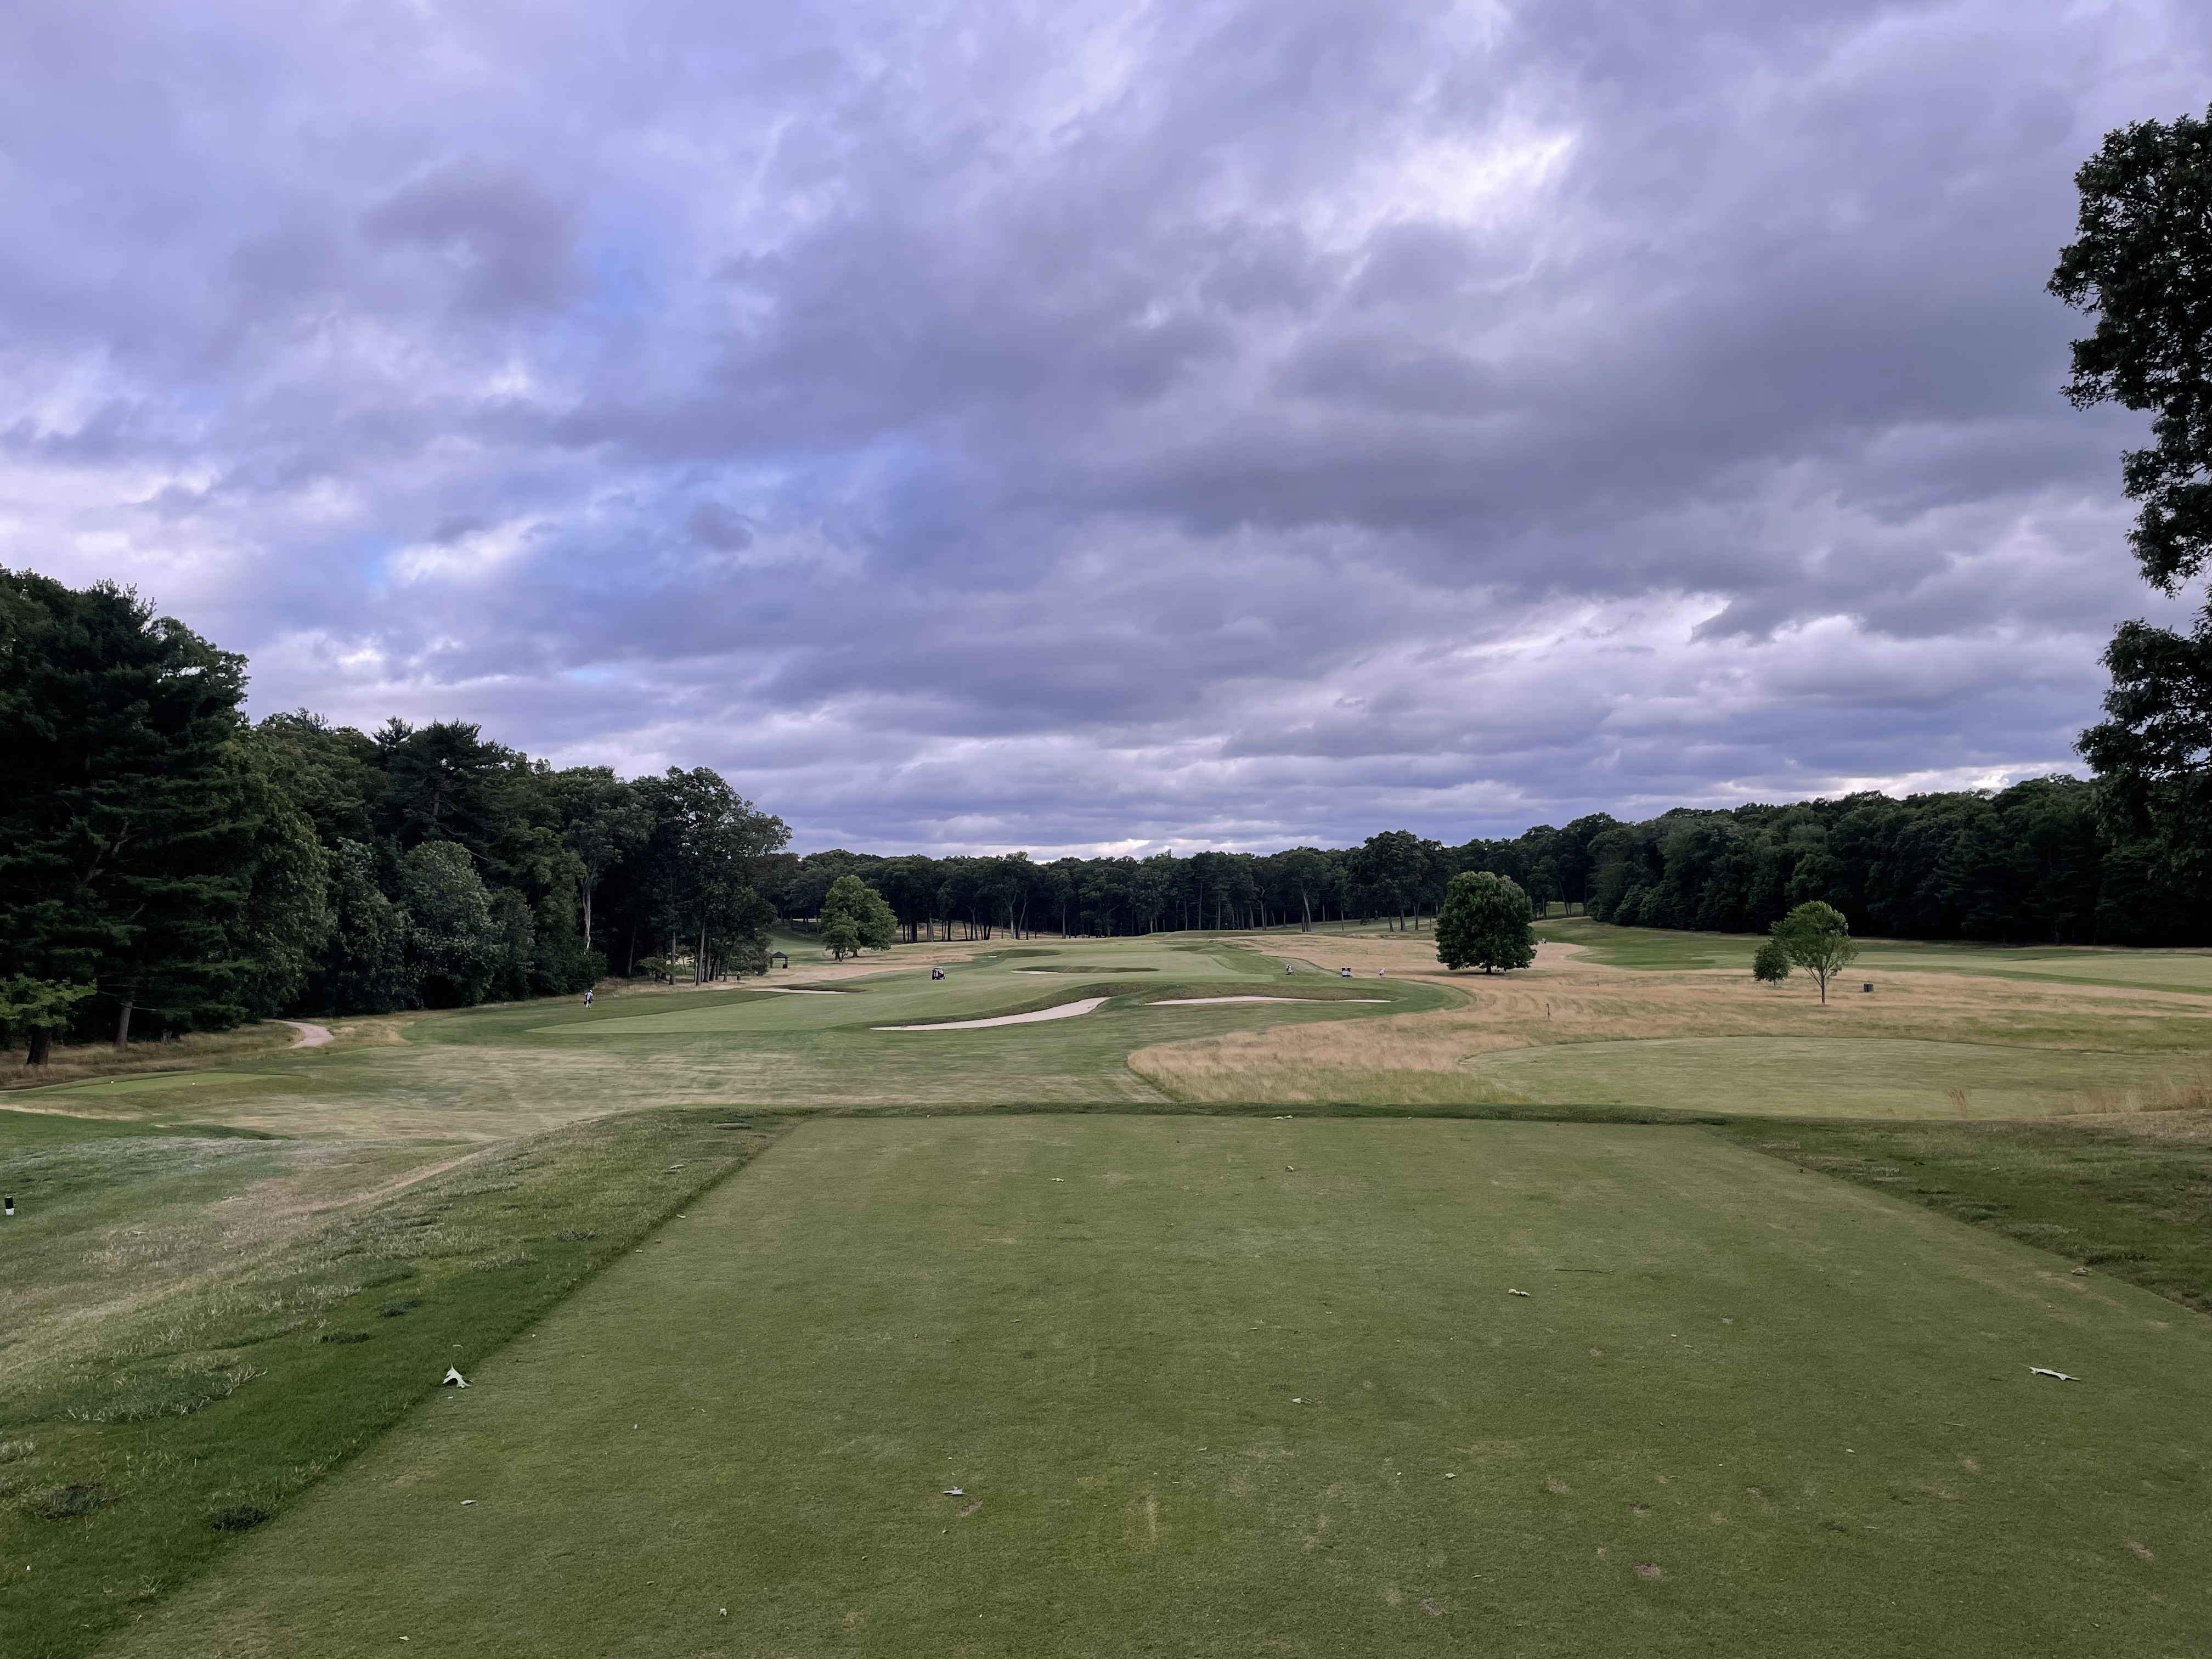
#4: Fourth Hole “Hillside” (Par 4, 440 yards)
“Hillside,” the fourth hole, is a 440-yard par 4 that demands constant consideration of the prominent hillside. While seemingly straight, it cannot be played as such. The right-to-left concept from the Redan hole remains relevant, as both tee and approach shots must favor the high side to utilize the slope and control the ball’s final position. The low left side offers a degree of forgiveness with rough preventing balls from reaching the woods. However, like the Redan, going long off the green results in a hidden bunker lurking on that side.
 The Fourth
 The hillside fairway
 Approach shot territory
 High side of the green
#5: Fifth Hole “Woods” (Par 4, 306 yards)
“Woods,” a 306-yard par 4, continues the hillside theme but turns back along its high side. While shorter, trees flanking both sides near the green temper the temptation for long hitters to reach the green in one. The high left side remains crucial, allowing balls to roll down to a favorable position. The approach to the green is particularly enjoyable, flattening out and running smoothly towards the green like a gentle river, offering a welcoming lead-in, but golfers must be wary of bunkers below on either side.
 The Fifth
 Approach shot territory
 Closer
 Looking beyond the rear of the green
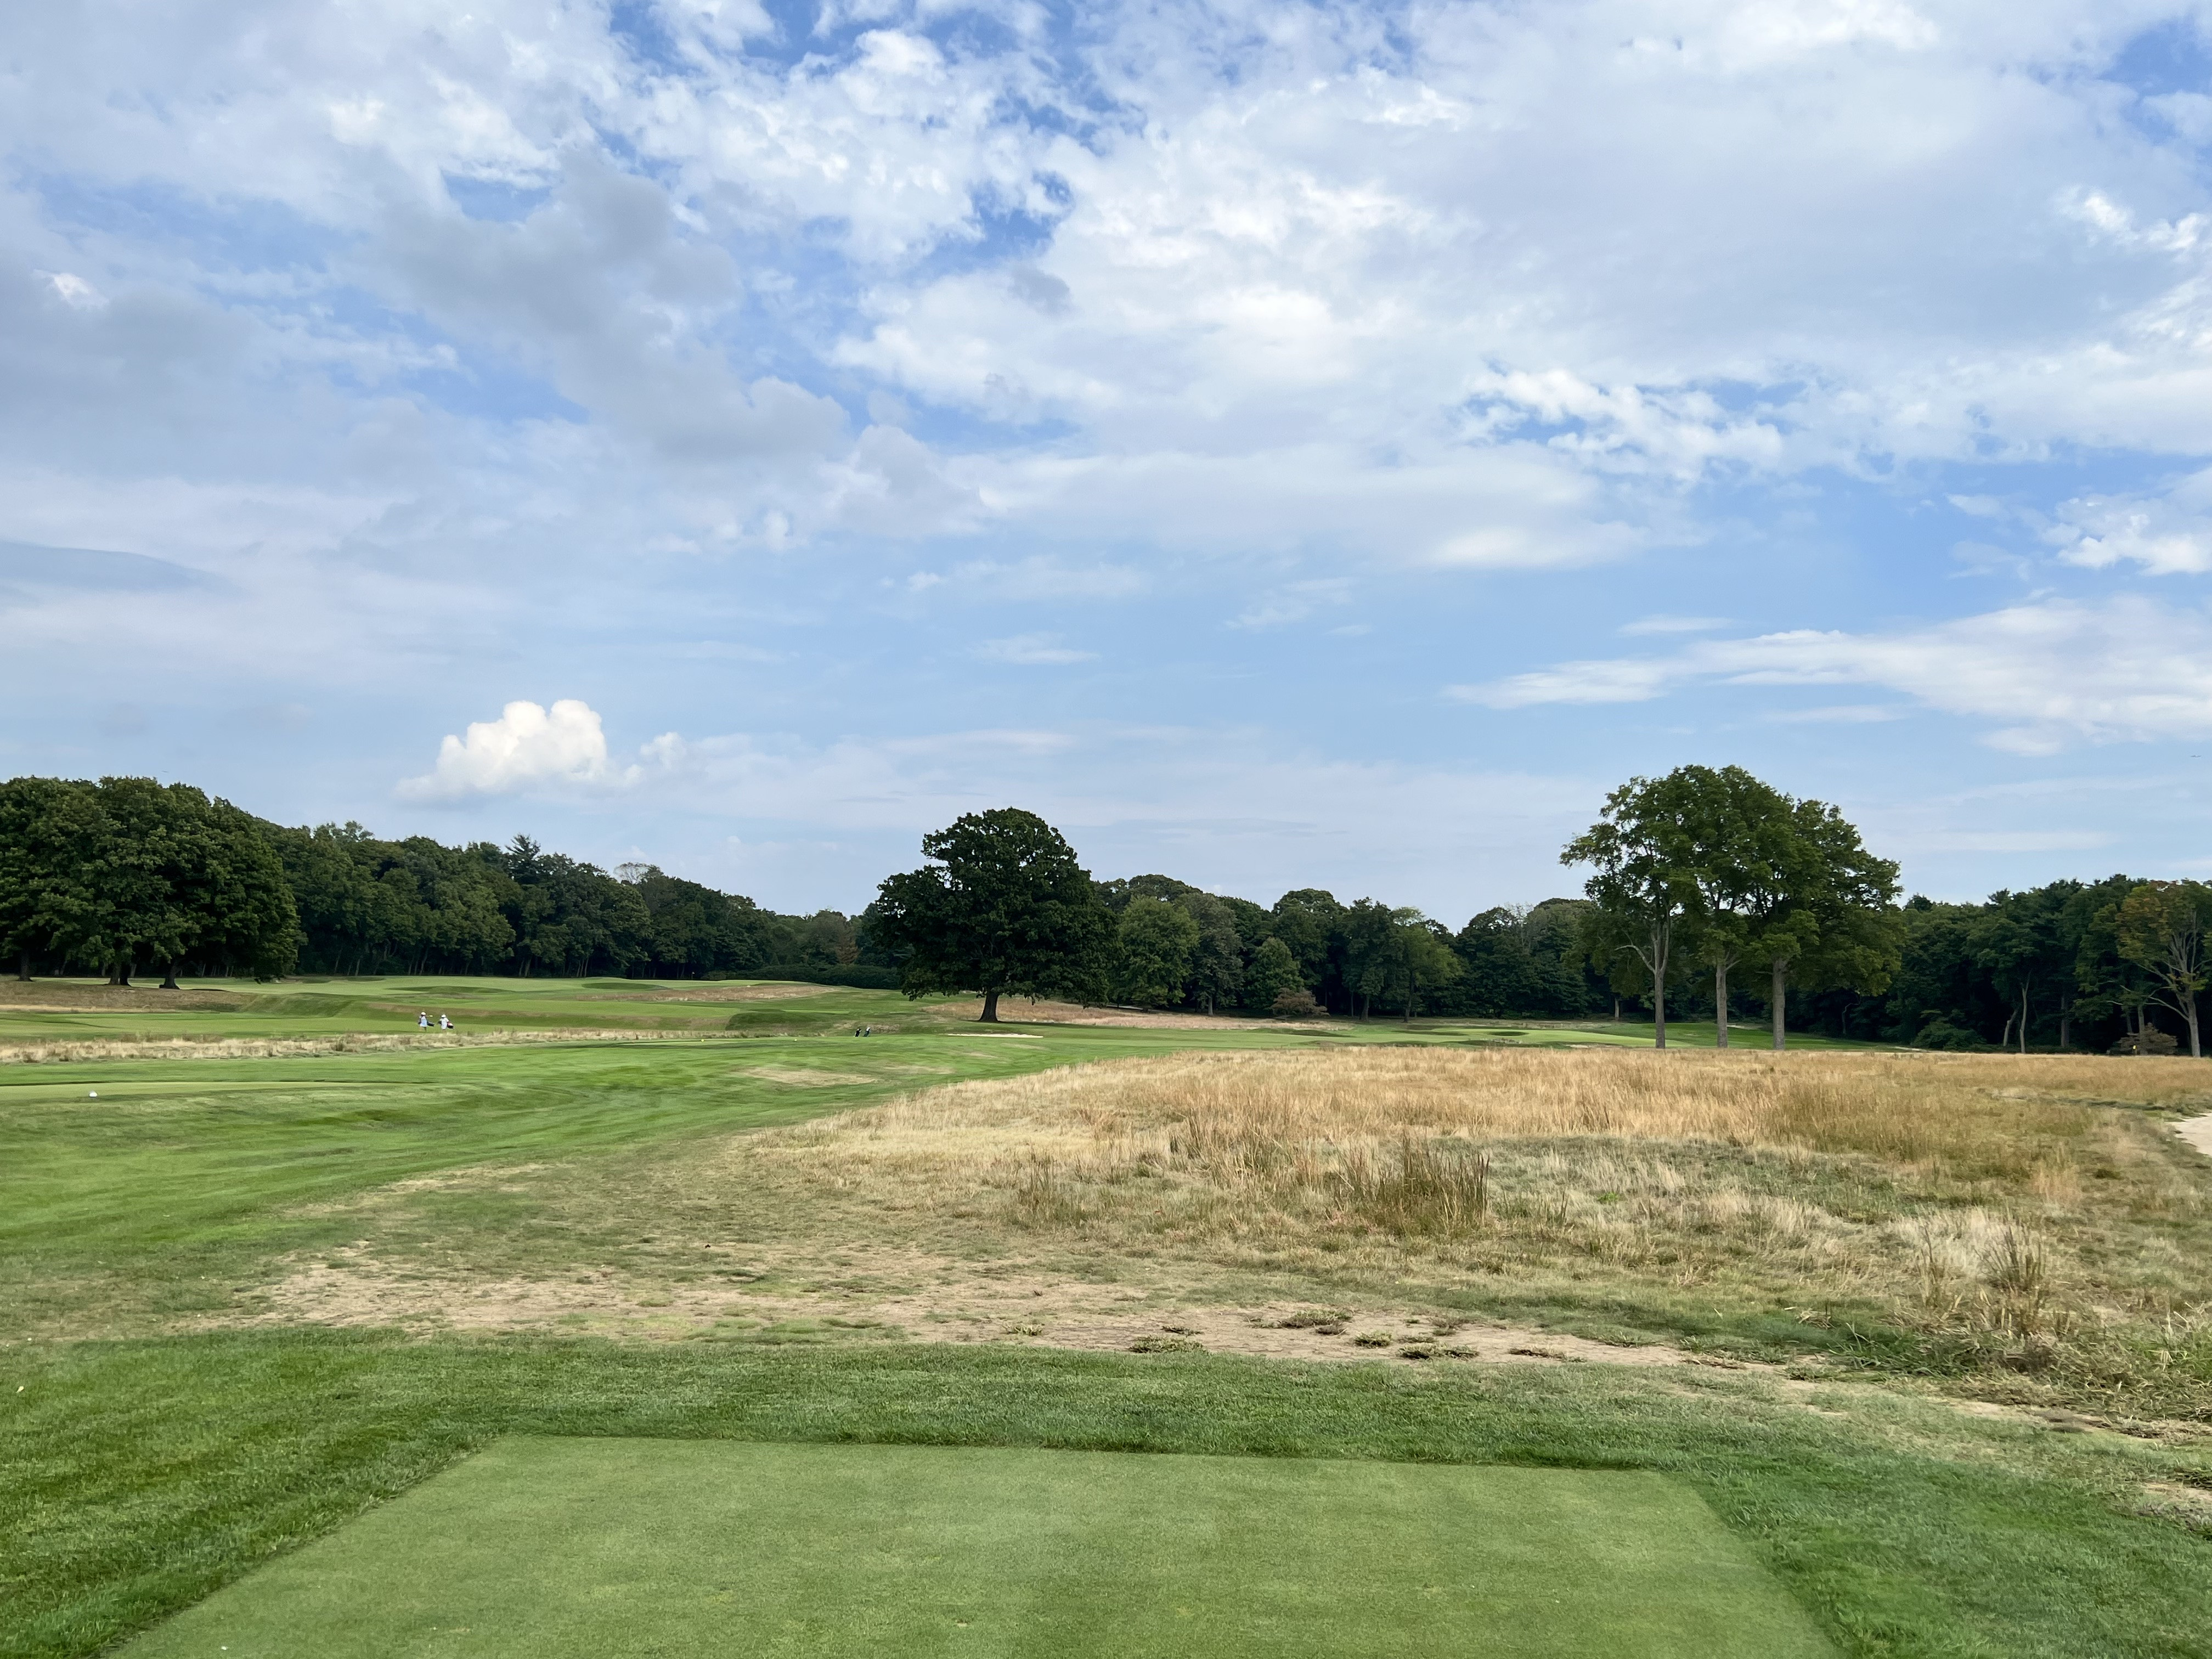
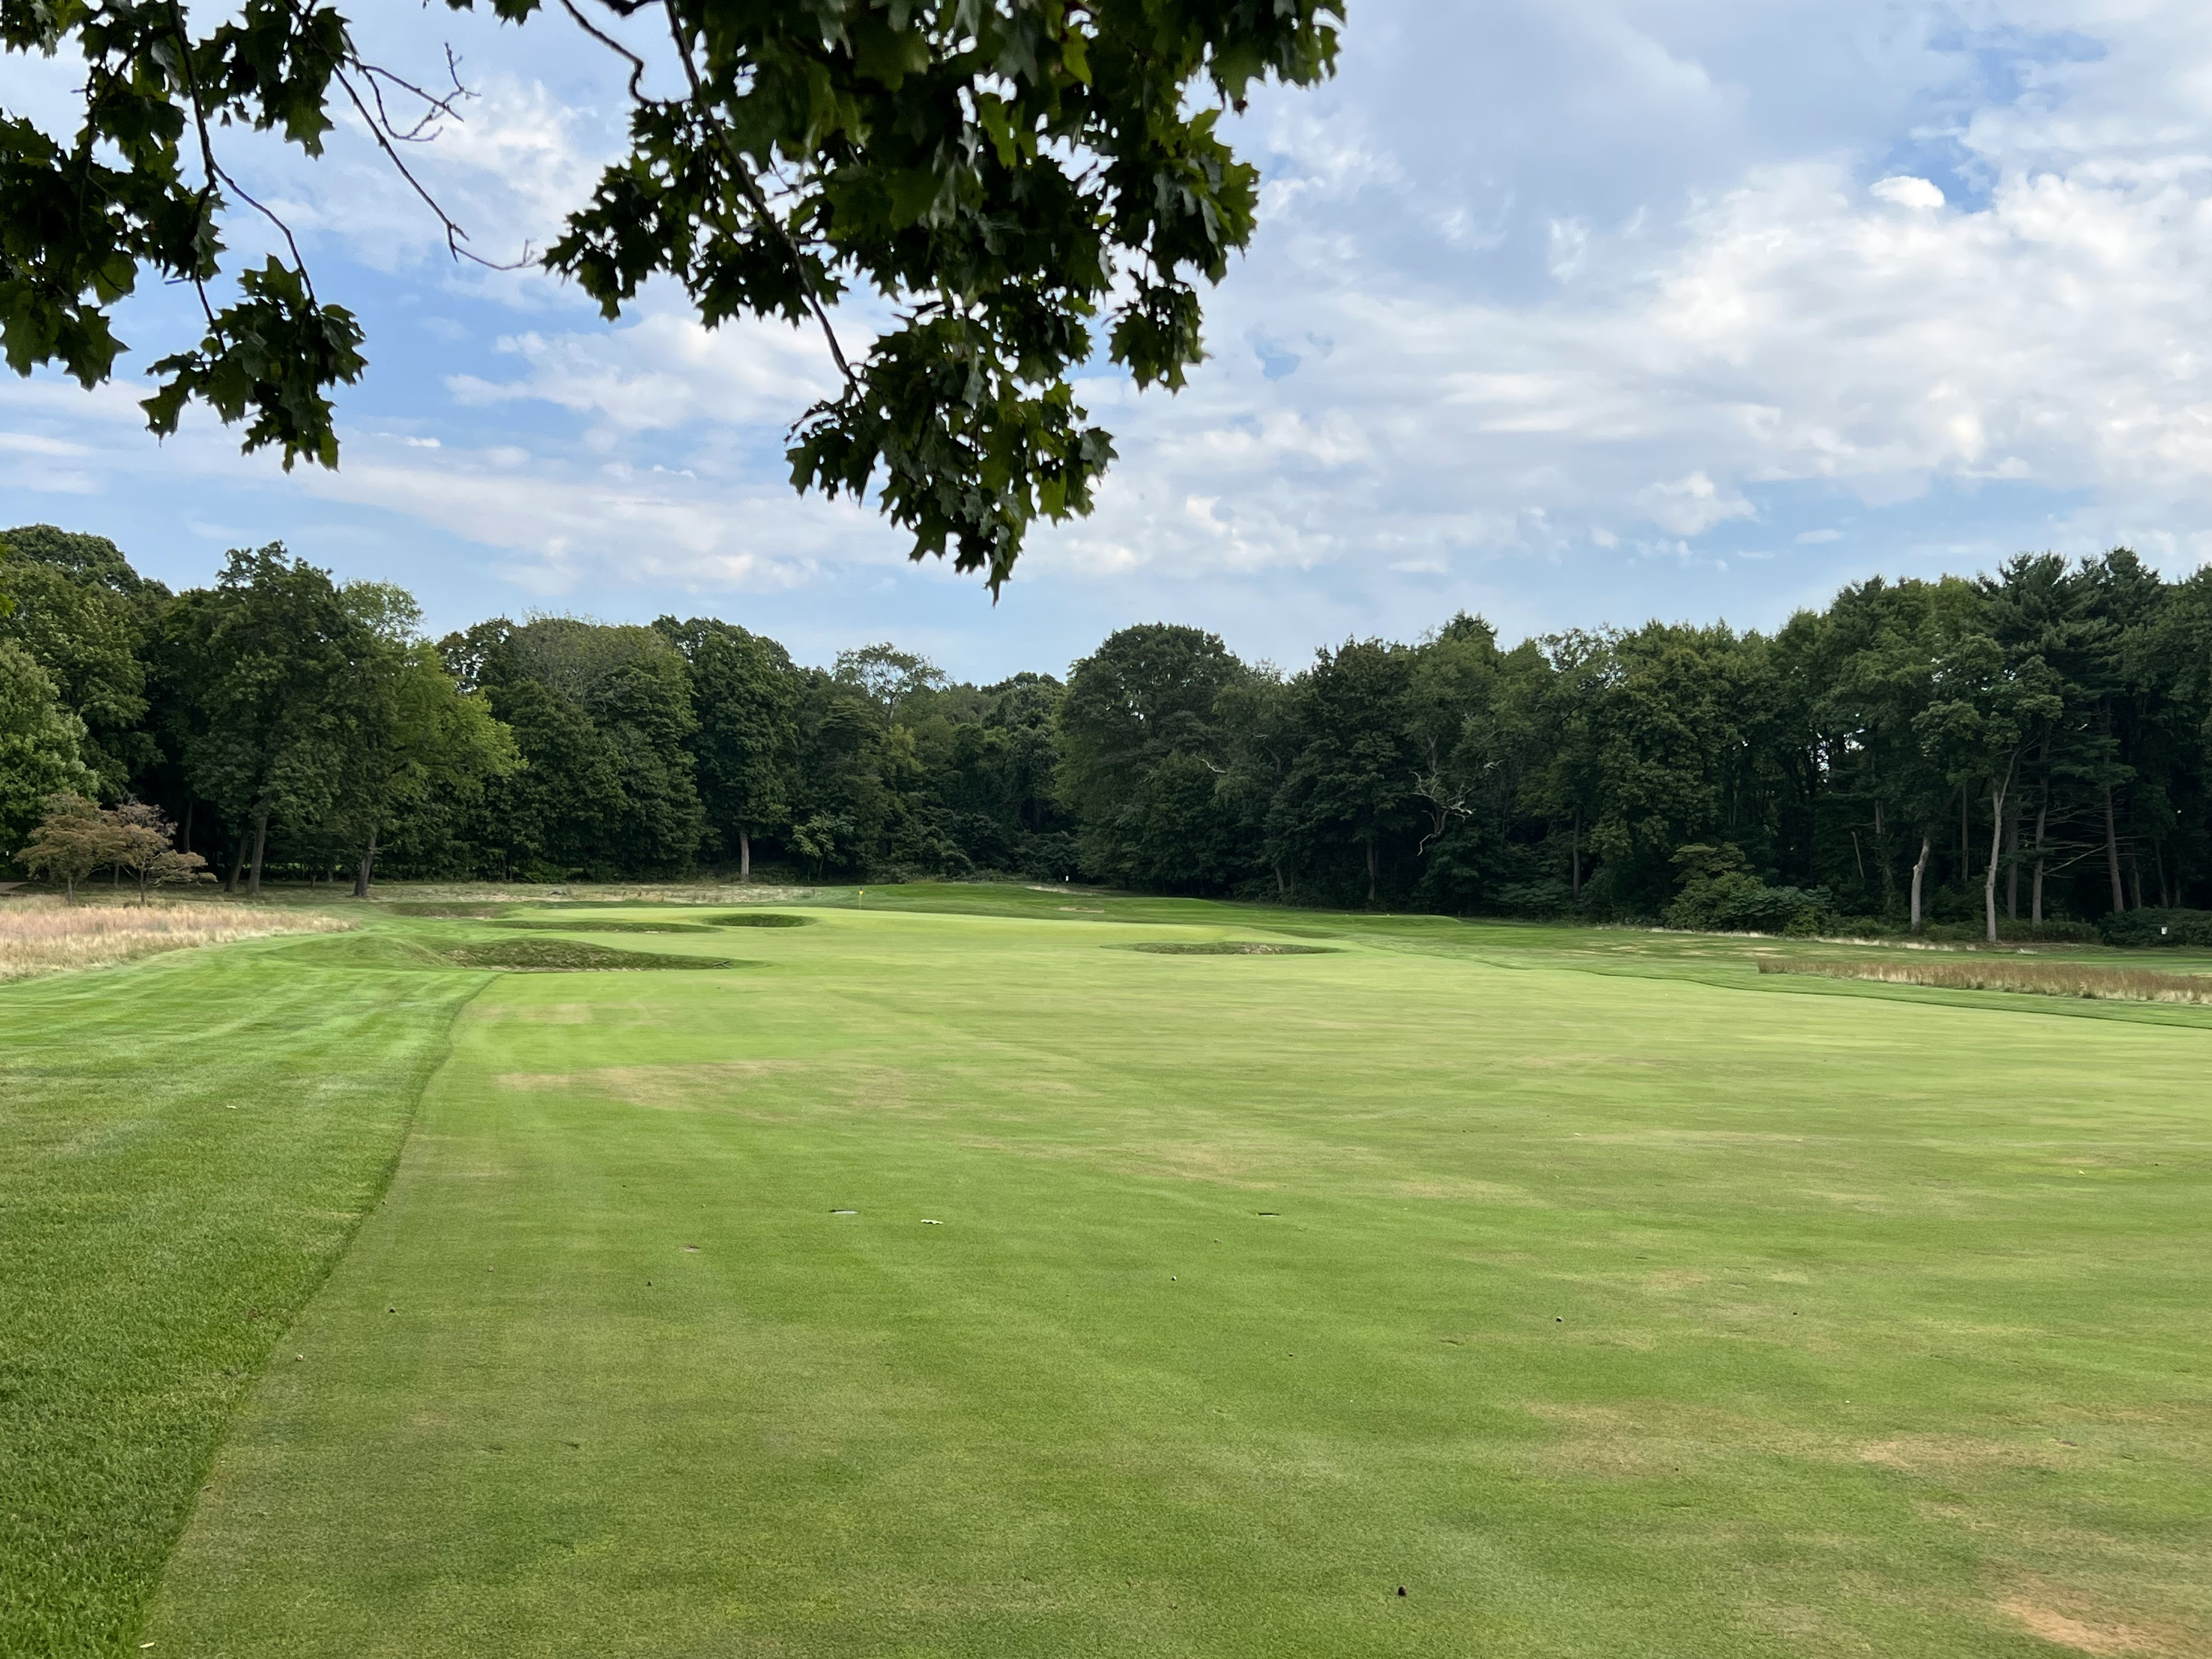
#6: Sixth Hole “Long” (Par 5, 552 yards)
“Long,” a 552-yard par 5, is a masterclass in hazard placement and routing. Bunkers are meticulously positioned along the sides, subtly below grade, creating visual illusions about which shots will stay on the fairway and which will be penalized. These bunkers strategically mark construction and expansion points, further enhancing the visual intrigue and sophistication of this seemingly straightforward, flat hole. Routing-wise, the hole reaches a corner of the property before turning back in the opposite direction, but at an angle that minimizes the perception of proximity between holes. The green in this corner is remarkable for its shaping, subtly indicating the potential for challenging putts regardless of approach accuracy.
 The Sixth
 Moving up the fairway
 Approach shot territory
 The green, from the right
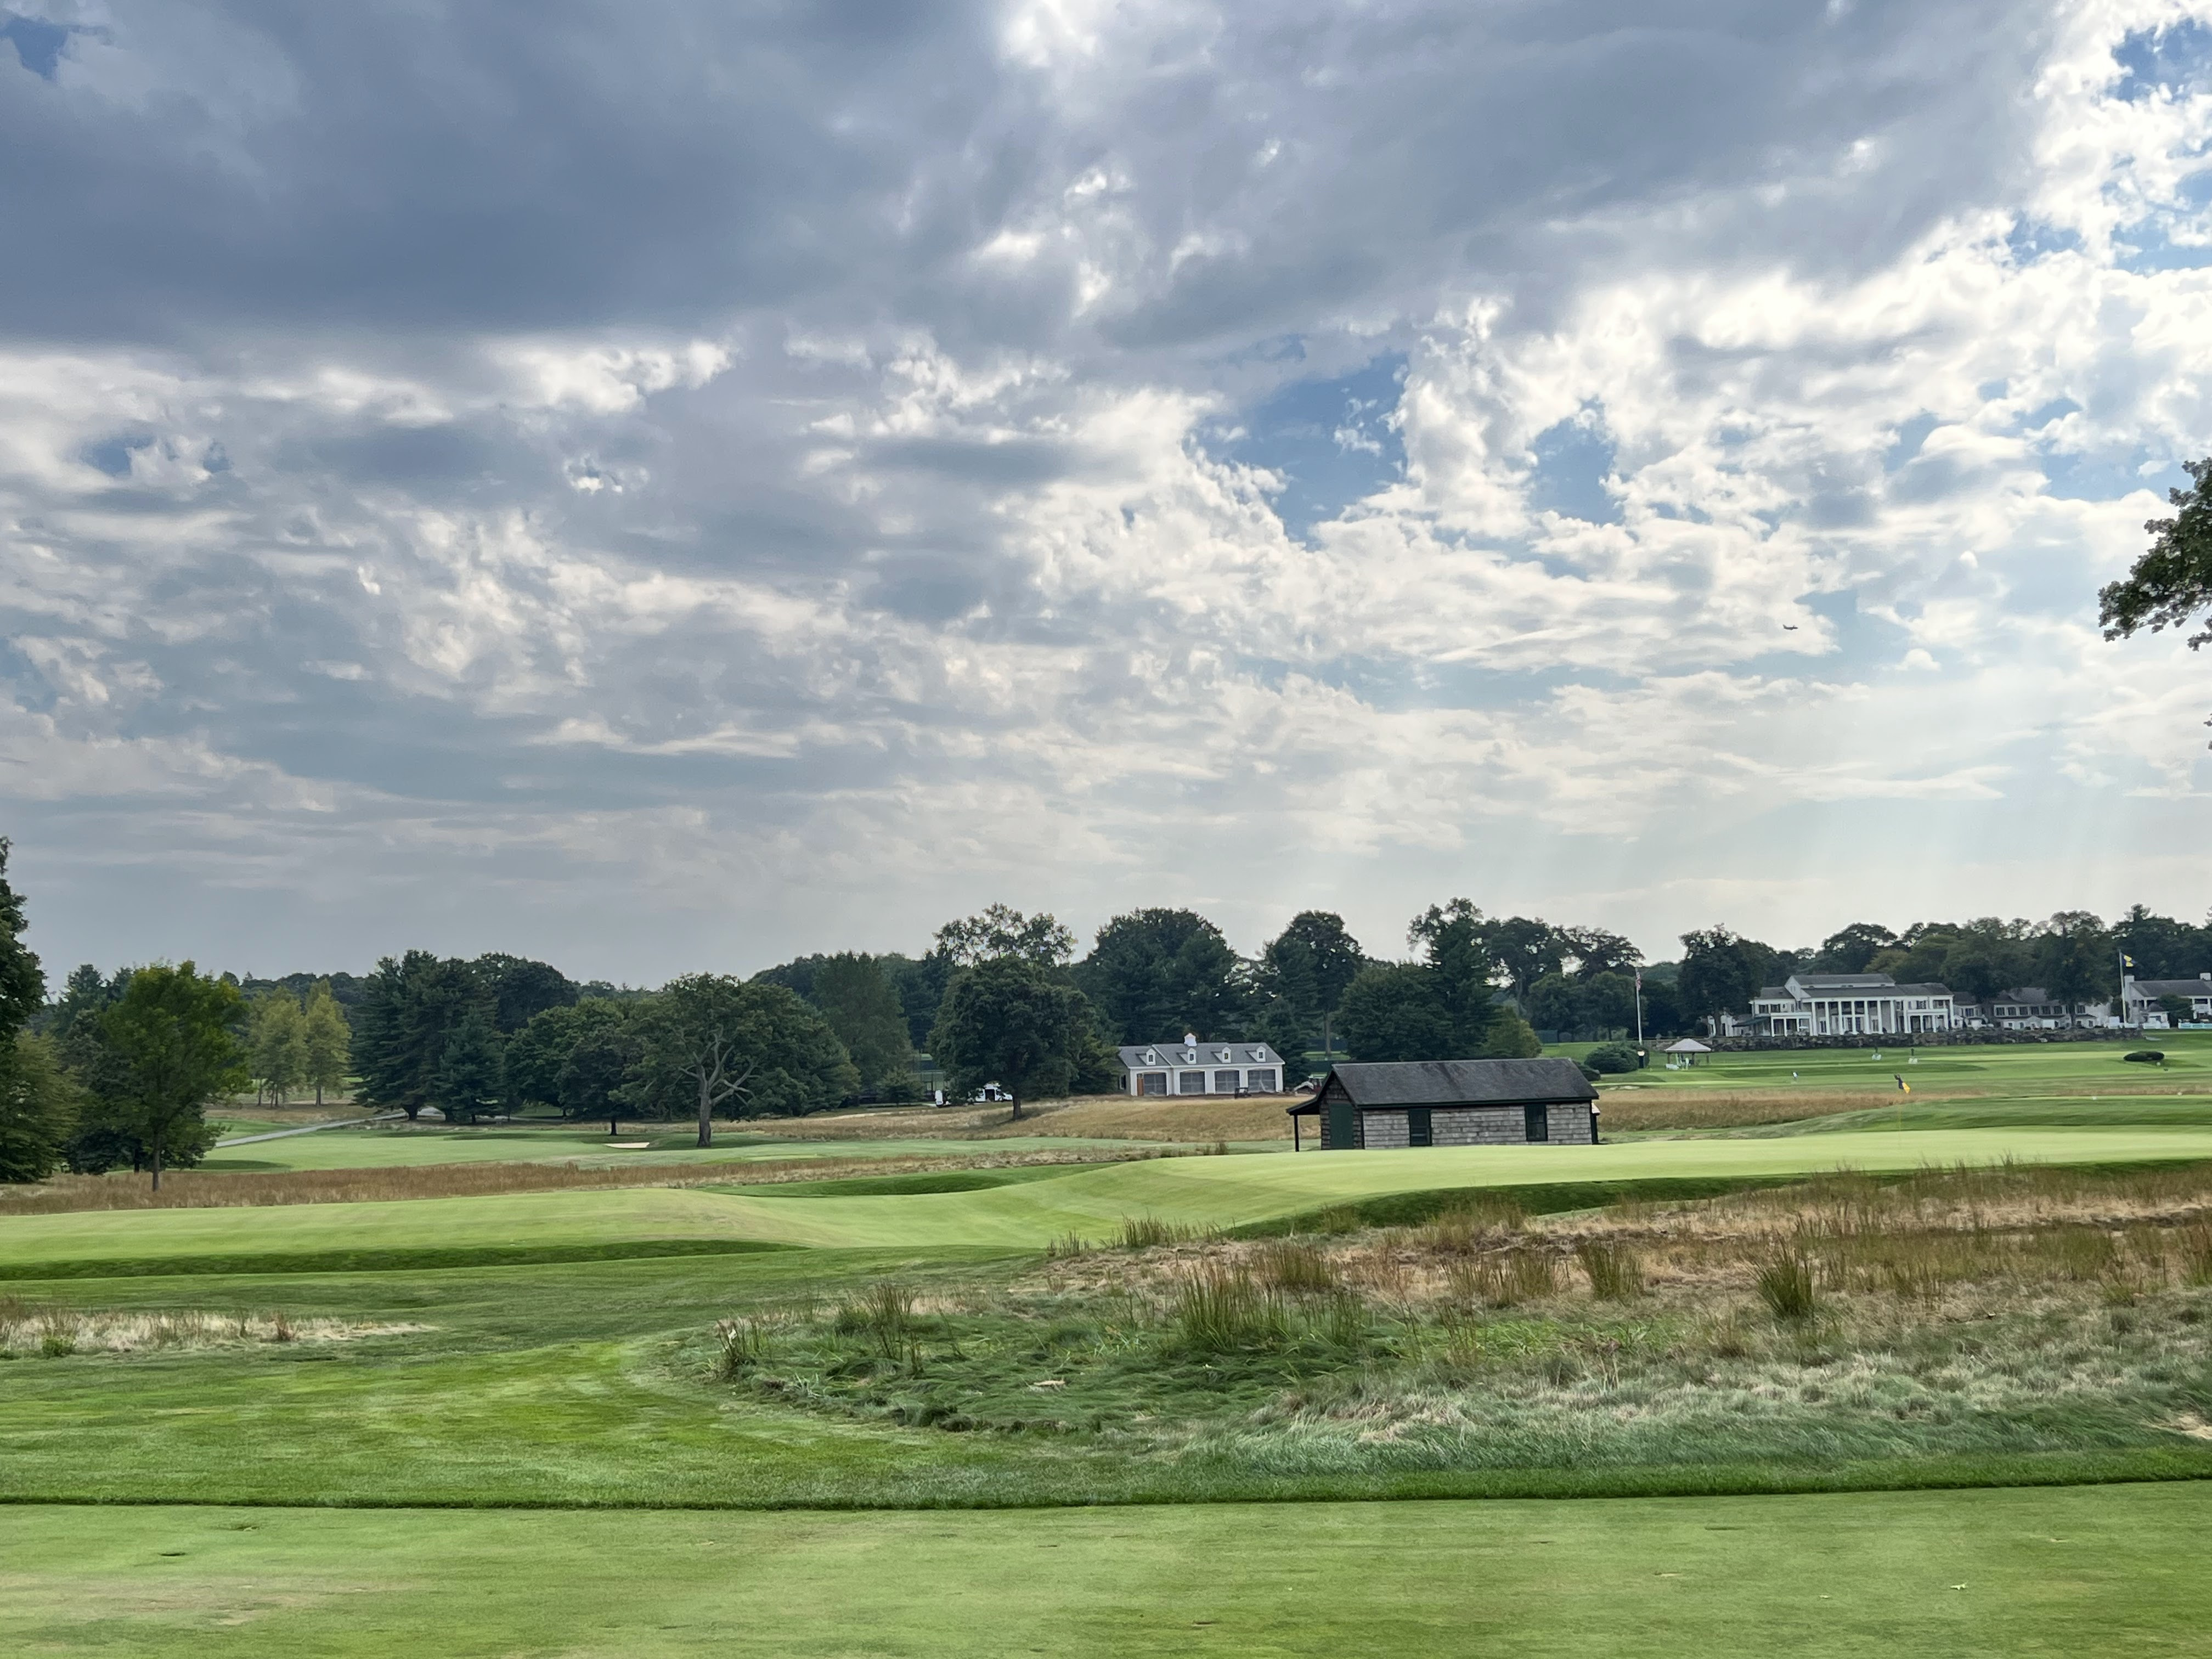
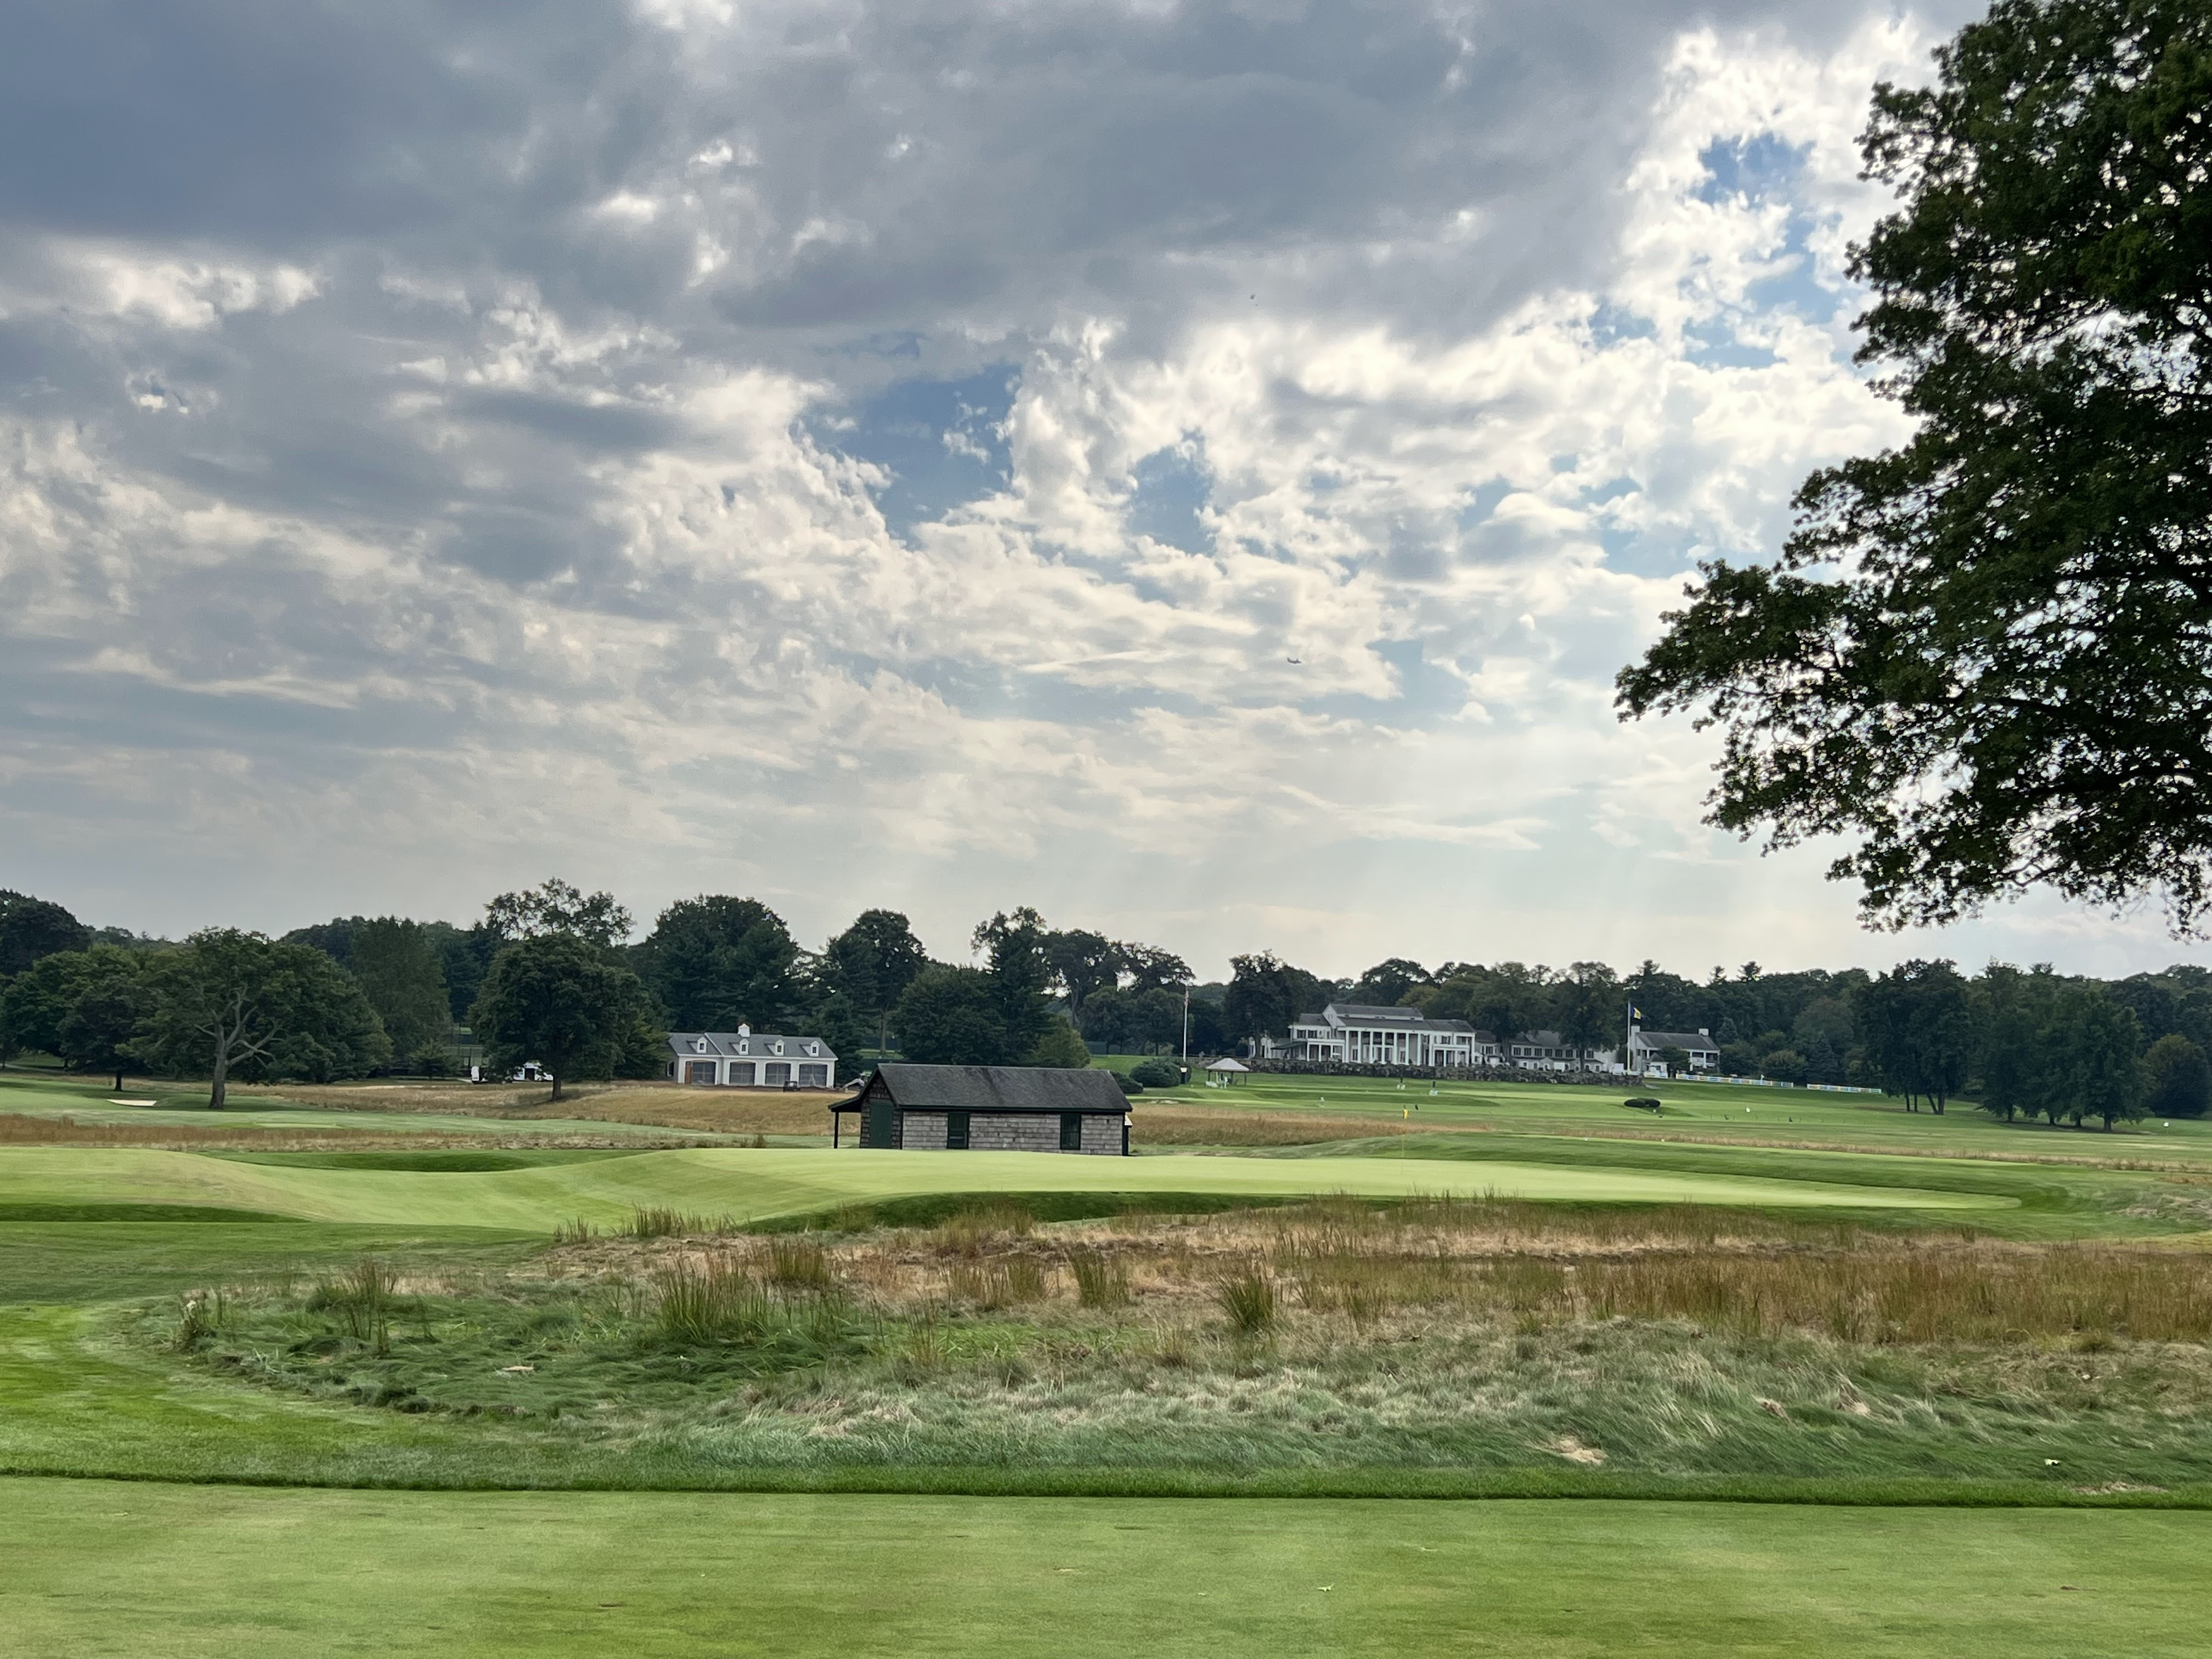
#7: Seventh Hole “Twin” (Par 4, 440 yards)
“Twin,” a 440-yard par 4, switches back at an angle away from the previous hole. The tee shot is relatively straightforward, except for bunkers placed first on the left, then on the right. The remnants of the old racetrack are evident crossing the fairway towards the clubhouse. The green is adjacent to the second green, forming a distinct nook within the course and offering a surprisingly wide entry point. The bunker short right appears less threatening than it plays, frequently coming into play.
 The Seventh
 From the right side
 The old race track, moving across the hole and Eighth
 Approach shot territory
 The green
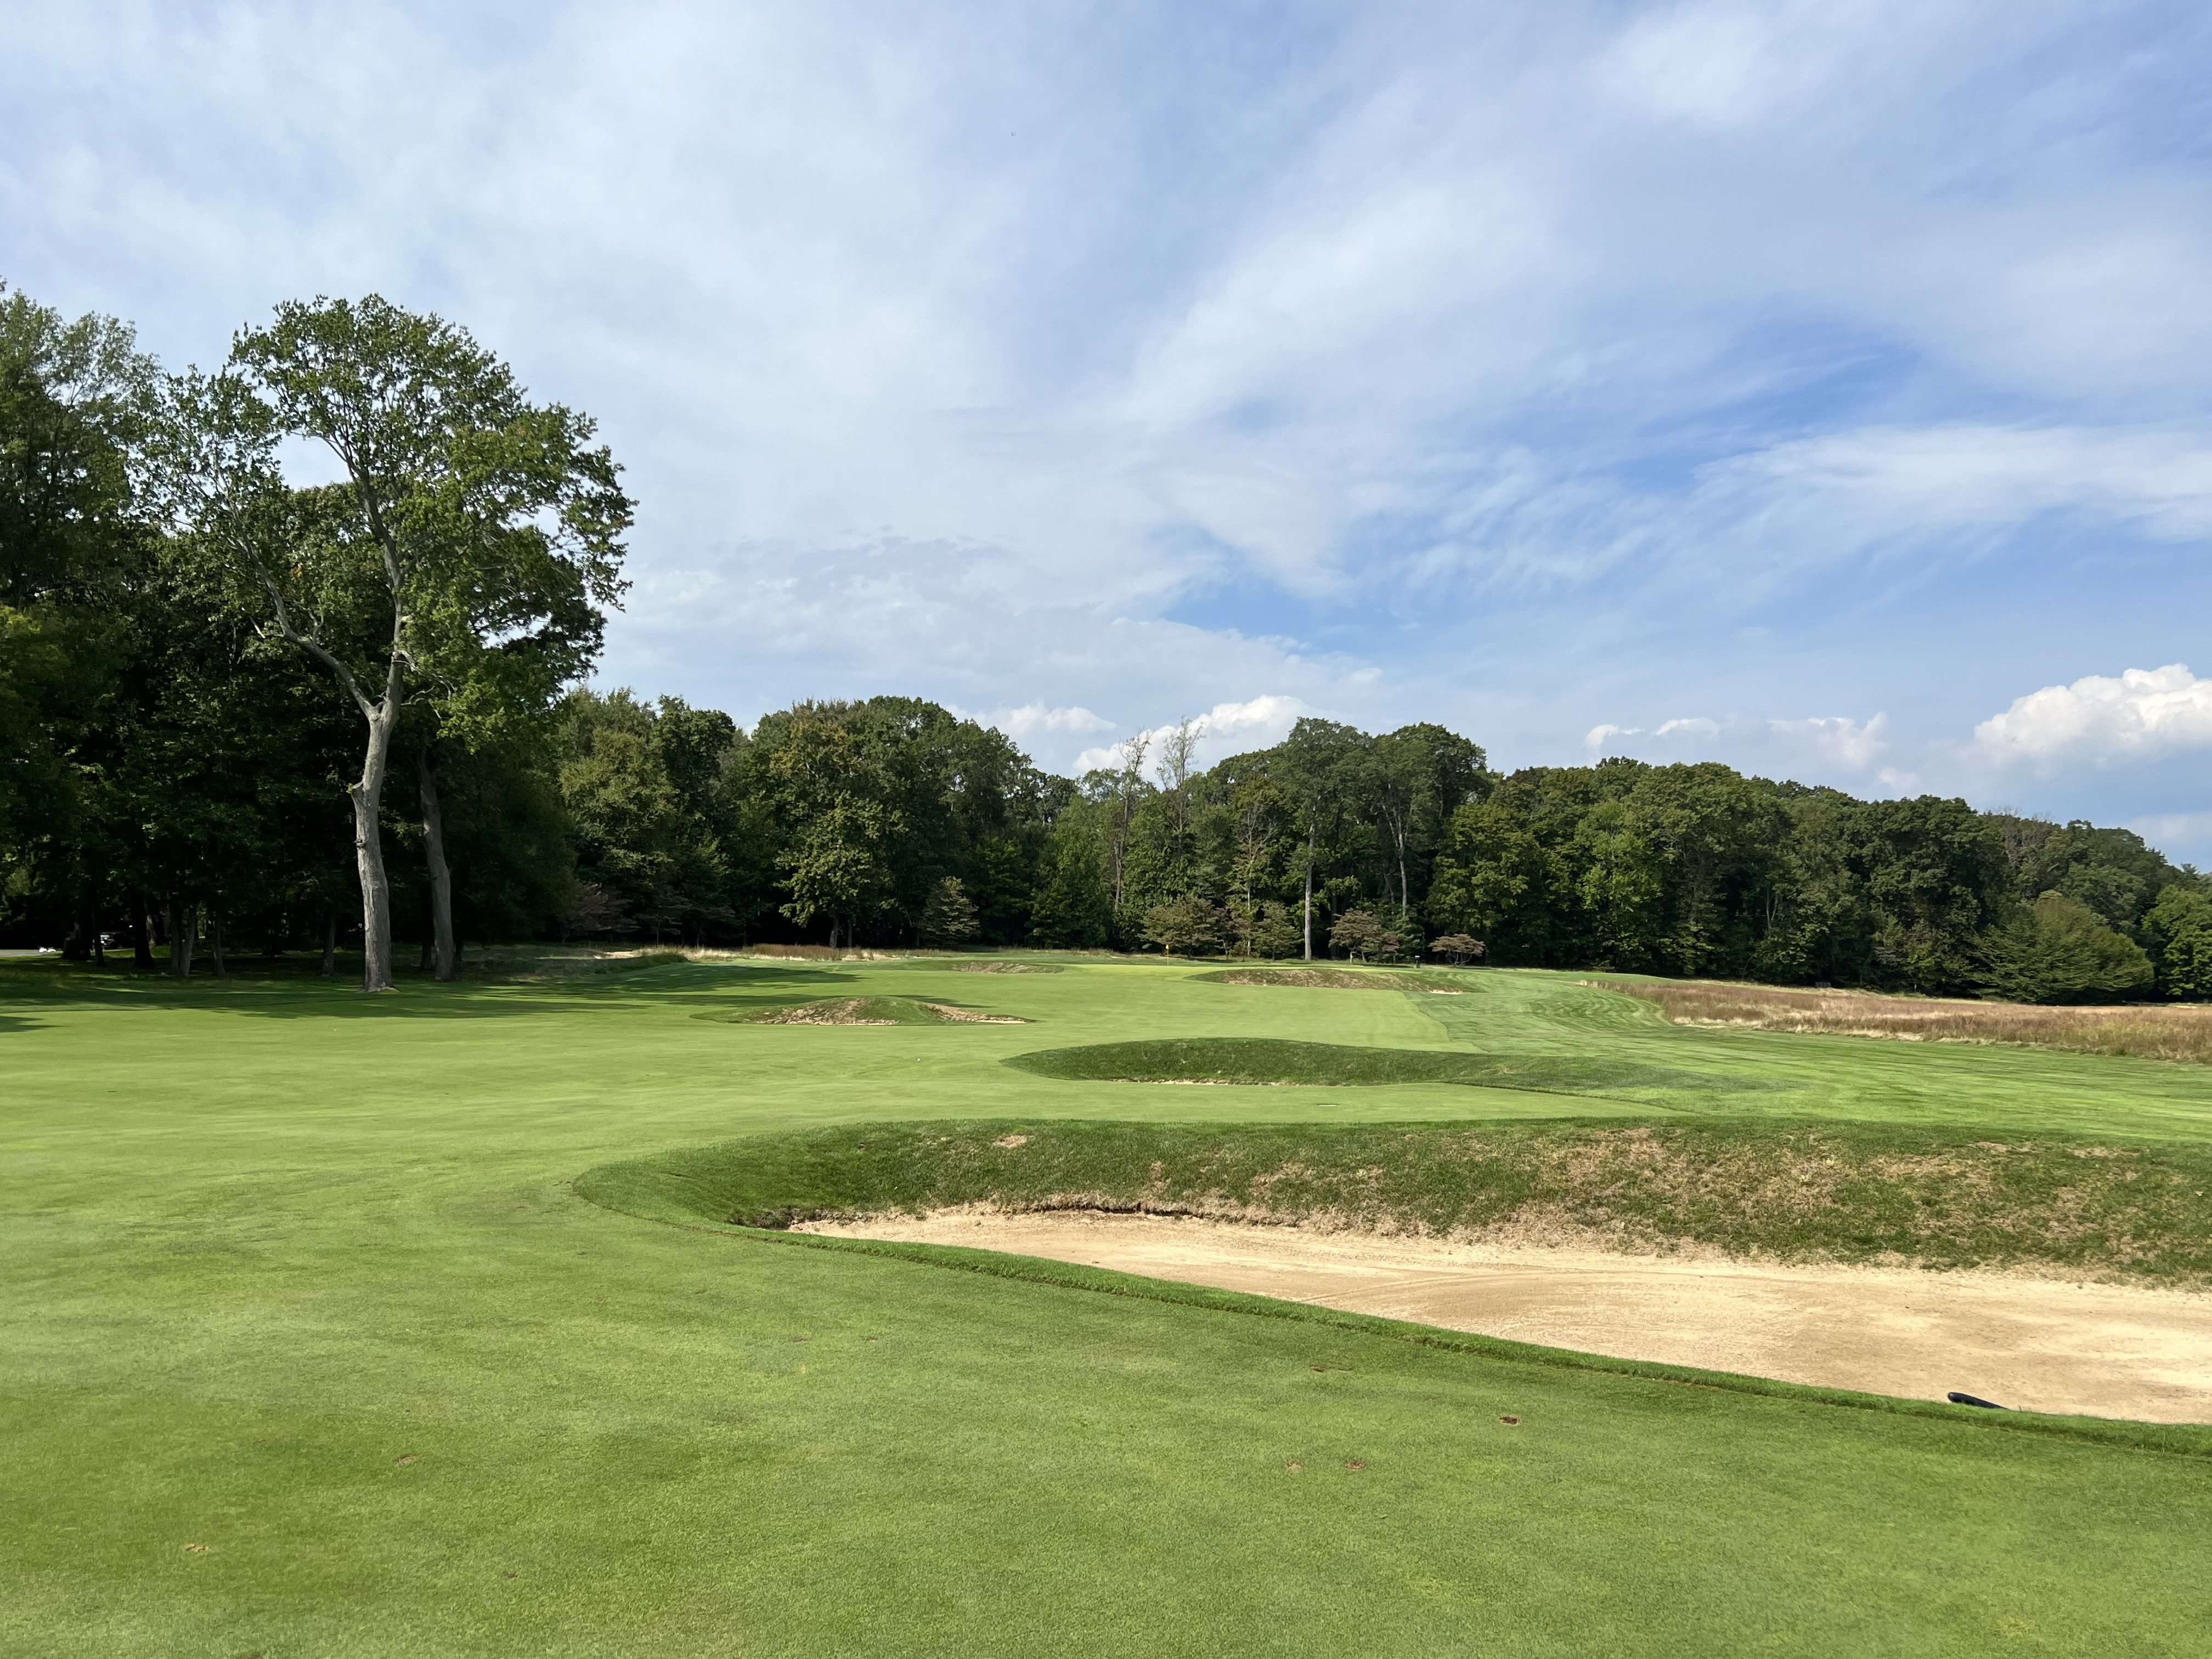
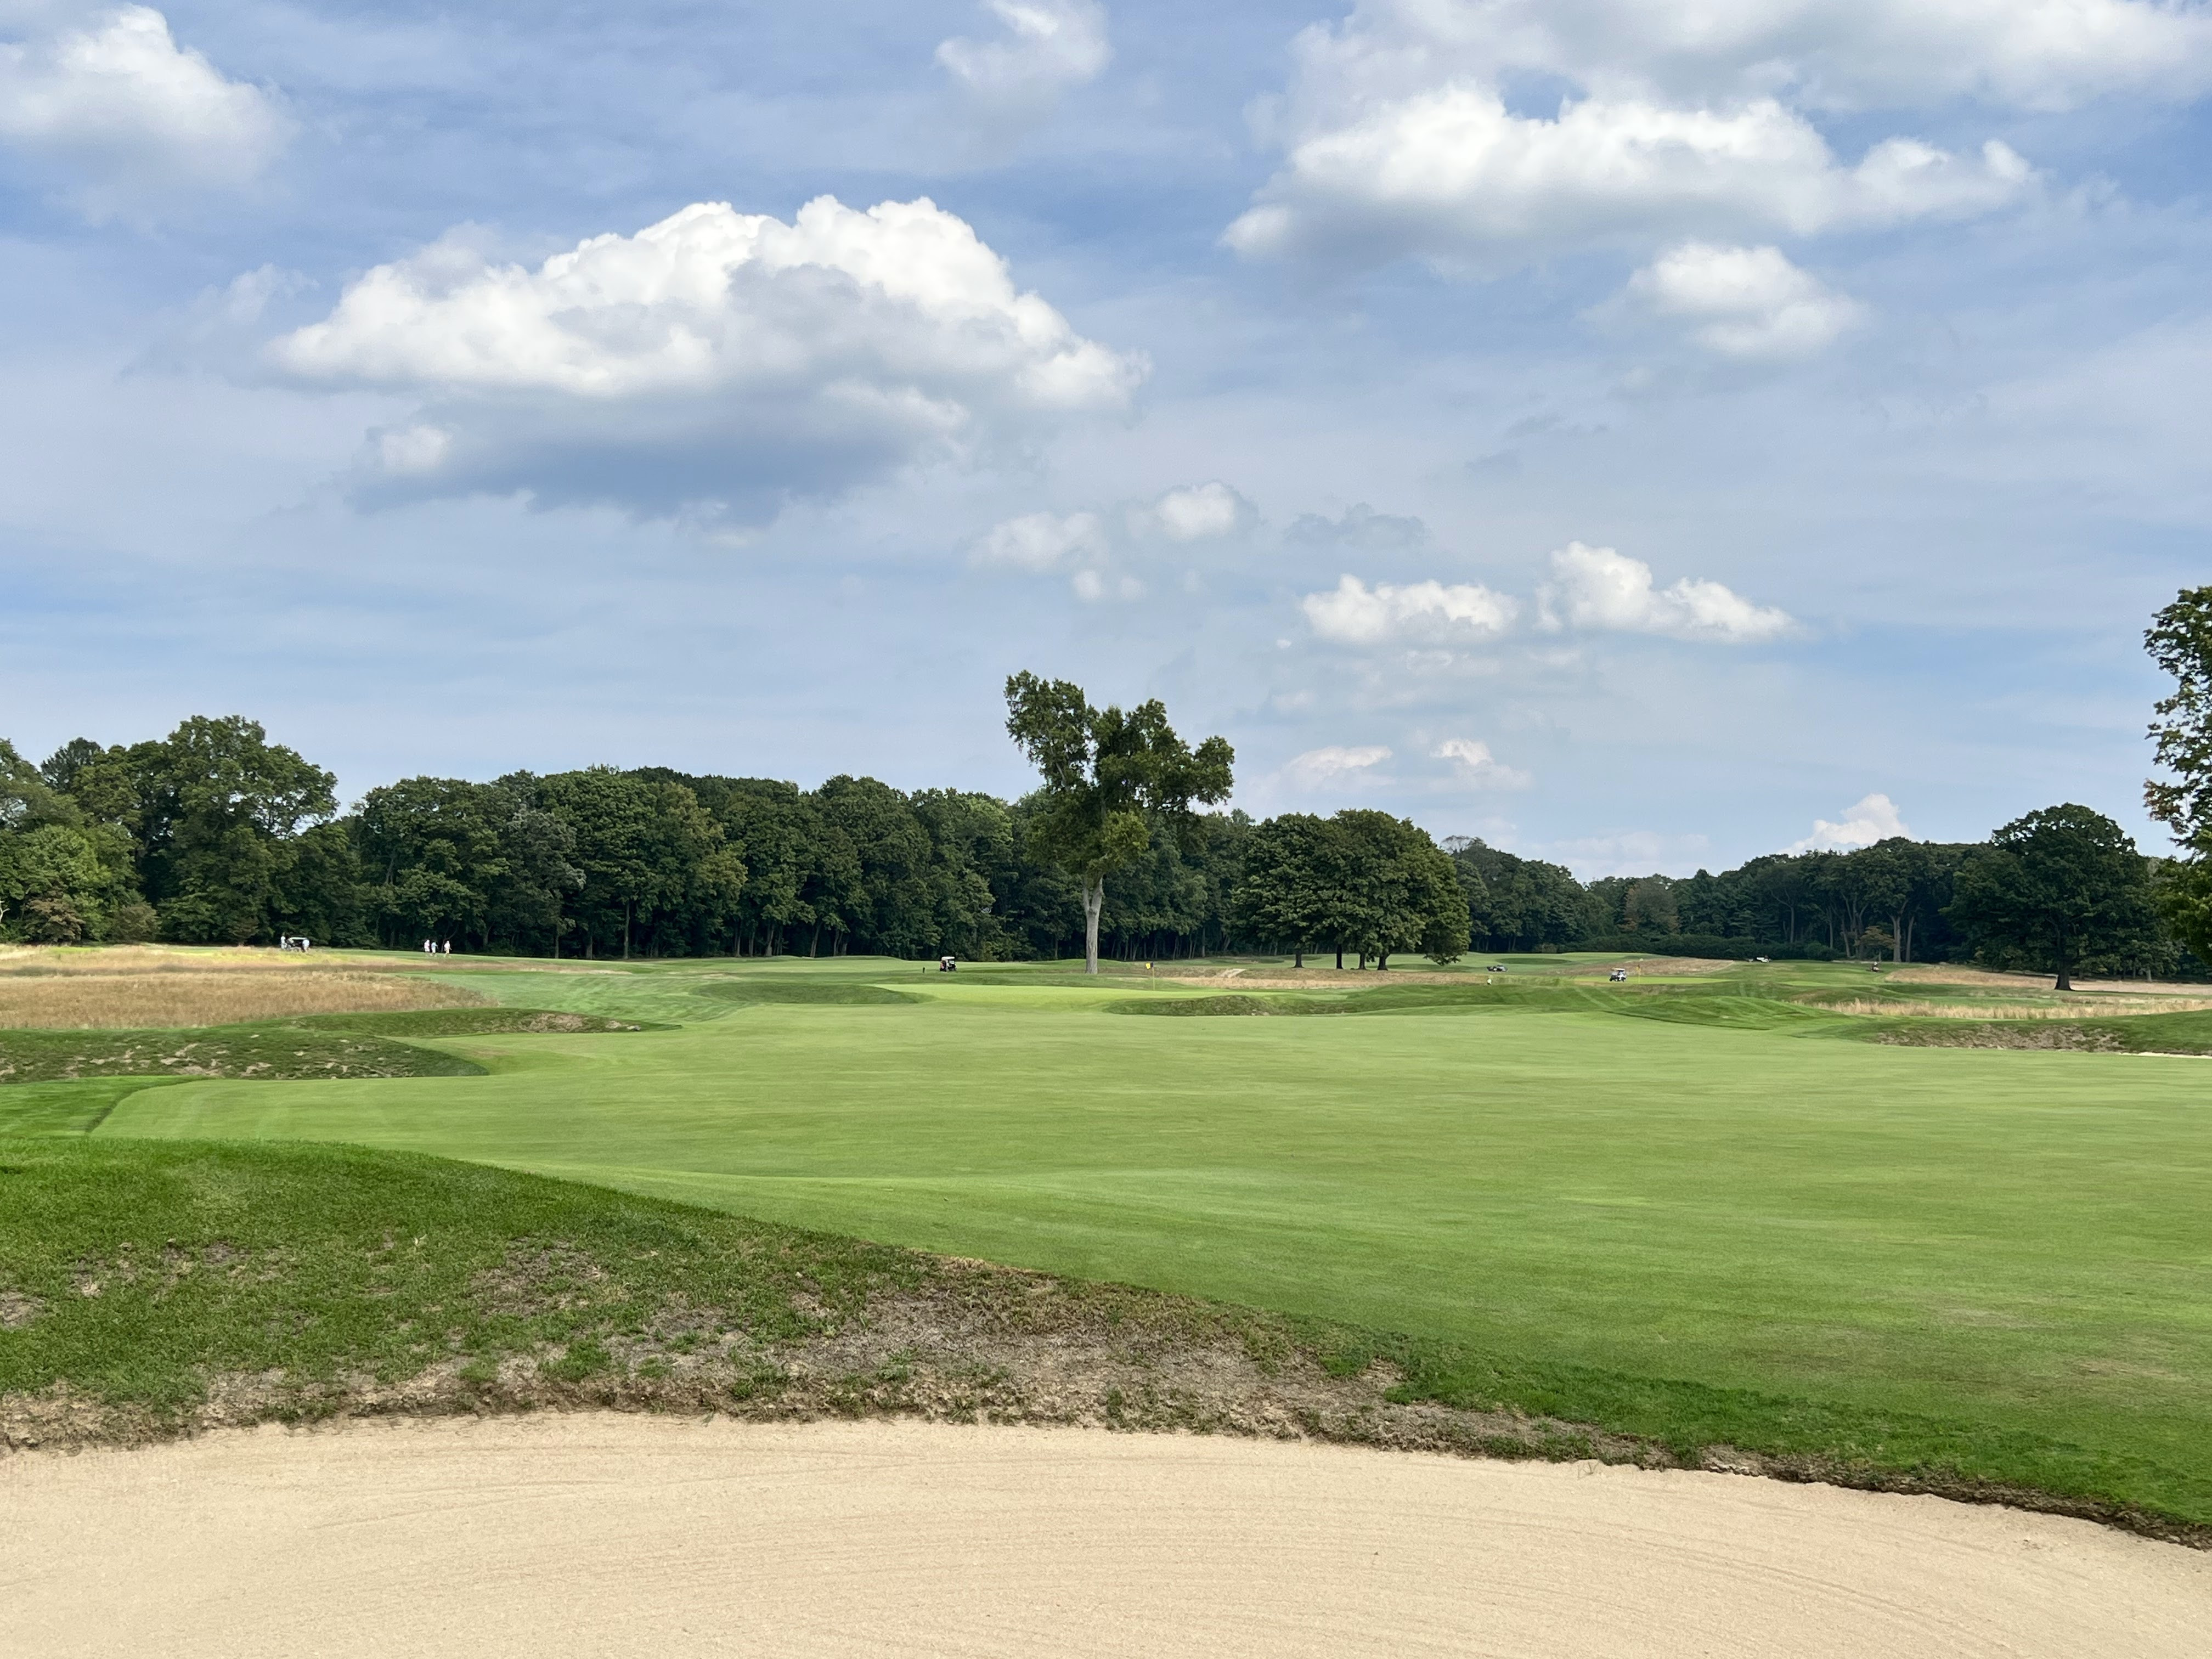
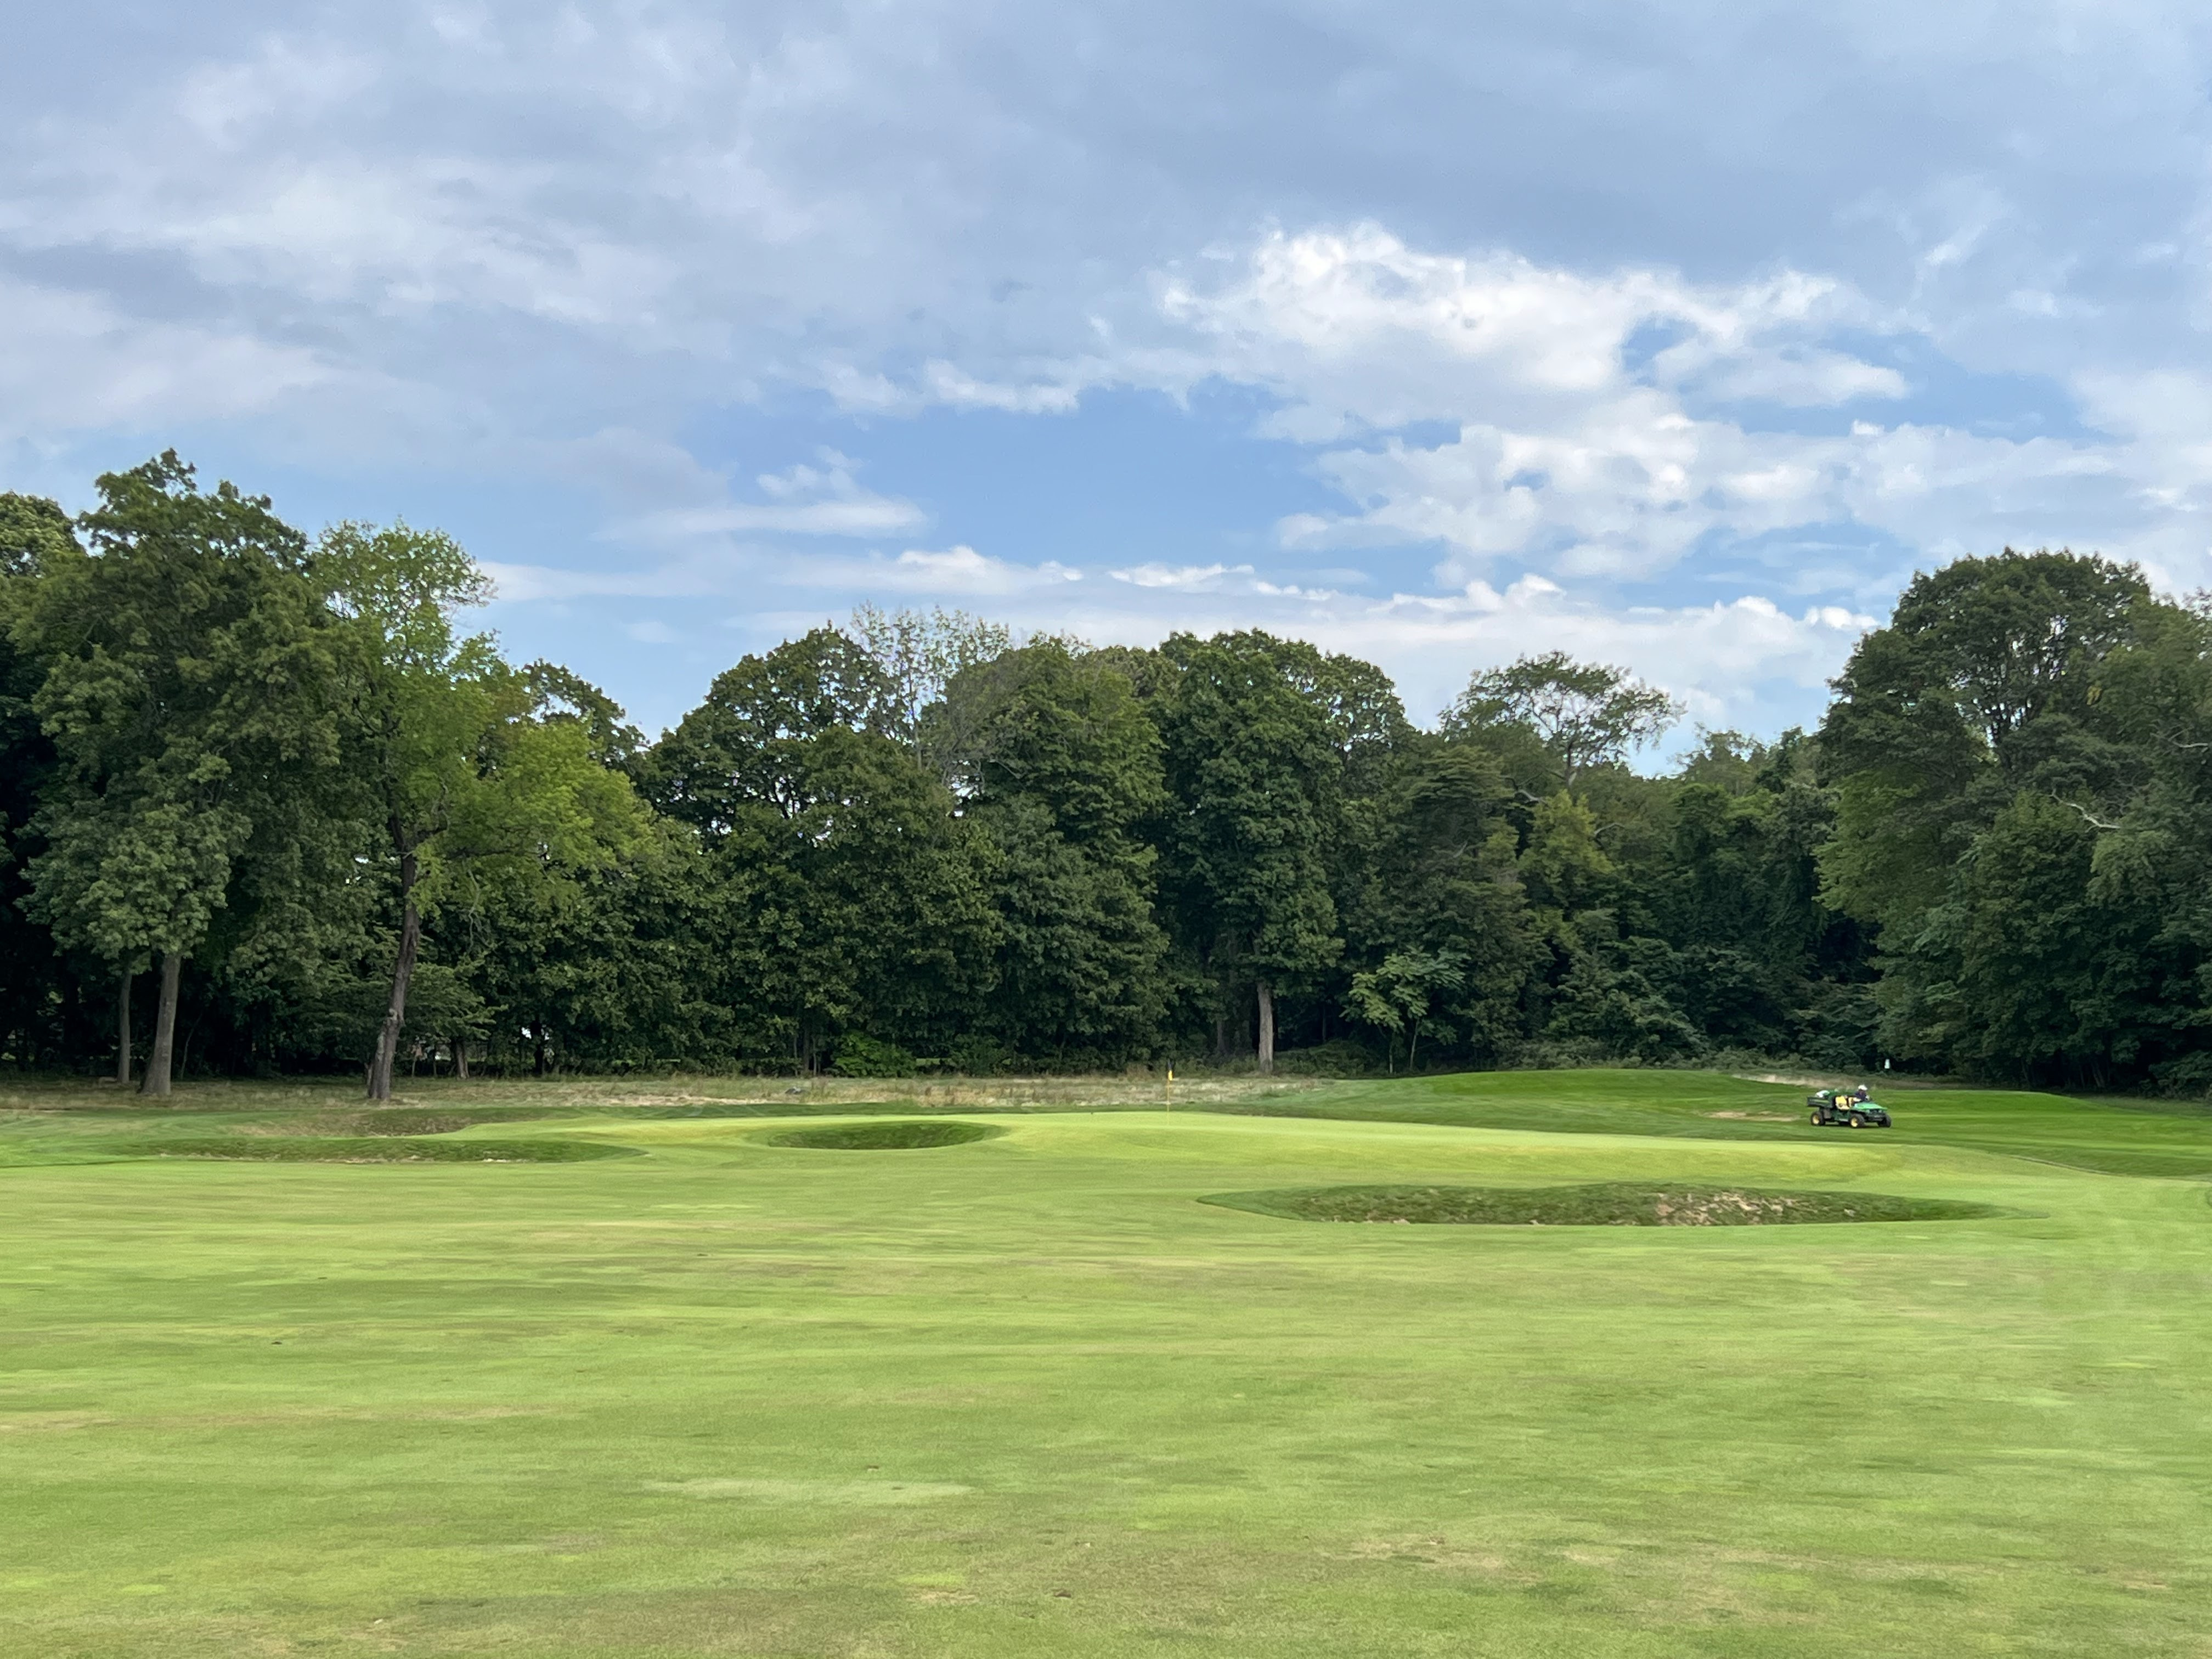
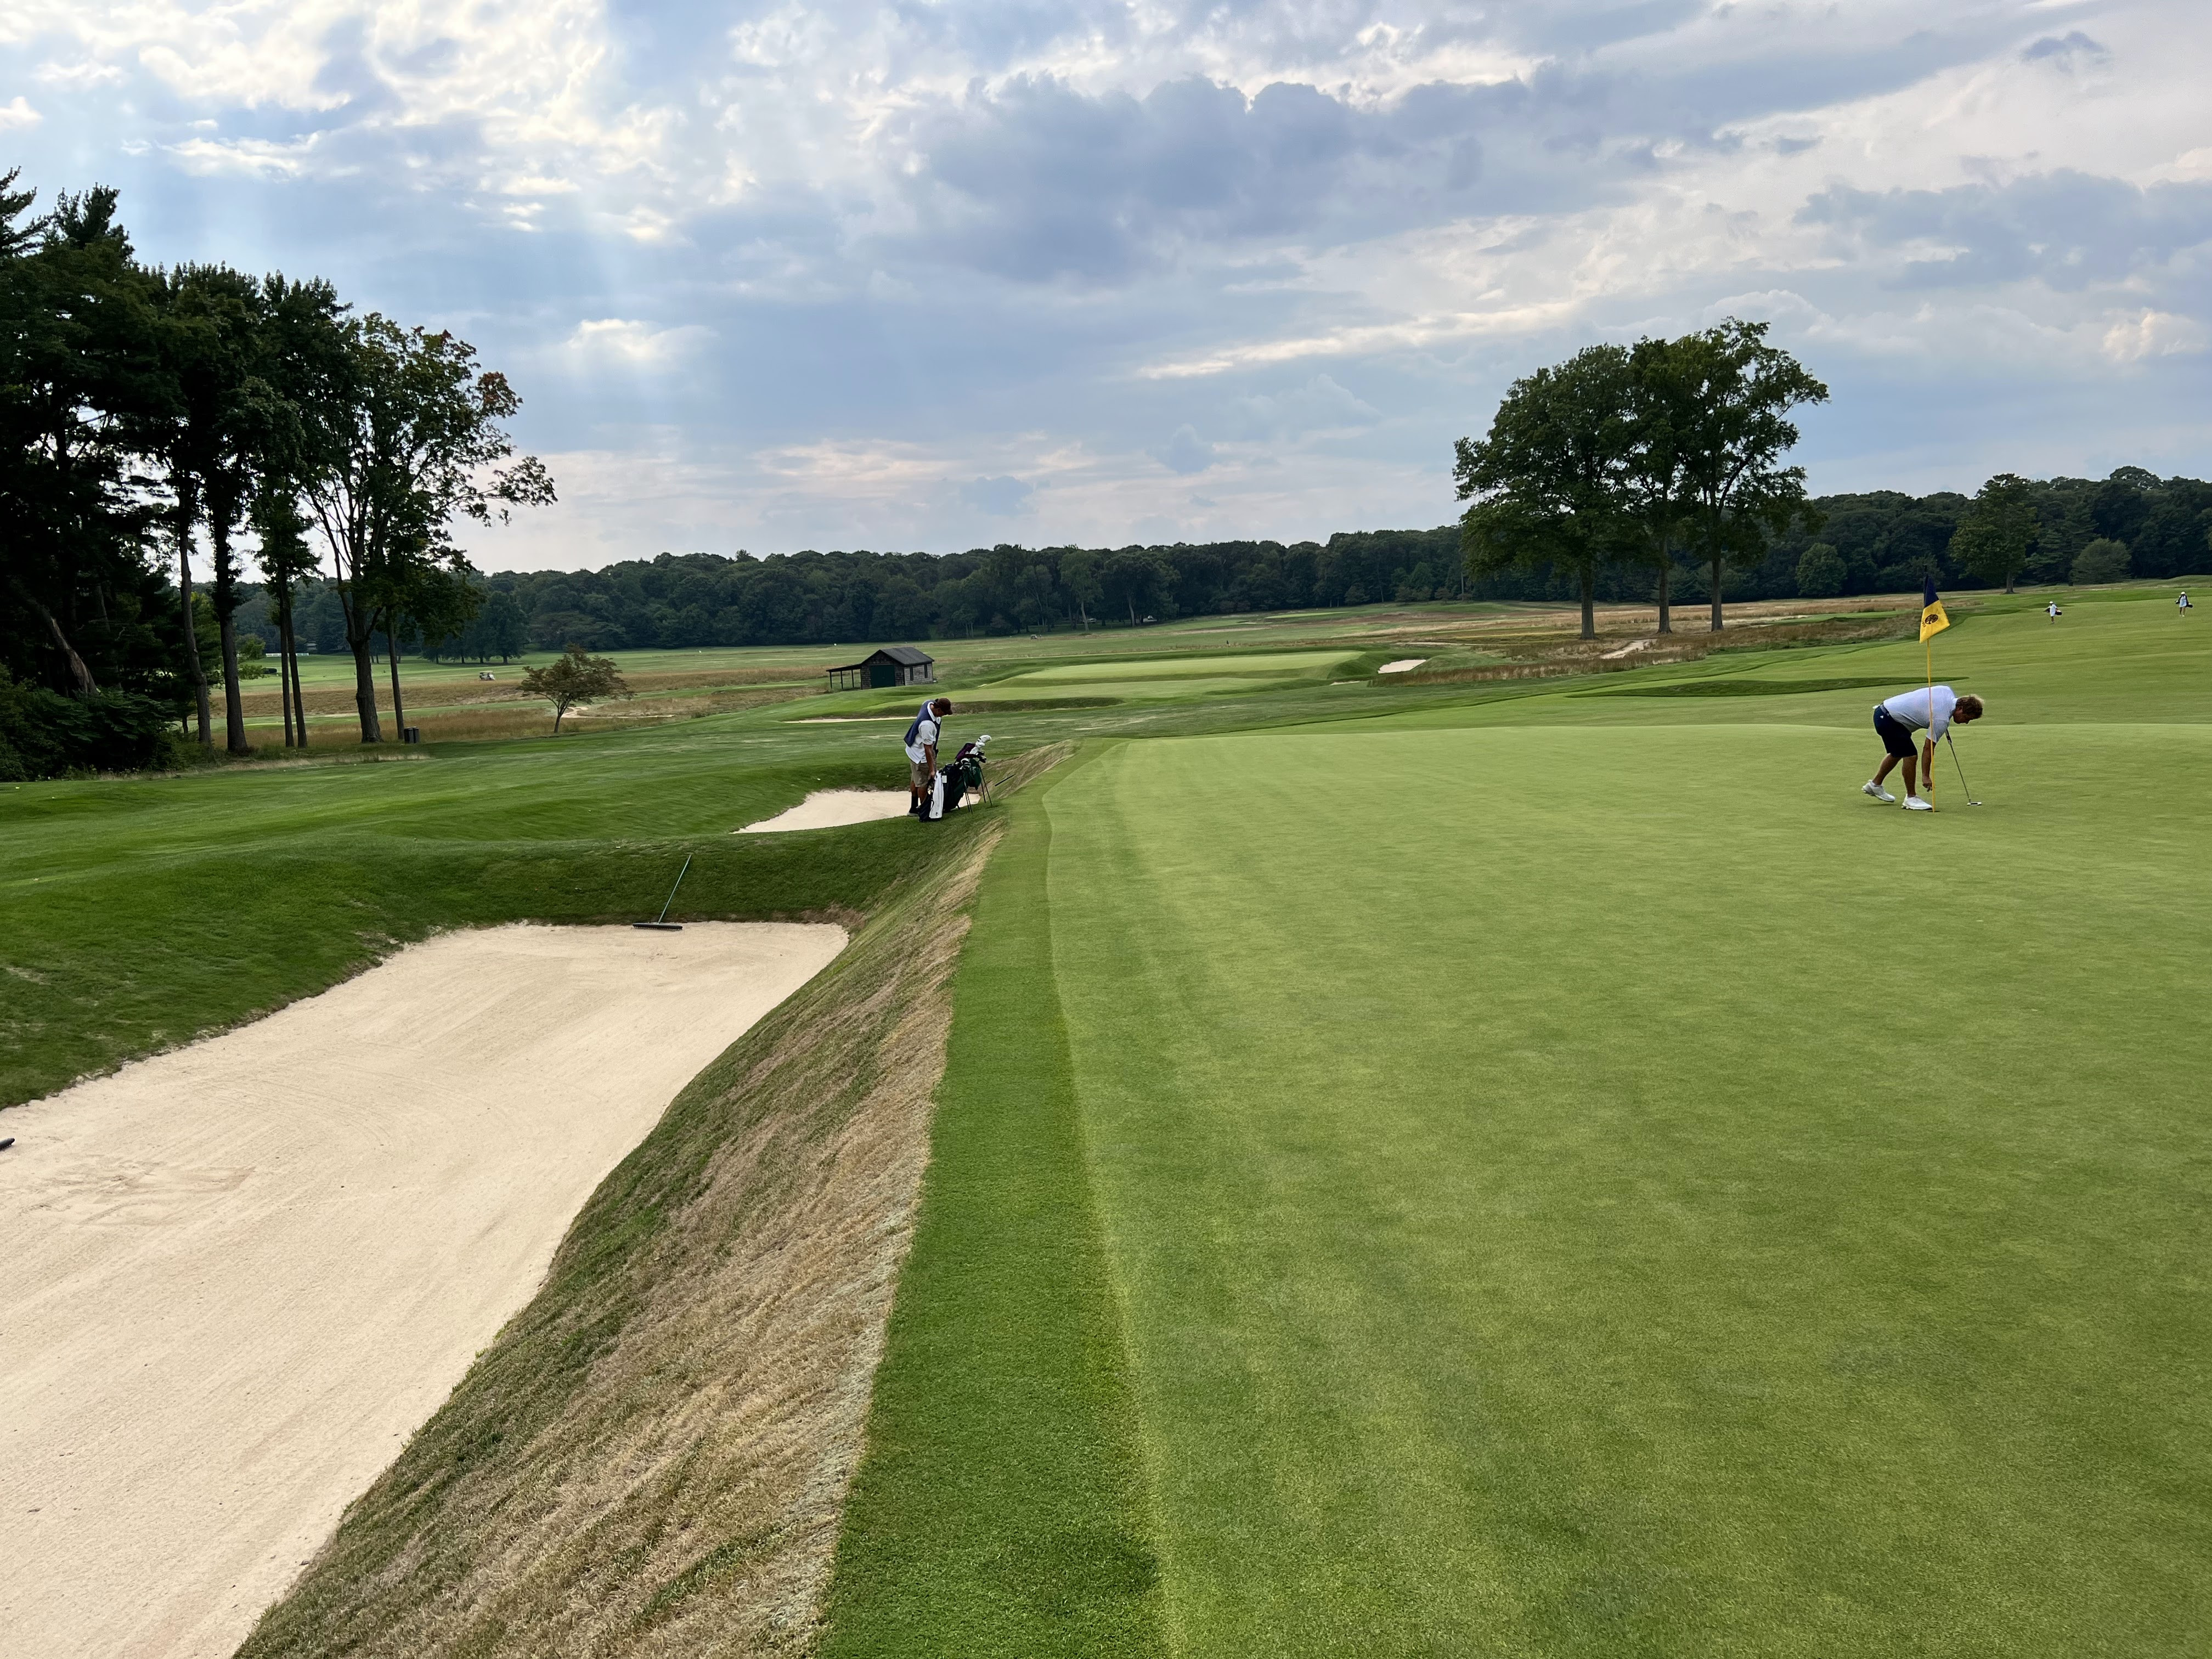
#8: Eighth Hole “Road” (Par 4, 426 yards)
“Road,” a 426-yard par 4, again switches back at an angle, with the fairway barely visible uphill from the tee. The bunker placement is again exceptional, particularly the off-center right fairway bunker. The green is a standout feature, shaped around bunkers and sloping dramatically from left to right. A pot bunker guards the front left center, while bunkers line the left and right rear sides, defining the approach shot’s required trajectory and landing area. Recoveries and putting are challenging from virtually any position on this green, making it a truly brilliant hole and, along with the sixth green nearby, one of the most memorable corners in golf.
 The Eighth
 The Eighth
 Approach shot territory
 Closer
 Looking back, the Ninth in the distance
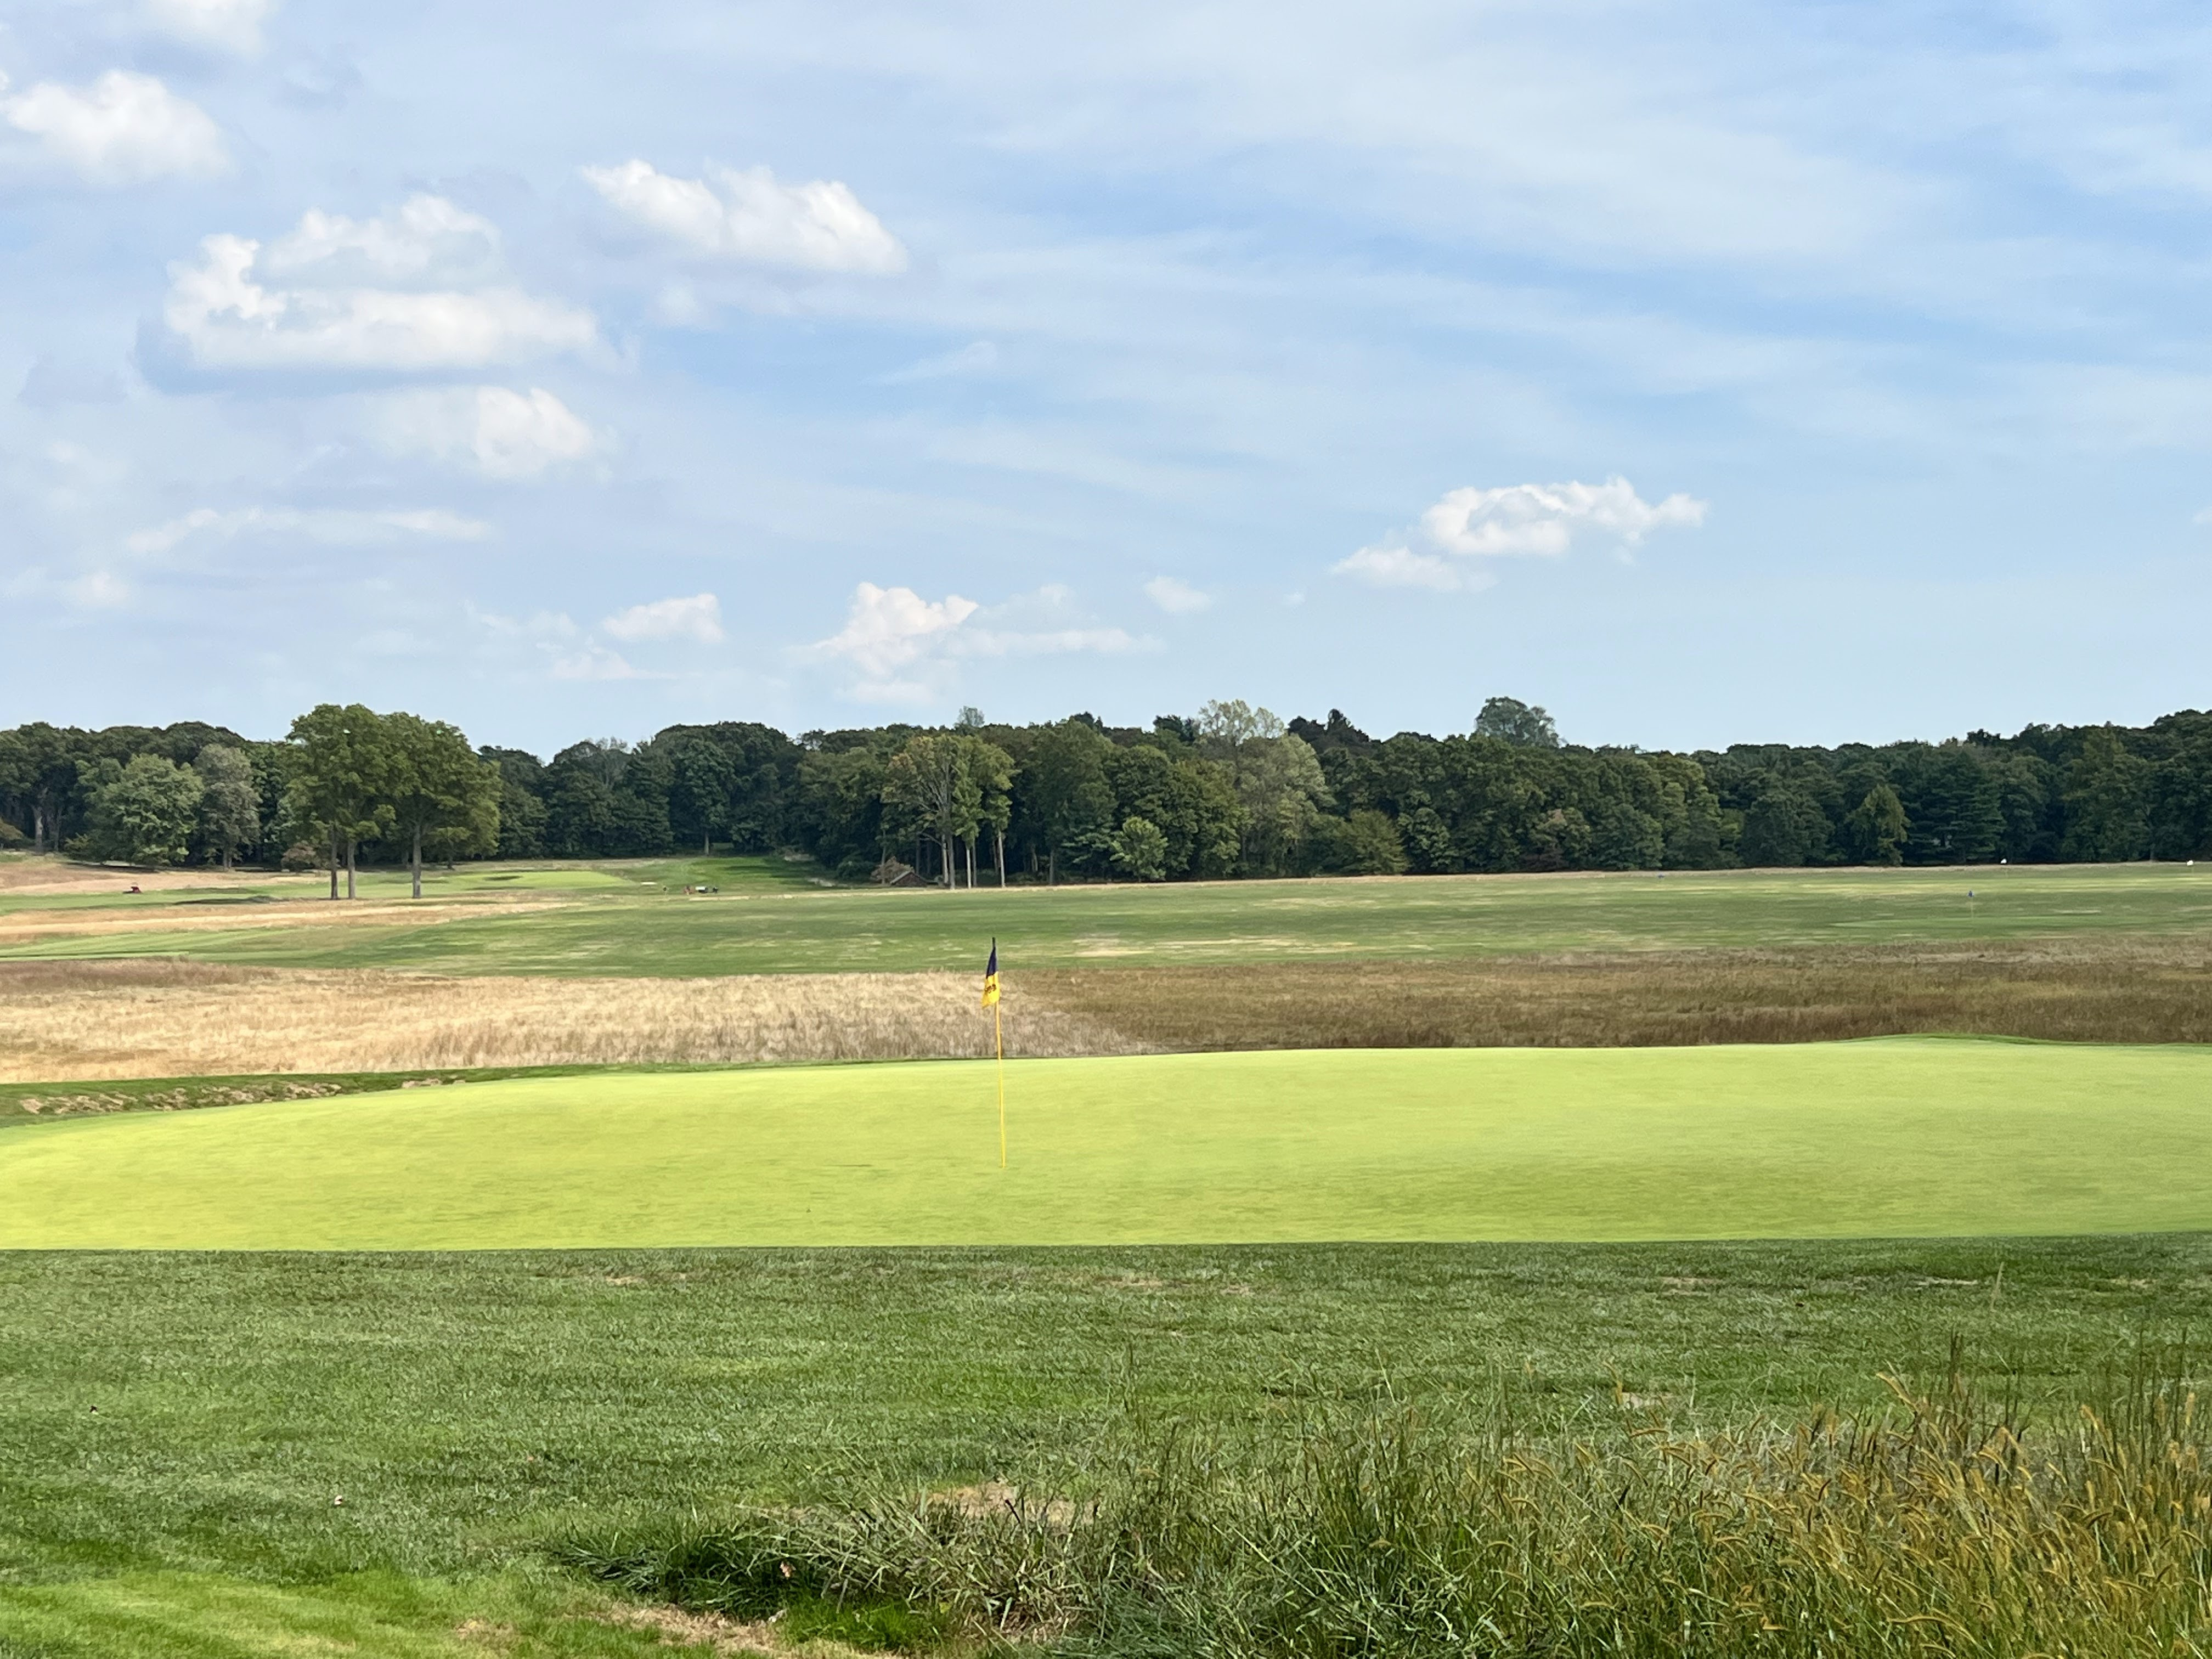
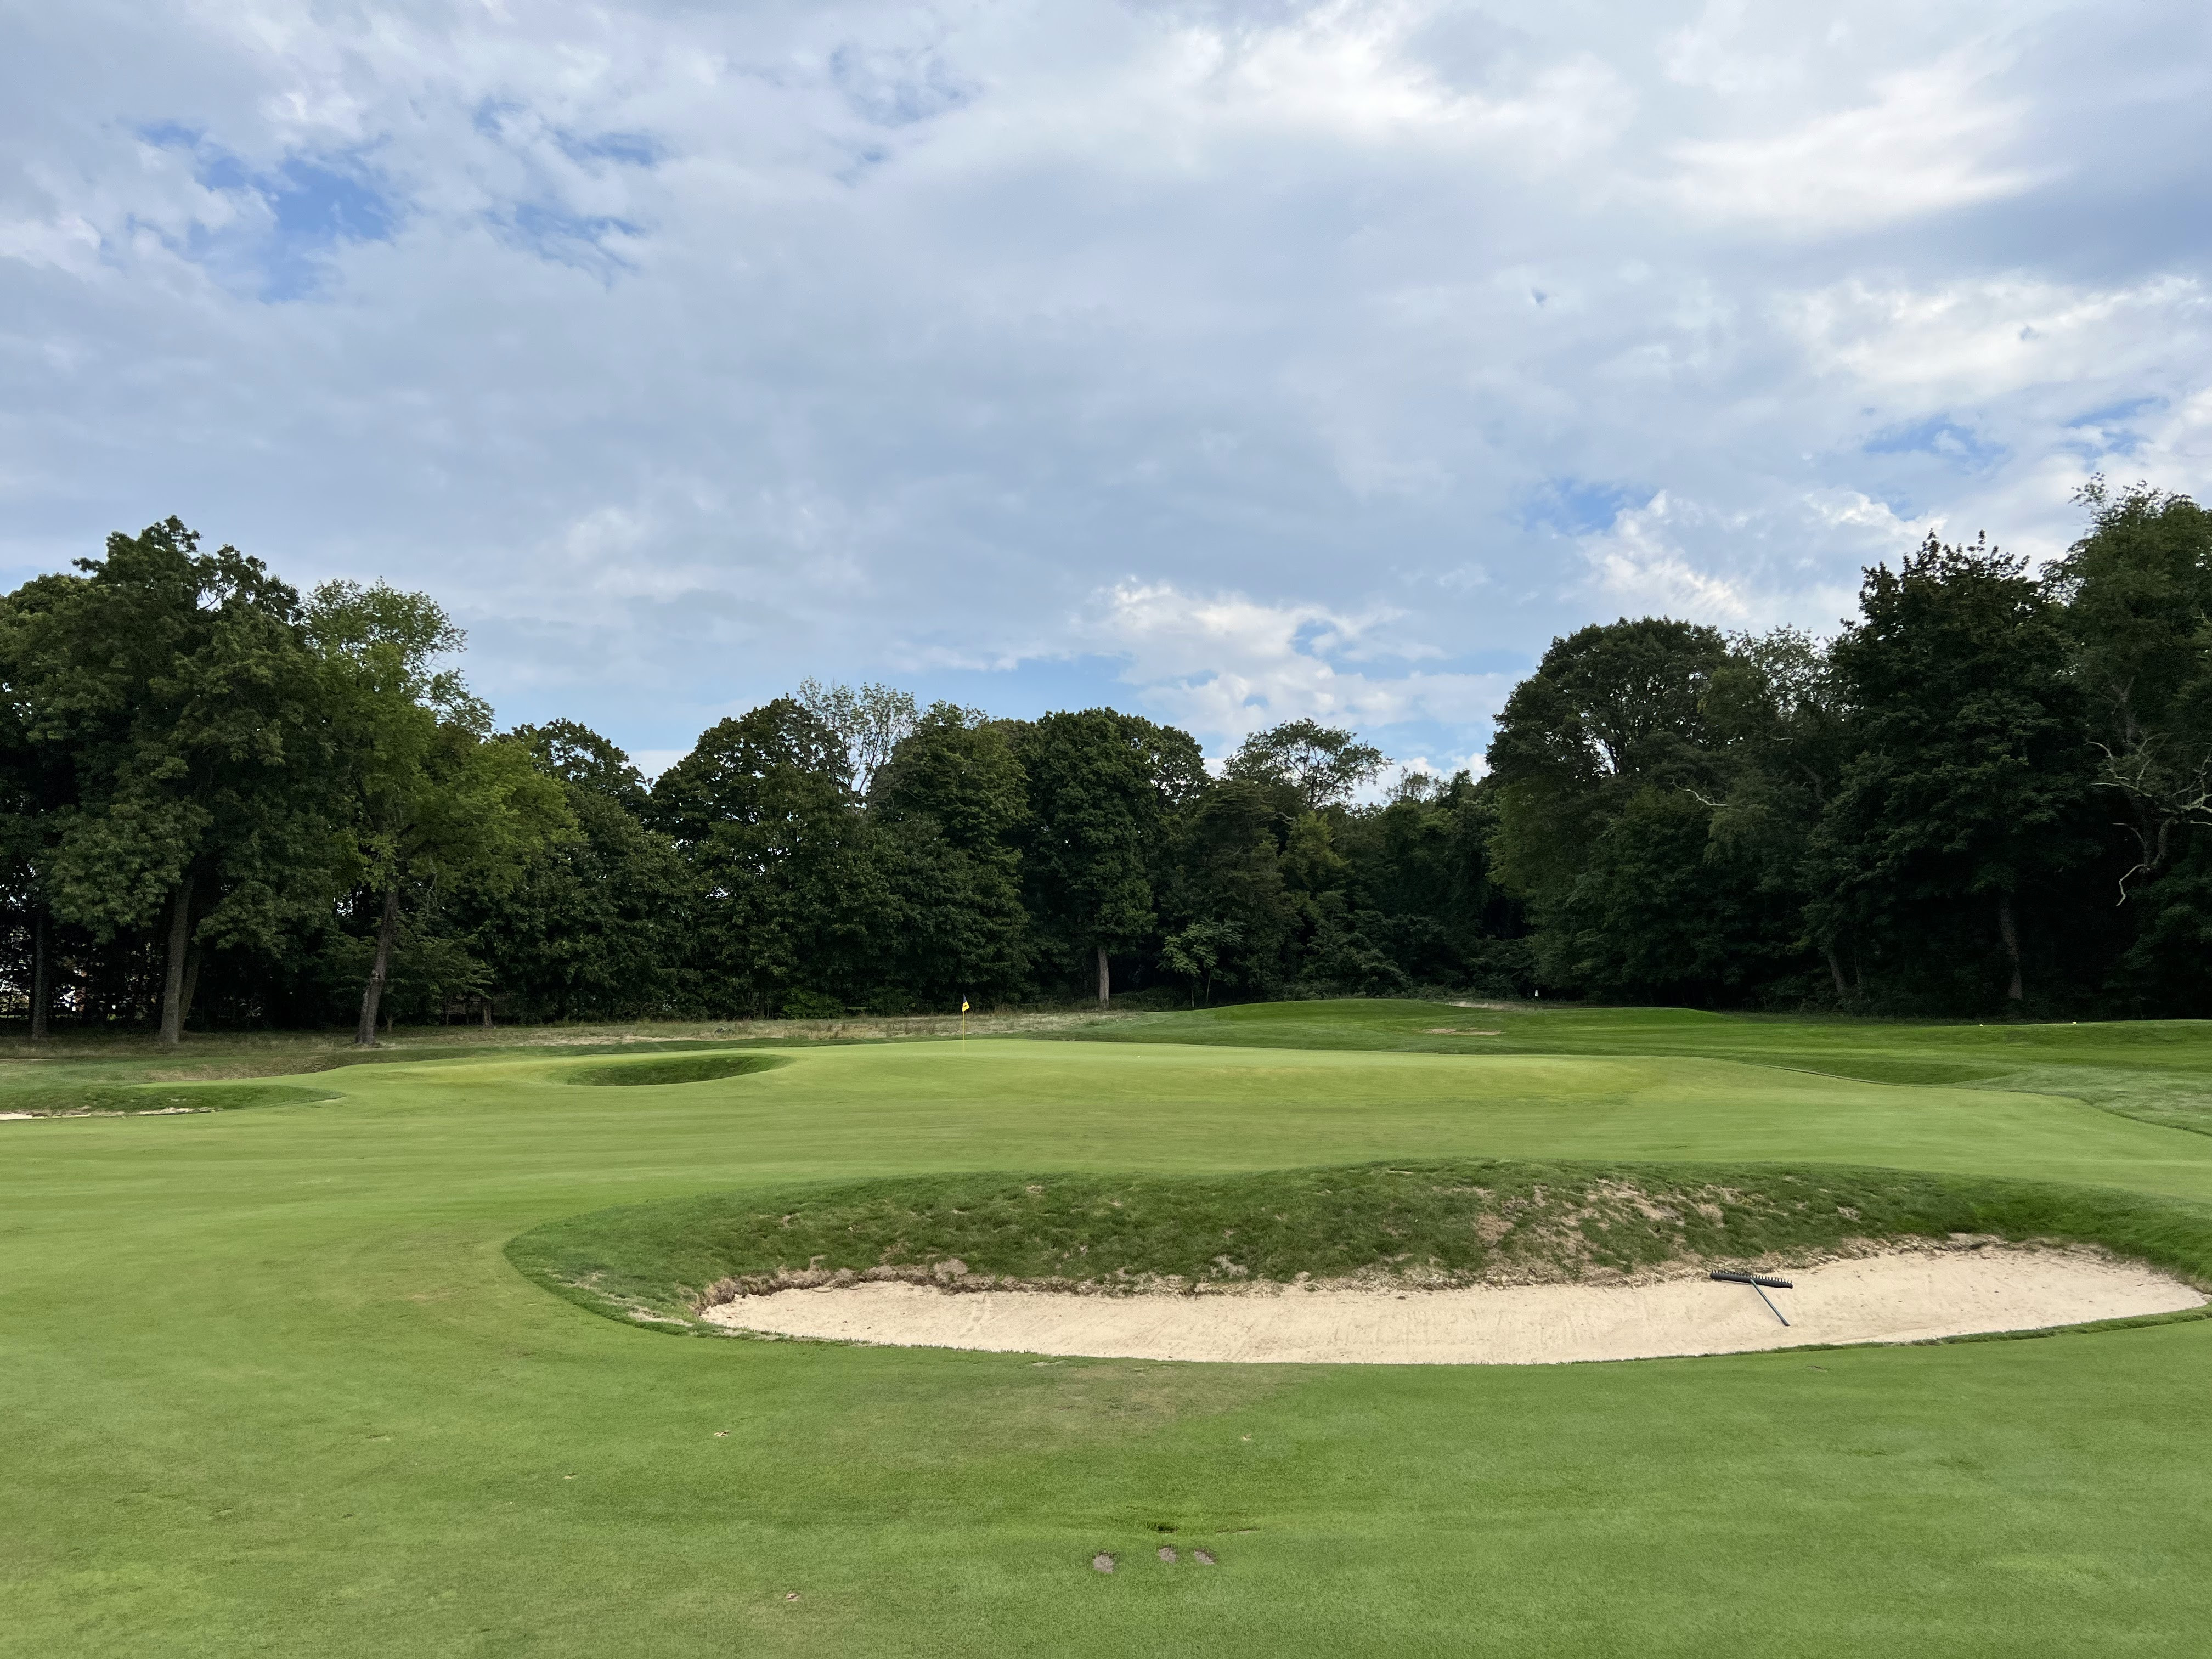
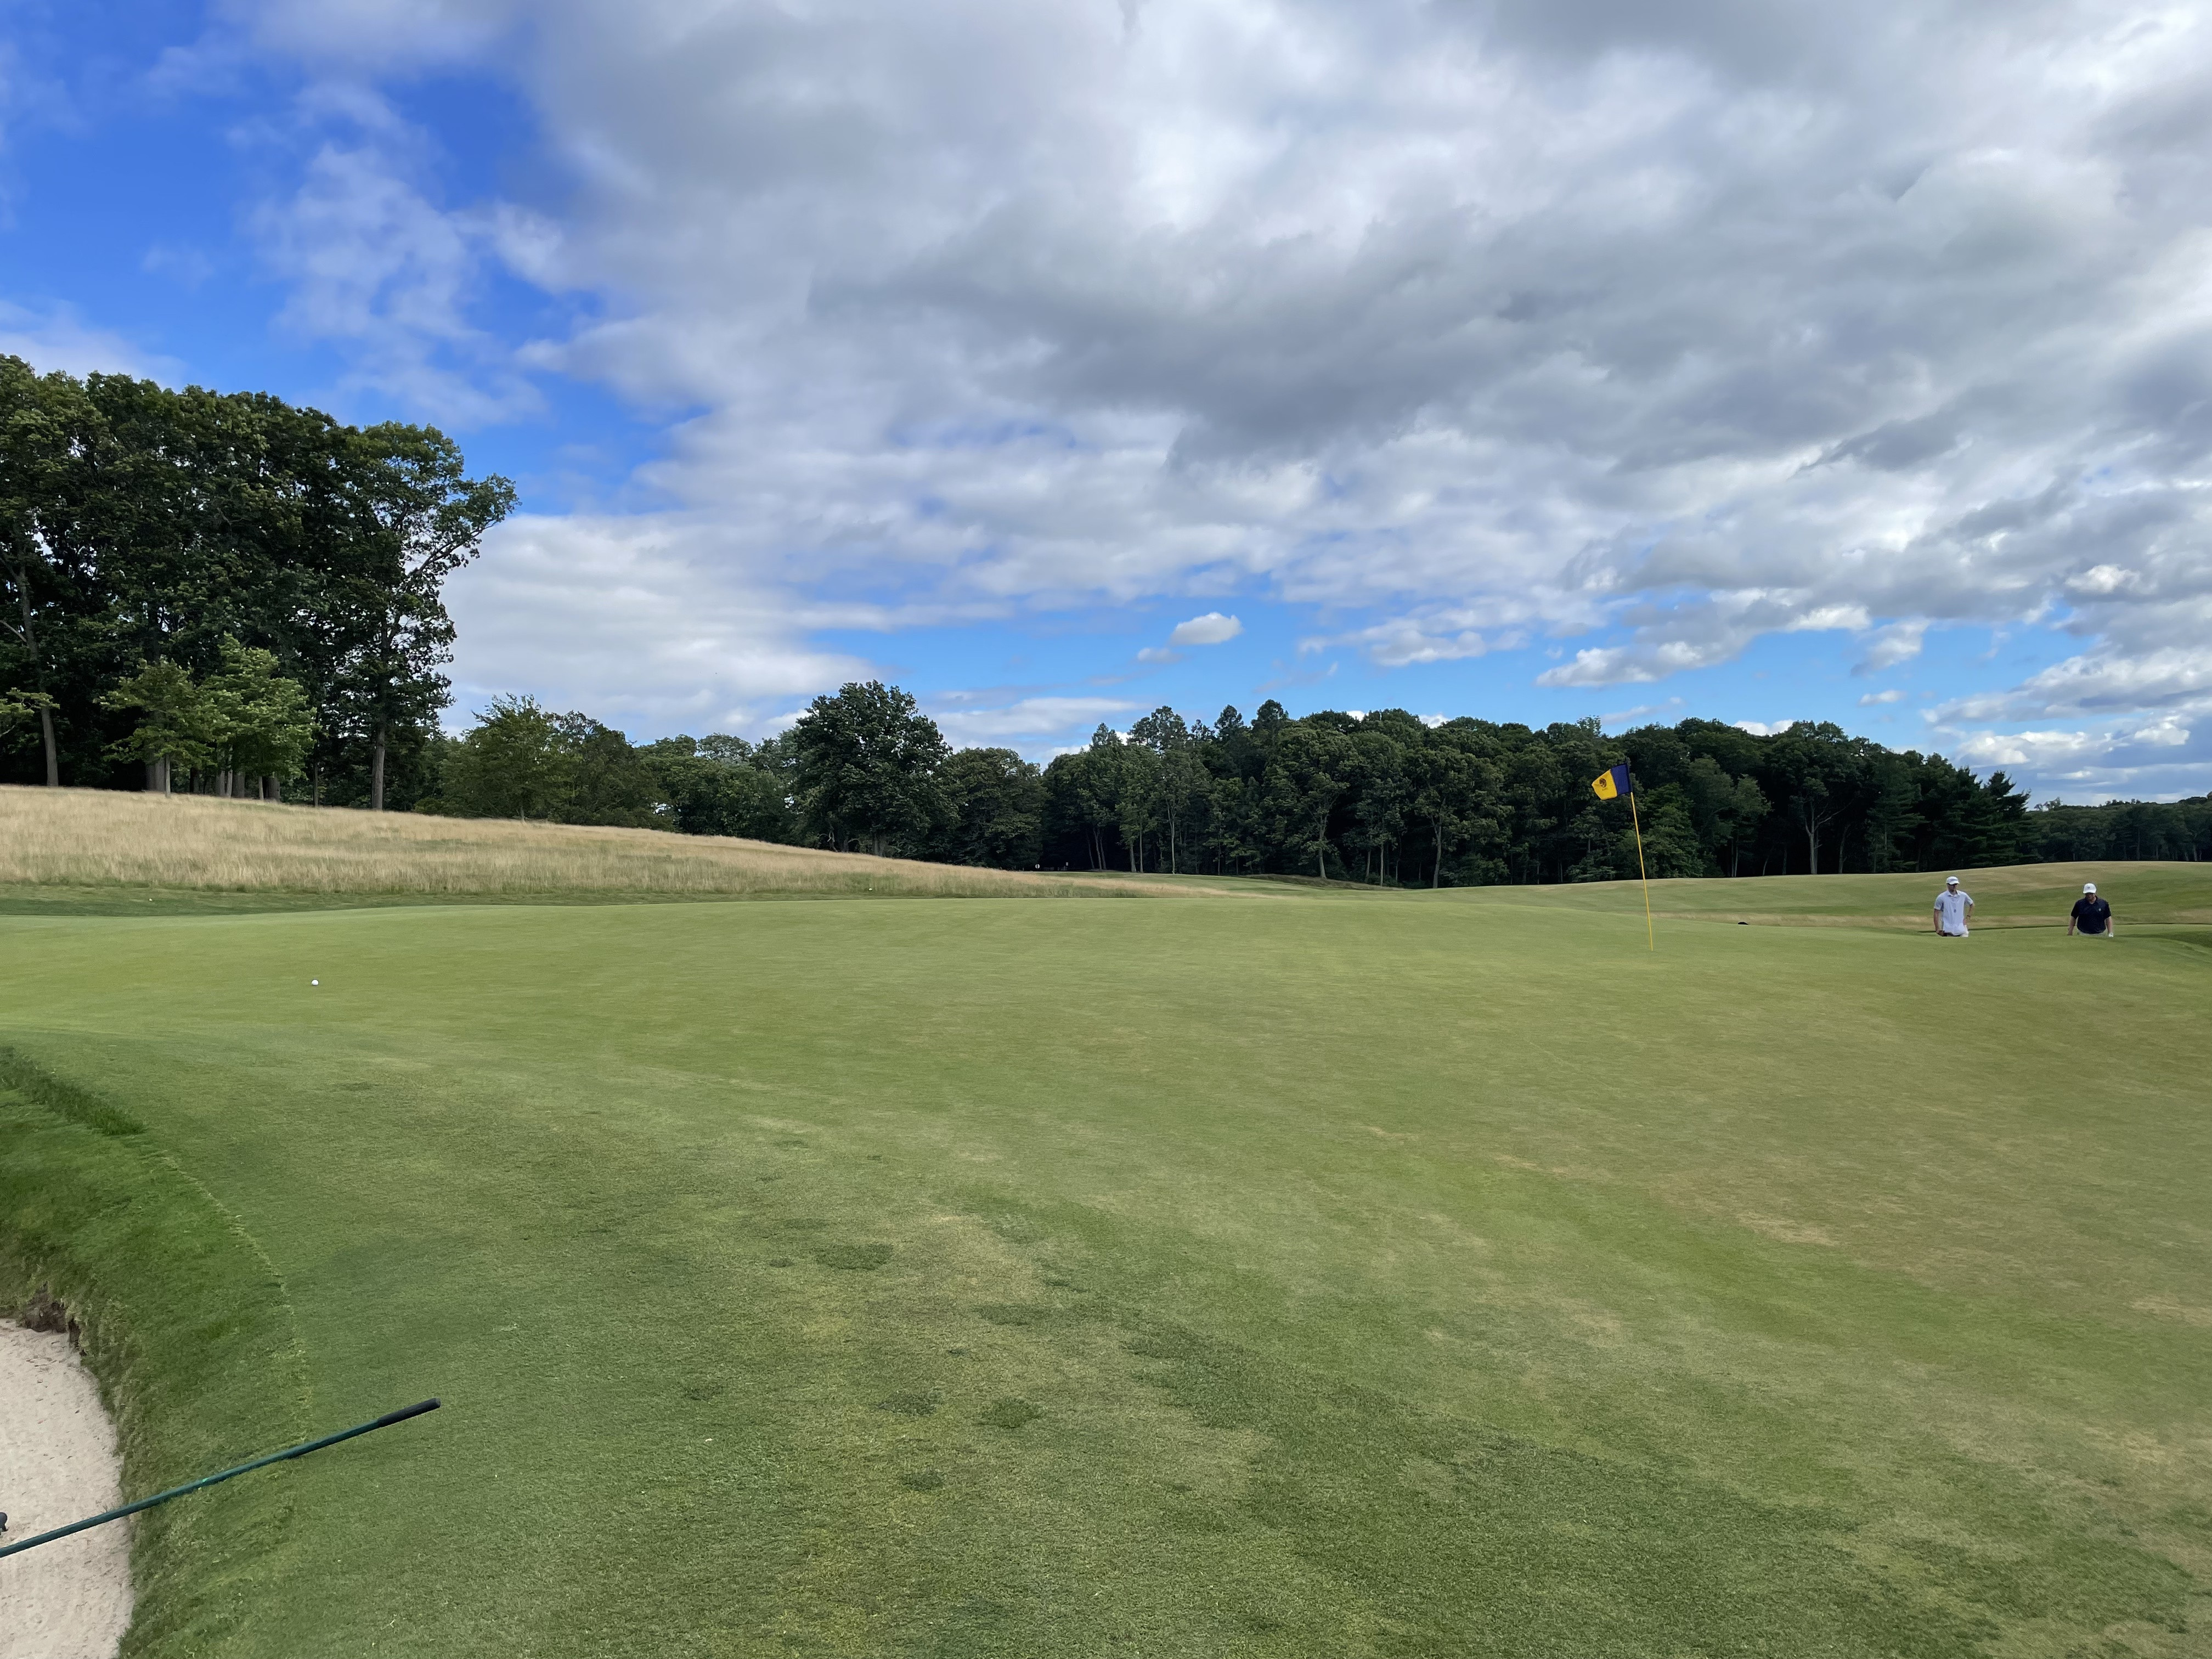
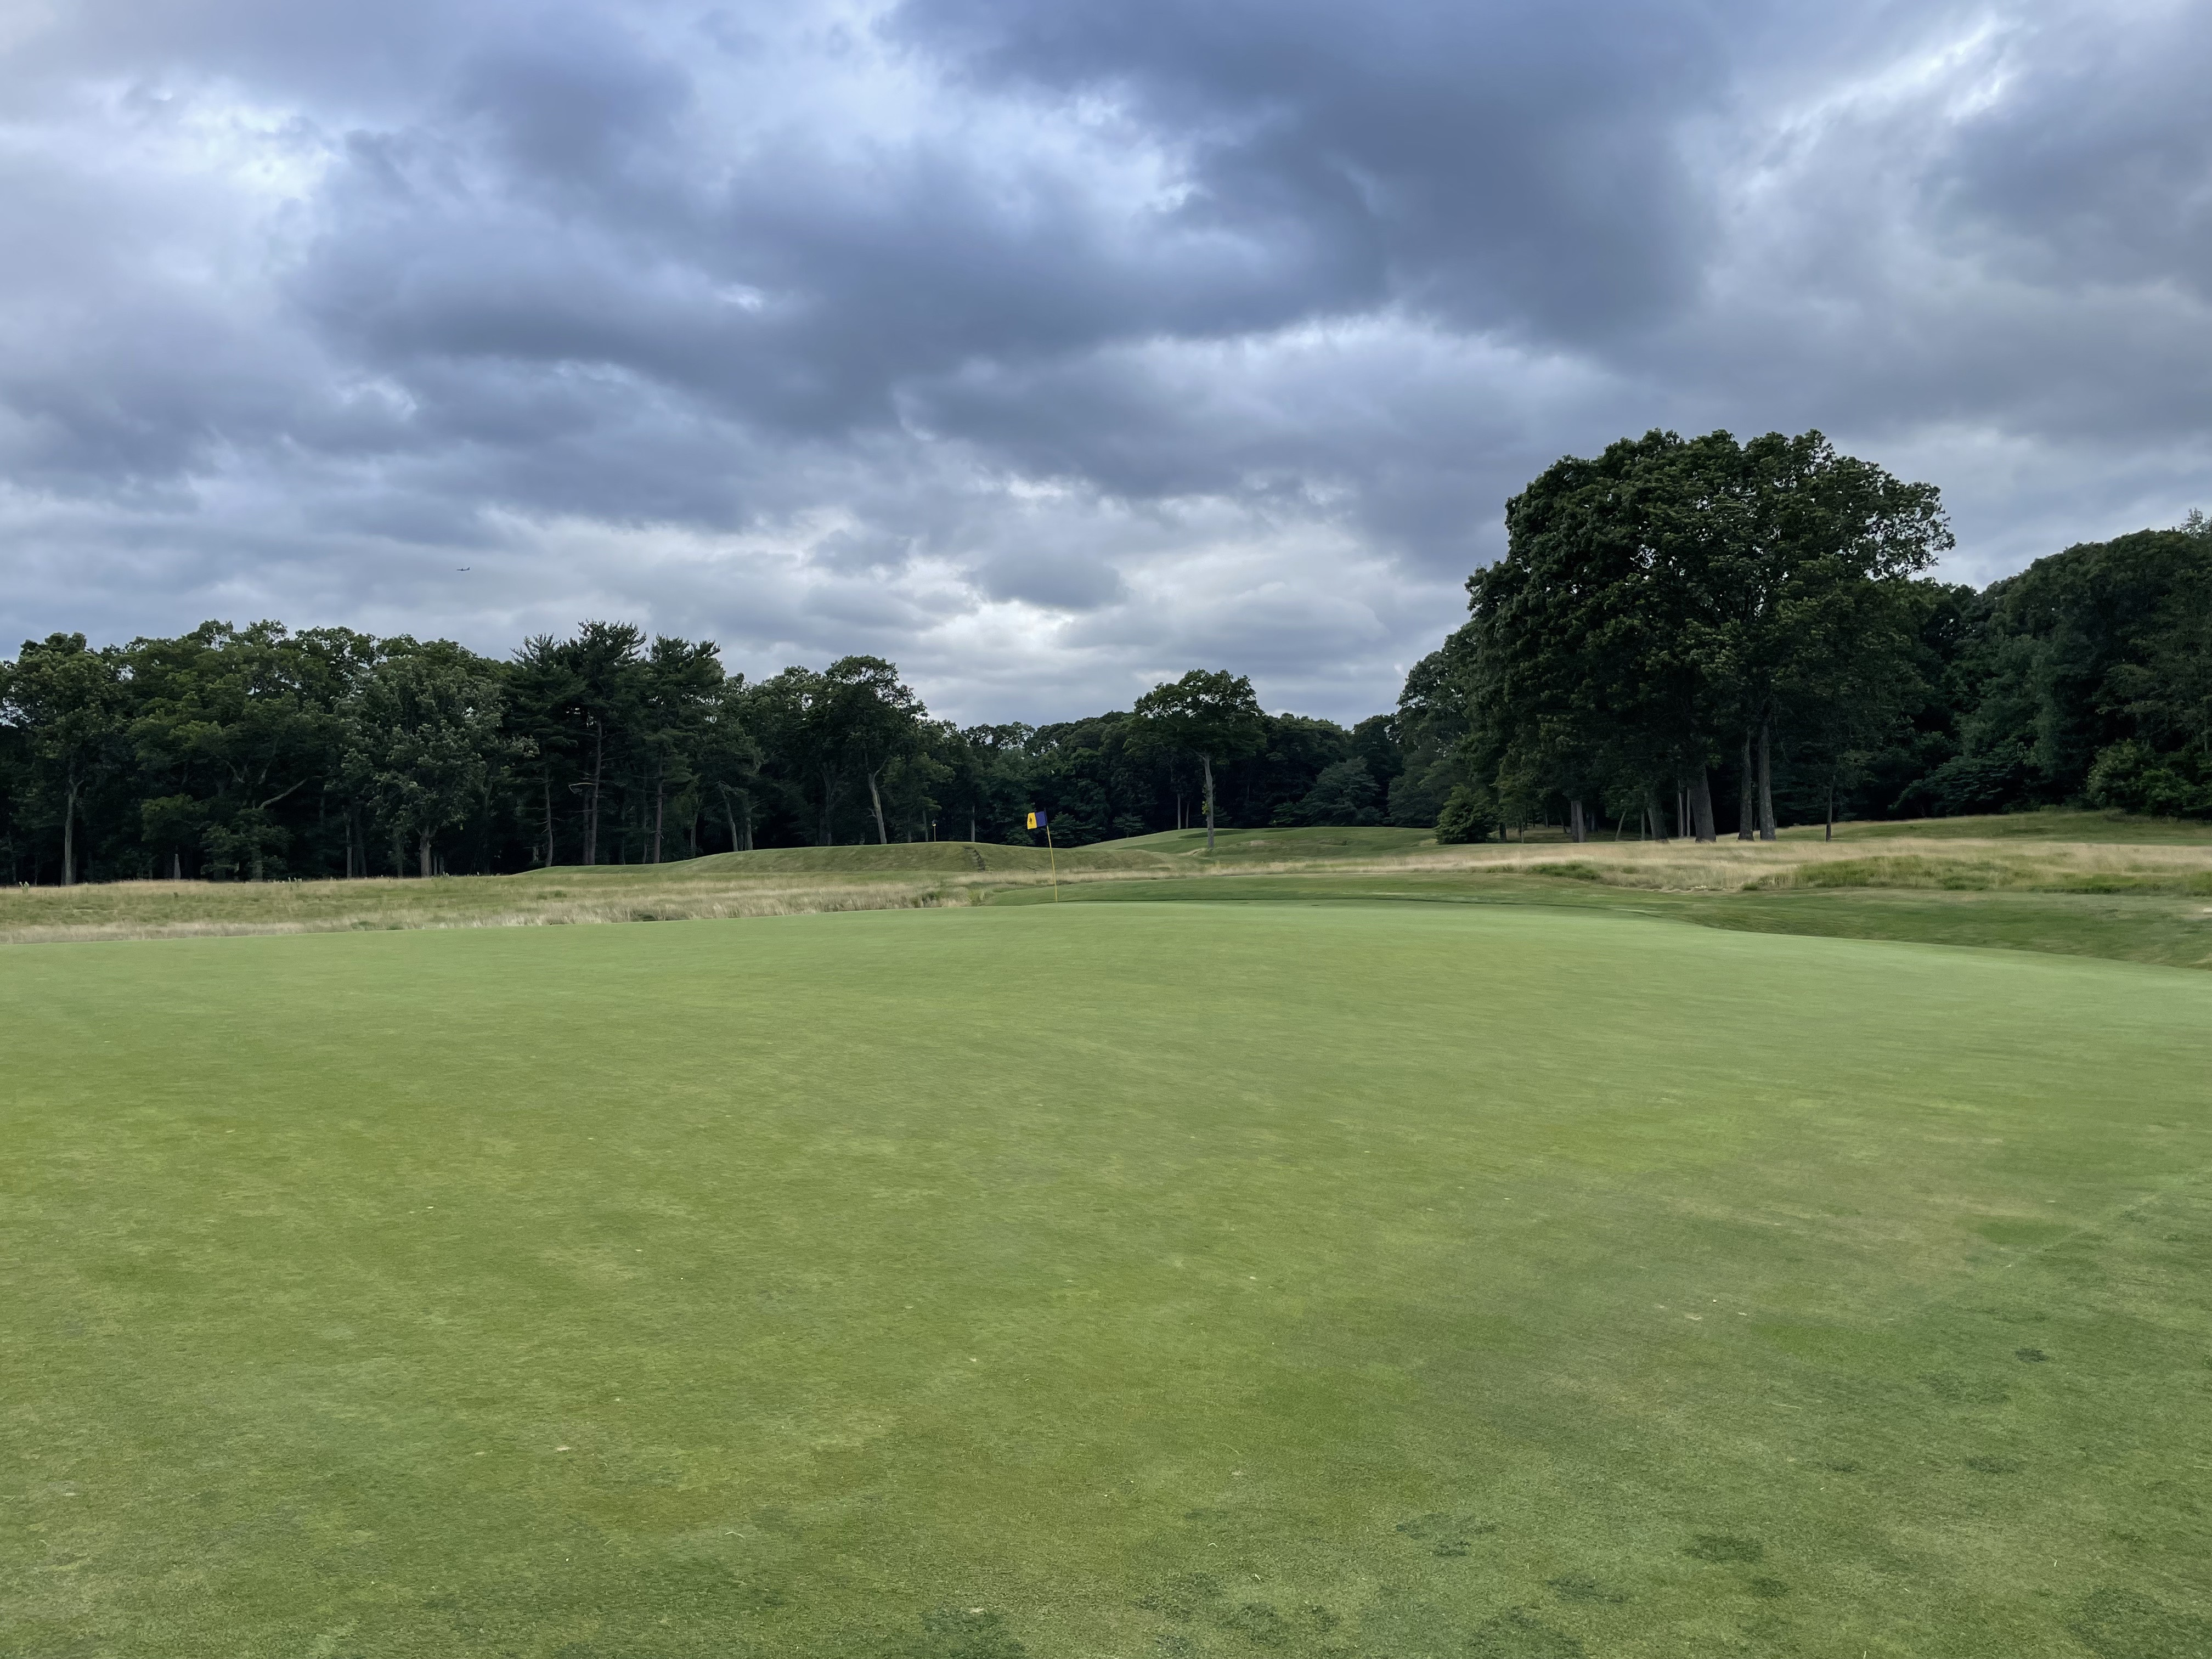
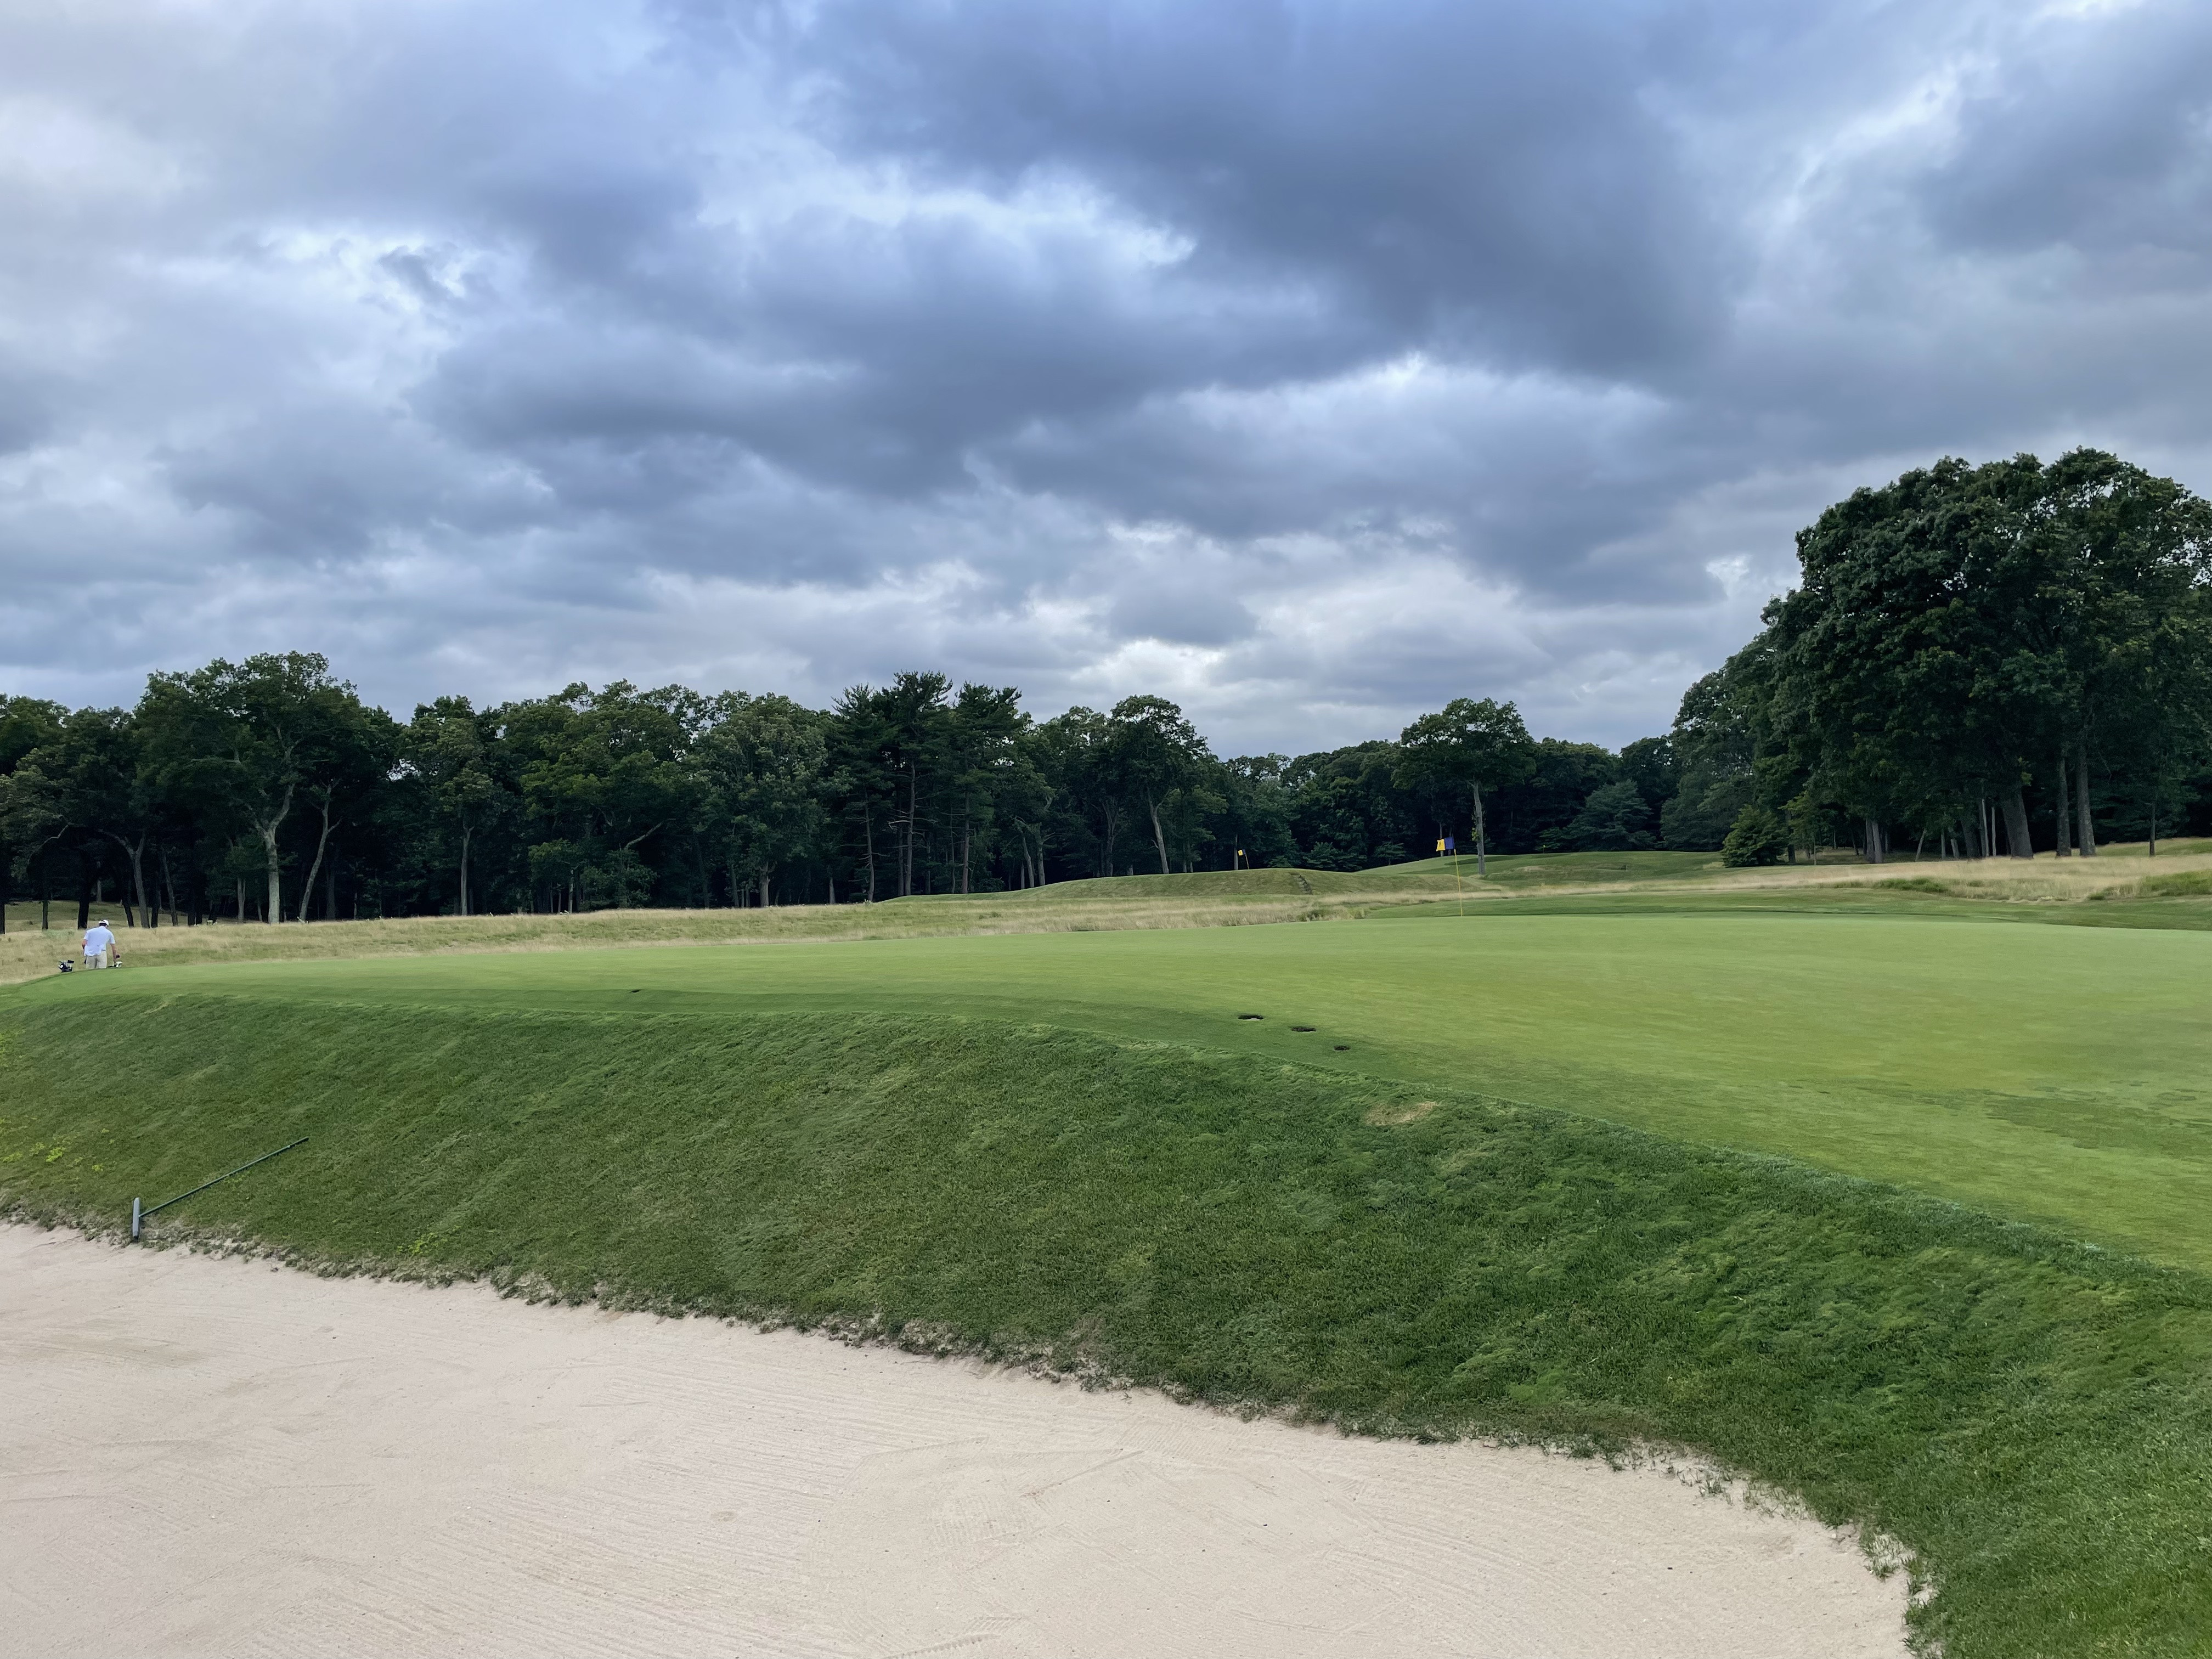
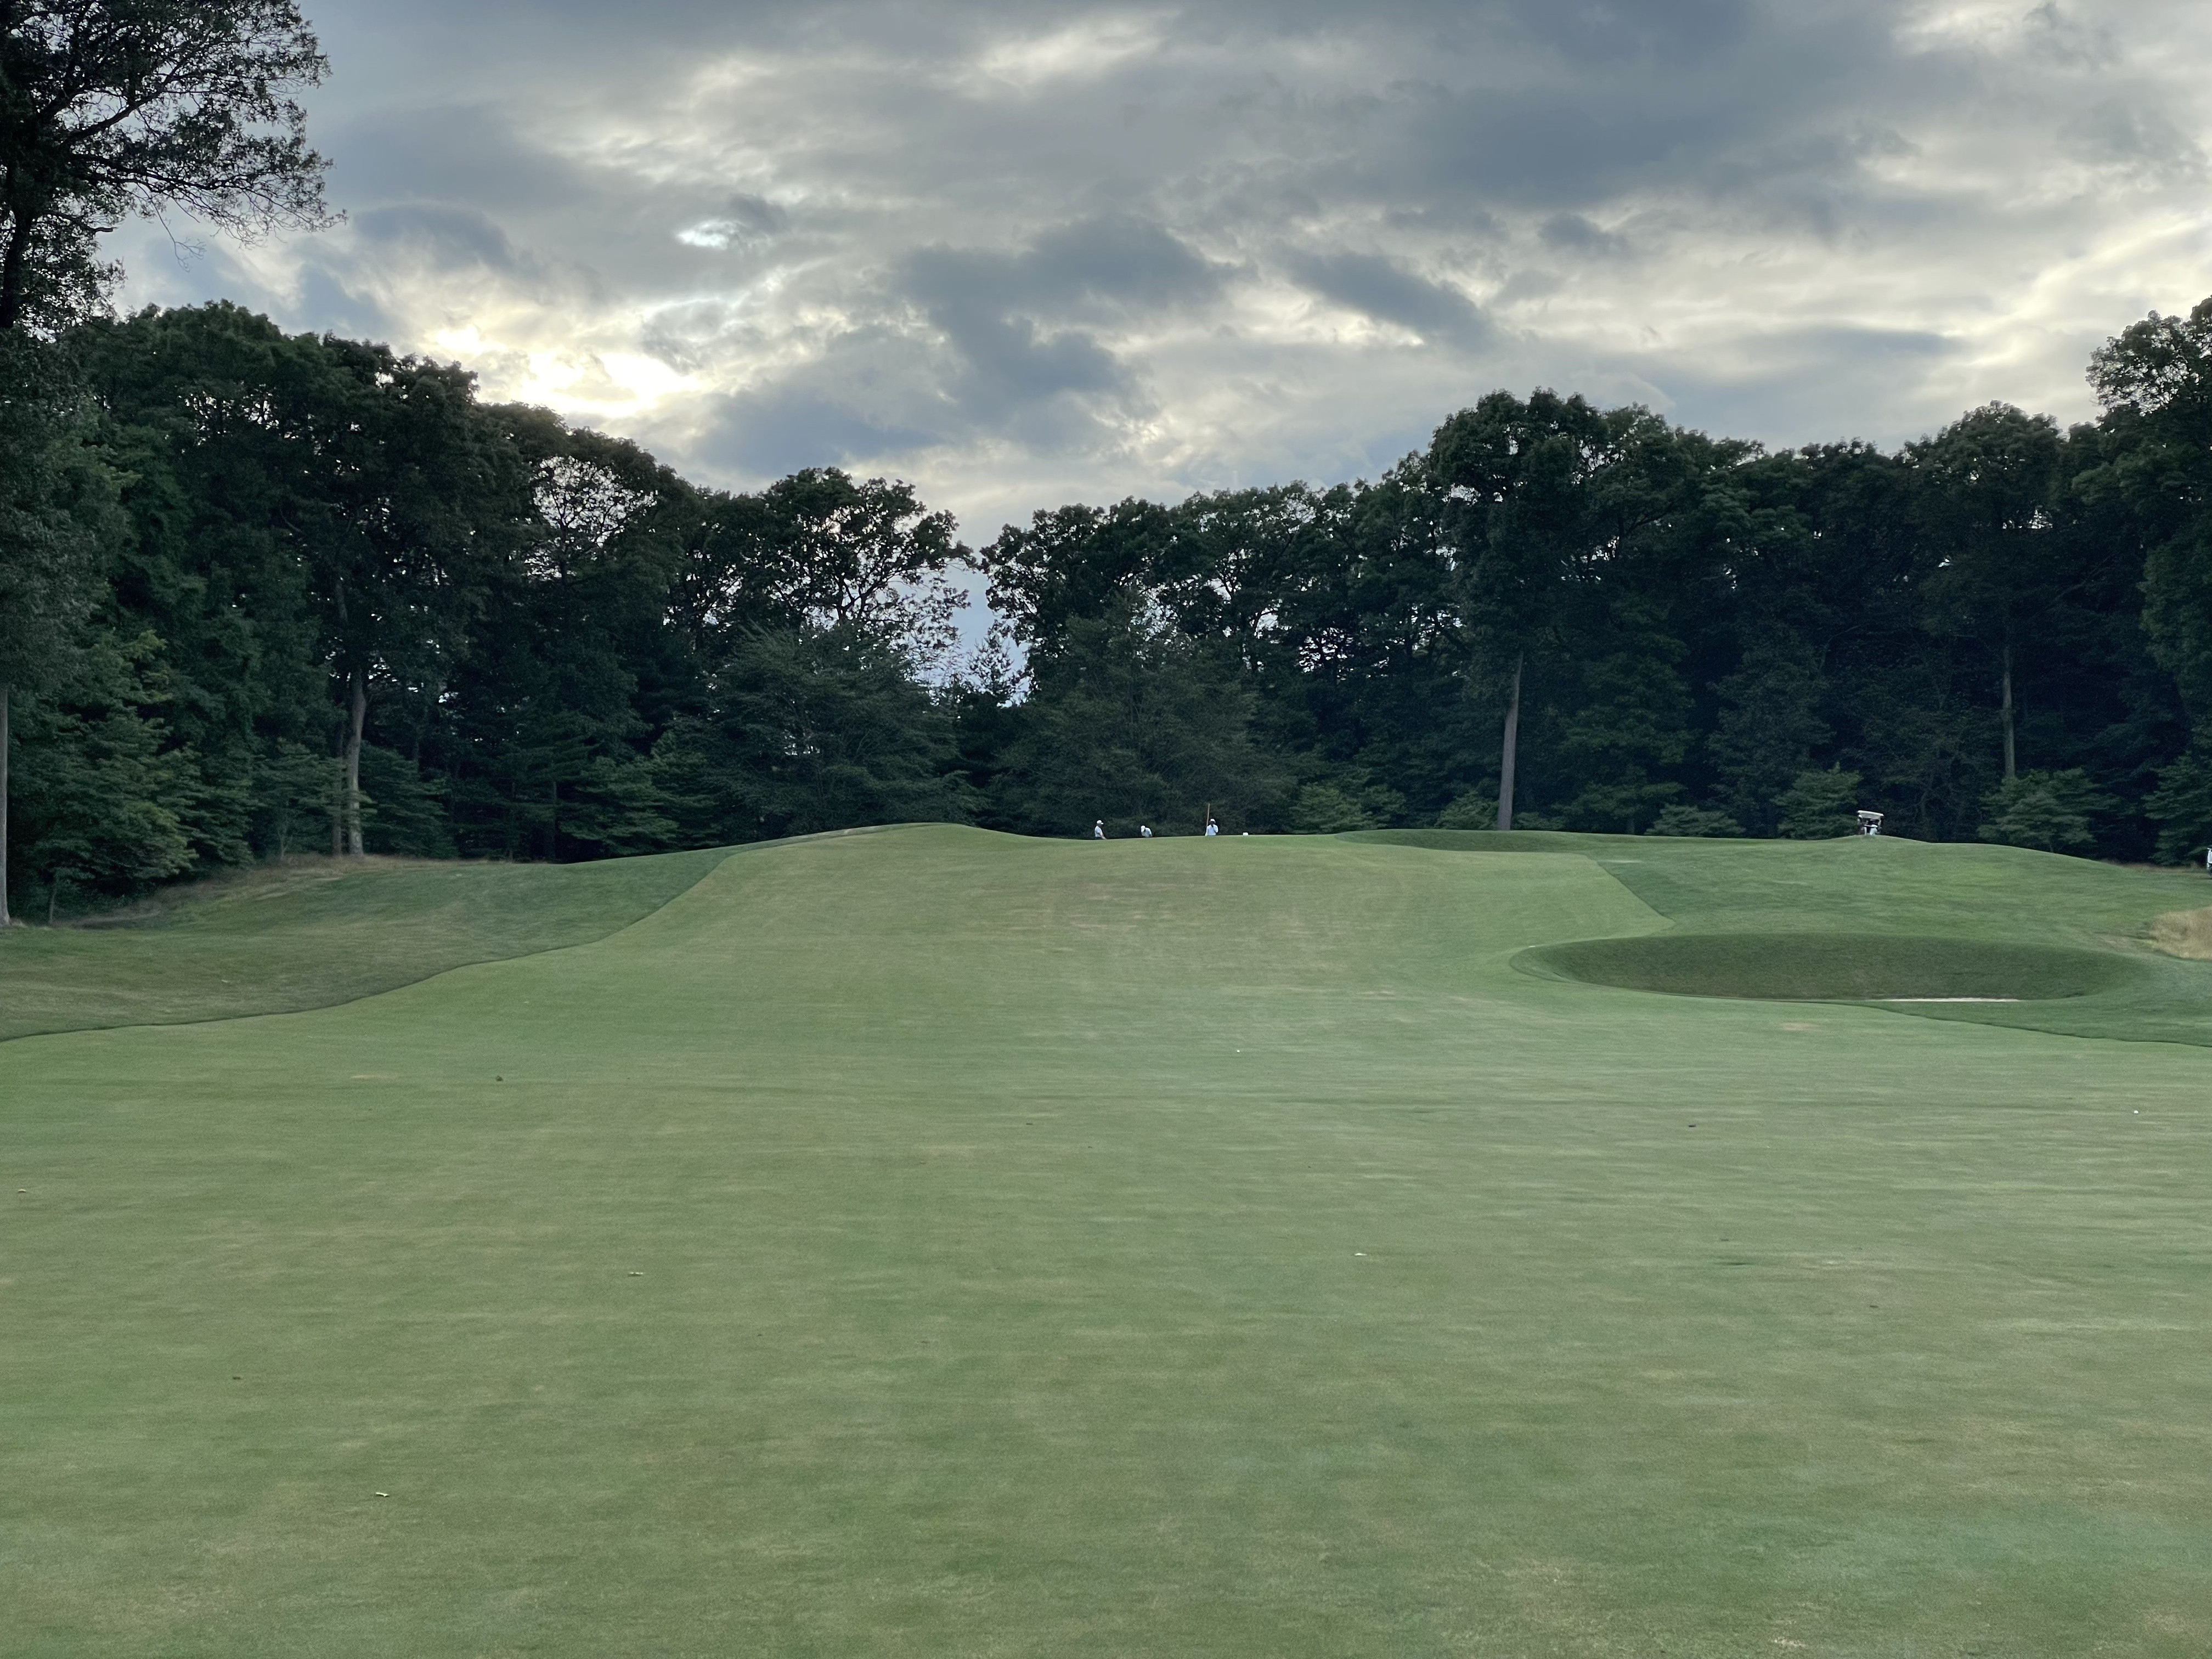
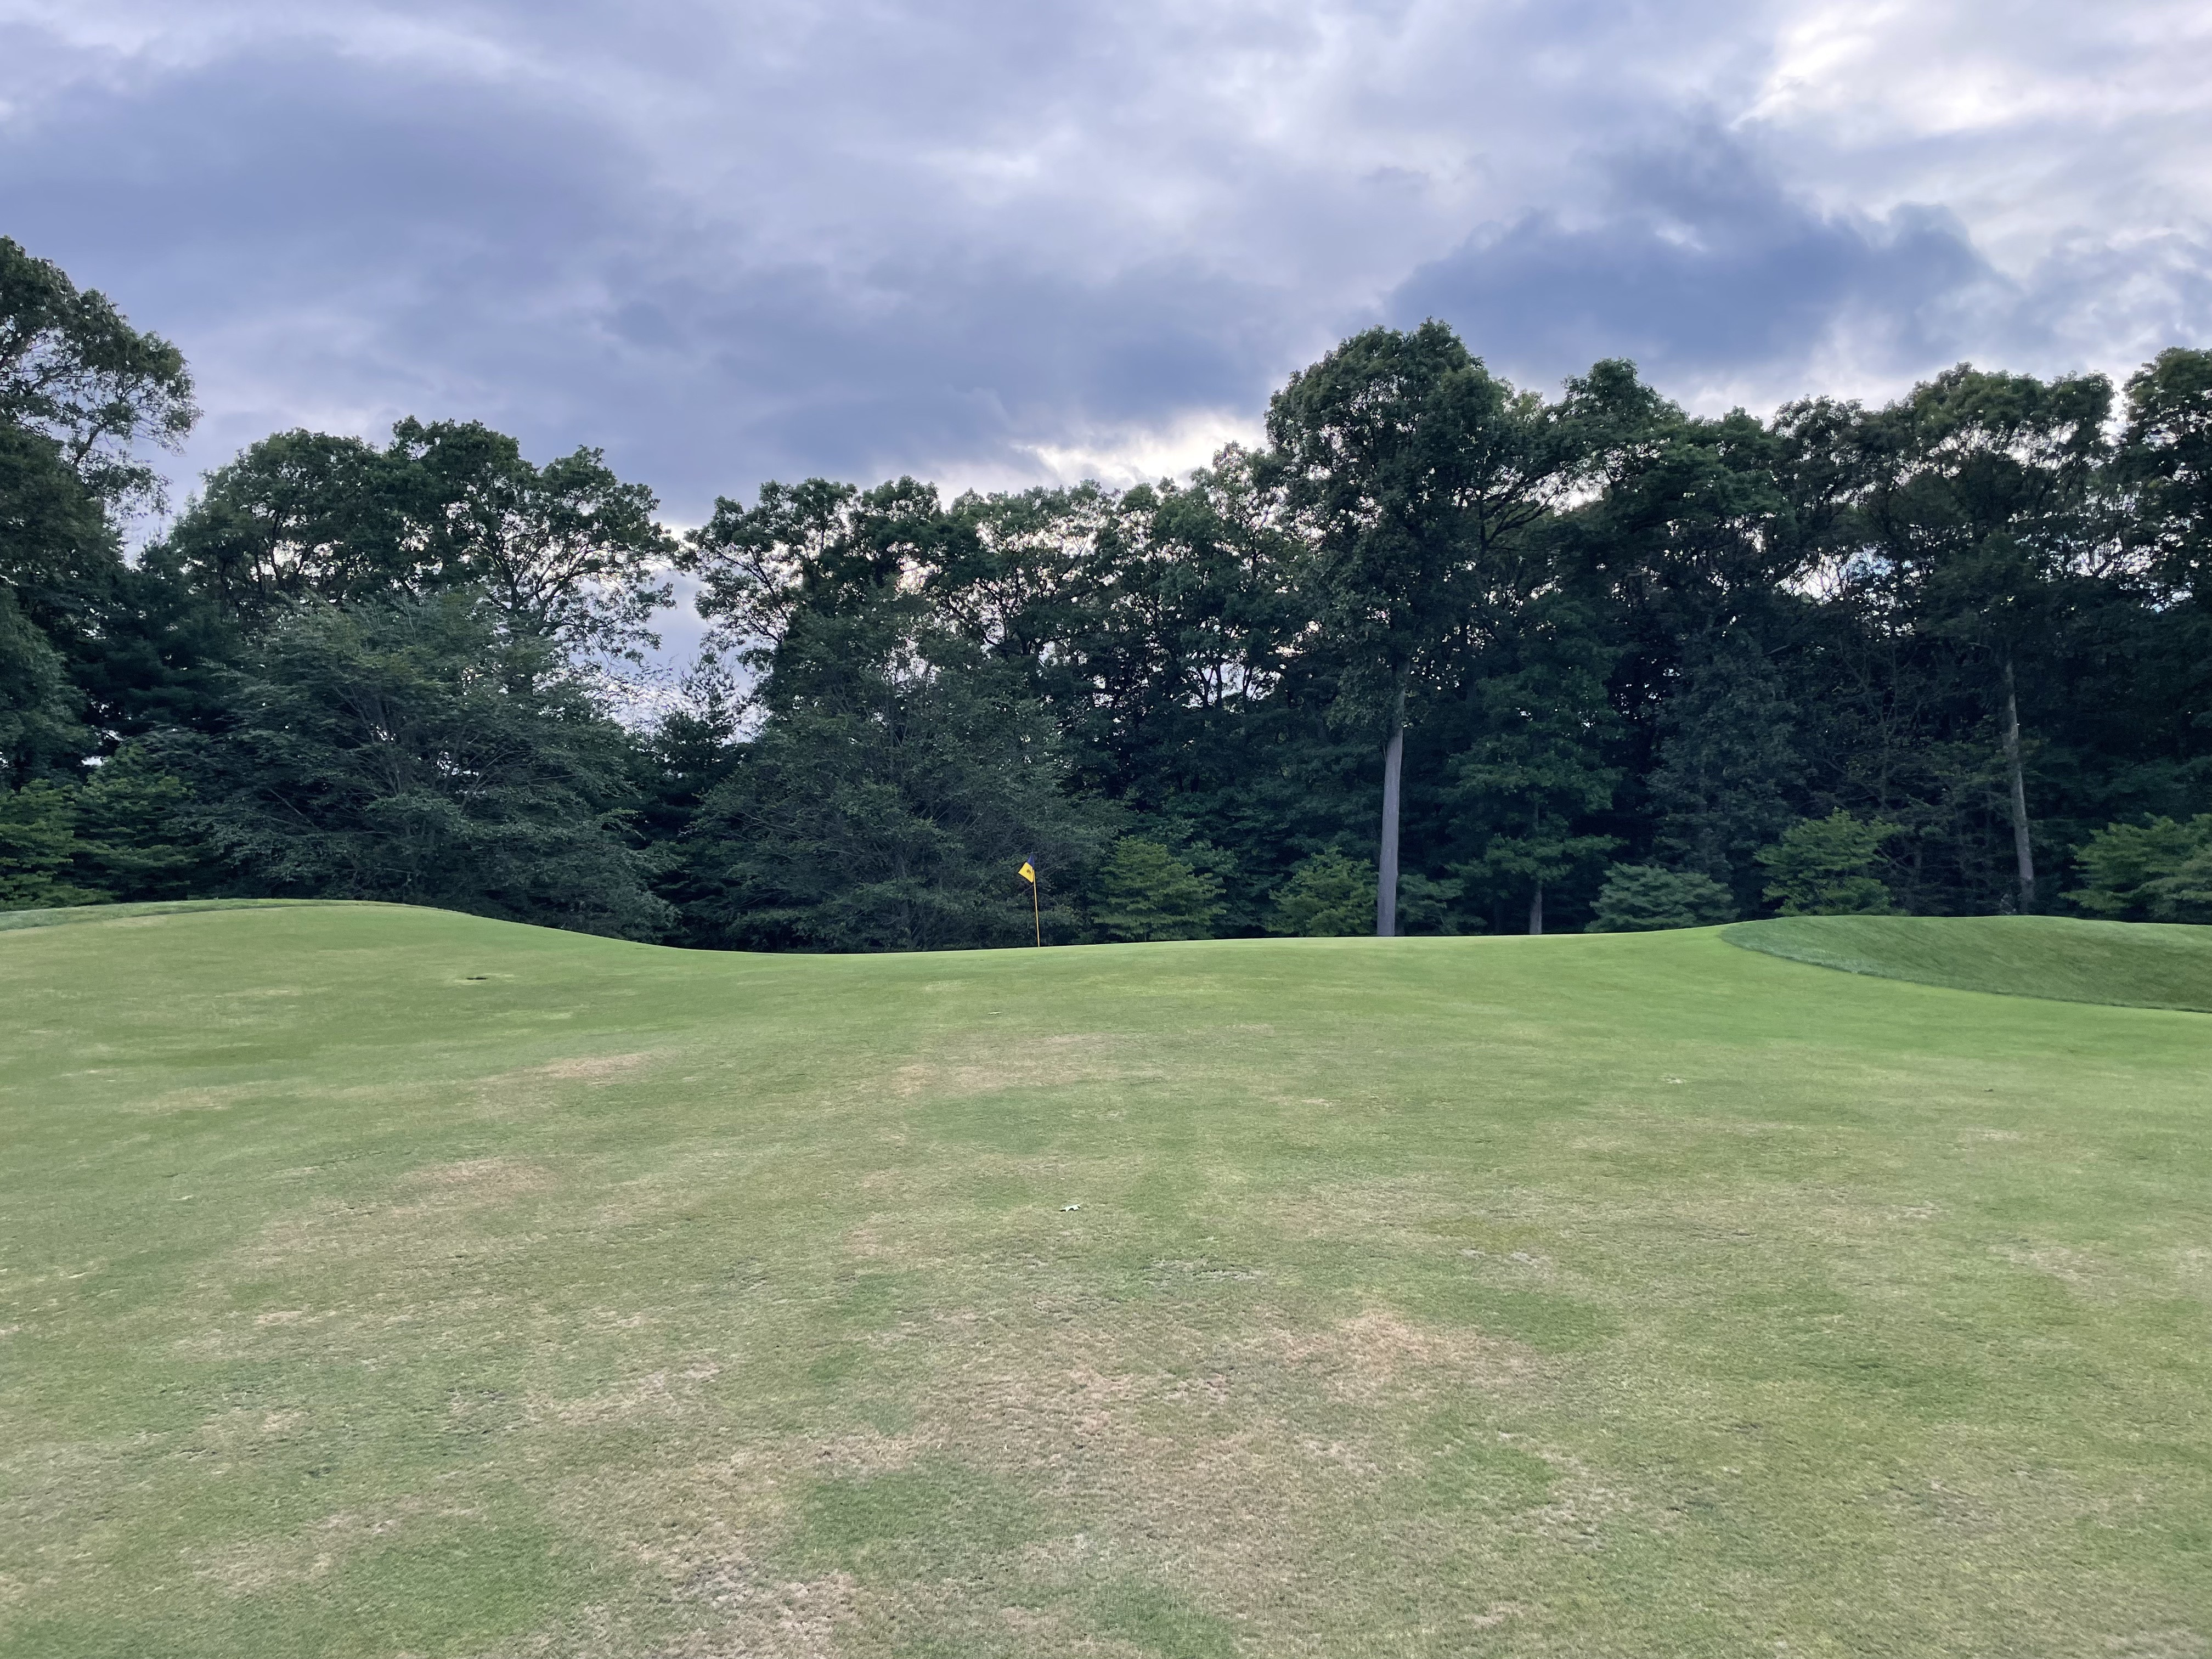
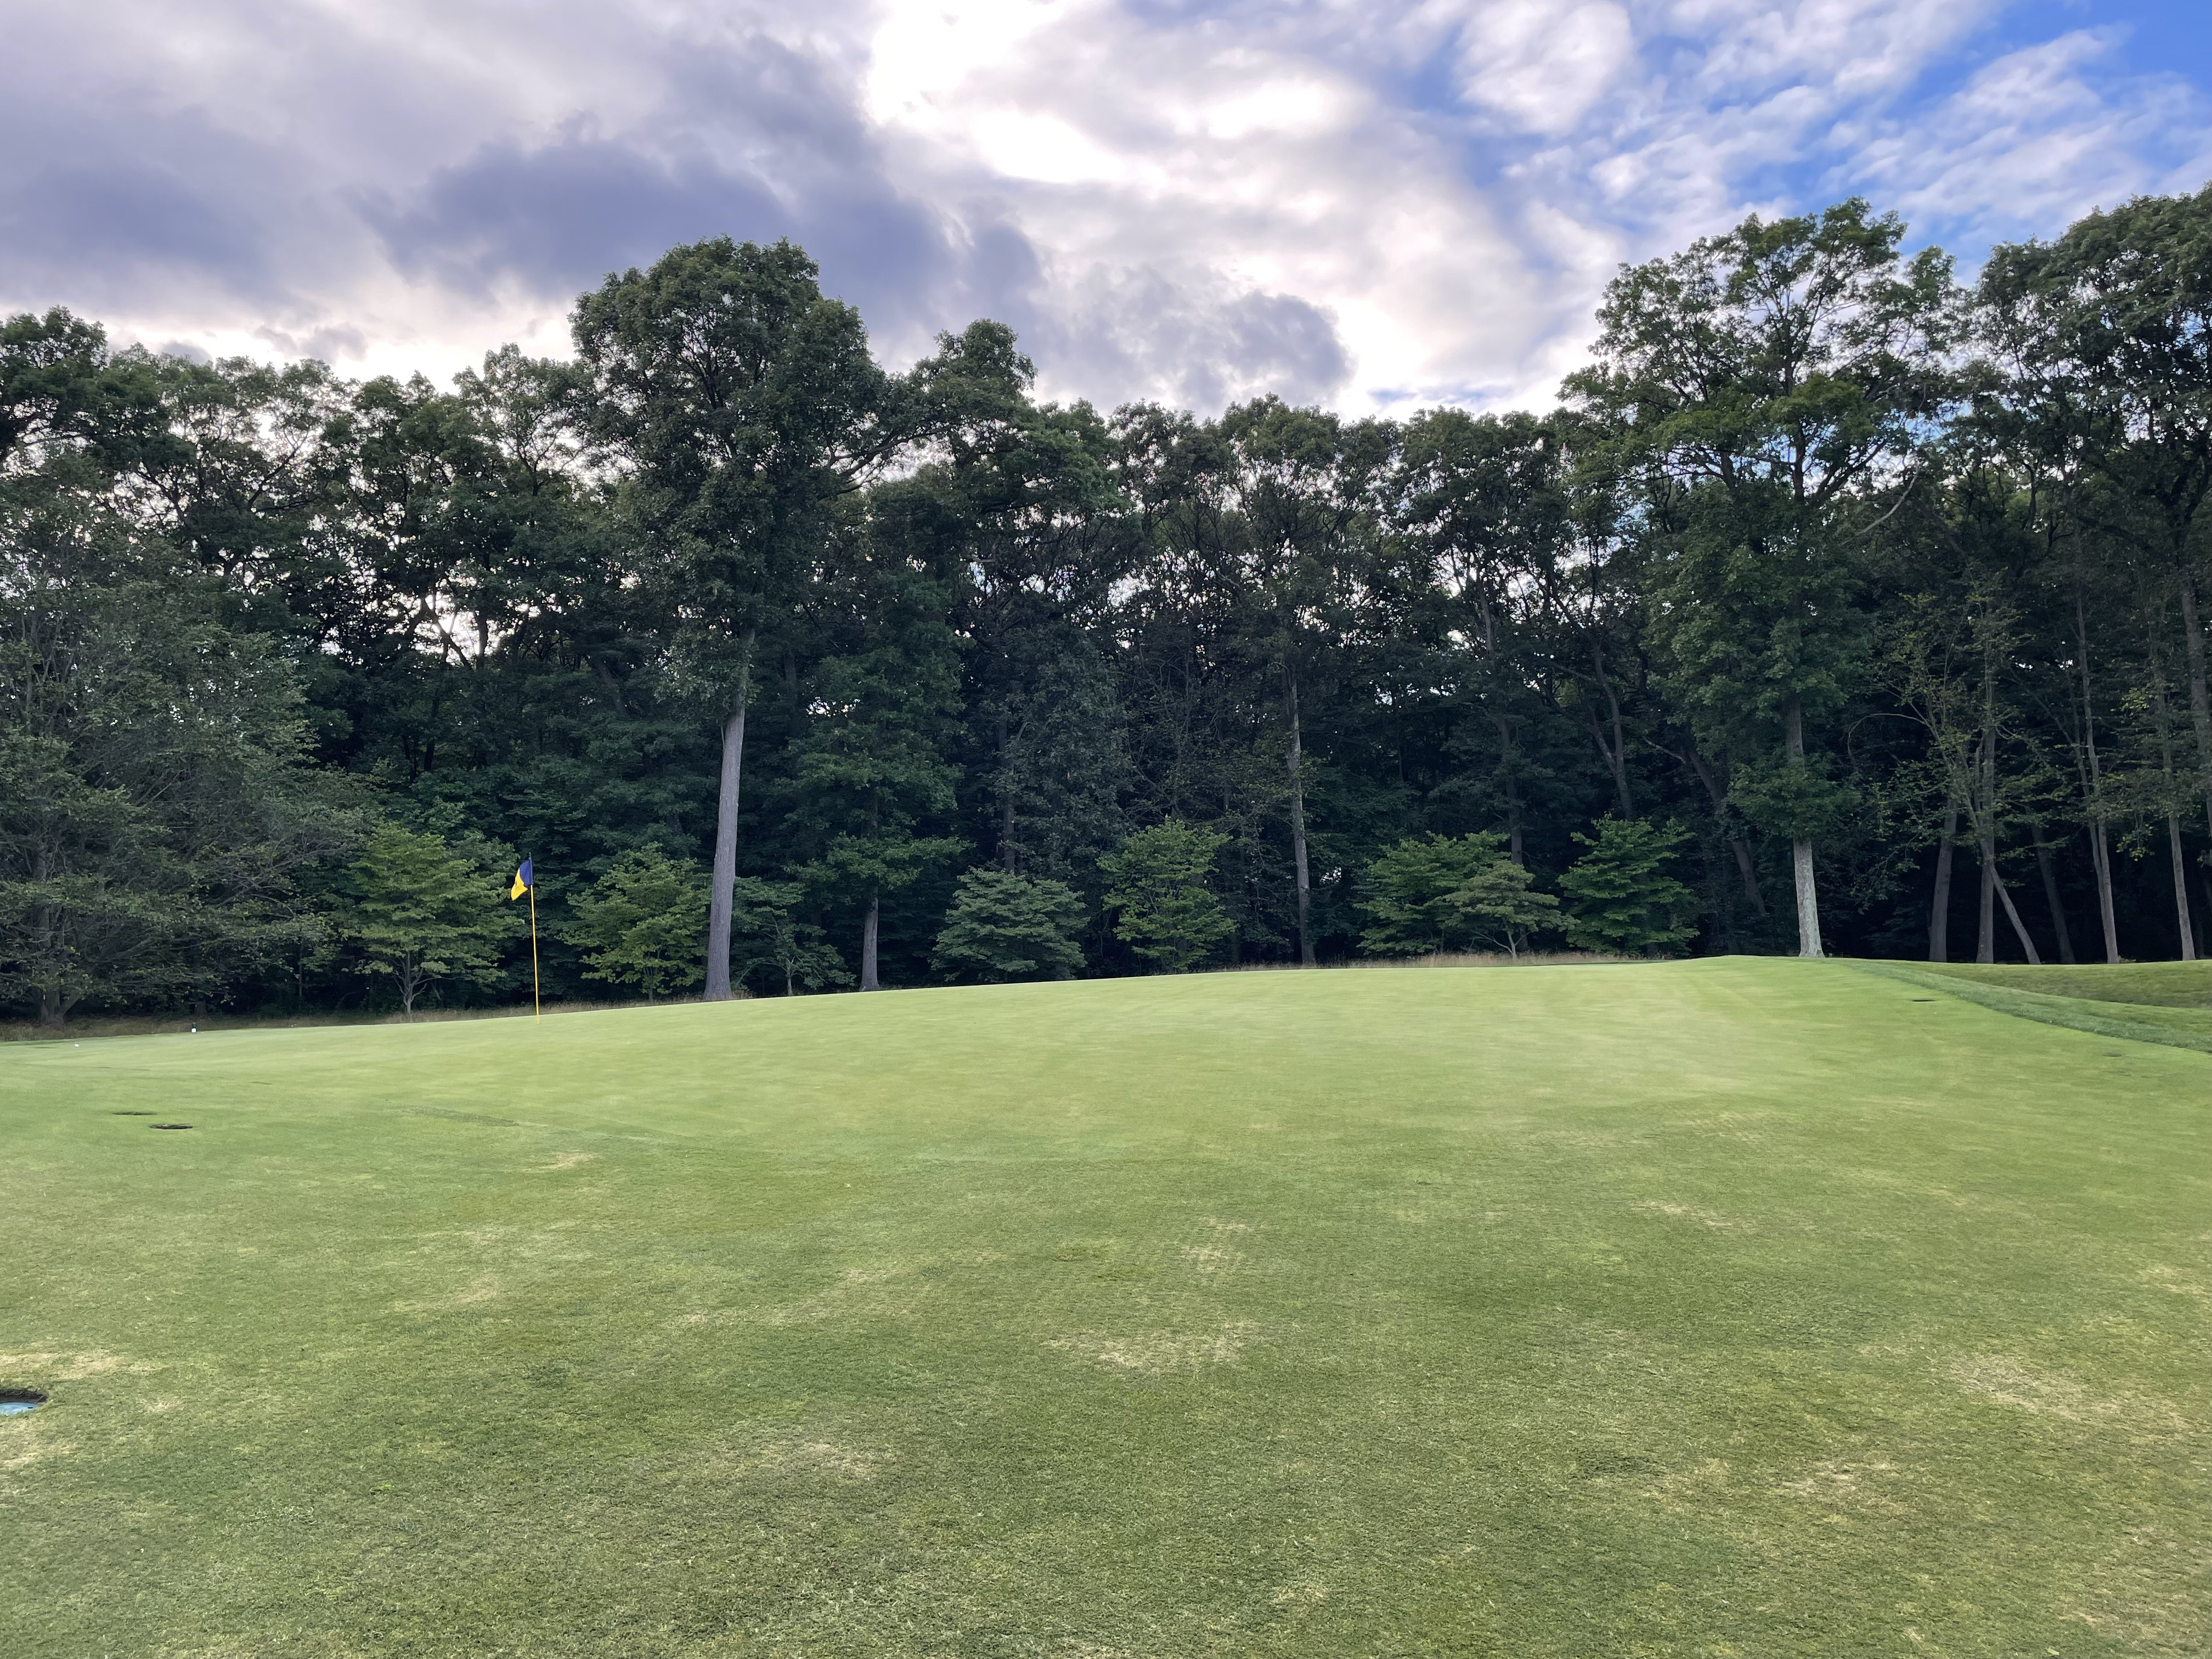
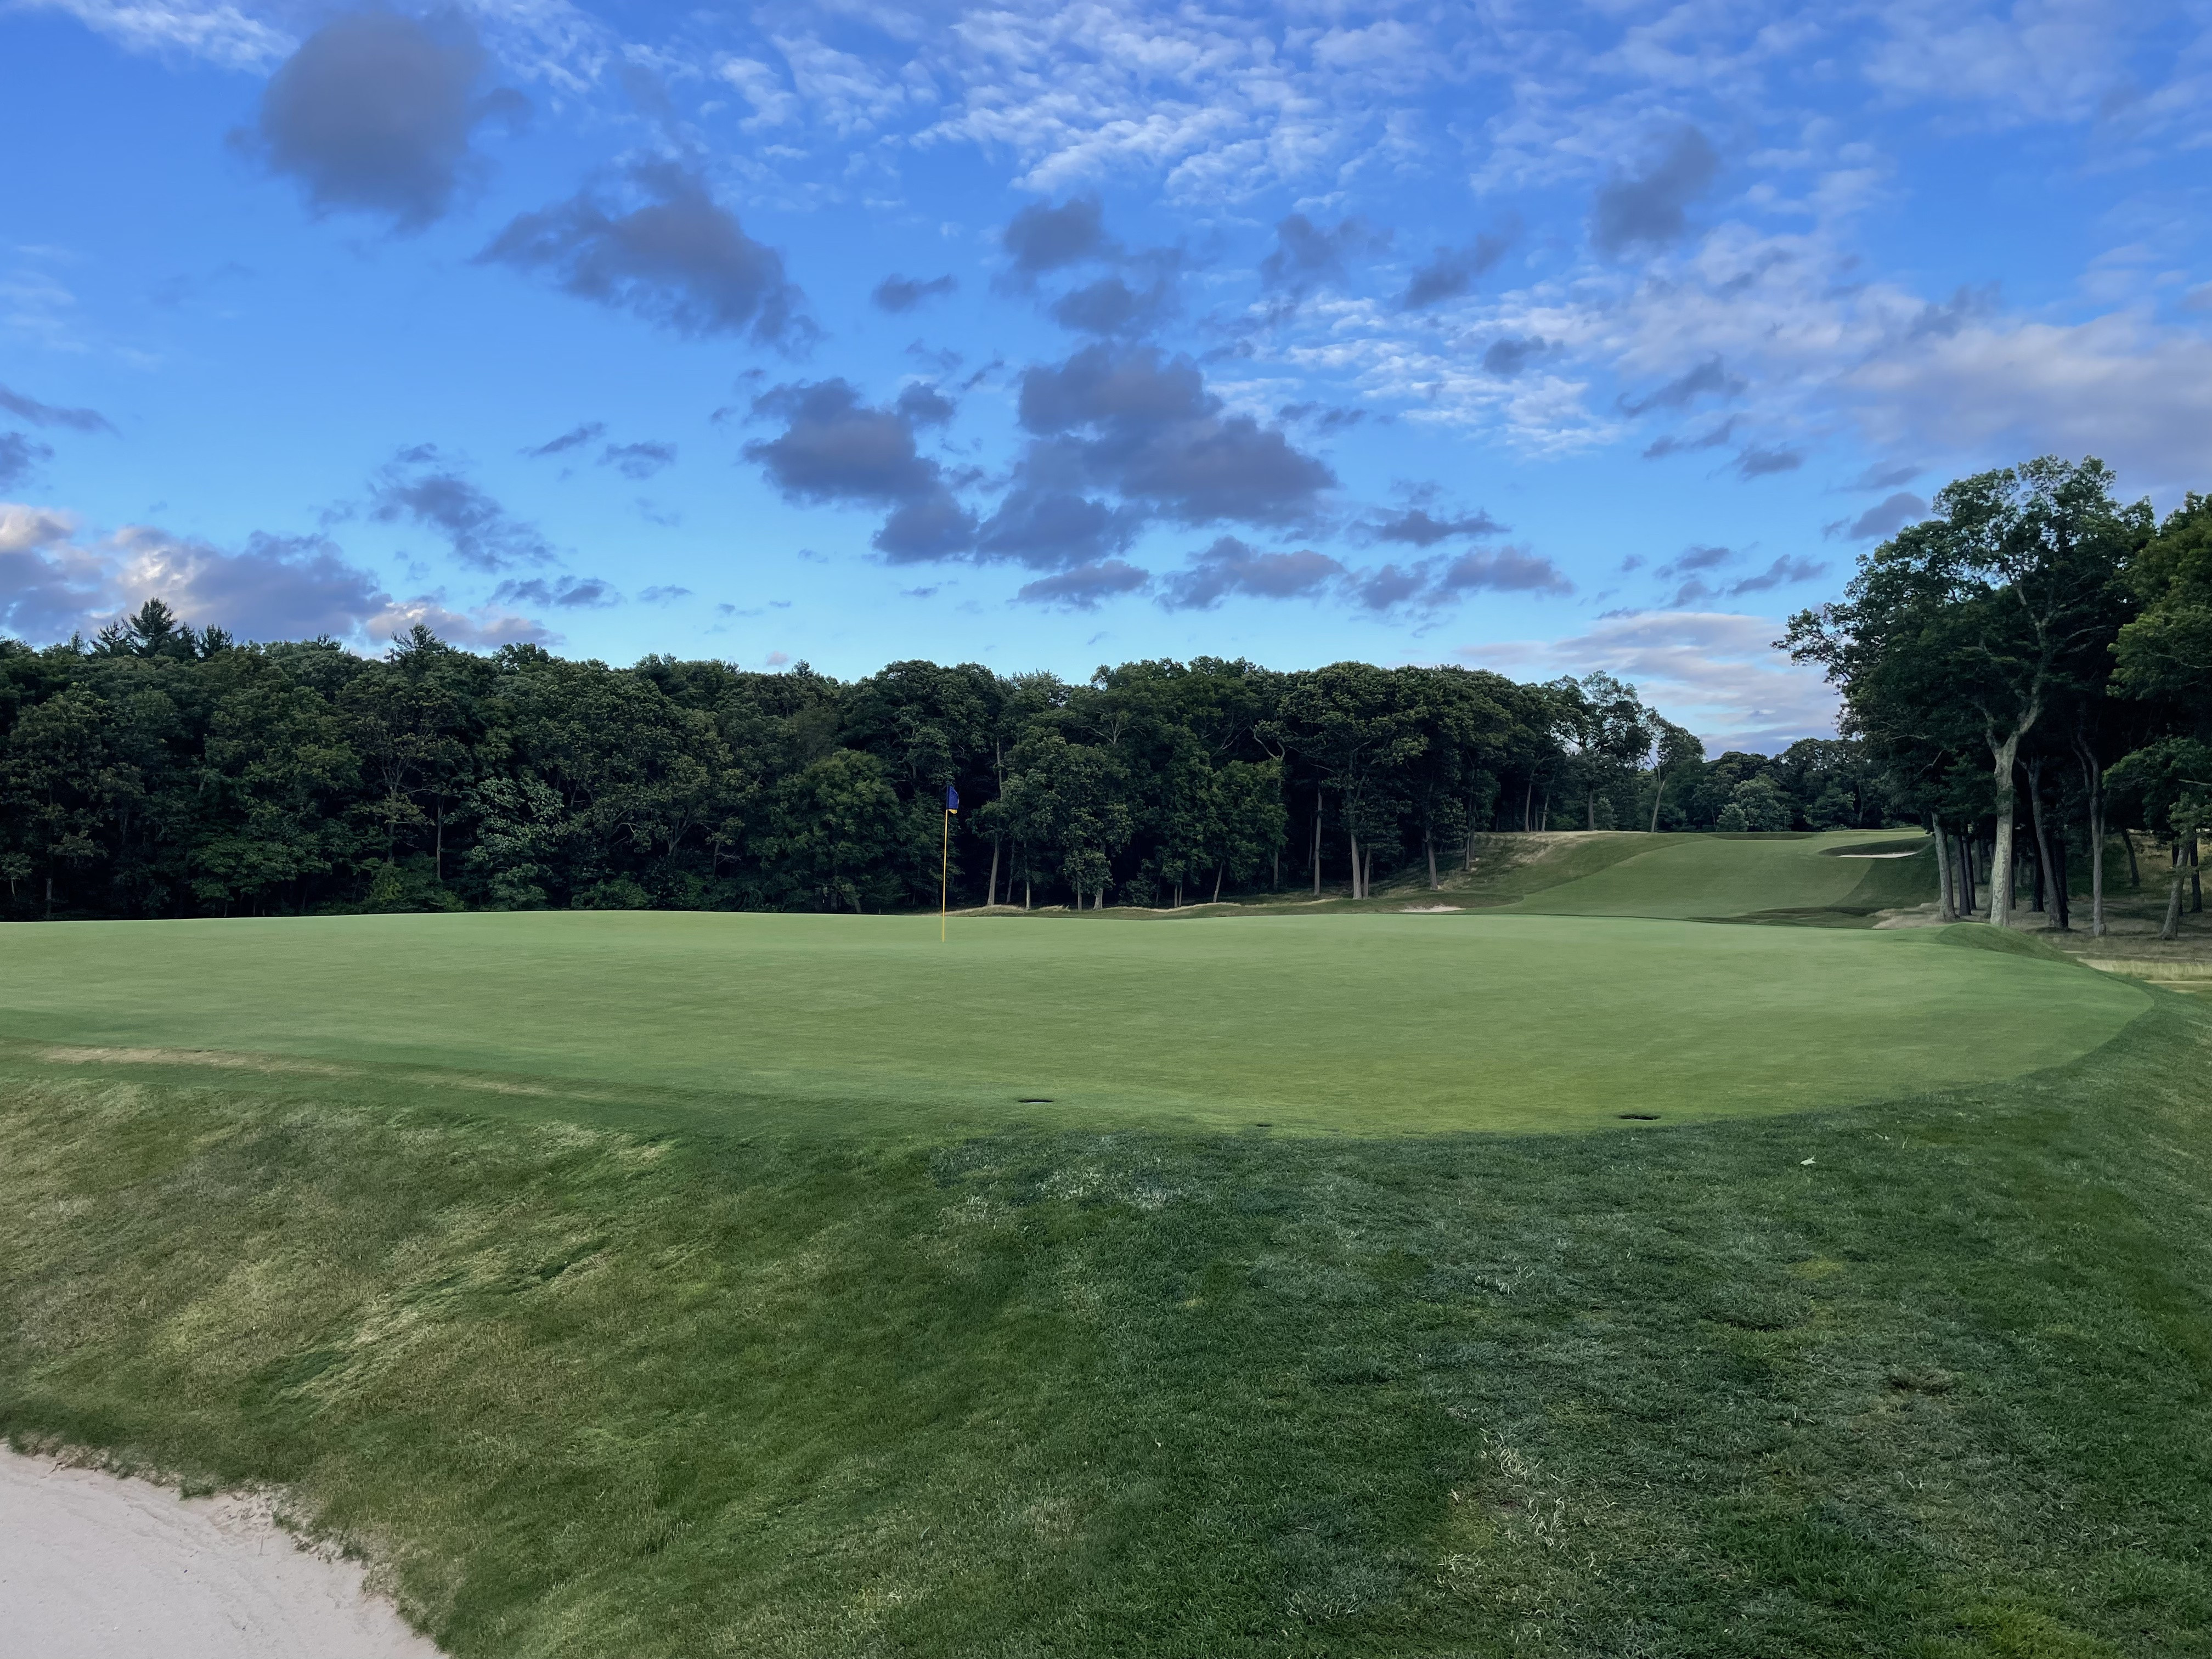
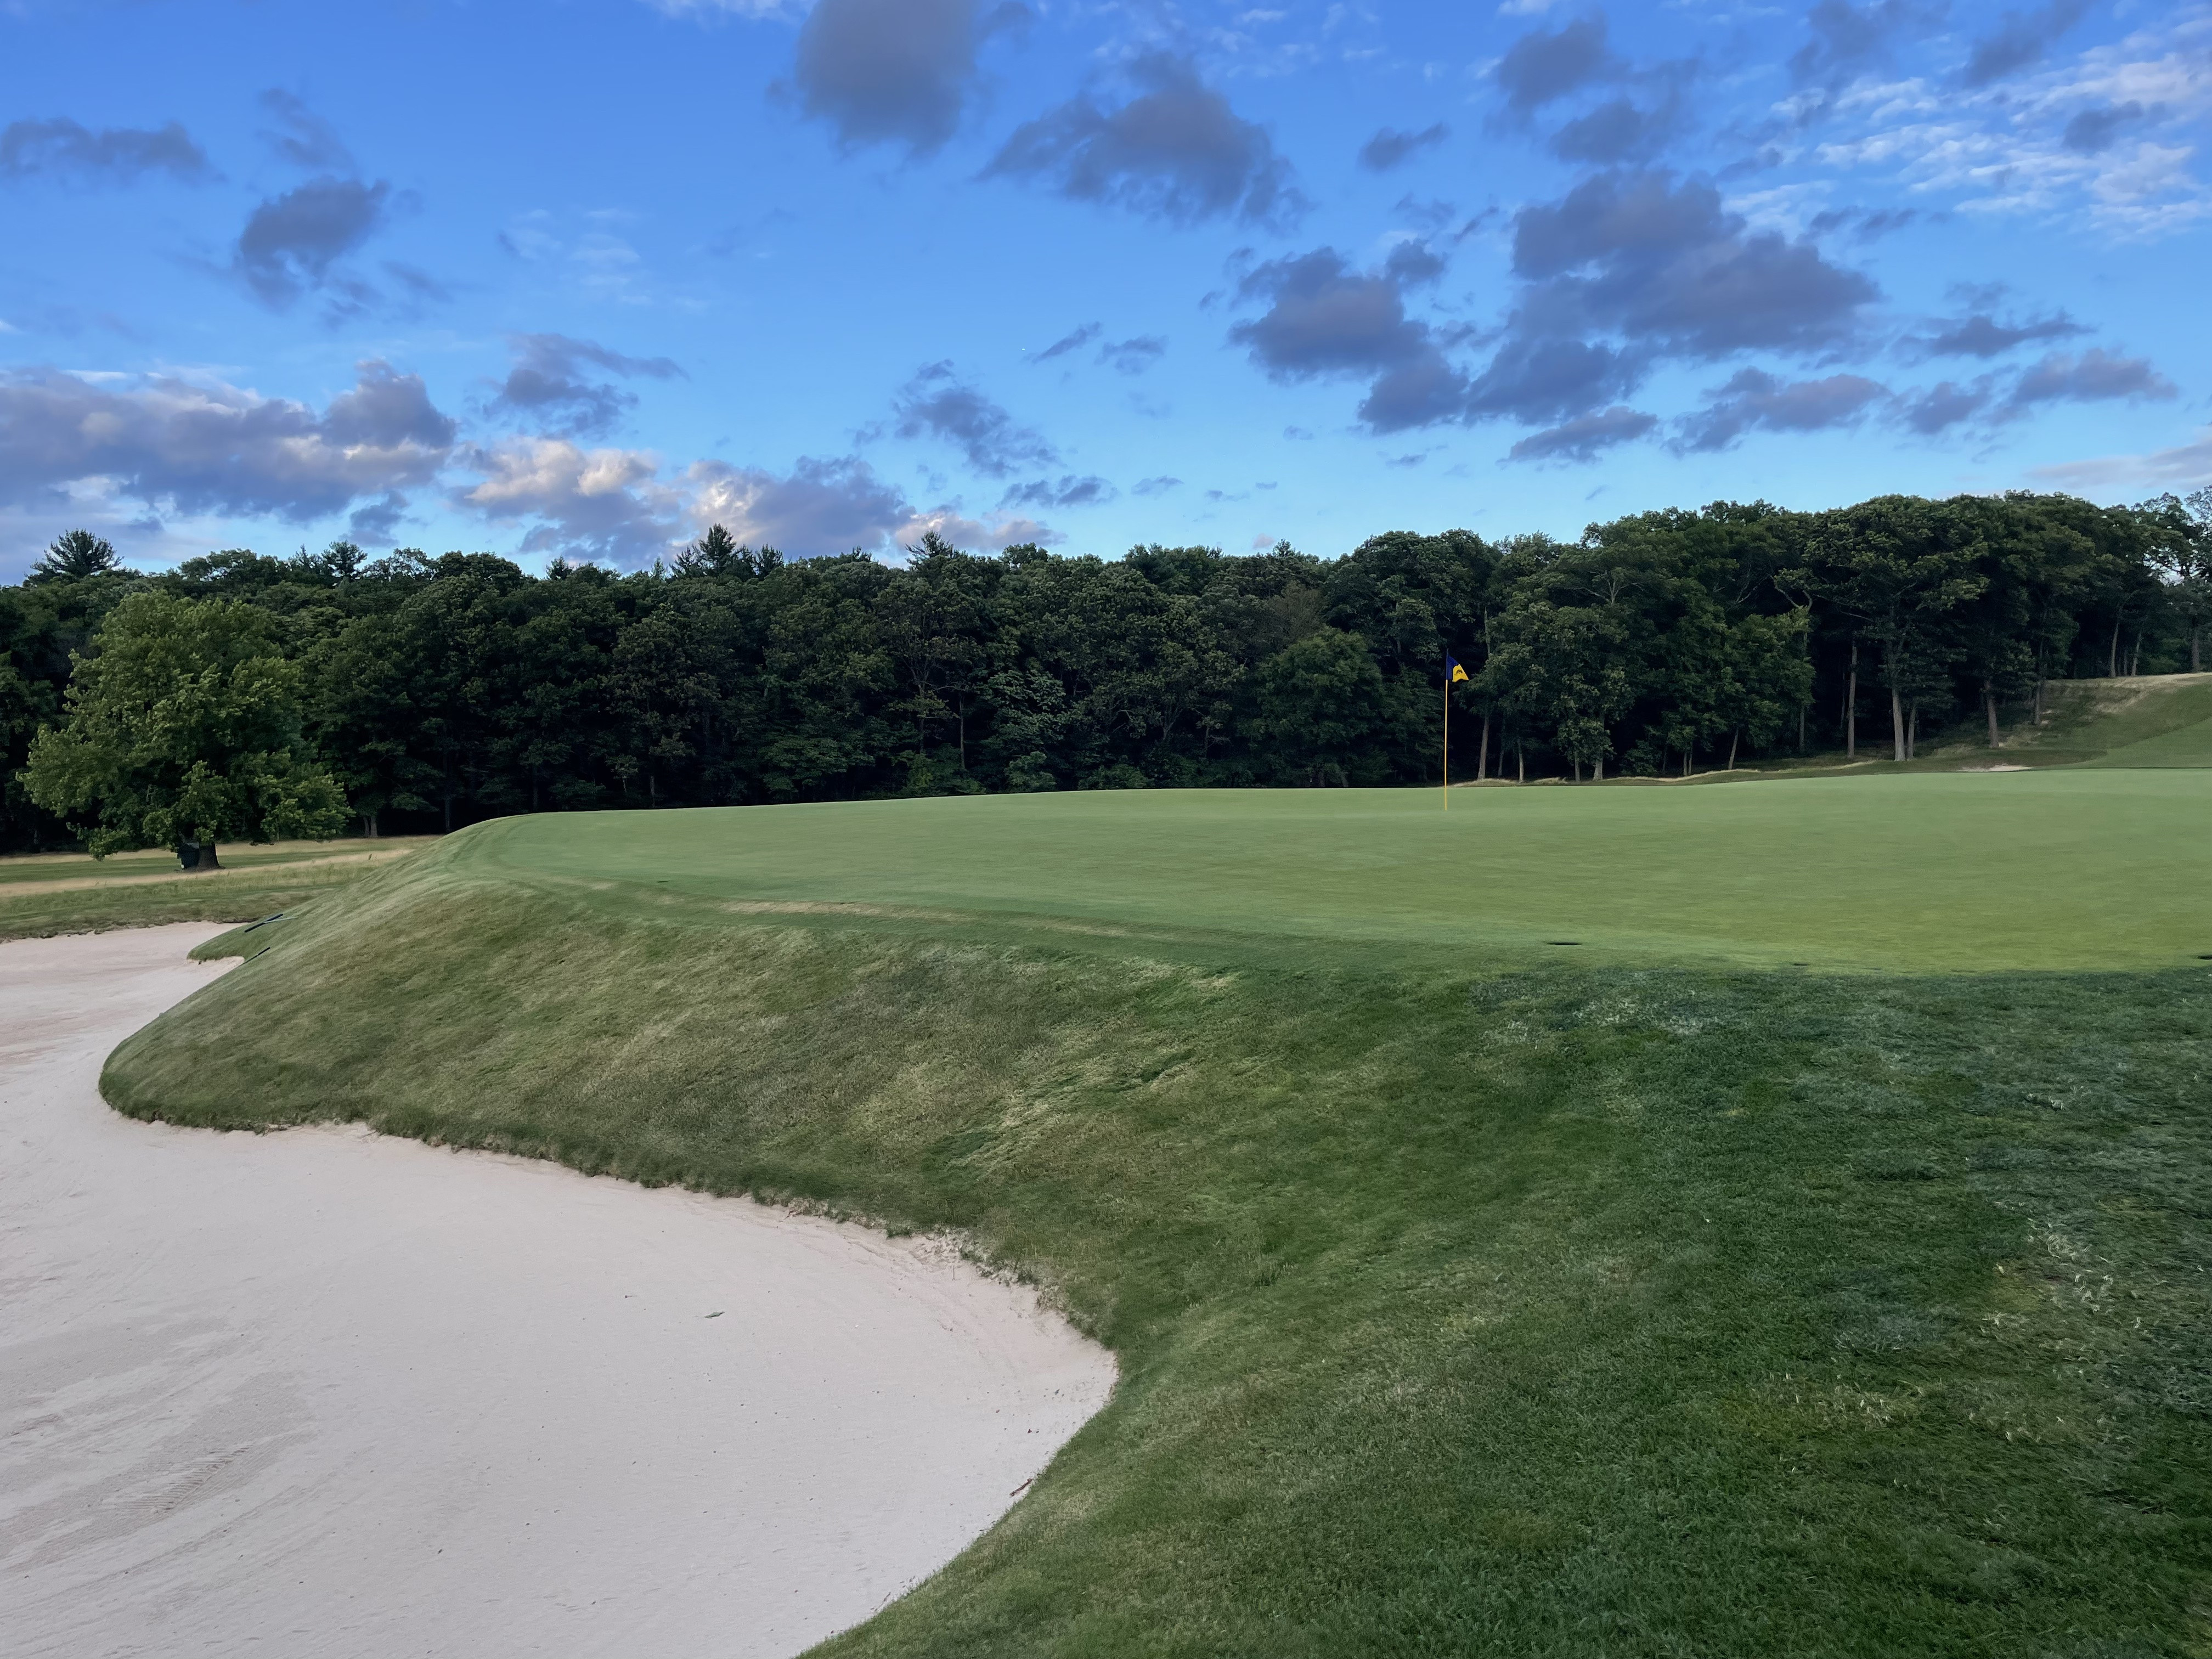
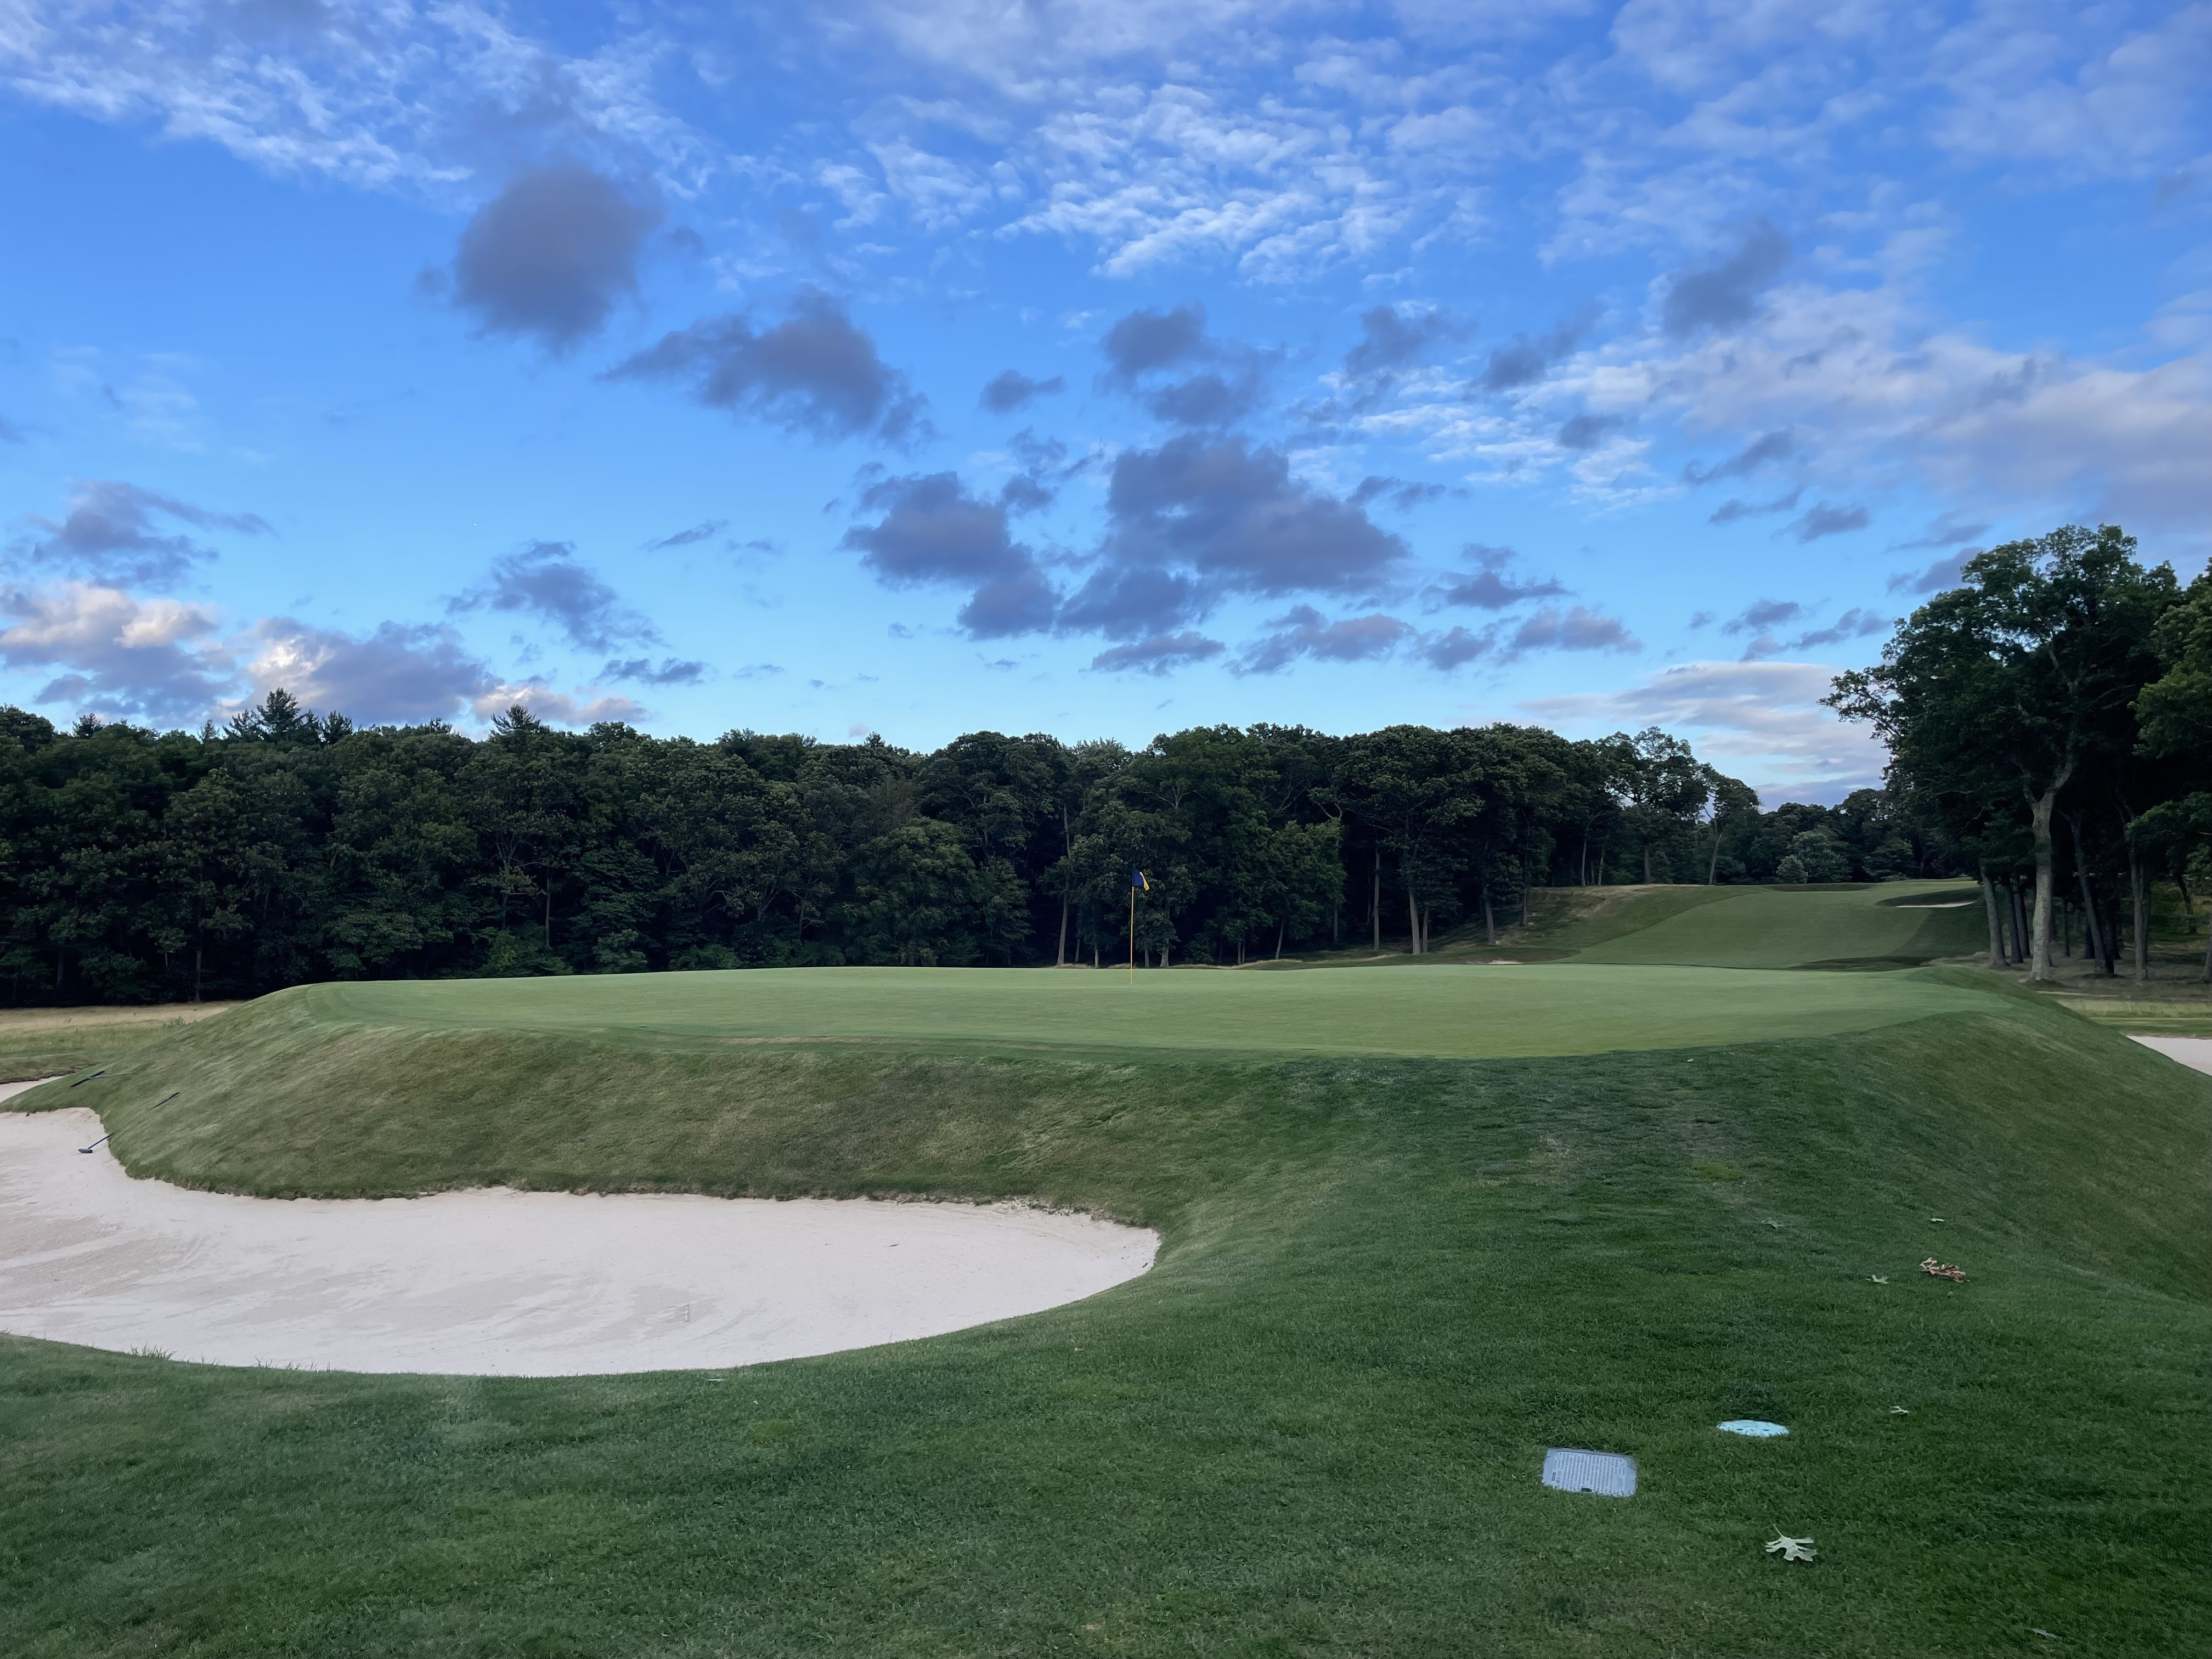
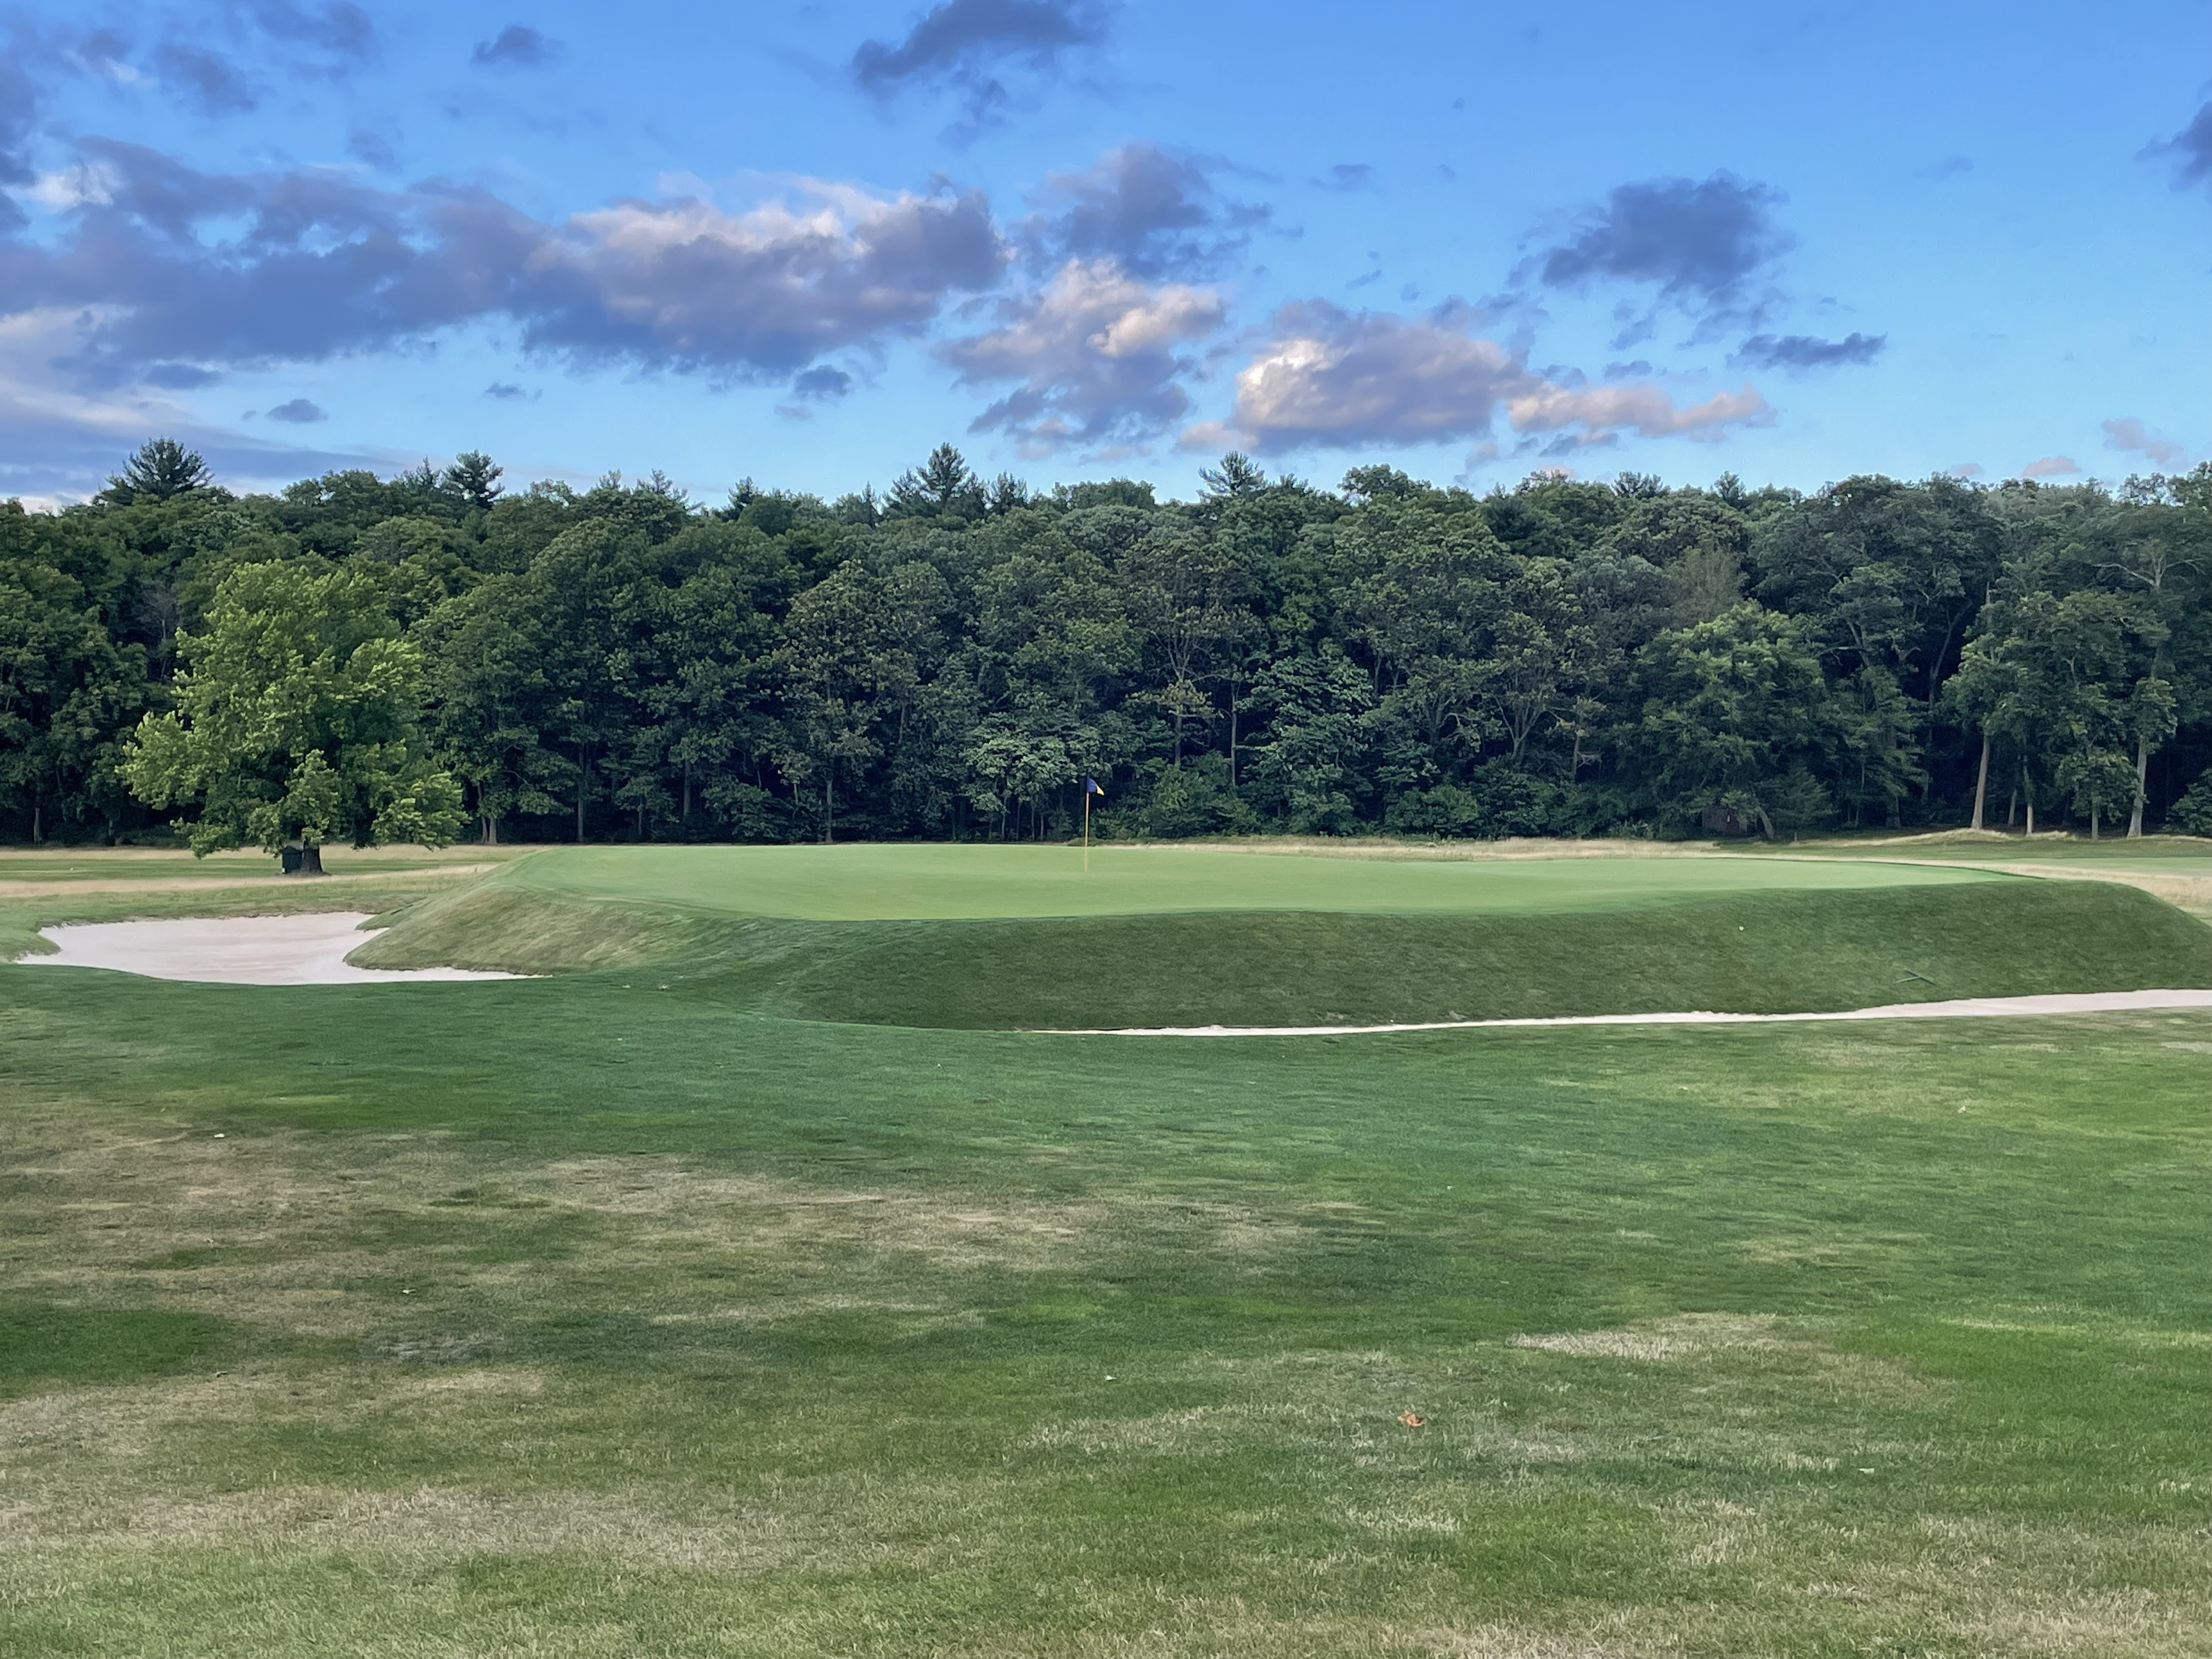
#9: Ninth Hole “Biarritz” (Par 3, 223 yards)
“Biarritz,” a 223-yard par 3, serves as the front nine’s finale. For some, it’s a welcome respite; for others, the climax of the initial challenge. While lengthy, it plays to a large green dominated by a prominent swale, mown in fairway grass, just short of the green. Golfers can choose to utilize the swale, carry it entirely, or lay up short. Its scale is impressive, as is the green beyond. It is a near-perfect conclusion to a remarkable front nine.
 The Ninth
 The Ninth
The front nine at Piping Rock masterfully utilizes a couple of hillsides and the property’s outer perimeter, dictated by the polo grounds constraint. The result is an exceptionally remarkable set of holes. Each hole is enjoyable, but standouts include the 8th, 6th, 2nd, 5th, 3rd, 9th, 1st, 4th, and 7th in order of preference.
#10: Tenth Hole “Corner” (Par 5, 538 yards)
The back nine commences with “Corner,” a 538-yard par 5. This hole completes the circuit around the polo field, leading golfers to the opposite side of the clubhouse from the first hole. A dogleg left with a significant uphill climb, the green is guarded by two prominent bunkers on each side, demanding thoughtful strategy while managing the substantial elevation change.
 The Tenth
 Starting to moving up the hill
 Approach shot territory
 Short approach
 The green and its fervid movement back towards the fairway
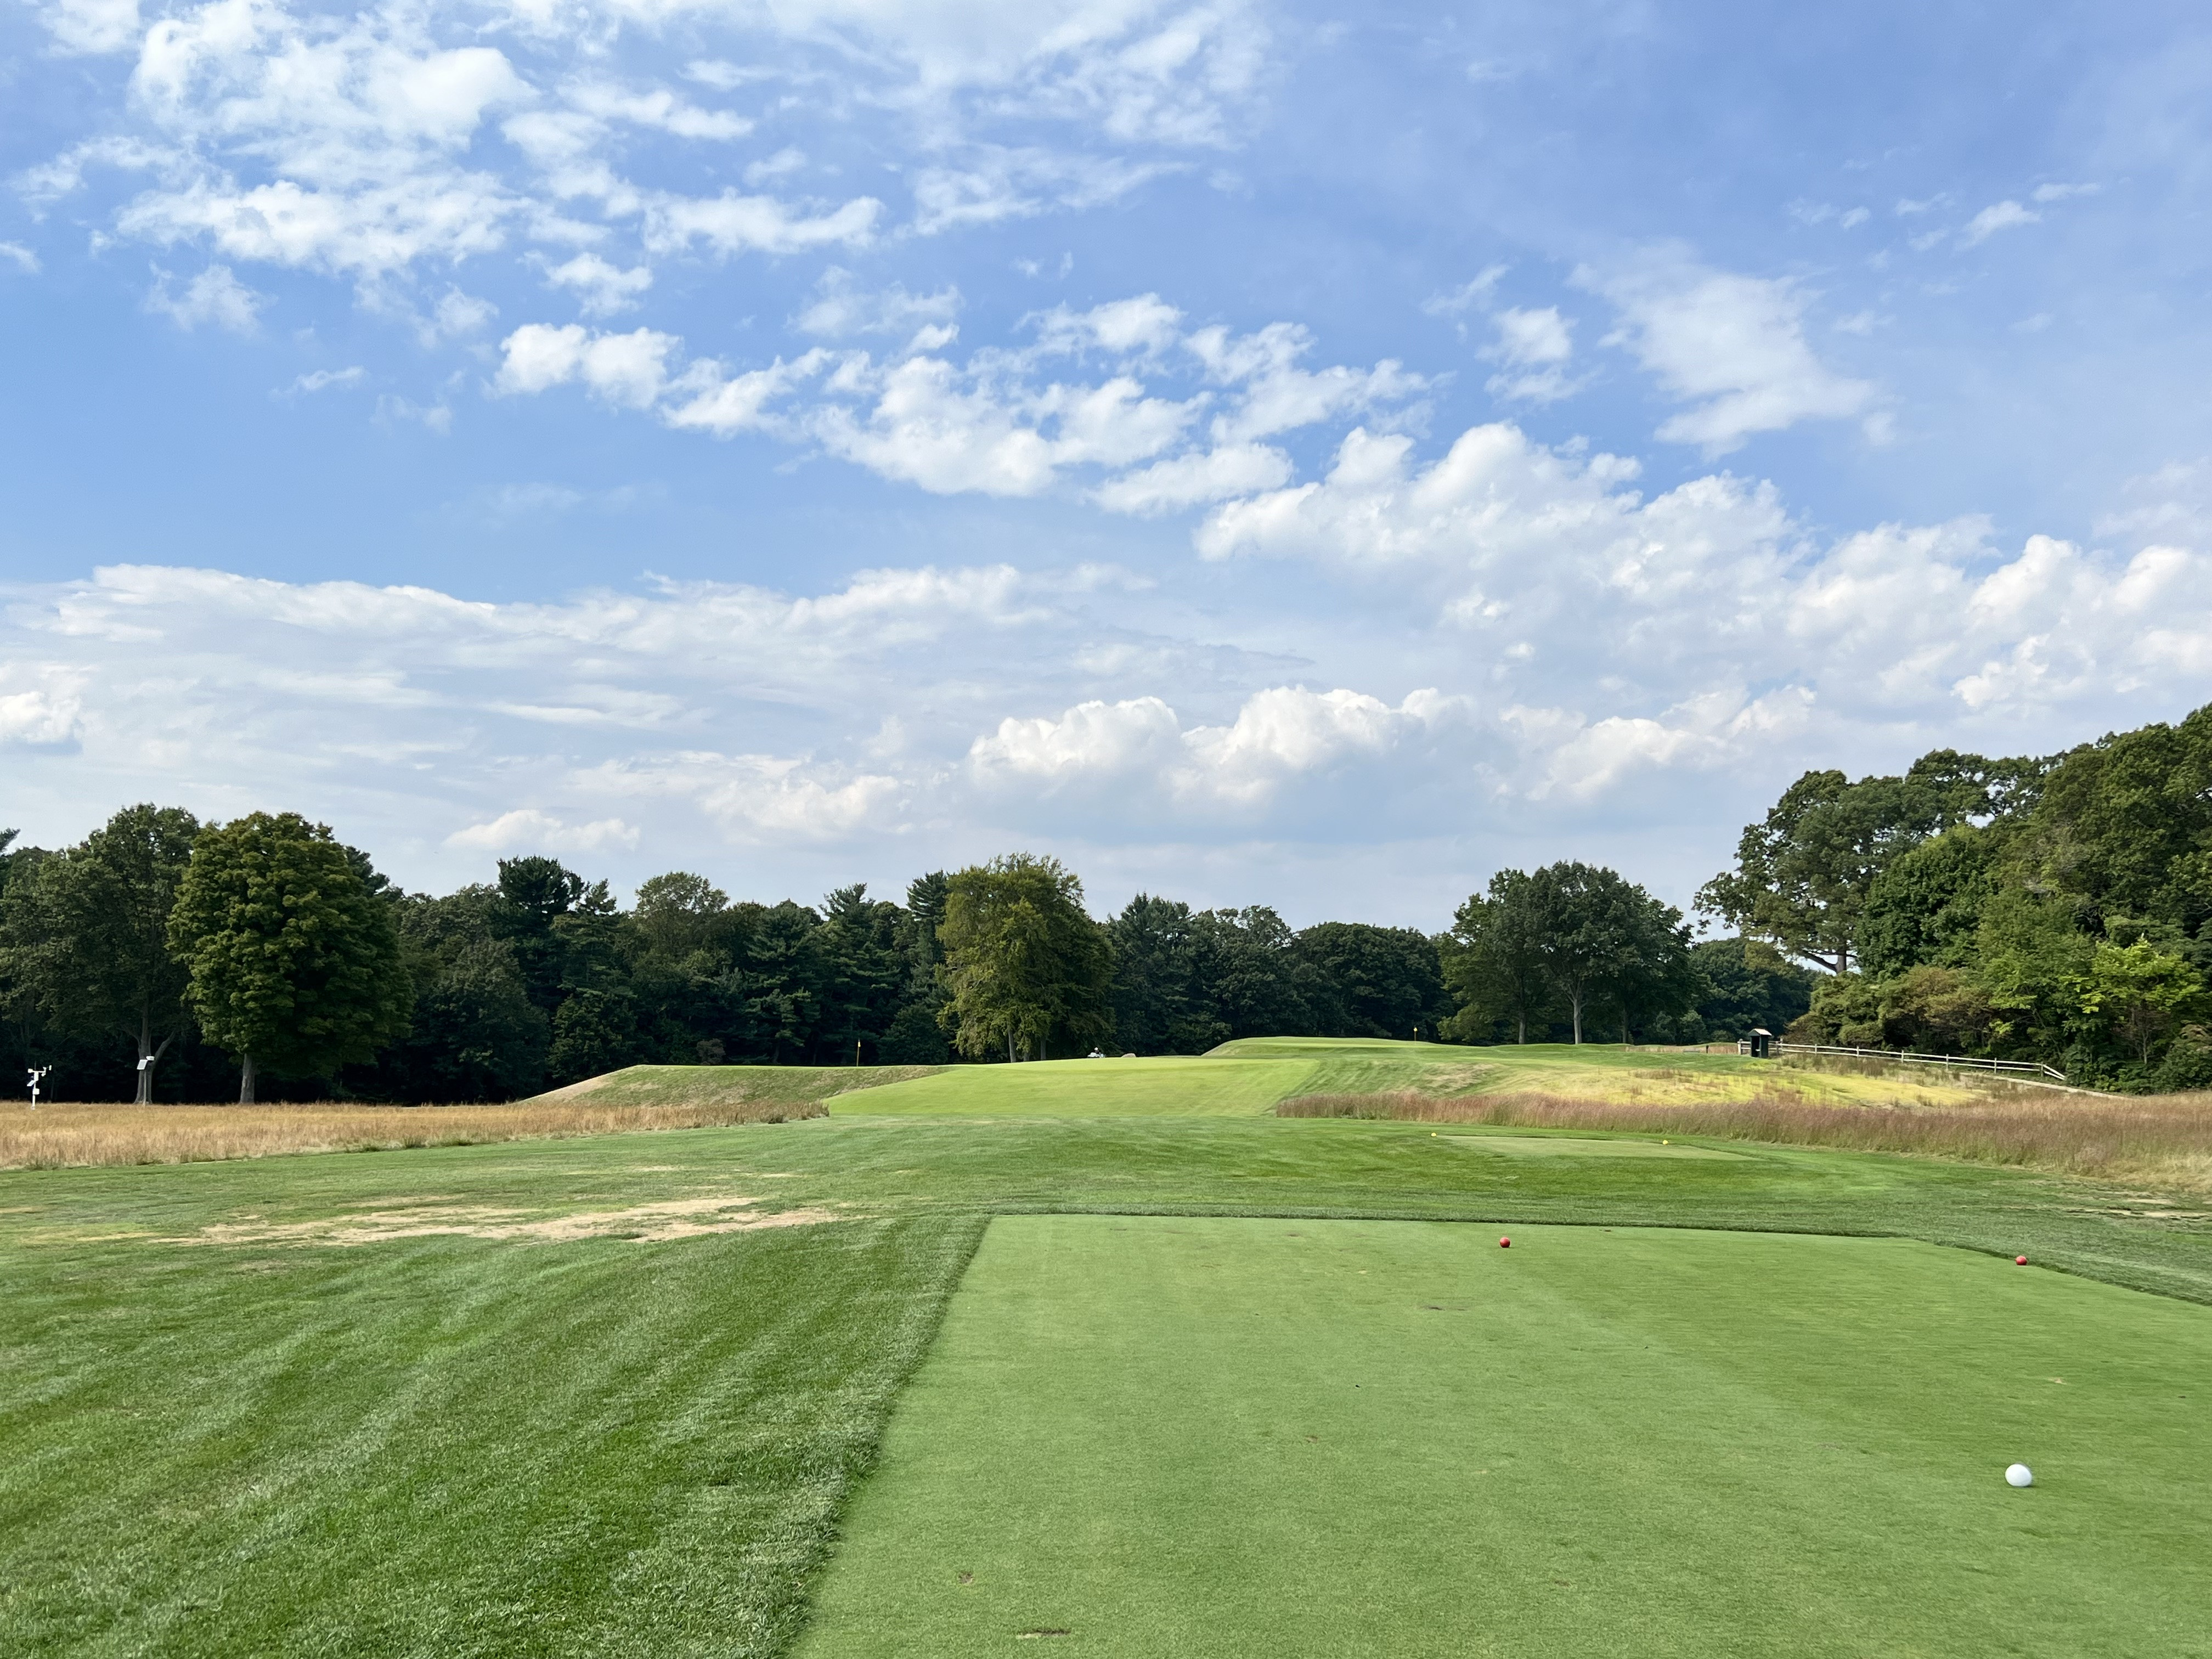
#11: Eleventh Hole “Eden” (Par 3, 170 yards)
“Eden,” a 170-yard par 3, is situated towards the rear of the clubhouse near the racquet courts. The bunkering scheme adheres to the classic Eden template, though the tee shot is not significantly uphill. The green is well-proportioned, making it a commendable representation of the Eden template, primarily based on its size and bunkering.
 The Eleventh
 The Eleventh
 A bit closer
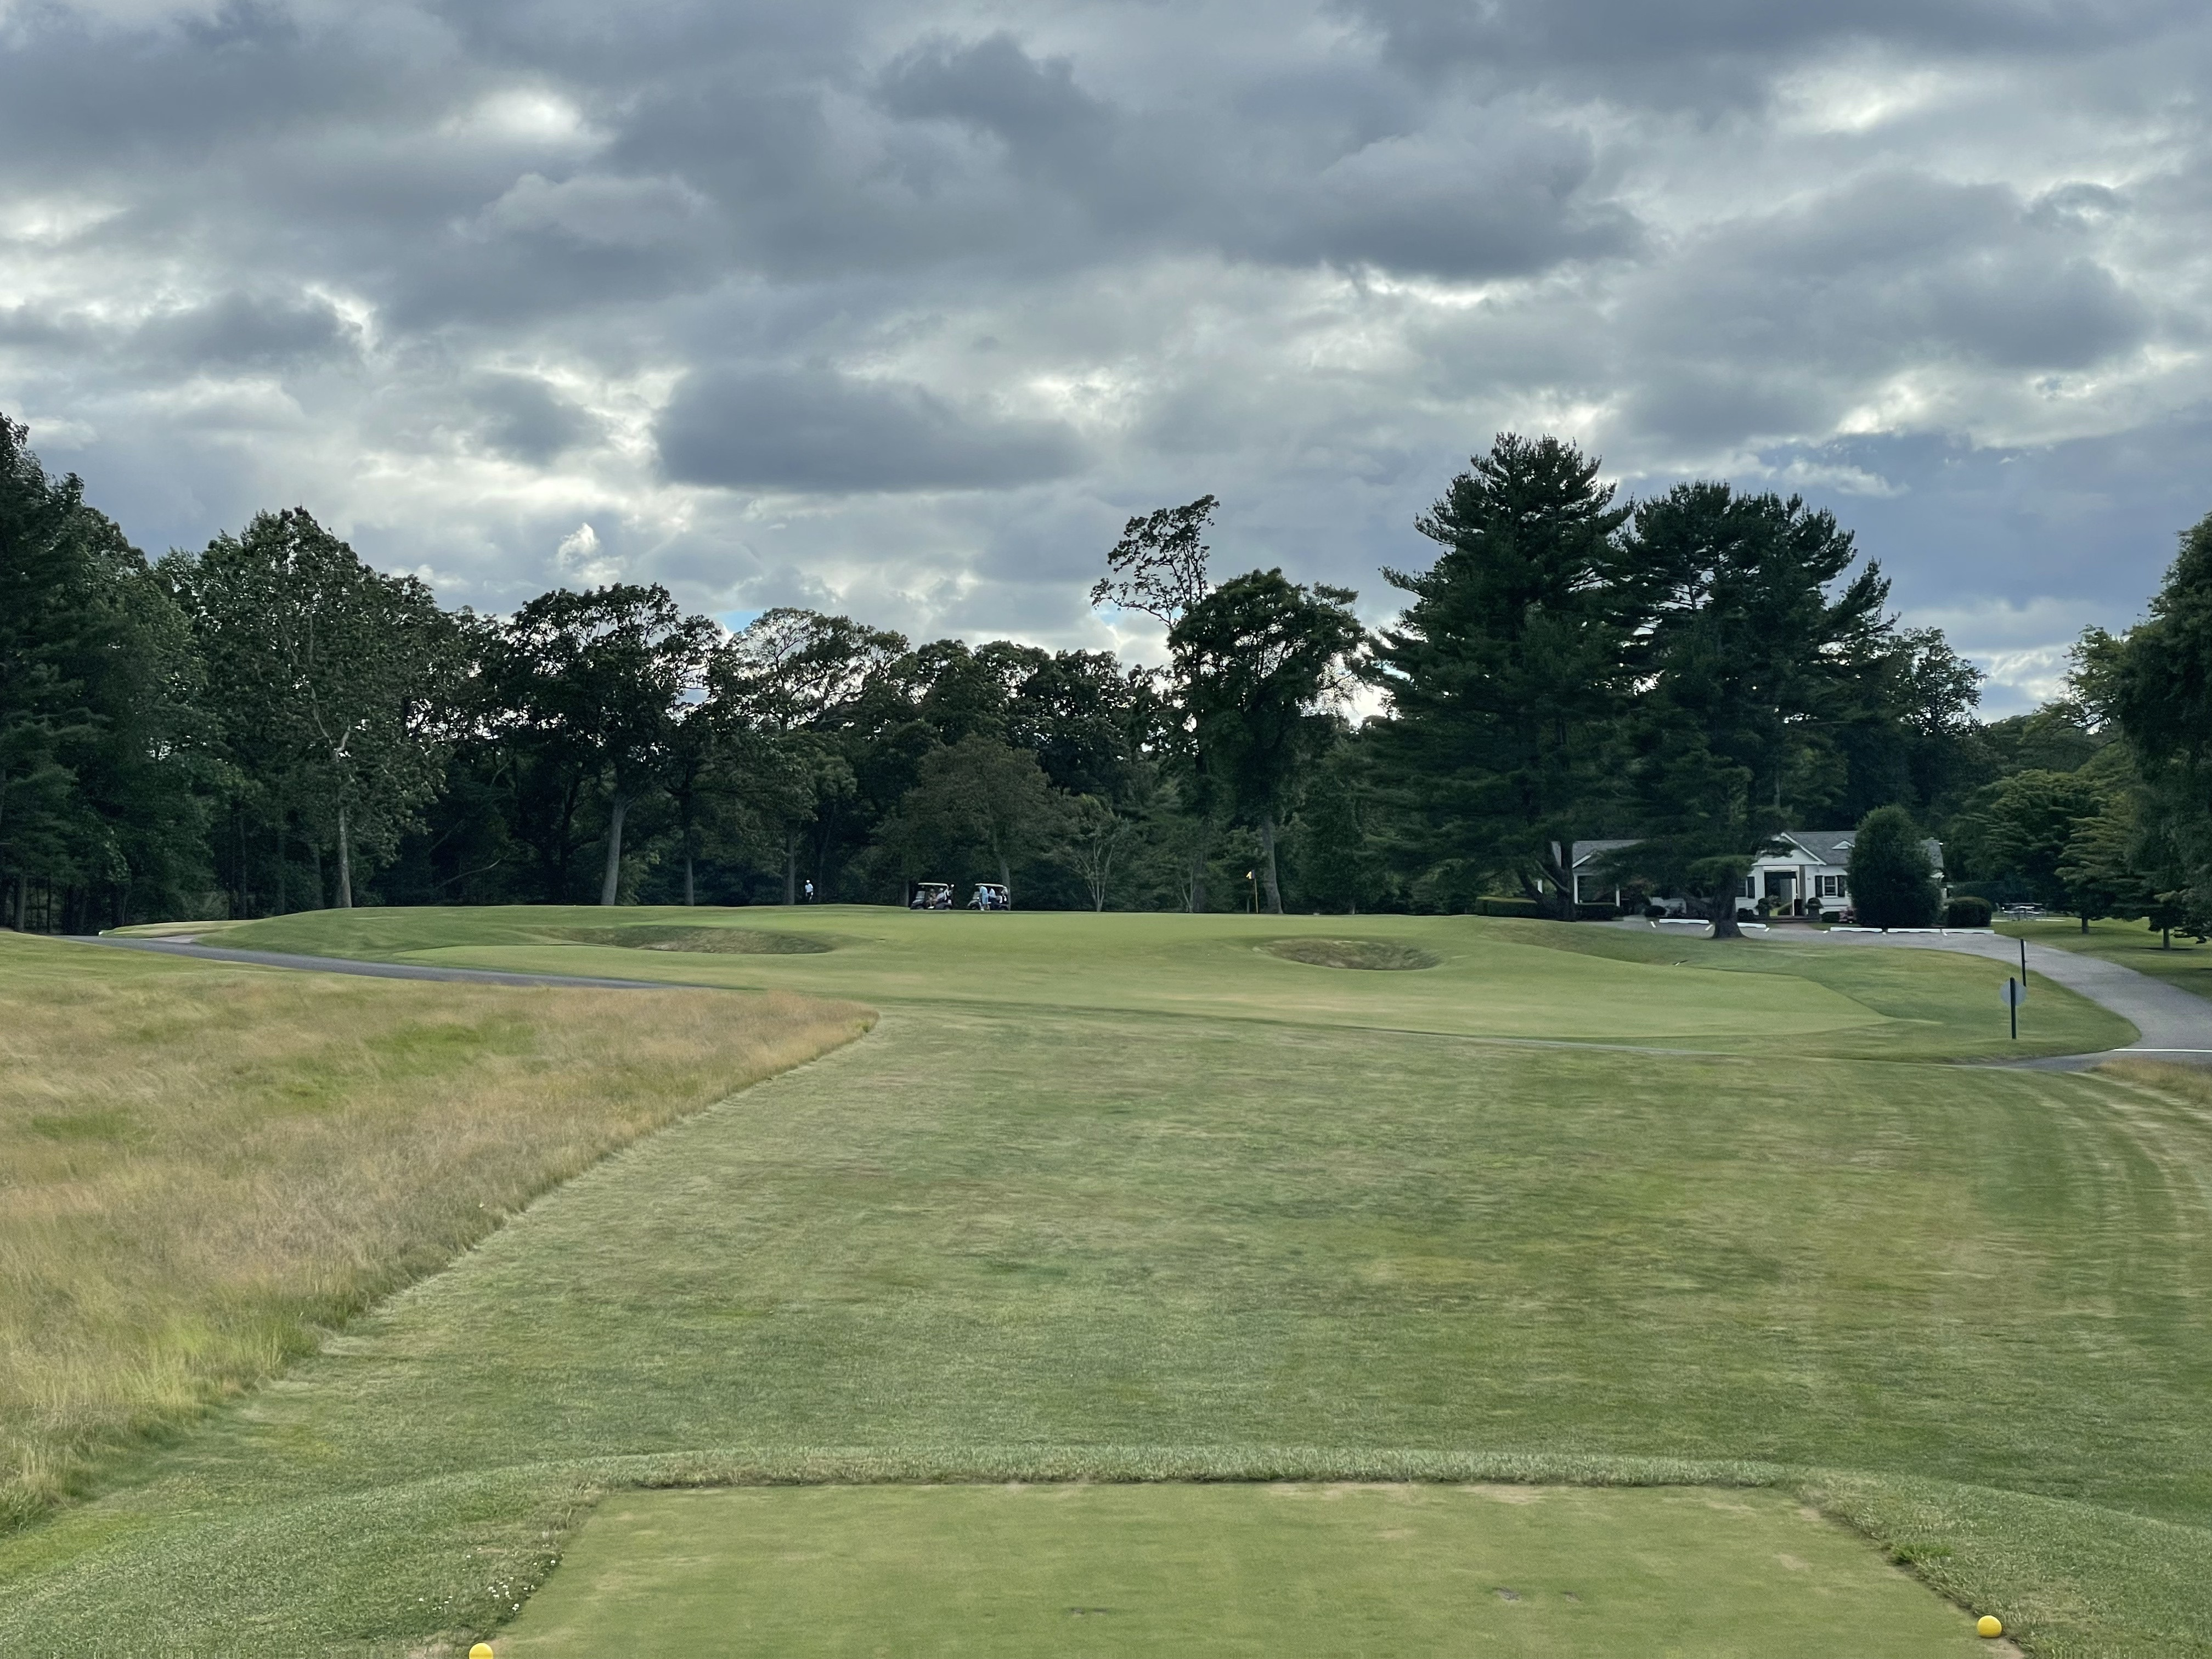
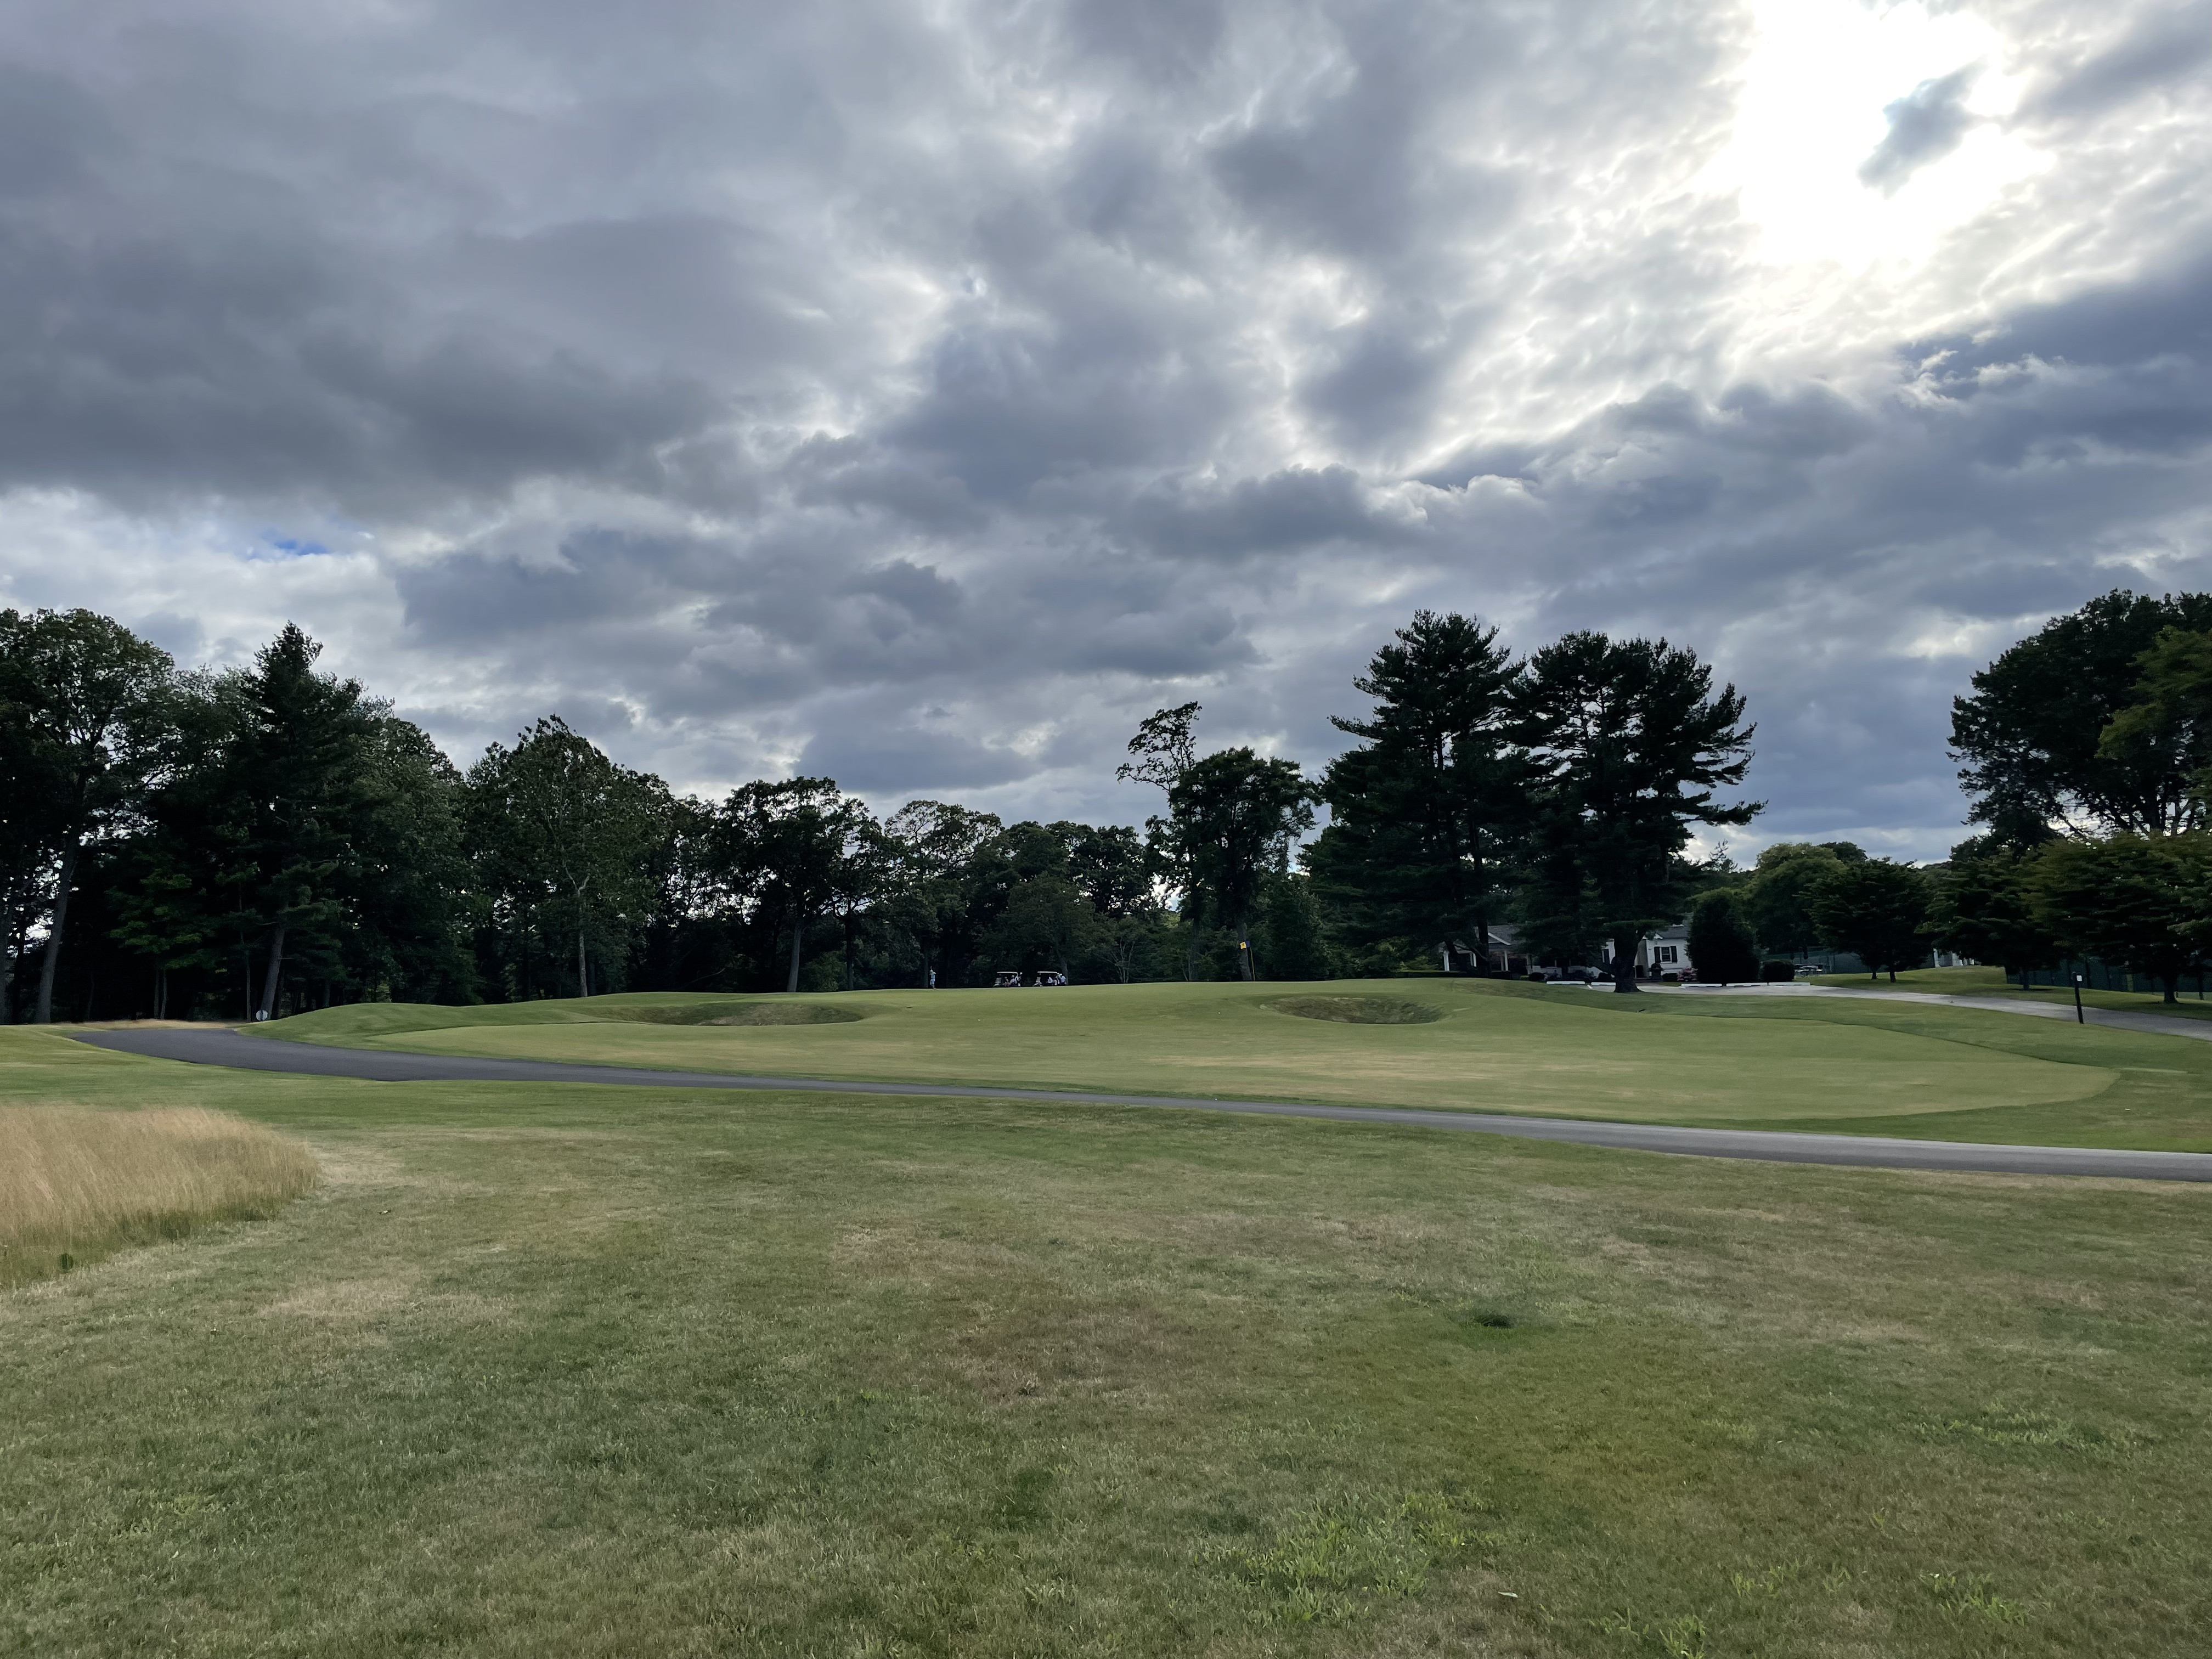
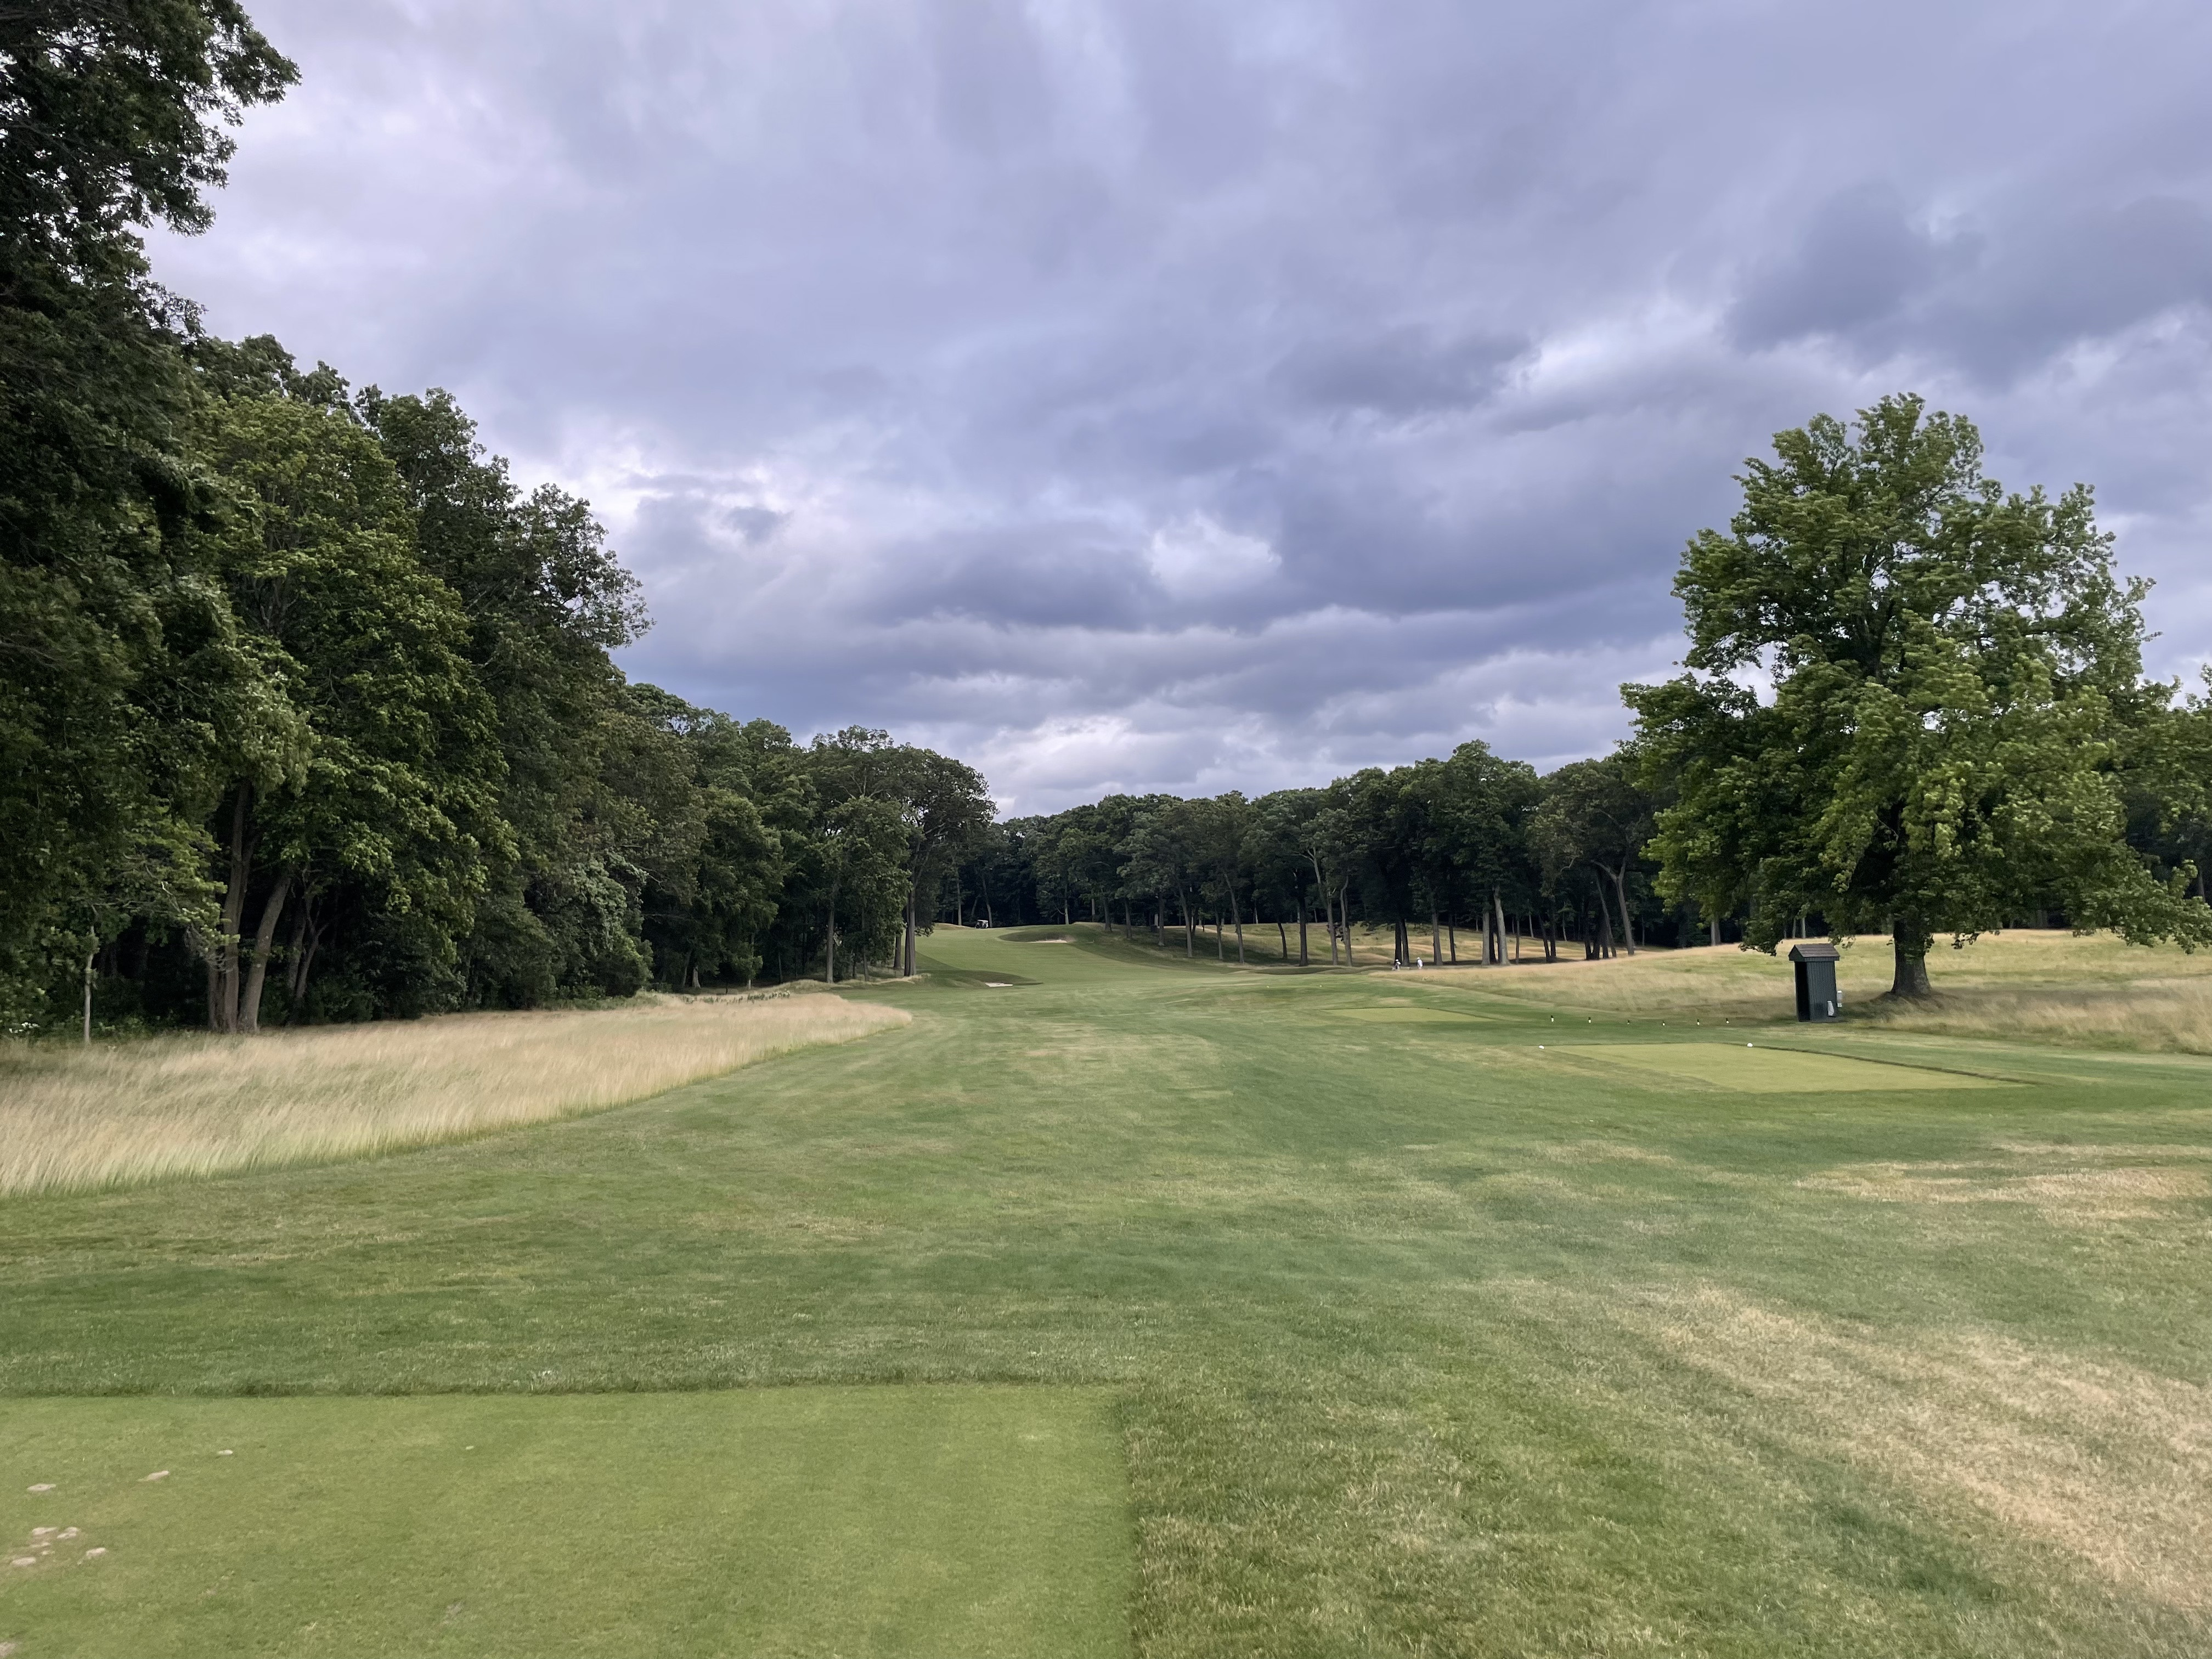
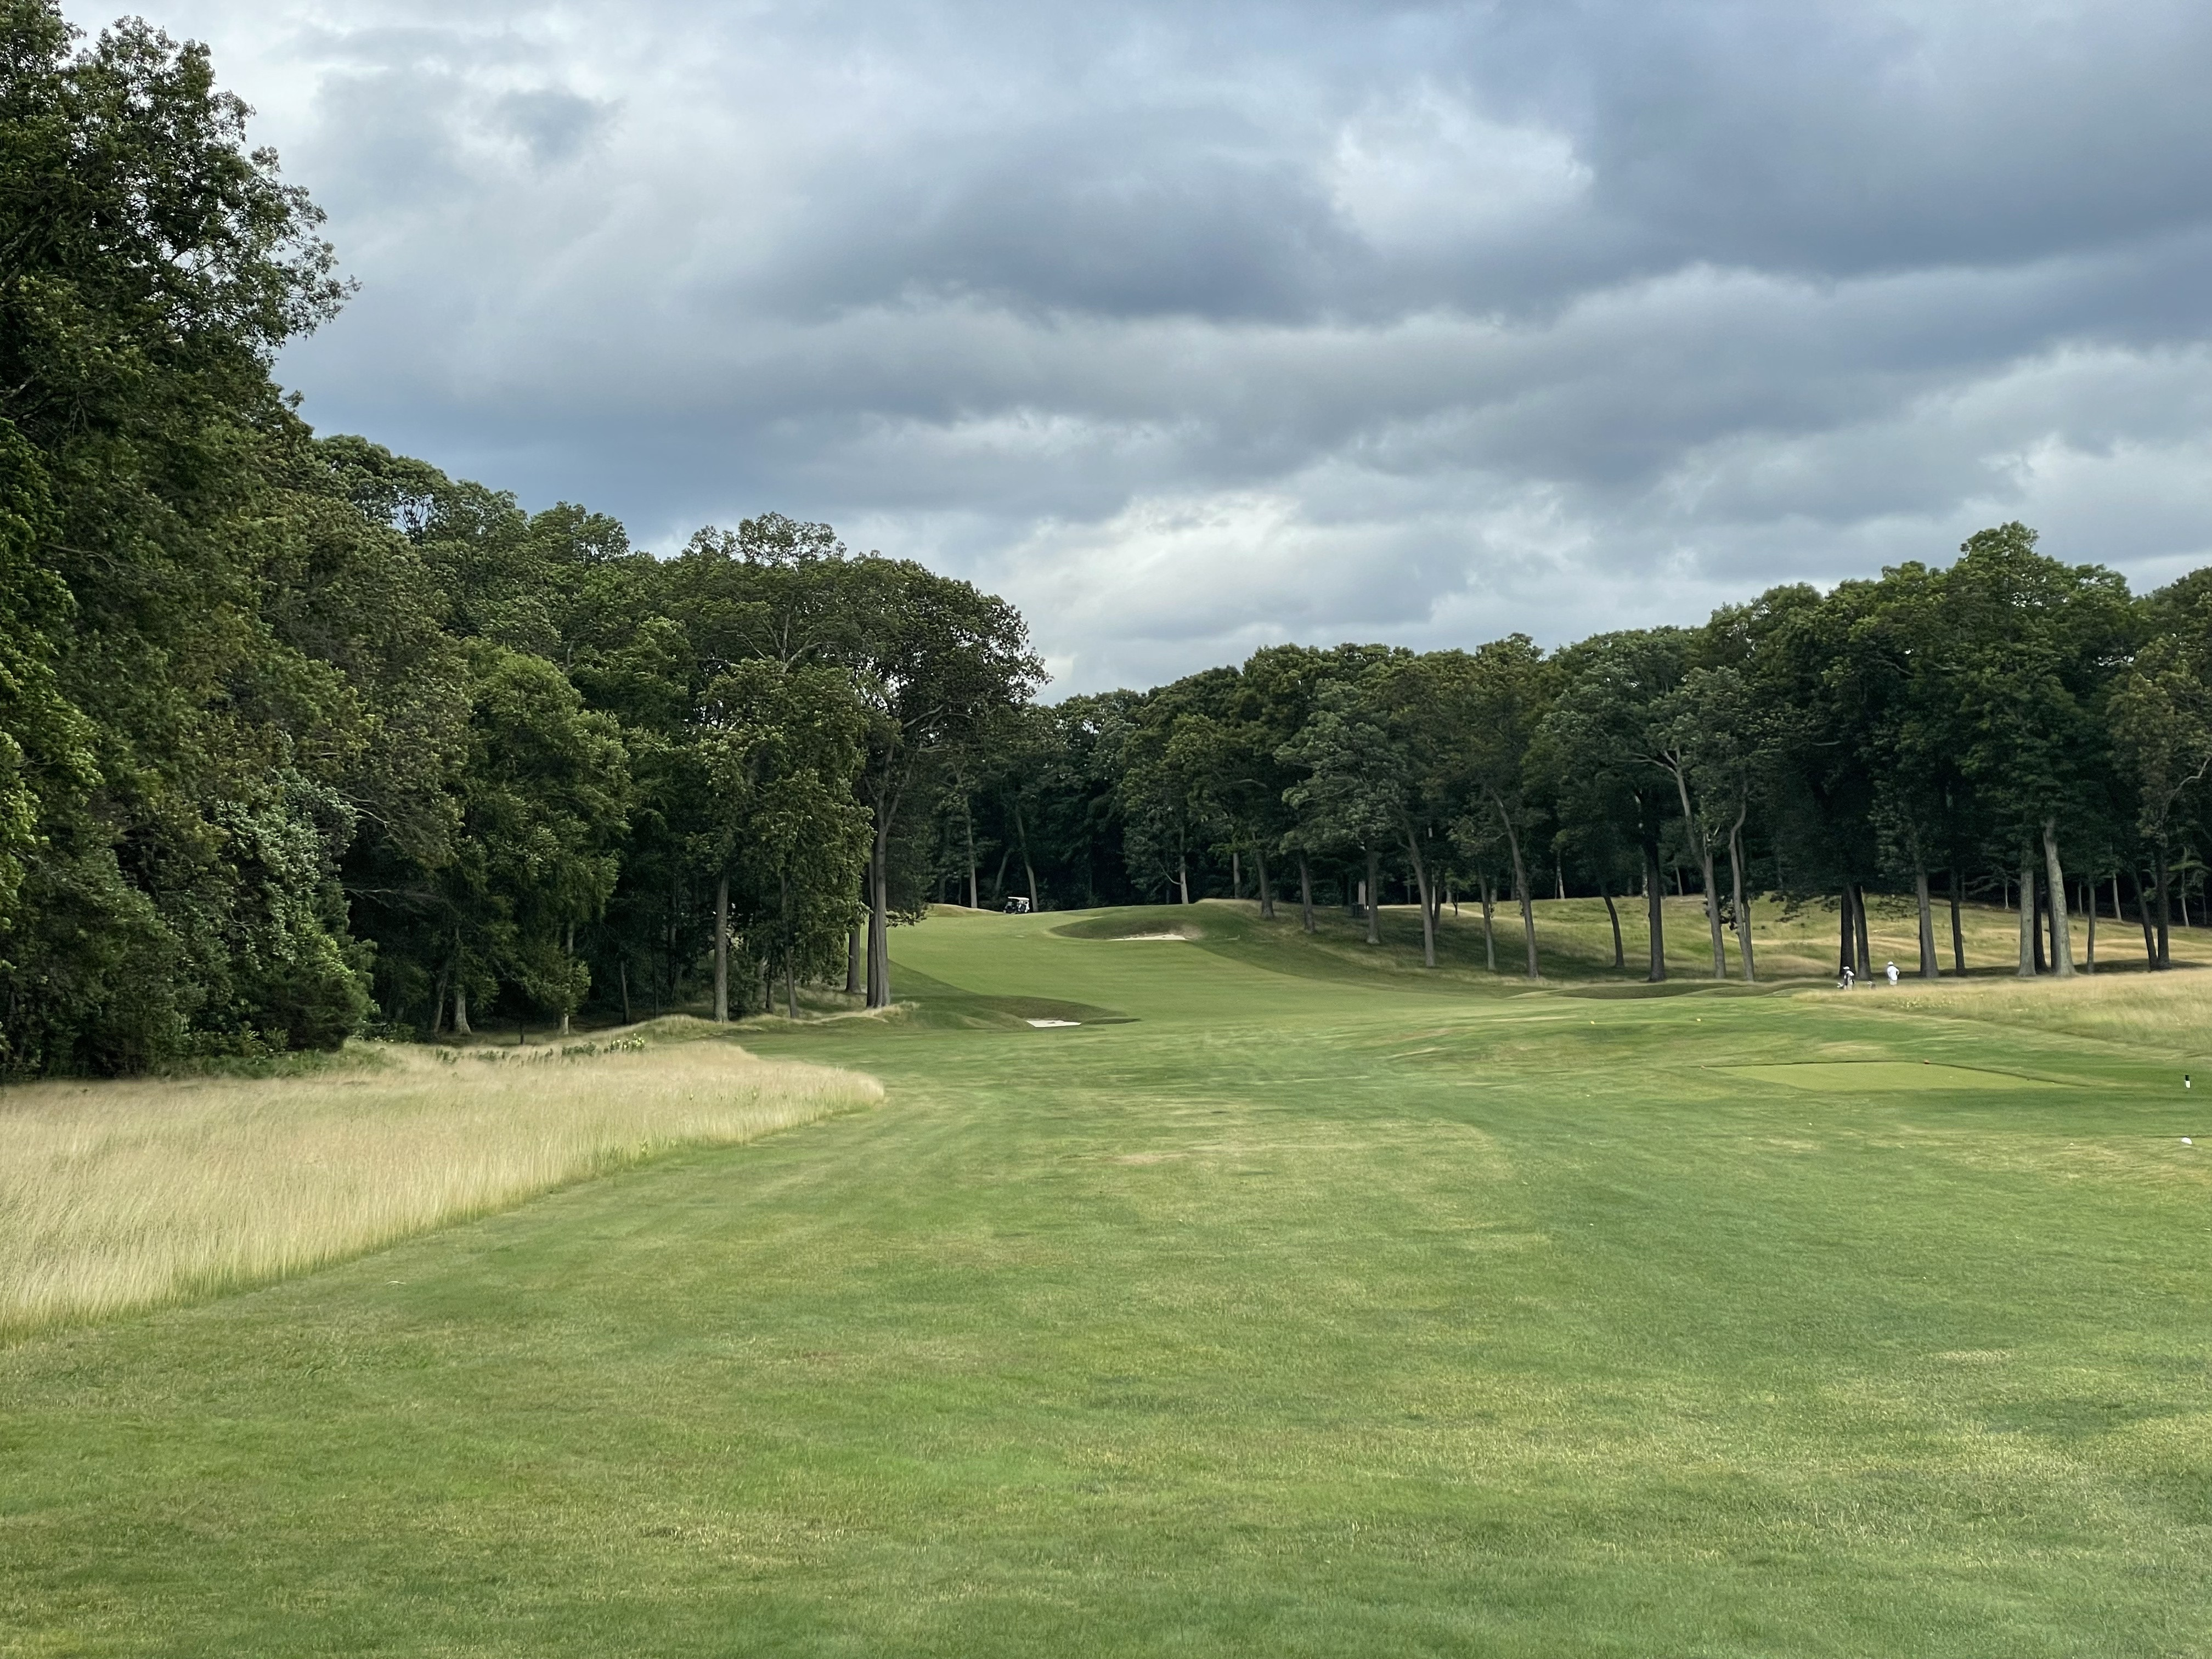
#12: Twelfth Hole “Apple Tree” (Par 4, 392 yards)
“Apple Tree,” a 392-yard par 4, moves away from the clubhouse, initiating a transition into the wooded areas that define the back nine and demonstrate the brilliance of parkland golf structure. A Sahara bunker divides the fairway from the left, requiring a carry and forcing golfers to consider less than driver off the tee unless confident in clearing it entirely. The fairway on the other side leads uphill to the green, which features a large bunker at the rear and flanking bunkers on the sides. Distance control on the approach is paramount.
 The Twelfth
 Approach shot territory
 Pitching territory
 From the right
 The rear side can be seen with the bunkering below
#13: Thirteenth Hole “Knoll” (Par 4, 300 yards)
“Knoll,” a 300-yard par 4, is a well-designed switchback that descends from the tee to the green, which is perched atop a knoll. Golfers must decide whether to aggressively drive close to the green and risk a challenging wedge shot, or play a shorter tee shot for a more manageable approach. The approach is exceptional, as the knoll is unforgiving, with shots and even putts easily rolling off its sides into the depths below. This is a standout hole on the back nine.
 The Thirteenth
 Approach shot territory
 Pitching territory
 The green, looking back
 From the rear
 From the right
 From the right
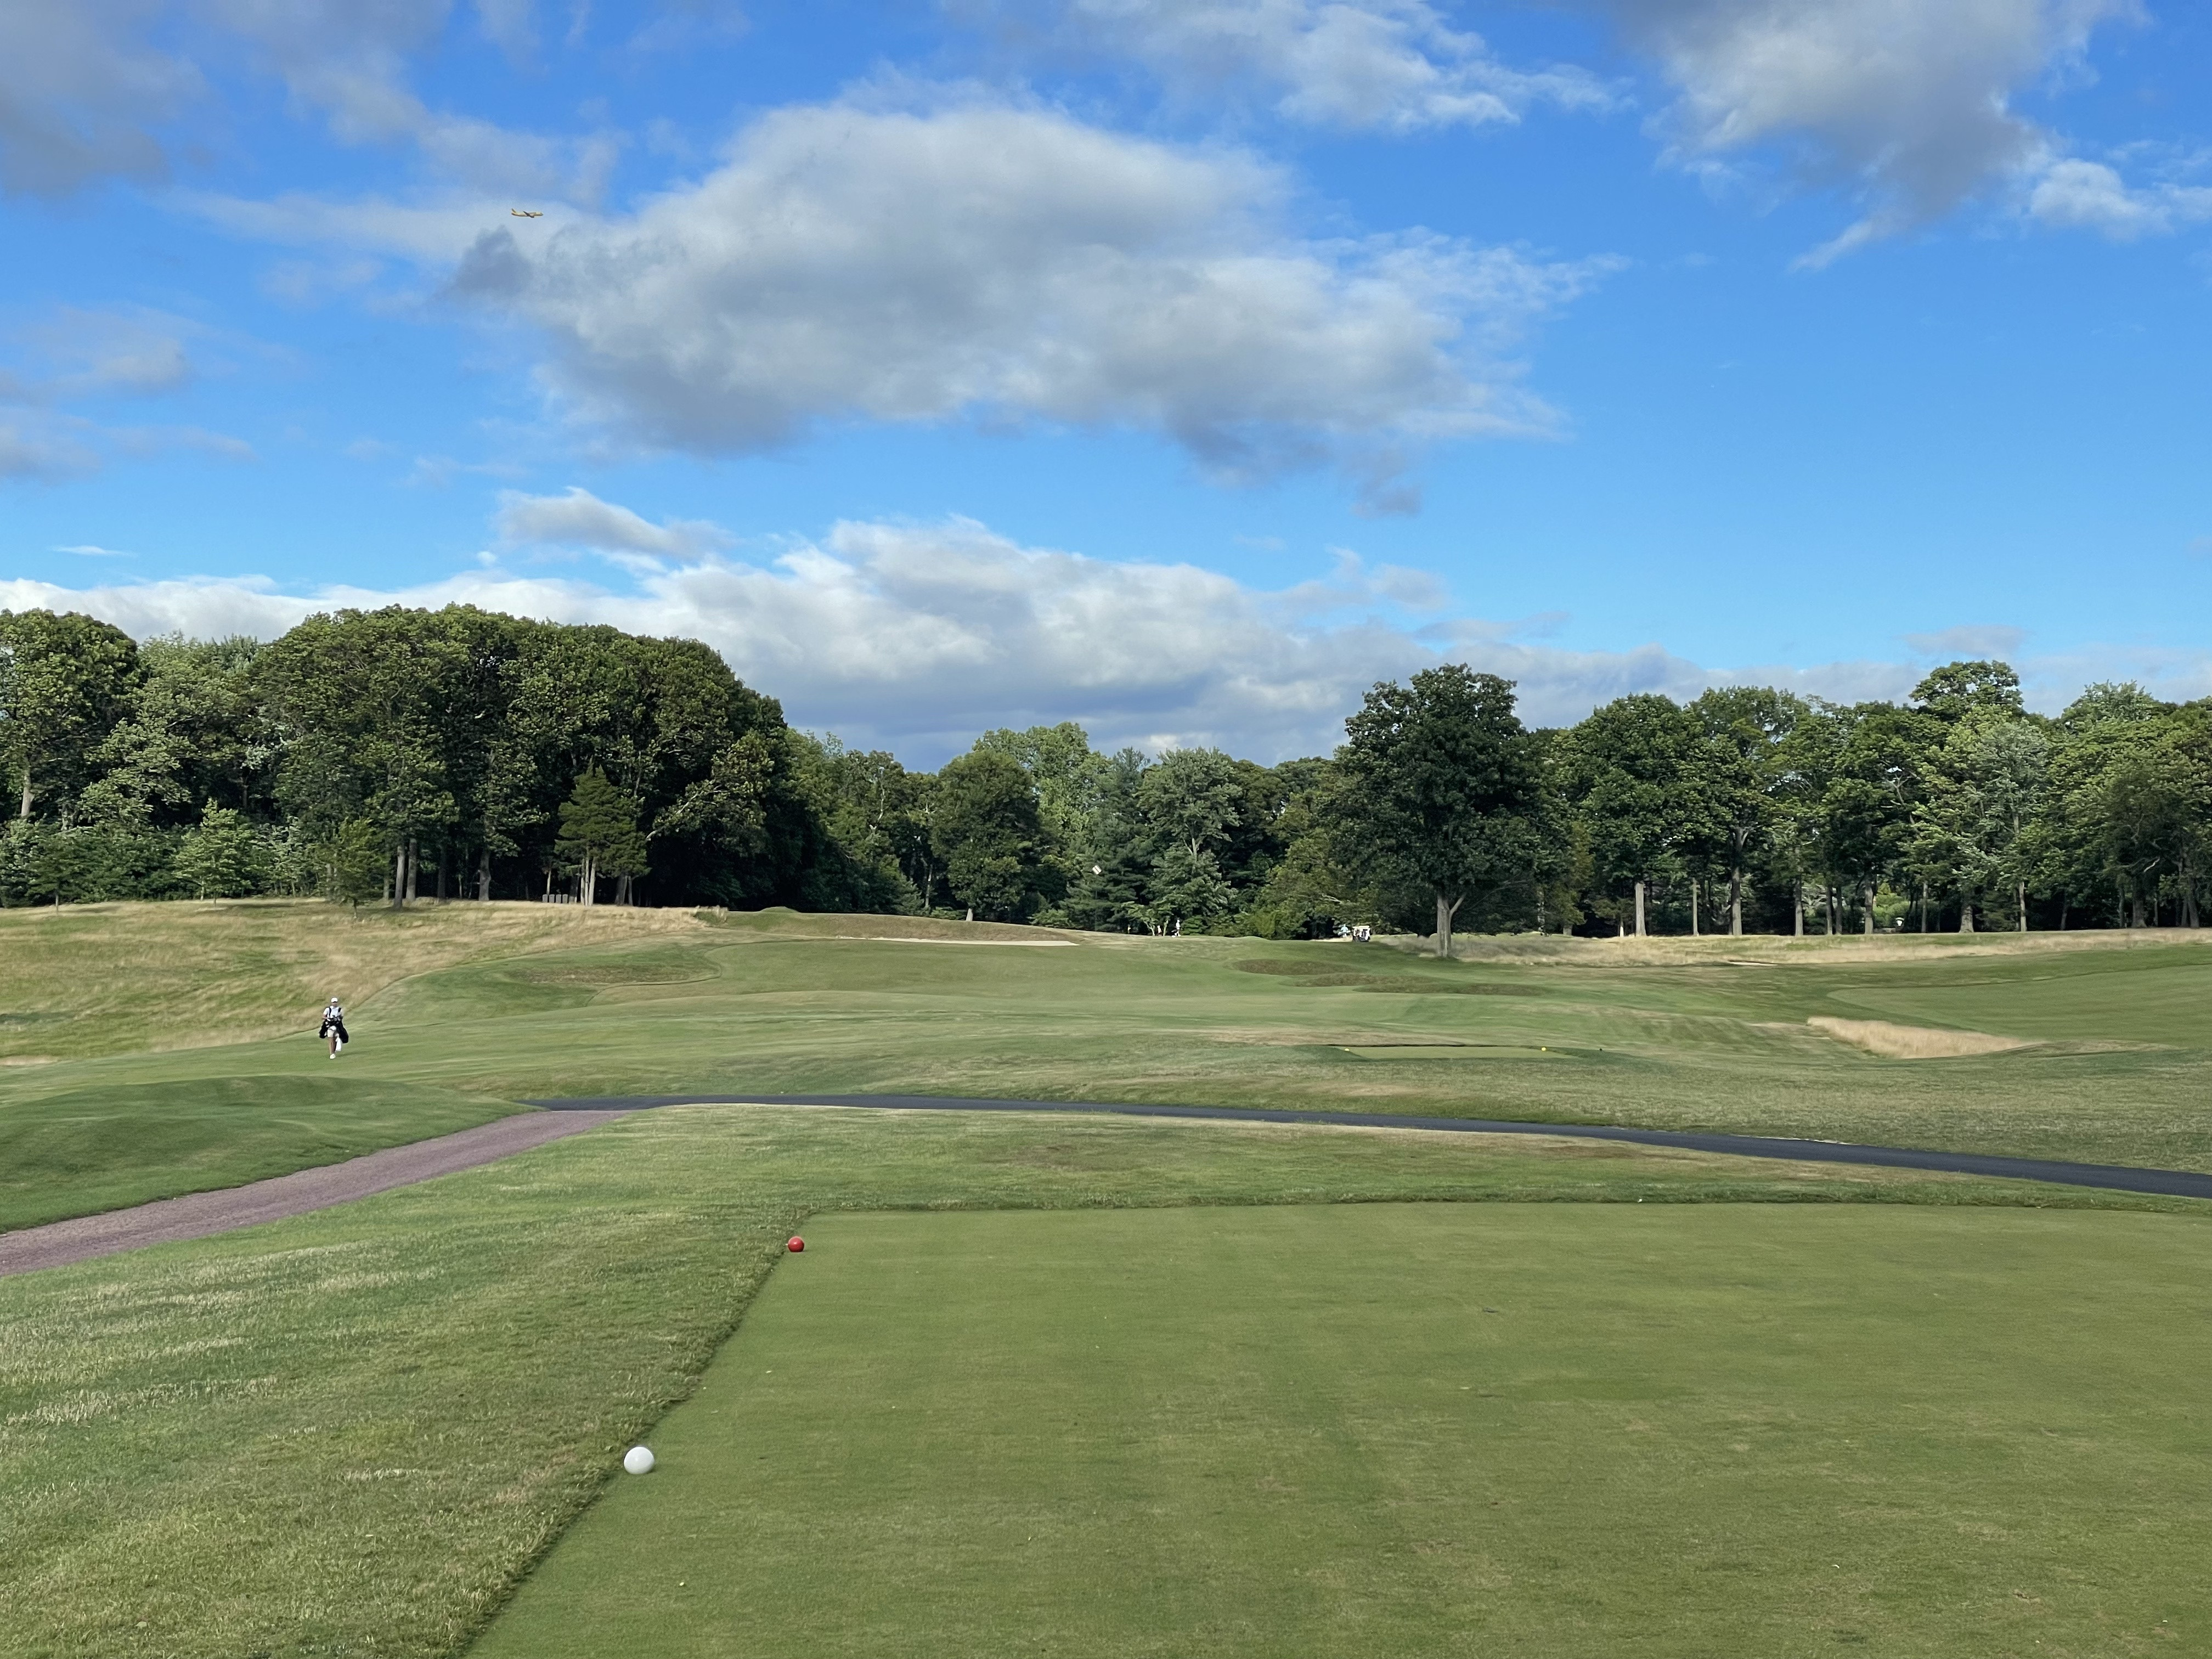
#14: Fourteenth Hole “Field” (Par 4, 437 yards)
“Field,” a 437-yard par 4, ventures further from the clubhouse and is another showcase of brilliant bunkering. Even the initial fairway bunkers after the tee add artistic flair to the hole. Macdonald’s genius for “less is more” is evident in the angled center bunker, which is sufficient to complicate the golfer’s approach and inject strategic interest. The green is slightly raised and, as is characteristic of Piping Rock, bunkers encircle it below the surface.
 The Fourteenth
 The Fourteenth
 The Fourteenth
 Longer approach
 Approach shot territory
 Short approach
 Pitching territory
 The green
#15: Fifteenth Hole “Brow” (Par 4, 411 yards)
“Brow,” a 411-yard par 4 dogleg left, takes golfers to the furthest point from the clubhouse. Similar to the tenth hole in its turn and uphill climb to the green, bunkers on both sides of the dogleg are the initial focal point from the tee. Near the green, bunkering is again prominent, with the right bunker creating the illusion of a substantial false front. The green is large and terrifically undulating, making downhill putts particularly nerve-wracking.
 The Fifteenth
 The Fifteenth
 Approach shot territory
#16: Sixteenth Hole “Valley” (Par 4, 388 yards)
“Valley,” a 388-yard par 4, initiates the return to the clubhouse, teeing off from the hill where the fifteenth green is located. The fairway lies below and turns left early, requiring tee shots to account for this turn. The hole then climbs back uphill to the green, which slopes heavily to the right towards a couple of bunkers on that side, making a left-side approach advisable.
 The Sixteenth
 Approach shot territory
 Pitching territory
 Pitching territory
 The green
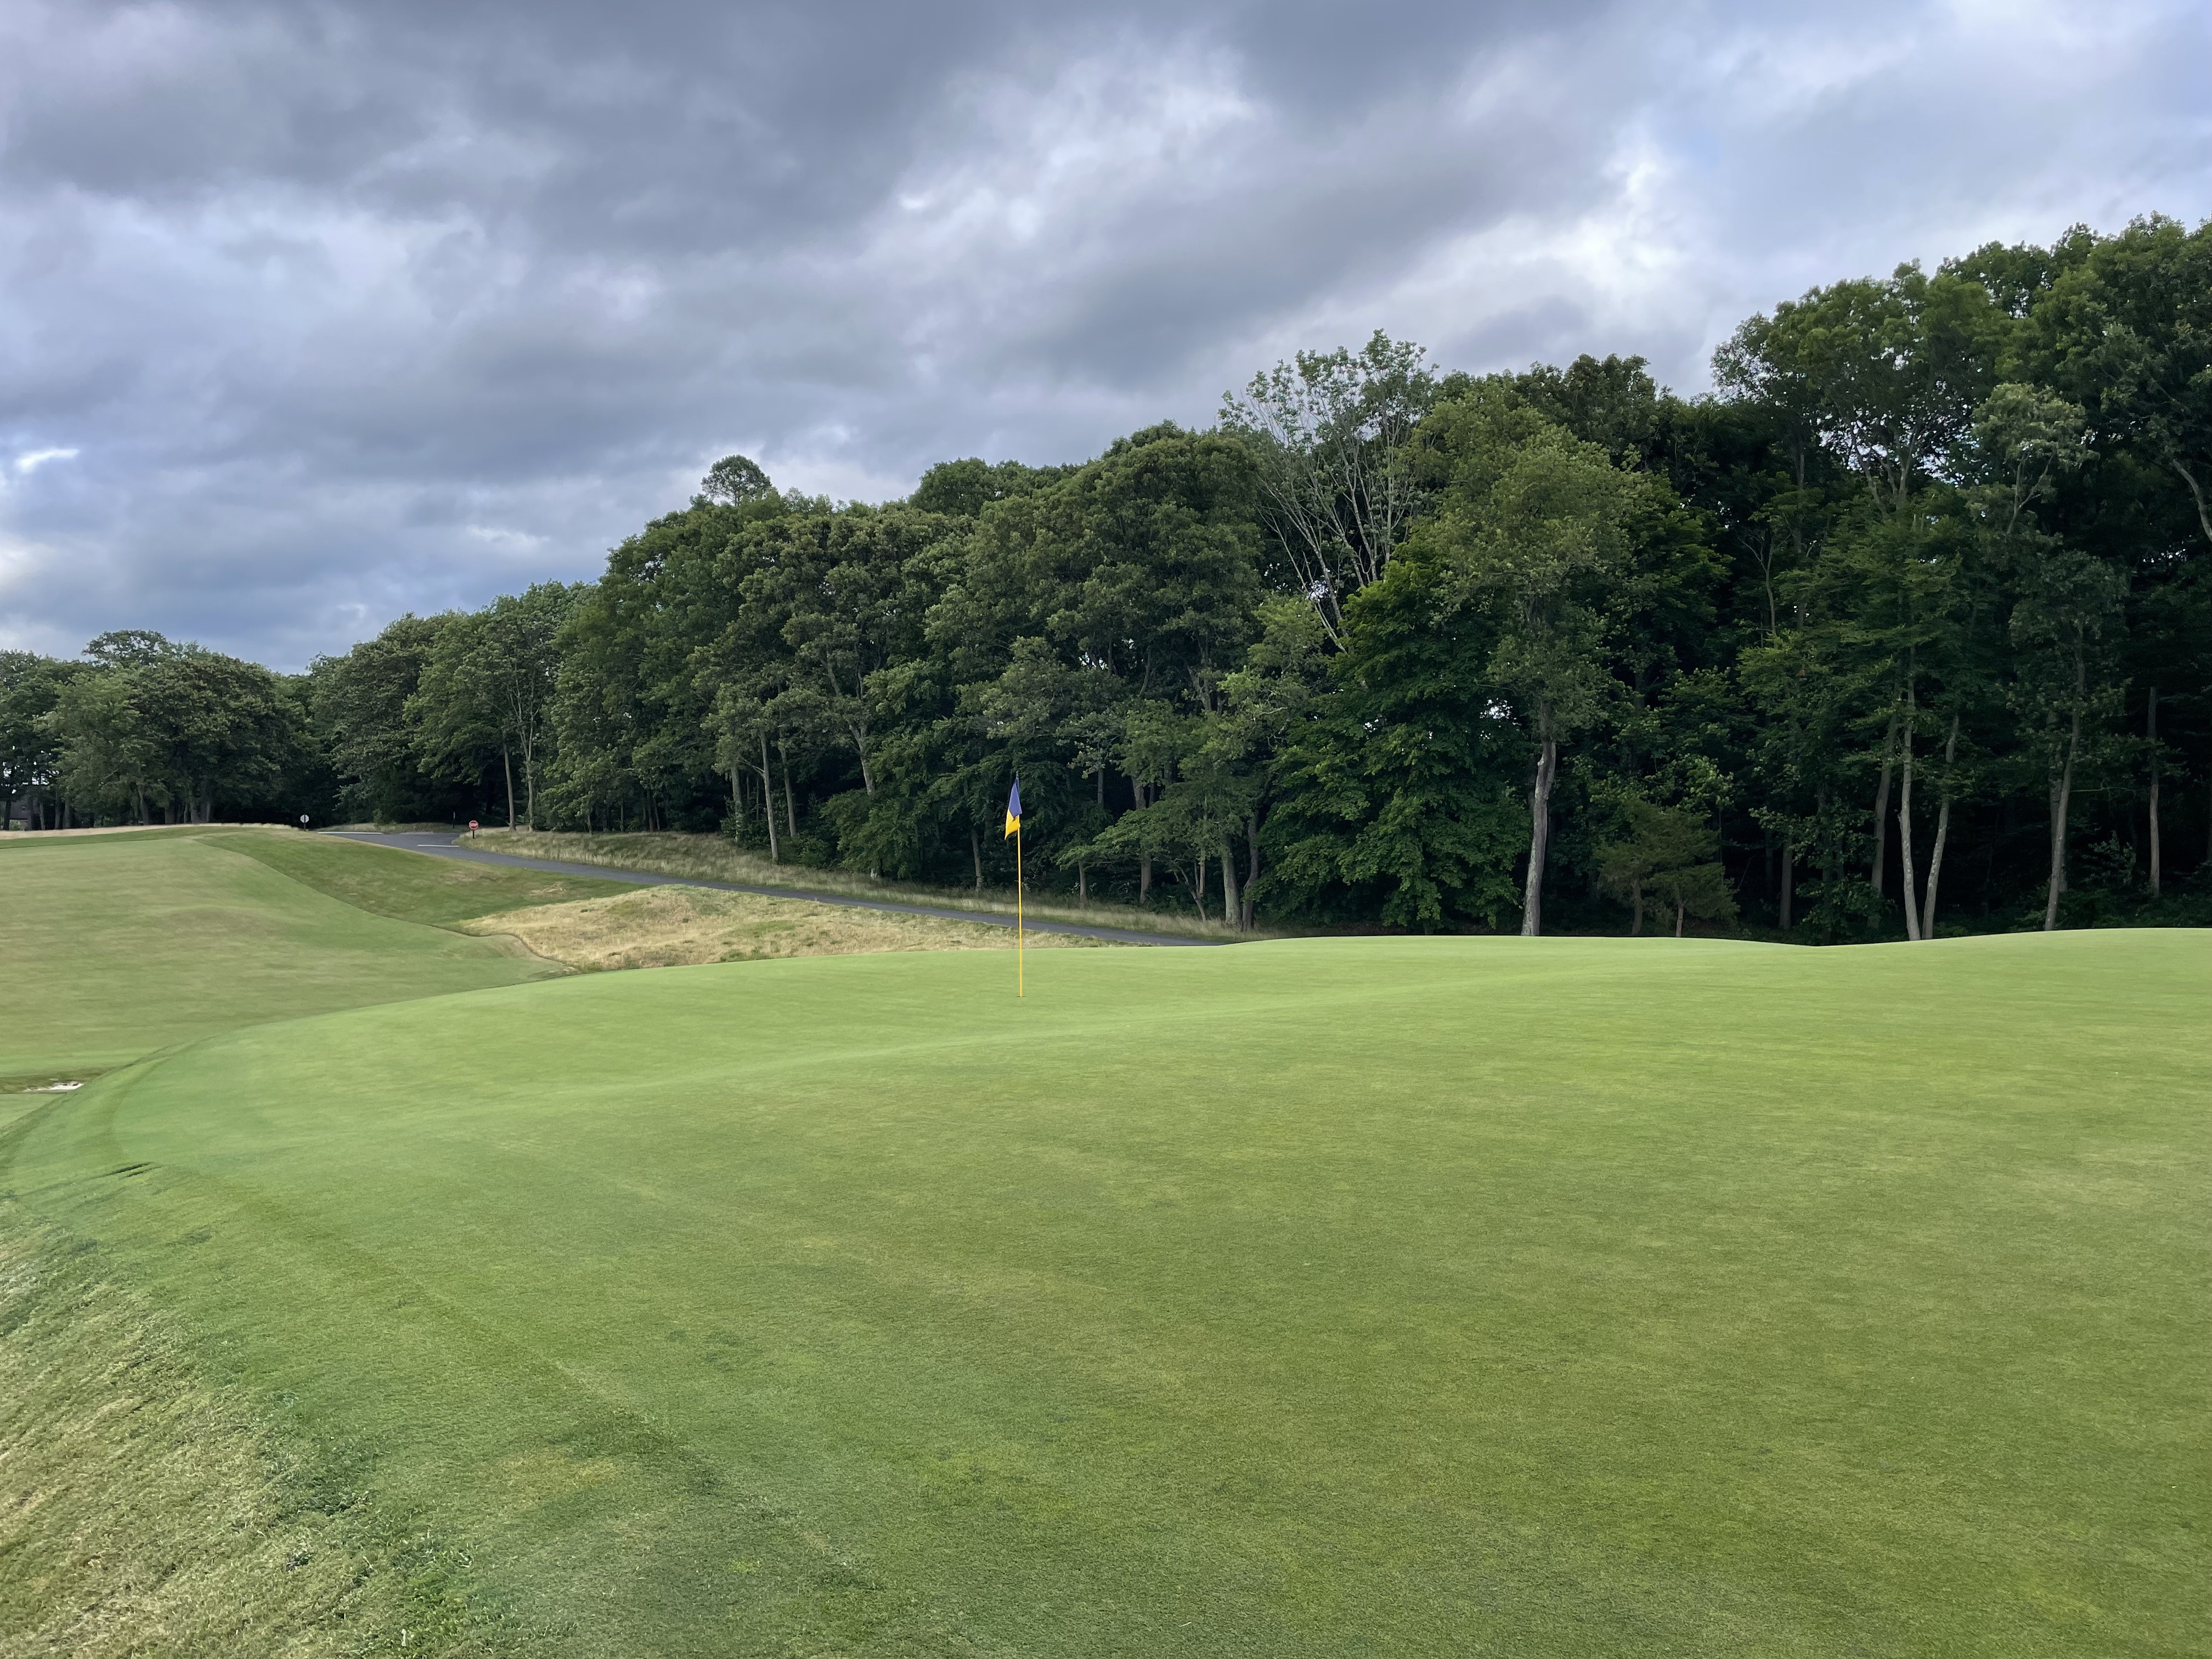
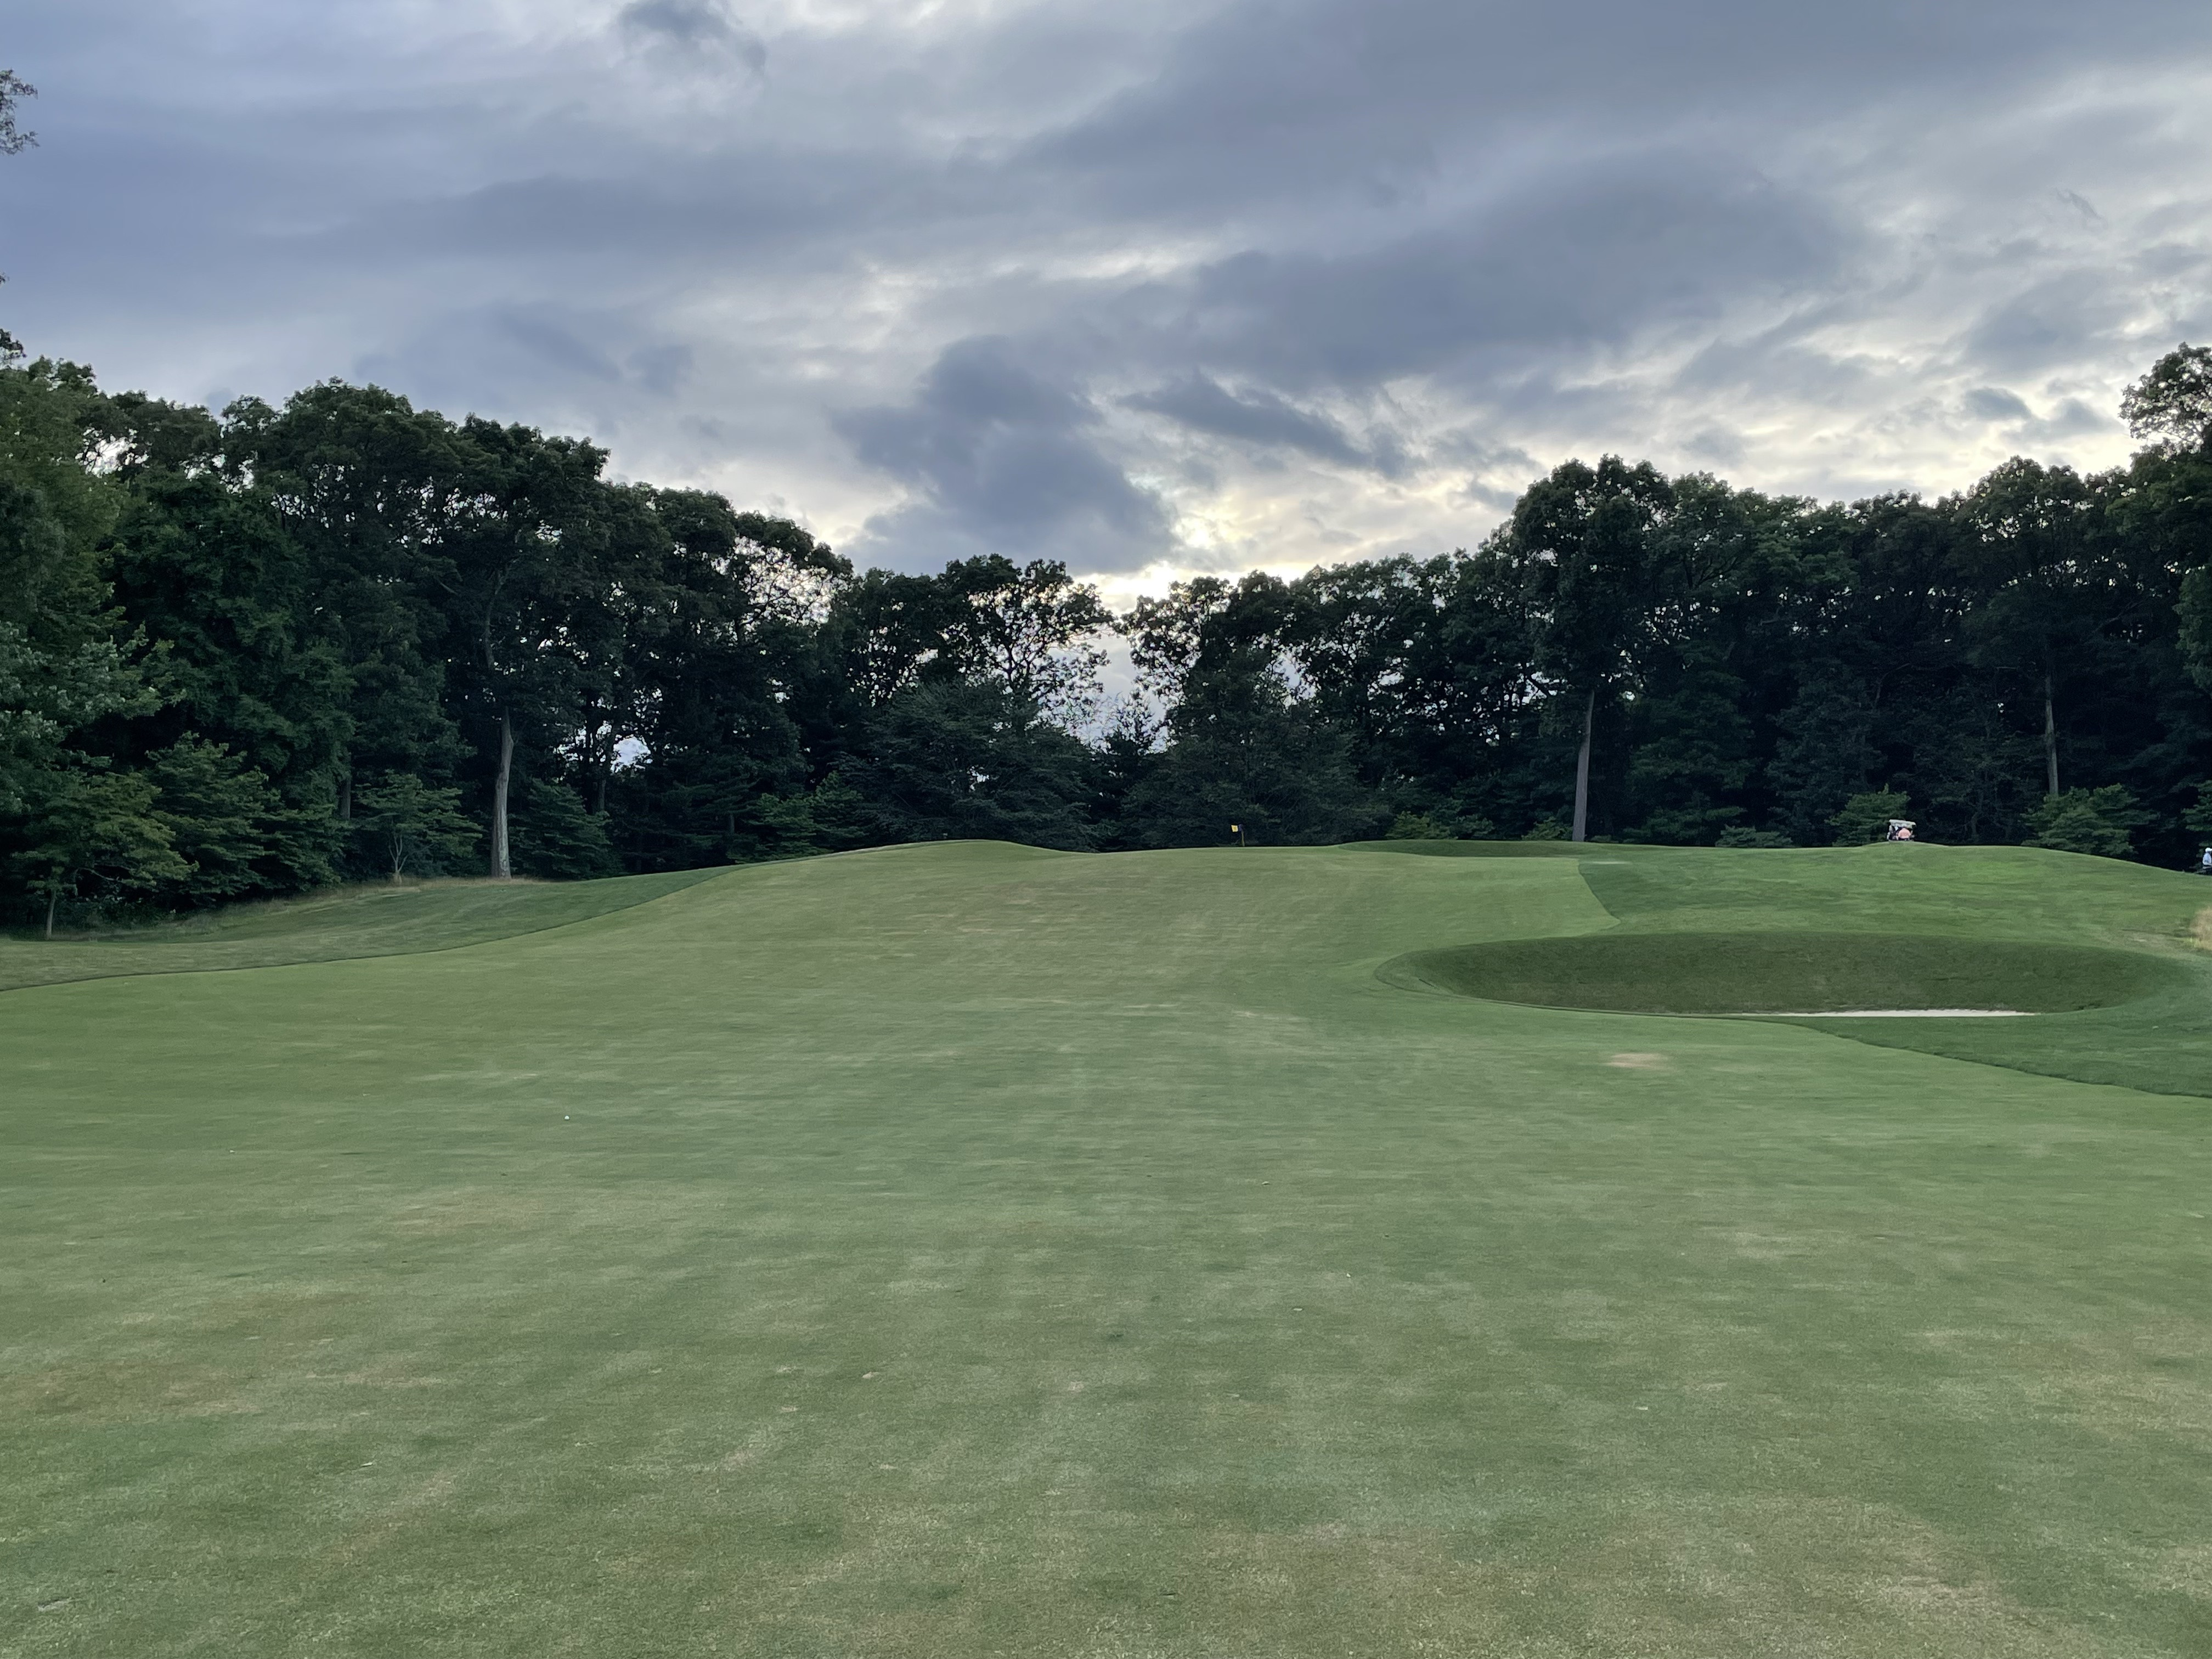
#17: Seventeenth Hole “Short” (Par 3, 149 yards)
“Short,” a 149-yard par 3, the final par 3, plays to a grand, wide green. The bunkering effectively mimics a moat encircling the green, which basks in sunlight. The green’s internal contours pose significant challenges, especially for long putts spanning from one side to the other.
 The Seventeenth
 The Seventeenth
 From the rear
 The Seventeenth
 The Seventeenth
 The Seventeenth
#18: Eighteenth Hole “Home” (Par 5, 545 yards)
“Home,” a 545-yard par 5, brings the round back to the clubhouse. Similar to the Valley hole, the tee shot descends initially, requiring careful navigation of bunkers on both sides to maximize the advantage of the downhill slope. The hole then ascends to the green. Determining the ideal landing area for the second shot, considering the hills and setting up the third shot, is part of the strategic fun. The green slopes back towards the fairway, and bunkers remain positioned around the green, below the surface. Utilizing the hills effectively can shorten this par 5, but errant shots can lead to a much more challenging final approach.
 The Eighteenth
 The Eighteenth
 Moving down the fairway
 Moving down the fairway
 Short approach
The back nine at Piping Rock is set on hillier terrain, incorporating woodlands more significantly into the playing structure compared to the front nine. This generally increases the challenge, but the varied hole distances maintain strategic interest and enjoyment. Standout holes on the back nine include the 13th, 14th, 12th, 18th, 10th, 11th, 17th, 15th, and 16th in order of preference.
Overall Impression of Piping Rock Club
Piping Rock stands as an elite example of Macdonald’s template design principles. The routing across the hills, the seamless transition from open fields to wooded areas, and the strategic placement of green sites are all remarkable. However, the hazard placement is particularly exceptional, arguably among the best examples of its kind. Each bunker is thoughtfully positioned, without overwhelming the terrain or visuals. They serve as strategic obstacles that demand careful consideration, rewarding golfers who apply past experiences and knowledge. The effective use of width is also notable, demonstrating how trees can enhance design without constricting playing corridors. Piping Rock is a quintessential golf course, a shining illustration of what can be achieved with sound and meticulous design, even on inland terrain initially considered secondary. Macdonald’s legendary status is unequivocally justified, and Piping Rock provides compelling evidence why.
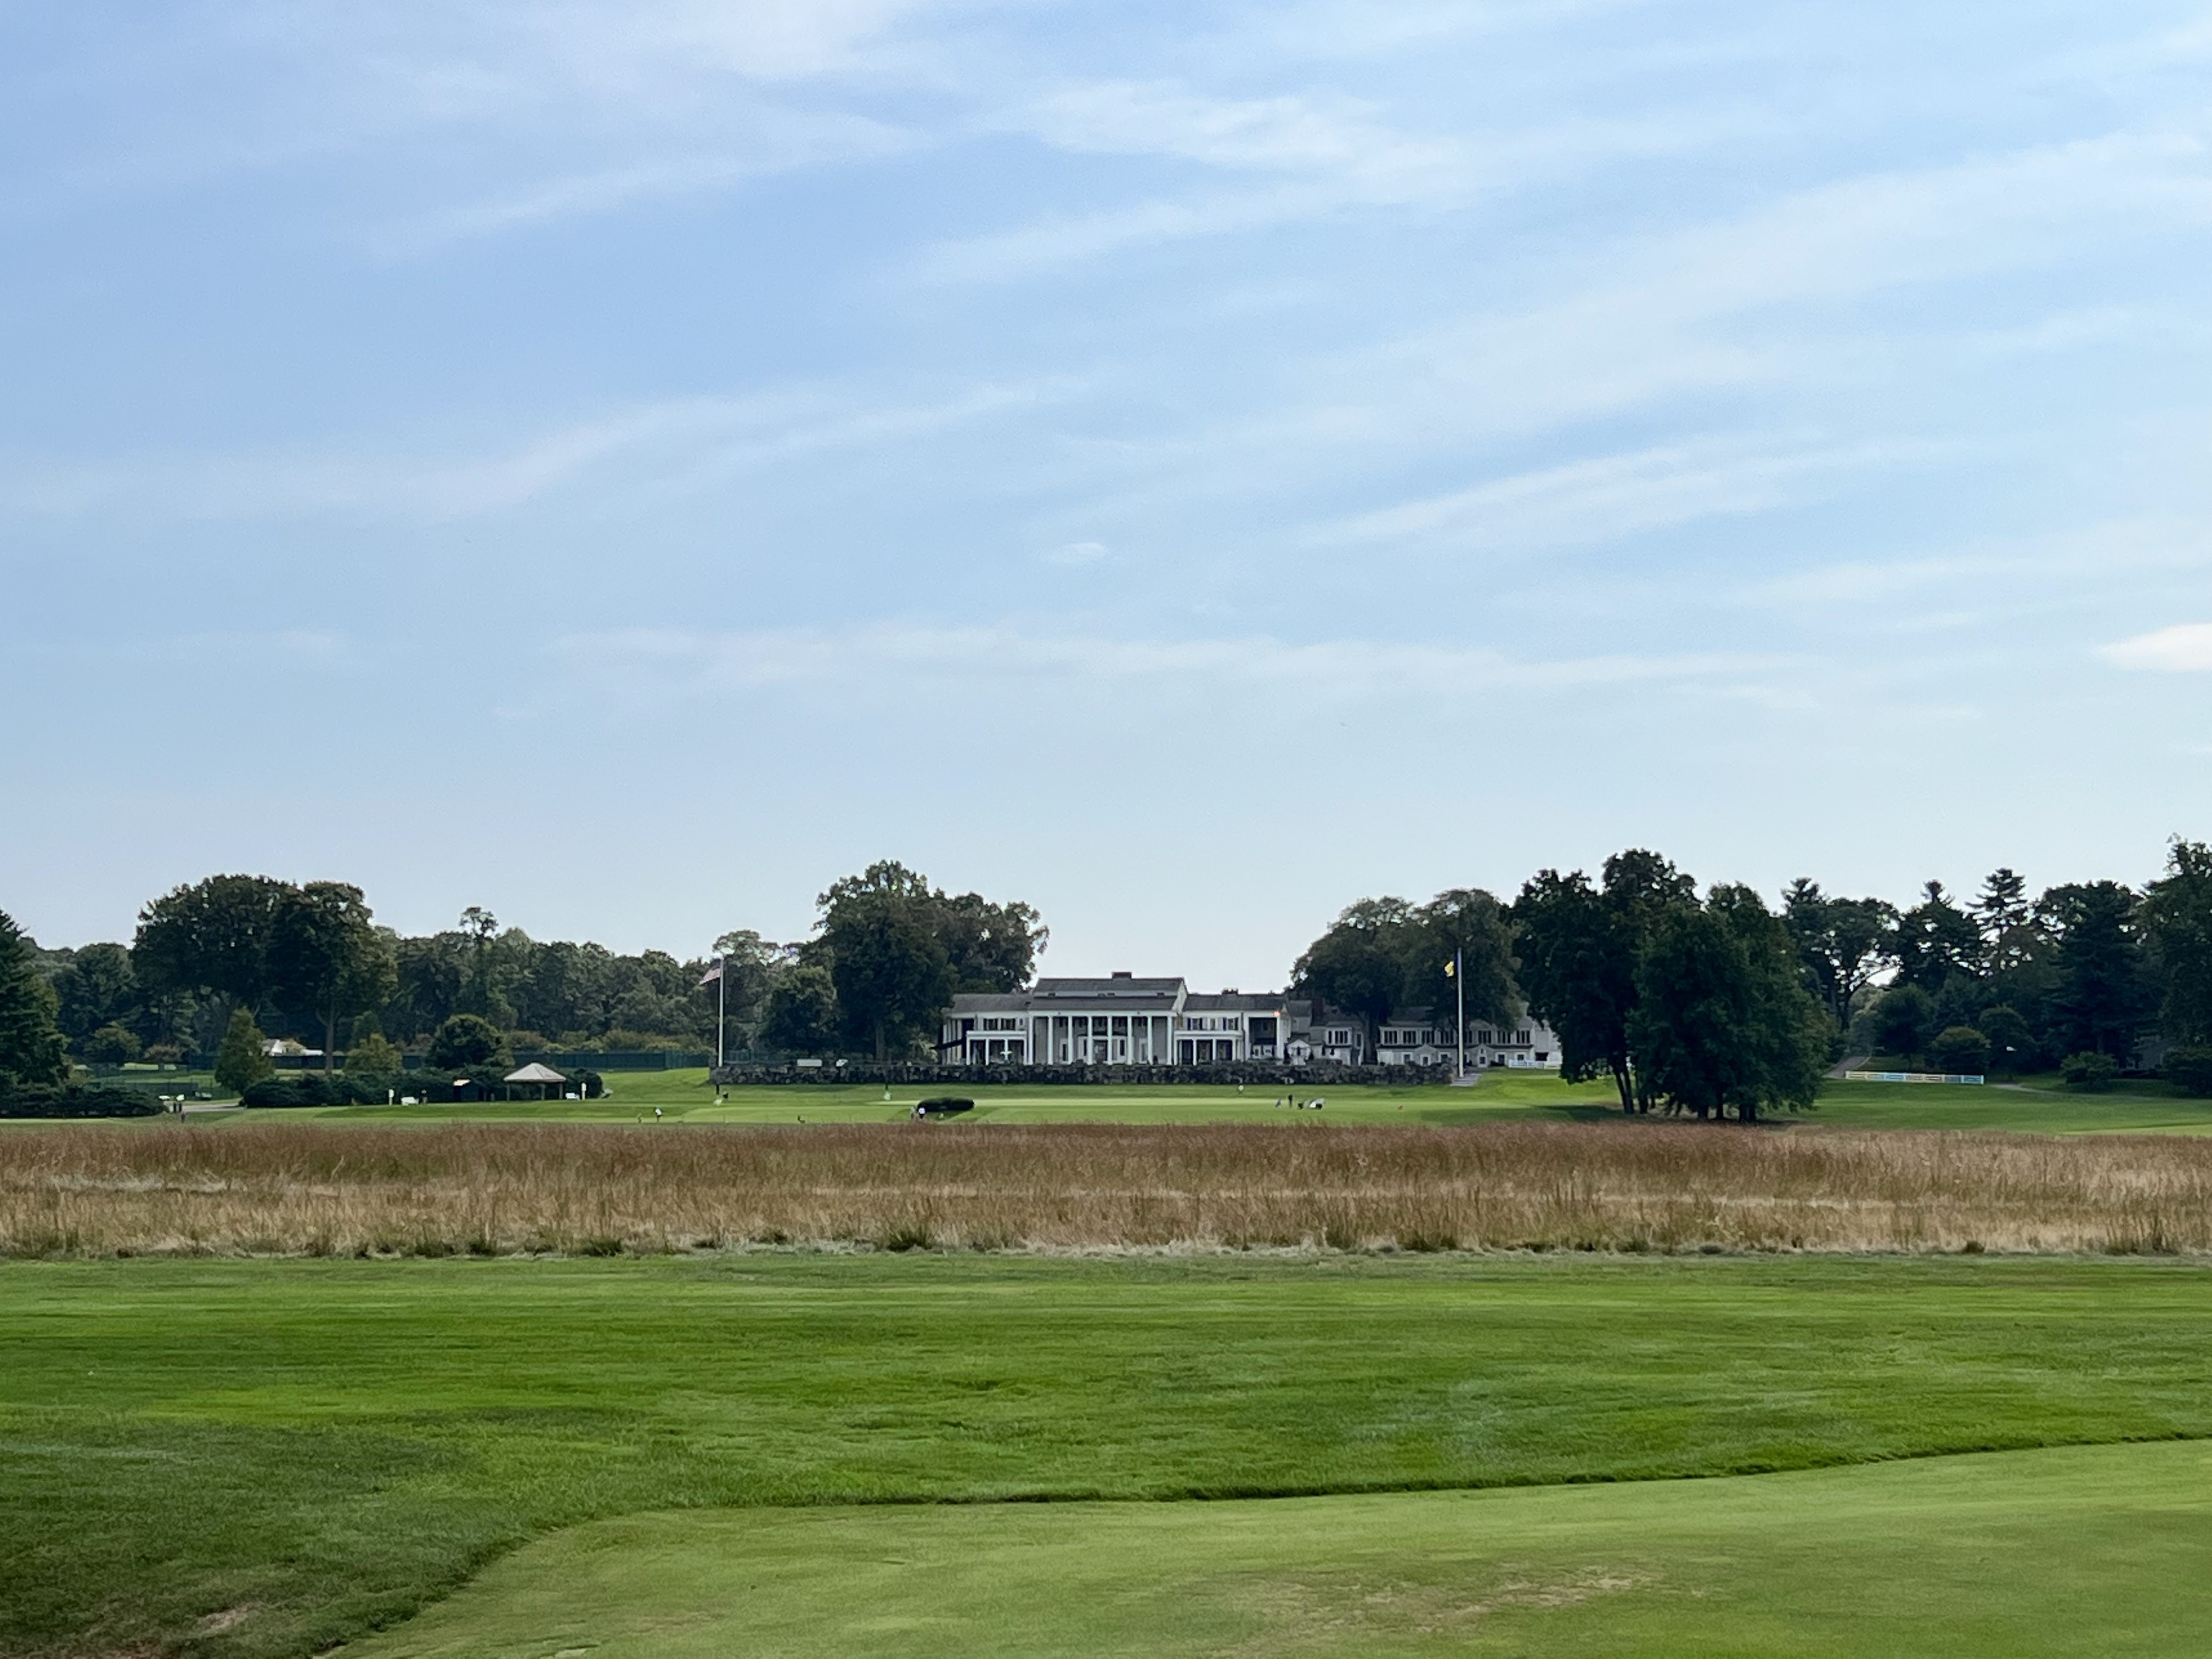
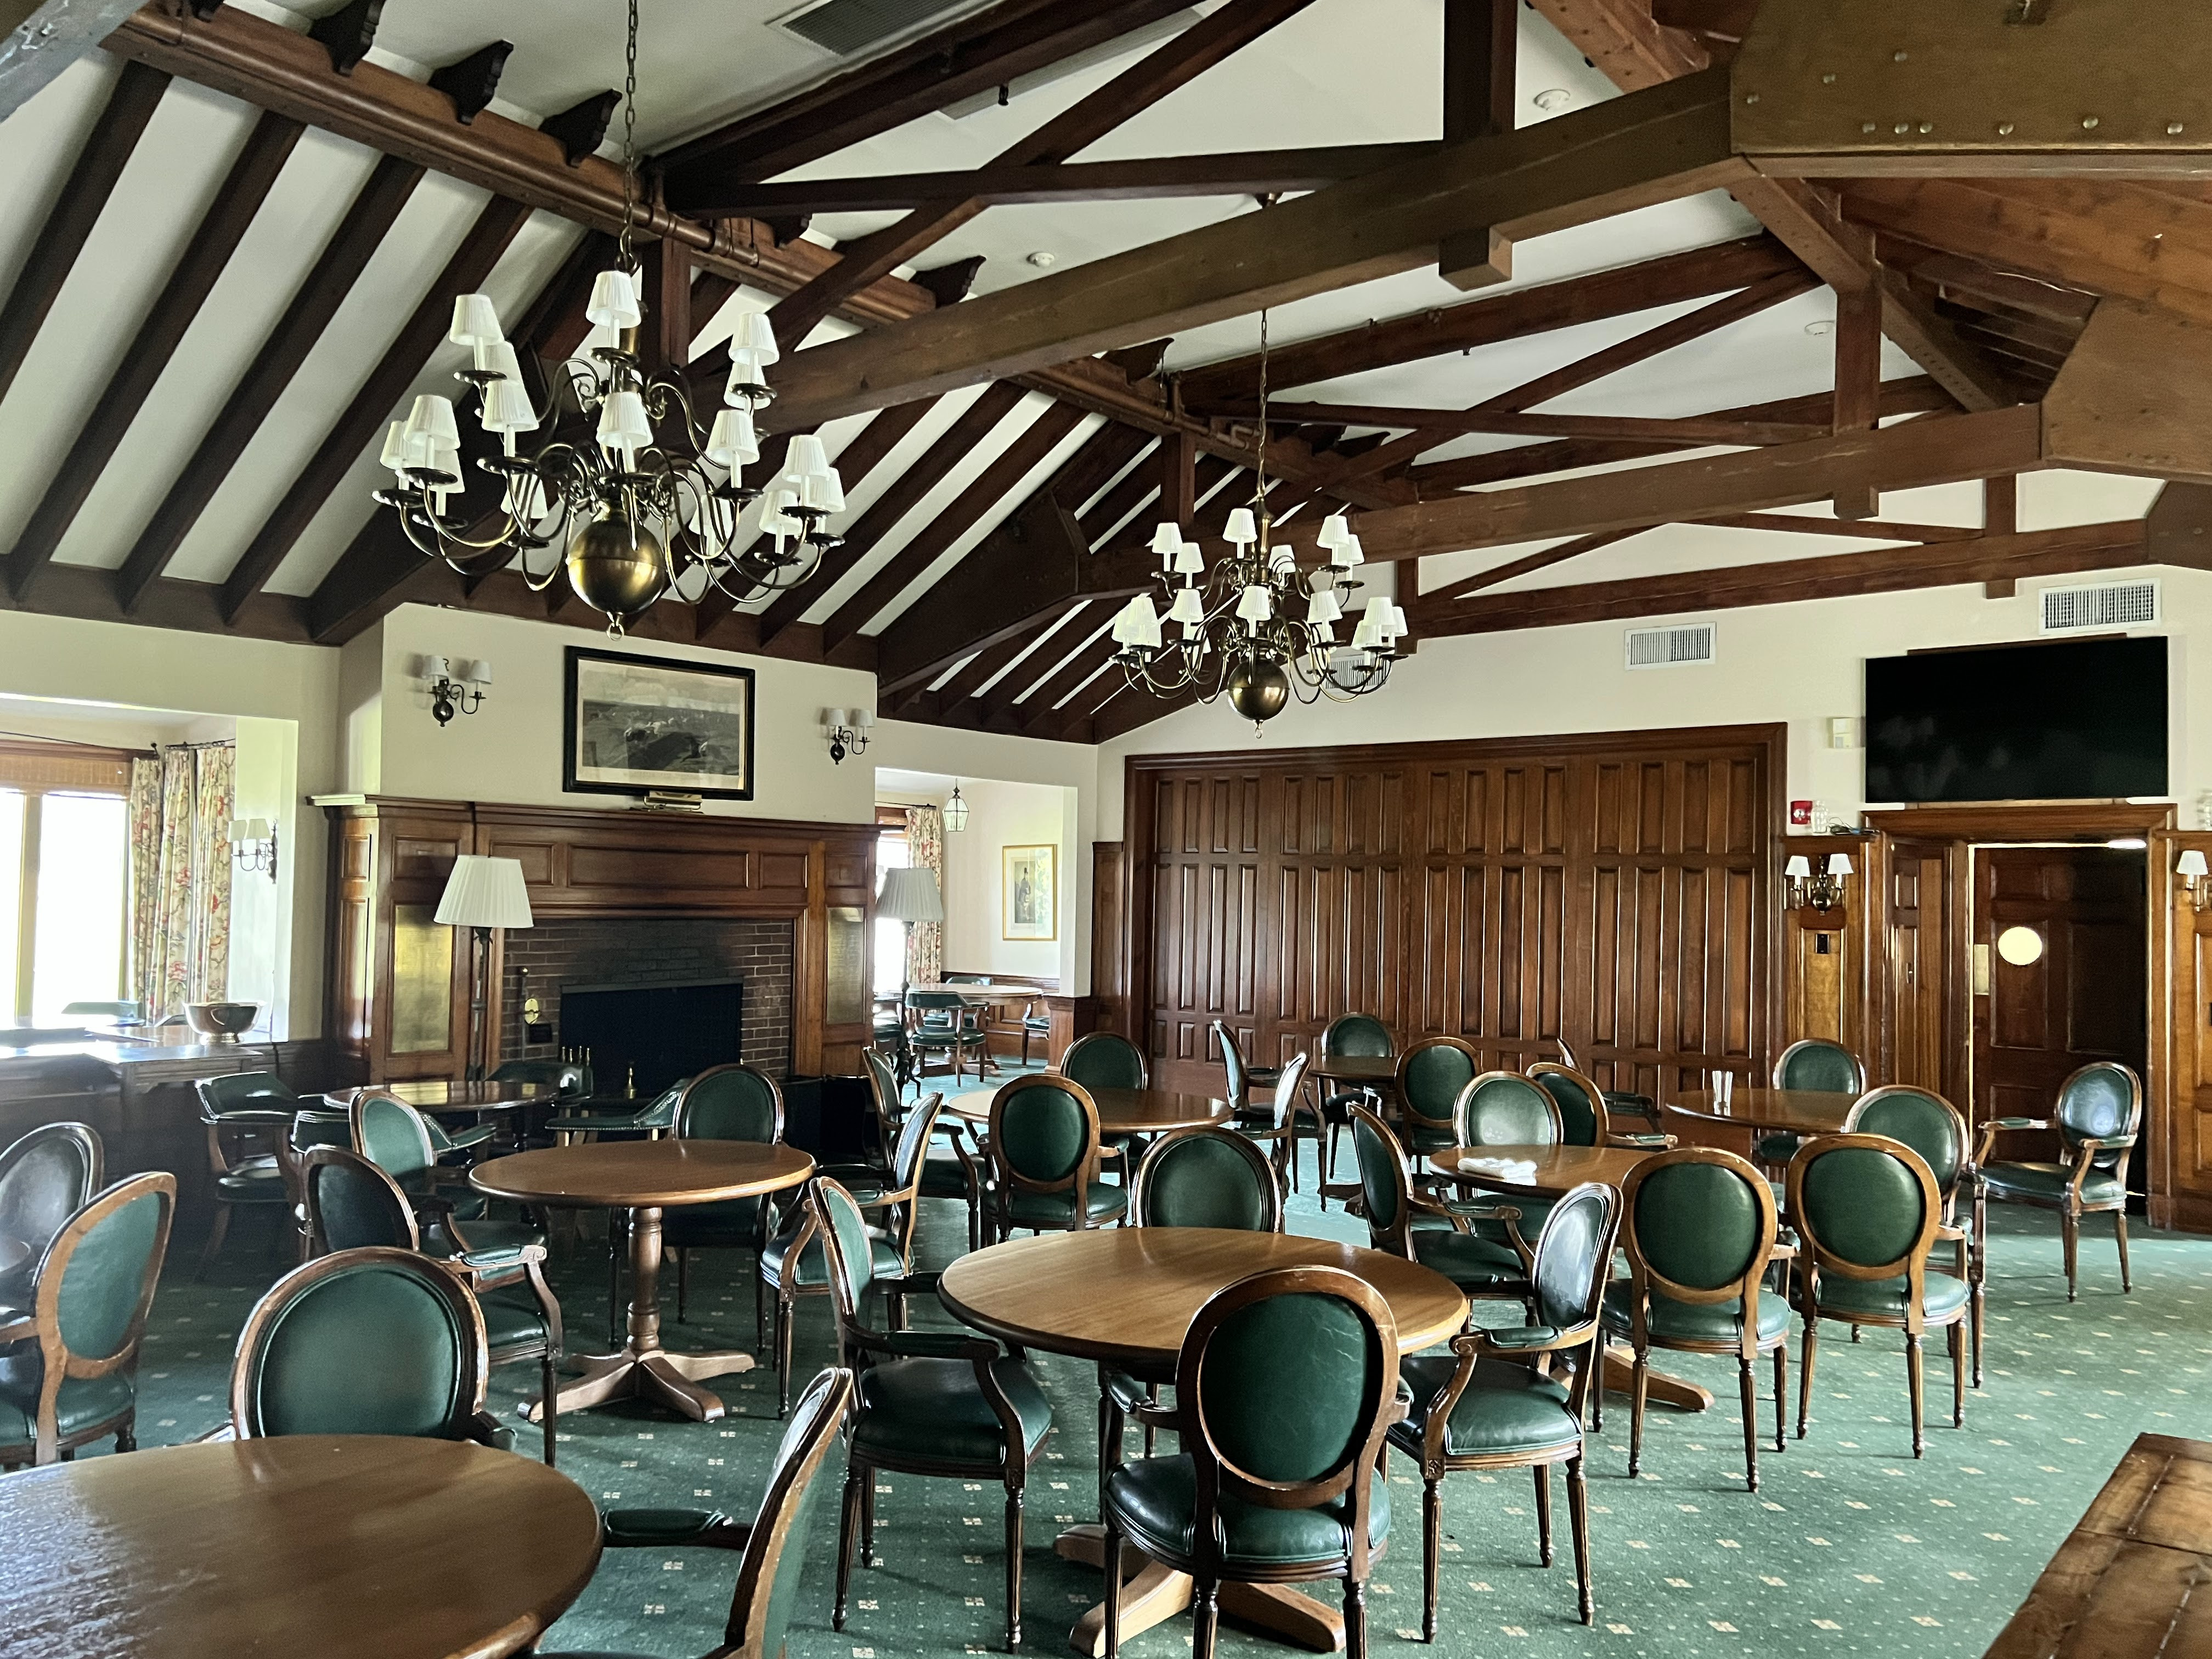
Clubhouse and Practice Facilities
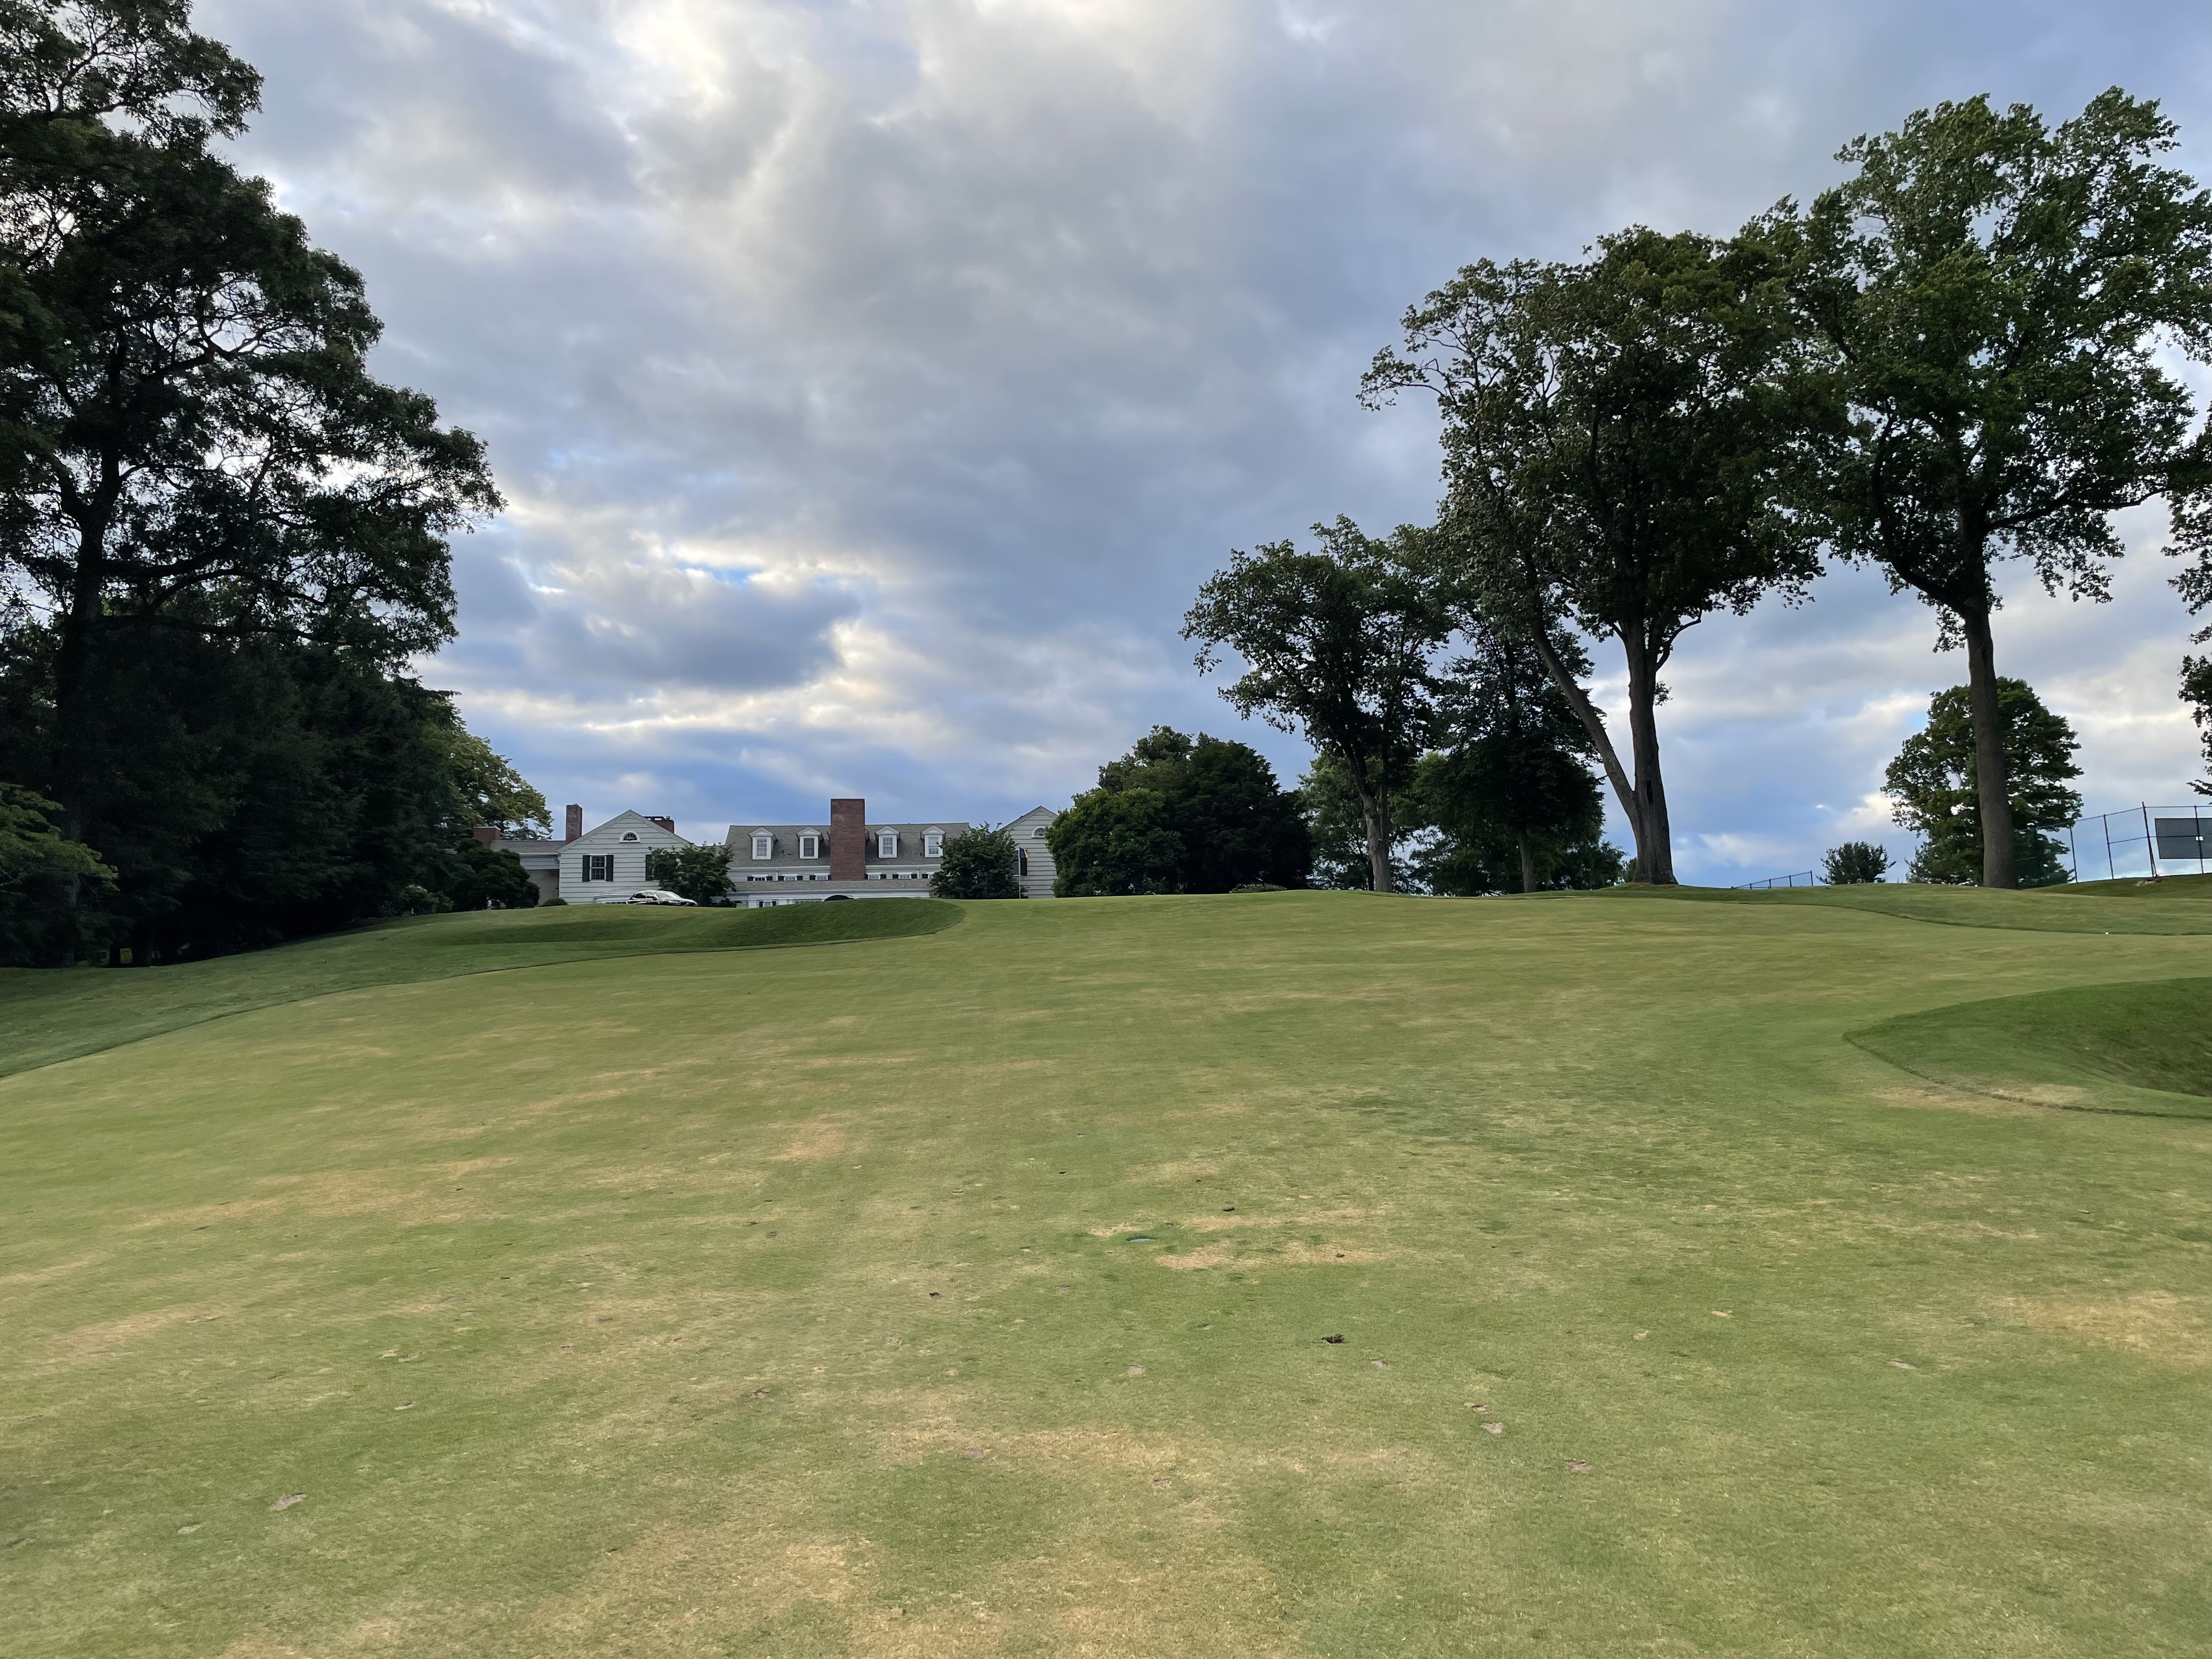
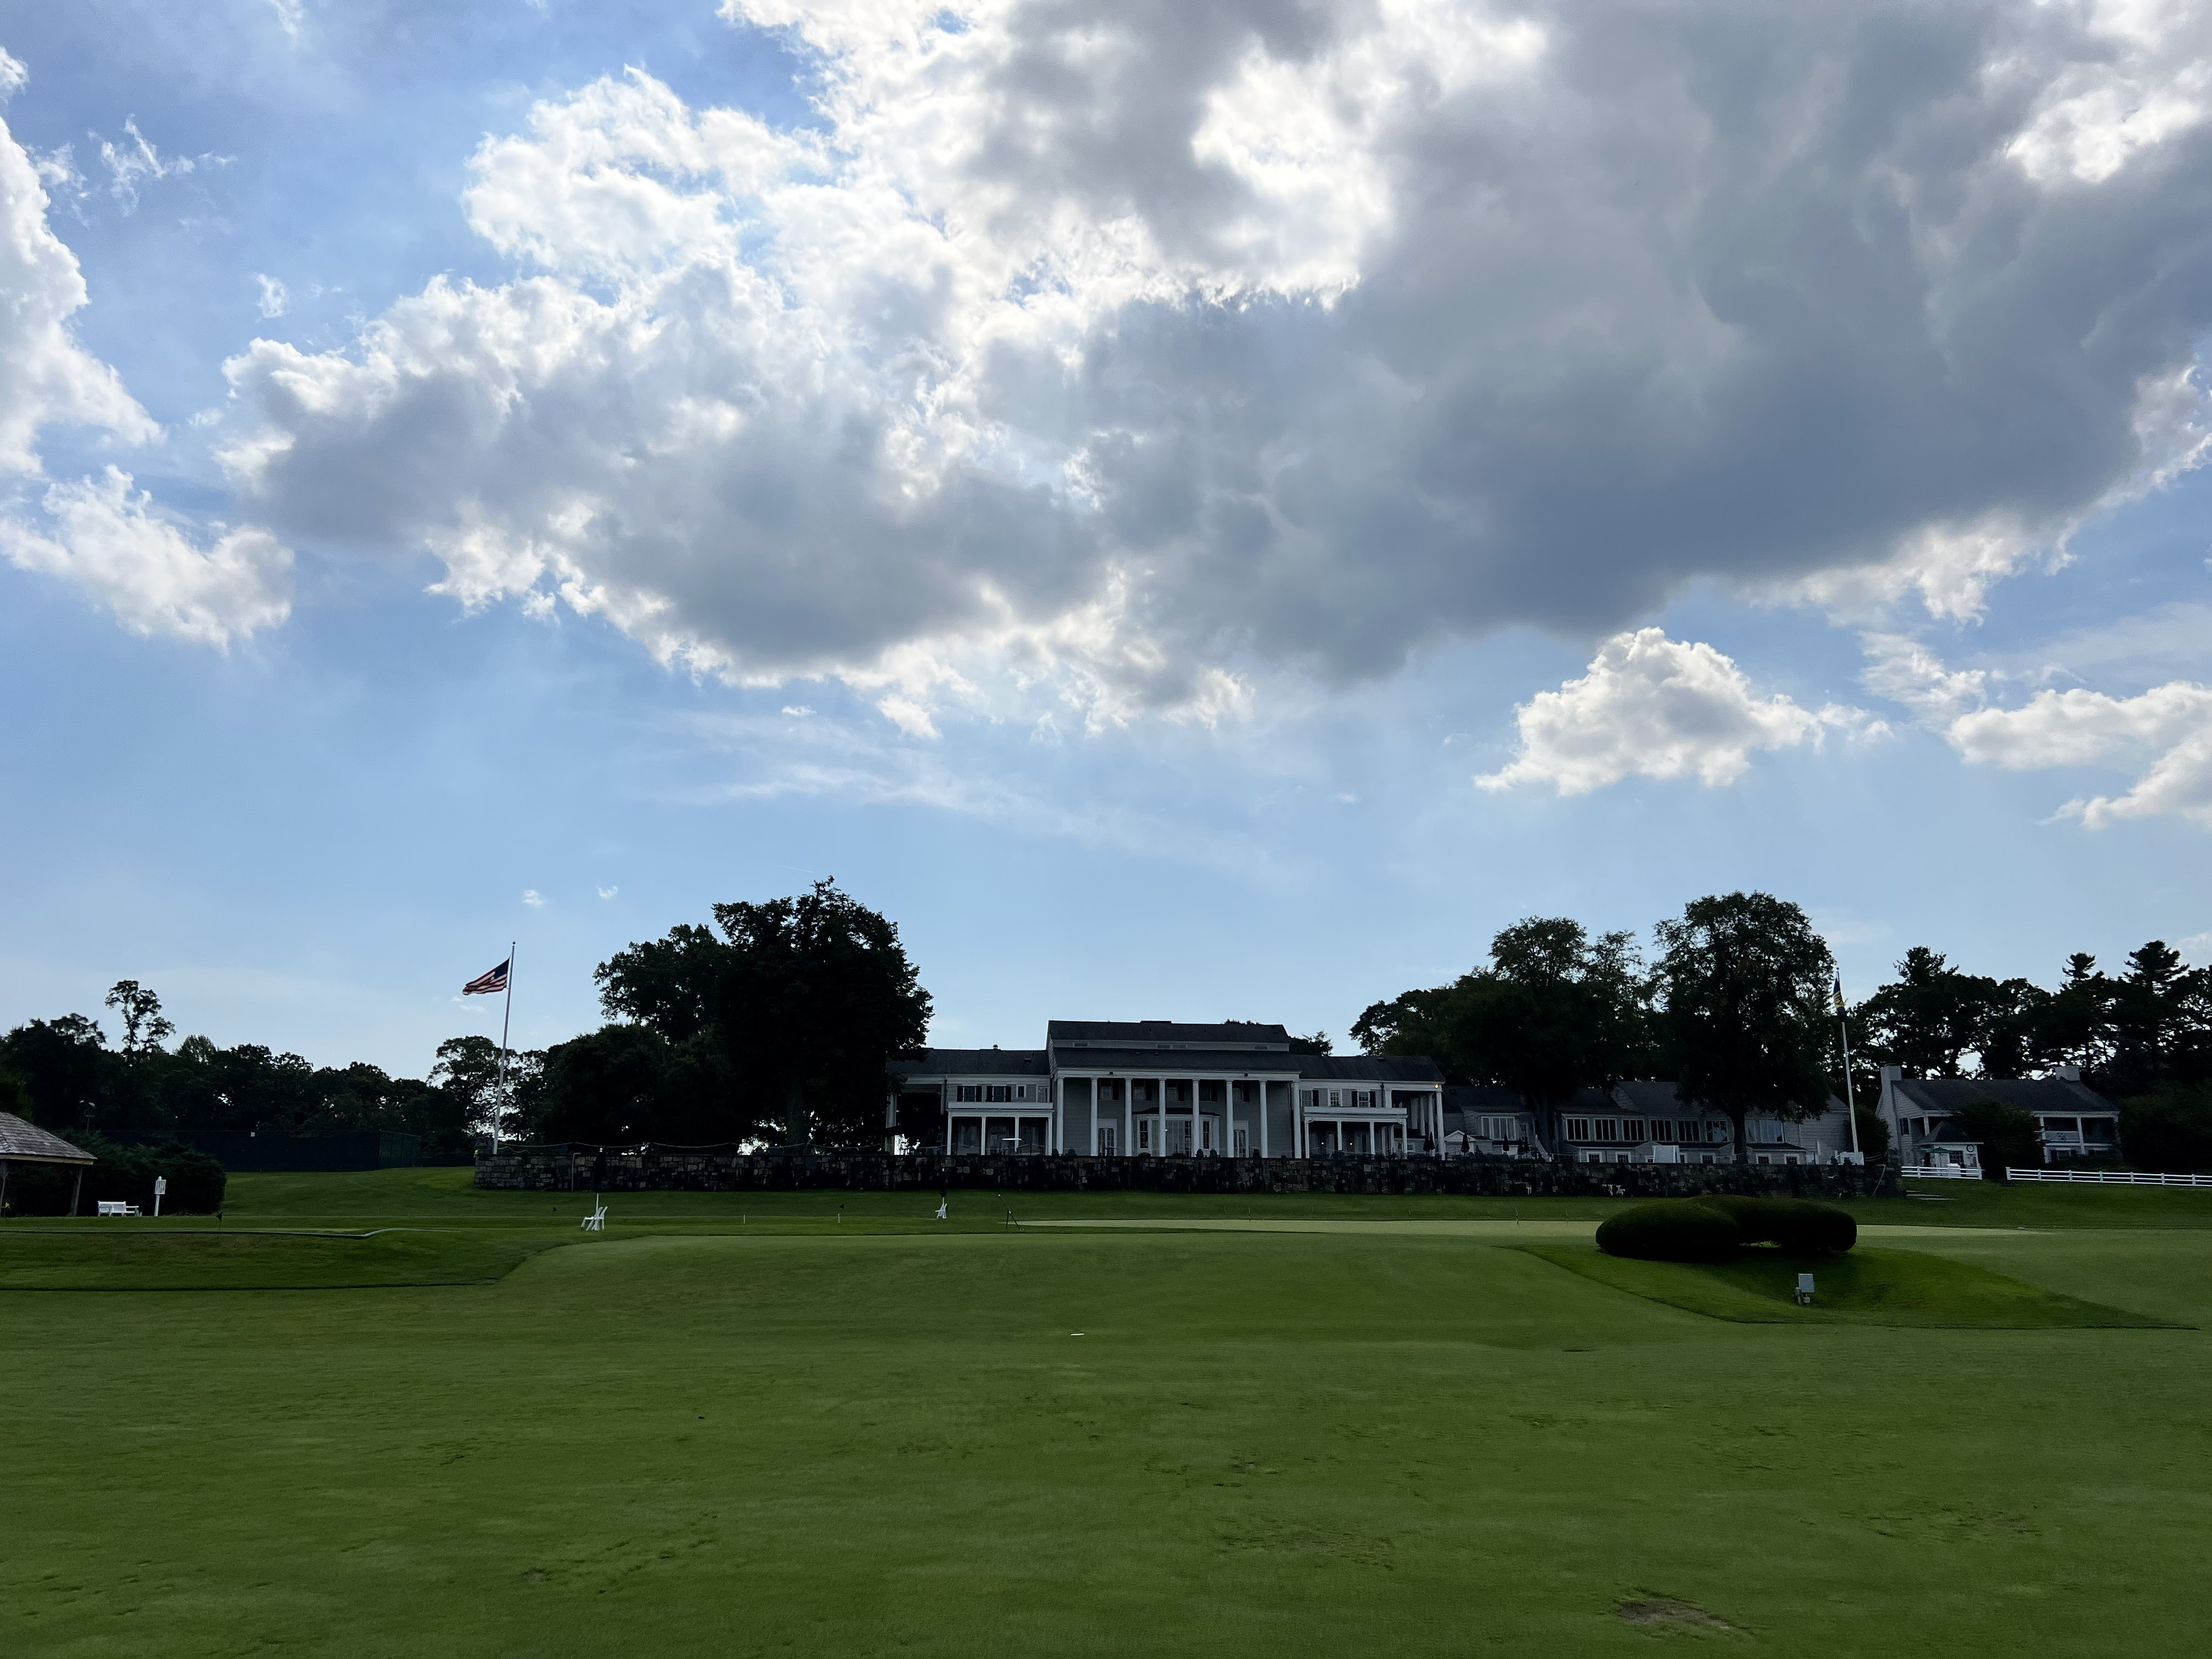
The clubhouse is a stately structure that is visually prominent throughout the front nine, enhancing the sense of prestige associated with the course and club through its design and central location.
 Clubhouse/Pro Shop
 Clubhouse/Pro Shop
 Clubhouse/Pro Shop
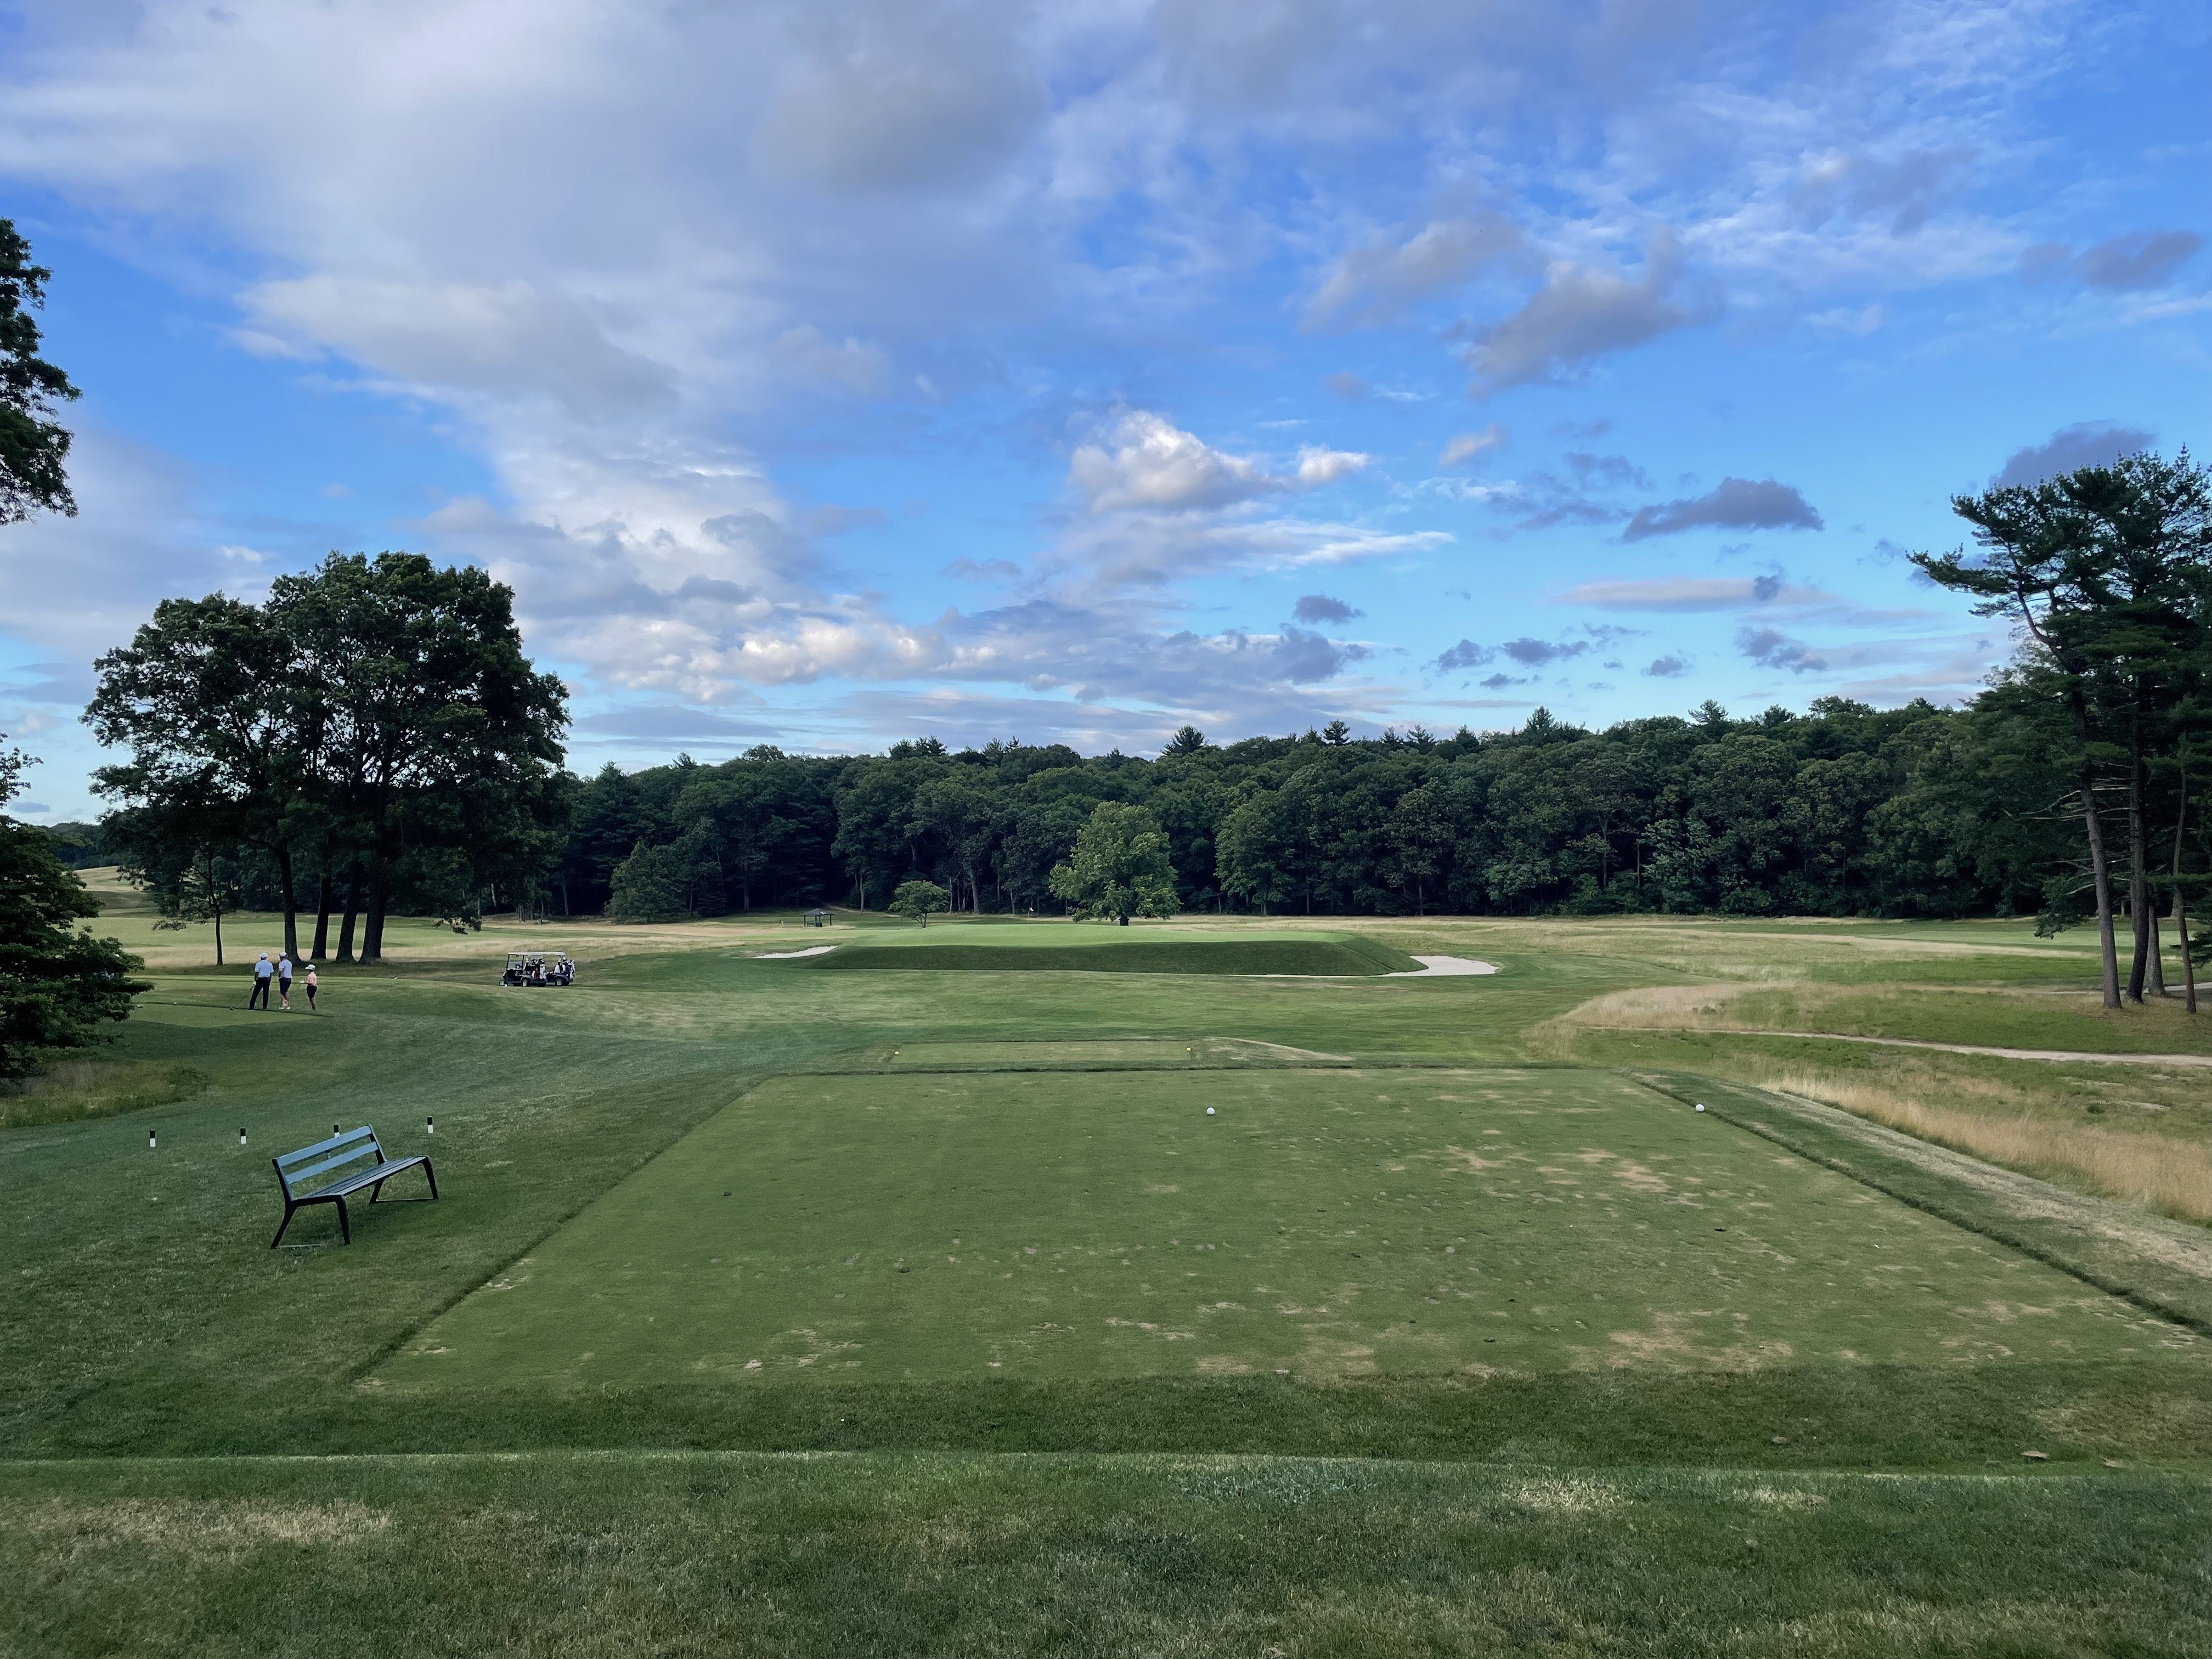
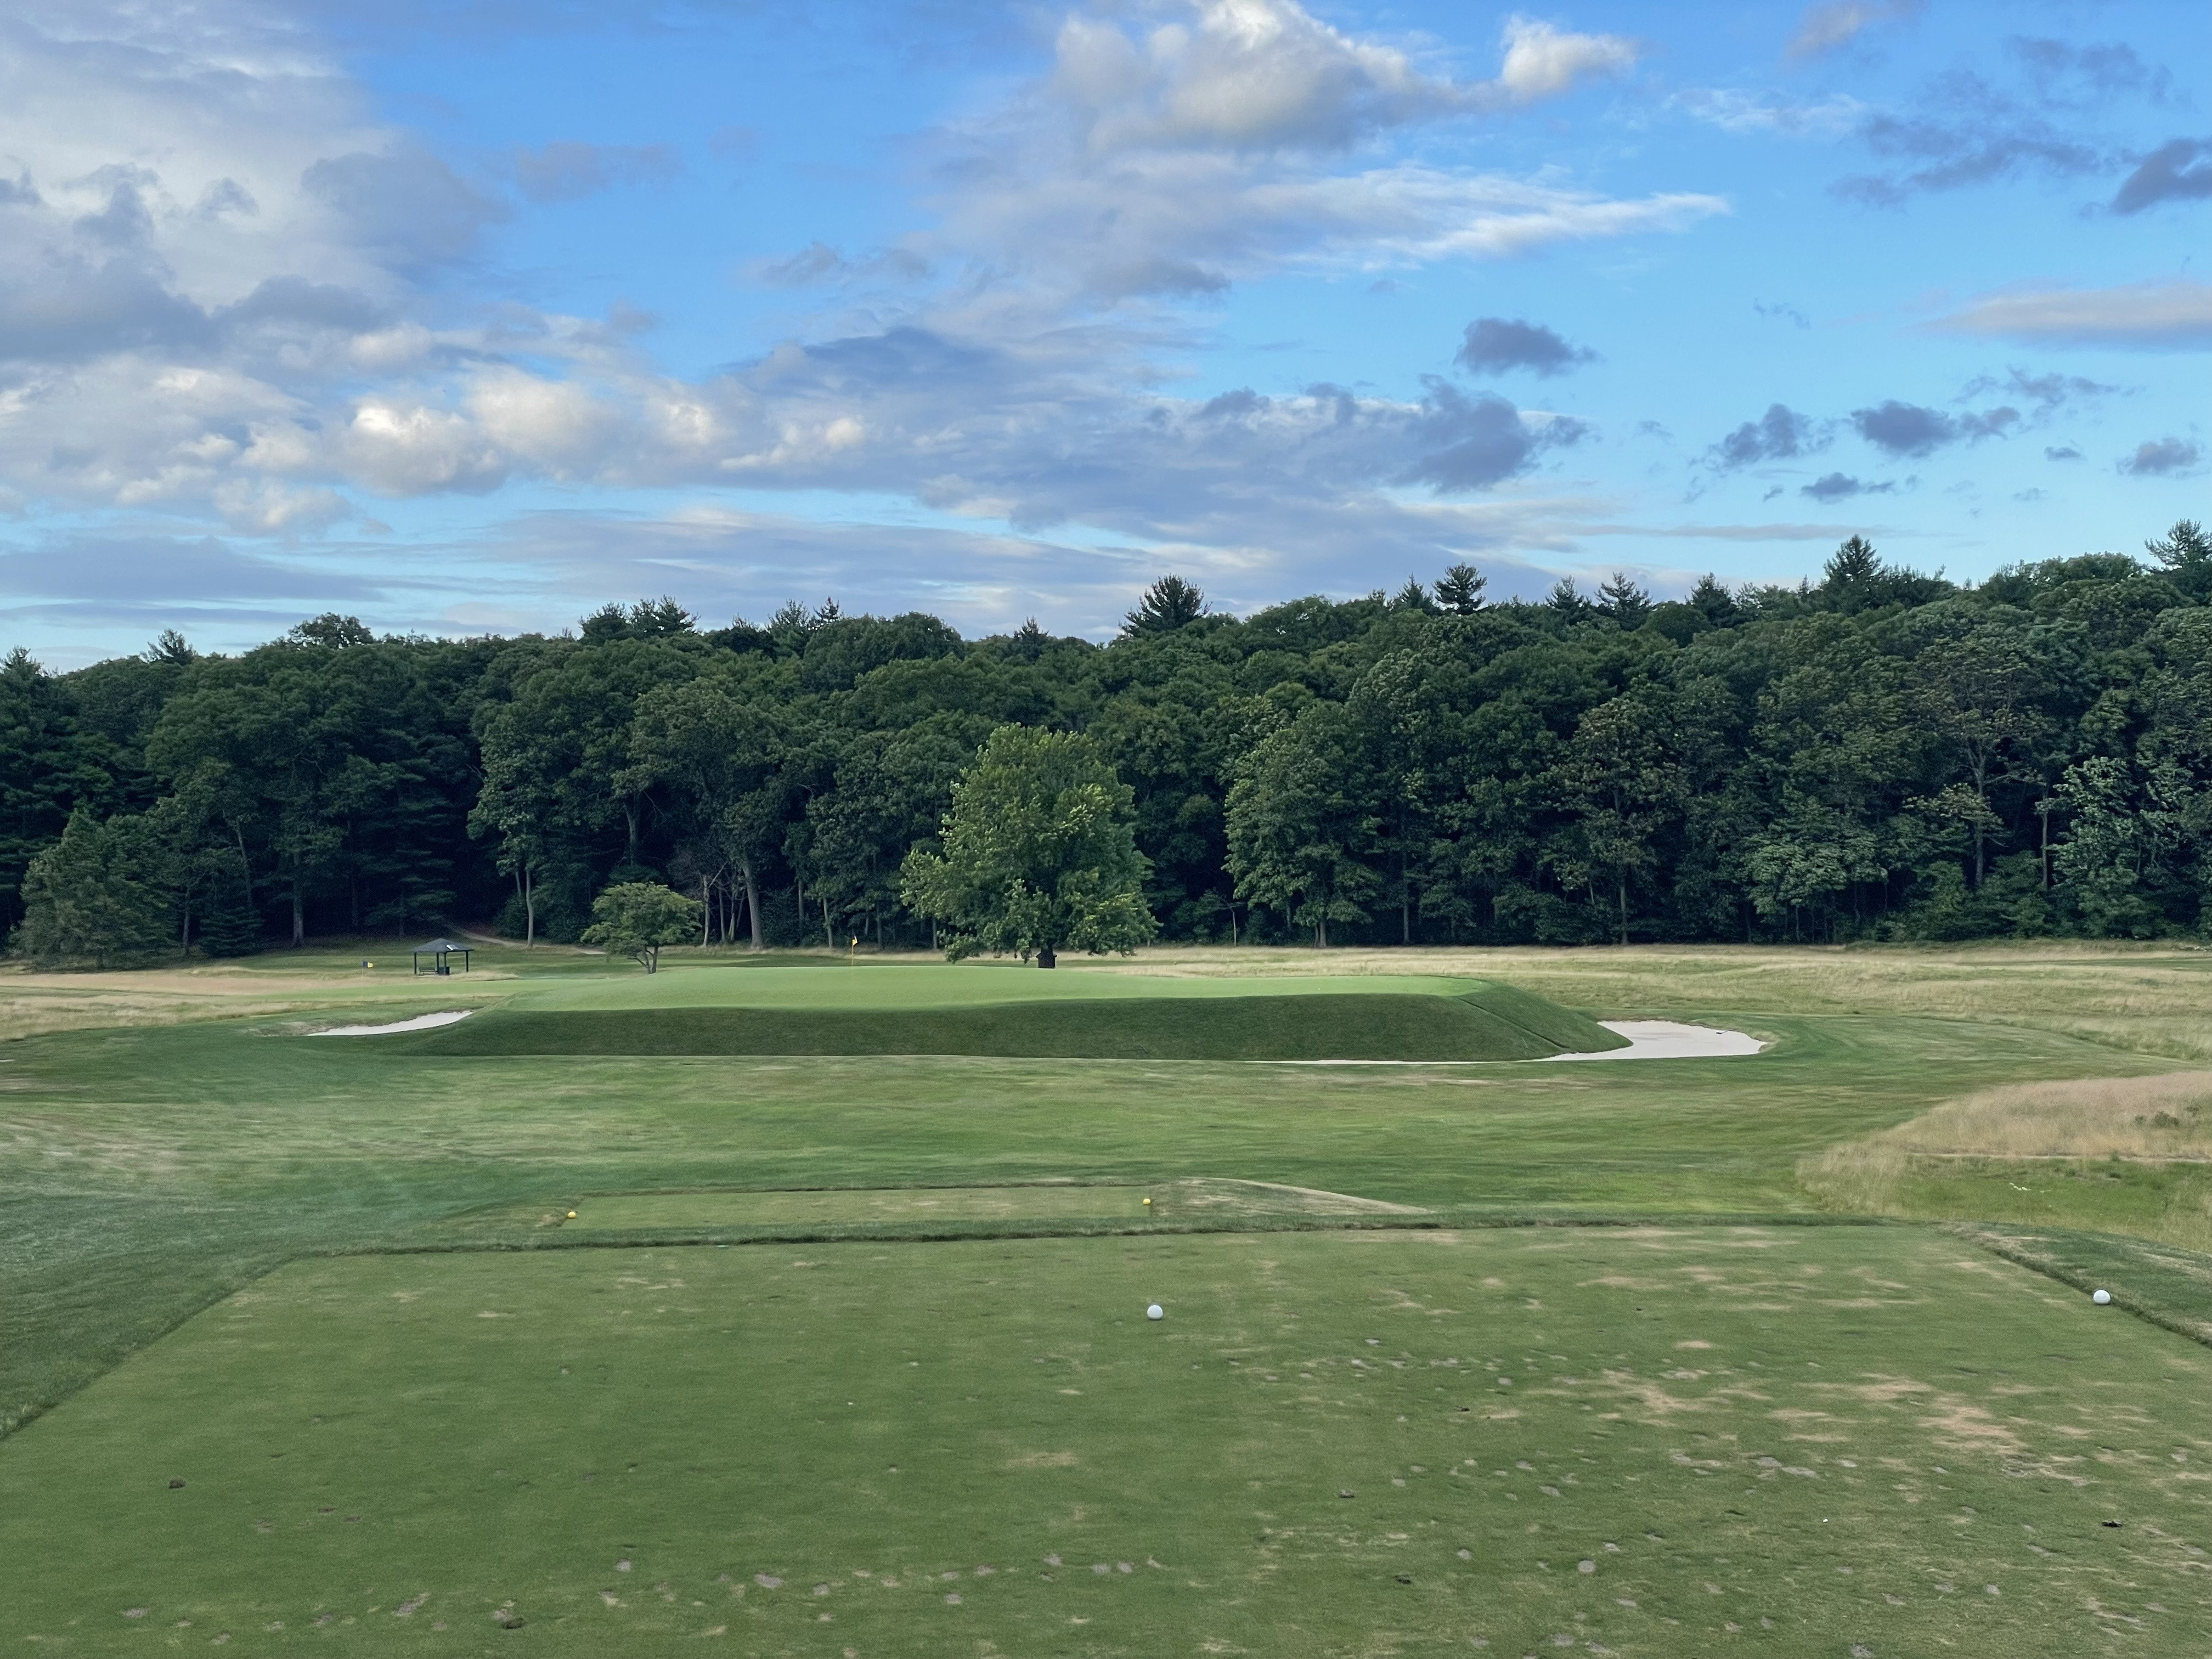
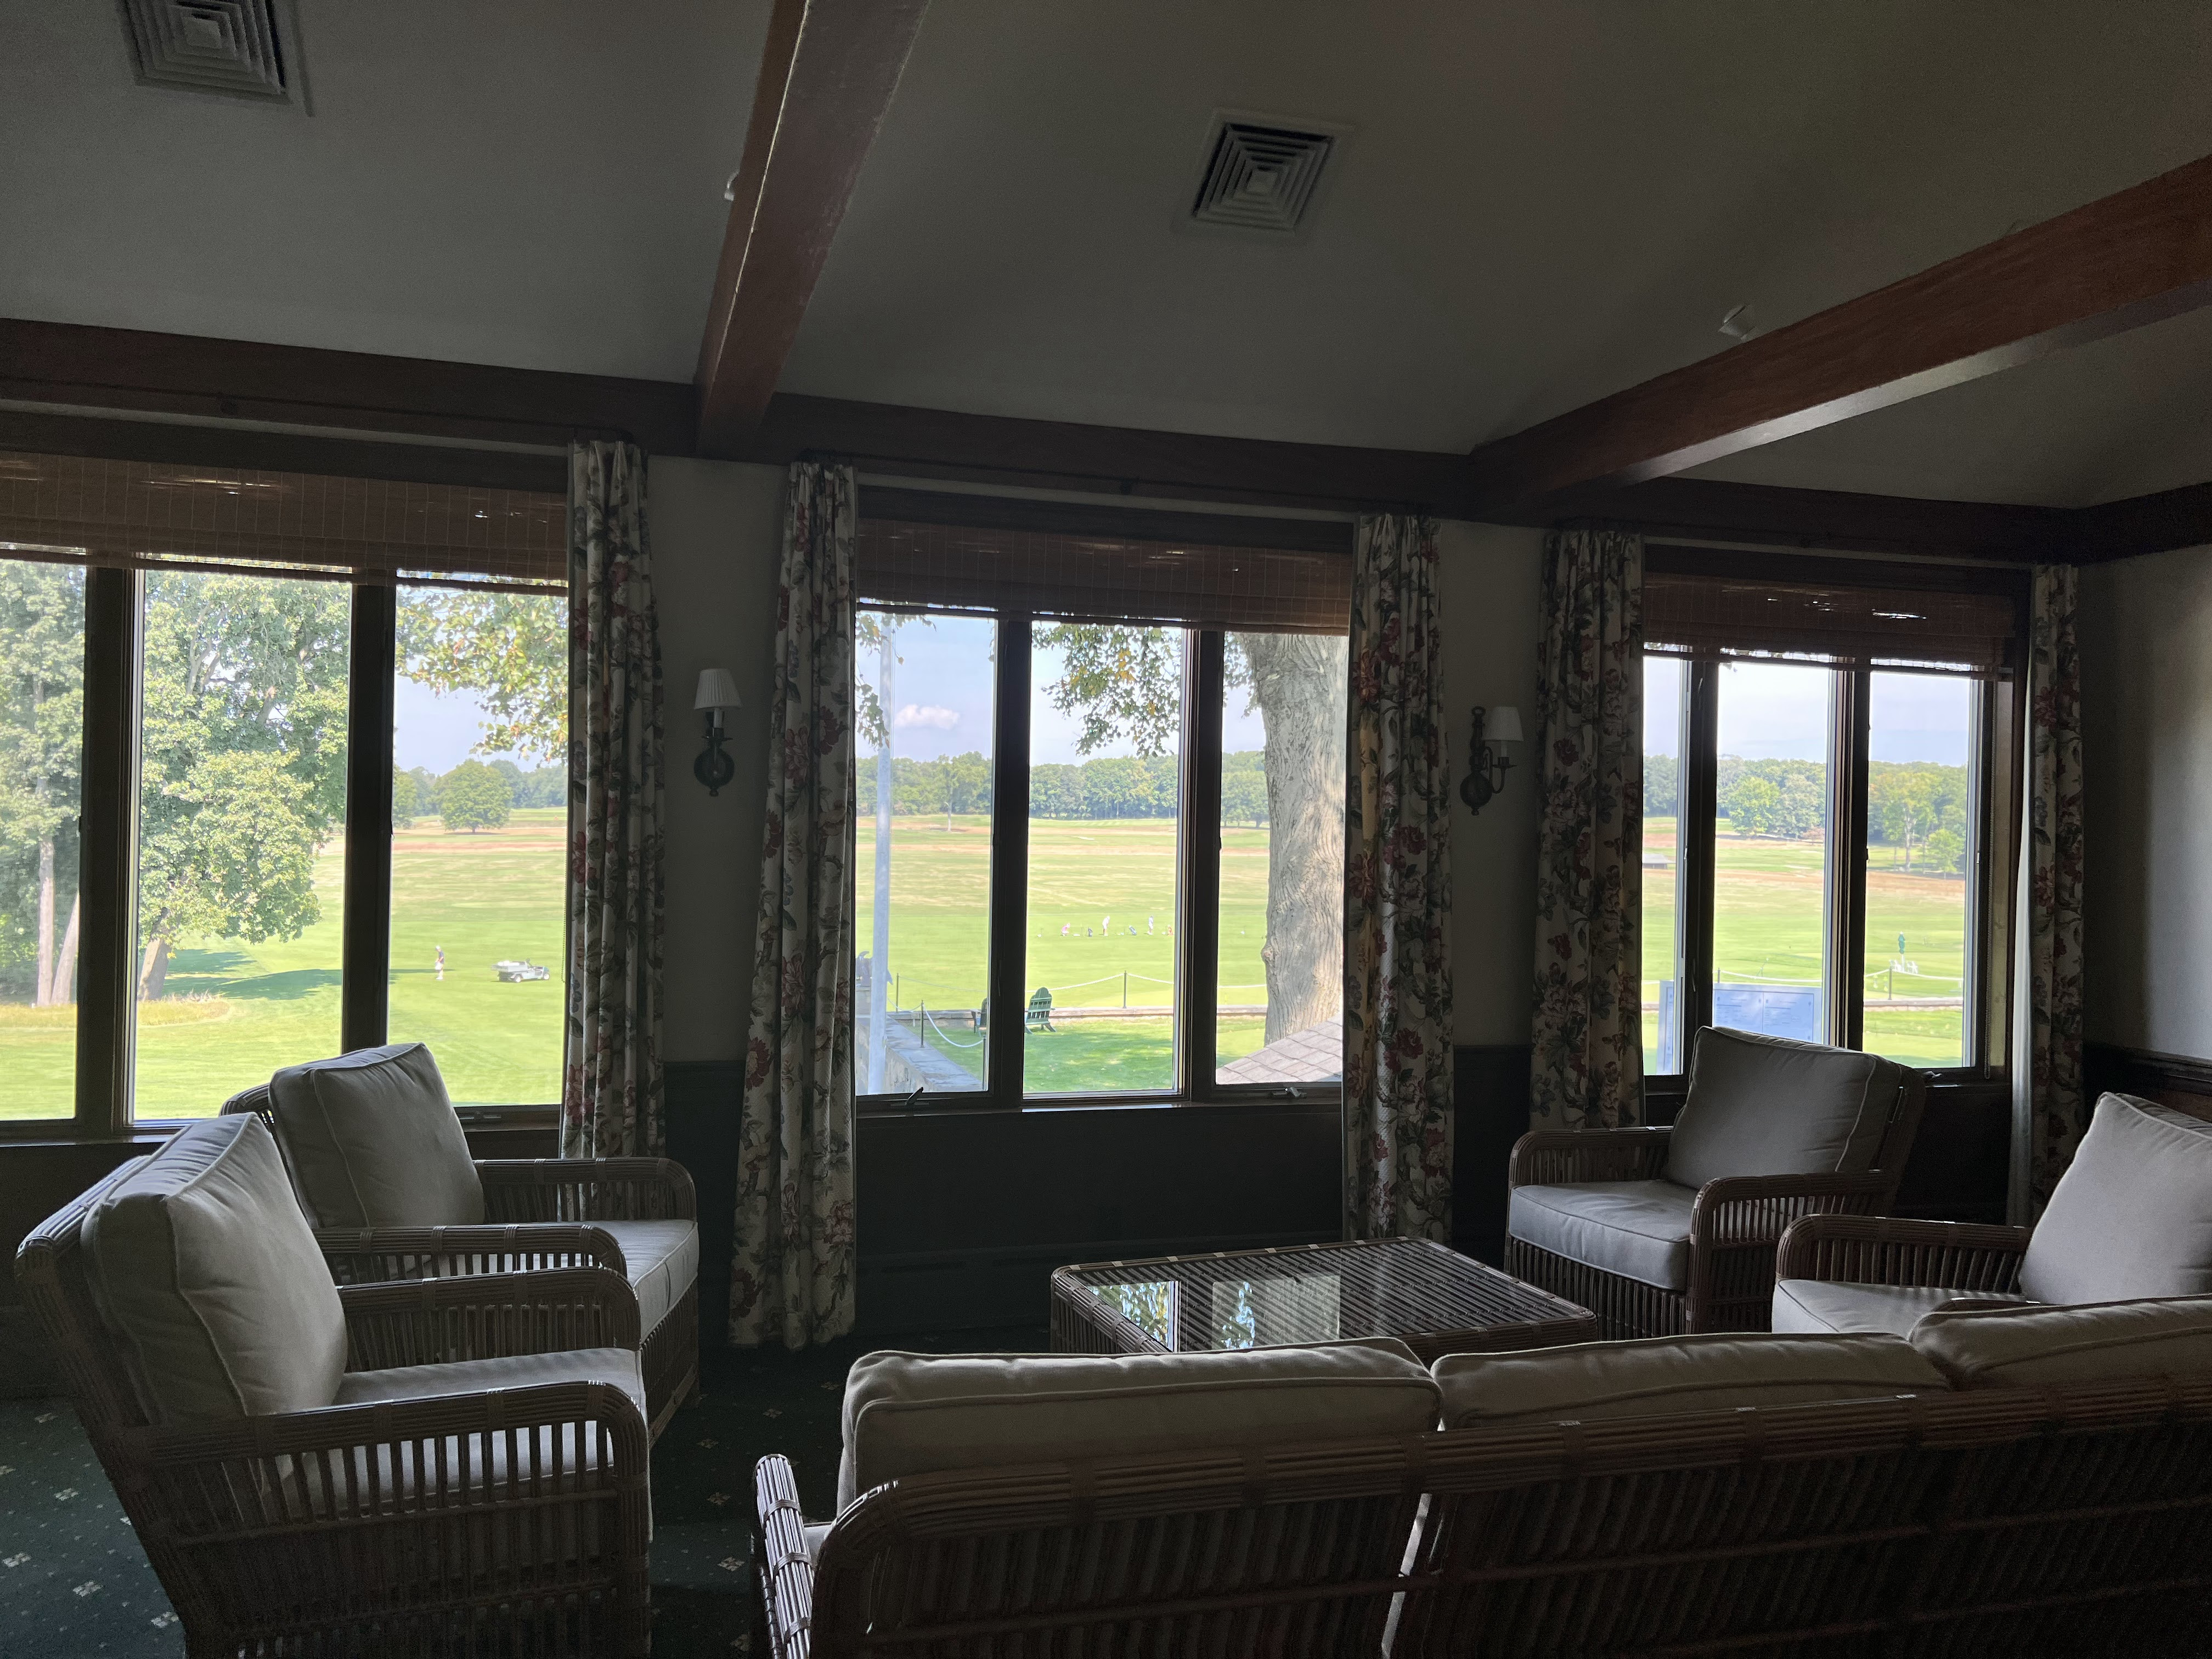
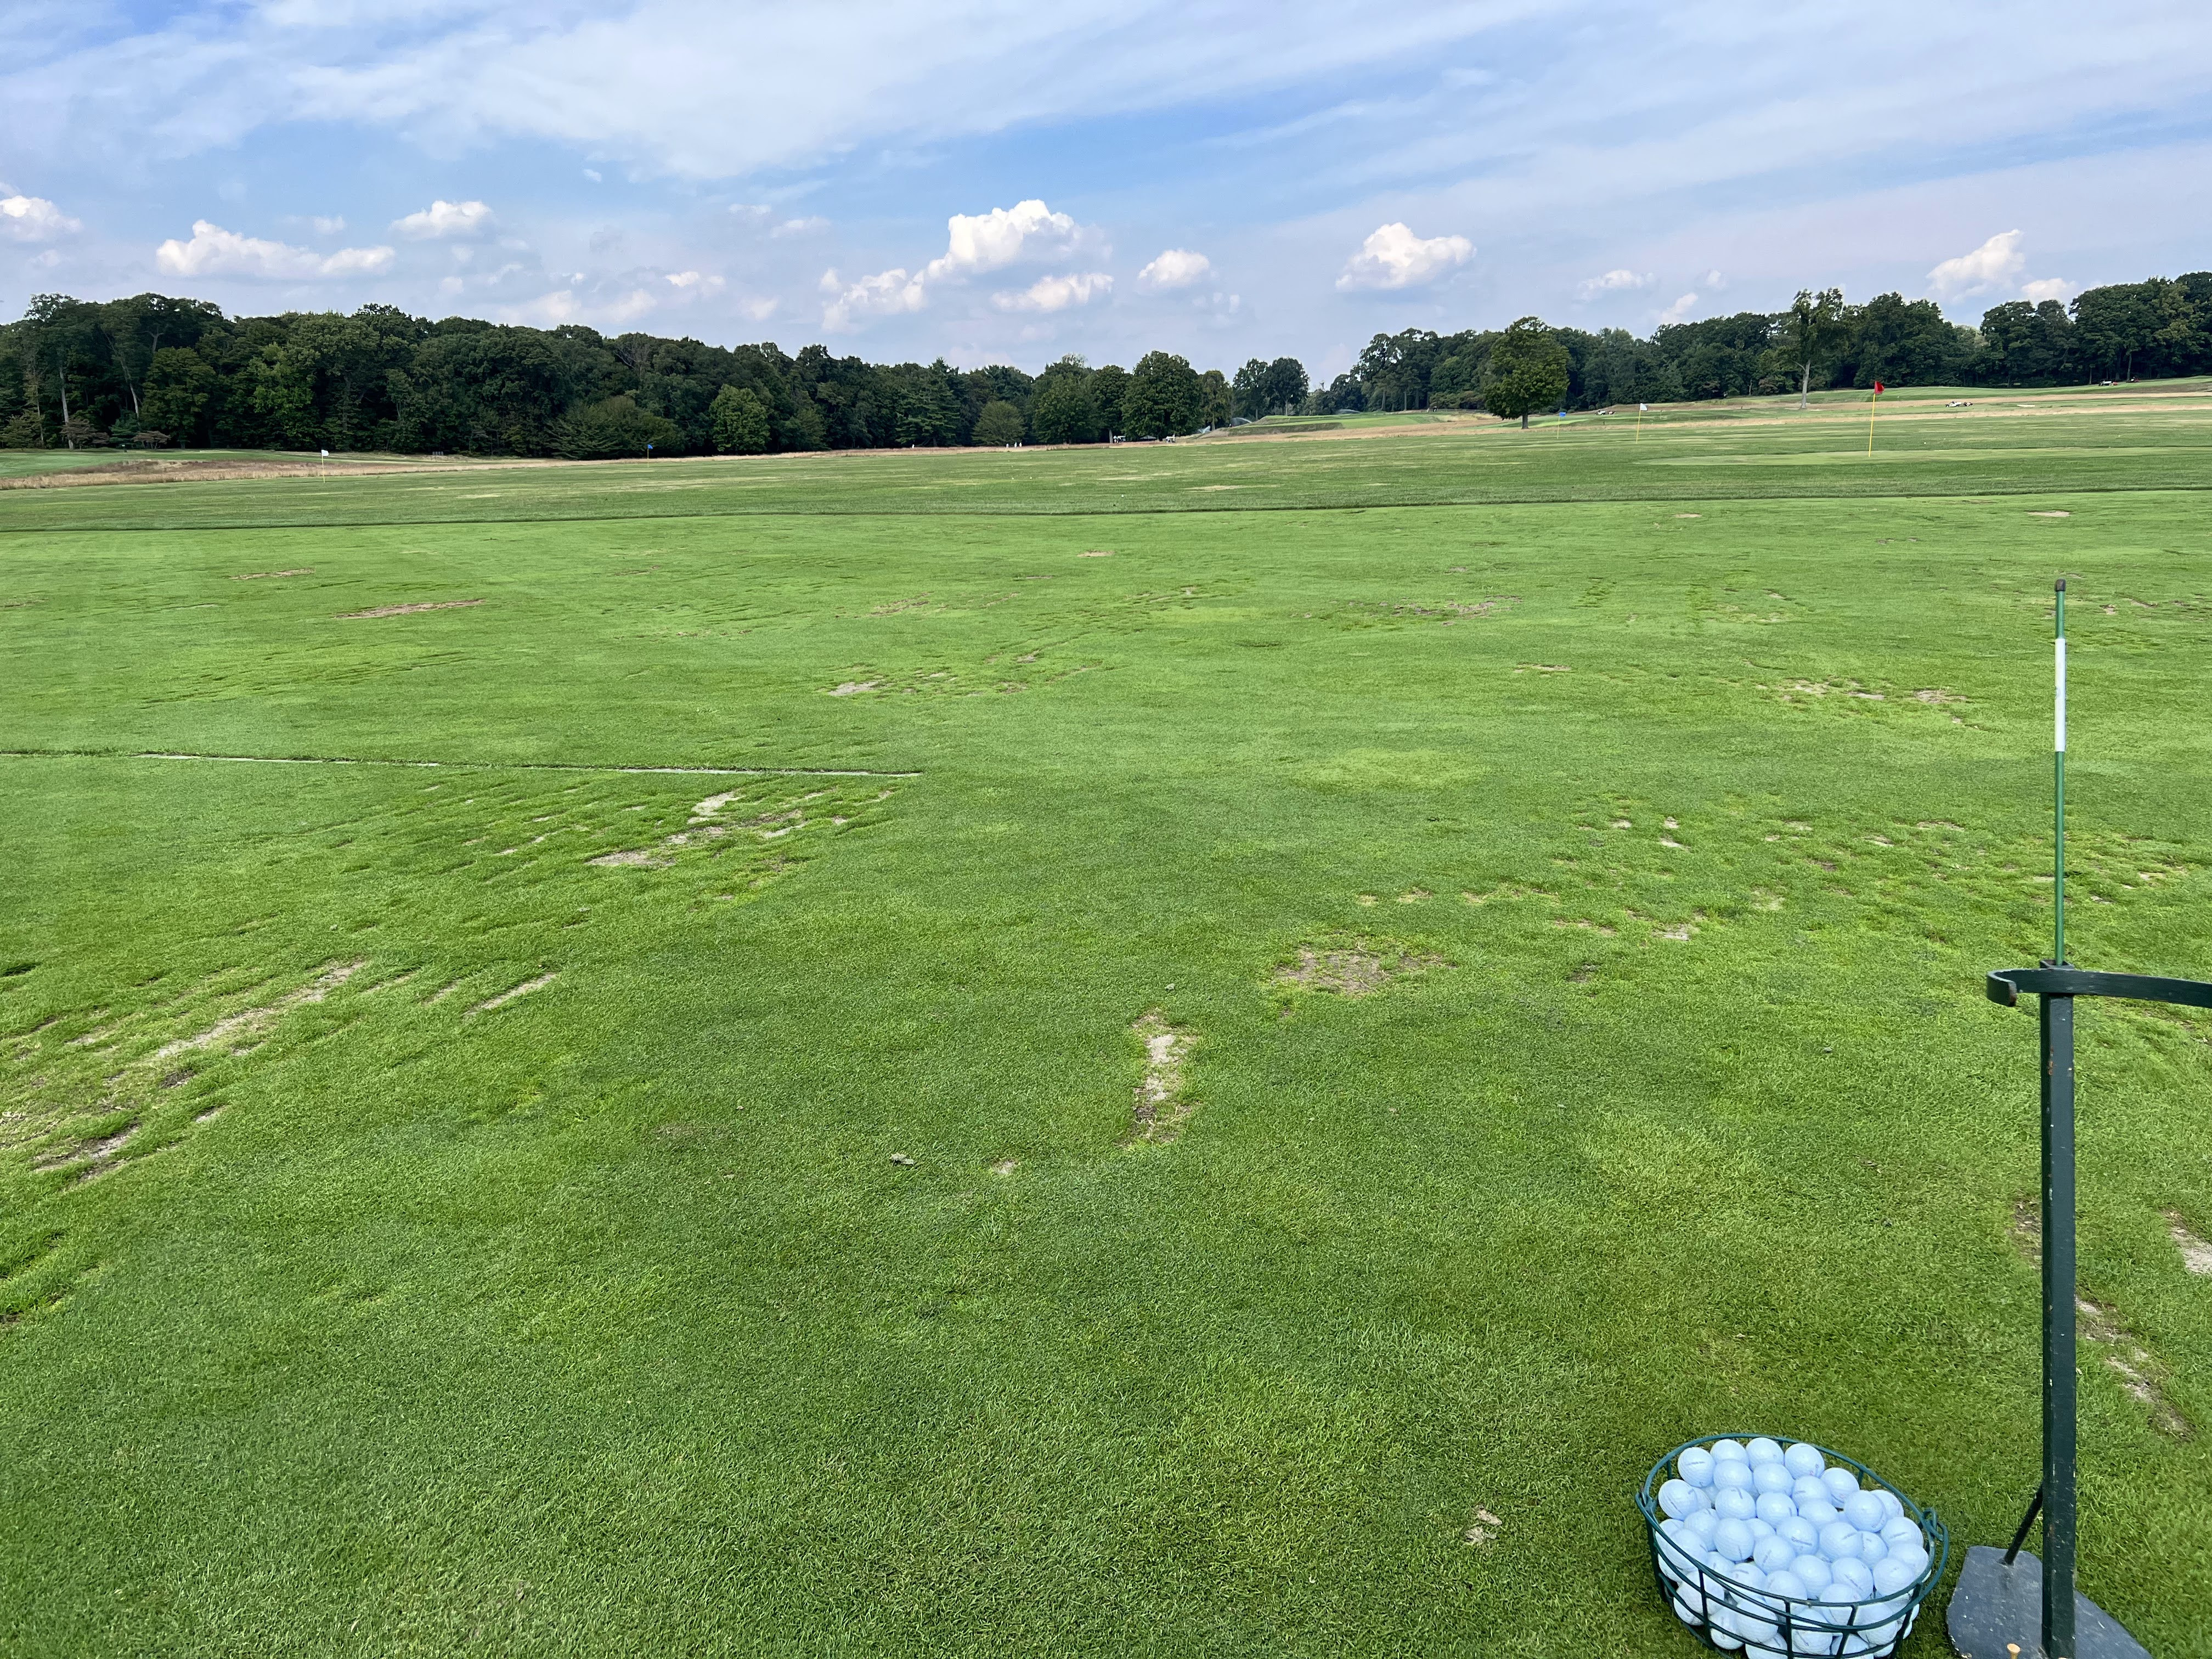
The practice area, located on the former polo field behind the clubhouse, is reached via a grand walk, offering golfers an excellent space to prepare for the challenges ahead.
 Practice area