Candy and crystals, two things that spark joy on their own, combine to create a delightful and educational experience: making Rock Candy Sticks. As a content creator for rockscapes.net, and a lover of all things rocks and minerals, I’m excited to share this fun project that beautifully merges the edible world with the fascinating realm of crystal formation. Making sugar crystals, commonly known as rock candy sticks, is surprisingly simple, captivating to watch as they grow, and incredibly tasty to enjoy.
This is more than just a sweet treat; it’s a fantastic science experiment you can conduct right in your kitchen! Let’s dive into the sugary science of creating your own rock candy sticks.
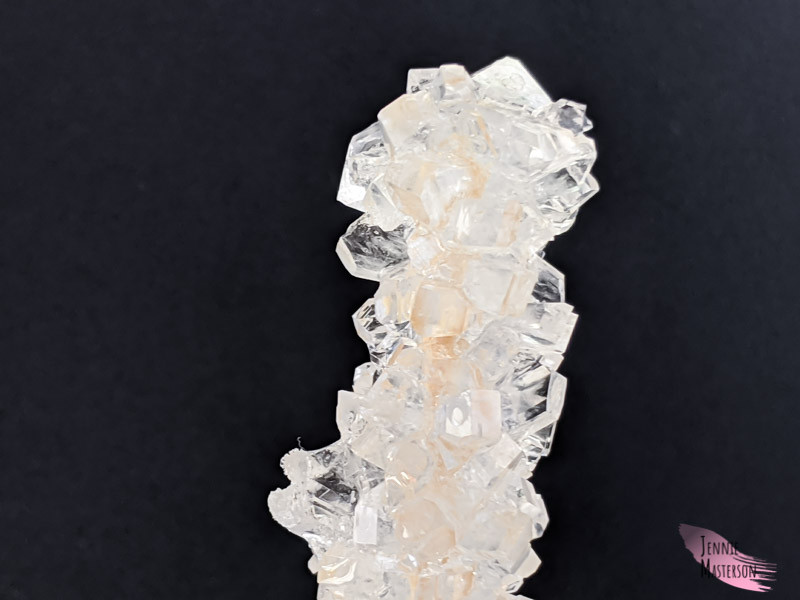 Close-up of homemade rock candy stick, showing sugar crystals.
The sugar solution you’ll create forms mesmerizing crystals, much like the geological wonders we explore at rockscapes.net. These individual chunks, similar to those that naturally form on the surface of the mason jar during this process, exhibit crystalline geometry akin to many natural gemstones. Think of it as growing your own edible gems!
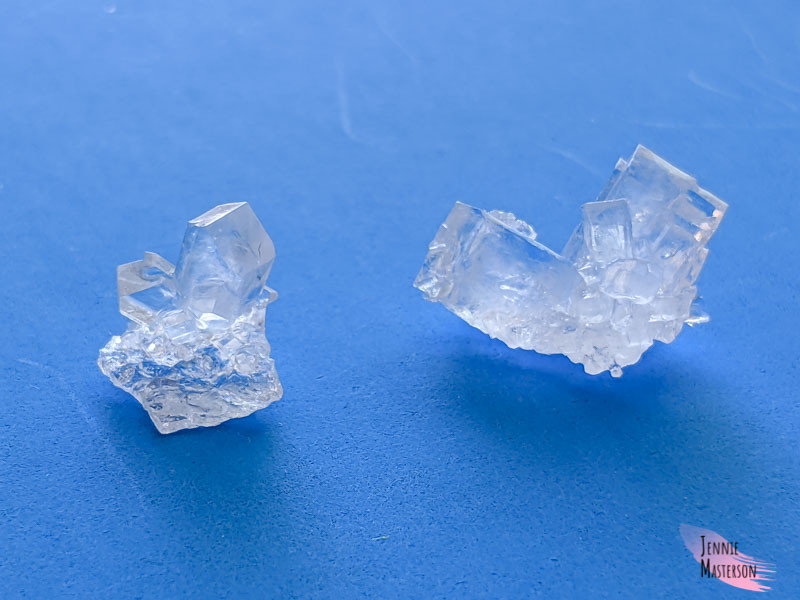 Large sugar crystals grown from homemade rock candy solution.
Ready to embark on this sweet and scientific adventure? Here’s what you’ll need to get started making your own rock candy sticks.
Ingredients and Supplies for Rock Candy Sticks
Note: This guide will provide instructions for making approximately four rock candy sticks. You can easily scale up the recipe for larger batches or to create a variety of flavors and colors.
For your rock candy sticks, you will need:
- 1 ½ cups of water
- 4 cups of granulated sugar (plus extra for coating skewers)
- Wooden skewers or candy sticks
- Mason jars or tall glasses (4)
- Clothespins or clips
- Saucepan
- Food coloring (optional)
- Flavoring extracts (optional, such as vanilla, lemon, or peppermint)
Preparing Your Rock Candy Sticks: Setting the Stage for Crystal Growth
Before we get to the sugary solution, prepping your sticks is a crucial first step for successful rock candy creation.
Trimming and Soaking the Skewers
Wooden skewers typically have sharp points, which aren’t ideal for candy sticks. Use sturdy scissors or a knife to carefully trim off the sharp ends, ensuring they are safe for handling and enjoying. If the trimmed ends are still rough, a bit of sandpaper can smooth them out.
Next, fill your mason jar with water and submerge the trimmed skewers for about an hour.
Sugar Coating: Creating Seed Crystals
After soaking, it’s time to coat the skewers with sugar. Pour some sugar onto a plate and roll the damp skewers in it until they are generously coated. This sugar coating is vital; it provides the “seed” crystals that the rock candy crystals will grow upon. Don’t skip this step for optimal crystal formation! Allow the sugar-coated skewers to dry completely.
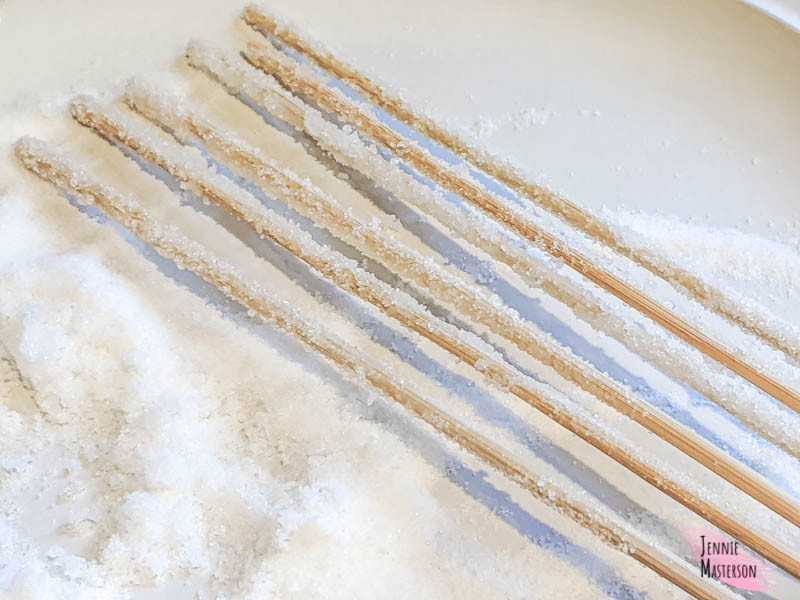 Sugar-coated skewer tips, essential for crystal formation on rock candy sticks.
Crafting the Perfect Sugar Crystal Solution
Now, for the heart of rock candy making: creating a supersaturated sugar solution. This is where the magic begins!
Dissolving Sugar in Water
 Preparing sugar solution for rock candy sticks by dissolving sugar in boiling water.
Pour 1 ½ cups of water into your saucepan and heat it over medium-high heat until it reaches a boil. Once boiling, remove the pan from the heat. Gradually add 4 cups of sugar, stirring continuously until each addition is fully dissolved. Be patient; dissolving this much sugar takes time.
Continue adding sugar and stirring until no more sugar will dissolve, even with prolonged stirring. This indicates you’ve reached supersaturation, the point where the water holds the maximum amount of sugar possible.
Occasionally, the solution might slightly caramelize, turning a light brown color. This won’t significantly impact your crystal growth, so don’t worry if it happens.
Adding Color and Flavor (Optional)
This is where you can get creative! If you desire colored or flavored rock candy sticks, now is the time to add a few drops of food coloring and/or flavoring extract to the hot sugar solution. Remember that the final crystal color will be much lighter than the solution’s color, so use food coloring generously to achieve vibrant hues.
Growing Your Rock Candy Crystals: Patience is Key
With your sugar solution ready and skewers prepped, it’s time to initiate the crystal growth process.
Setting Up the Crystal Growing Jars
Carefully pour the hot sugar solution into your empty mason jars. Be extremely cautious as the solution is very hot! Place the jars in a stable location where they won’t be disturbed while the crystals grow.
Attach clothespins or clips to the top of your sugar-coated skewers. These will suspend the skewers in the solution. Position the skewers in the jars so that they hang down into the solution, approximately one inch from the bottom of the jar. You can arrange multiple skewers in a jar, for example, in a # pattern, ensuring they don’t touch the sides or bottom of the jar to allow for even crystal growth. It’s normal for some seed crystals to fall off the skewers at this stage – don’t worry, the remaining coating is sufficient.
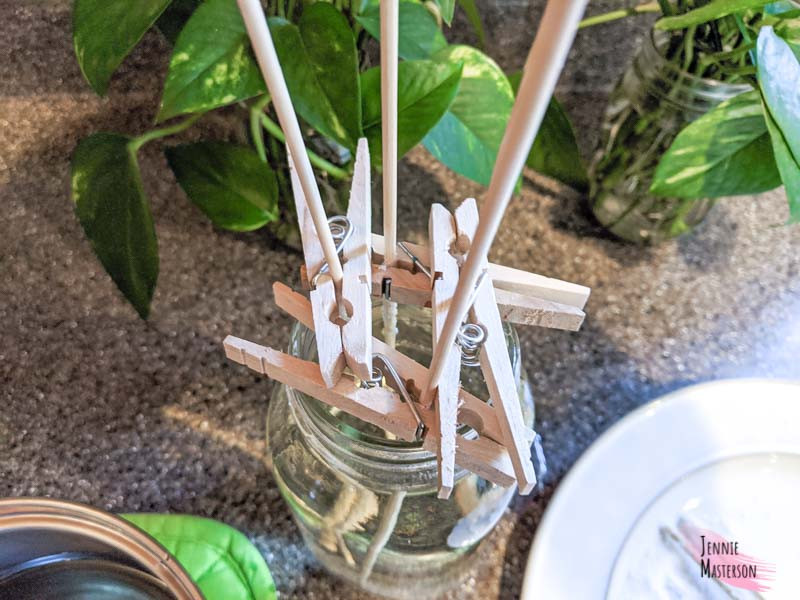 Clothespins used to suspend sugar-coated skewers in mason jars for rock candy growth.
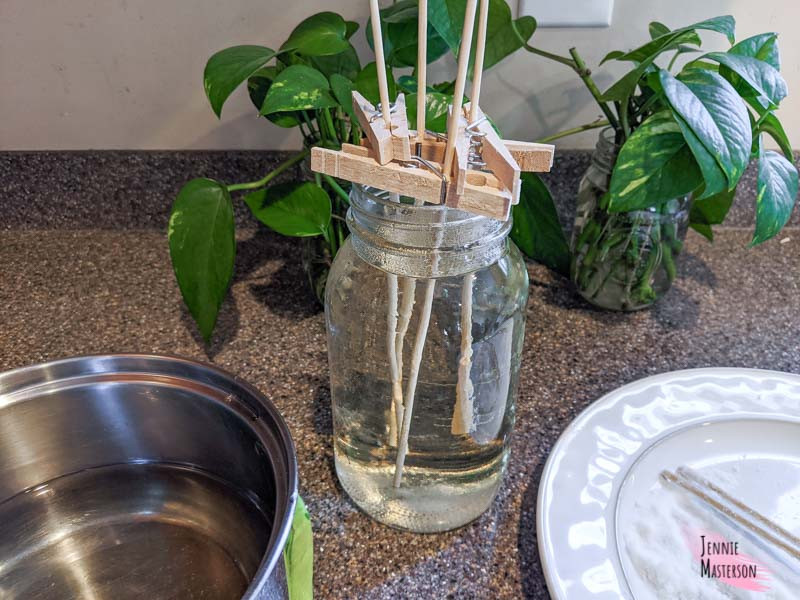 Mason jar with sugar solution and skewers ready for growing homemade rock candy crystals.
The Waiting Game: Watching Crystals Emerge
Now comes the test of patience: waiting for your rock candy crystals to grow. Avoid moving or disturbing the jars during this time. While you might be tempted to check them frequently, resist! Generally, visible crystals will start forming within a day, and significant growth will occur over several days. For substantial crystals, allow at least a week of undisturbed growth. The longer you wait, the larger your rock candy crystals will become.
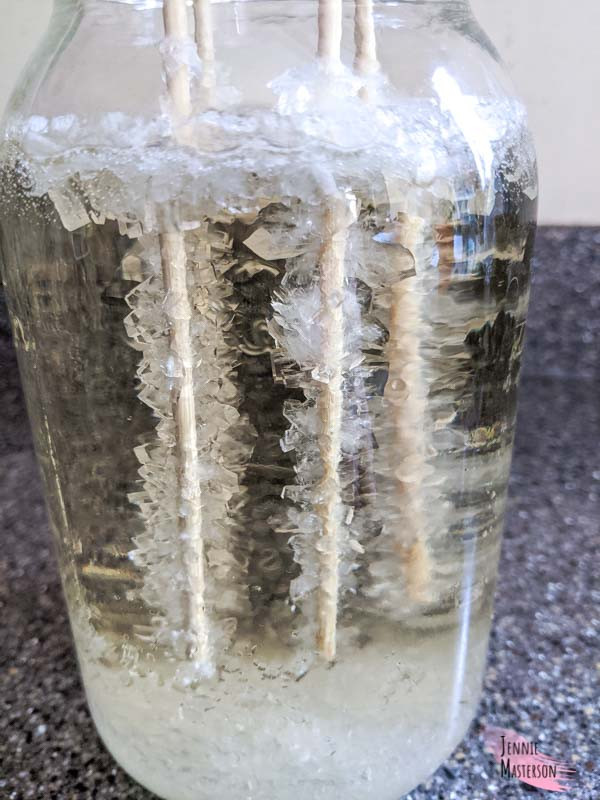 Sugar crystals growing on skewers in mason jar, forming rock candy sticks.
Harvesting and Enjoying Your Homemade Rock Candy Sticks
Once you’re satisfied with the size of your crystals, it’s time to carefully remove your homemade rock candy sticks.
Drying and Admiring Your Sweet Crystals
Gently pull the rock candy sticks out of the jars. The remaining sugar solution will still be sticky. Place the freshly grown rock candy sticks on a plate or another solid surface to dry completely. This prevents them from sticking to your drying surface.
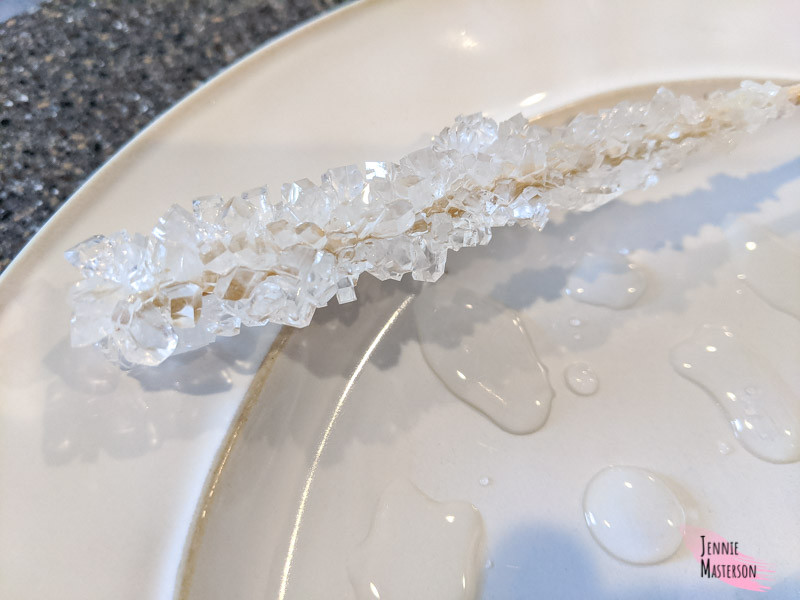 Freshly made rock candy stick drying on a plate after crystal growth.
Experiment with Colors and Flavors
For a visually stunning and flavorful candy assortment, use separate mason jars to grow rock candy sticks with different food colorings and flavor extracts simultaneously. Imagine a rainbow of rock candy sticks!
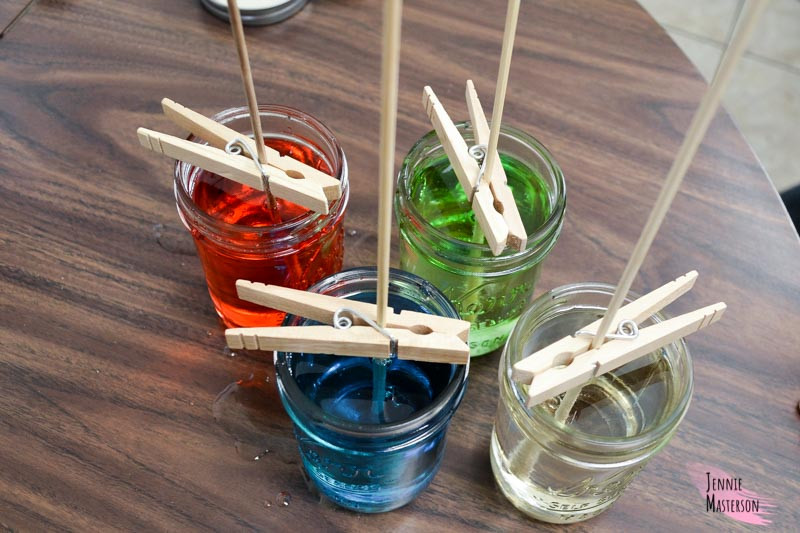 Multiple mason jars for making different colors and flavors of rock candy sticks.
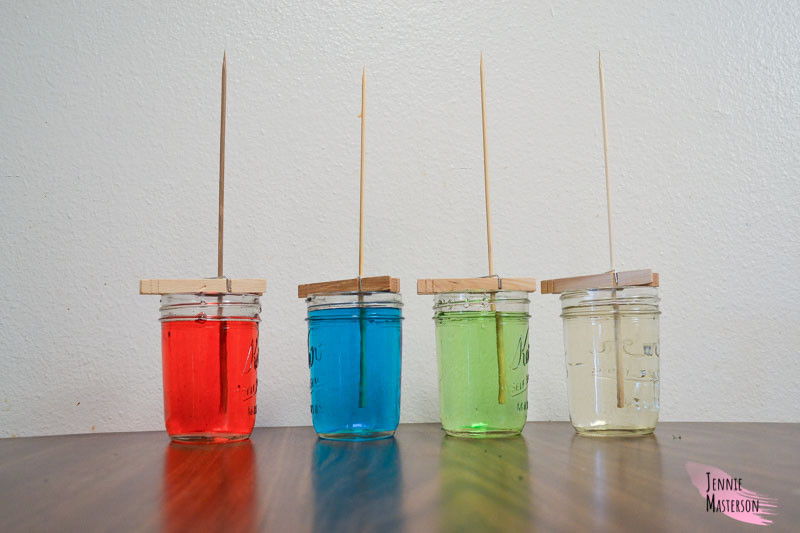 Sugar crystal solution in mason jars, ready for the rock candy making process.
The classic white rock candy sticks, with their diamond-like appearance, are particularly beautiful and showcase the pure crystalline structure.
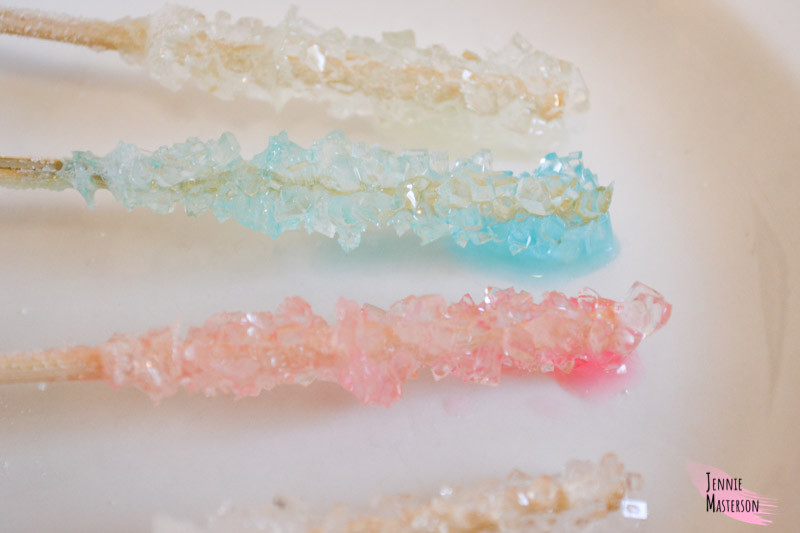 Vibrant colored homemade rock candy sticks.
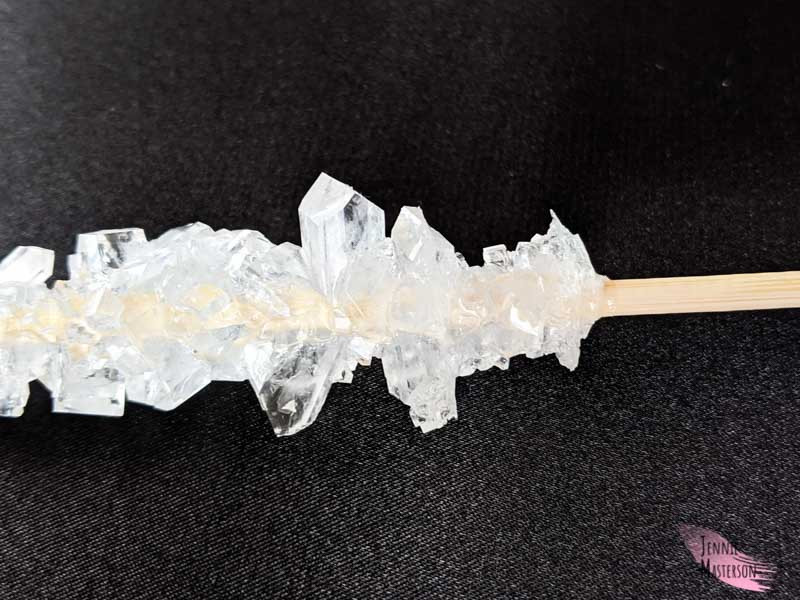 Detailed close-up of rock candy crystals, showcasing their geometric structure.
Tips for Perfect Rock Candy Sticks
- Supersaturation is key: Ensure your sugar solution is truly supersaturated for optimal crystal growth.
- Patience is a virtue: Resist the urge to disturb the jars while crystals are growing.
- Seed crystals matter: Don’t skip the sugar-coating step for your skewers.
- Control temperature: Consistent room temperature is best for even crystal growth. Avoid drafts or direct sunlight.
- Cleanliness counts: Use clean jars and utensils to prevent unwanted crystal formation or contamination.
Thank you for joining me in this sweet science experiment! As you wait for your rock candy crystals to mature, you might also enjoy exploring the creation of crystal eggshell geodes, another fascinating project that bridges the worlds of crystals and crafting.
 Finished homemade rock candy stick, a delicious edible crystal.