Crystals have always held a certain fascination, their natural beauty and unique formations captivating people for centuries. But did you know you can create your own stunning Crystal Rocks at home using simple ingredients? This fun and educational activity combines science and art, transforming ordinary beach stones into dazzling, vibrant treasures. It’s a perfect project for kids and adults alike, blending learning with creativity.
This experiment puts a unique spin on the classic Borax crystal project, typically done with pipe cleaners. Instead, we’ll use smooth beach rocks as the base for our crystal formations, resulting in beautiful, one-of-a-kind crystal rocks. You’ll be amazed by the transformation as ordinary stones become encrusted with shimmering crystals.
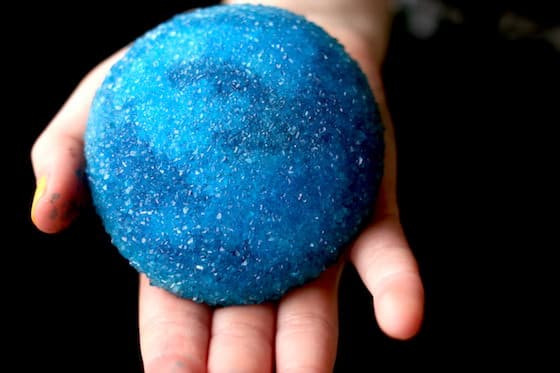 large beach stone covered with blue borax crystals
Creating Your Own Crystal Rocks: A Step-by-Step Guide
The process of creating crystal rocks is surprisingly simple, requiring just a few household items. Here’s what you’ll need:
- Smooth beach rocks (the smoother the surface, the better the crystal adhesion)
- Borax powder (found in the laundry aisle of most supermarkets)
- Hot water
- Jars or plastic containers (glass jars allow for better viewing)
- Spoon
- Liquid watercolors (for adding vibrant colors)
- Medicine droppers or small paintbrushes
Crystallization Process:
-
Prepare the Borax Solution: Fill your jar with 3 cups of very hot tap water. Add 9 tablespoons of Borax powder and stir until completely dissolved. The hot water helps the Borax dissolve more readily, creating a saturated solution crucial for crystal growth.
-
Submerge the Rocks: Carefully lower your clean beach rocks into the Borax solution, ensuring they are fully submerged. Use a spoon to prevent splashing and to adjust the rocks’ position.
-
Crystal Formation: Within hours, you’ll start to see tiny crystals forming on the rocks and the bottom of the jar. For optimal crystal growth, leave the rocks undisturbed overnight.
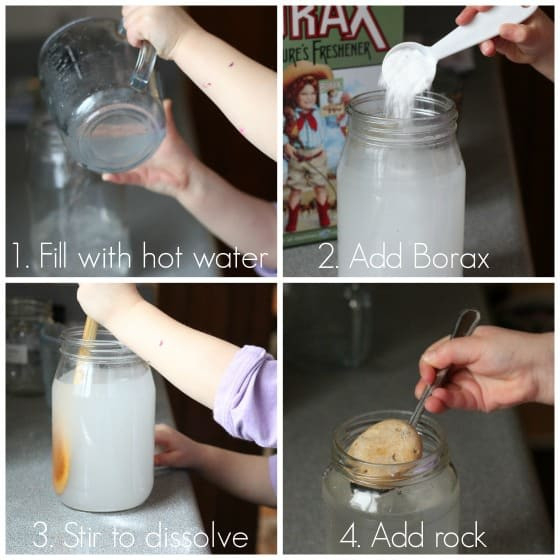 Step by step photo tutorial of borax crystal experiment on beach rocks
- Drying: The next day, gently pry the rocks loose from the bottom of the jar. They might be stuck due to crystal formation. Place them on a paper towel to dry completely. Handle with care to avoid breaking off the delicate crystals.
Infusing Color into Your Crystal Creations
Once your crystal rocks are dry, you can add vibrant colors using liquid watercolors.
-
Prepare the Colors: Dilute a few drops of liquid watercolors with a couple of drops of water in an ice cube tray or small containers. This helps the color spread evenly and prevents overly concentrated spots.
-
Apply the Color: Using medicine droppers or paintbrushes, carefully drip or paint the diluted watercolors onto the crystal-covered rocks. Experiment with different colors and techniques to create unique patterns and designs.
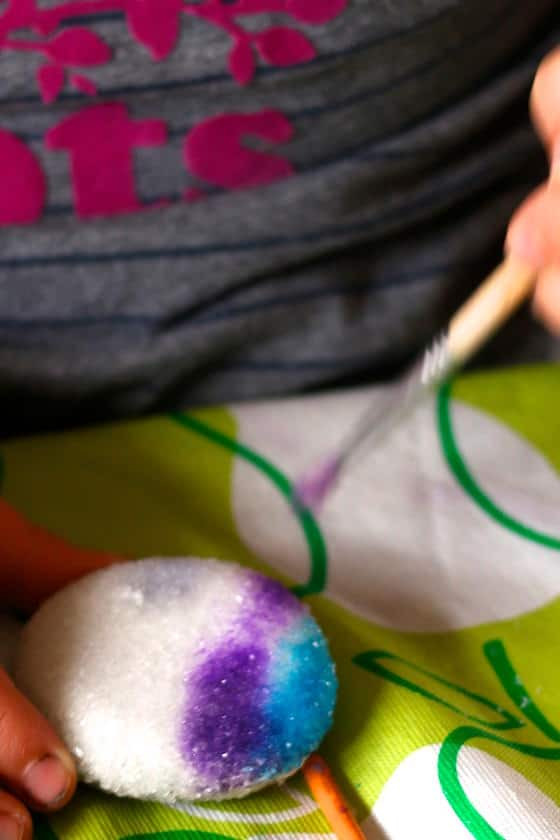 painting borax crystals with liquid watercolours
- Observe the Magic: Watch as the porous Borax crystals absorb the vibrant colors, transforming your crystal rocks into stunning works of art.
Showcasing Your Crystal Rocks
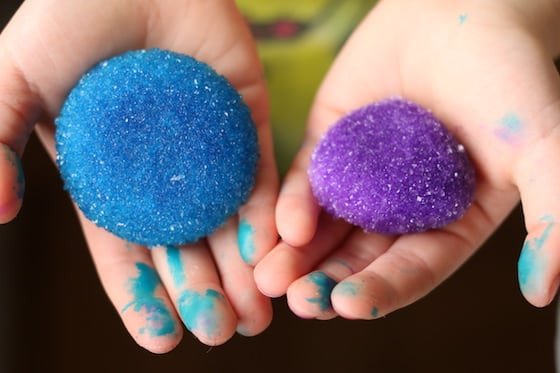 Child holding stones crystalized with borax and hot water
Your finished crystal rocks can be used as beautiful decorative pieces, unique paperweights, or even thoughtful gifts. Display them on a shelf, windowsill, or give them to friends and family. Each crystal rock is a unique testament to the beauty of science and creativity.
This crystal rock project is not only a fun and engaging activity but also a fantastic way to learn about crystal formation, saturation, and the properties of Borax. It’s a hands-on science experiment that yields beautiful, tangible results, fostering a love for learning and exploration. So gather your materials and embark on this exciting journey of creating your own dazzling crystal rocks!