The allure of brightly colored Rocks And Gems is undeniable. This guide dives into a fun and educational sensory activity: creating shimmering, faux jewels using simple household materials. This hands-on project offers a captivating experience for children, fostering creativity and learning through play.
Crafting Your Own Gems: Materials and Methods
This activity utilizes readily available materials: rock salt (commonly used for ice cream makers), liquid watercolors or food coloring, and white glue. The process of transforming these ordinary items into dazzling gems is a journey of discovery in itself.
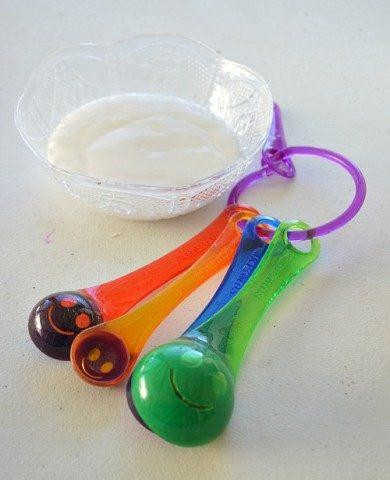 Materials for making gems: glue and colored rock salt
Step 1: Coloring the Rock Salt
Begin by adding approximately one cup of rock salt to a sealed plastic bag. Introduce a few squirts of liquid watercolor or food coloring. Shake the bag vigorously to distribute the color evenly throughout the salt. For multiple colors, repeat this process with separate bags and colors. Spread the colored salt on a cookie sheet to dry thoroughly, preferably overnight. A helpful tip: ensure the salt is completely dry before proceeding to the next step to prevent the colors from bleeding.
 Mixing colored rock salt with glue
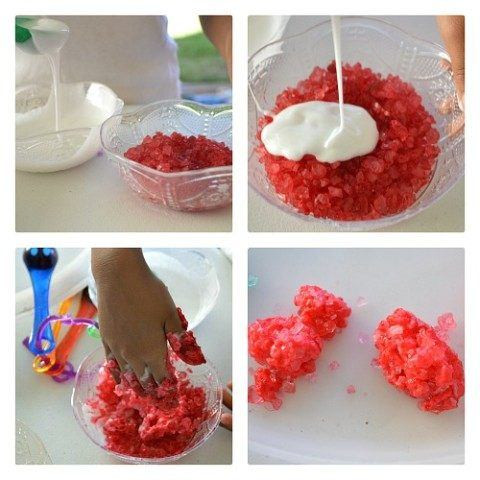
Step 2: Combining Glue and Salt
Measure out about 1/4 cup of white glue. Gradually add the dried, colored rock salt to the glue, mixing continuously. The mixture will thicken as the salt absorbs the glue, forming a moldable consistency. Children can use their hands or a spoon to thoroughly combine the ingredients.
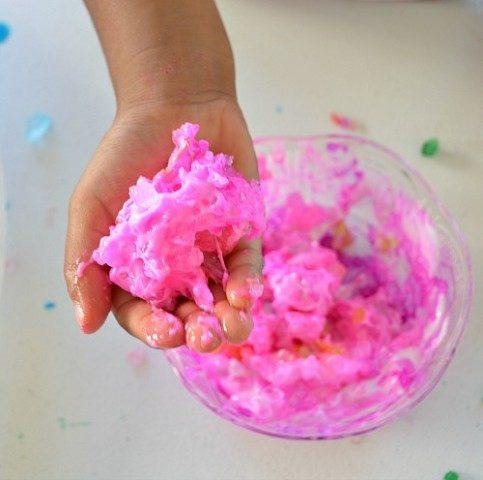 Mixing glue and salt with hands
Step 3: Shaping and Drying
Mold the glue and salt mixture into desired shapes and sizes. Encourage creativity and experimentation with different forms. Place the formed gems on a clean, dry, flat surface to dry. The drying process typically takes about two days.
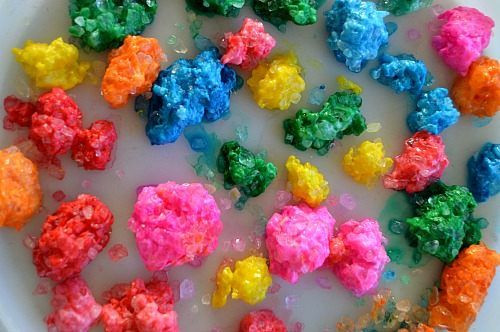 Multi-colored gems drying
Learning and Play with DIY Rocks and Gems
Once dry, these homemade gems become captivating treasures for imaginative play. Children can sort them by color, mimicking the properties of real gemstones. This activity sparks conversations about the formation of real rocks and gems, their diverse colors, and unique characteristics. Older children can delve into deeper research, exploring the geological processes that create these natural wonders.
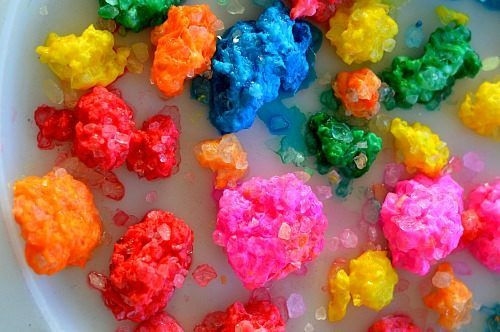 Sparkly homemade gems
Beyond Play: Educational Opportunities with Rocks and Gems
This simple craft provides a foundation for exploring broader scientific concepts. Discussions about minerals, crystals, and the rock cycle can enhance learning and foster a deeper appreciation for the natural world. Comparing the homemade gems with images of real rocks and gems allows children to identify similarities and differences.
 Dried, colorful gems
Conclusion: Unearthing the Fun in Rocks and Gems
Creating DIY rocks and gems offers a multi-faceted learning experience. This hands-on activity combines sensory exploration, artistic expression, and scientific discovery. The resulting gems become tools for imaginative play, sparking creativity and curiosity about the world of rocks and gems. This activity proves that learning can be both engaging and enjoyable.