Making tumbled rocks shiny enhances their natural beauty, transforming ordinary stones into stunning gems. At rockscapes.net, we understand the allure of polished rocks and the joy of revealing their hidden splendor. This guide provides a detailed, SEO-optimized approach to achieving that perfect luster, ensuring your rocks stand out whether used in landscaping, as decorative elements, or as part of a personal collection. Achieve a stunning, long-lasting shine on your tumbled rocks, highlighting their unique textures and colors.
1. What Are Tumbled Rocks and Why Make Them Shiny?
Tumbled rocks are stones that have been smoothed and polished through a tumbling process, revealing vibrant colors and patterns. The appeal of making tumbled rocks shiny lies in enhancing their aesthetic value, making them ideal for decorative purposes, jewelry making, or simply enjoying the beauty of nature indoors.
-
Geological Significance: According to research from Arizona State University’s School of Earth and Space Exploration, different types of rocks react uniquely to the tumbling and polishing process, influencing the final shine and color intensity. Understanding the geological composition of your rocks can therefore help tailor the polishing method for optimal results.
-
Benefits of Polishing: Polishing not only enhances the visual appeal but also protects the rock surface, reducing the risk of weathering and wear, thereby extending the life of your stone pieces. This is particularly important in landscaping, where rocks are exposed to environmental elements.
2. What Types of Rocks Are Best Suited for Tumbling and Polishing?
The best rocks for tumbling and polishing are those that are relatively hard and free of fractures. Common choices include:
- Agate: Known for its vibrant bands and durability.
- Jasper: Offers a range of colors and patterns, ideal for adding visual interest.
- Quartz: Including varieties like amethyst, rose quartz, and clear quartz, known for their hardness and ability to achieve a high polish.
- Obsidian: A volcanic glass that polishes to a glossy finish.
- Petrified Wood: Offers unique textures and patterns after polishing.
2.1. Rock Hardness and Its Importance
Mohs Hardness Scale is crucial. Rocks with a hardness of 6 or higher on the Mohs scale (like quartz at 7) are generally better suited for tumbling because they can withstand the abrasive forces without breaking down too quickly. Softer stones can be tumbled, but they require more care and may not achieve the same level of shine.
2.2. Identifying Rocks for Polishing
Identifying suitable rocks involves a keen eye and some geological knowledge. Look for rocks with smooth surfaces and interesting colors or patterns. A basic geology kit can help determine the mineral composition and hardness of your finds, ensuring you select rocks that will respond well to the tumbling process.
- Rockscapes.net Tip: Visit rockscapes.net for expert advice on identifying and selecting the best rocks for your polishing projects. Our guides and resources will help you make informed choices, ensuring a successful and rewarding tumbling experience.
3. What Equipment Do You Need to Tumble Rocks?
To effectively tumble rocks, you’ll need specific equipment designed to handle the abrasive and polishing processes. Here’s a list of essential tools:
- Rock Tumbler: This is the primary machine that rotates the rocks with abrasive grits and water.
- Tumbler Grit Kit: Includes coarse, medium, fine, and pre-polish grits to smooth and refine the rocks.
- Polishing Compound: Used in the final stage to give the rocks their ultimate shine.
- Plastic Pellets or Ceramic Media: These help cushion the rocks during tumbling, preventing damage and ensuring even polishing.
- Buckets and Water: For washing the rocks between stages.
- Safety Glasses and Gloves: To protect your eyes and skin when handling chemicals and abrasive materials.
3.1. Choosing the Right Rock Tumbler
Selecting the right rock tumbler depends on the volume of rocks you plan to tumble and the level of noise you can tolerate. There are two main types:
- Rotary Tumblers: These are the most common and affordable, suitable for beginners. They work by slowly rotating a barrel containing the rocks, grit, and water.
- Vibratory Tumblers: These use vibrations to polish rocks more quickly, often in a matter of days rather than weeks. They are more expensive but can be worth the investment for serious hobbyists.
3.2. Understanding Tumbling Grit
Tumbling grit comes in several grades, each serving a specific purpose:
| Grit Grade | Purpose |
|---|---|
| Coarse | To grind down rough edges and shape the rocks |
| Medium | To smooth the rocks after the coarse grind |
| Fine | To prepare the rocks for polishing |
| Pre-Polish | To refine the surface further before the final polishing stage |
| Polish | To give the rocks their final, glossy shine using a polishing agent |
3.3. Sourcing Quality Equipment
High-quality equipment ensures consistent results and prolongs the life of your rocks. Consider purchasing from reputable suppliers specializing in geological and lapidary equipment. Online forums and rockhounding communities can provide valuable recommendations and reviews.
- Rockscapes.net Recommendation: At rockscapes.net, we recommend using high-quality tumbling equipment and supplies for the best results. Explore our curated selection of rock tumblers, grits, and polishing compounds to ensure your projects achieve a professional finish.
4. Step-by-Step Guide: How to Make Tumbled Rocks Shiny
The process of making tumbled rocks shiny involves several stages, each crucial to achieving the desired result. Here’s a detailed guide:
4.1. Step 1: Cleaning and Sorting the Rocks
Start by thoroughly cleaning the rocks to remove any dirt, debris, or organic matter. Use a brush and soapy water to scrub each rock. Next, sort the rocks by hardness and size. Tumbling rocks of similar hardness together prevents softer stones from being damaged by harder ones.
 Washing rocks with soap and water before tumbling
4.2. Step 2: Coarse Grind (Stage 1)
Place the sorted rocks in the tumbler barrel, filling it about two-thirds full. Add coarse grit according to the tumbler’s instructions (usually about 2 tablespoons per pound of rock). Add water until the rocks are just covered. Seal the barrel tightly and place it on the tumbler. Tumble for 7-10 days, checking periodically to ensure the grit is still active and the slurry isn’t too thick.
4.3. Step 3: Medium Grind (Stage 2)
After the coarse grind, thoroughly clean the rocks and the tumbler barrel to remove all traces of the coarse grit. Add the rocks back to the barrel with medium grit and water, following the same proportions as before. Tumble for another 7 days. This stage smooths out the rough surfaces created by the coarse grit.
4.4. Step 4: Fine Grind (Stage 3)
Repeat the cleaning process and add the rocks to the barrel with fine grit and water. Tumble for 7 days. The fine grit further refines the rock surfaces, preparing them for the polishing stage.
4.5. Step 5: Pre-Polish (Optional)
Some rock tumblers do not use Pre-Polish. If you’re aiming for an exceptionally high shine, use a pre-polish grit. Repeat the cleaning process, add the pre-polish grit and water, and tumble for another 7 days.
4.6. Step 6: Polish (Stage 4)
This is the final stage where the rocks achieve their glossy shine. After cleaning the rocks and the barrel thoroughly, add the polishing compound (such as aluminum oxide) and water. Tumble for 7-10 days. Check the rocks periodically to monitor the progress.
 Adding mineral oil to rocks for polishing
4.7. Step 7: Final Cleaning and Inspection
Once the polishing stage is complete, remove the rocks from the tumbler and wash them thoroughly with soap and water. Inspect each rock to ensure it has reached the desired level of shine. If not, you can repeat the polishing stage for a longer period.
4.8. Troubleshooting Common Issues
-
Rocks Not Polishing: Ensure you are using the correct grit sequence and that each stage is completed thoroughly. Old or contaminated grit can also affect the results.
-
Rocks Breaking: This can happen if the rocks are too soft or if there is too much empty space in the tumbler barrel. Use plastic pellets or ceramic media to cushion the rocks.
-
Uneven Polishing: Make sure the rocks are of similar hardness and size. Regularly check the slurry to ensure it is not too thick.
-
Rockscapes.net Insight: For more detailed troubleshooting tips and expert advice, visit rockscapes.net. Our guides and forums offer a wealth of information to help you overcome common tumbling challenges and achieve consistently beautiful results.
5. Quick Shine Method: Polishing Rocks Without a Tumbler
For those seeking a quicker alternative to traditional tumbling, polishing rocks without a tumbler is possible using a few simple methods. These techniques are ideal for small batches of rocks or for adding a final touch to already tumbled stones.
5.1. Hand Polishing with a Rotary Tool
A rotary tool, such as a Dremel, can be used to polish rocks manually. Attach a polishing wheel to the tool and apply a polishing compound (like cerium oxide or aluminum oxide) to the rock surface. Carefully polish the rock, working in small sections and using light pressure. This method is best for detailed work and achieving a high shine on specific areas.
5.2. Using a Vibratory Tumbler for a Faster Shine
Vibratory tumblers offer a faster polishing process compared to rotary tumblers. These machines use vibrations to move the rocks and polishing media, reducing the time needed for each stage. While more expensive than rotary tumblers, they can significantly cut down the overall polishing time.
5.3. Polishing with Mineral Oil
Polishing rocks with oil is a simple and effective way to enhance their shine without extensive equipment. This method works well for rocks that have already been smoothed and only need a final polish.
- Materials: You’ll need mineral oil (food grade), a clean jar, paper towels, and an absorbent towel.
- Steps:
- Wash and Dry: Clean the rocks with soap and water and let them dry completely.
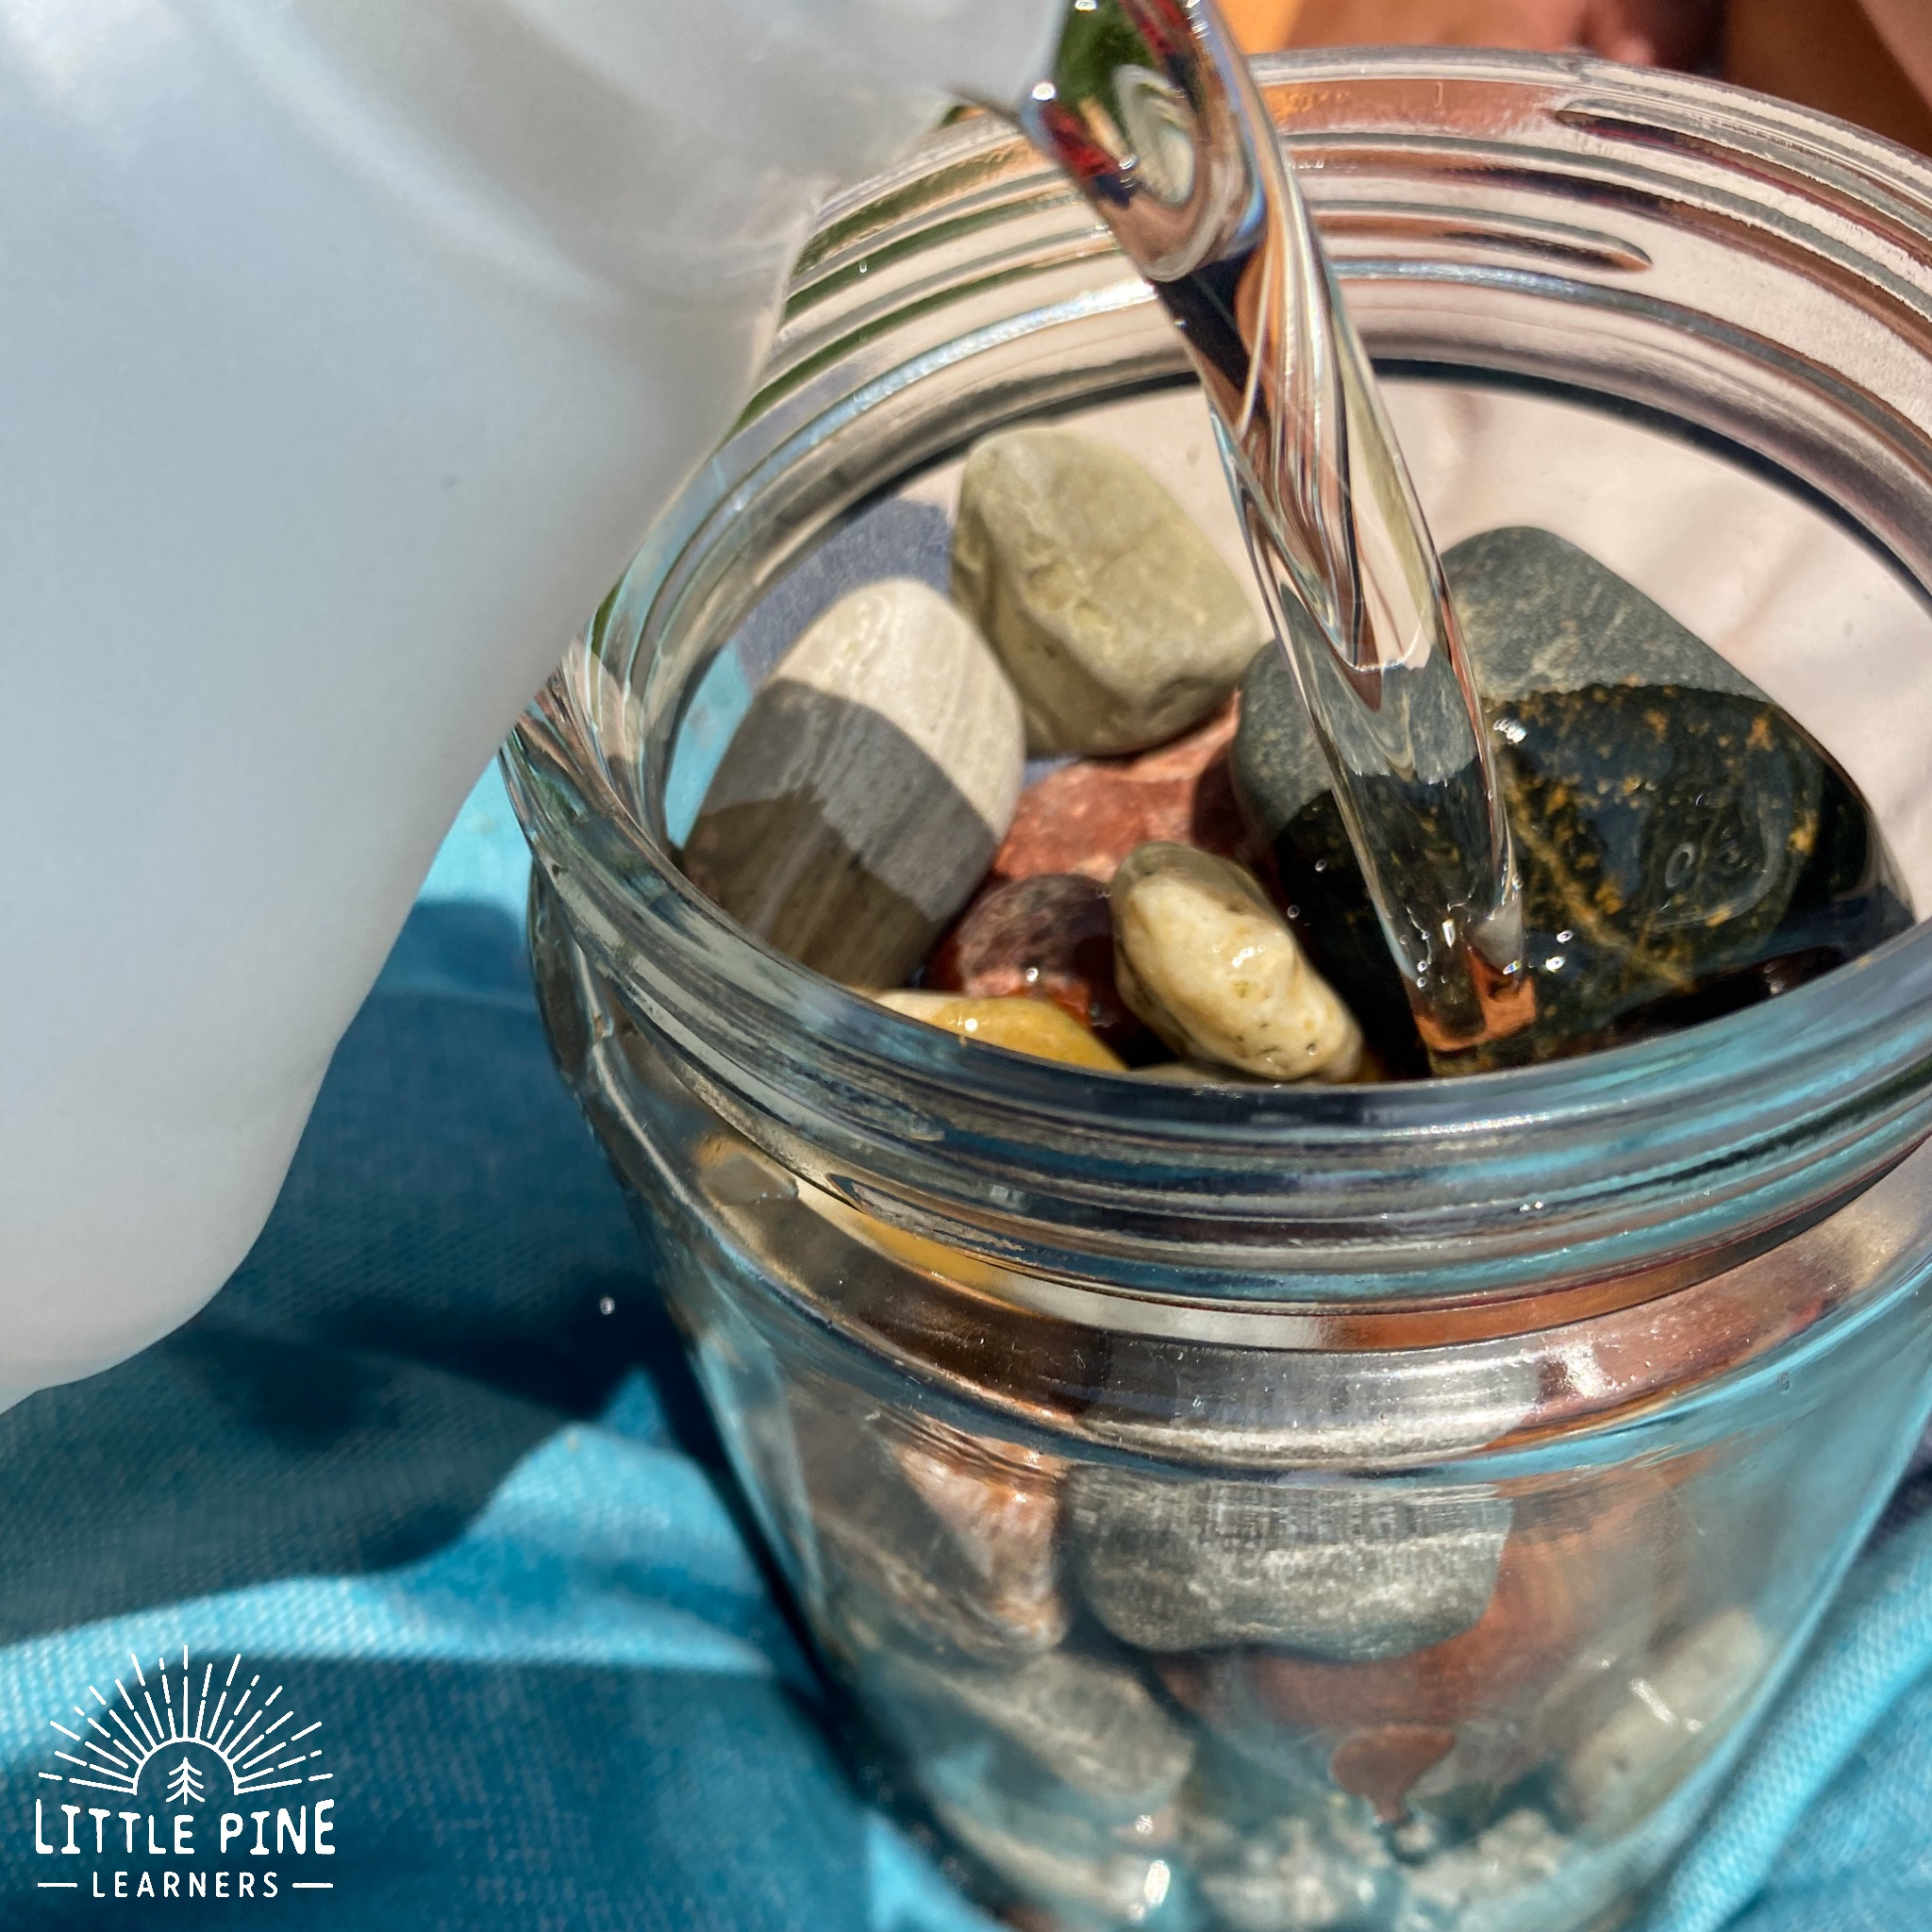
- Submerge in Oil: Place the rocks in a jar and cover them completely with mineral oil.
- Soak: Let the rocks soak in the oil for at least two hours.
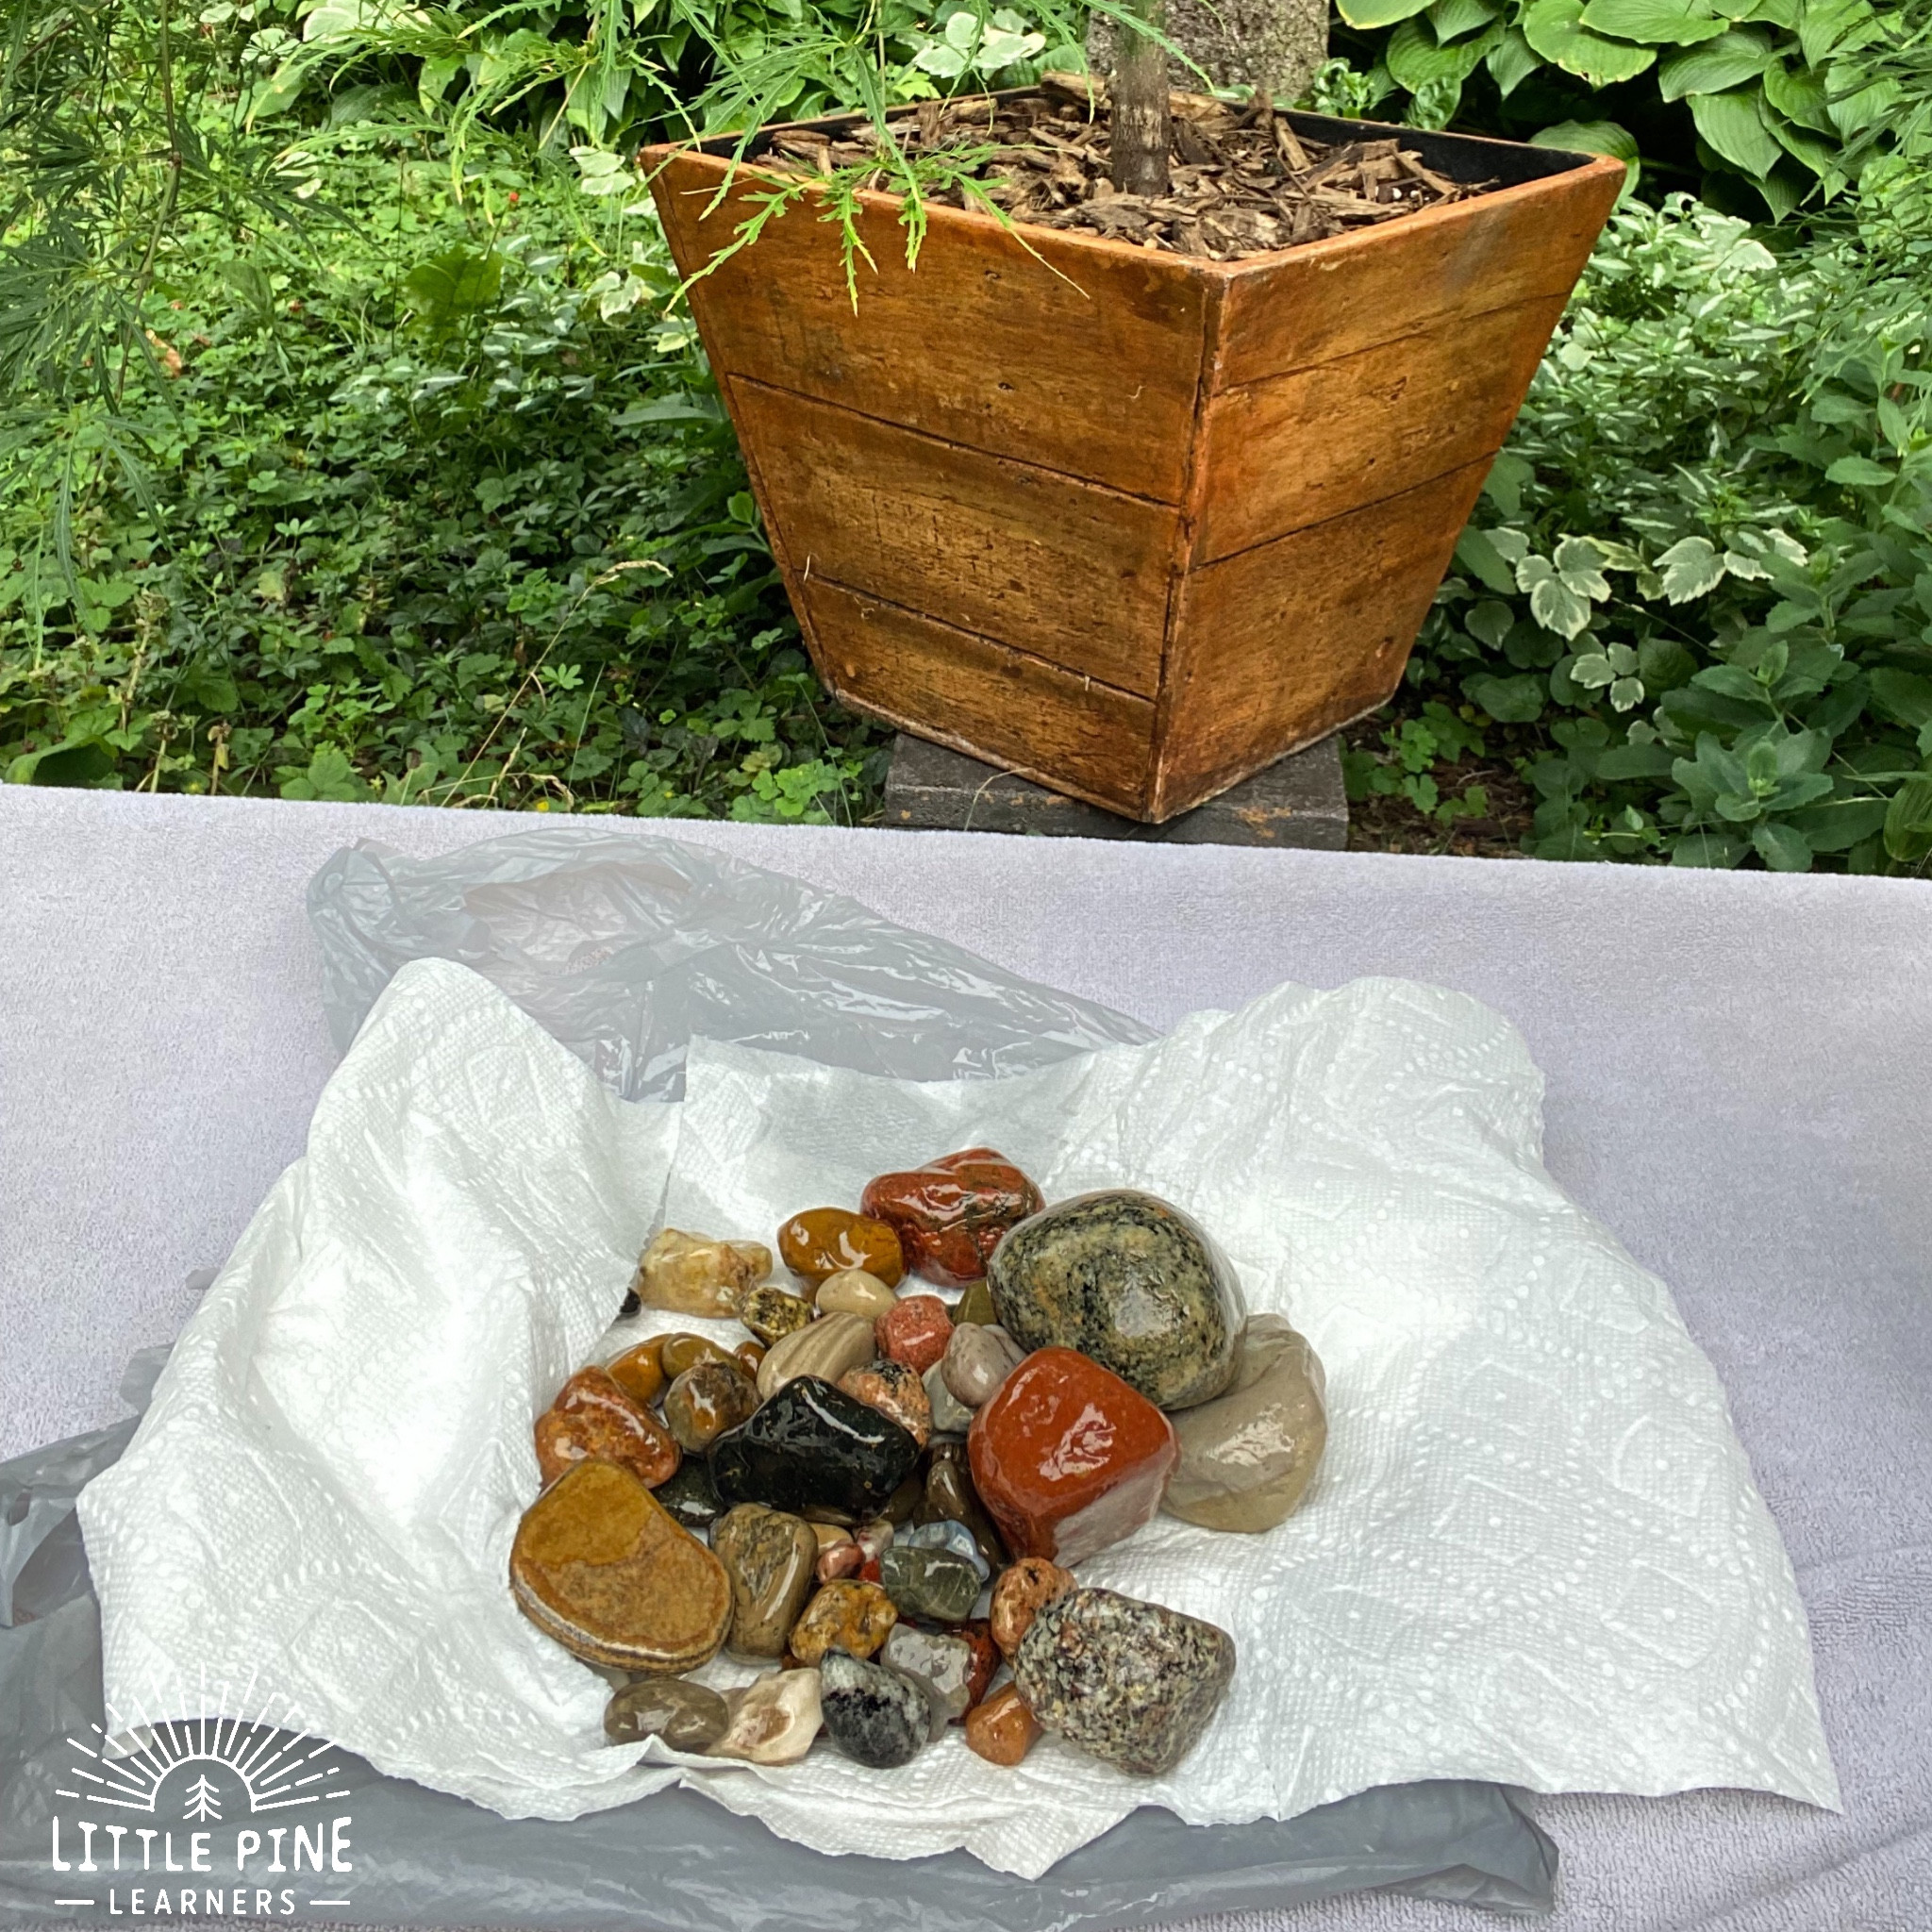
- Strain: Strain the oil, reserving it for future use.
- Polish: Use a paper towel to remove excess oil, then polish the rocks with an absorbent towel until they shine.
 Polishing rocks with paper towel after oil soak
5.4. Applying a Protective Coating
To maintain the shine and protect the polished surface, consider applying a clear acrylic sealant or wax. This creates a barrier against moisture and dirt, preserving the rock’s appearance for longer.
- Rockscapes.net Tip: Explore rockscapes.net for detailed guides on alternative polishing methods and product recommendations. Our experts provide step-by-step instructions and tips for achieving stunning results without traditional tumbling equipment.
6. What Are the Best Oils for Polishing Rocks?
Selecting the right oil is crucial for achieving the desired shine and preserving the rock’s appearance. The best oils for polishing rocks are those that enhance the rock’s natural colors, provide a protective layer, and are safe to handle.
6.1. Mineral Oil
Food-grade mineral oil is a popular choice among rock enthusiasts. It’s non-toxic, odorless, and does an excellent job of bringing out the natural colors and patterns in rocks. Mineral oil creates a durable, shiny surface that resists moisture and dirt.
6.2. Jojoba Oil
Jojoba oil is an environmentally friendly alternative to mineral oil. It’s a natural wax ester that closely resembles the skin’s sebum, making it safe and gentle. Jojoba oil enhances the rock’s luster and provides a protective barrier against environmental elements.
6.3. Linseed Oil
Boiled linseed oil is another option, known for its ability to harden and create a tough, glossy finish. However, it should be used with caution as it can be flammable and requires proper ventilation. Linseed oil is best suited for rocks that will be displayed indoors.
6.4. Considerations When Choosing an Oil
-
Safety: Always choose non-toxic oils, especially if children or pets are involved.
-
Environmental Impact: Opt for eco-friendly oils like jojoba oil to minimize your environmental footprint.
-
Finish: Consider the desired finish – some oils provide a high gloss, while others offer a more natural, satin-like sheen.
-
Rockscapes.net Tip: At rockscapes.net, we provide detailed information on the best oils for rock polishing and their specific applications. Our resources help you make informed decisions, ensuring your rocks look their best while prioritizing safety and environmental responsibility.
7. How to Maintain the Shine of Tumbled Rocks
Maintaining the shine of tumbled rocks involves regular cleaning and occasional re-polishing. Proper care ensures that your rocks retain their luster and beauty for years to come.
7.1. Regular Cleaning
Dust and dirt can dull the shine of polished rocks over time. Clean your rocks regularly with a soft cloth and mild soap and water. Avoid using harsh chemicals or abrasive cleaners, as these can damage the polished surface.
7.2. Re-Oiling
For rocks polished with oil, re-applying a thin coat of oil every few months can help maintain their shine. Use a soft cloth to apply the oil evenly, then buff the surface to remove any excess.
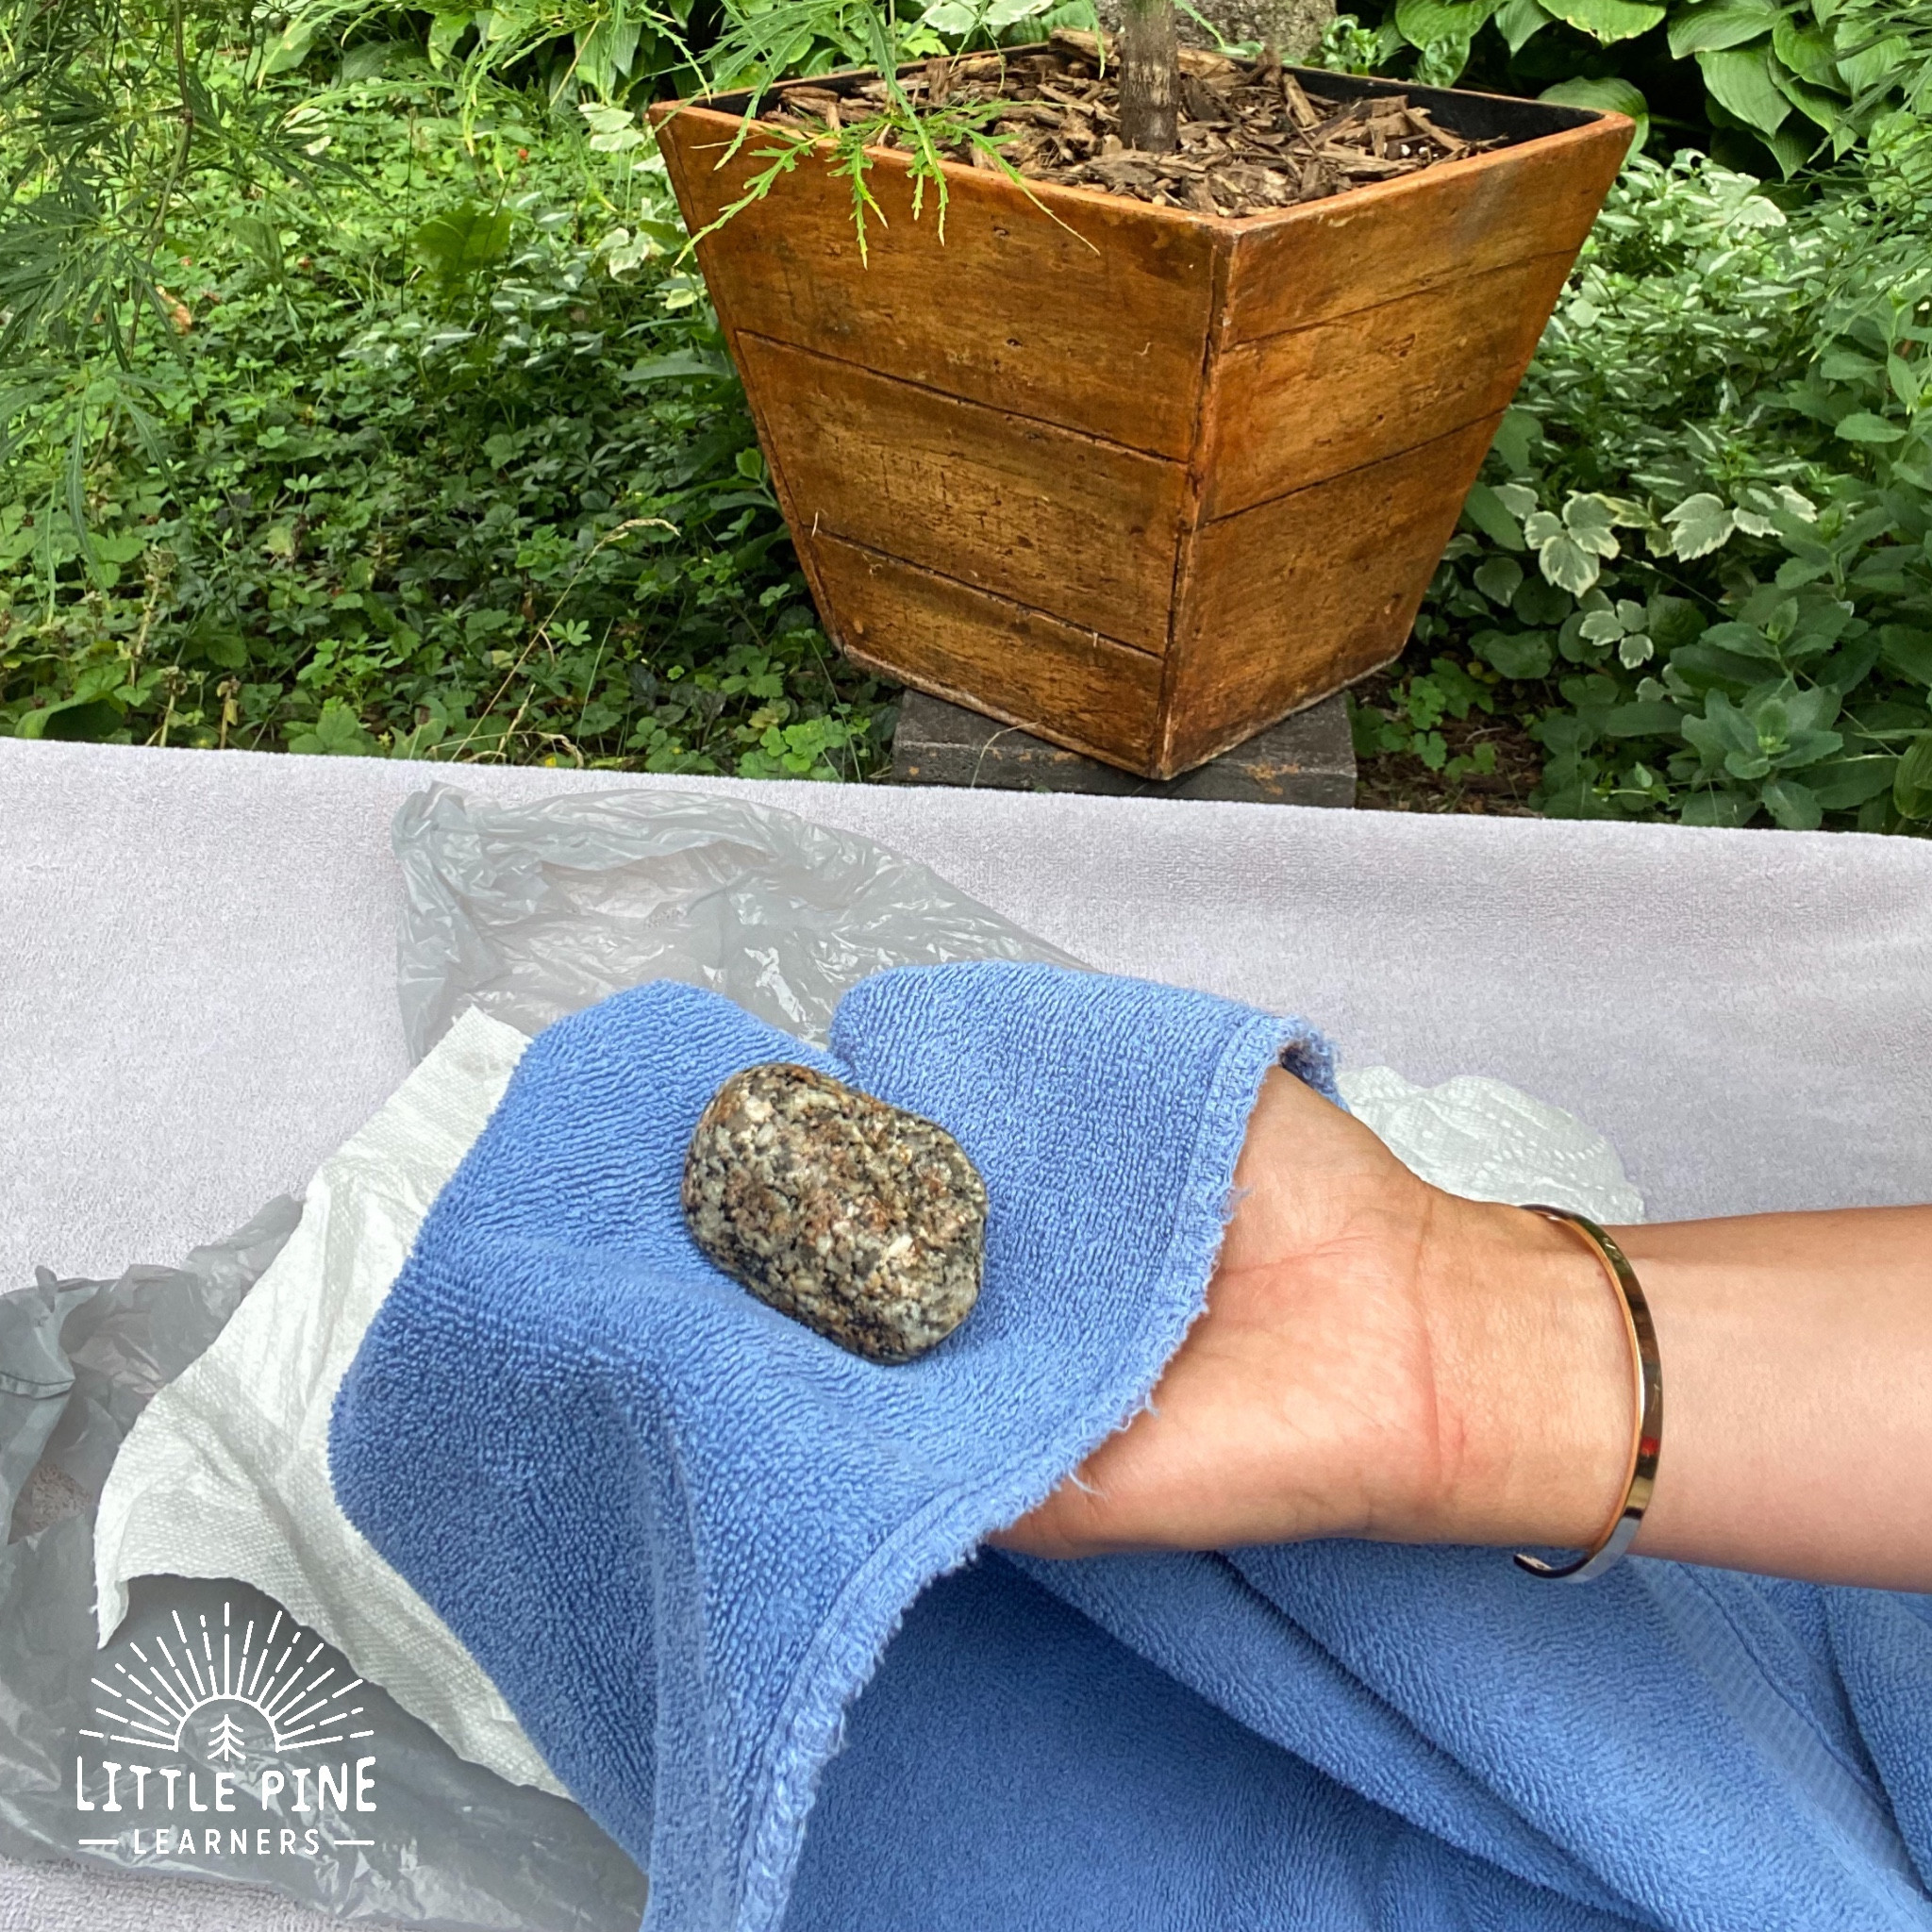 Using an absorbent towel to polish rocks after oiling
7.3. Protective Display
When displaying your tumbled rocks, consider placing them in a protected environment away from direct sunlight and extreme temperatures. These elements can fade the colors and dull the shine of your rocks over time.
7.4. Re-Polishing
If your tumbled rocks start to lose their shine despite regular cleaning and maintenance, consider re-polishing them using a rotary tool or vibratory tumbler. This will restore their original luster and beauty.
7.5. Long-Term Storage
When storing tumbled rocks, wrap them individually in soft cloth or tissue paper to prevent scratches and damage. Store them in a cool, dry place away from direct sunlight.
- Rockscapes.net Insight: Visit rockscapes.net for expert tips on maintaining the shine and beauty of your tumbled rocks. Our comprehensive guides and resources provide valuable information to help you care for your precious stones and keep them looking their best.
8. Creative Ways to Use Shiny Tumbled Rocks
Shiny tumbled rocks are versatile and can be used in a variety of creative projects, from home décor to jewelry making. Their vibrant colors and smooth surfaces make them ideal for adding a touch of natural beauty to any setting.
8.1. Home Décor
- Decorative Bowls: Fill decorative bowls or vases with tumbled rocks for a colorful and textured display.
- Table Centerpieces: Create stunning table centerpieces by arranging tumbled rocks with candles, flowers, or other decorative elements.
- Garden Accents: Use tumbled rocks to add visual interest to your garden beds, pathways, or water features.
8.2. Jewelry Making
- Pendants and Charms: Drill holes in tumbled rocks and use them to create unique pendants, charms, and earrings.
- Beaded Jewelry: Incorporate tumbled rocks into beaded necklaces, bracelets, and anklets for a natural and earthy look.
8.3. Landscaping
- Rock Gardens: Create beautiful rock gardens using a variety of tumbled rocks, plants, and other natural elements.
- Pathways: Line garden pathways with tumbled rocks for a decorative and functional touch.
- Water Features: Use tumbled rocks to enhance the beauty of your water features, such as ponds, fountains, and streams.
8.4. Craft Projects
-
Mosaics: Use tumbled rocks to create stunning mosaics on tabletops, walls, or other surfaces.
-
Paperweights: Glue tumbled rocks to a flat base to create unique and functional paperweights.
-
Personalized Gifts: Create personalized gifts by decorating picture frames, boxes, or other items with tumbled rocks.
-
Rockscapes.net Inspiration: Discover endless creative ideas for using shiny tumbled rocks at rockscapes.net. Our galleries and project guides provide inspiration and step-by-step instructions for bringing your vision to life.
9. Safety Precautions When Tumbling Rocks
Tumbling rocks involves using equipment and materials that require careful handling. Following safety precautions is essential to protect yourself and others from potential hazards.
9.1. Wear Protective Gear
Always wear safety glasses and gloves when handling rocks, grit, polishing compounds, and other materials. This protects your eyes and skin from irritation and potential injury.
9.2. Work in a Well-Ventilated Area
Some polishing compounds and sealants can release fumes, so it’s important to work in a well-ventilated area. This reduces the risk of inhaling harmful vapors.
9.3. Follow Equipment Instructions
Carefully read and follow the instructions provided with your rock tumbler and other equipment. This ensures safe and proper operation and prevents damage to the equipment.
9.4. Store Materials Properly
Store grit, polishing compounds, sealants, and other materials in a safe place away from children and pets. Keep them in their original containers and clearly labeled.
9.5. Dispose of Waste Responsibly
Dispose of used grit, polishing compounds, and other waste materials responsibly. Check with your local waste management authorities for guidelines on proper disposal.
9.6. Supervise Children
If children are involved in rock tumbling activities, provide close supervision and ensure they understand the safety precautions.
- Rockscapes.net Safety Guidelines: At rockscapes.net, we prioritize safety and provide detailed guidelines for handling rock tumbling equipment and materials. Our resources help you create a safe and enjoyable environment for your rock polishing projects.
10. Common Mistakes to Avoid When Polishing Rocks
Polishing rocks can be a rewarding hobby, but it’s easy to make mistakes that can affect the final result. Avoiding these common pitfalls can help you achieve consistently beautiful, shiny rocks.
10.1. Skipping Stages
Each stage of the tumbling process—coarse grind, medium grind, fine grind, and polish—is essential for achieving a smooth, shiny surface. Skipping stages can result in uneven polishing and a dull finish.
10.2. Using Contaminated Grit
Contaminated grit can scratch the rocks and prevent them from achieving a high shine. Always thoroughly clean the rocks and the tumbler barrel between stages to remove any traces of the previous grit.
10.3. Overloading the Tumbler
Overloading the tumbler can prevent the rocks from tumbling properly, resulting in uneven polishing. Fill the barrel about two-thirds full to allow the rocks to move freely.
10.4. Using Too Much or Too Little Water
Using too much water can dilute the grit and reduce its effectiveness, while using too little water can cause the rocks to grind against each other and break. Add just enough water to cover the rocks.
10.5. Not Checking Progress
Regularly check the progress of your rocks during each stage of the tumbling process. This allows you to identify any issues early on and make adjustments as needed.
10.6. Neglecting Maintenance
Neglecting to maintain your rock tumbler can lead to equipment failure and poor polishing results. Clean and lubricate the tumbler regularly according to the manufacturer’s instructions.
- Rockscapes.net Expert Advice: Learn from the mistakes of others and avoid common pitfalls by visiting rockscapes.net. Our expert advice and troubleshooting tips can help you achieve consistently beautiful, shiny rocks.
Making tumbled rocks shiny is a rewarding process that reveals the hidden beauty of ordinary stones. By following these comprehensive steps and tips, you can achieve stunning results and create unique pieces for your home, garden, or personal collection.
Ready to transform your rocks into dazzling gems? Visit rockscapes.net for inspiration, expert advice, and the highest quality supplies. Explore our extensive collection of rocks, tumbling equipment, and polishing compounds to bring your vision to life. Contact us today and let our experts guide you on your rock polishing journey. You can visit us at 1151 S Forest Ave, Tempe, AZ 85281, United States, or call us at +1 (480) 965-9011. Let’s create something beautiful together!
FAQ: How to Make Tumbled Rocks Shiny
1. What is the best way to make tumbled rocks shiny?
The best way to make tumbled rocks shiny is by using a rock tumbler with a series of abrasive grits, followed by a polishing compound. This process gradually smooths the rocks, revealing their natural luster.
2. Can I make rocks shiny without a tumbler?
Yes, you can make rocks shiny without a tumbler by using a rotary tool with polishing wheels or by hand polishing with mineral oil. These methods are ideal for smaller batches of rocks or for adding a final touch to already smoothed stones.
3. What type of oil is best for polishing rocks?
The best oils for polishing rocks are food-grade mineral oil and jojoba oil. These oils enhance the rock’s natural colors, provide a protective layer, and are safe to handle.
4. How long does it take to make rocks shiny in a tumbler?
It typically takes several weeks to make rocks shiny in a tumbler, with each stage (coarse grind, medium grind, fine grind, and polish) lasting about 7-10 days.
5. What grit should I use to polish rocks?
You should use a series of grits, starting with coarse grit to smooth rough edges, followed by medium and fine grits to further refine the surface. The final stage involves using a polishing compound, such as aluminum oxide, to achieve a glossy shine.
6. How do I clean rocks before tumbling?
Clean rocks before tumbling by scrubbing them with a brush and soapy water to remove any dirt, debris, or organic matter. This ensures that the grit works effectively during the tumbling process.
7. What are the best rocks to tumble and polish?
The best rocks to tumble and polish are those that are relatively hard and free of fractures. Common choices include agate, jasper, quartz, obsidian, and petrified wood.
8. How do I maintain the shine of my tumbled rocks?
Maintain the shine of your tumbled rocks by cleaning them regularly with a soft cloth and mild soap and water. For rocks polished with oil, re-apply a thin coat of oil every few months.
9. What are some common mistakes to avoid when polishing rocks?
Common mistakes to avoid when polishing rocks include skipping stages, using contaminated grit, overloading the tumbler, and not checking progress regularly.
10. Where can I find high-quality rock tumbling supplies?
You can find high-quality rock tumbling supplies at specialty lapidary stores, online retailers, and at rockscapes.net. Look for reputable suppliers that offer a wide selection of tumblers, grits, polishing compounds, and other essential equipment.