Looking for creative rock painting ideas? What To Draw On A Rock is a fantastic way to express yourself, add a personal touch to your garden, or create unique gifts! Rockscapes.net is here to guide you through unleashing your inner artist, transforming ordinary stones into stunning works of art. Discover inspiring designs, expert tips, and everything you need to get started with this engaging and rewarding hobby. Learn about selecting the right stones, preparing the surface, and using various painting techniques to achieve your desired results. Explore thematic ideas for painted stones and create personalized gifts that resonate with your loved ones. Dive into the fun of rock painting and transform ordinary stones into extraordinary works of art with rockscapes, scenic rock art, painted stone.
1. Why Rock Painting? The Appeal of Stone Canvases
Why are people drawn to painting on rocks? Rock painting offers a unique blend of artistic expression, connection with nature, and therapeutic relaxation. It’s a simple yet rewarding craft that can be enjoyed by people of all ages and skill levels.
1.1 Therapeutic Benefits: Finding Calm in Creation
Is rock painting therapeutic? Absolutely! The repetitive motions of painting can be meditative, helping to reduce stress and anxiety. Focusing on the details of a design allows you to escape the worries of everyday life and immerse yourself in the present moment. According to a study by the American Art Therapy Association, engaging in art activities can significantly lower cortisol levels, a key indicator of stress.
1.2 Connecting with Nature: A Sustainable Art Form
How does rock painting connect us to nature? By using natural materials like stones, we create a tangible link to the environment. It encourages us to appreciate the beauty of simple things and to see potential for art in unexpected places. Furthermore, rock painting promotes sustainability by repurposing materials and reducing waste.
1.3 Artistic Expression: A Canvas Without Limits
What kind of artistic expression is possible on rocks? The possibilities are endless! From simple geometric patterns to intricate landscapes, rock painting allows you to explore your creativity without the pressure of traditional art forms. The unique shapes and textures of stones provide a natural canvas that inspires imagination and encourages experimentation.
 Flat, smooth rocks are ideal canvases for intricate designs and detailed paintings.
2. Gathering Your Supplies: What You Need to Get Started
What supplies do you need for rock painting? You don’t need a lot of fancy equipment to get started with rock painting. Here’s a basic list of supplies to gather:
- Rocks: Smooth, flat rocks are ideal for painting.
- Acrylic Paints: These paints are durable, water-resistant, and come in a wide range of colors.
- Paintbrushes: A variety of brush sizes will allow you to create different effects.
- Sealer: This will protect your painted rocks from the elements.
- Primer (Optional): This can help your paint adhere to the rock better.
- Pencils: For sketching your design.
- Eraser: For correcting mistakes.
- Water Container: For cleaning your brushes.
- Paper Towels: For blotting excess water.
2.1 Rock Selection: Finding the Perfect Stone Canvas
What makes a rock good for painting? Look for rocks that are smooth, relatively flat, and free of cracks or chips. River rocks or beach stones are often ideal. Consider the size and shape of the rock in relation to the design you have in mind. Larger, flatter rocks are great for intricate designs, while smaller, rounder rocks are perfect for simple patterns or character paintings.
2.2 Paint Choices: Acrylics and Beyond
What are the best paints for rock painting? Acrylic paints are the most popular choice for rock painting because they are durable, water-resistant, and easy to use. However, other types of paints can also be used, such as:
- Oil Paints: These paints offer rich colors and a smooth finish, but they take longer to dry and require solvents for cleanup.
- Paint Markers: These are great for creating fine details and lettering.
- Chalk Markers: These are perfect for temporary designs or for creating a chalkboard effect.
2.3 Essential Tools: Brushes, Sealers, and More
What tools are essential for successful rock painting? In addition to paints and rocks, there are a few other tools that can make the process easier and more enjoyable:
- Paintbrushes: Invest in a variety of brush sizes and shapes to create different effects.
- Sealer: A good sealer will protect your painted rocks from the elements and prevent the paint from chipping or fading.
- Primer (Optional): Applying a primer before painting can help the paint adhere to the rock better and create a smoother surface.
- Palette: A palette will help you mix and blend your paints.
- Detailing Tools: Toothpicks, skewers, or dotting tools can be used to create intricate details.
3. Preparing Your Rocks: Cleaning and Priming
How do you prepare a rock for painting? Proper preparation is essential for ensuring that your paint adheres to the rock and that your design lasts.
3.1 Cleaning: Removing Dirt and Debris
Why is cleaning rocks important before painting? Before you start painting, it’s important to clean your rocks thoroughly to remove any dirt, dust, or debris. This will help the paint adhere to the rock better and prevent it from chipping or peeling.
- Wash the rocks with soap and water: Use a scrub brush to remove any stubborn dirt.
- Rinse the rocks thoroughly: Make sure all the soap is removed.
- Let the rocks dry completely: Before you start painting, make sure the rocks are completely dry.
3.2 Priming: Creating a Smooth Canvas
Is priming necessary for rock painting? While not always necessary, priming can create a smoother surface for painting and help the paint adhere to the rock better.
- Apply a thin layer of primer to the rock: Use a paintbrush or a sponge brush to apply the primer evenly.
- Let the primer dry completely: Follow the manufacturer’s instructions for drying time.
- Lightly sand the primed surface: This will create an even smoother surface for painting.
4. Basic Painting Techniques: From Base Coats to Fine Details
What are some basic painting techniques for rocks? Mastering a few basic painting techniques will allow you to create a wide range of designs on your rocks.
4.1 Base Coats: Creating a Foundation
Why use a base coat in rock painting? Applying a base coat of paint to your rock creates a smooth, even surface for your design. It also helps to cover up any imperfections in the rock and ensures that the colors of your design will be vibrant and true.
- Choose a base coat color: Select a color that complements your design.
- Apply a thin, even layer of paint: Use a paintbrush or a sponge brush to apply the base coat.
- Let the base coat dry completely: Before adding any details, make sure the base coat is completely dry.
- Apply a second coat (optional): If necessary, apply a second coat of base coat to ensure full coverage.
4.2 Layering: Building Depth and Dimension
How does layering paint add depth to rock art? Layering is a technique that involves applying multiple layers of paint to create depth and dimension in your design. By layering colors, you can create subtle gradients, highlights, and shadows that make your rock painting come to life.
- Start with lighter colors: Apply the lighter colors first, then gradually add darker colors to create shadows and depth.
- Blend the colors carefully: Use a soft brush to blend the colors together seamlessly.
- Allow each layer to dry completely: Before adding another layer, make sure the previous layer is completely dry.
4.3 Detailing: Adding the Finishing Touches
What are some tips for adding fine details to rock paintings? Adding fine details is what makes your rock painting unique and eye-catching. Use fine-tipped brushes, paint markers, or detailing tools to add intricate patterns, lettering, and other details to your design.
- Use fine-tipped brushes: Invest in a set of fine-tipped brushes for creating delicate details.
- Use paint markers: Paint markers are great for creating crisp, clean lines and lettering.
- Use detailing tools: Toothpicks, skewers, or dotting tools can be used to create dots, swirls, and other intricate details.
- Practice on paper first: Before adding details to your rock, practice on paper to get a feel for the tools and techniques.
4.4 Blending: Creating Smooth Transitions
How do you blend colors effectively on rocks? Blending is a technique that involves creating smooth transitions between colors. This can be achieved by using a soft brush to blend the colors together while they are still wet.
- Use a soft brush: Choose a soft brush with flexible bristles.
- Work quickly: Blend the colors together while they are still wet.
- Use a light touch: Apply gentle pressure to avoid smudging the paint.
- Clean your brush frequently: Keep your brush clean to prevent the colors from becoming muddy.
 Painting the base coat ensures a smooth surface for detailed artwork, enhancing color vibrancy and adhesion.
5. Inspiring Rock Painting Ideas: Themes and Designs
What are some popular themes for rock painting? The possibilities for rock painting designs are endless. Here are a few ideas to get you started:
- Nature-Inspired Designs: Flowers, leaves, animals, landscapes, and other natural elements.
- Mandalas and Geometric Patterns: Intricate patterns that are both visually appealing and meditative to create.
- Inspirational Quotes and Words: Uplifting messages and positive affirmations.
- Cartoon Characters and Pop Culture Icons: Beloved characters from movies, TV shows, and books.
- Abstract Art: Expressive designs that focus on color, texture, and form.
5.1 Animals and Insects: Bringing Wildlife to Your Garden
What kind of animals look good painted on rocks? Painting animals and insects on rocks is a fun way to add a touch of wildlife to your garden or home. Consider painting:
- Ladybugs: These cheerful insects are easy to paint and bring good luck.
- Butterflies: Their vibrant colors and delicate wings make them a beautiful subject for rock painting.
- Bees: These busy pollinators are essential to our ecosystem and make a cute addition to any rock collection.
- Owls: Their wise and mysterious nature makes them a popular choice for rock painting.
- Cats and Dogs: Paint your beloved pets or create whimsical portraits of furry friends.
5.2 Floral Motifs: Blooming Beauty on Stone
How can you create realistic floral designs on rocks? Flowers are a classic choice for rock painting, and there are endless ways to create beautiful floral motifs.
- Simple Daisies: These cheerful flowers are easy to paint and add a touch of sunshine to any rock.
- Elegant Roses: Their intricate petals make them a challenging but rewarding subject for rock painting.
- Whimsical Tulips: Their bright colors and unique shape make them a fun and playful choice.
- Detailed Leaves: Add leaves to your floral designs to create a more realistic and complete composition.
5.3 Mandala Magic: Creating Intricate Patterns
What are mandalas, and why are they good for rock painting? Mandalas are intricate geometric patterns that are often used in meditation and spiritual practices. They are also a popular choice for rock painting because they are visually appealing and meditative to create.
- Start with a center point: Draw a small circle in the center of the rock.
- Create concentric circles: Draw larger circles around the center point.
- Add geometric patterns: Fill the circles with intricate patterns, such as triangles, squares, and spirals.
- Use a variety of colors: Experiment with different color combinations to create a unique and eye-catching mandala.
5.4 Inspirational Words: Spreading Positivity
How can you use painted rocks to spread positive messages? Painting inspirational quotes and words on rocks is a great way to spread positivity and uplift others. Consider painting:
- “Believe”: A simple yet powerful reminder to have faith in yourself.
- “Hope”: A message of optimism and resilience.
- “Love”: A universal message of kindness and compassion.
- “Dream”: An encouragement to pursue your passions.
- “Be Kind”: A reminder to treat others with respect and empathy.
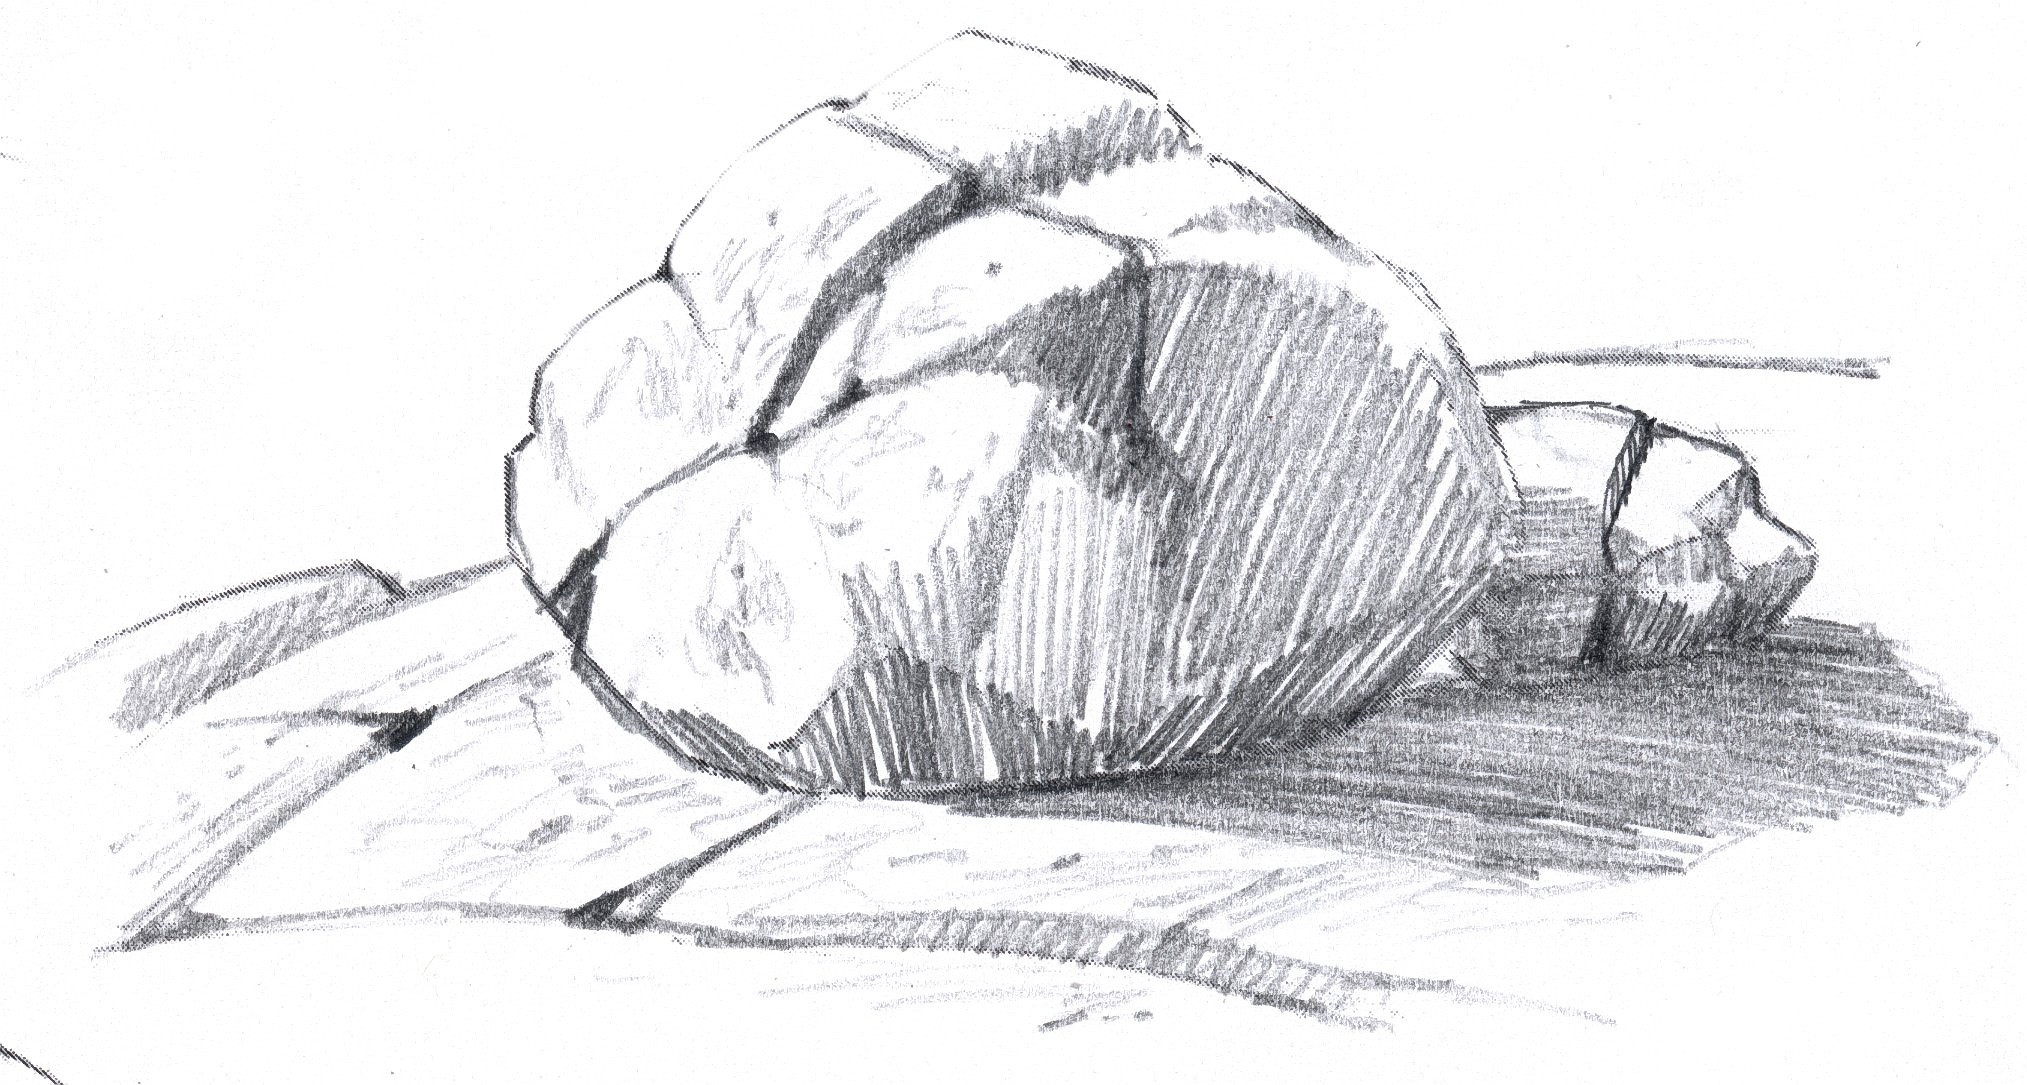
 A smooth rock showcases intricate contour lines and shading techniques, enhancing its form and adding depth.
6. Sealing Your Artwork: Protecting Your Painted Rocks
Why is sealing rocks important after painting? Sealing your painted rocks is essential for protecting them from the elements and preventing the paint from chipping, fading, or peeling.
6.1 Choosing the Right Sealer: Types and Finishes
What type of sealer is best for painted rocks? There are several types of sealers available for painted rocks, each with its own advantages and disadvantages:
- Acrylic Sealers: These sealers are water-based, easy to use, and provide good protection against the elements.
- Polyurethane Sealers: These sealers are oil-based, more durable than acrylic sealers, and provide a glossy finish.
- Epoxy Resin: This is a two-part system that creates a very durable, glossy finish. It is more difficult to apply than other sealers but offers superior protection.
6.2 Application Tips: Achieving a Flawless Finish
How do you apply sealer to rocks for the best protection? Here are a few tips for applying sealer to your painted rocks:
- Clean the rocks thoroughly: Before applying the sealer, make sure the rocks are clean and dry.
- Apply a thin, even layer of sealer: Use a paintbrush or a spray can to apply the sealer evenly.
- Let the sealer dry completely: Follow the manufacturer’s instructions for drying time.
- Apply a second coat (optional): For added protection, apply a second coat of sealer.
7. Displaying Your Rock Art: Sharing Your Creations
How can you display painted rocks in your home or garden? Once you’ve created your rock art, it’s time to display it and share your creations with the world.
7.1 Garden Décor: Adding Whimsy to Your Outdoor Space
How can painted rocks enhance a garden? Painted rocks can add a touch of whimsy and personality to your garden. Place them among your plants, along pathways, or in rock gardens to create a unique and eye-catching display.
- Hide them in your garden for others to find: This is a fun way to spread joy and surprise your neighbors.
- Create a rock garden: Arrange your painted rocks in a designated area to create a colorful and whimsical rock garden.
- Use them as plant markers: Paint the names of your plants on rocks and place them next to the corresponding plants.
7.2 Indoor Displays: Bringing Nature Inside
How can you display rock art indoors? Painted rocks can also be displayed indoors to bring a touch of nature into your home.
- Place them on shelves or mantels: Arrange your painted rocks on shelves, mantels, or windowsills to add a pop of color and personality to your décor.
- Use them as paperweights: Painted rocks make unique and functional paperweights.
- Create a rock art display in a glass jar or vase: Fill a glass jar or vase with sand or pebbles and arrange your painted rocks inside for a decorative display.
7.3 Rock Hiding: Spreading Joy in Your Community
What is rock hiding, and how can you participate? Rock hiding is a popular activity where people paint rocks and then hide them in public places for others to find. It’s a fun way to spread joy and connect with your community.
- Paint your rocks with bright colors and fun designs: Make your rocks eye-catching and appealing to finders.
- Write a message on the back of the rock: Include a message encouraging finders to re-hide the rock or to post a picture of it on social media using a specific hashtag.
- Hide the rocks in public places: Choose safe and accessible locations where others are likely to find them.
- Post a picture of your hidden rock on social media: Use the designated hashtag to let others know that there’s a rock waiting to be found.
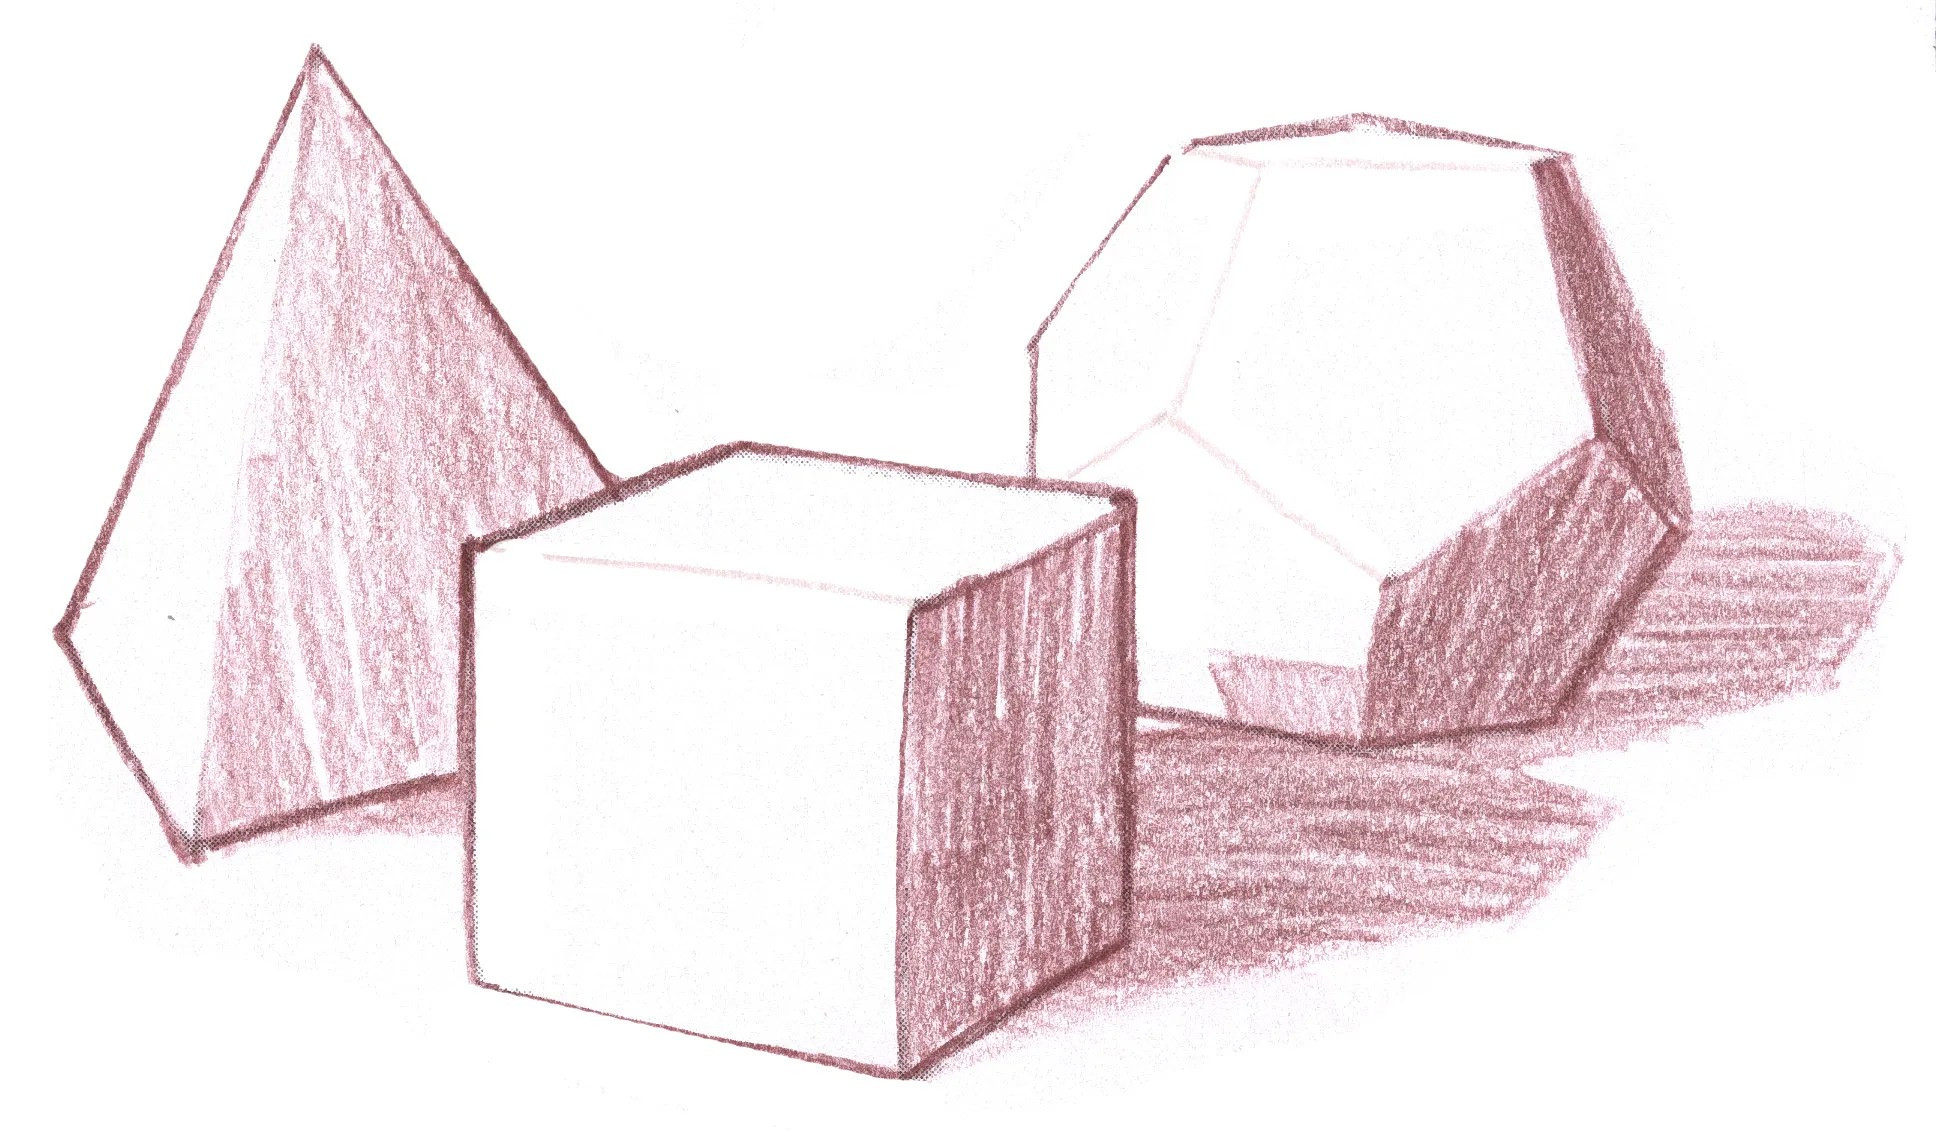
 The angles and shadows of the rocks are emphasized with distinct sections, illustrating how to capture depth and form.
8. Rock Painting as a Gift: Personalized and Heartfelt Presents
What makes rock painting a good gift idea? Painted rocks make unique, personalized, and heartfelt gifts for any occasion.
8.1 Personalized Gifts: Tailoring to the Recipient’s Interests
How can you personalize painted rocks as gifts? Consider the recipient’s interests, hobbies, and favorite things when creating your rock painting gift.
- Paint their favorite animal or character: This is a thoughtful way to show that you know and care about their interests.
- Create a rock with their name or initials: This is a personalized keepsake that they can cherish for years to come.
- Paint a scene from their favorite movie or book: This is a creative and unique gift that they’re sure to appreciate.
- Create a set of rocks with inspirational quotes: This is a thoughtful and uplifting gift that can bring positivity to their life.
8.2 Occasion-Based Themes: Matching the Celebration
What are some rock painting ideas for different occasions? Tailor your rock painting designs to match the specific occasion.
- Birthdays: Paint a rock with birthday wishes, balloons, or a birthday cake.
- Holidays: Paint rocks with festive designs, such as pumpkins for Halloween, snowflakes for Christmas, or hearts for Valentine’s Day.
- Thank You Gifts: Paint a rock with a message of gratitude or a design that represents the recipient’s kindness.
- Get Well Soon Gifts: Paint a rock with a get-well message, flowers, or a cheerful design to brighten their day.
8.3 Creating a Rock Painting Kit: A Gift of Creativity
How can you assemble a rock painting kit as a gift? Put together a rock painting kit for a friend or family member who enjoys crafts and creative activities.
- Include a selection of smooth rocks: Choose rocks in various sizes and shapes.
- Add acrylic paints in a variety of colors: Select a range of colors that can be mixed and matched to create different shades.
- Provide paintbrushes in different sizes: Include fine-tipped brushes for detailing and larger brushes for base coats.
- Include a sealer to protect the finished artwork: Choose a sealer that is easy to apply and provides good protection against the elements.
- Add other useful supplies: Include a palette, water container, paper towels, pencils, and an eraser.
- Package the kit in a decorative box or bag: Make the kit look appealing and gift-worthy.
9. Advanced Techniques: Taking Your Rock Art to the Next Level
What are some advanced techniques for rock painting? Once you’ve mastered the basic techniques, you can explore more advanced techniques to take your rock art to the next level.
9.1 Dot Art: Creating Intricate Patterns with Dots
What is dot art, and how is it done on rocks? Dot art is a technique that involves creating intricate patterns using dots of paint. This technique can be used to create mandalas, floral designs, or abstract patterns.
- Use dotting tools or paintbrushes with rounded tips: These tools will help you create consistent and uniform dots.
- Start with a center point and work your way outwards: Create concentric circles or patterns around the center point.
- Use a variety of dot sizes and colors: Experiment with different dot sizes and colors to create depth and dimension.
- Practice on paper first: Before creating a dot art design on a rock, practice on paper to get a feel for the tools and techniques.
9.2 Marbling: Achieving a Unique Swirled Effect
How can you create a marbled effect on rocks? Marbling is a technique that involves creating a swirled effect by floating paints on water and then dipping the rock into the water.
- Fill a container with water: Use a container that is large enough to accommodate the rock.
- Float acrylic paints on the surface of the water: Drip or swirl the paints onto the water’s surface.
- Use a toothpick or skewer to create swirls and patterns: Gently swirl the paints together to create a marbled effect.
- Dip the rock into the water: Slowly lower the rock into the water, making sure that the entire surface is covered with paint.
- Remove the rock from the water and let it dry completely: Allow the rock to dry completely before sealing it.
9.3 Resin Coating: Enhancing Shine and Durability
How does resin enhance painted rocks? Applying a resin coating to your painted rocks can enhance their shine and durability. Resin creates a glossy, glass-like finish that protects the paint from scratches and fading.
- Use a two-part epoxy resin: Follow the manufacturer’s instructions for mixing and applying the resin.
- Pour the resin over the rock and spread it evenly: Use a brush or a popsicle stick to spread the resin evenly over the entire surface of the rock.
- Remove any air bubbles: Use a heat gun or a toothpick to remove any air bubbles that may form in the resin.
- Let the resin cure completely: Follow the manufacturer’s instructions for curing time.
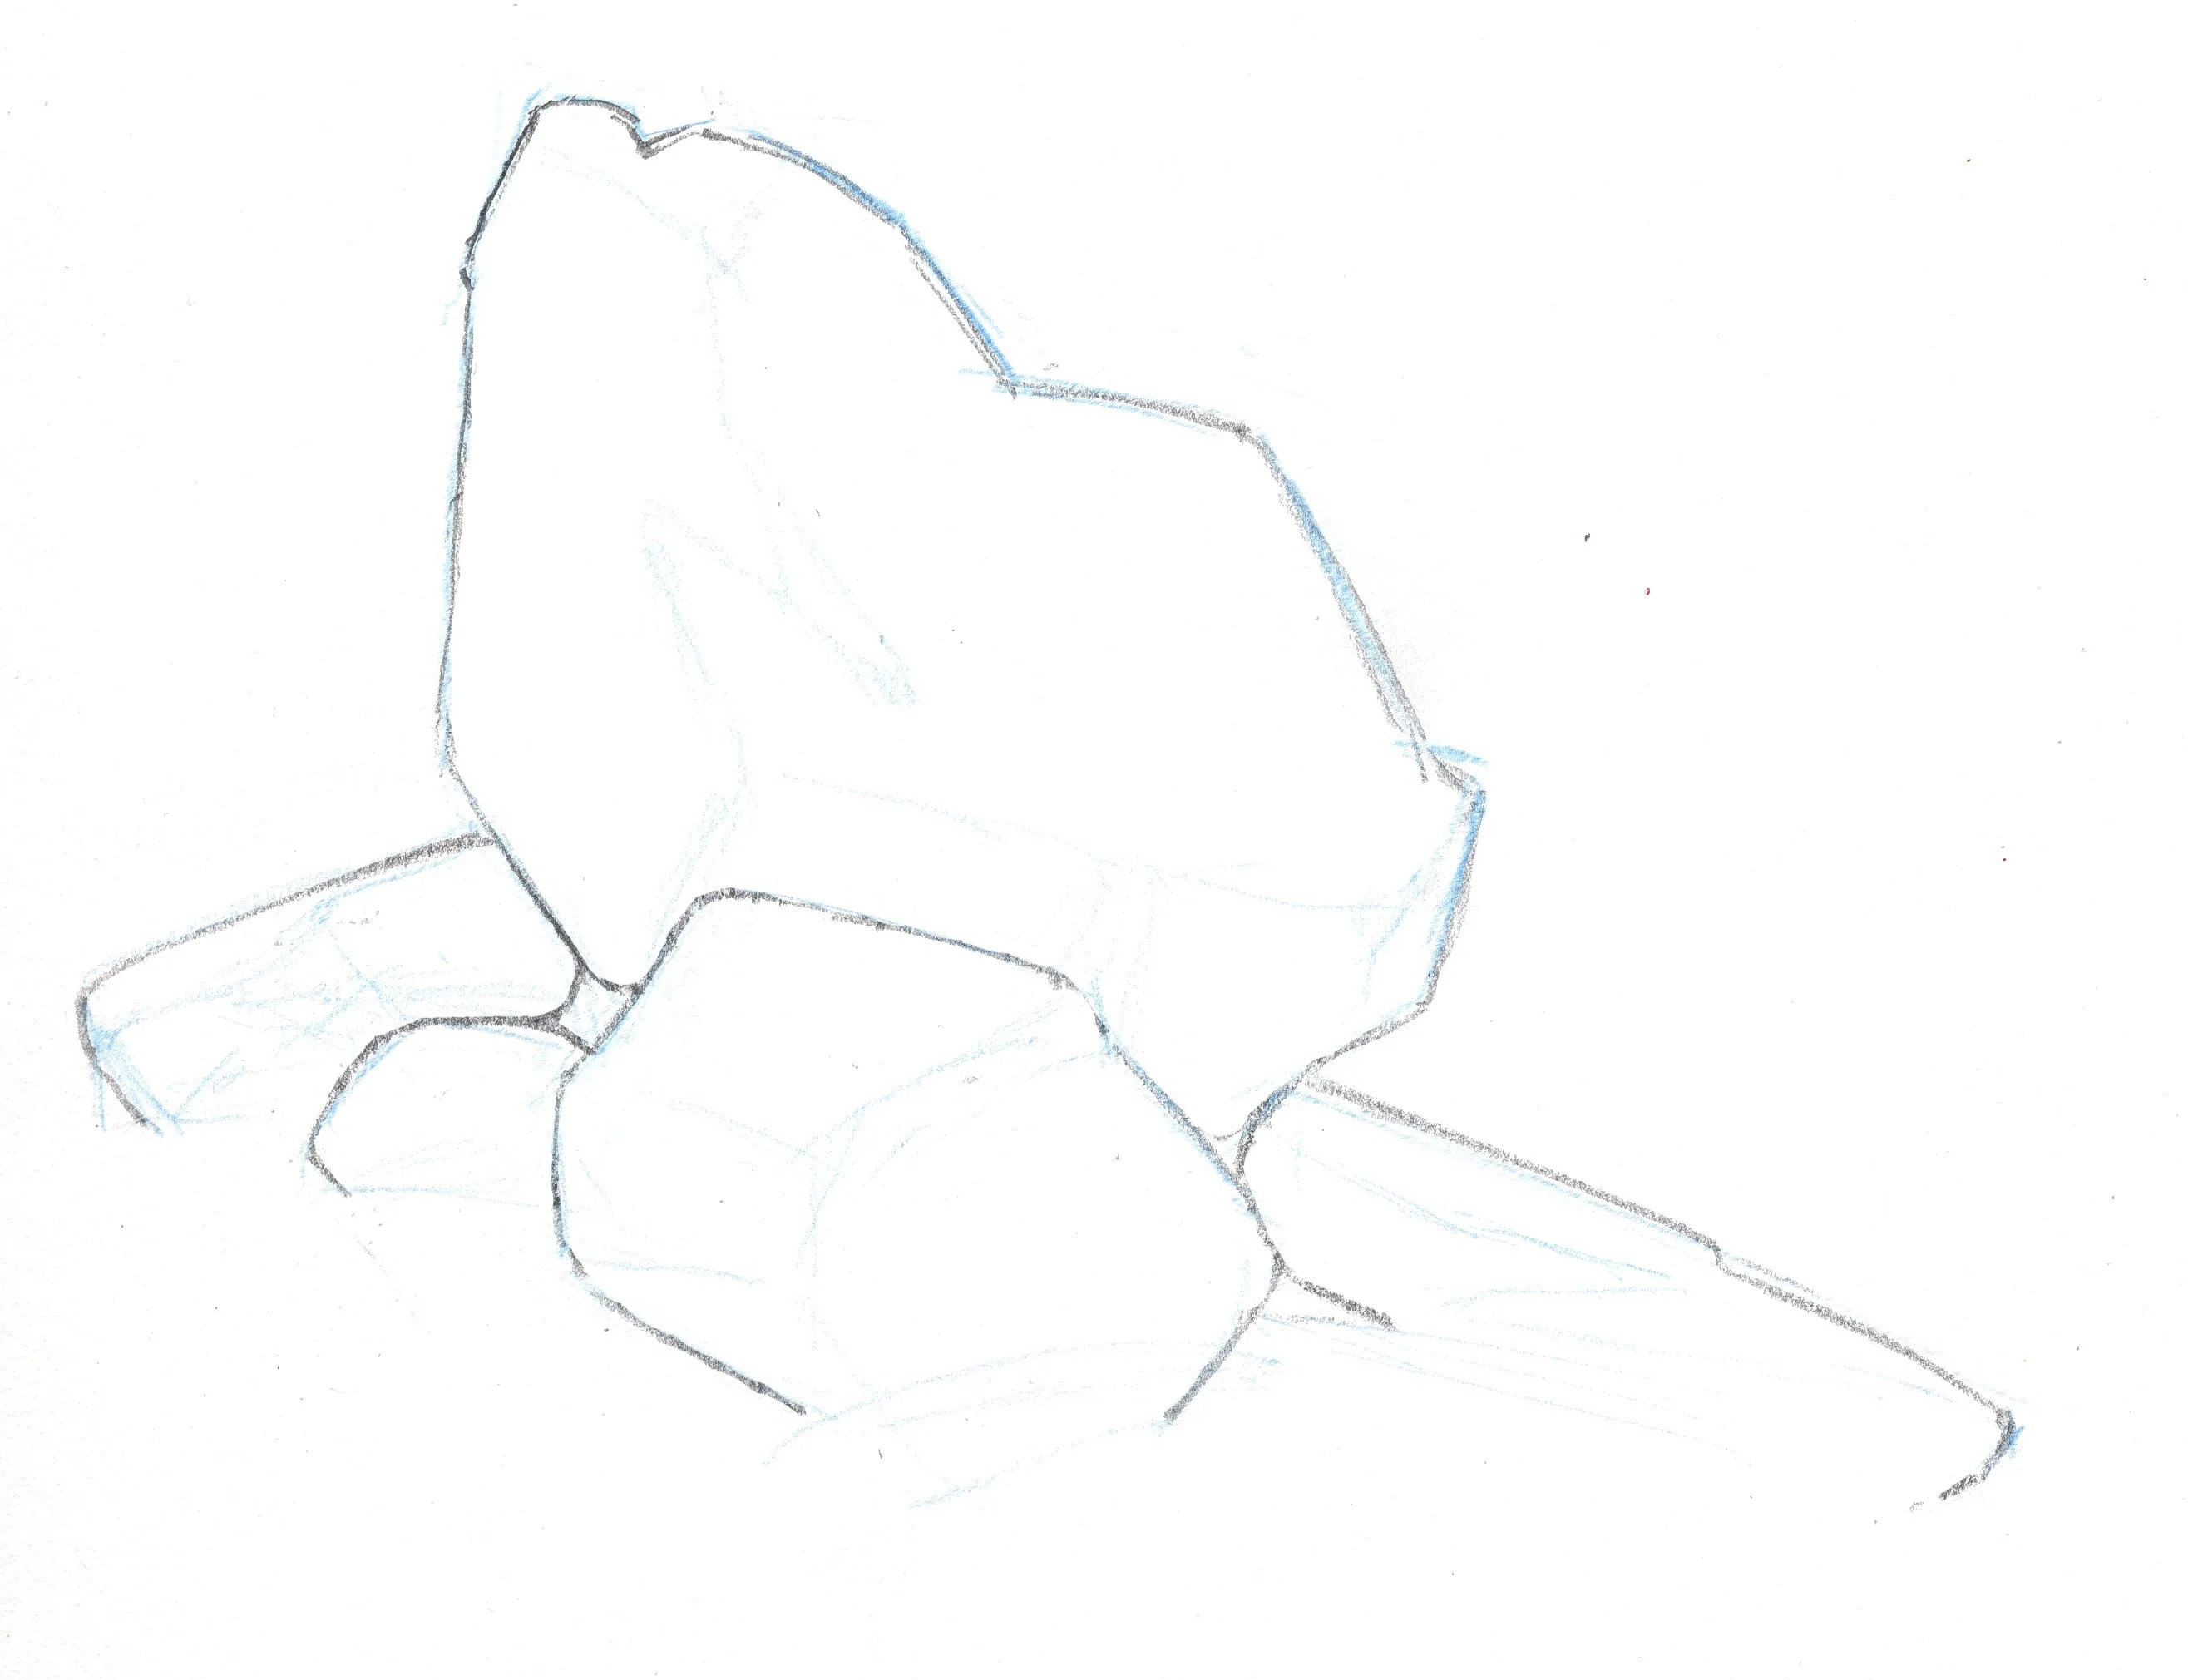 An initial outline provides a guide for the artist, defining the shapes and areas for shading.
10. Where to Find Inspiration: Resources and Communities
Where can you find inspiration for rock painting ideas? There are many resources and communities available to help you find inspiration and connect with other rock painters.
10.1 Online Resources: Websites and Social Media
What are some good websites and social media accounts for rock painting inspiration? Explore websites like Pinterest, Instagram, and Facebook to find inspiration and connect with other rock painters. Search for hashtags such as #rockpainting, #paintedrocks, #rockart, and #kindnessrocks to discover a wealth of ideas and inspiration.
10.2 Local Communities: Rock Painting Groups and Events
Are there local rock painting groups in my area? Check with your local community center, library, or art supply store to see if there are any rock painting groups or events in your area. These groups provide a great opportunity to connect with other rock painters, share ideas, and learn new techniques.
10.3 Nature Itself: Finding Ideas in the World Around You
How can nature inspire rock painting? Look to nature for inspiration for your rock painting designs. Observe the colors, patterns, and textures of the plants, animals, and landscapes around you. Use these observations to create unique and beautiful rock art that reflects the natural world.
FAQ: Your Rock Painting Questions Answered
1. What kind of paint is best for painting rocks?
Acrylic paints are best for painting rocks, because they are durable, water-resistant, and come in a wide range of colors, ensuring your artwork lasts long and looks vibrant. According to research from Arizona State University’s School of Earth and Space Exploration, in July 2025, a polymer-based paint provides the best adhesion and protection for outdoor rock art.
2. Do I need to seal my painted rocks?
Yes, you need to seal your painted rocks, as sealing protects your artwork from the elements, preventing chipping, fading, and peeling, which helps preserve your creation.
3. How do I clean rocks before painting them?
To clean rocks before painting, wash them with soap and water, using a scrub brush to remove any stubborn dirt, rinse them thoroughly to ensure no soap remains, and then let them dry completely before you start painting.
4. Where can I find rocks for painting?
You can find rocks for painting in various places, including riverbeds, beaches, and even your own backyard, looking for smooth, flat surfaces that are ideal for painting detailed designs.
5. What are some easy rock painting ideas for beginners?
Easy rock painting ideas for beginners include simple patterns like dots, stripes, and swirls, as well as basic shapes like hearts, stars, and flowers, perfect for getting started with this creative hobby.
6. Can I use paint markers on rocks?
Yes, you can use paint markers on rocks, especially for adding fine details, outlining designs, and creating intricate patterns that require precision.
7. How do I prevent my painted rocks from fading in the sun?
To prevent your painted rocks from fading in the sun, use high-quality UV-resistant acrylic paints and seal them with a UV-resistant sealer, which will help protect the colors from fading over time.
8. What is rock hiding, and how do I participate?
Rock hiding involves painting rocks and hiding them in public places for others to find, bringing joy to your community, and you can participate by painting rocks, hiding them, and sharing their locations on social media using local hashtags.
9. How do I create a marbled effect on rocks?
To create a marbled effect on rocks, float acrylic paints on the surface of water, swirl them gently with a toothpick, and then dip the rock into the water to transfer the marbled pattern onto its surface.
10. What is dot art, and how is it done on rocks?
Dot art is a technique where intricate patterns are created using dots of paint, and it’s done on rocks by using dotting tools or fine-tipped brushes to apply dots of various sizes and colors in a precise and artistic manner.
Rock painting is a fun, relaxing, and creative hobby that can be enjoyed by people of all ages. Whether you’re looking to add a personal touch to your garden, create unique gifts, or simply express your artistic side, rock painting is a great way to unleash your inner artist. With a little practice and imagination, you can transform ordinary stones into stunning works of art.
Ready to start your rock painting adventure? Visit rockscapes.net for even more inspiration, expert tips, and resources to help you create beautiful and unique rock art! Explore our galleries of stunning rock painting designs, discover new techniques, and connect with a community of fellow rock art enthusiasts. Let rockscapes.net be your guide to transforming ordinary stones into extraordinary works of art. Contact us at 1151 S Forest Ave, Tempe, AZ 85281, United States. Phone: +1 (480) 965-9011, or visit our website: rockscapes.net.